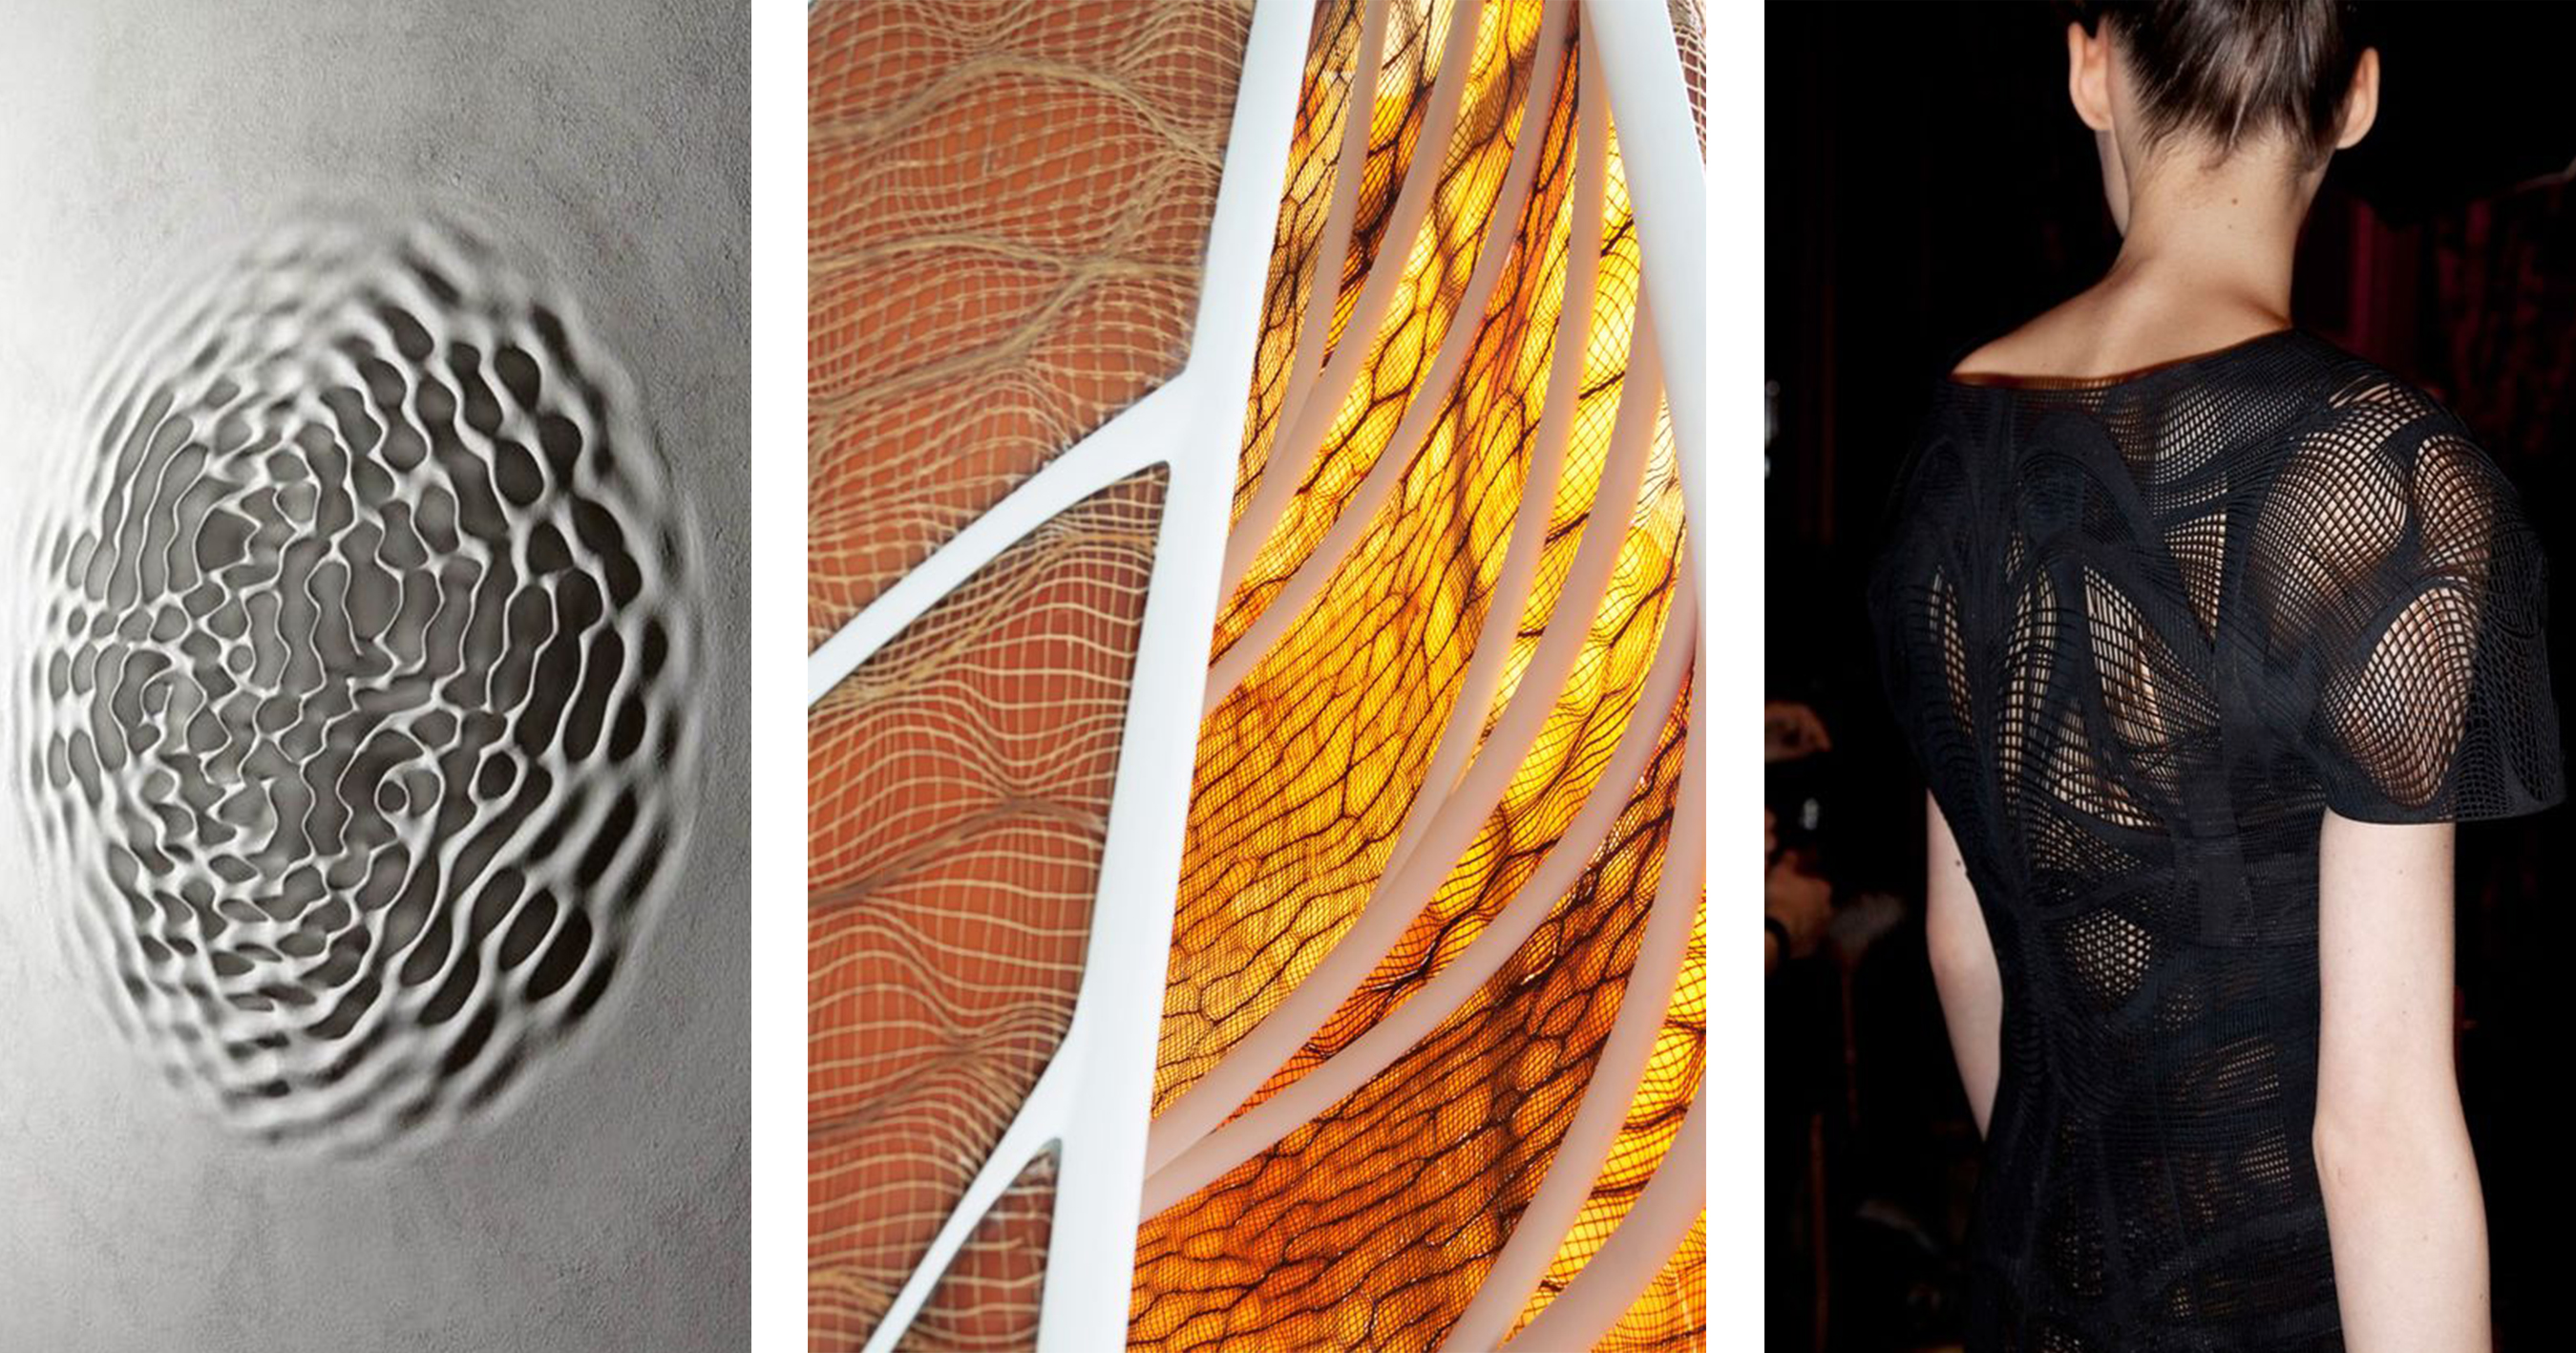
8. Computational couture

This week I worked on defining my final project idea and started to getting used to the documentation process.
Research
"How an amazing world computational couture can open us the doors for a new way of design clothes."
Useful links
Computational Couture 2015 from car2d2 on Vimeo.
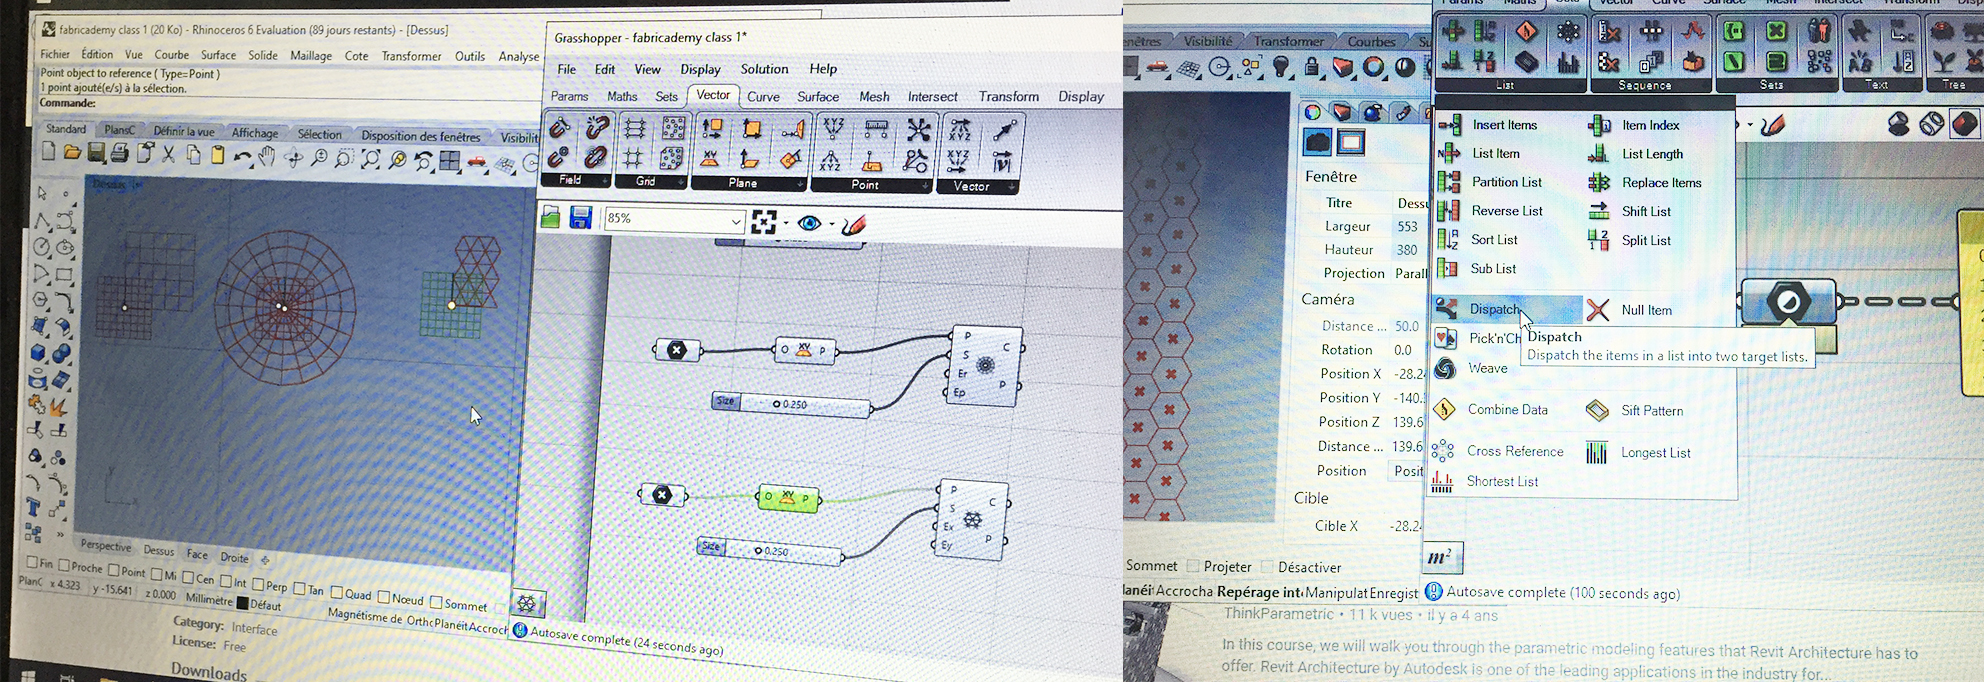
Learning Grasshoper
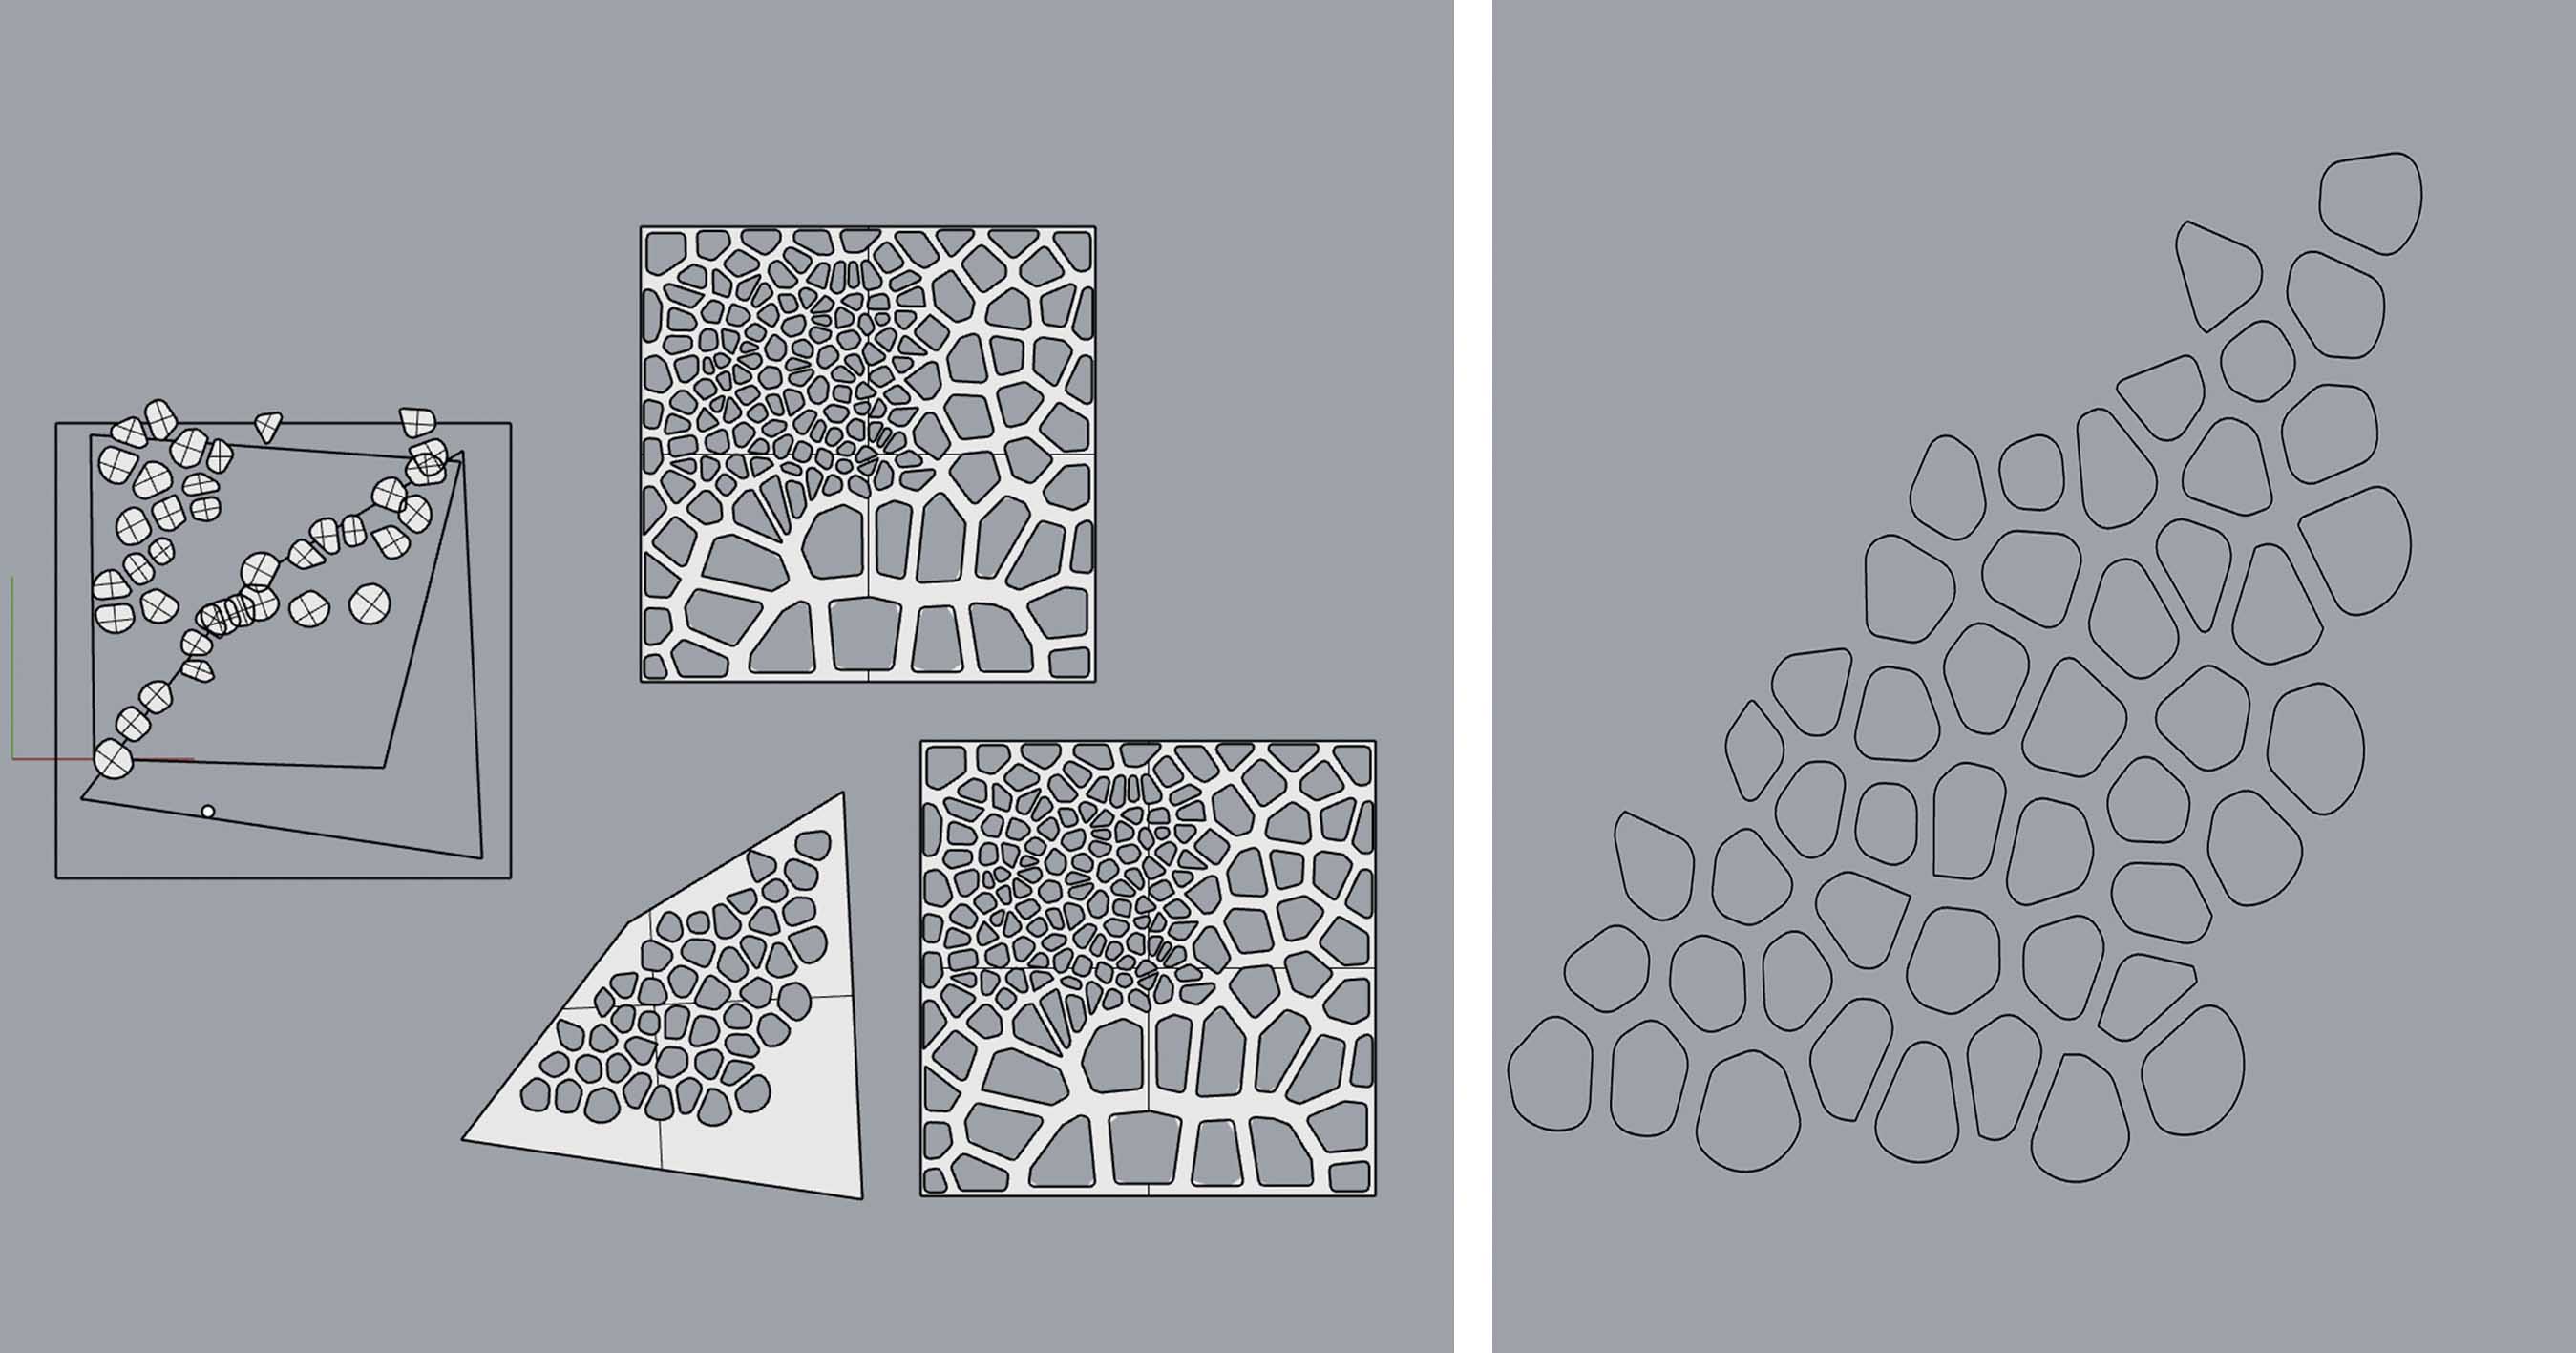
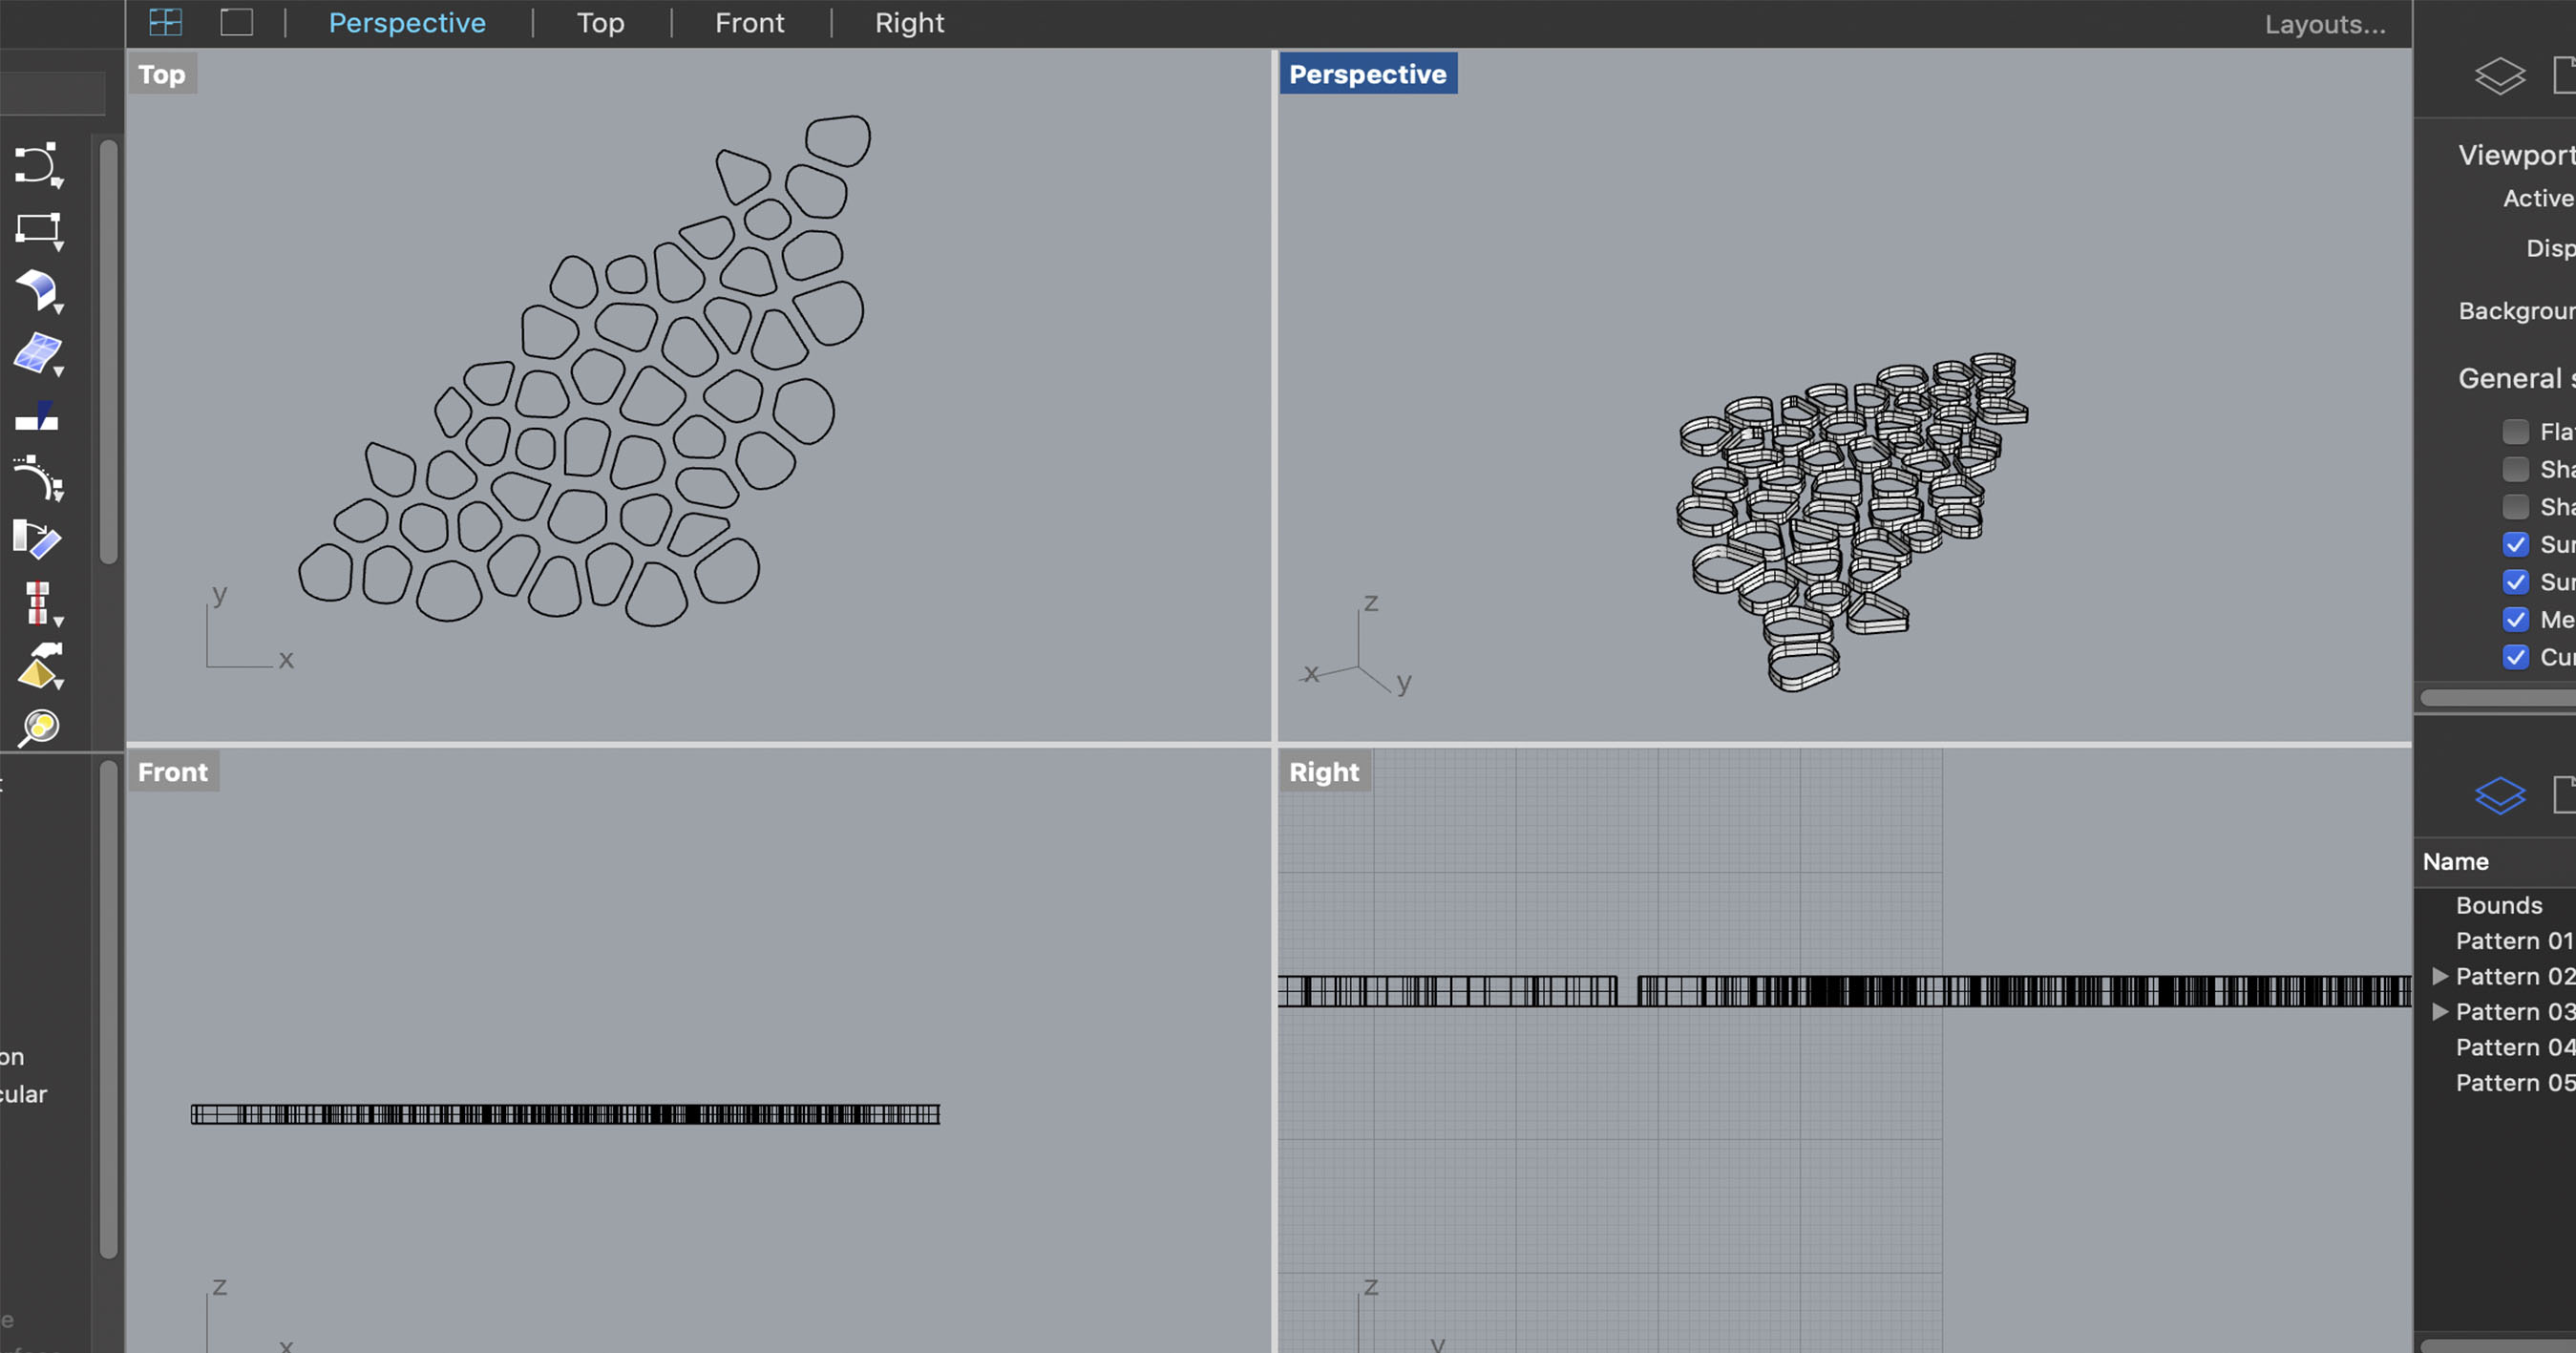
I have to say that at the beggining was difficult to learn grasshopper to me, design with algorithms and not with lines or forms is so different from what we get use to. This was reinterpretation of cloths, garments and accesories. So for this class we used 2 programs: rhinoceros and grasshopper, doing in the first lines and forms to then connected throught algorithms, curves, surfaces and others. In this first exercises we were fitting a t-shirt on a mannequine.
Learning and testing
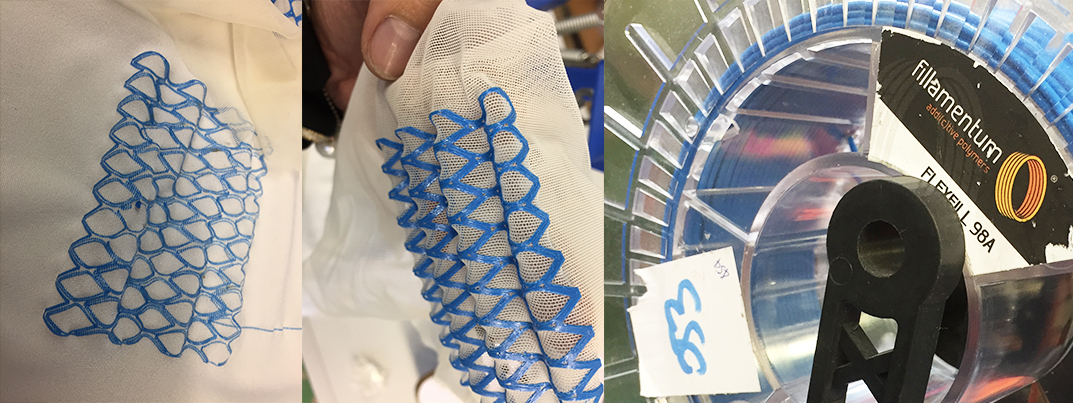
We went to Eurecat Textil and tried with differents types of 3d printers. All depends of how big is our design. Also we must take into account how narrow we want our design to be on the canvas, we can stretch it as much as possible to test.
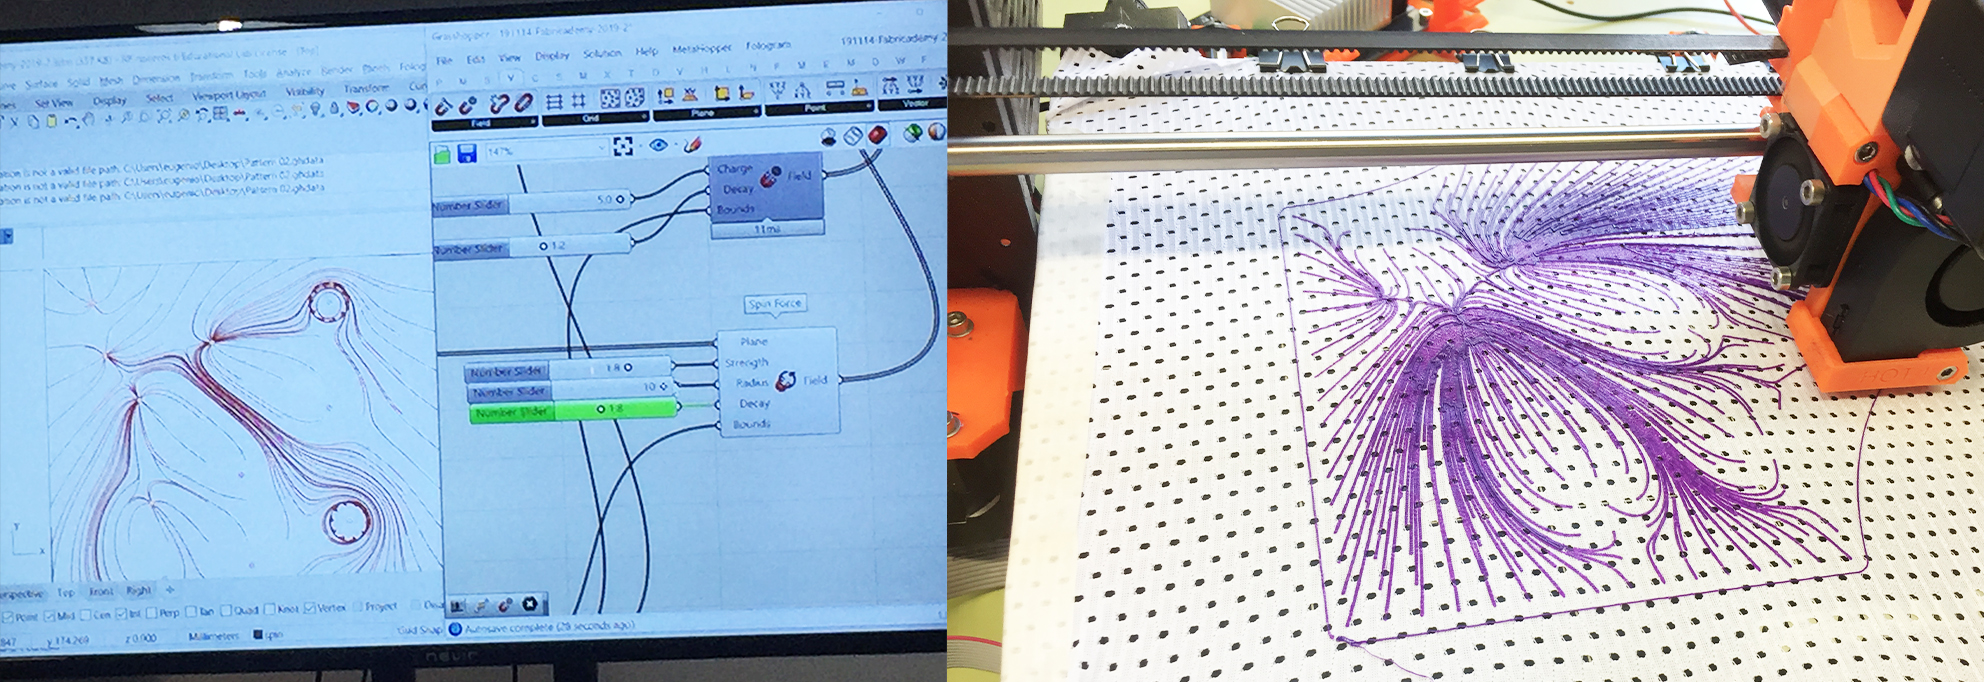
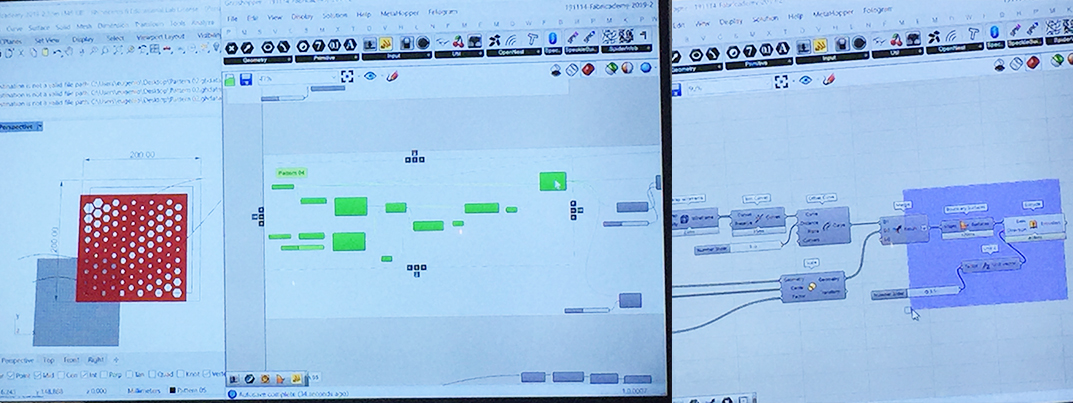

3d Printing
Design
Done
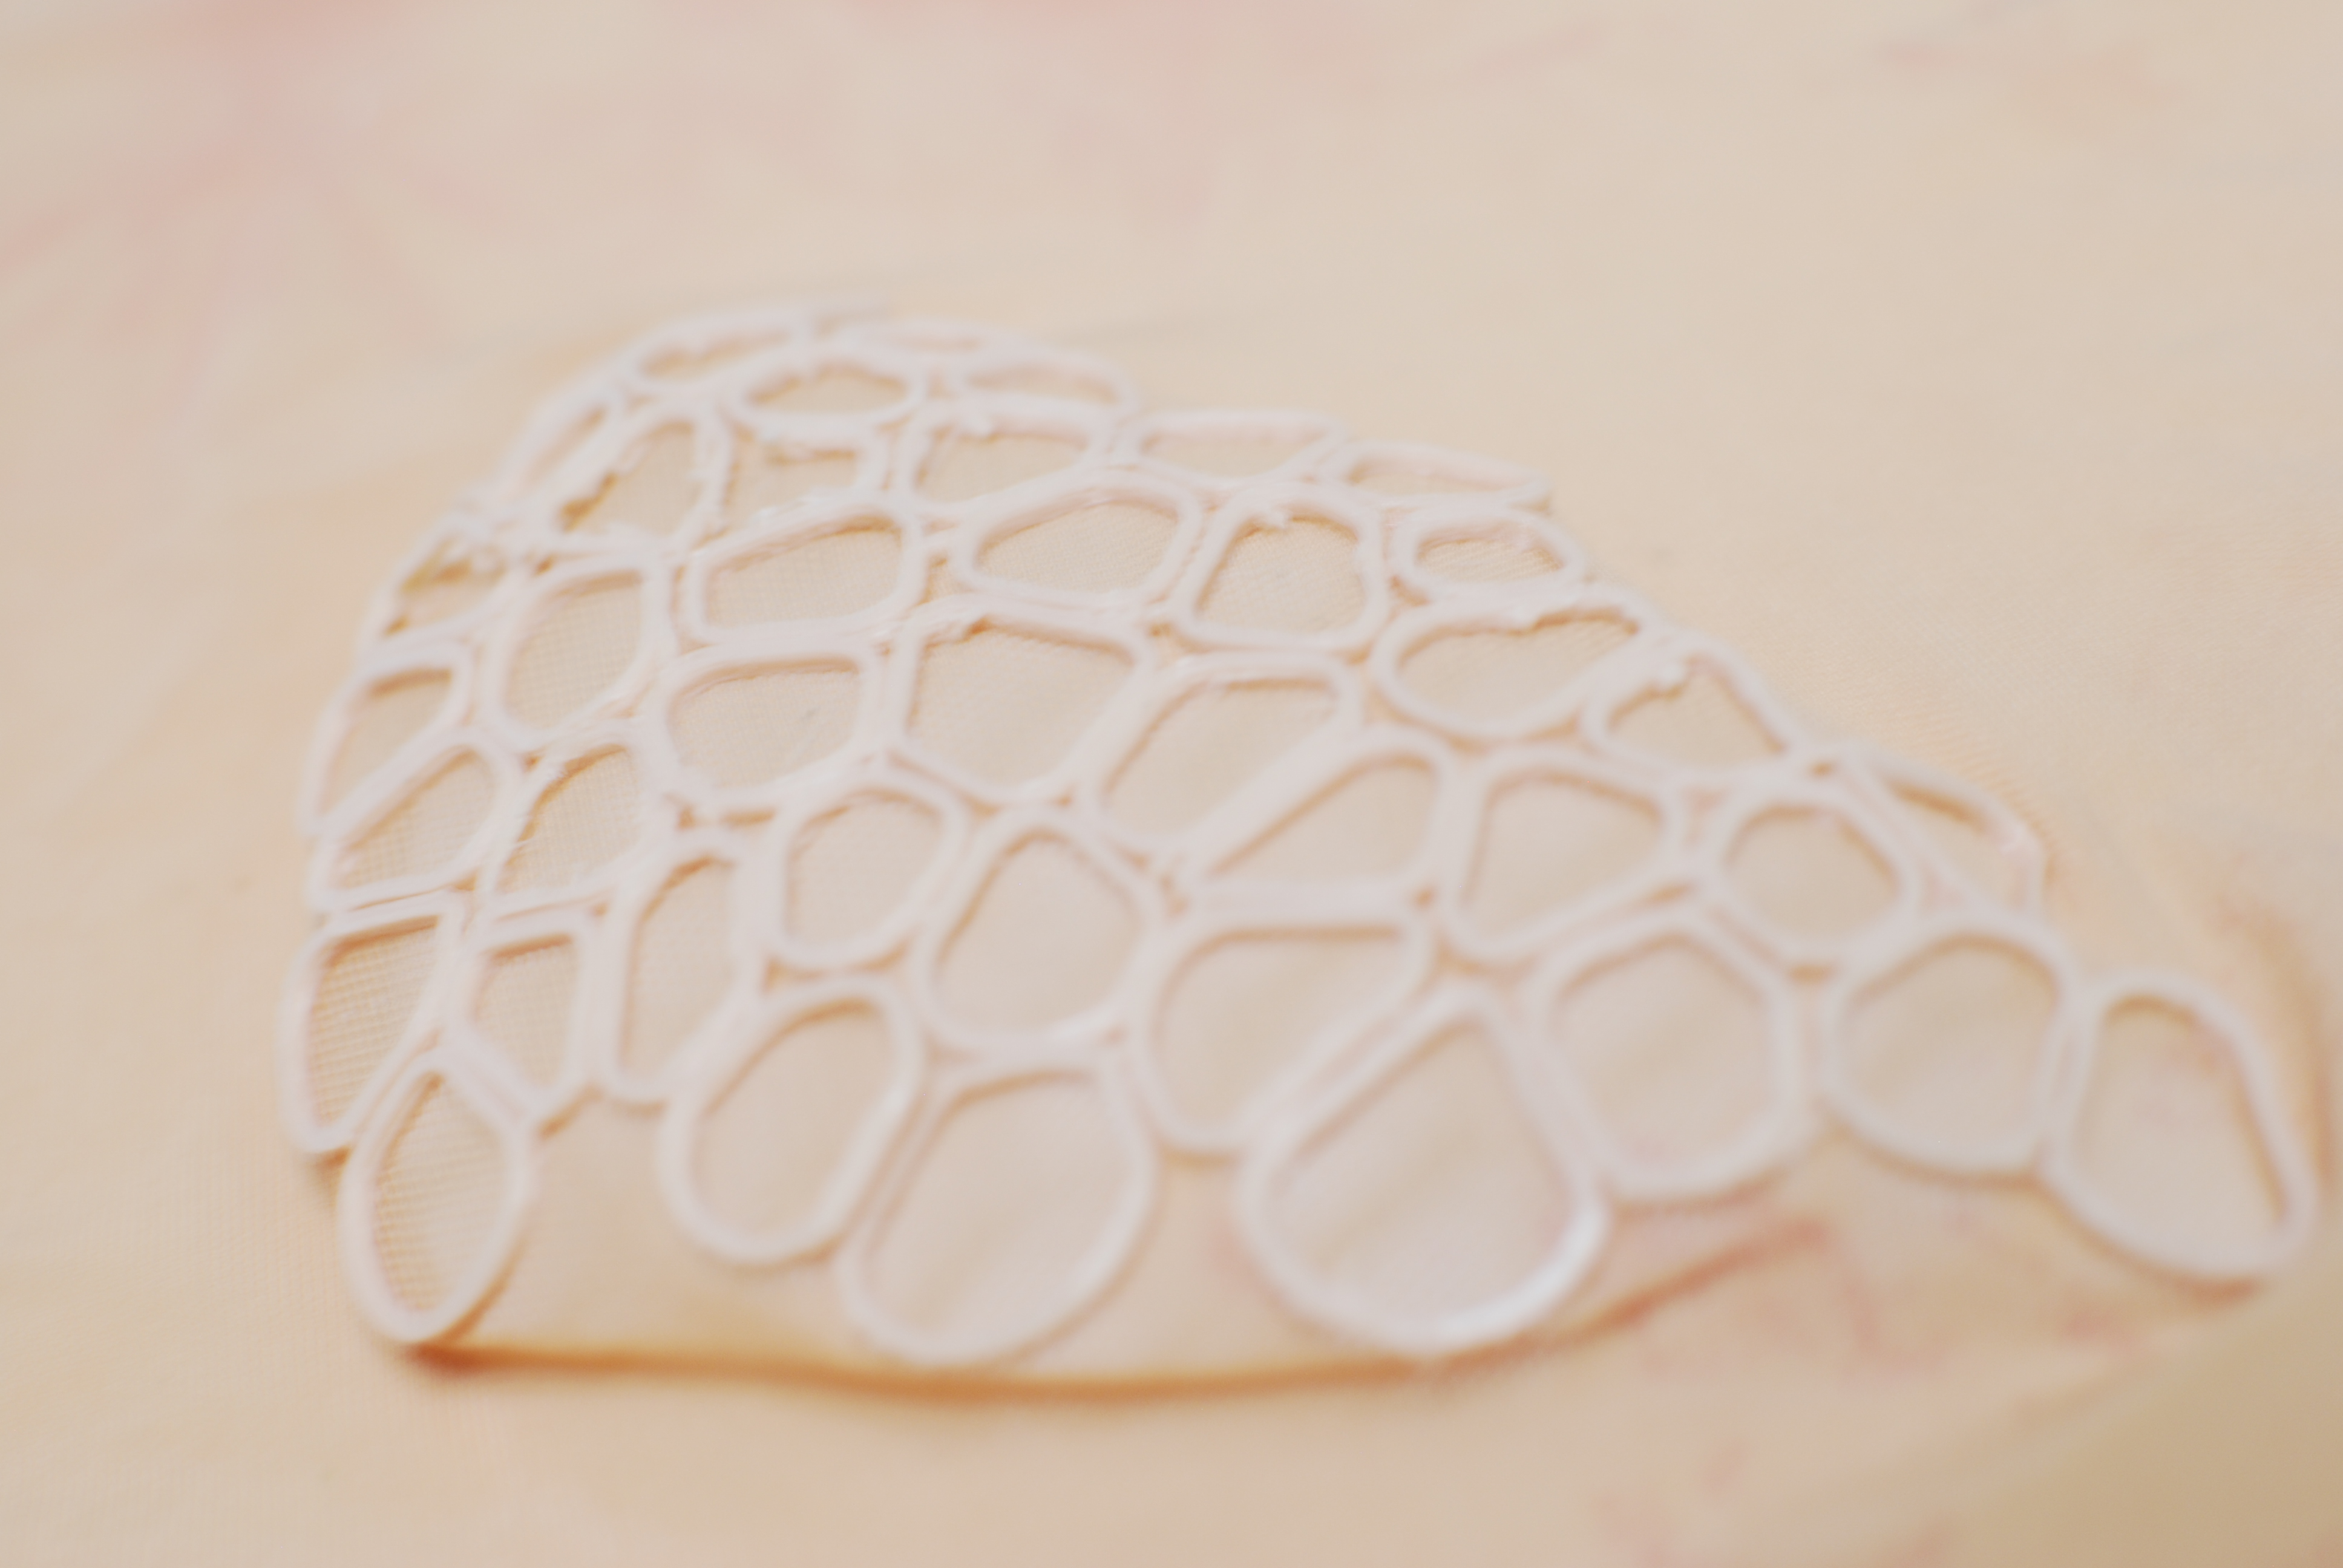
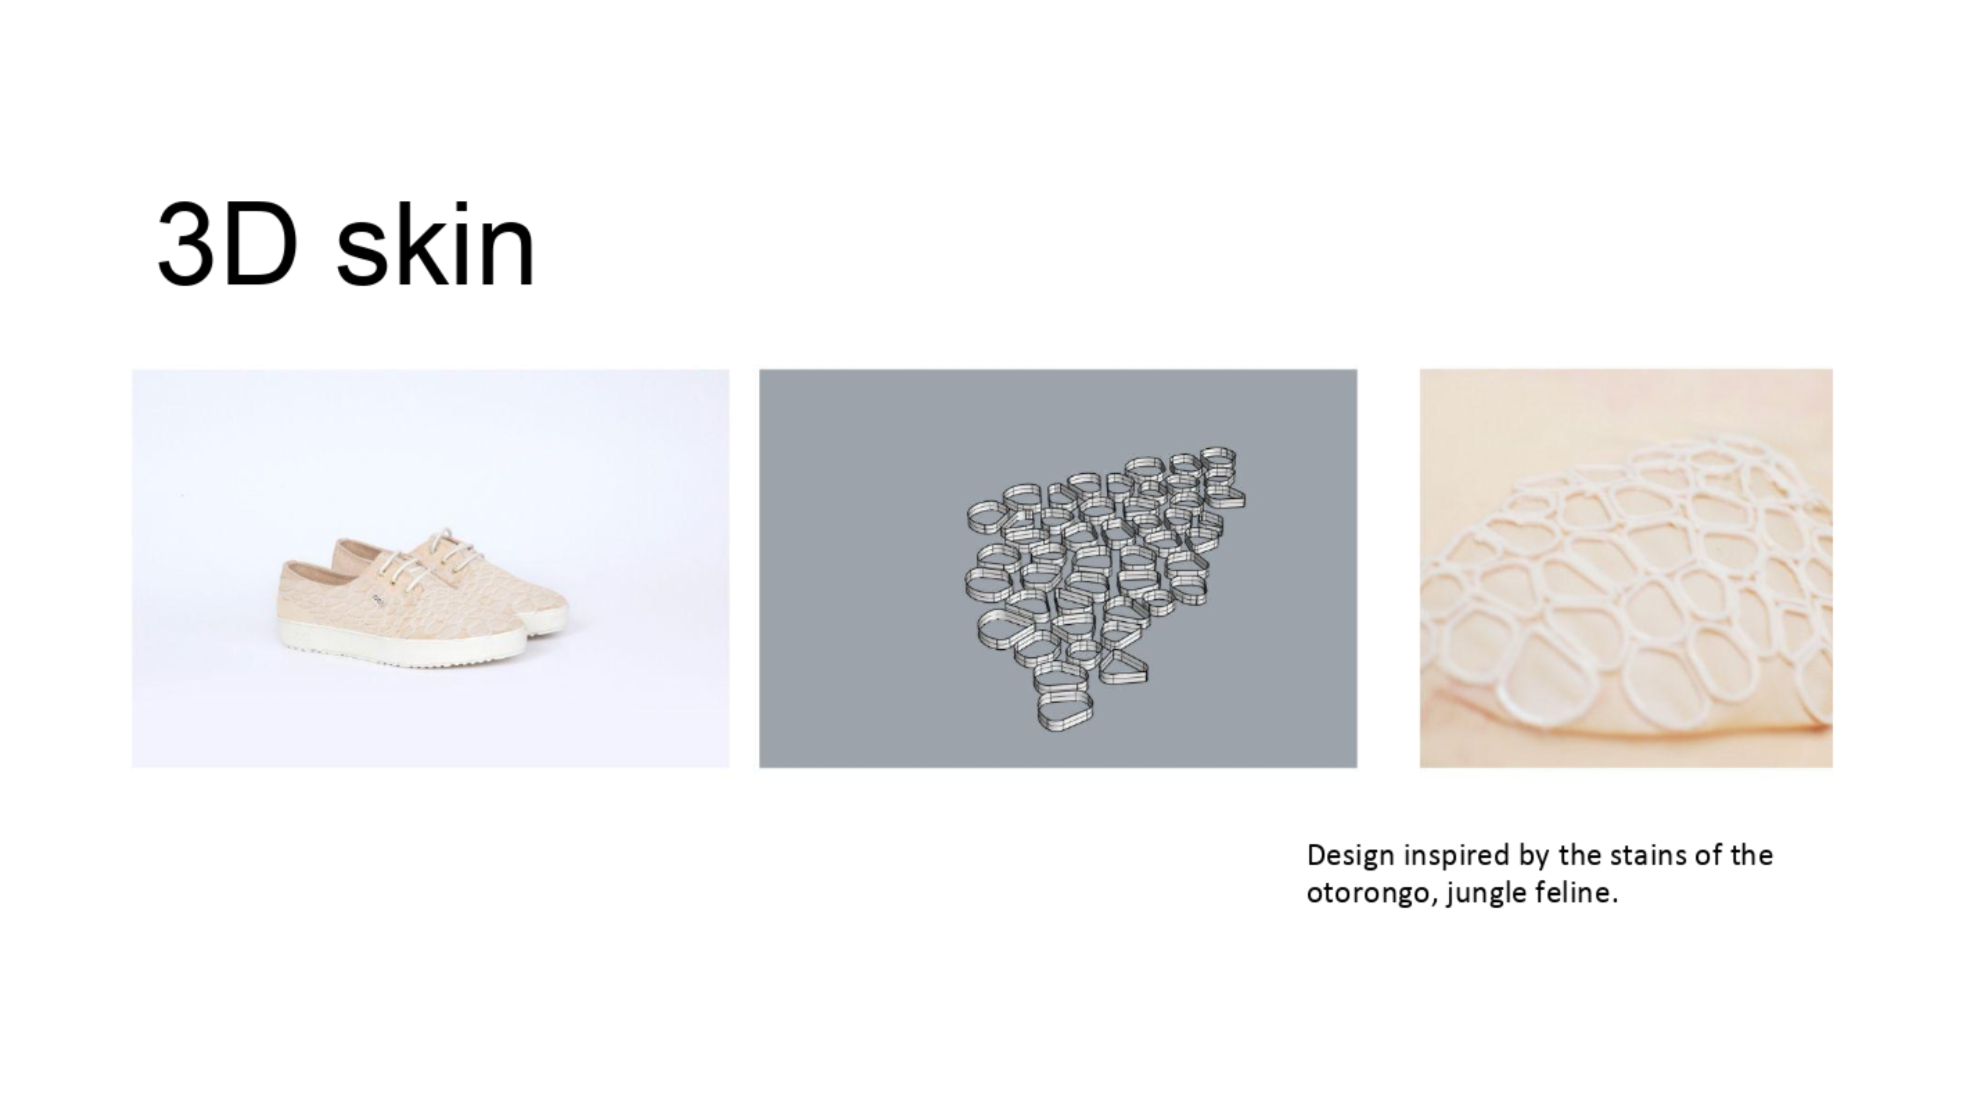
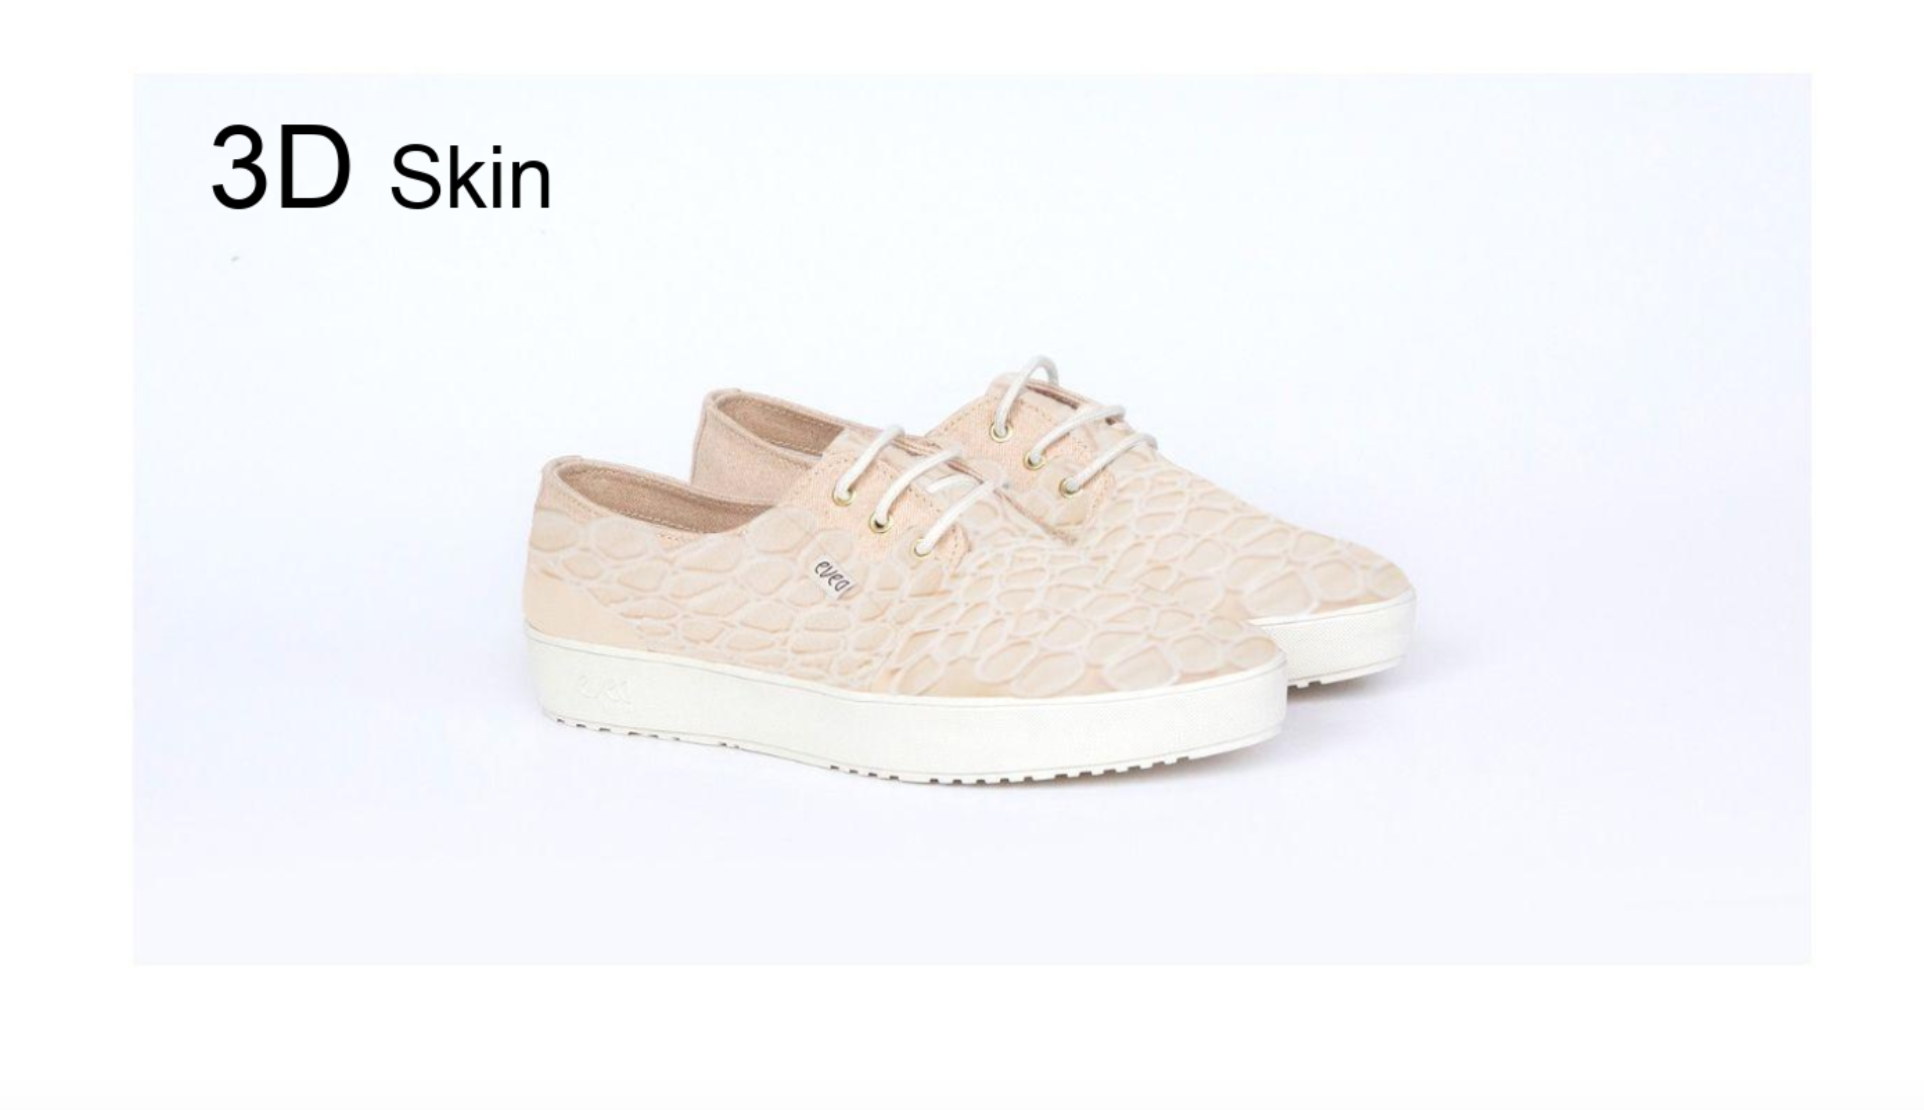
For printing in the 3d machine, I decided to choose a synthethic fabric (melon color) for a better stick of the PLA Filaflex and to stretch it and achieve a shape between design and fabric. With a height of 0.5cm for a better design exposure.
Parameters
Infill: 70% Temperature: 220 ºC Speed of extruding: 80 mm/s
How I used it in my final project
3D Printing
For this assigment we need to printed on fabrics, was a good challenge to find a design, using rhinoceros and grasshopper, that is aesthetically beautiful and that will work for printing on fabric and create a shape of its own when printed.