5. E-Textiles and Wearables I
ASSIGNMENT
- Build at least one digital and one analogue soft sensors, using different materials and techniques. √
- Document the sensor project as well as the readings got using the AnalogRead of Arduino √
- Integrate the two soft sensors into one or two textile swatches using hard soft connections √
- Document the circuit and it's schematic √
- Document your swatches √
- Upload a small video of the swatches functioning √
- EXTRA POINT Integrate the swatch into a project
How will it be evaluated?
- References : tutorial , links, ideas
- Design : program your arduino sketch , design your circuit and schematic
- Fabrication : craft your soft sensors
- Documentation : Anyone can go through the process and understand
- Final outcome : Is the project assembled, functioning and complete
- Originality - Aesthetics : Has the design been thought through and elaborated
Research
I studied Fabacademy on 2016 where I have learned a lot of useful skills for this fabricademy assignment. On this process we have learn how to program PCB boards even from CMD. Now I’m instructing FabAcademy from 5 years. Textile Circuits impressed me a lot; I have never imagined the capabilities that textiles could bring to PCB possibilities.
Useful links
Workflow
- Build digital and analogue soft sensors
- Integrate sensors into swatches using hard and soft connections
- video of the swatches functioning
Integrate sensors into swatches using hard and soft connections
For this assignment I came up with the idea of making everything modular (as FABRI-LEGO) and I proposed to my Fabricademy classmates to make a brainstorming that find a logic solution to this idea. I took us around 3 hours to find a nice pin distribution to make our LEGO completely modular with the capability of share pins with other FABRI-LEGO pieces as a tessellation without losing connectivity or power.
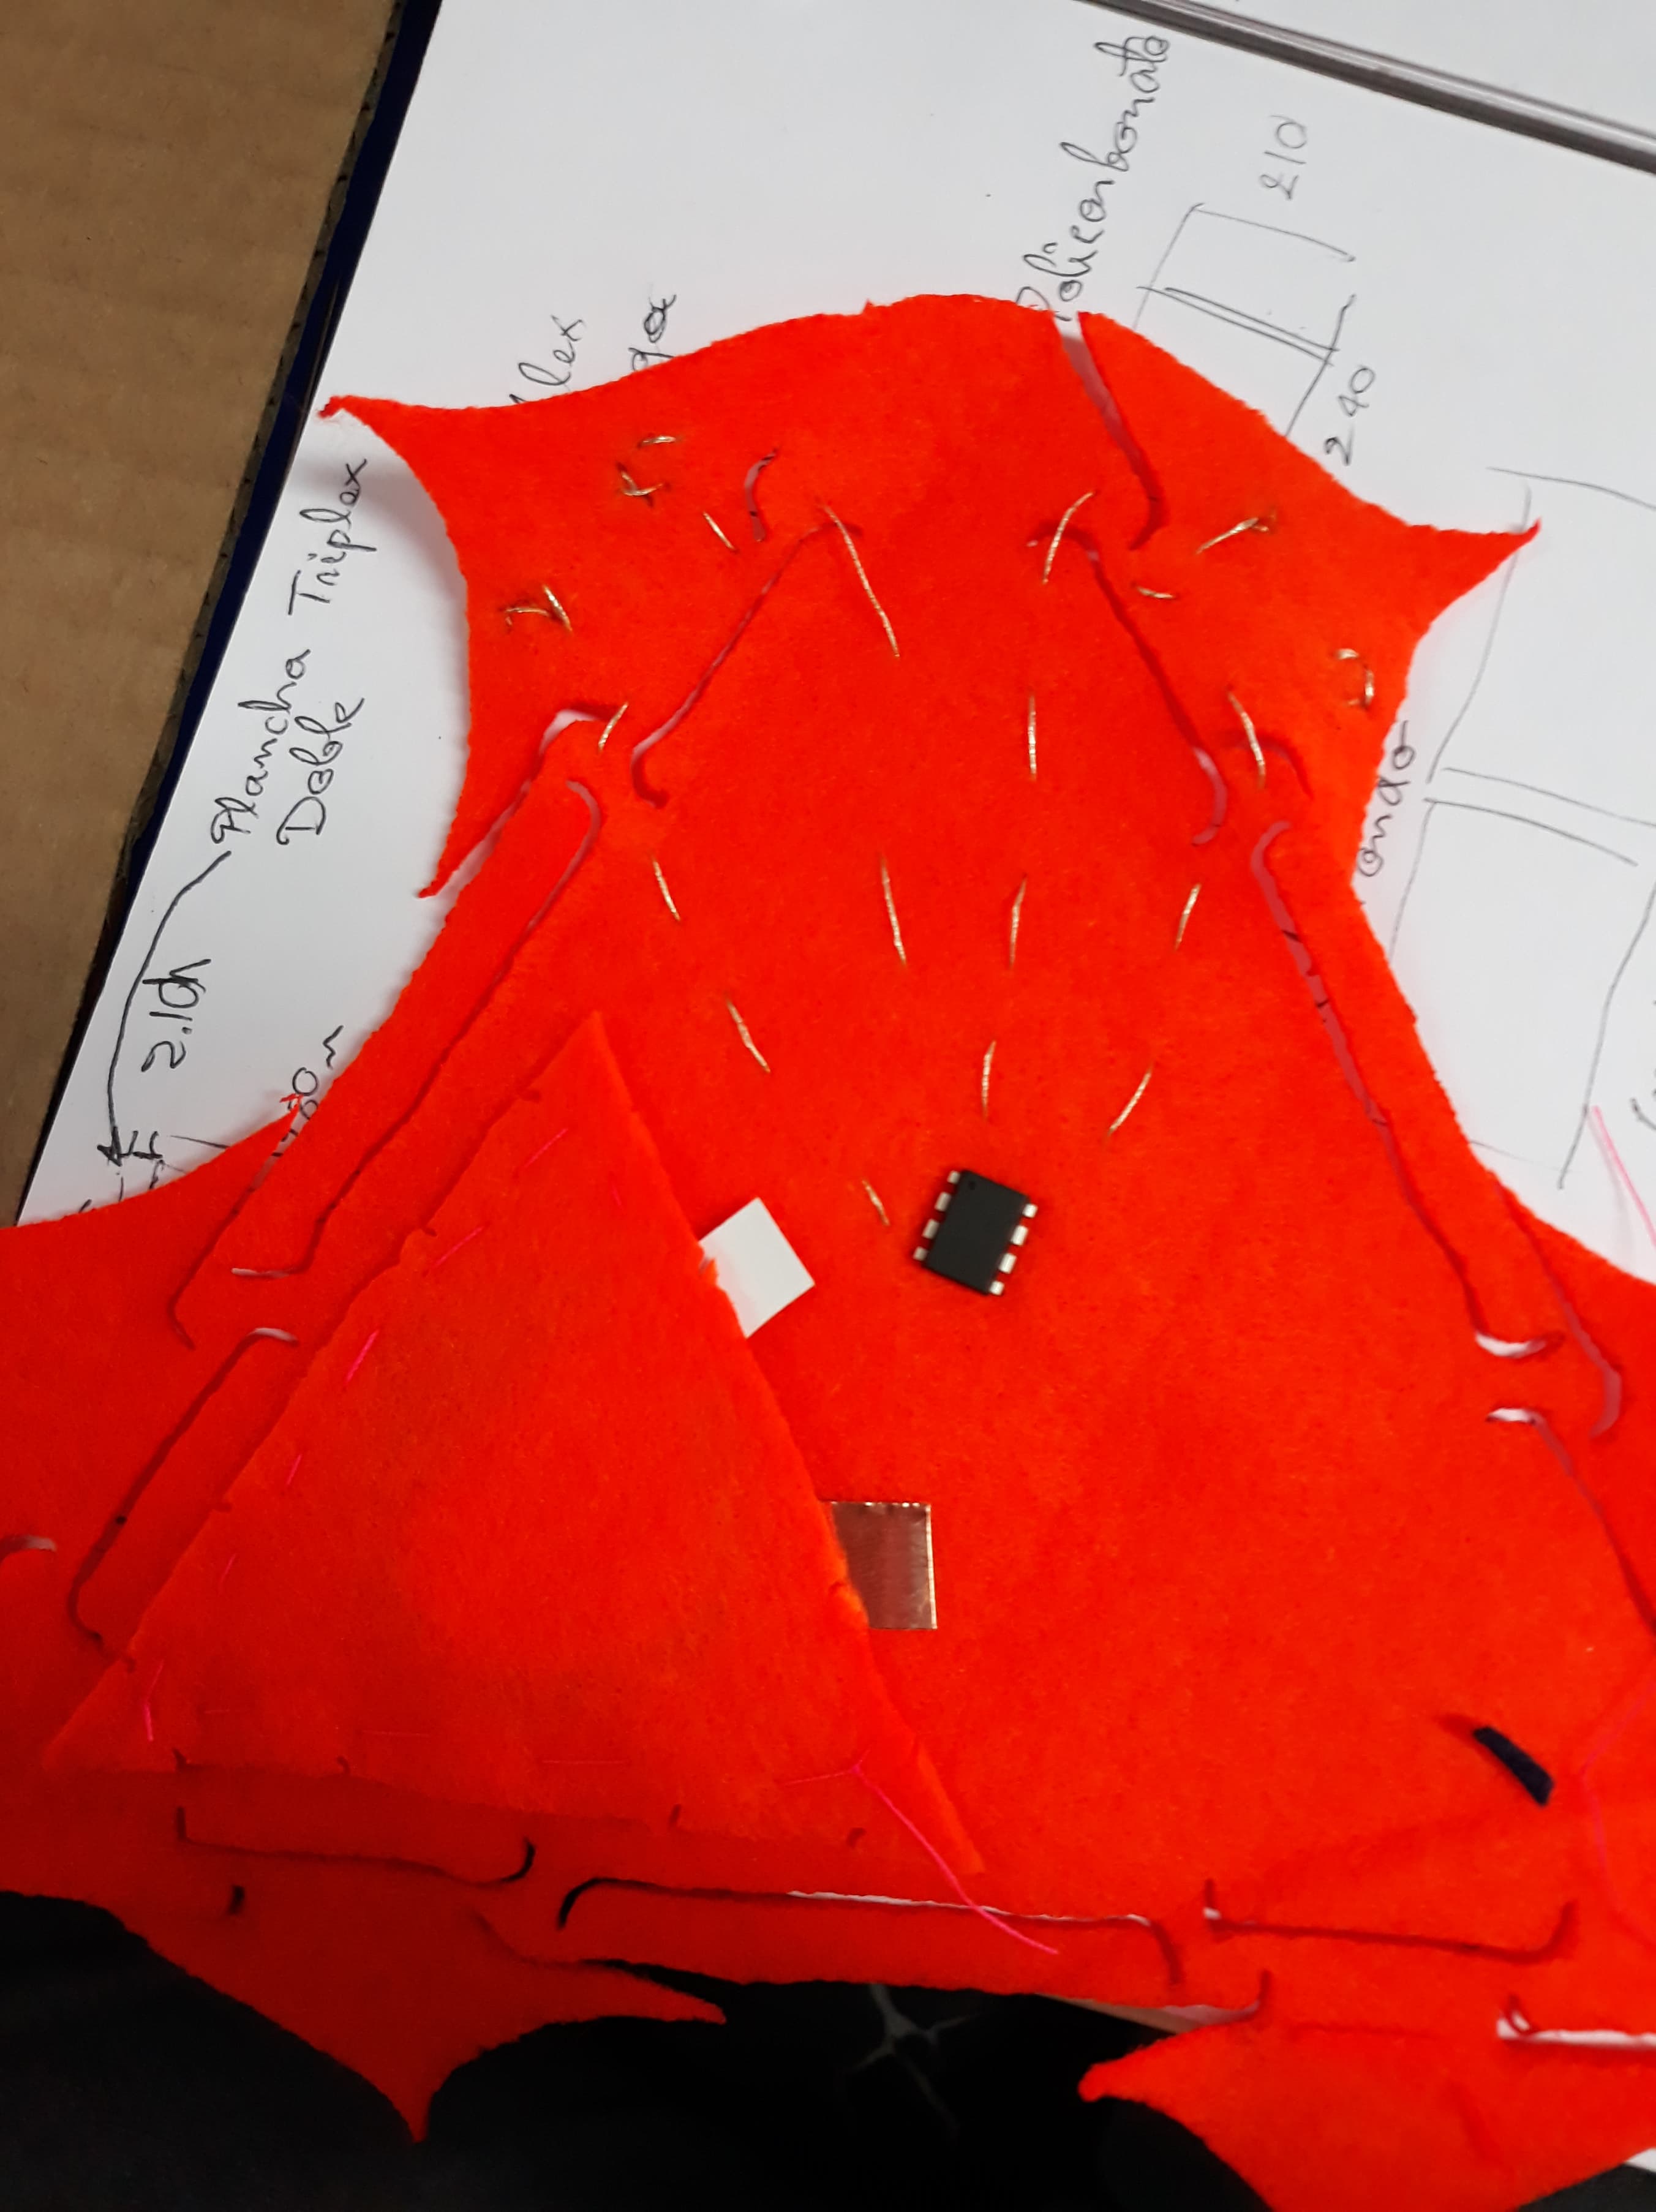
We decide to use the same Fractal modules I design from Open Circular Fashion assignment. As you may see on next photo there is a sketch that explain how FABRI-LEGO modules can join between them.
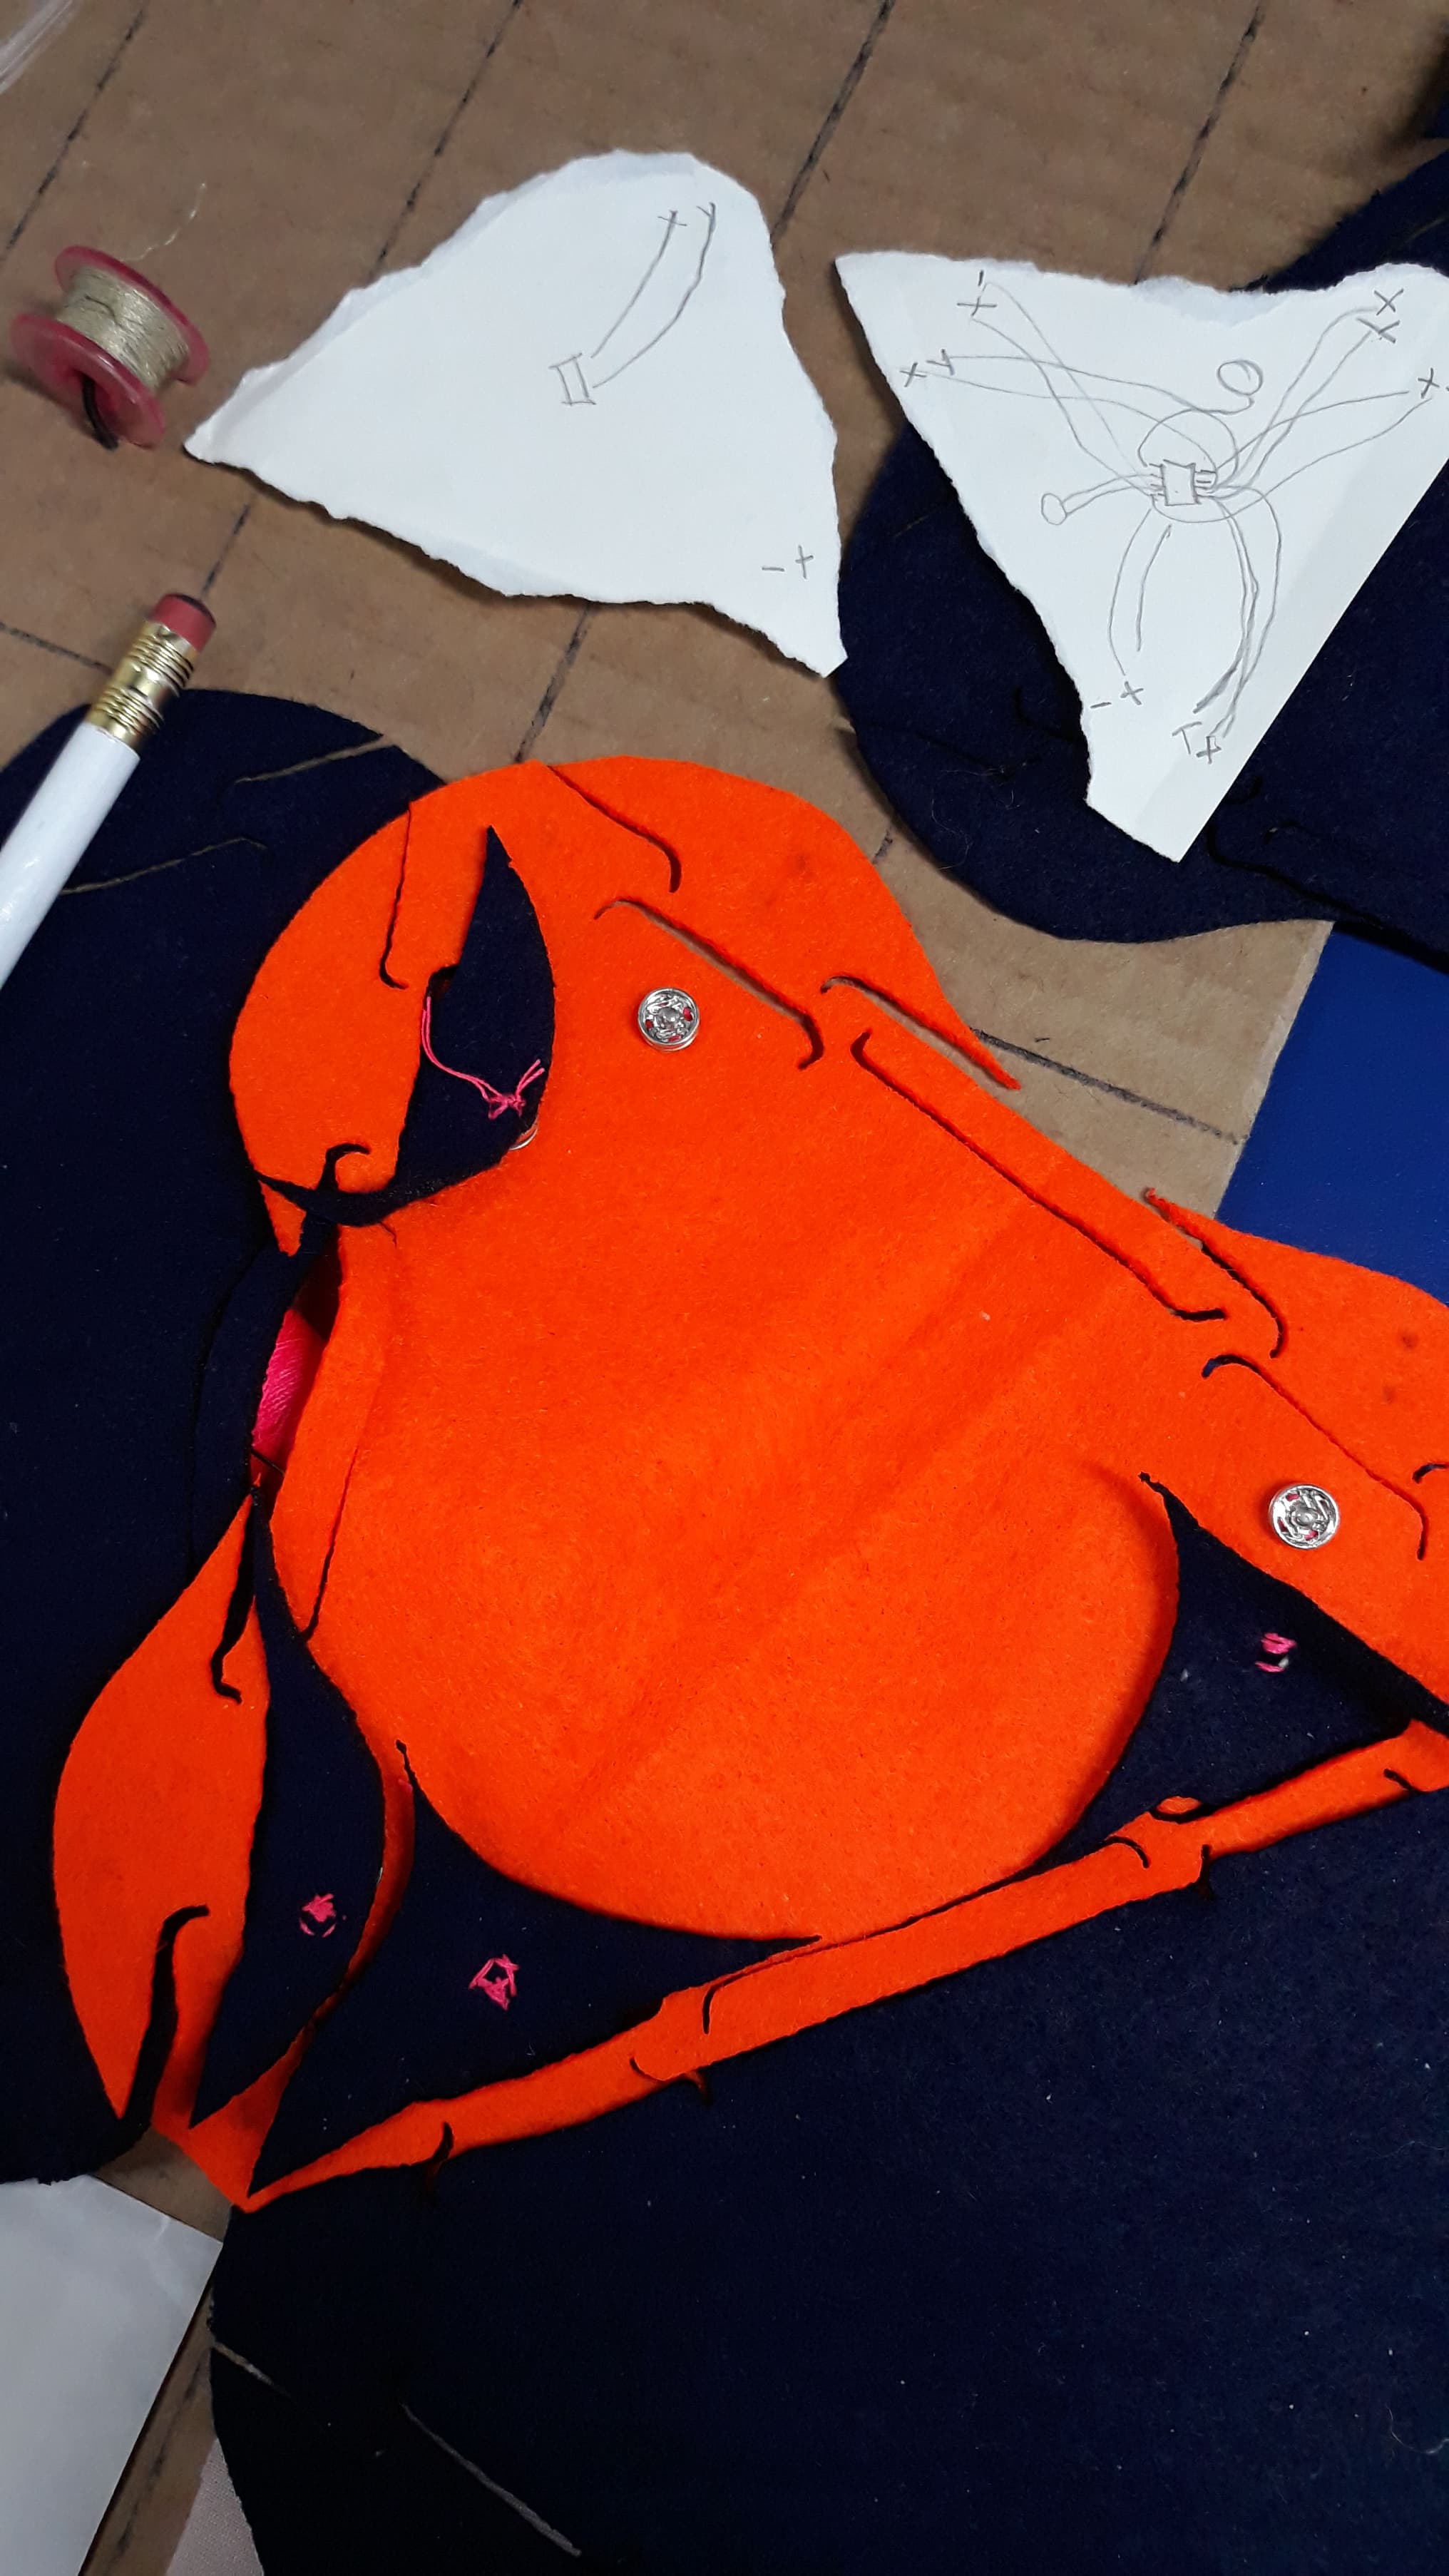
It is a simple concept triangles has 3 sides, each line will be able to connect other triangle with power (VCC, GND) and communication (SDA,SCL). We decided to use an ATTiny 85 to make modules as minimal as possible liberating other pins to do many different conections.
This effort looks to contribute Fabricademy. As in Fabacademy students do they own board to program other boards, in Fabricademy they could make them FABRI-LEGO to test sensors and actuators instead of making a lot of random swatches and using arduino with bread board. FABRI-LEGO could be a standardized system that allow students develop, share and connect them swatches with the same protocols and programming.
Build digital and analogue soft sensors
For this exercise each Fabricademy student selected a different soft sensor in order to have as group the experience with 6 sensors. In my case I selected a Pressure sensor and a Knit sensor.
Digital sensor - Pressure
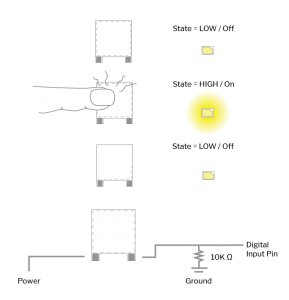
I have followed Liza Stark web to design and build my pressure sensor. In this case the sensor has been designed to be a reset bottom.
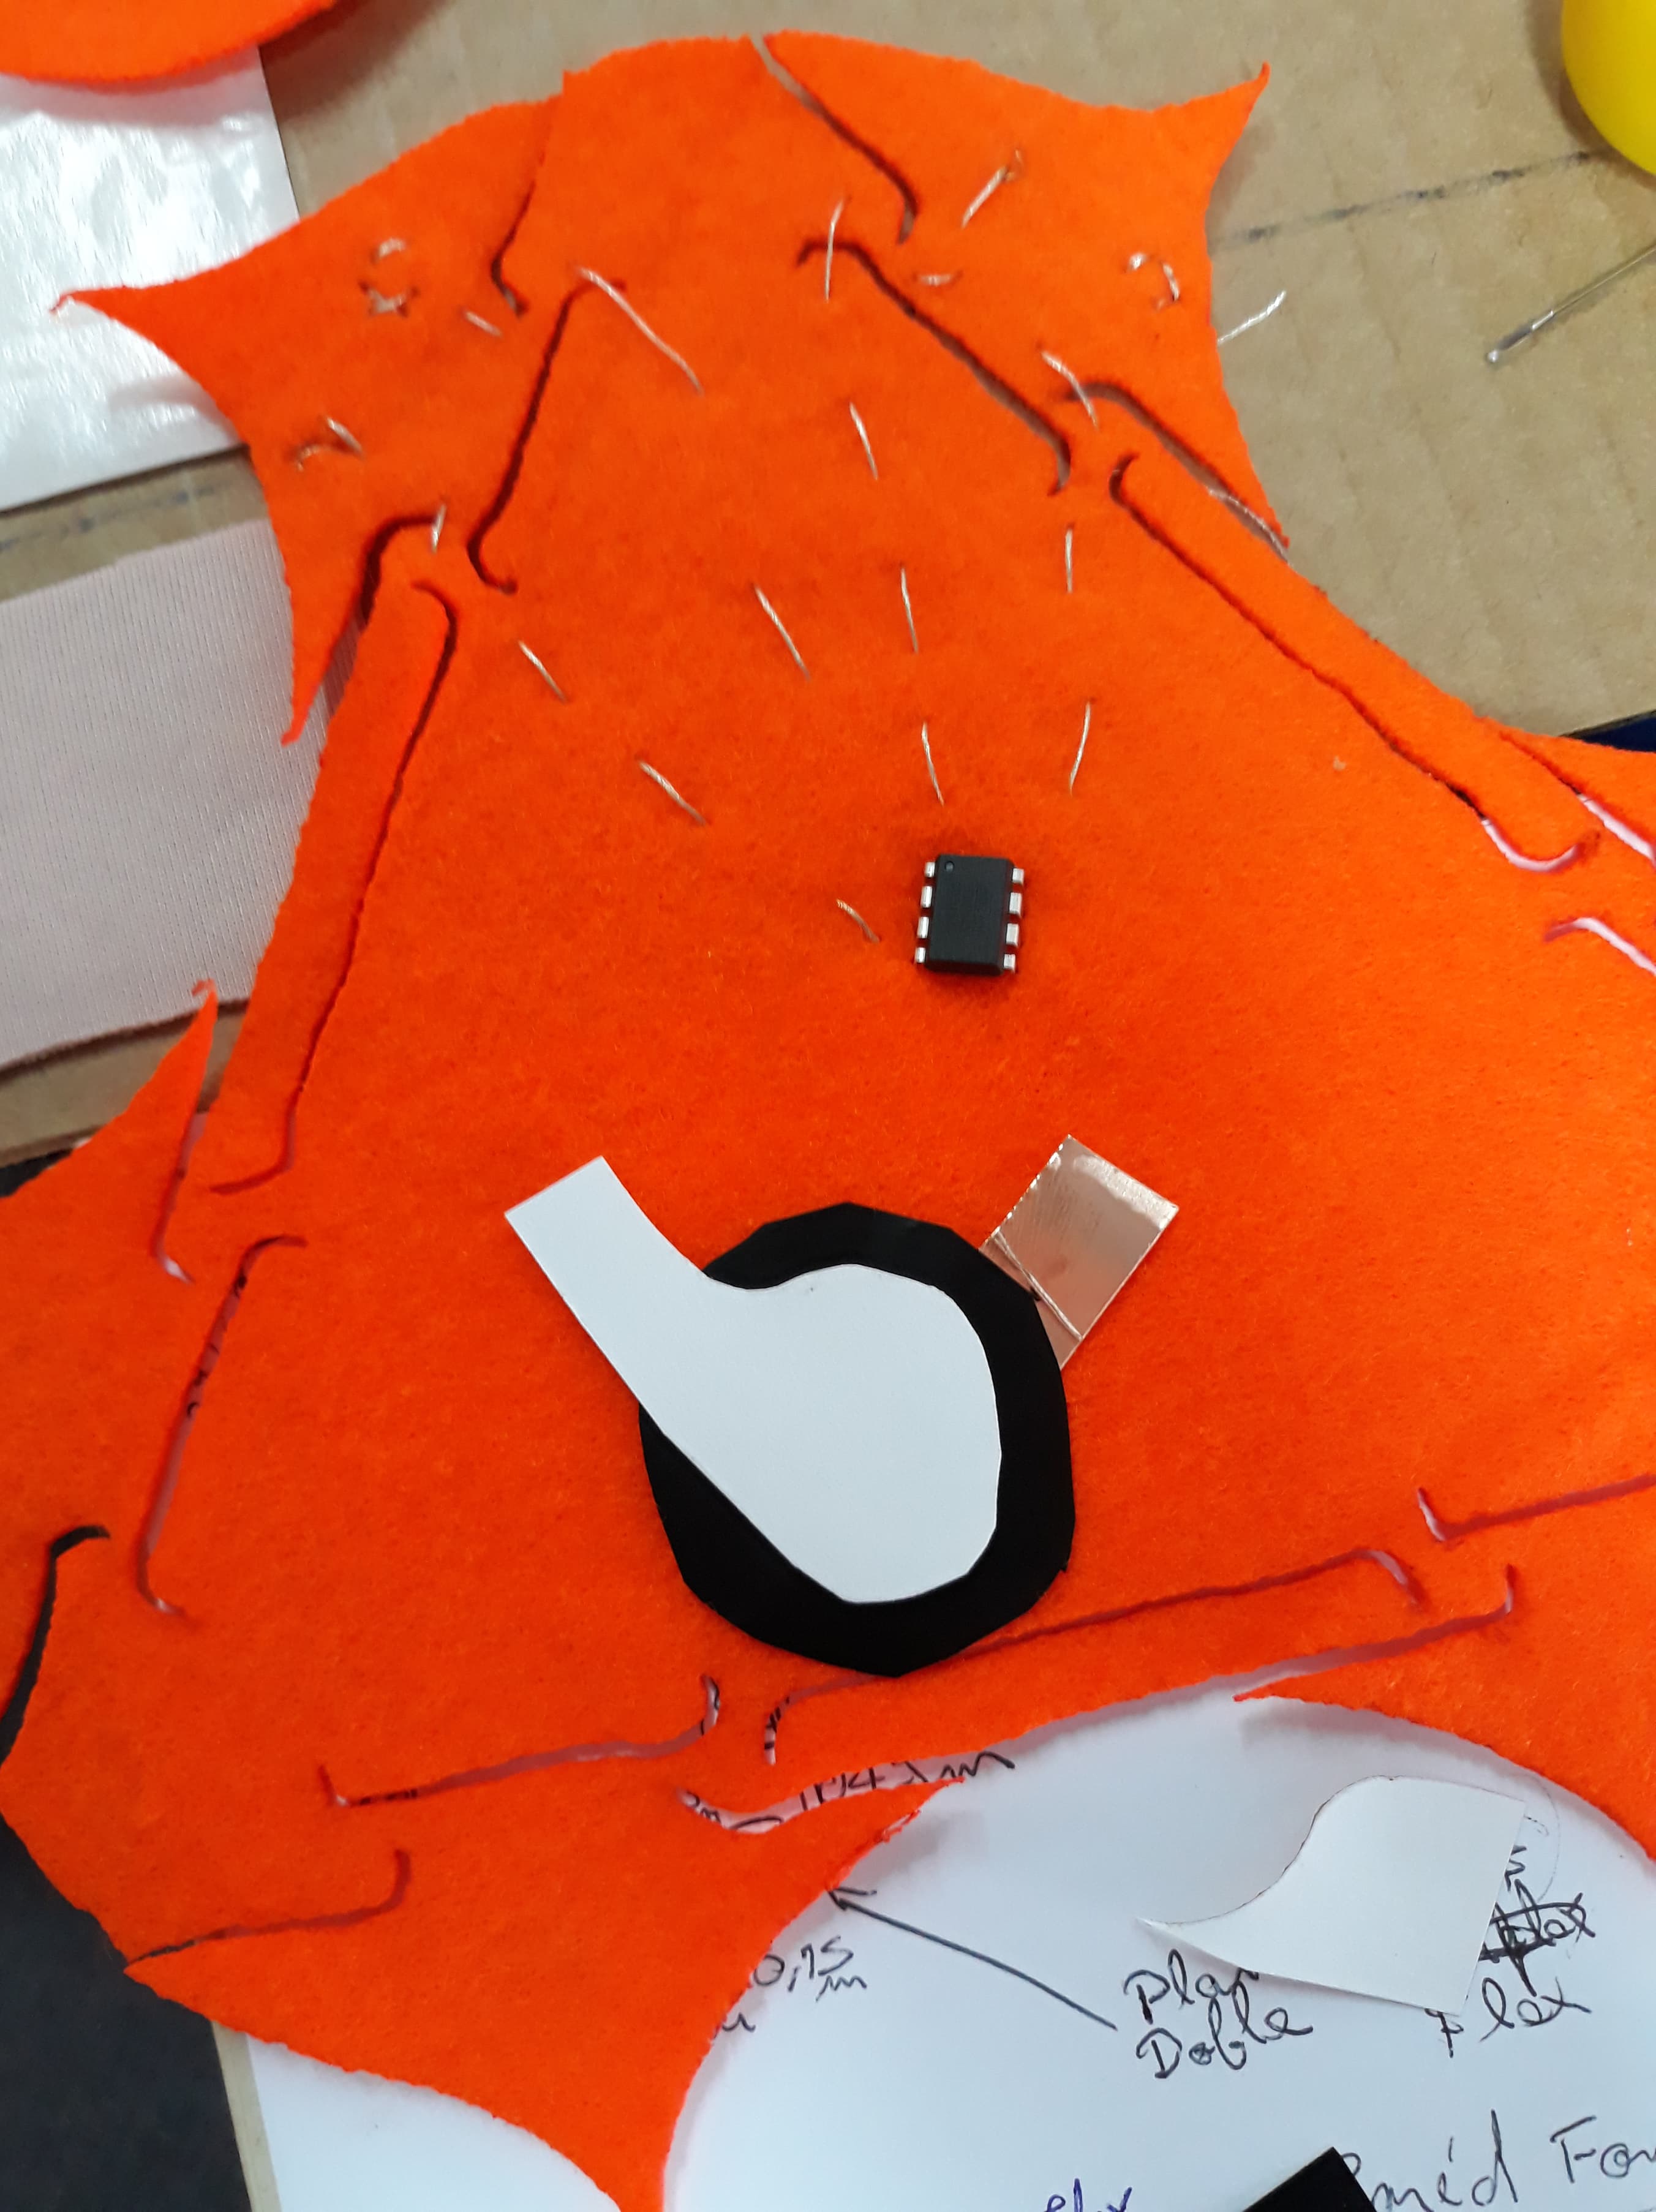
I have used Velostat material, two sheets of flexible cupper tape, and felt to make a pocket to enclose the entire sandwich.
As you may see in the next gif displayed the pressure sensor works. I have made a conductivity test just pressuring it. Multimeter displays some values when it finds conductivity.
You will see this sensor working on real-time and pull-up connection in the second part of this assignment.
Analogue sensor - Knit
When I see for first time Knit sensor in Liza Stark web for me it was a little bit magical. Sincerely as designer and FabAcademy instructor this fabric technology blows my mind. I really enjoy the manipulation factor that you can have around electronics with these materials.
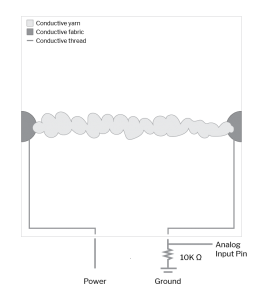
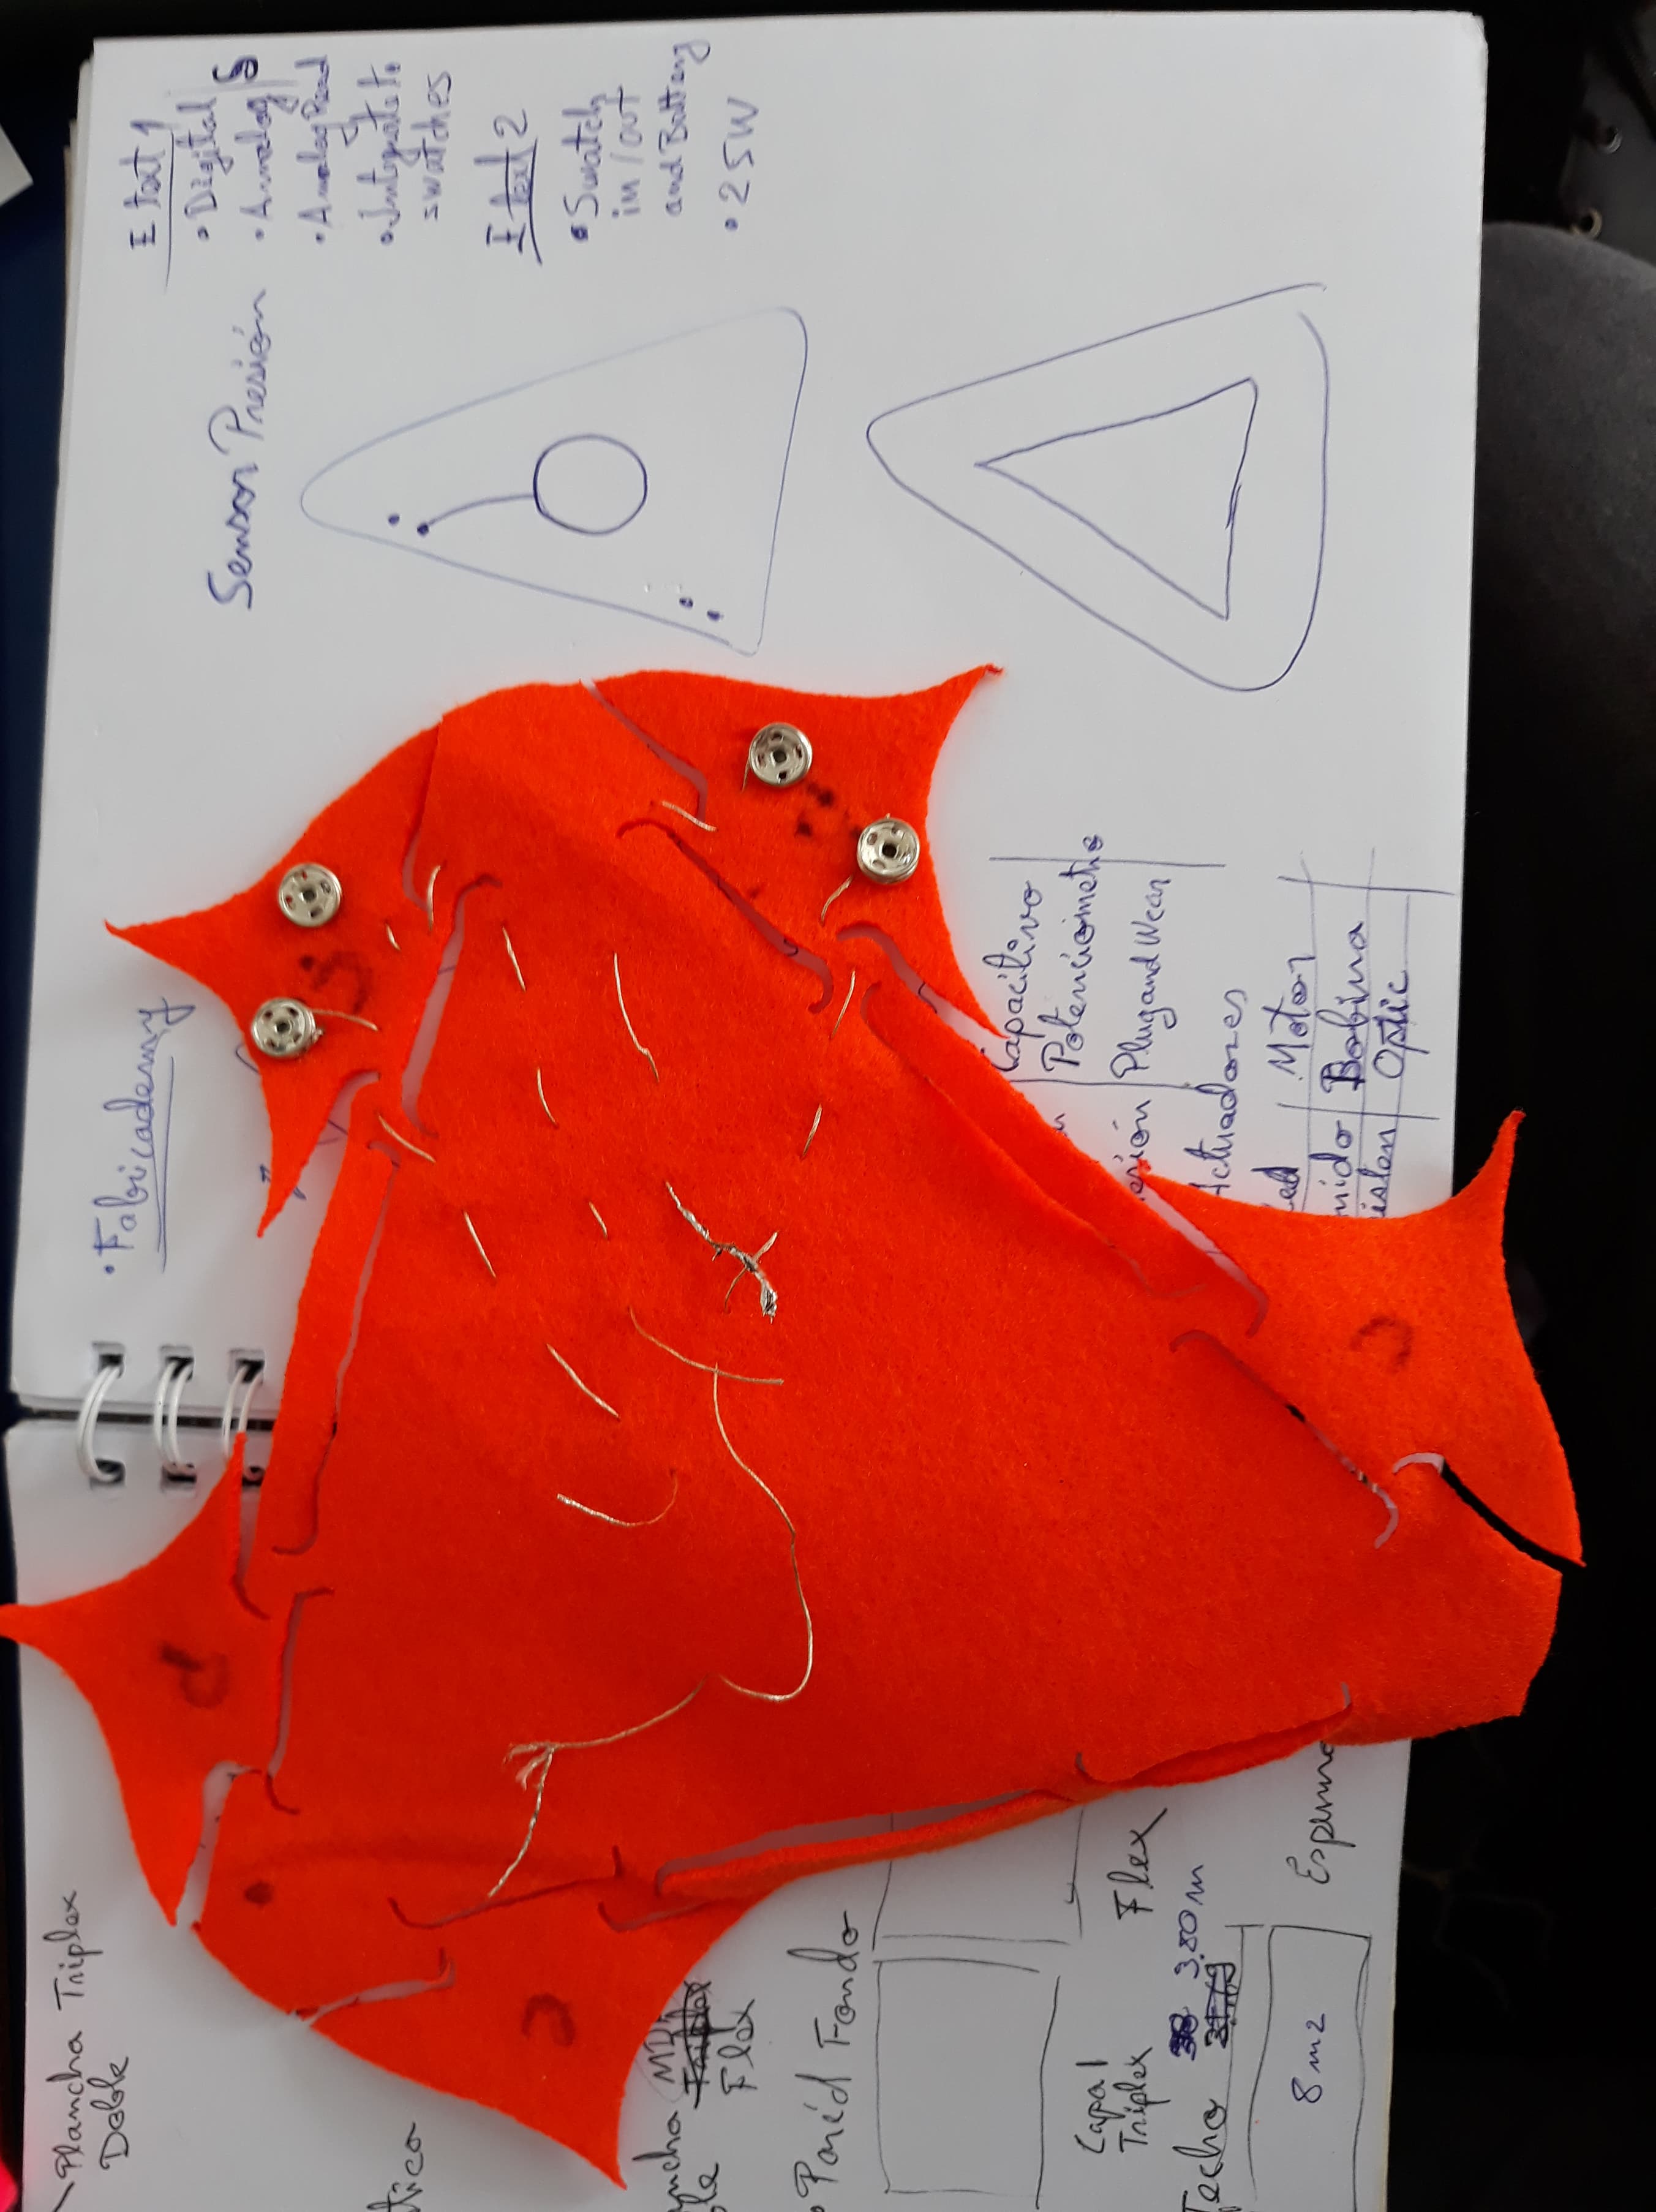
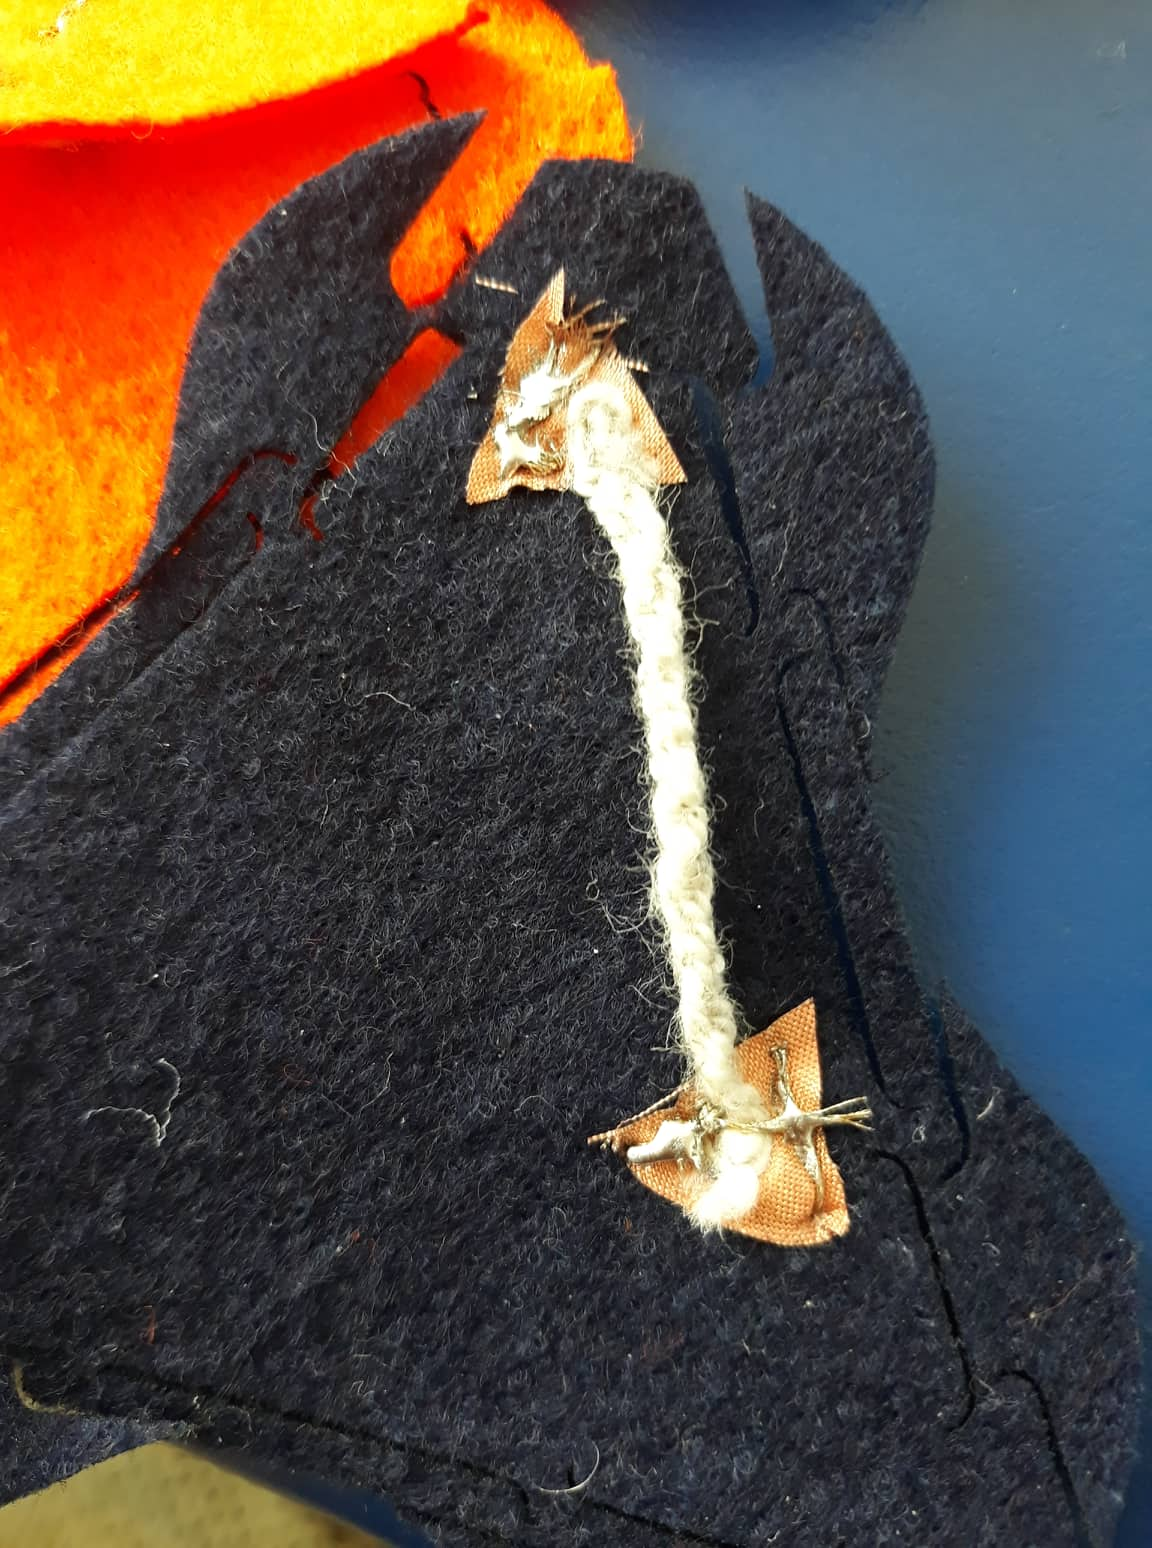
For this sensor I decide to use modular swatch mode that FABRI-LEGO has and make a speared and scaled swatch to join to my main FABRI-LEGO swatch. In next photography you may see how I solve resistor connection that Liza detailed on her documentation.
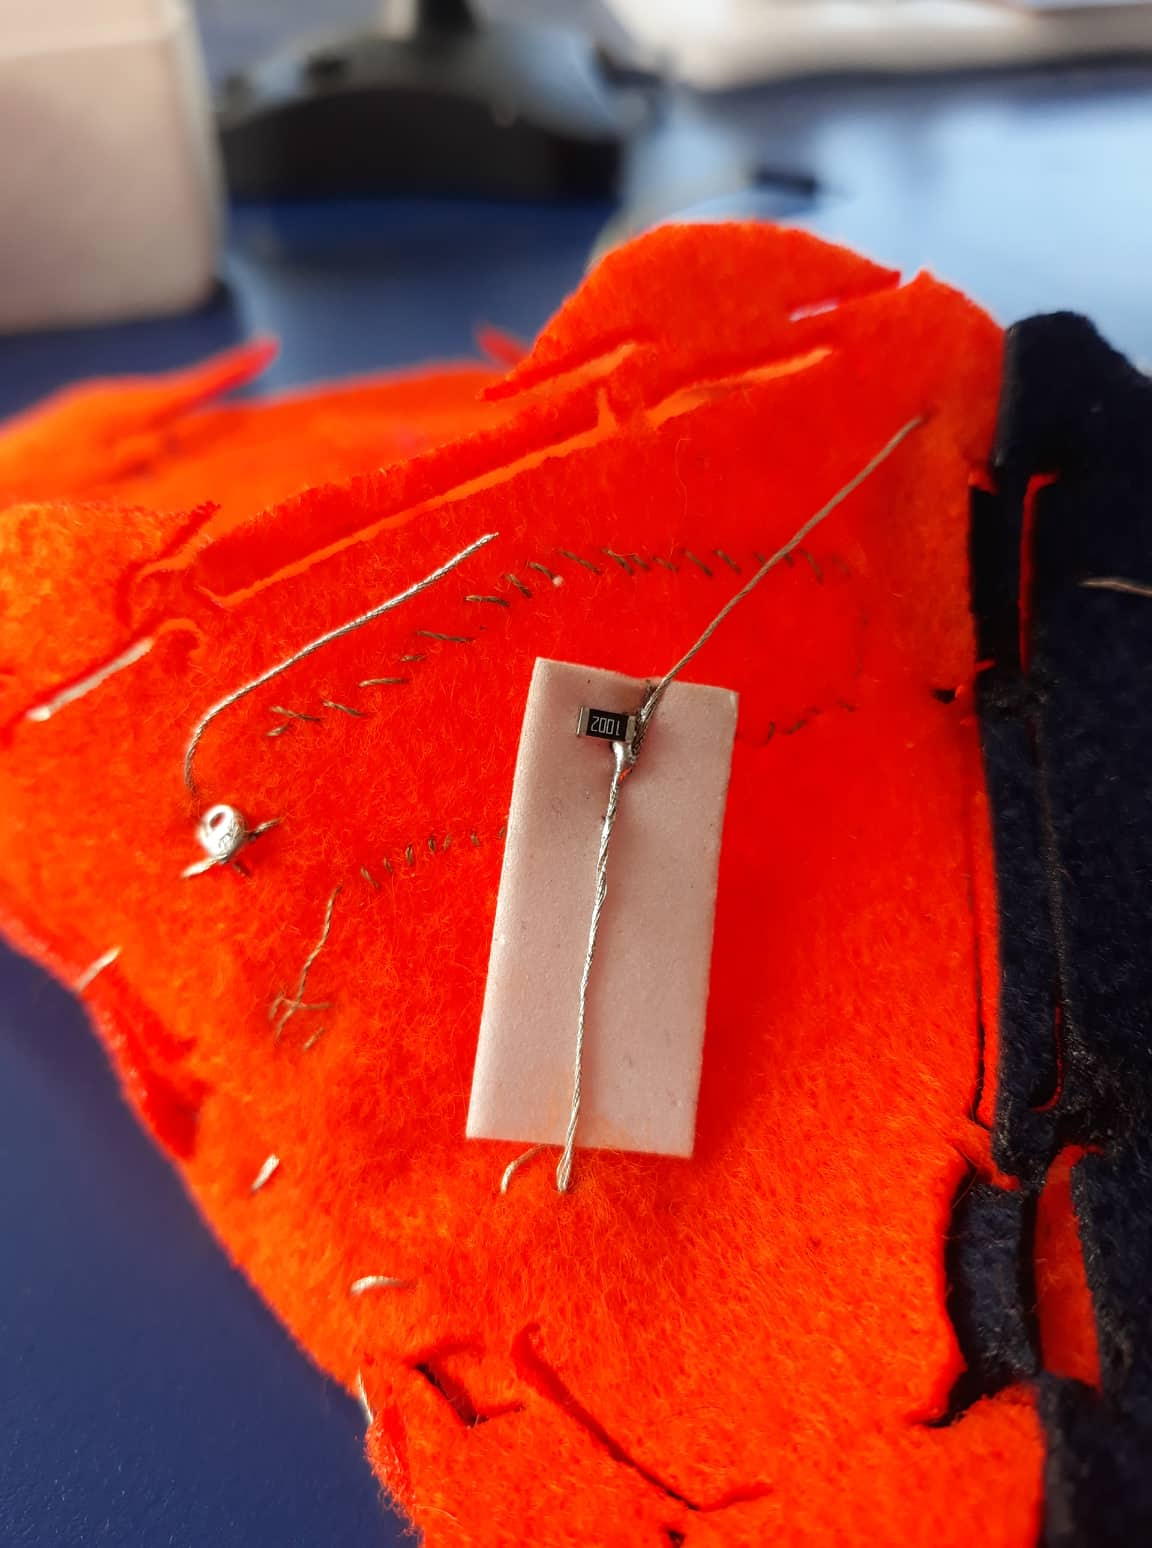
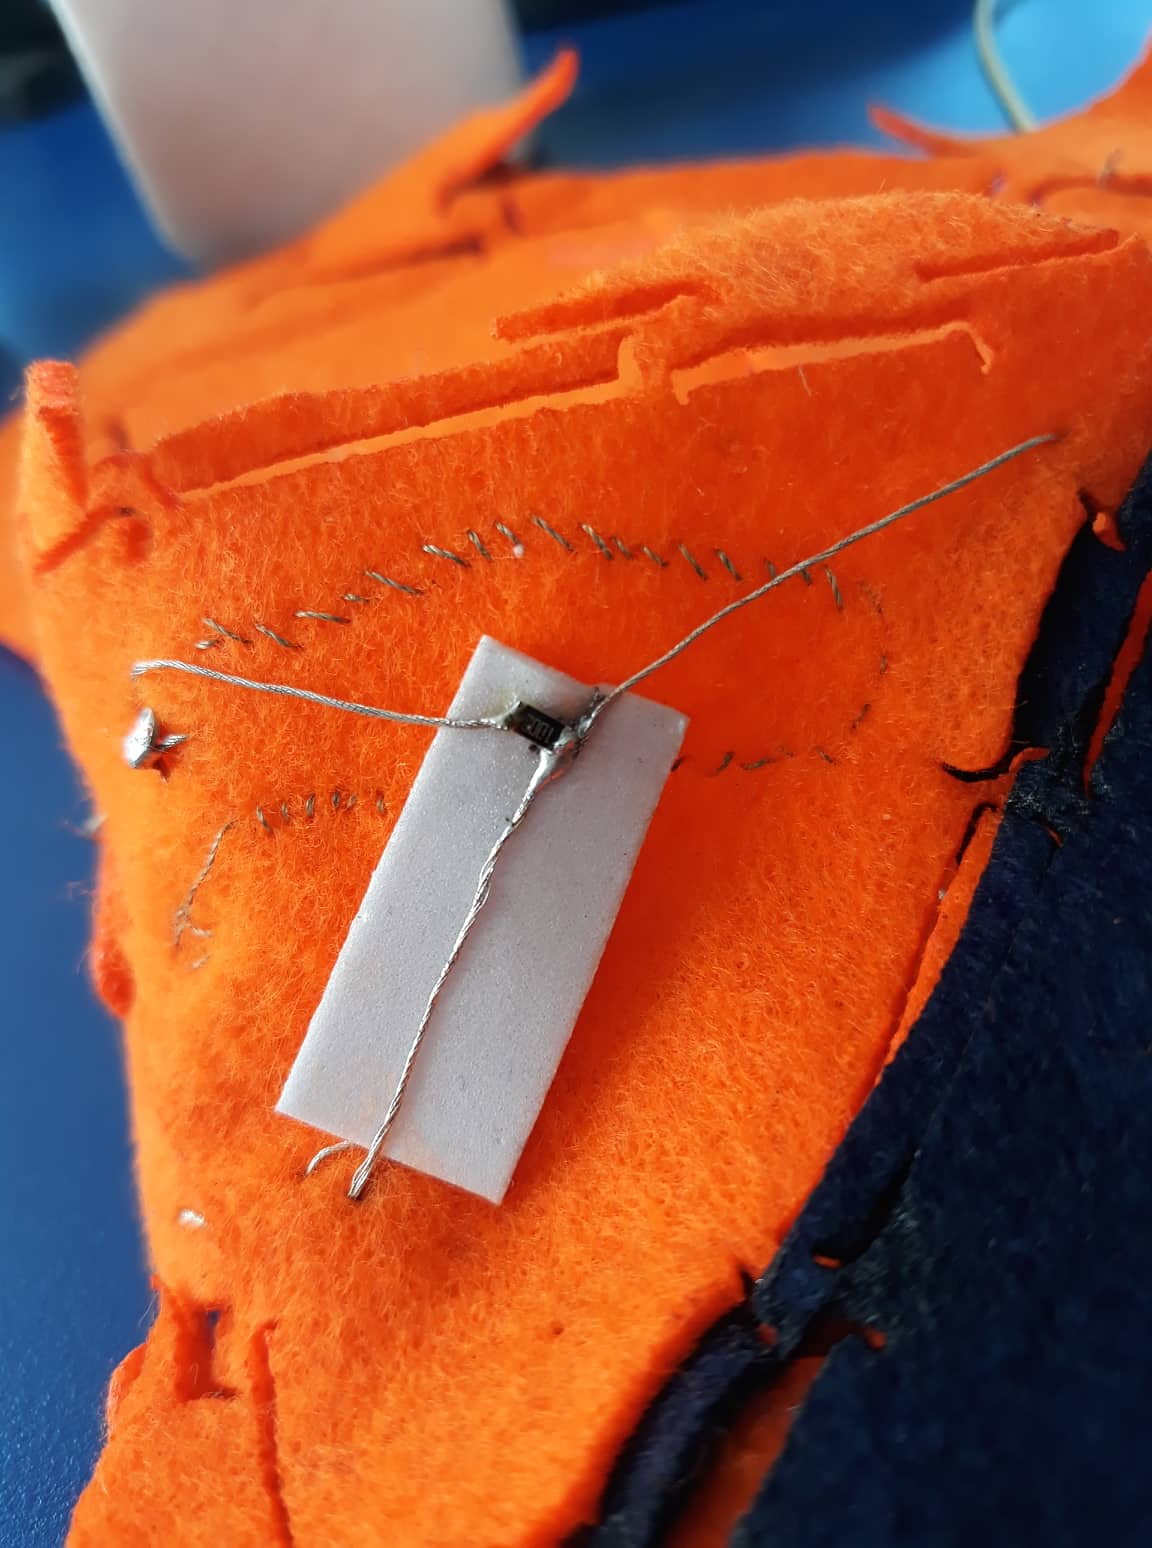
Here you may find the scaled fractal swatch and how I solder it.
You can keep following the process on second part of this assignment.
Conclusions
I did not find necessary to do Arduino analog read part, my time doing fabricademy is really limited and I prefer to invest that time improving FABRI-LEGO to contribute more to the community.
Also I am impressed about the proprieties of the materials used to this propose when you fold them, stretch, etc. It is very interactive.