12. Soft robotics
This week I worked on defining my final project idea and started to getting used to the documentation process.
Assignment
- Document the concept, sketches, references also to artistic and scientific publications √
- Make a soft robotic sample, develop the pattern for the Inflatable and draw a sketch of the air flow √
- Build a pneumatic wrist brace (basic level) or thermovynil sample √
- Build a Soft Gripper (intermediate level) or √
- Build and document a Pneumatic, digitally controlled system , electronics schematic, electronic control and code (advanced level) √
- Experiment with different materials, such as silicones, 3d printing, parchment paper, thermoadesive vynil, bioplastic , document your achievements and unexpected outcomes √
- Upload a small video of your inflatable working √
- EXTRA POINT Integrate it into a project √
How will it be evaluated
- References : tutorial , links, inspiration √
- Design : sketch , 2D and 3D modeling, Parametric modeling and electronic skills, simulation √
- Fabrication : Capable of executing from file to production workflow, molding and casting, vinylcutting, laser cutting √
- Documentation : Anyone can go through the process and understand √
- Final outcome : Is the project assembled, functioning and complete √
- Originality - Aesthetics : Has the design been thought through and elaborated √
Files and Links
Workflow
- Research
- Molding and casting
- Pneumatics
- Final result
Research
This week was one of the most attractive of Fabricademy for me. I have been making molds many years with silicone but I have never thought on inflate them. I have been seen some important advances on pneumatics. As example you have Festo company
Molding and Casting - Ecoflex
Adriana’s presentation was super interesting and she showed different techniques to make soft robotics. One of her slides showed a 3D printed mold to make a softrobotic in one piece. I decide to challenge myself to make a one piece softrobotic mold but on laser cutter. I think this technique is a nice solution for the short time of this assignment so I decided to call it Ice-cream softrobotic technique”.
ICST workflow
1.- Design your object in 2D
2.- Pay attention in the graphic on the distribution of the lines above-right. That is the planning of how to collocate the acrylic. As you may see I am using 6 and 4 mm acrylic sheets.
3.- Paste your sheet on the wood stick. As in ice-cream there we have to left a piece as ice-cream wood stick. So this mold has two parts, the outline and the wood stick.
Outline Contain the rubber resin and has a hole to attach the wood stick
Wood stick Connects all the pieces and will let a space to air to enter and inflate all spaces in the mold before curing
4.- You pour the rubber resin (Smooth-On EcoFlex in this sample) in your mold and wait until curated.
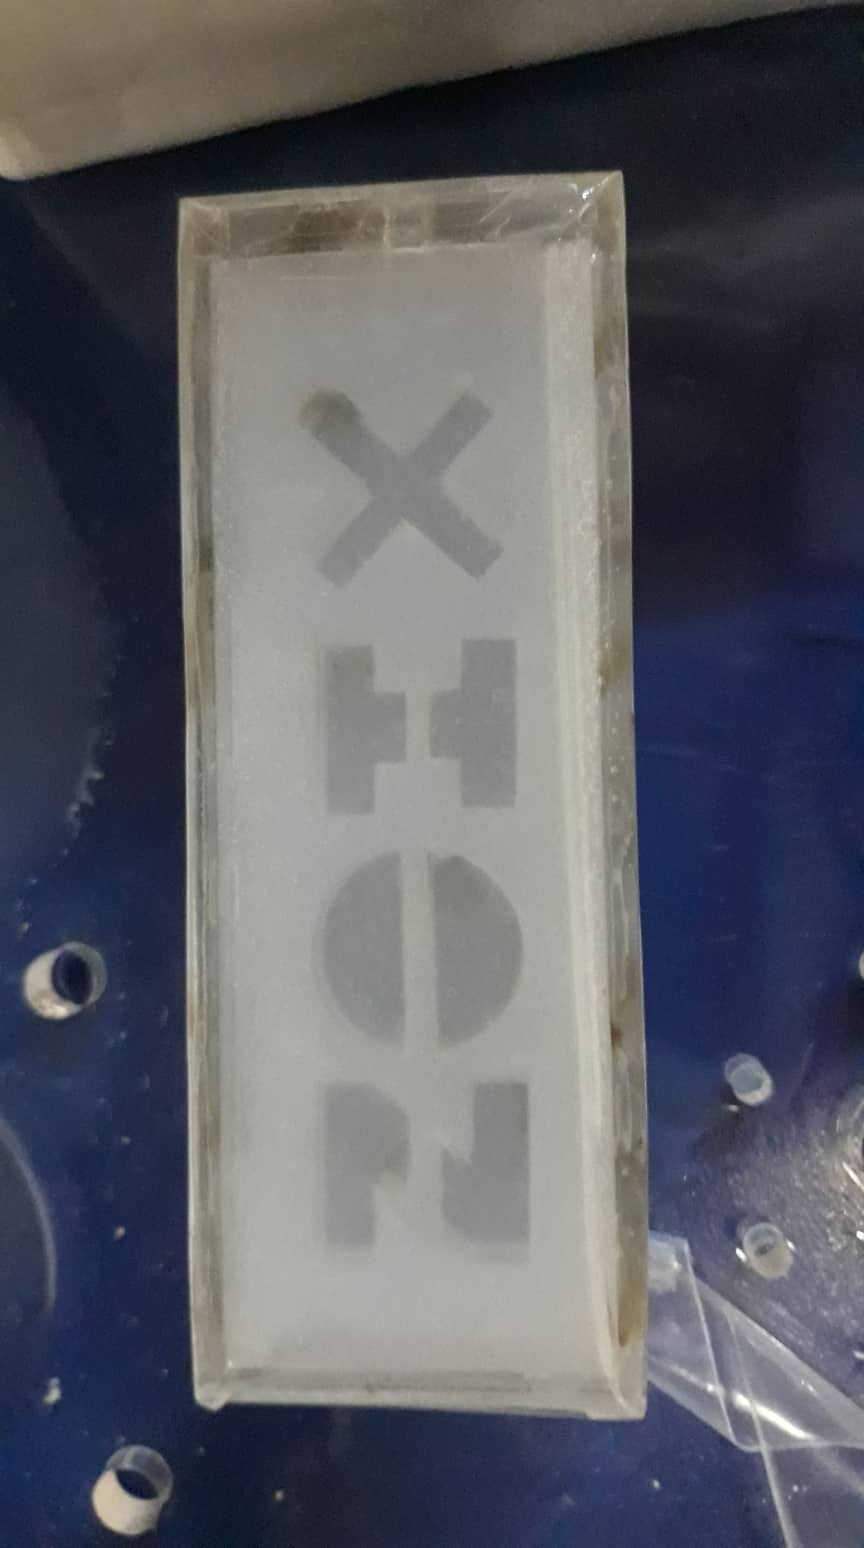
5.- Then we have to remove the Outline part of the mold
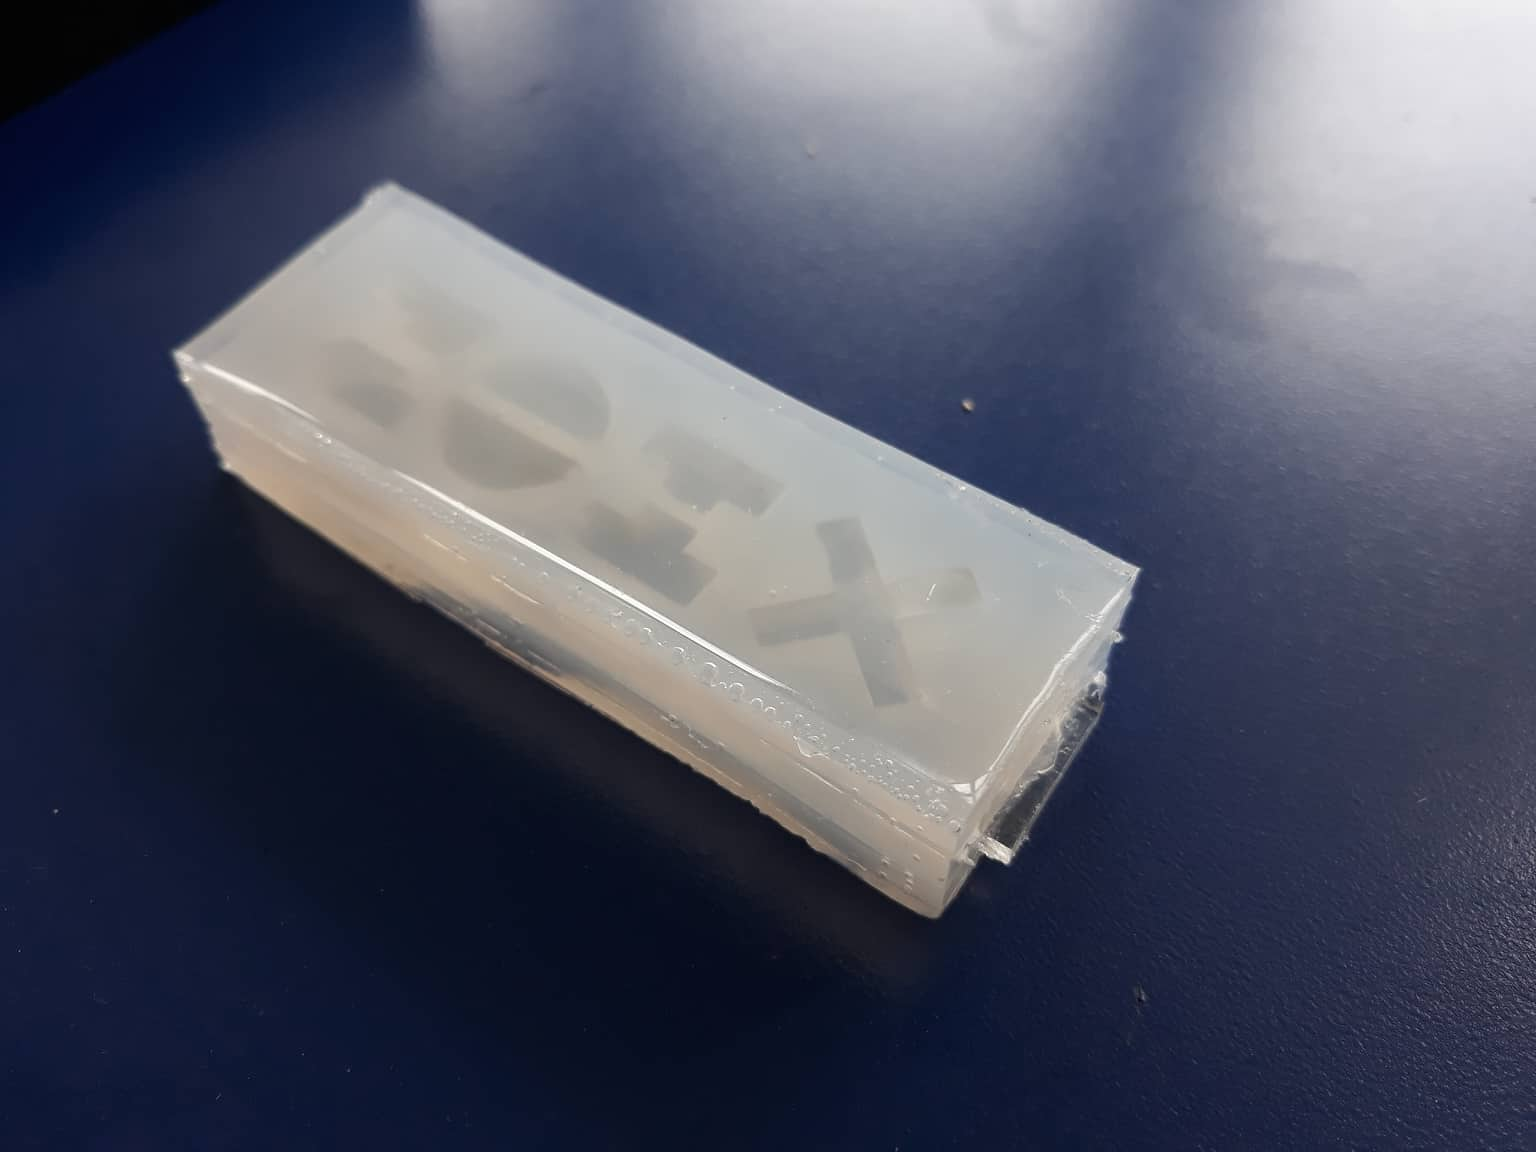
And EUUREECCAA you finish 50% of your assignment in 3 hours instead for 16 hours
Final Result
Automatic controller system
We used an electric air pump for fish tanks, a relay and an Arduino uno to build a automatic controller system.
It is super simple.
1.- You have to connect pin 13 of arduino to the relay and the relay to the pump.
2.- Charge LED Blink Arduino sample
3.- Connect arduino to 5V power and you will have an automatic pneumatic system
Pneumatics - Inflatables
For Inflatable I decide to experiment with Reflective Vinyl (HTV) for textiles because I had in the lab and it was not used and perfect for this assigment.
1.- Make a first try investing less effort to see if is the right material
Andres and I worked together on this test. We cut two 3cm x 3cm piece of Reflective Vinyl (HTV) and we took a piece of metal 2cm x 2cm. We put the metal just in the venter of vinyl and with a screwdriver we hold the piece of metal in the center and avoid heat goes all around vinyl (at the same time it gives us the beautiful space that you see in the gif to insert air). Then we heat altogether and vinyl above past with vinyl below.
It took us 2 minutes and worked perfectly.
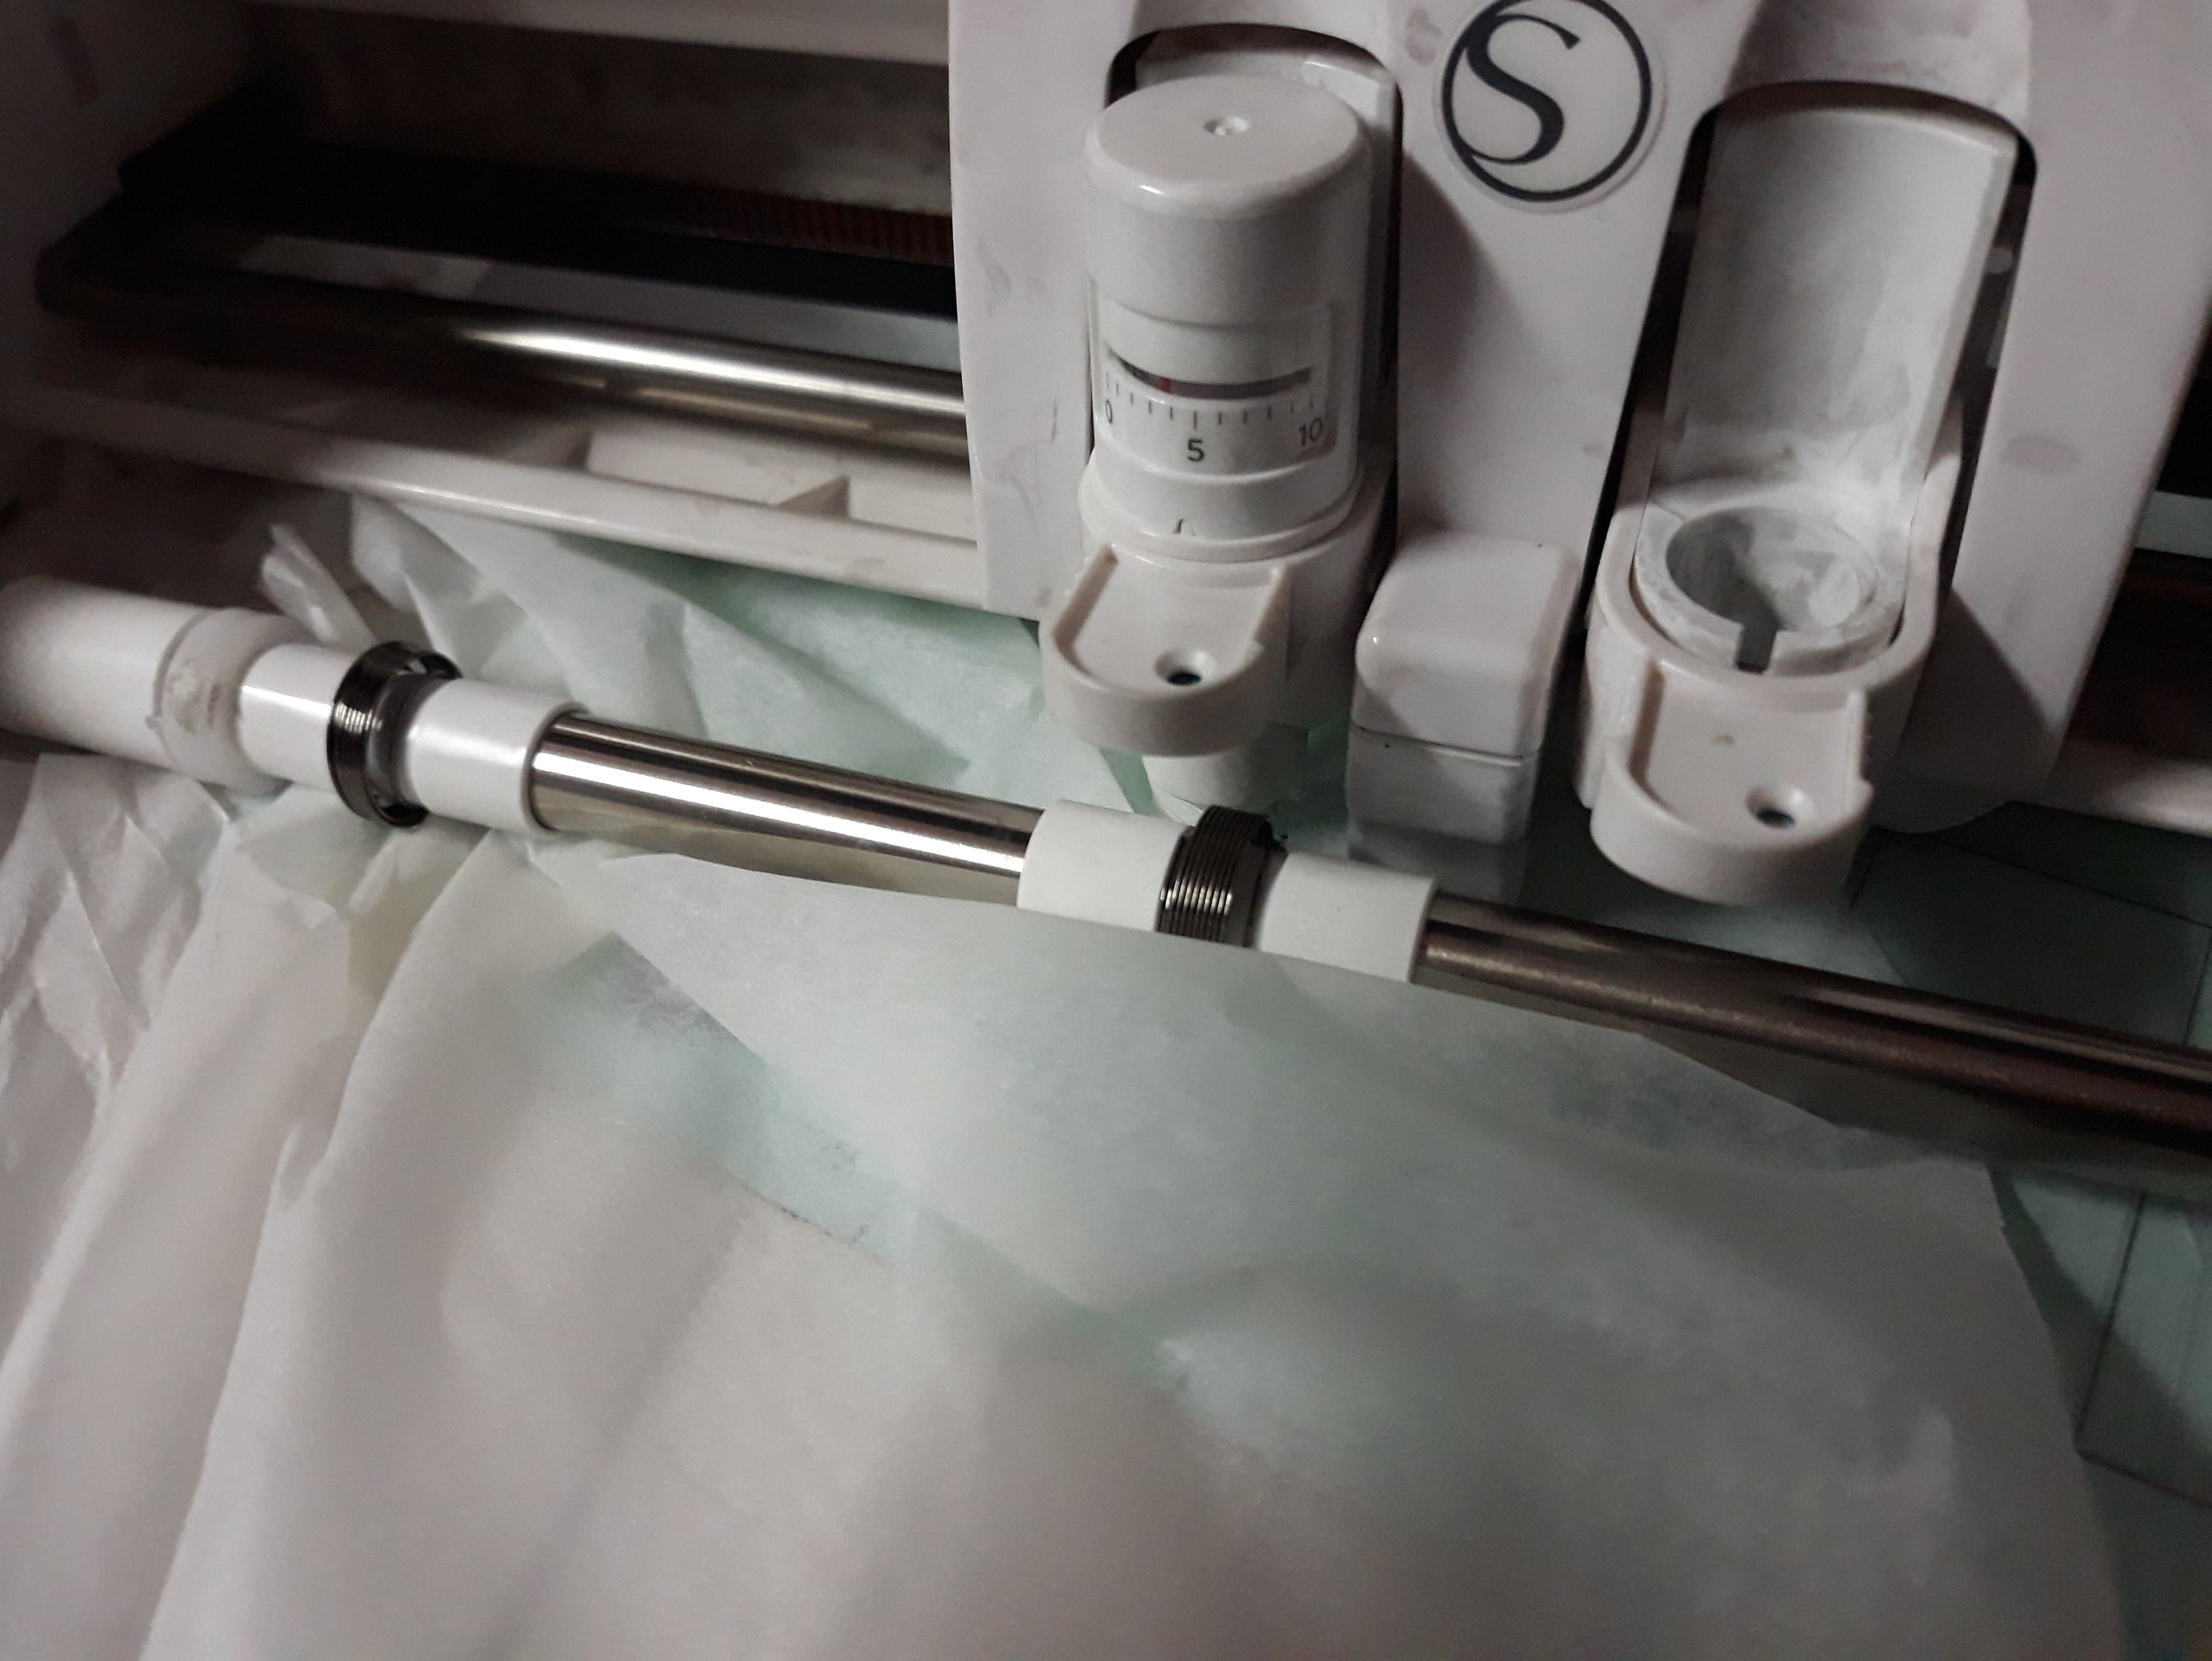
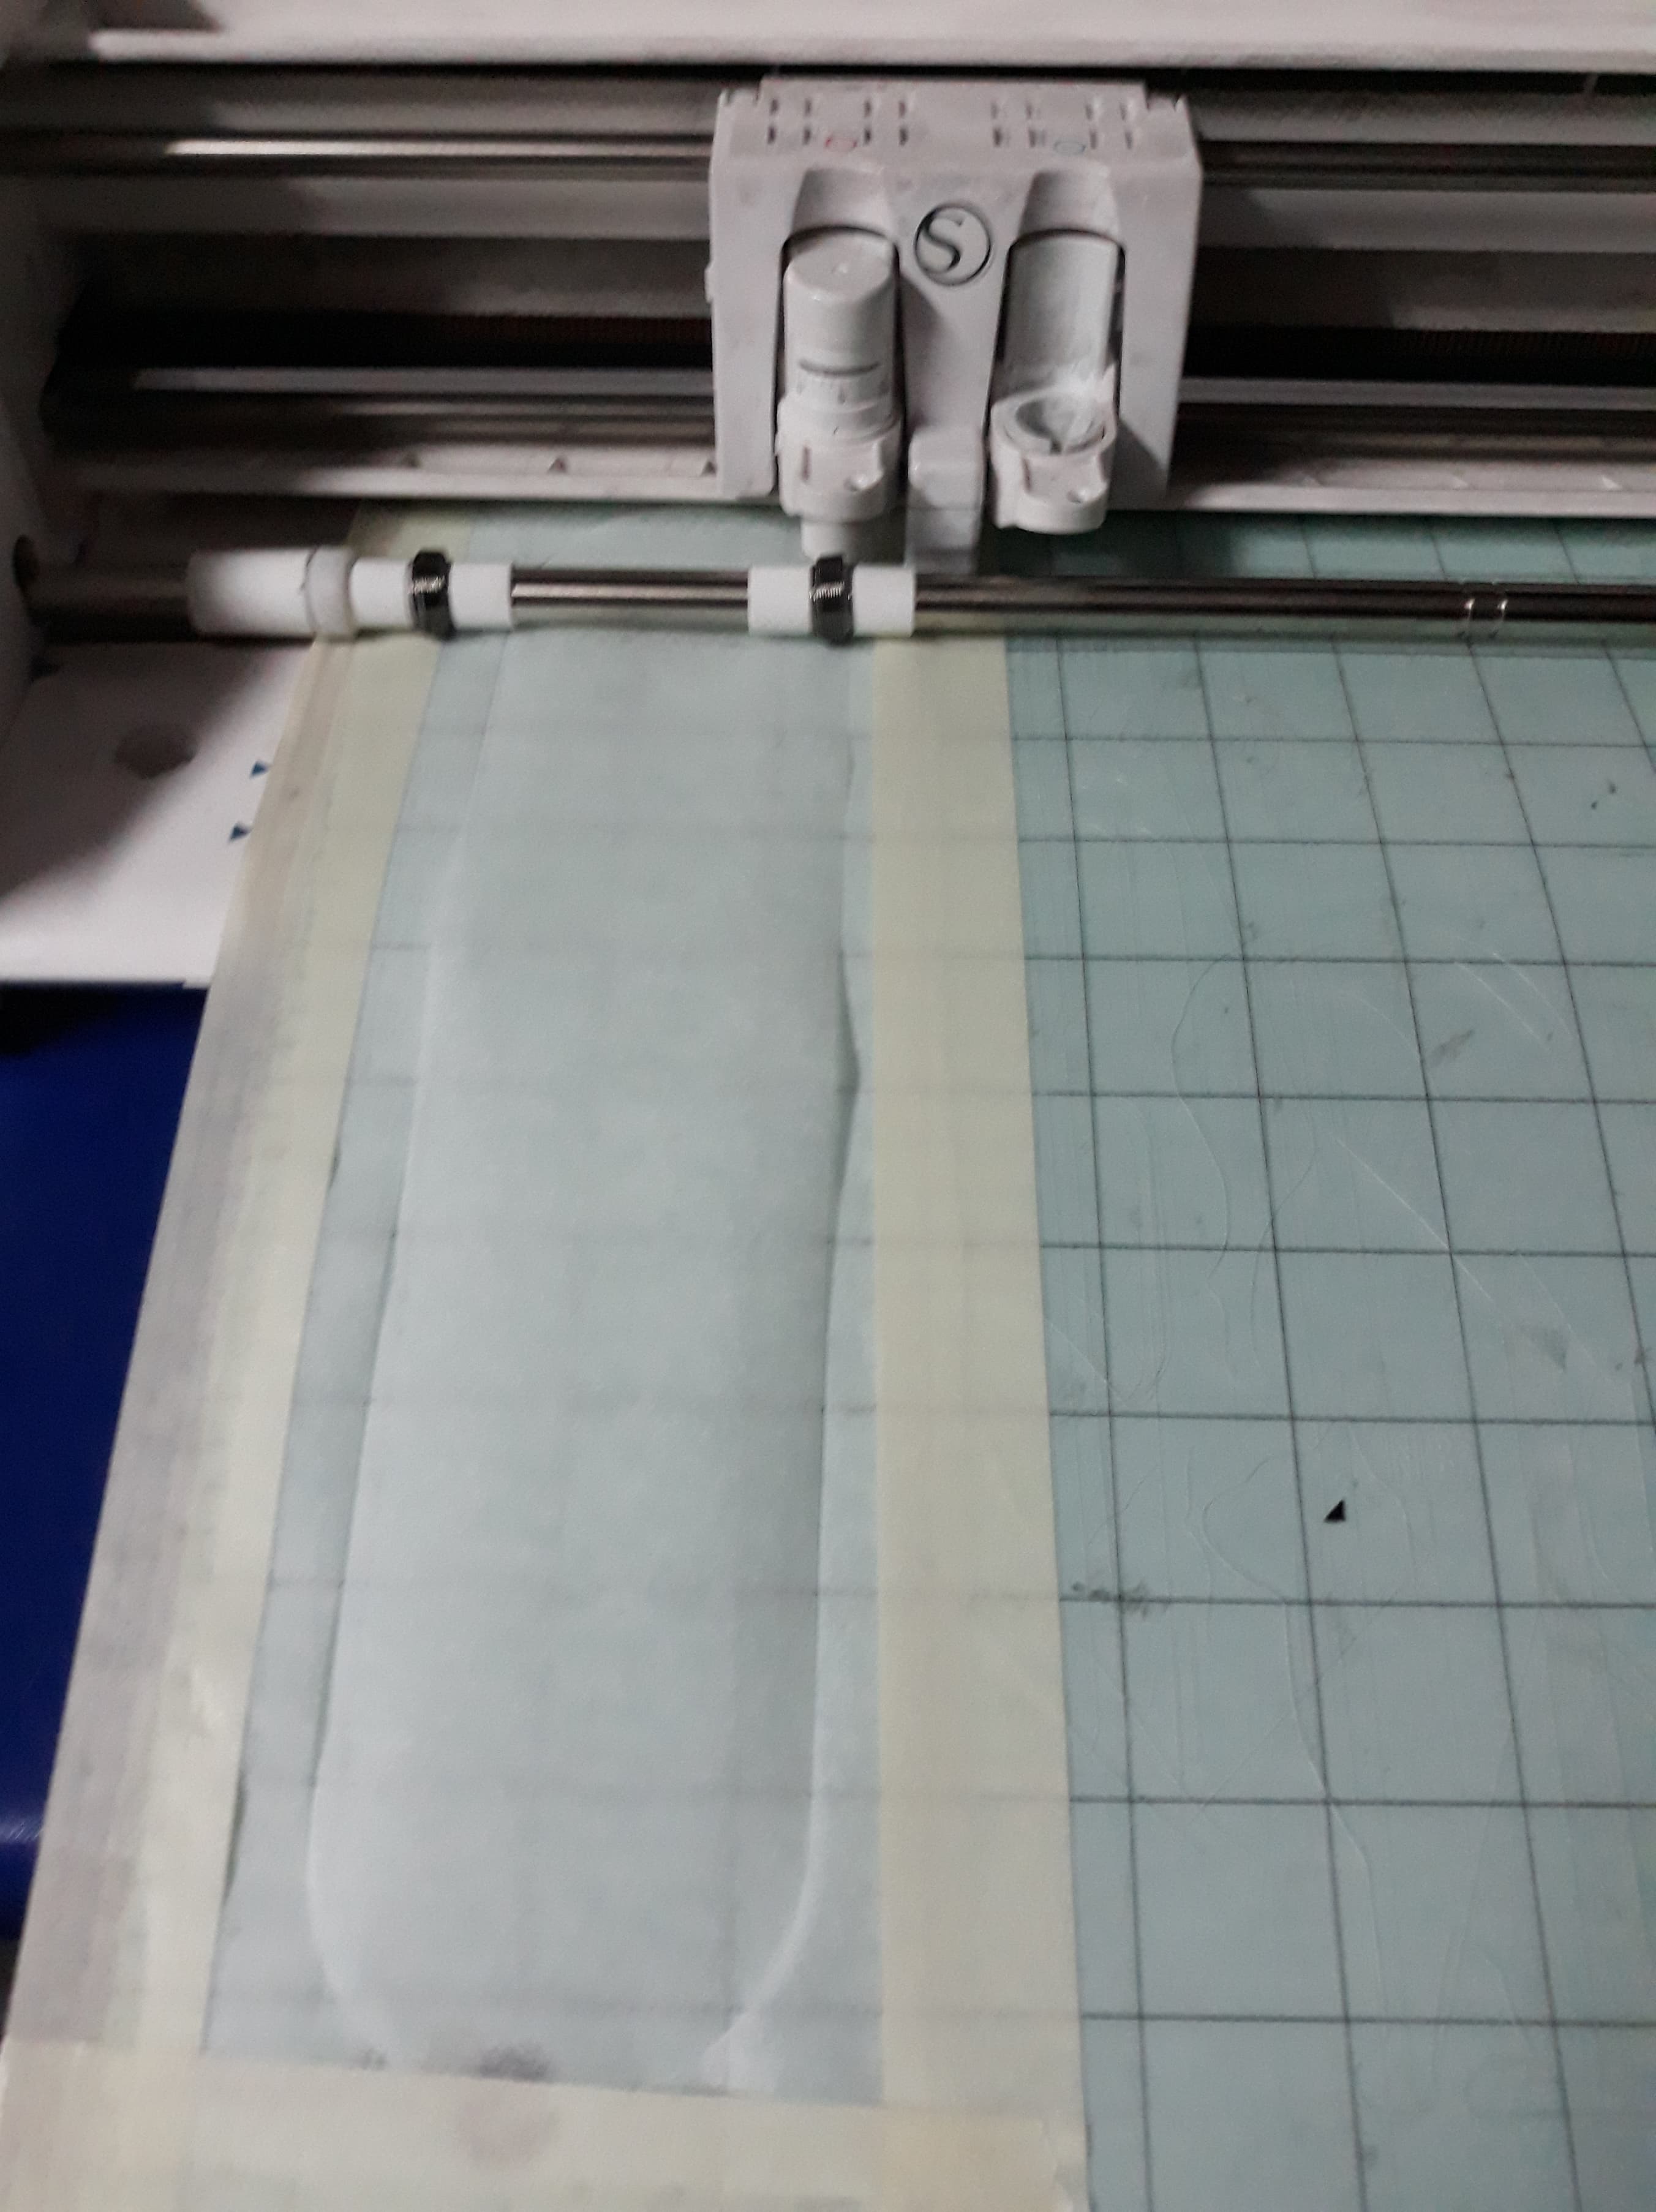
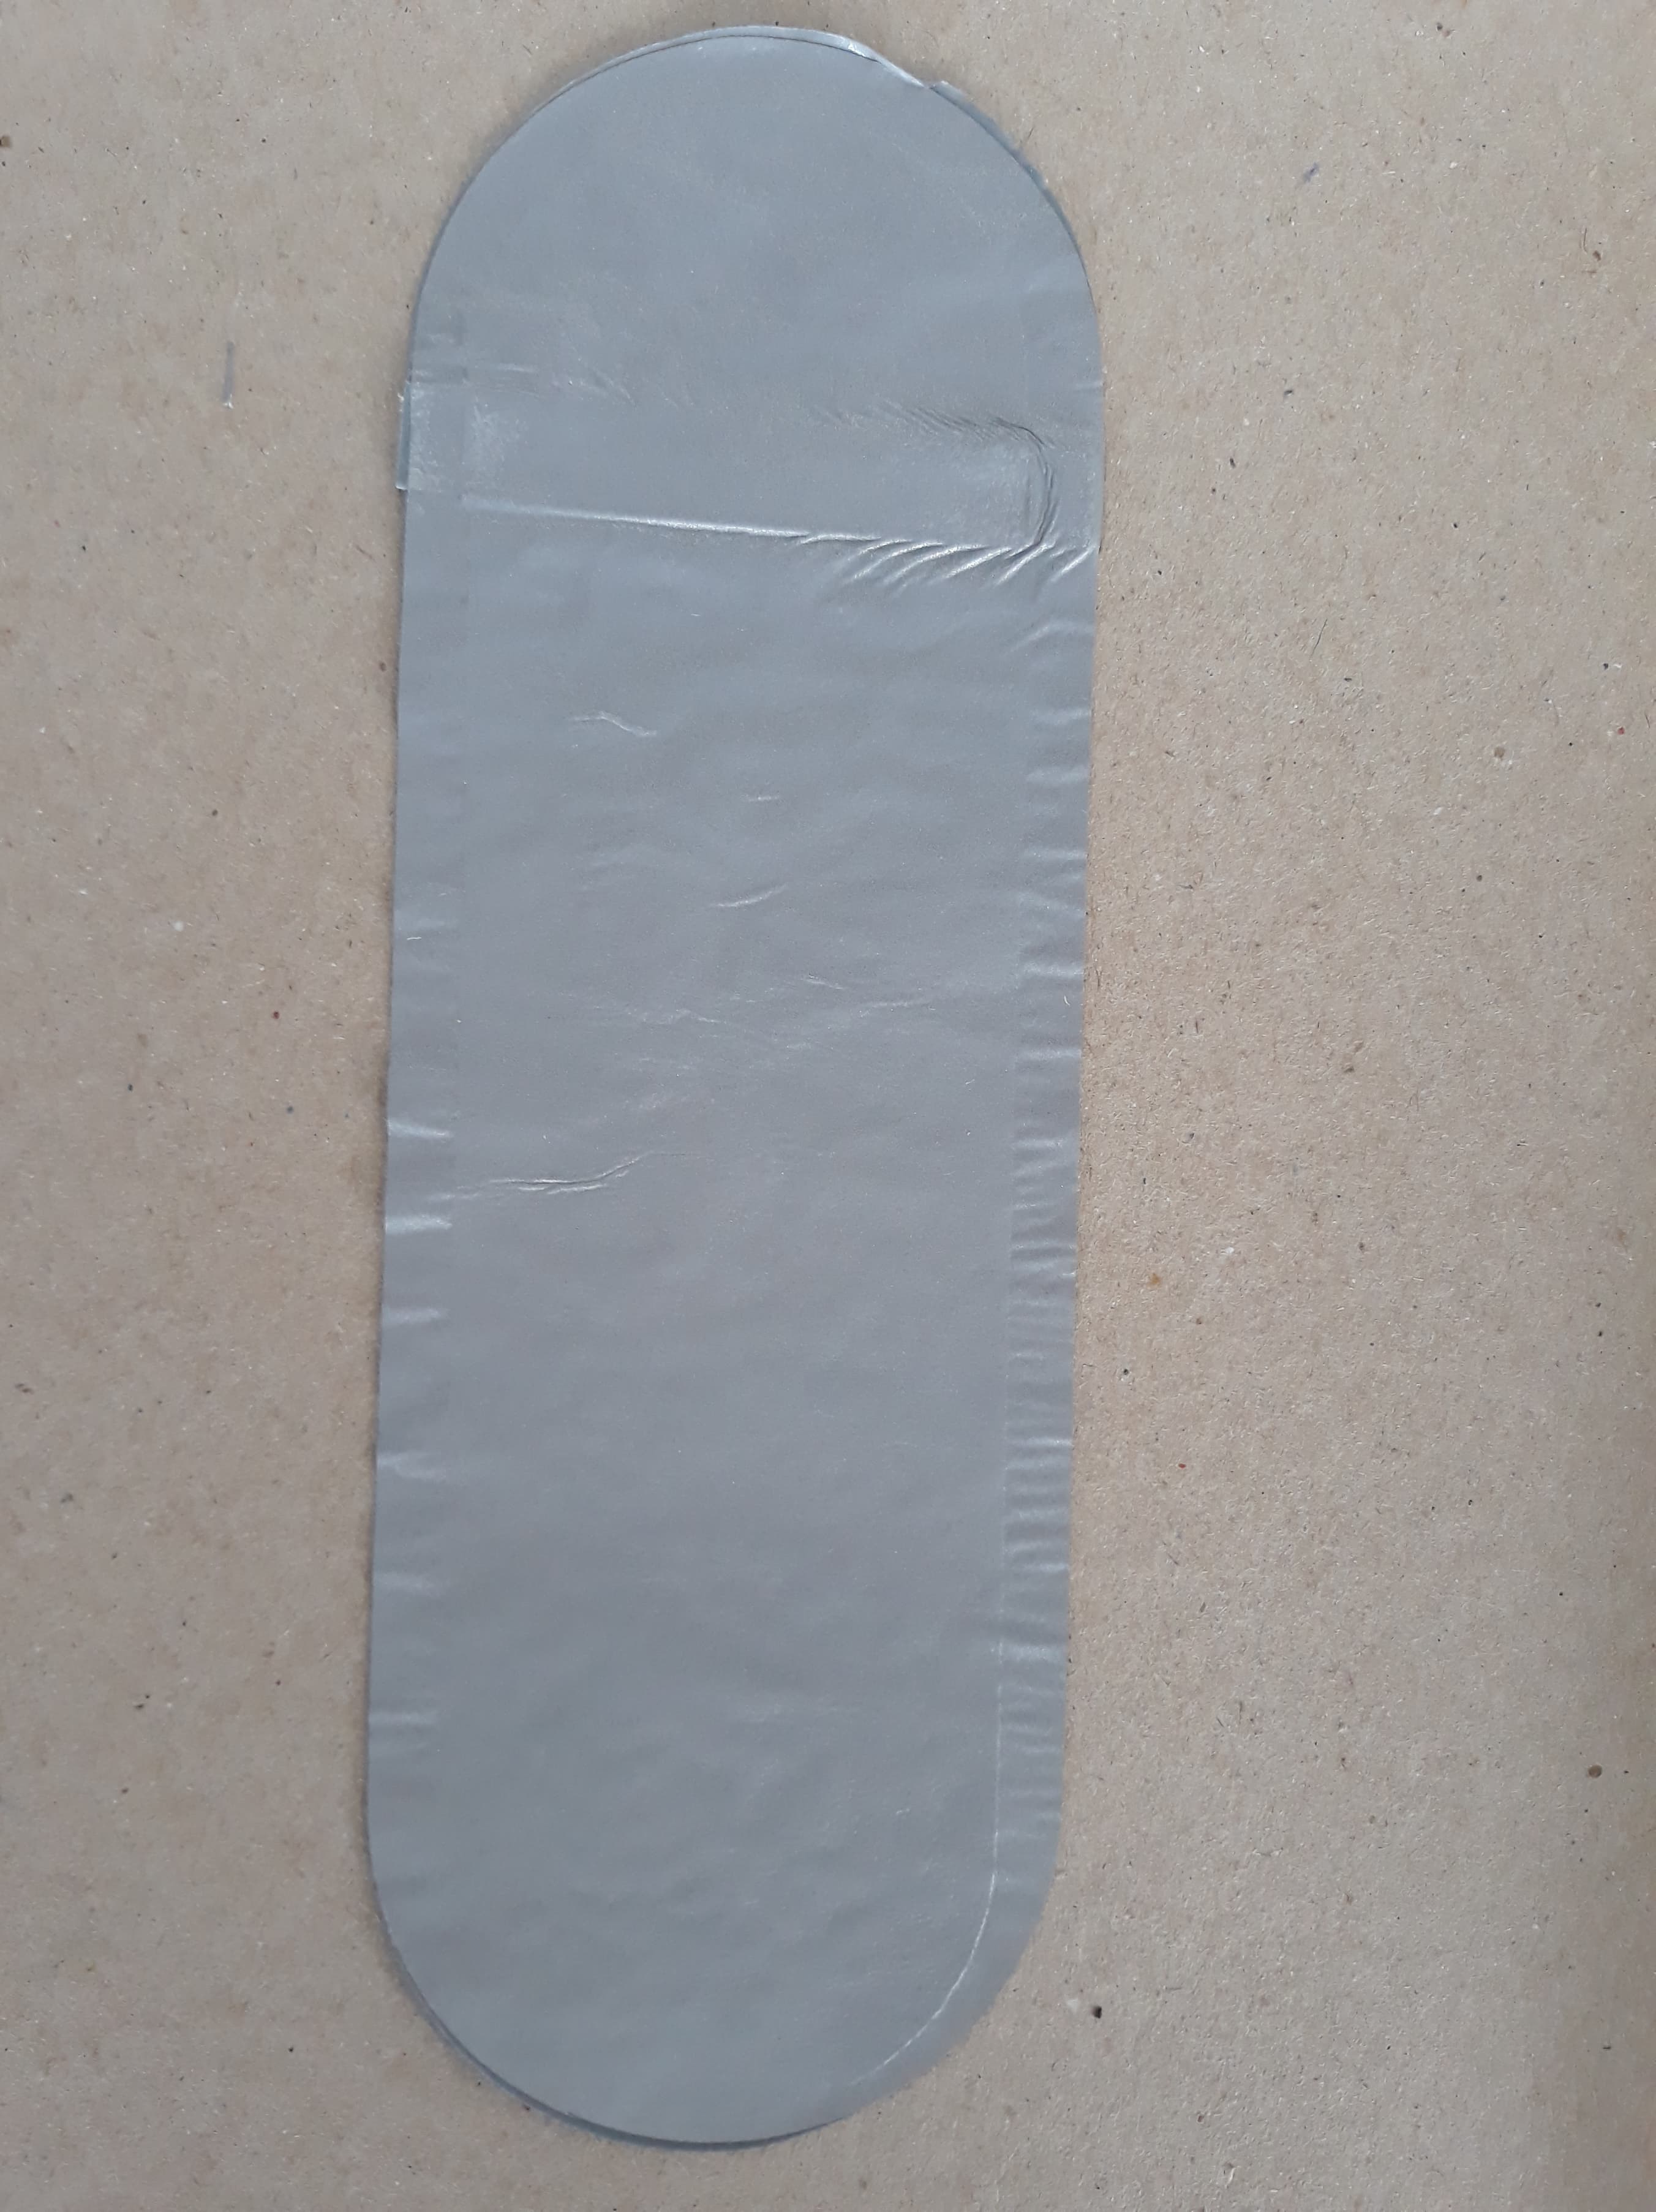
2.- Design and Cut the patterns to the robot
I have use Rhinoceros to draw a super simple pattern but precise to cut in Vinyl Cutter.
See here
Vinyl
Knife 5
Speed 5
Force 12
Passes 1
Cooking paper
Knife 2
Speed 1
Force 5
Passes 1
At the beginning I use wrong settings to cooking paper and I had a problem as you can see in the photo.
Nice cut..
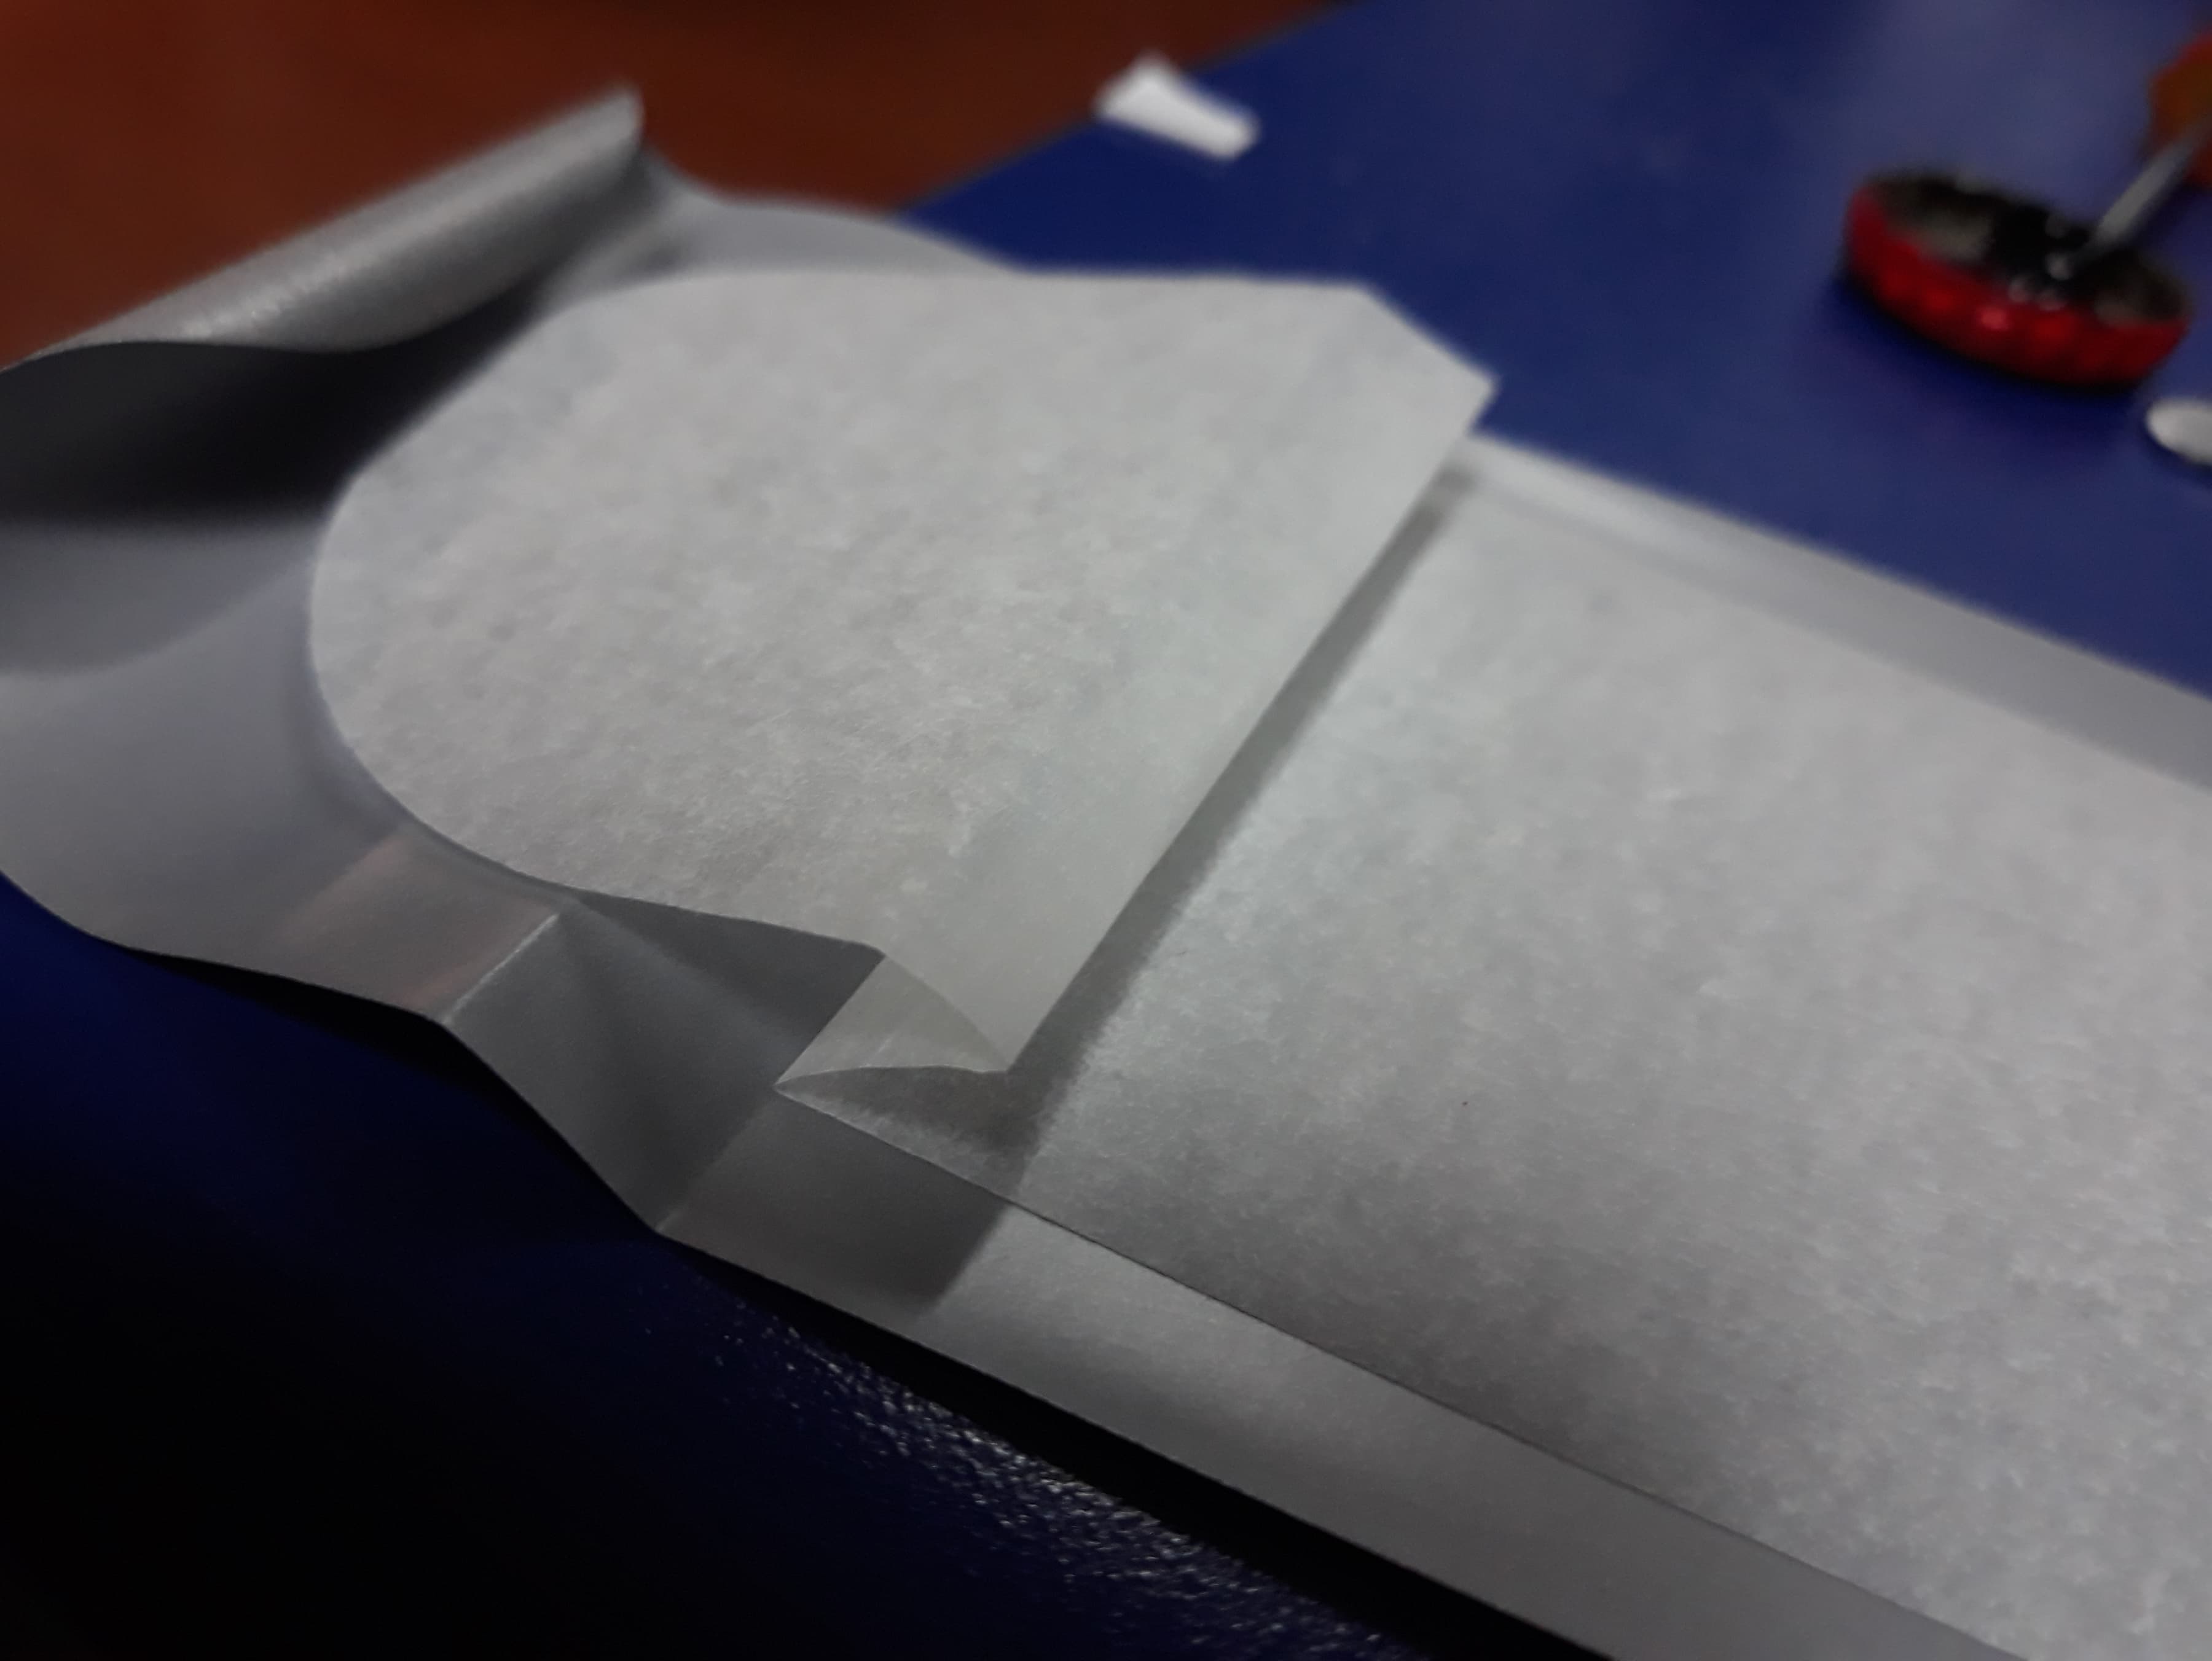
4.- Fold the pattern I have used a folding pattern with 2 folds
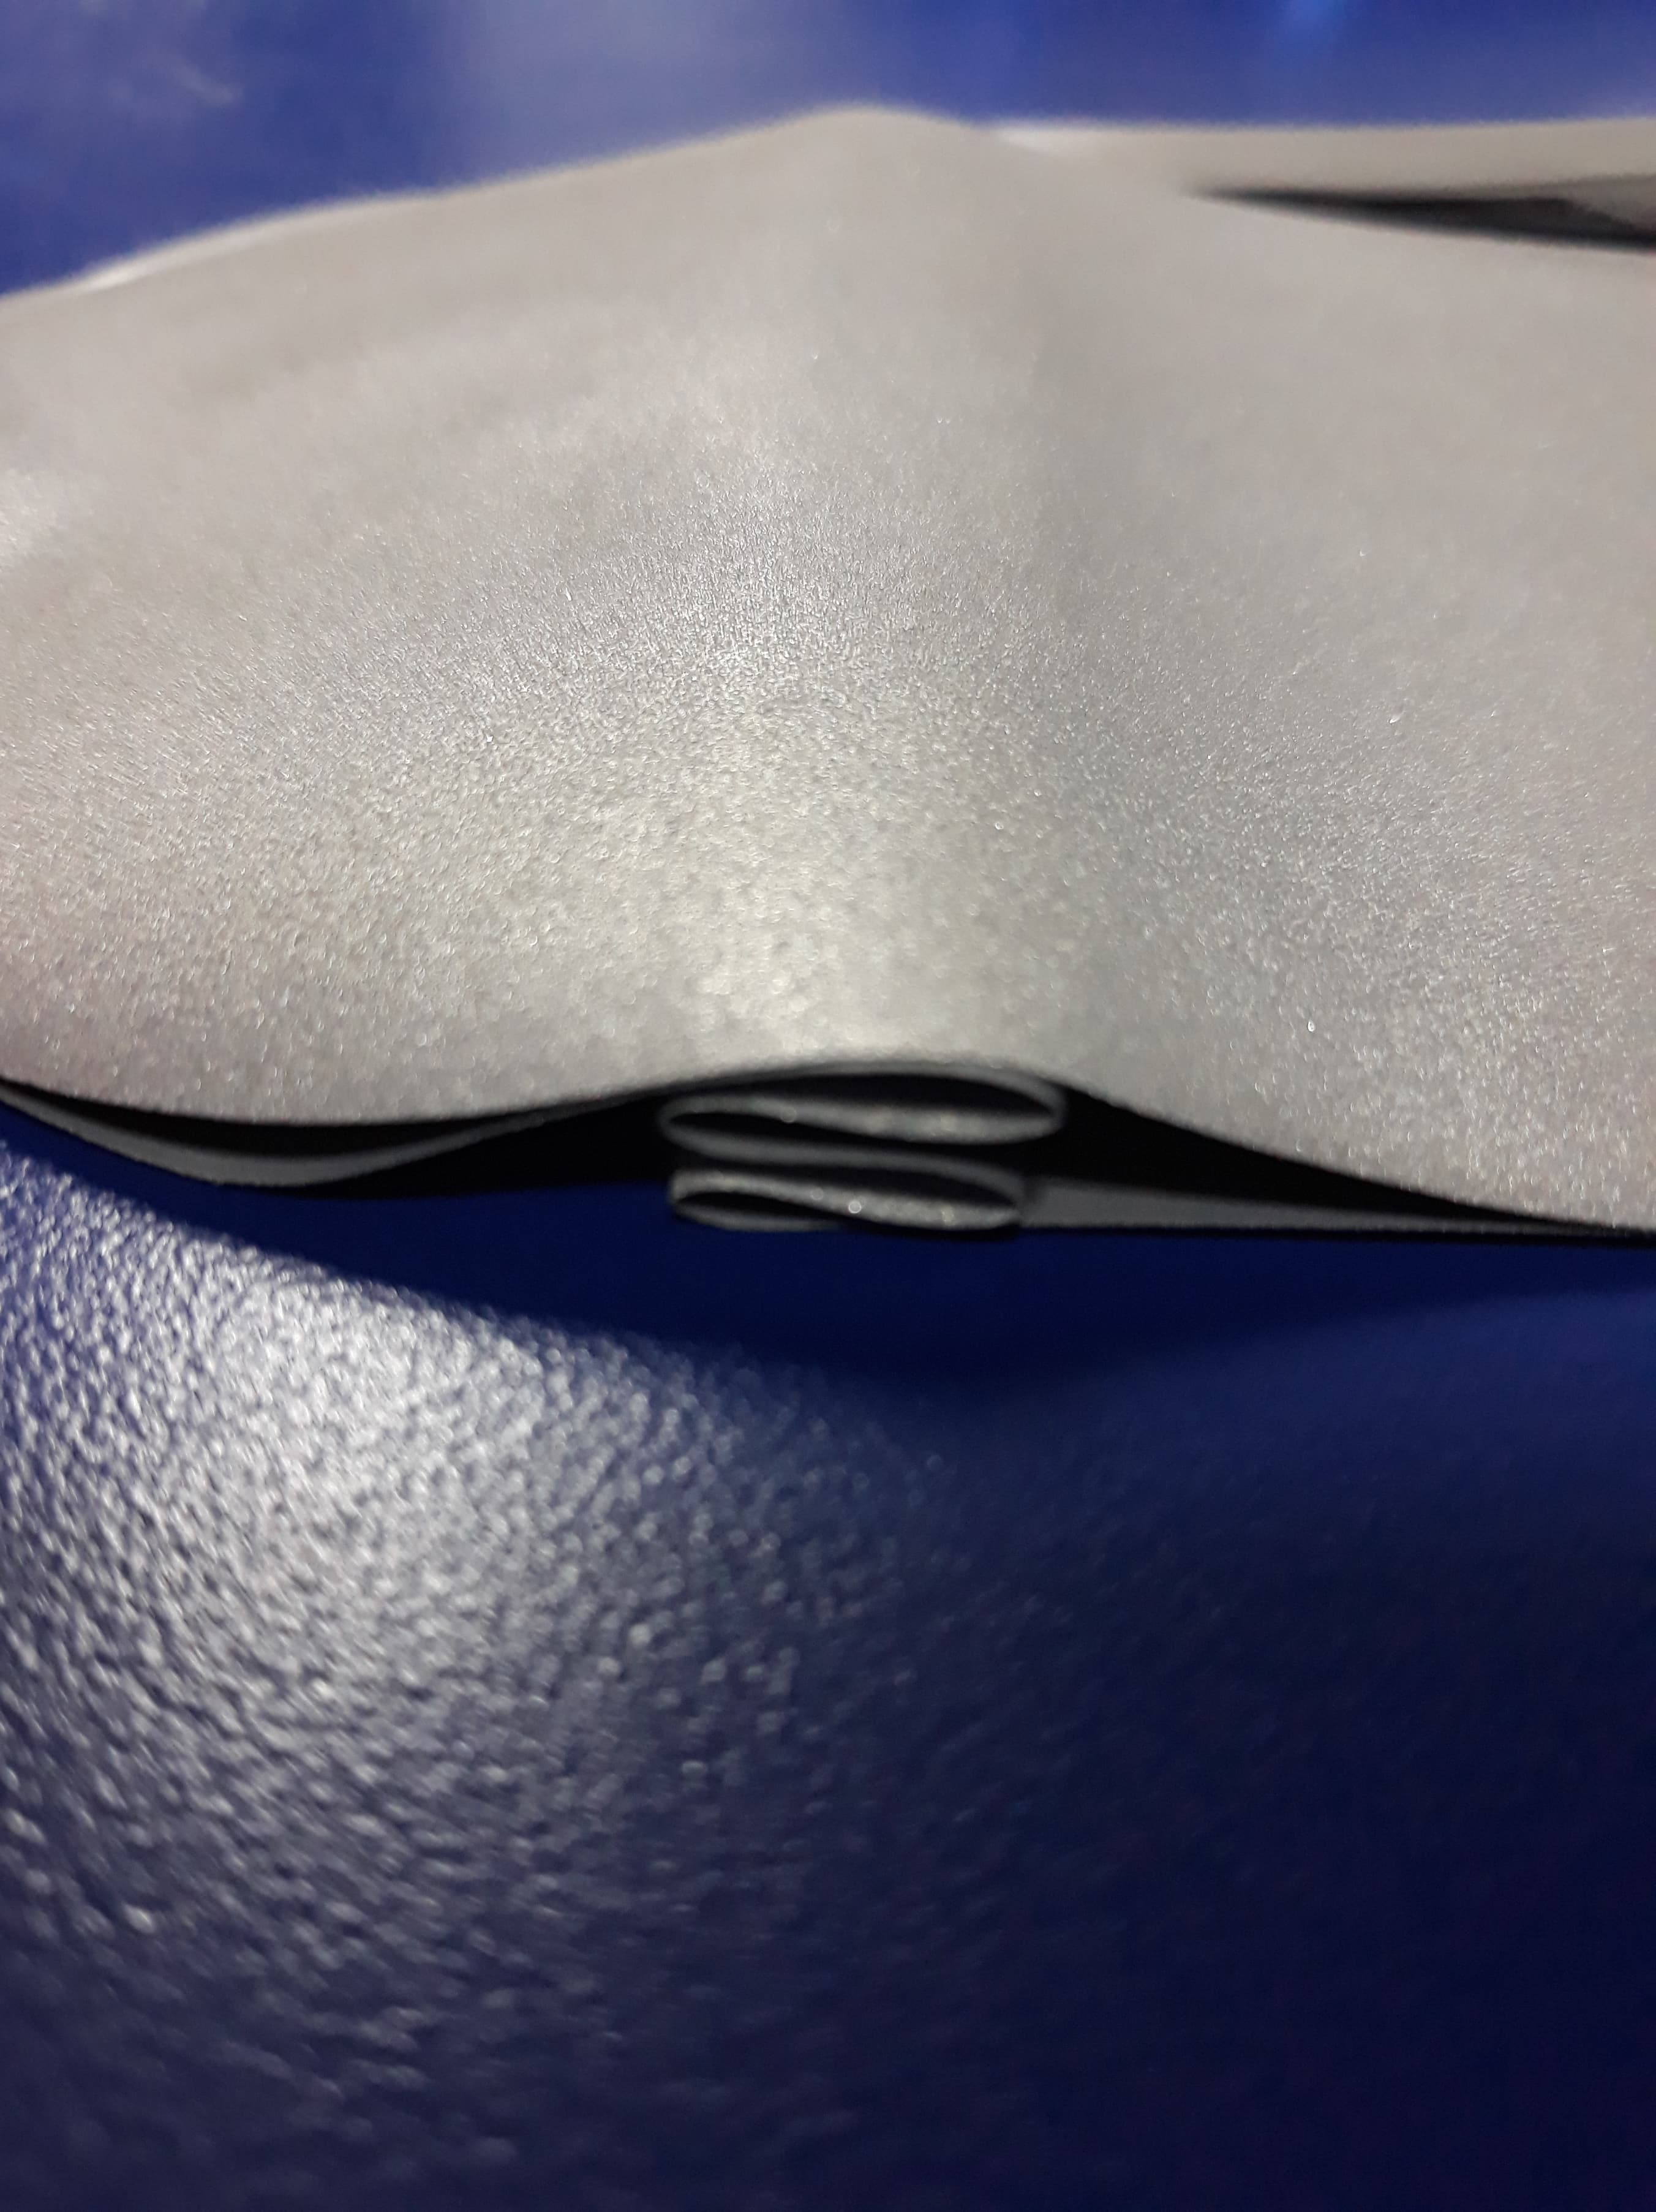
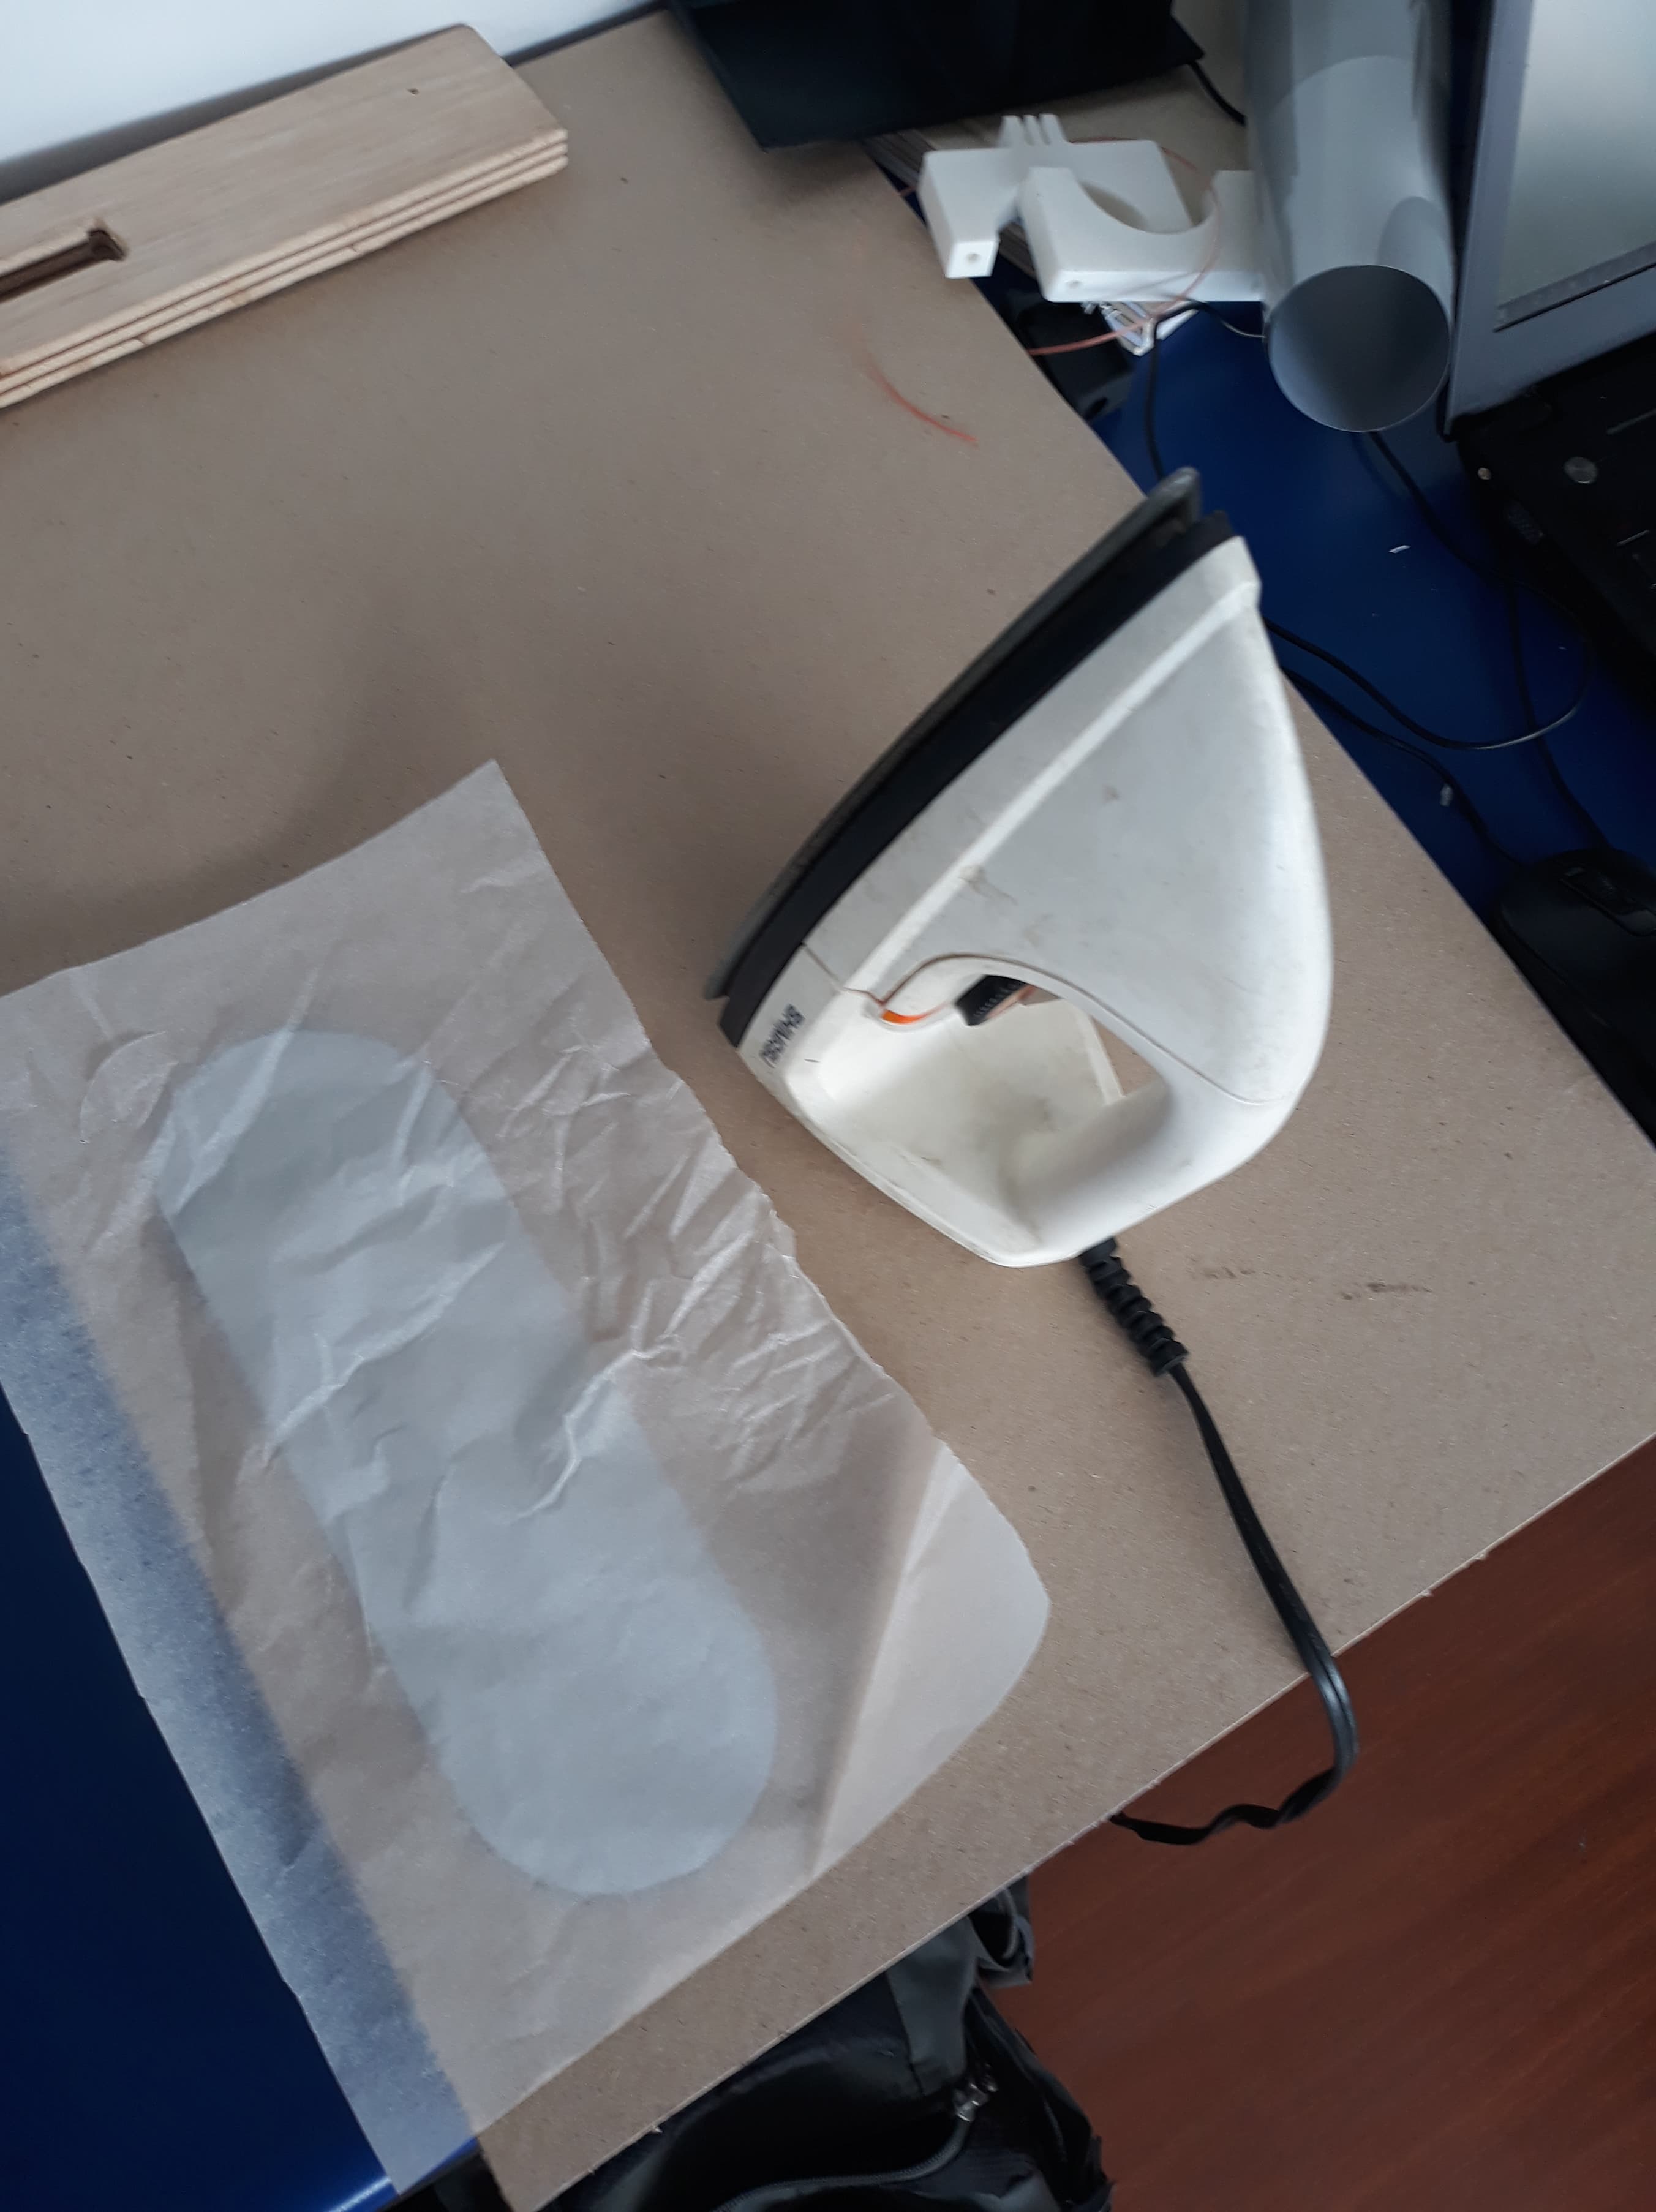
5.- Iron the robot. As you may see I have put cooking paper above to avoid damage the piece
6.- inflate your robot
Final Result
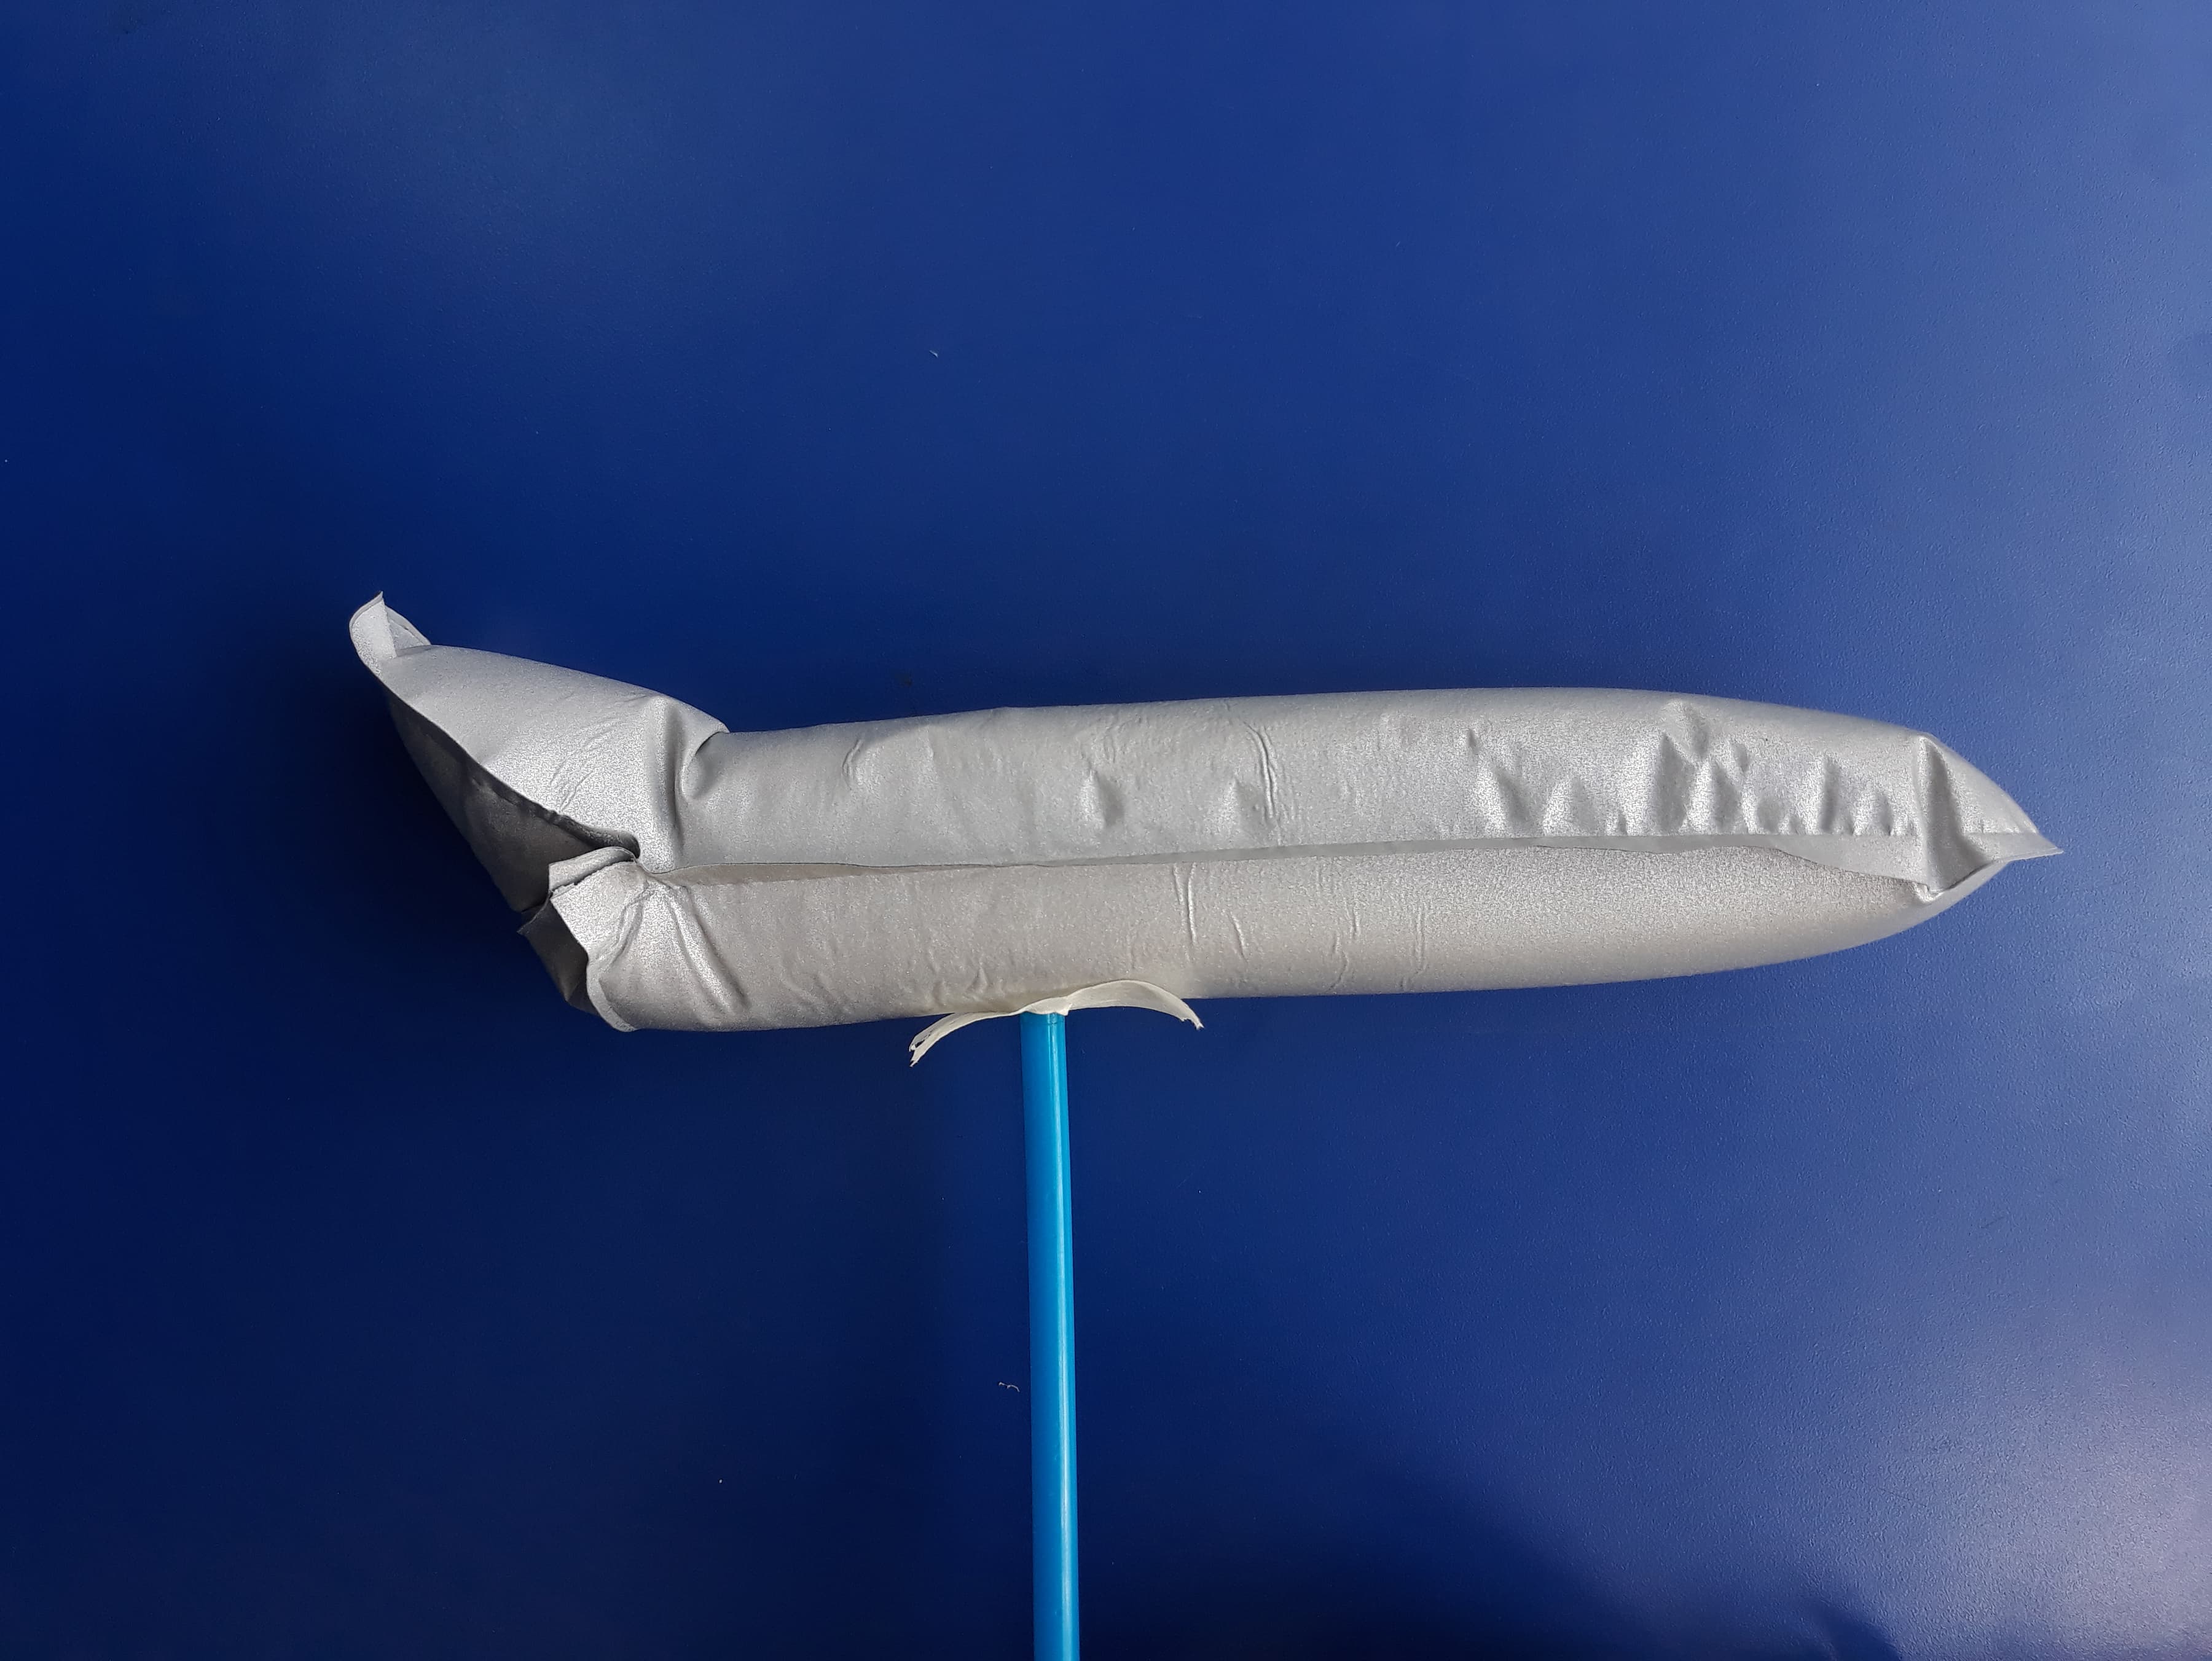
Conclutions
I was really nice to have a good results at the first try because it safe me a lot of time. I am super happy to see the nice results.