8. Computational couture
This week I worked on defining my final project idea and started to getting used to the documentation process.
Assignment
- Document the concept, sketches, references also to artistic and scientific publications. √
- Design a parametric model using Grasshopper3D and upload the rhino file + grasshopper files. √
- Learn how to use 3D printing techniques to print the 3D model in/on the chosen materials. √
- Document the workflow for exporting your file and preparing the machine and gcode to be 3D printed. √
- Upload your stl file with pictures at : https://oscircularfashion.com. √
- Submit some of your swatches to the analog material library of >your lab. (20cm *20cm aprox). √
How will it be evaluated
- References : tutorial , links, inspiration
- Design : sketch , 3D modeling skills, Parametric modeling skills
- Fabrication : Capable of executing from file to production workflow, from 3D modelling to 3D printing , parameters, materials
- Documentation : Anyone can go through the process and understand
- Final outcome : Is the project assembled, functioning and complete
- Originality - Aesthetics : Has the design been thought through and elaborated
Files and Links
Workflow
- Research
- Design and experiment with Parametric design (Guided)
- Understand and improve (Myself)
- 3D print
- Final result
Research
Grasshopper is a parametric tool edited based in nodes or also can be understand as a visual programed editor by blocks. In other words is like a LEGO for programming in a visual way (Like Scratch software). It is well used by makers, artists, designers and engineers to do complex designs, move machines and other purposes. Know more Here. Or Here.
Design and experiment with Parametric design
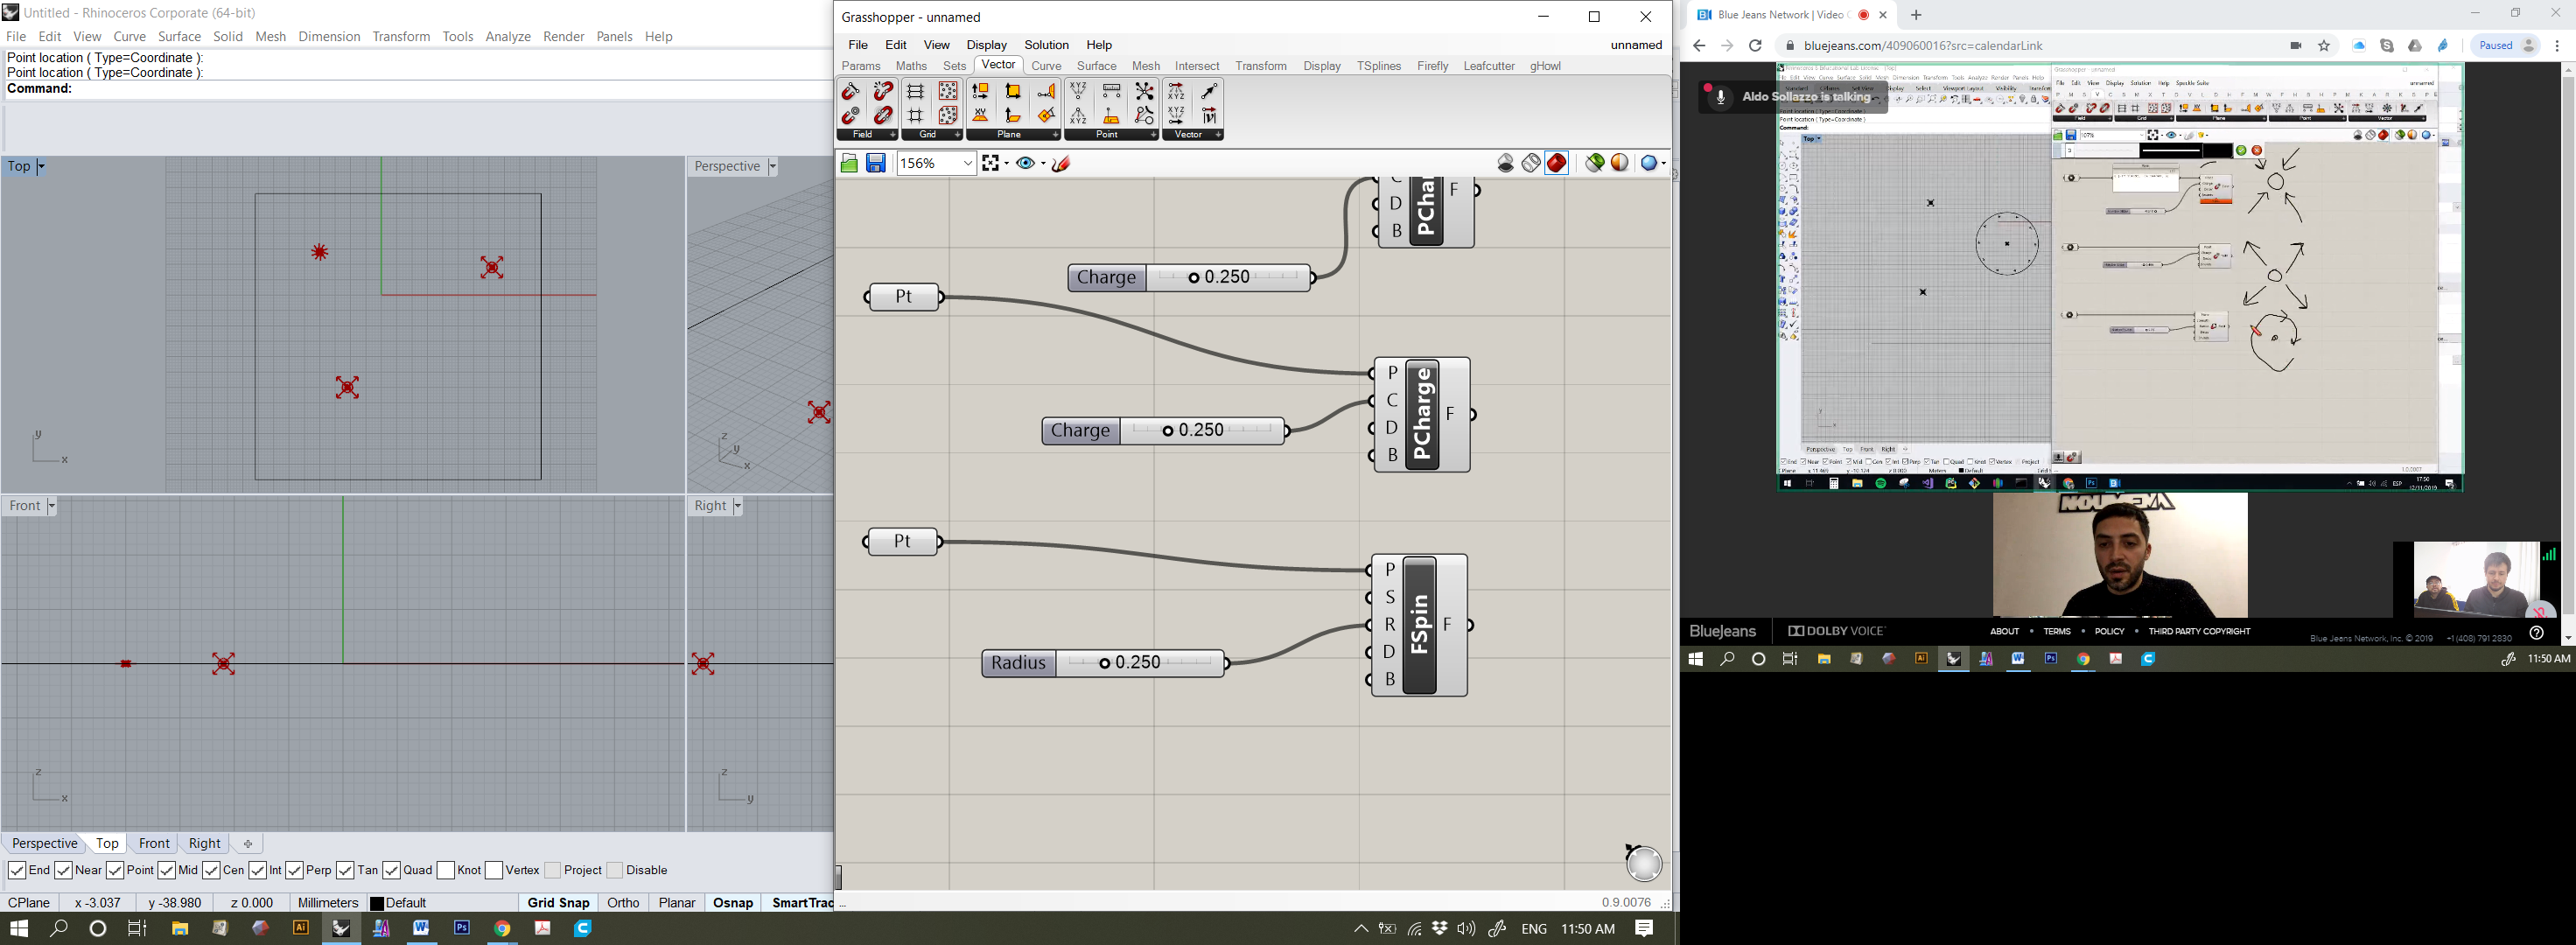
On this class the super Grasshopper guru Aldo Sollazzo give us some classes. I am the type of student that use to like to understand more about “logic” rather than make a lot of copied exercises. I have been involved on Grasshopper before learning by myself. I had some problems understanding how the program is designed and how to find functions that I needed. Then Aldo give the introduction to the program I found some information that I have didn´t knew before.

Understand and improve
And I had followed him in the first exercise until he finished. Then I started to follow the second exercise once I have understand the logic of where to find functions that I need. This was super good for me!! So I decided to complement first exercise adding more functions.

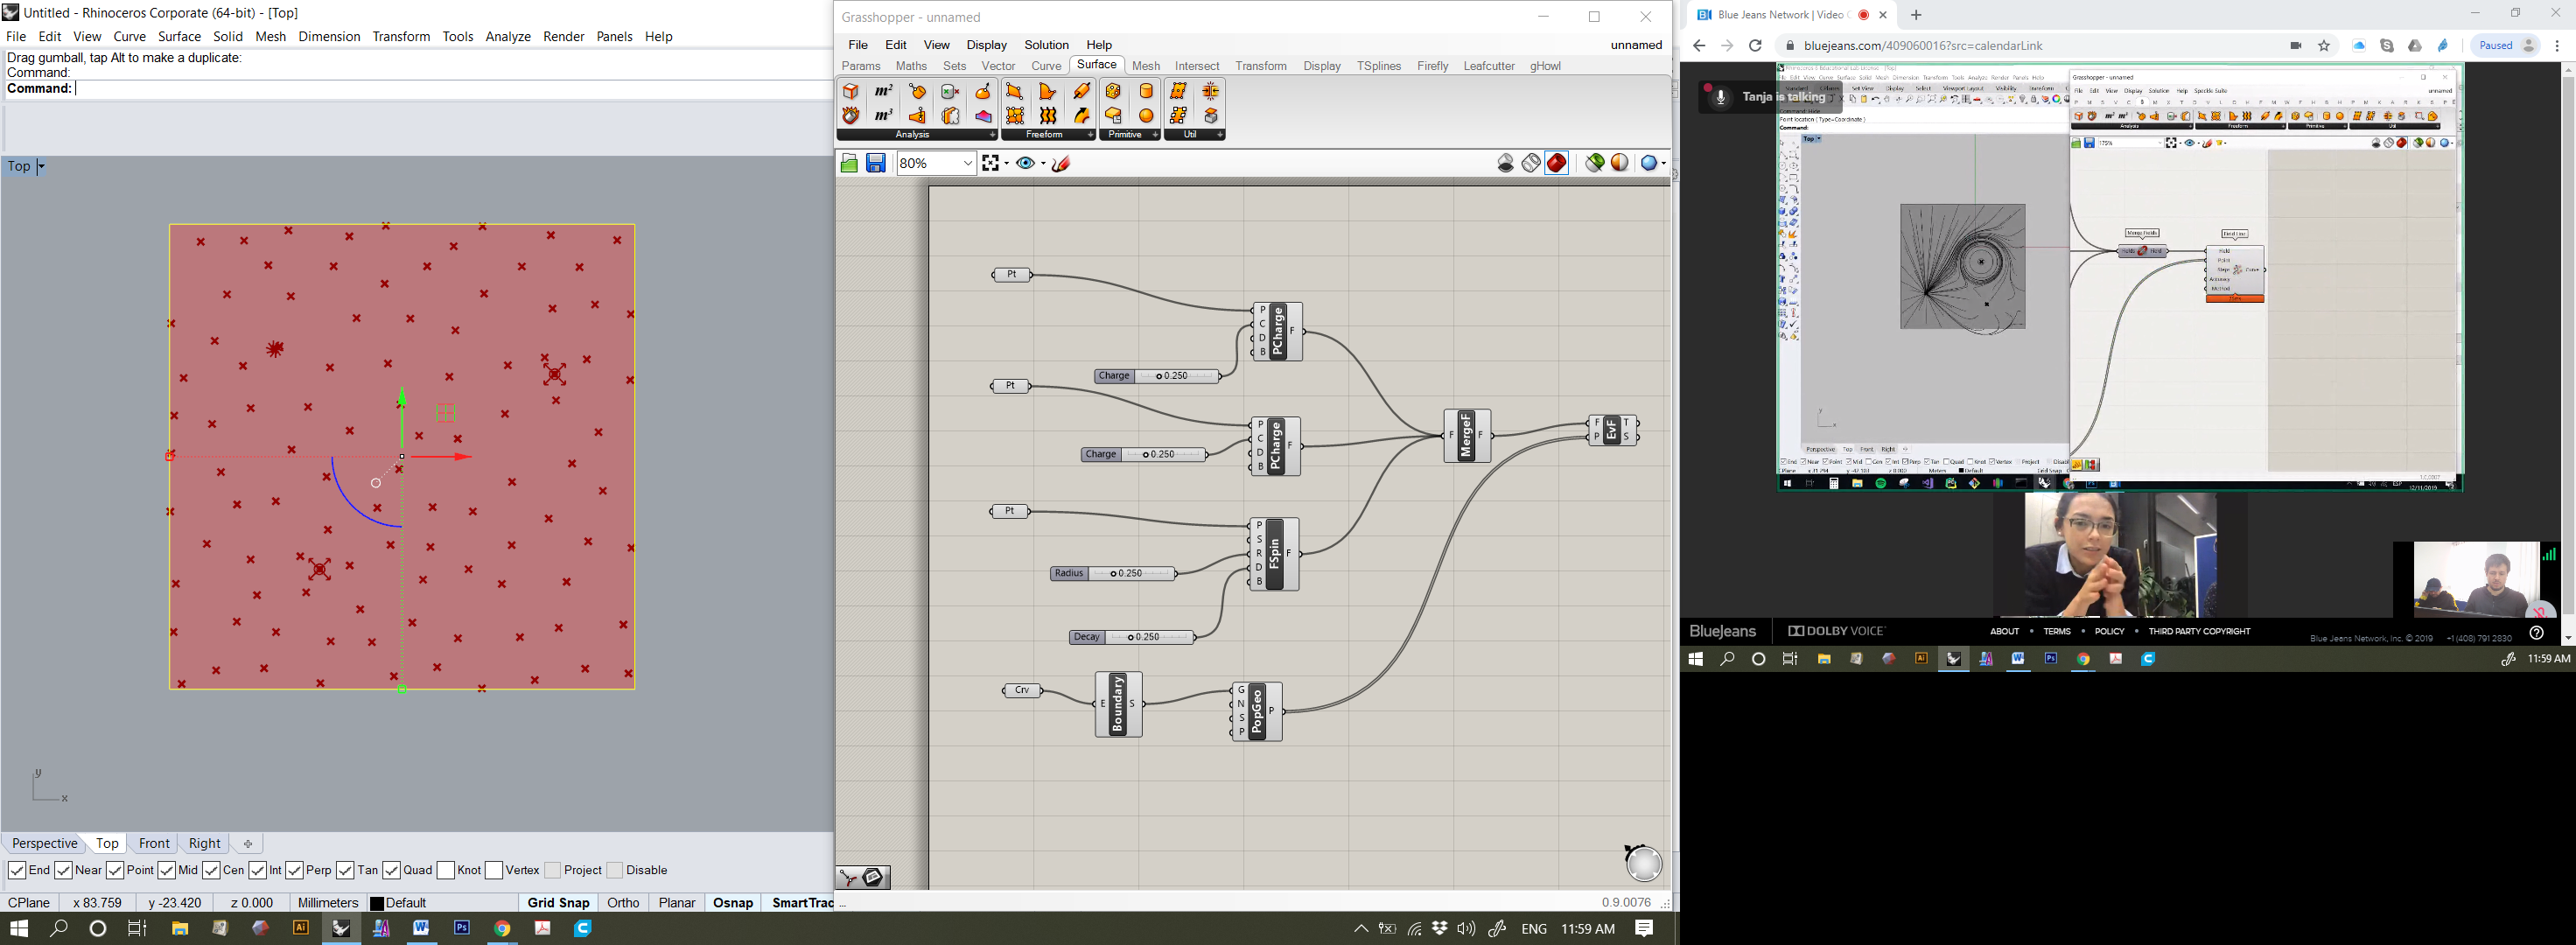
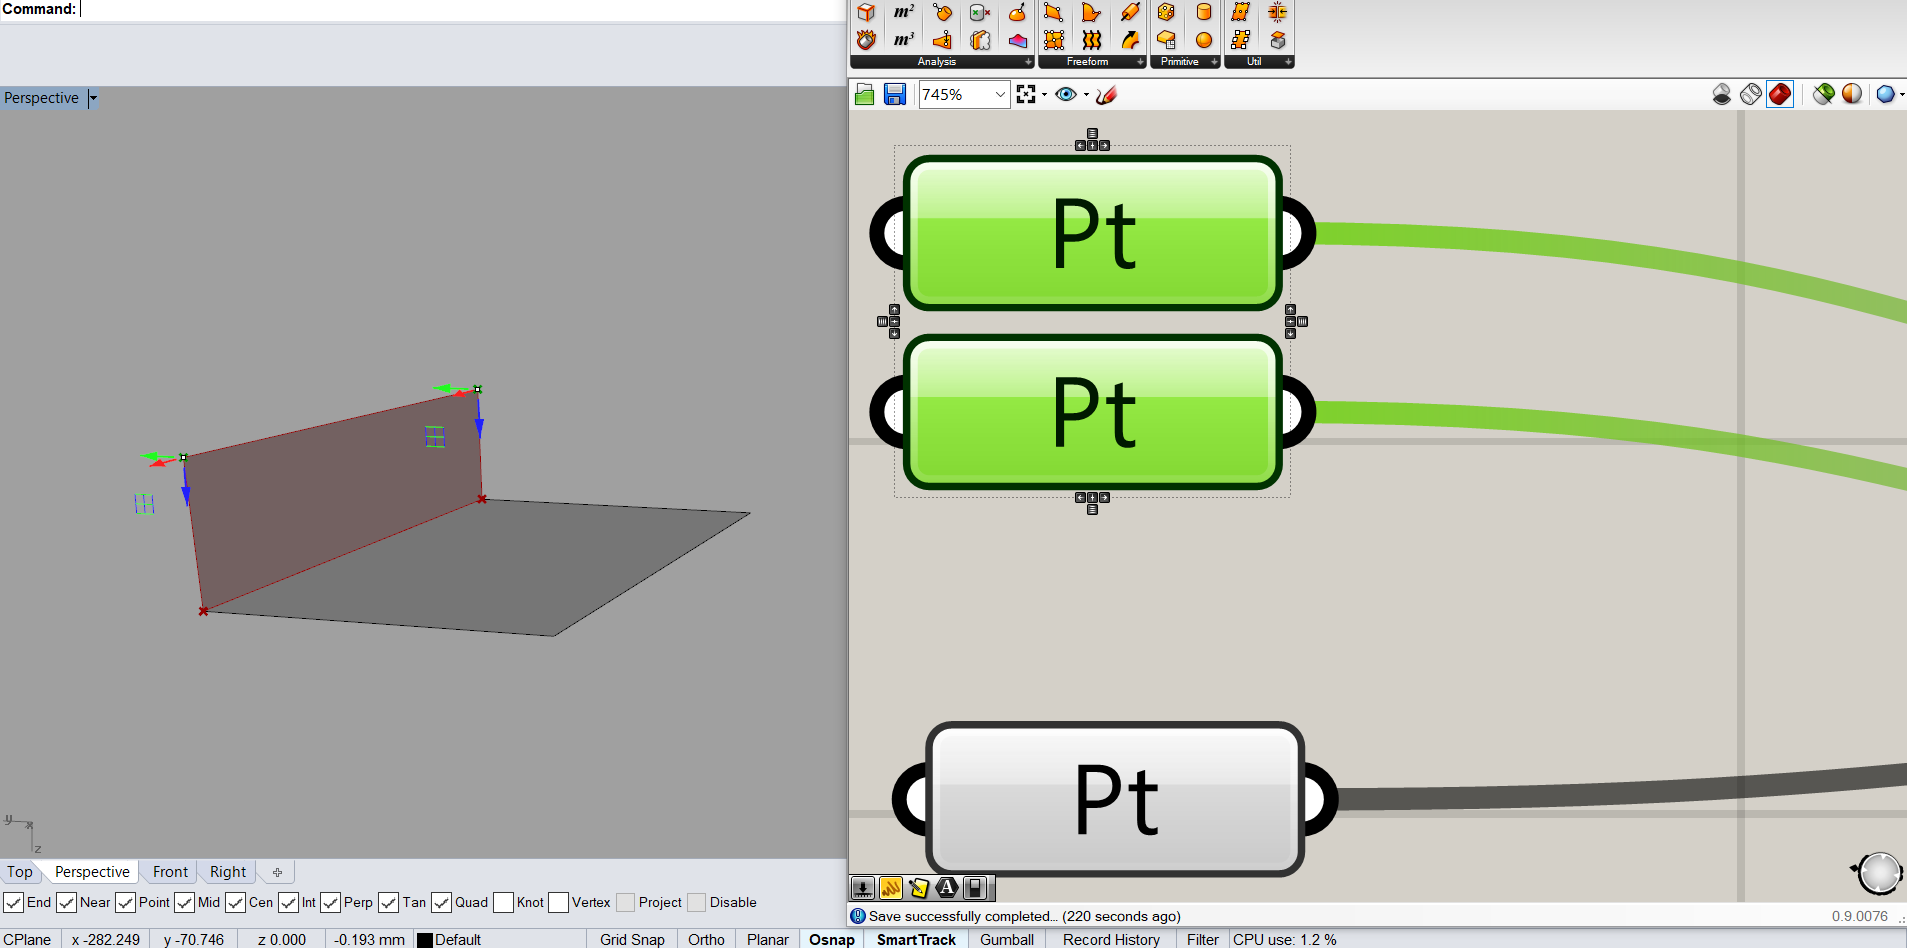
At the beginning the first exercise looked a little bit boring because it was 2D. It took me a night to realize that those points that we put in a 2D plane had 3D magnitudes (It is funny because I get this idea when I was slept-dreaming). So I decide to try next day to move the points on Z axis to see if I was wright.
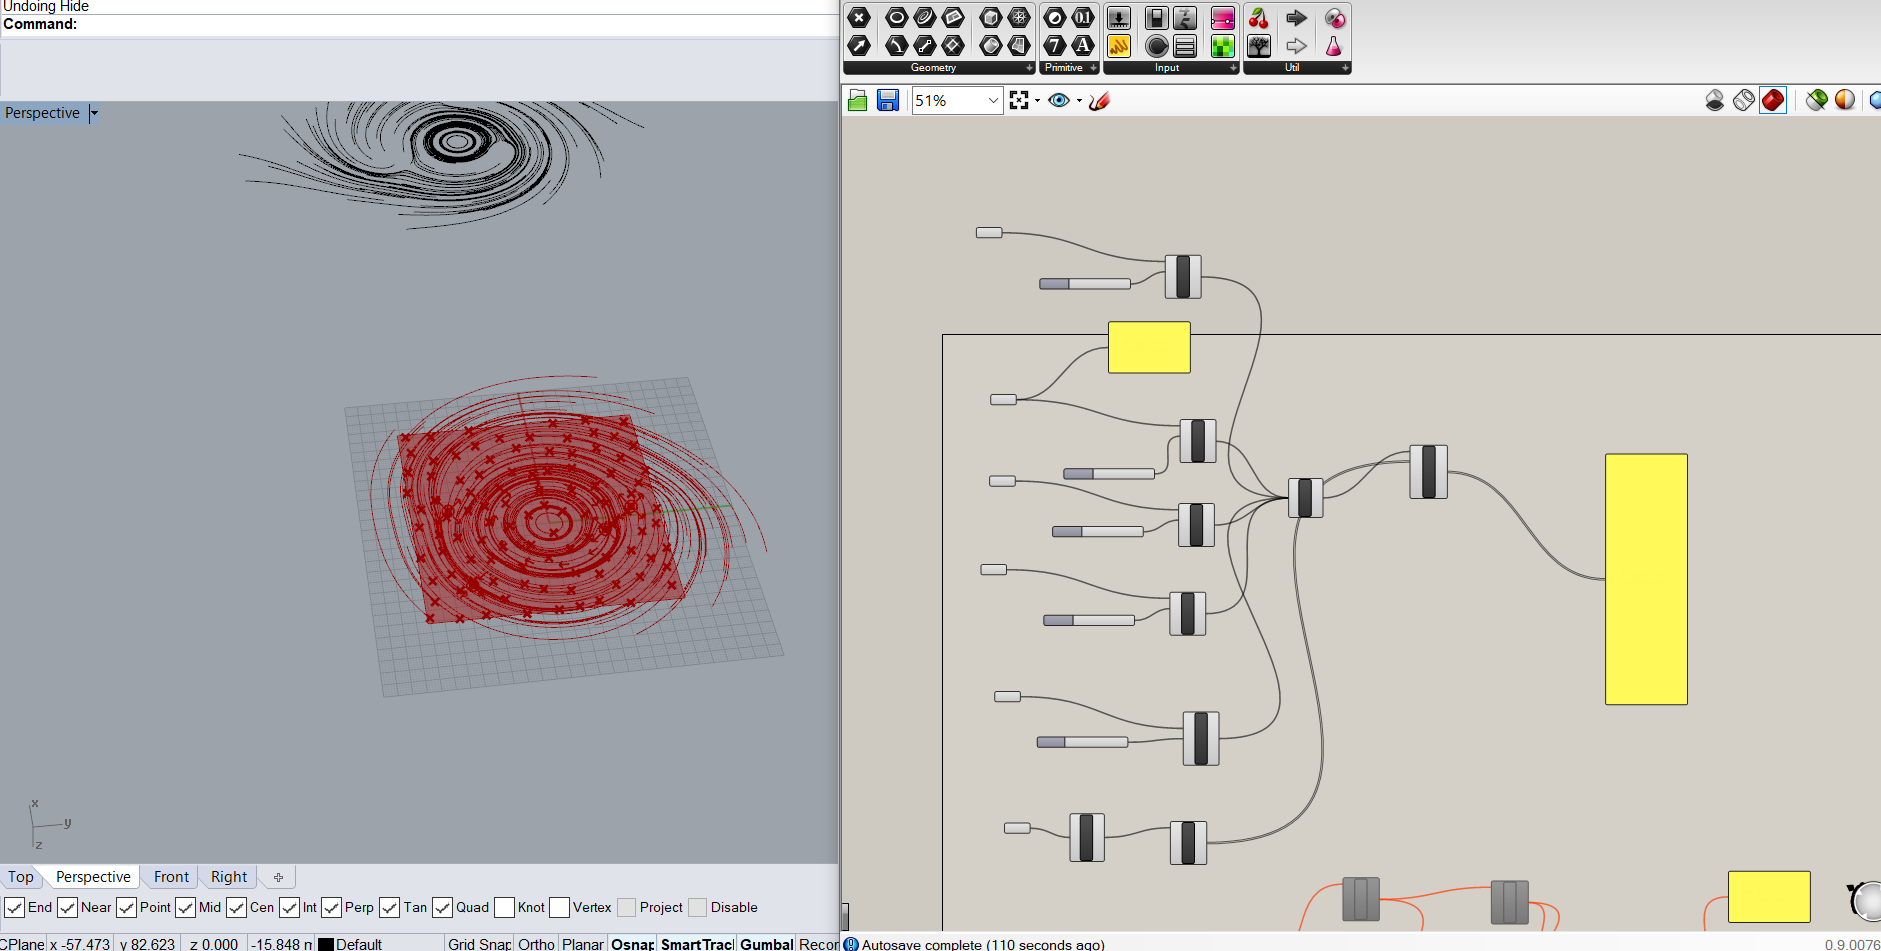
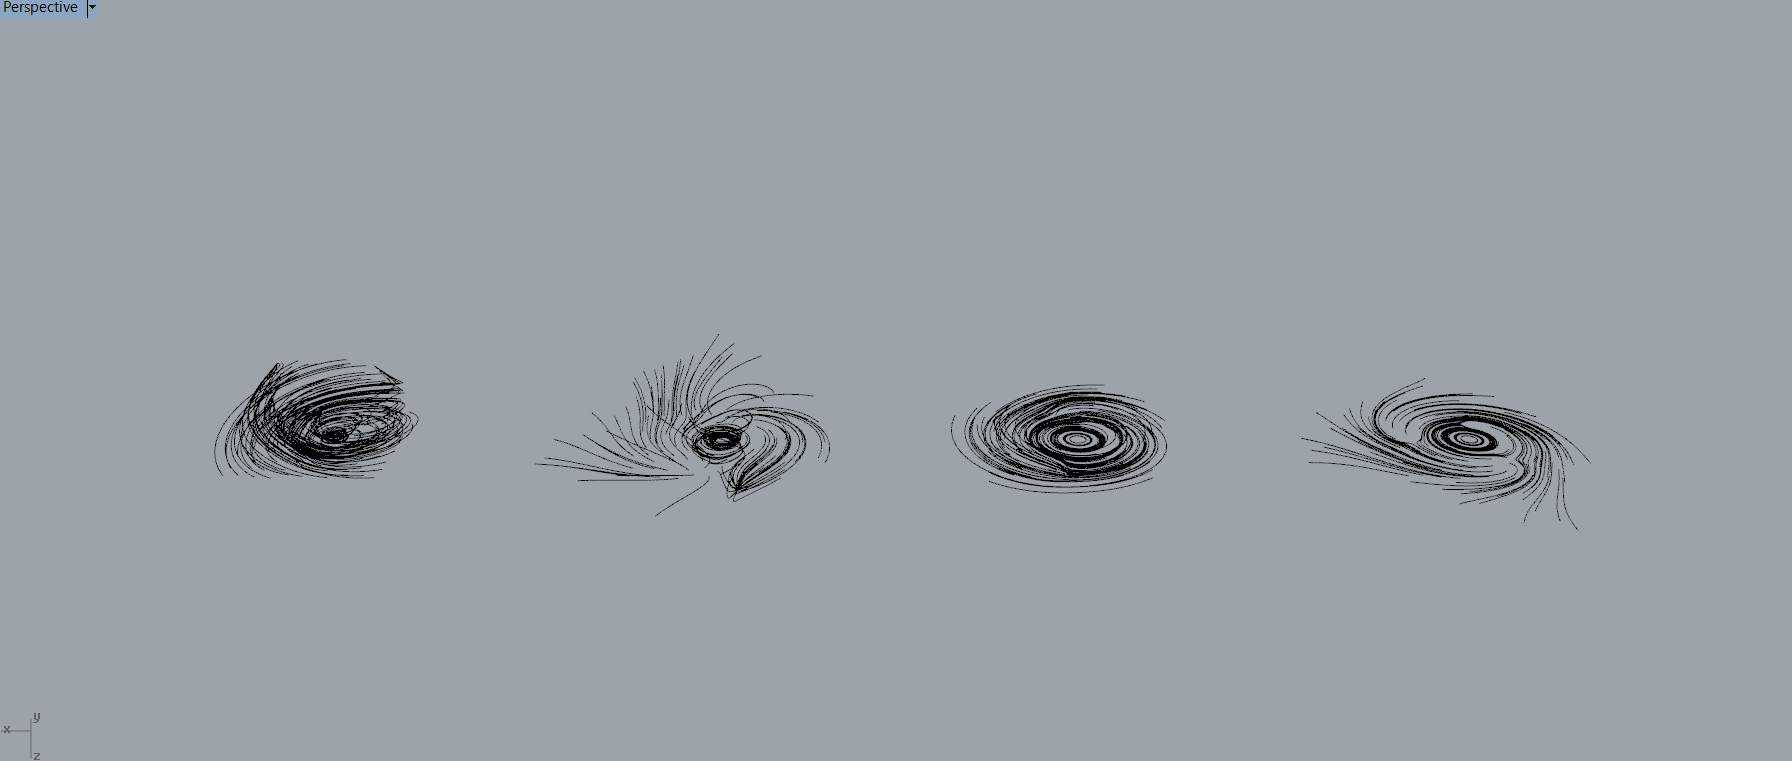
Fortunately, I was right about the 3D magnitudes in the points. I started to explore 3D possibilities on those vectors until I find an interesting shape.
Because I get Grasshopper logic it was easy to find the functions I needed to transform those lines to solids, I used Extrude Along. Then I set a Surface giving points to the function.
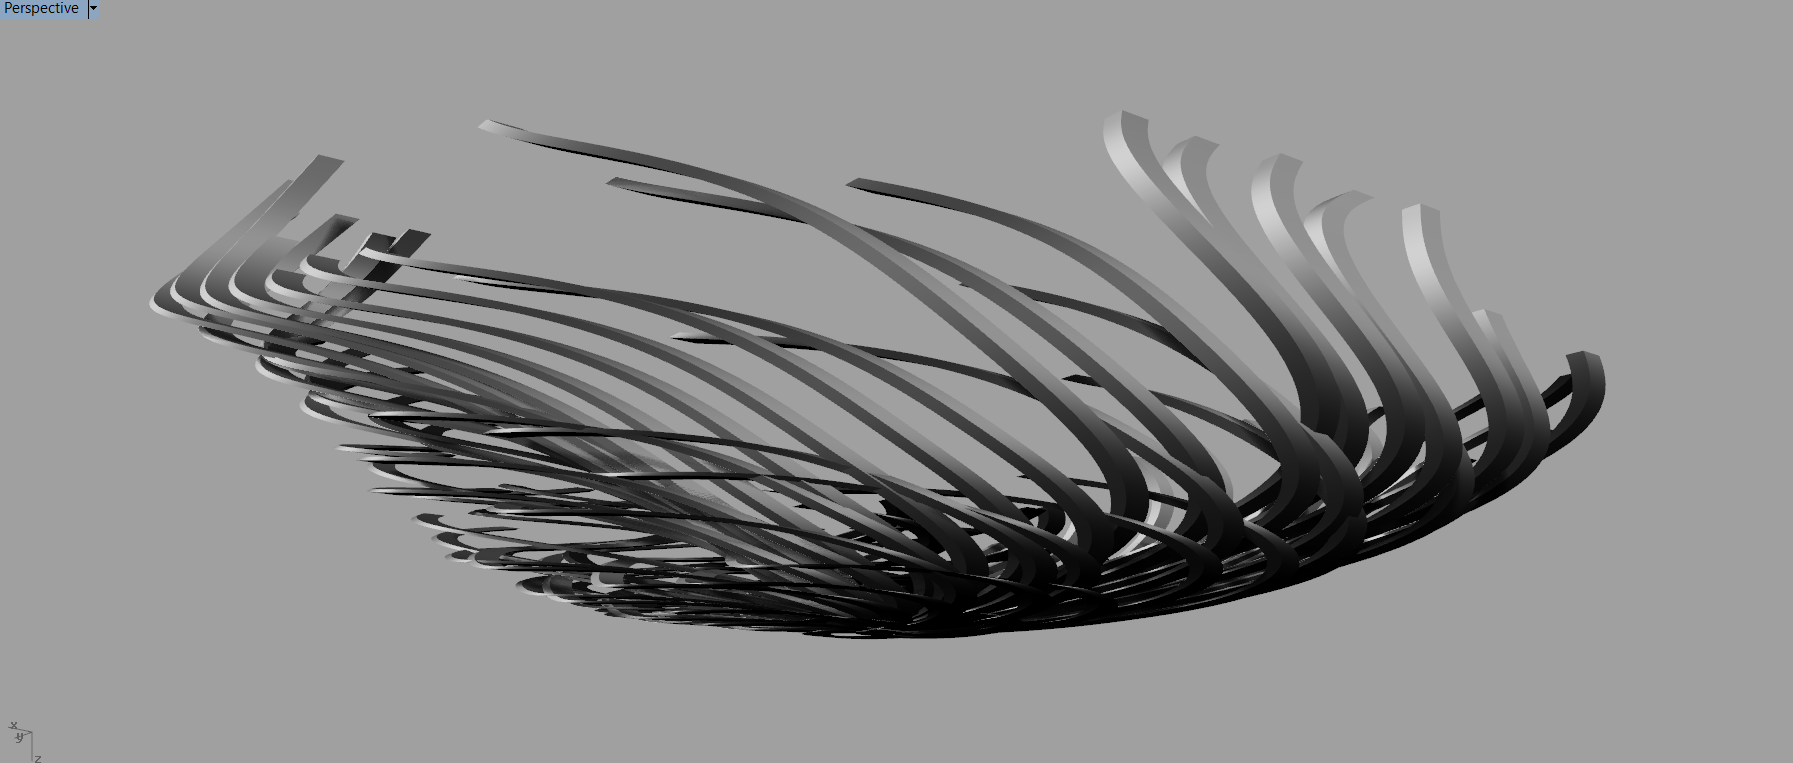
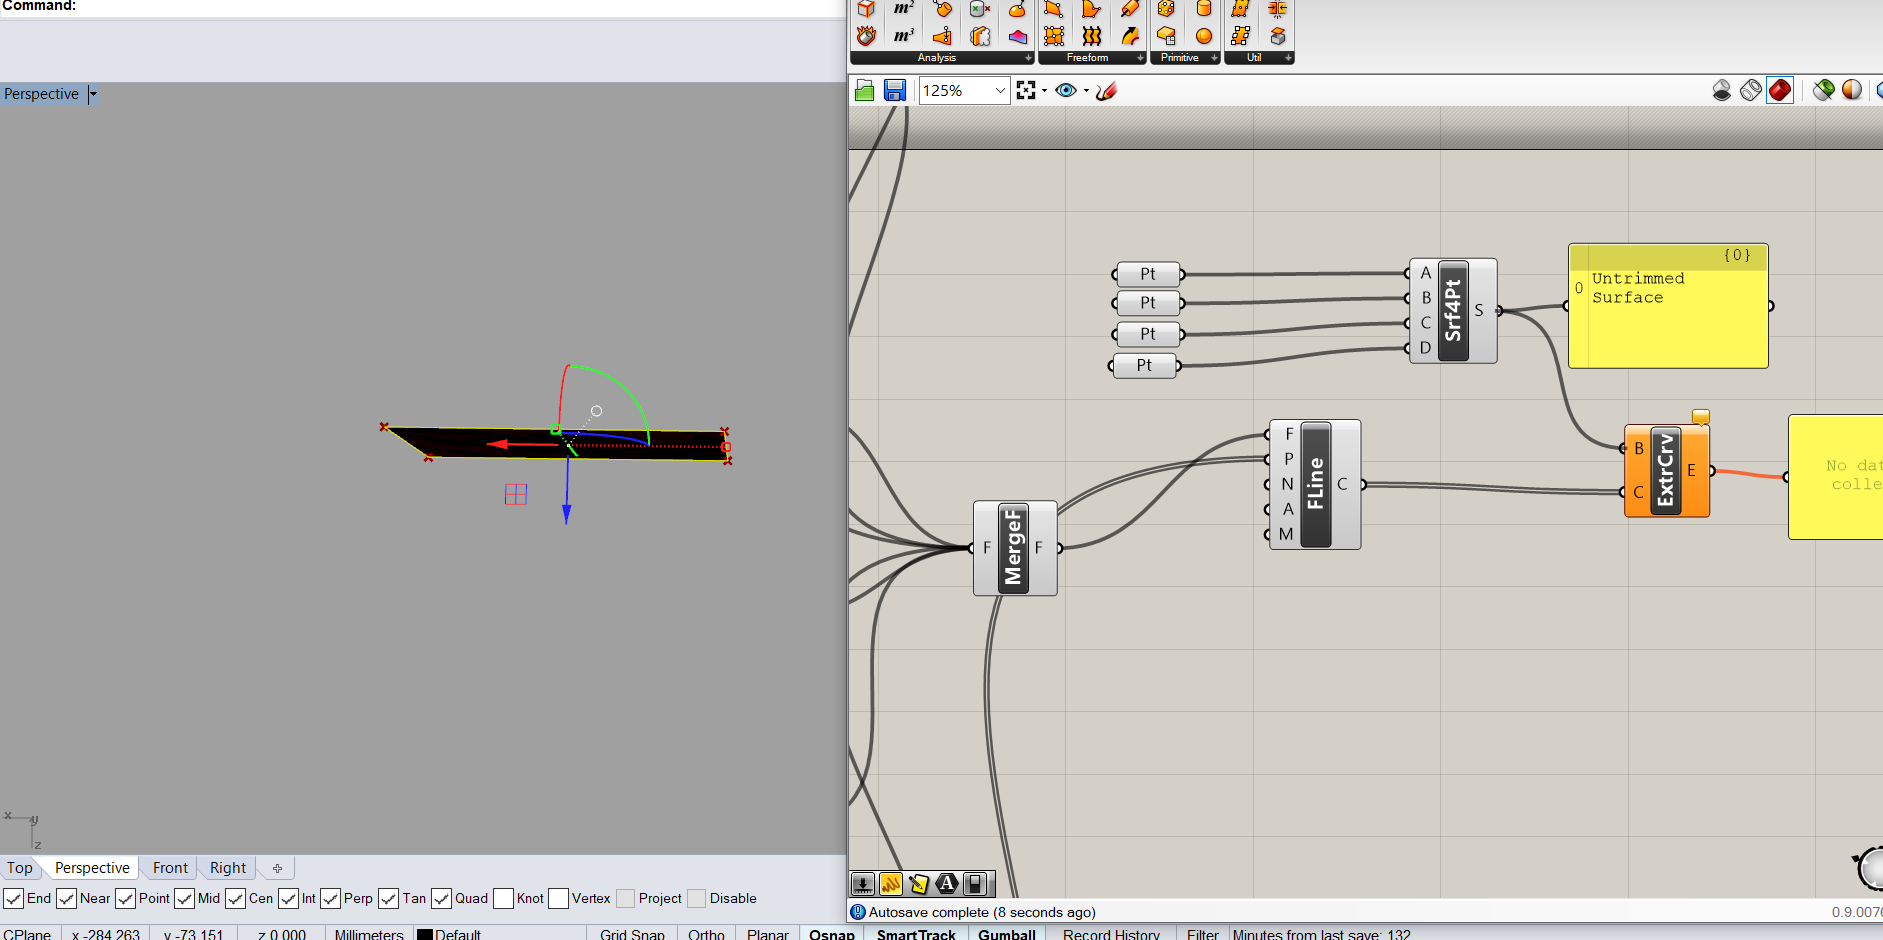
As you might see on picture above and picture below I changed de direction of de Surface because the movement of my vectors.
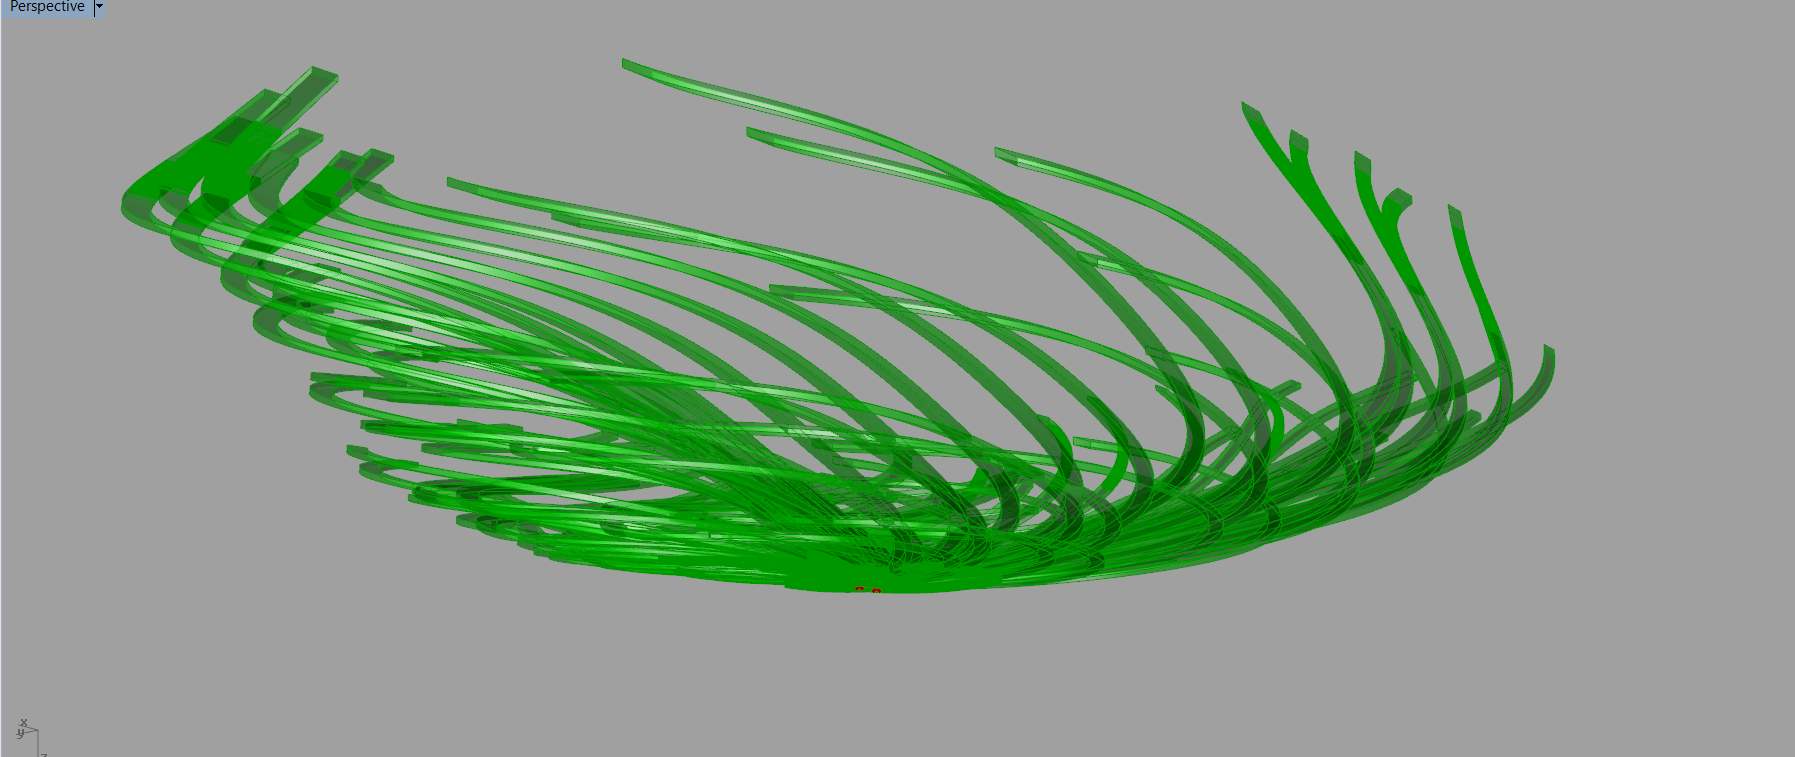
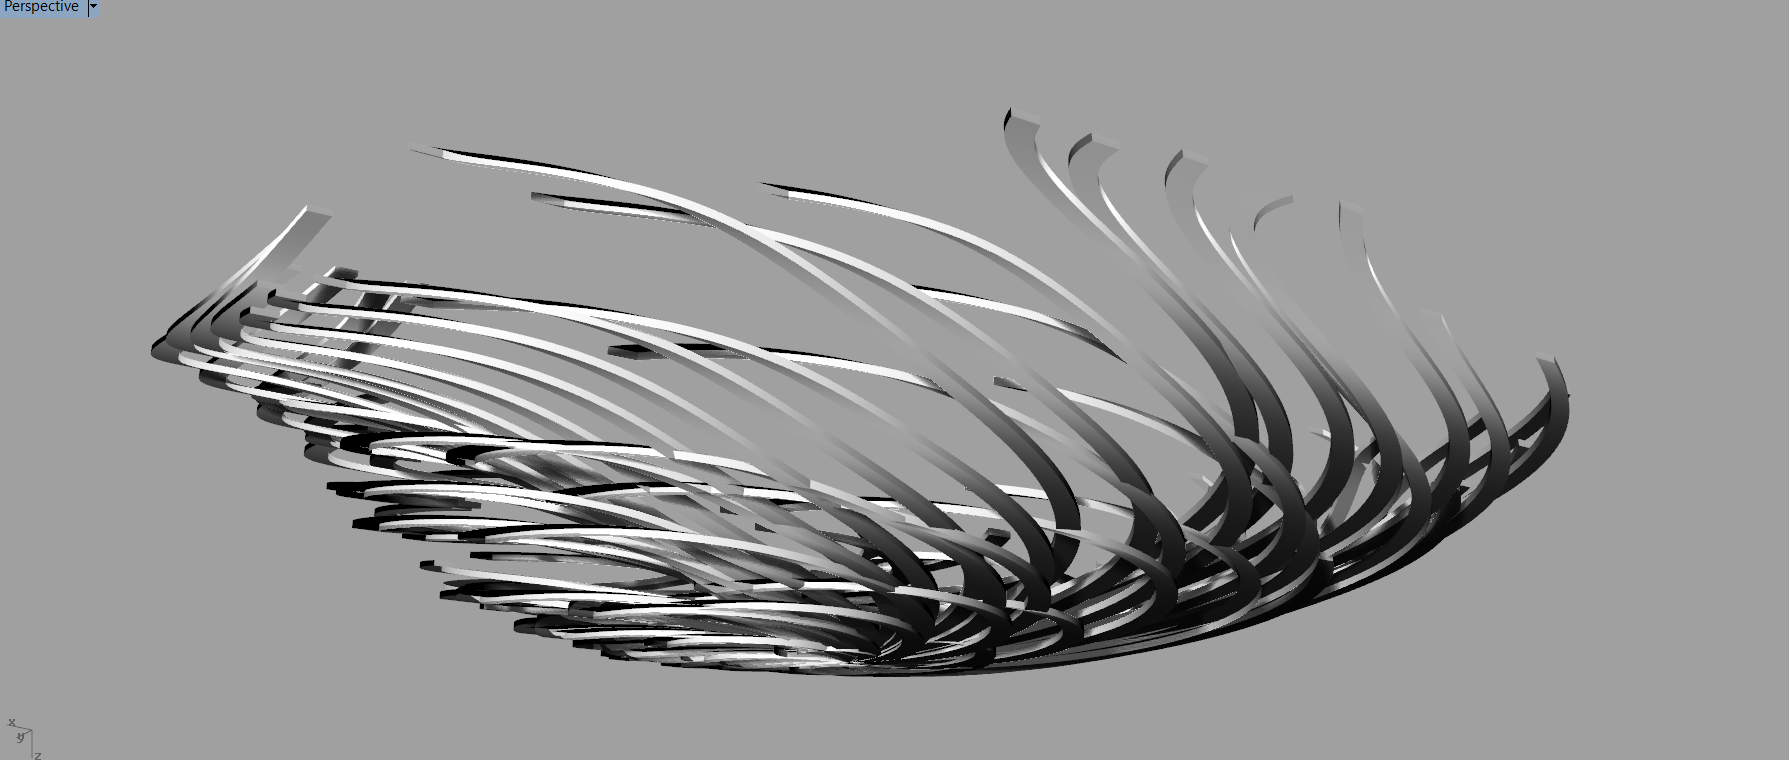
I shot to make a digital couture by using directions and vector magnitudes to guide the points up and down to generated a digital fabric with a rotation direction like a Parametric Hurricane.
3D print
As in digital in Digital Bodies week I decided to use Stratasys F270 to print. Because this printer has two extruders that print on model material and support material. Because all supports I need to print on FDM this complex shape I am sure this is the best chose.
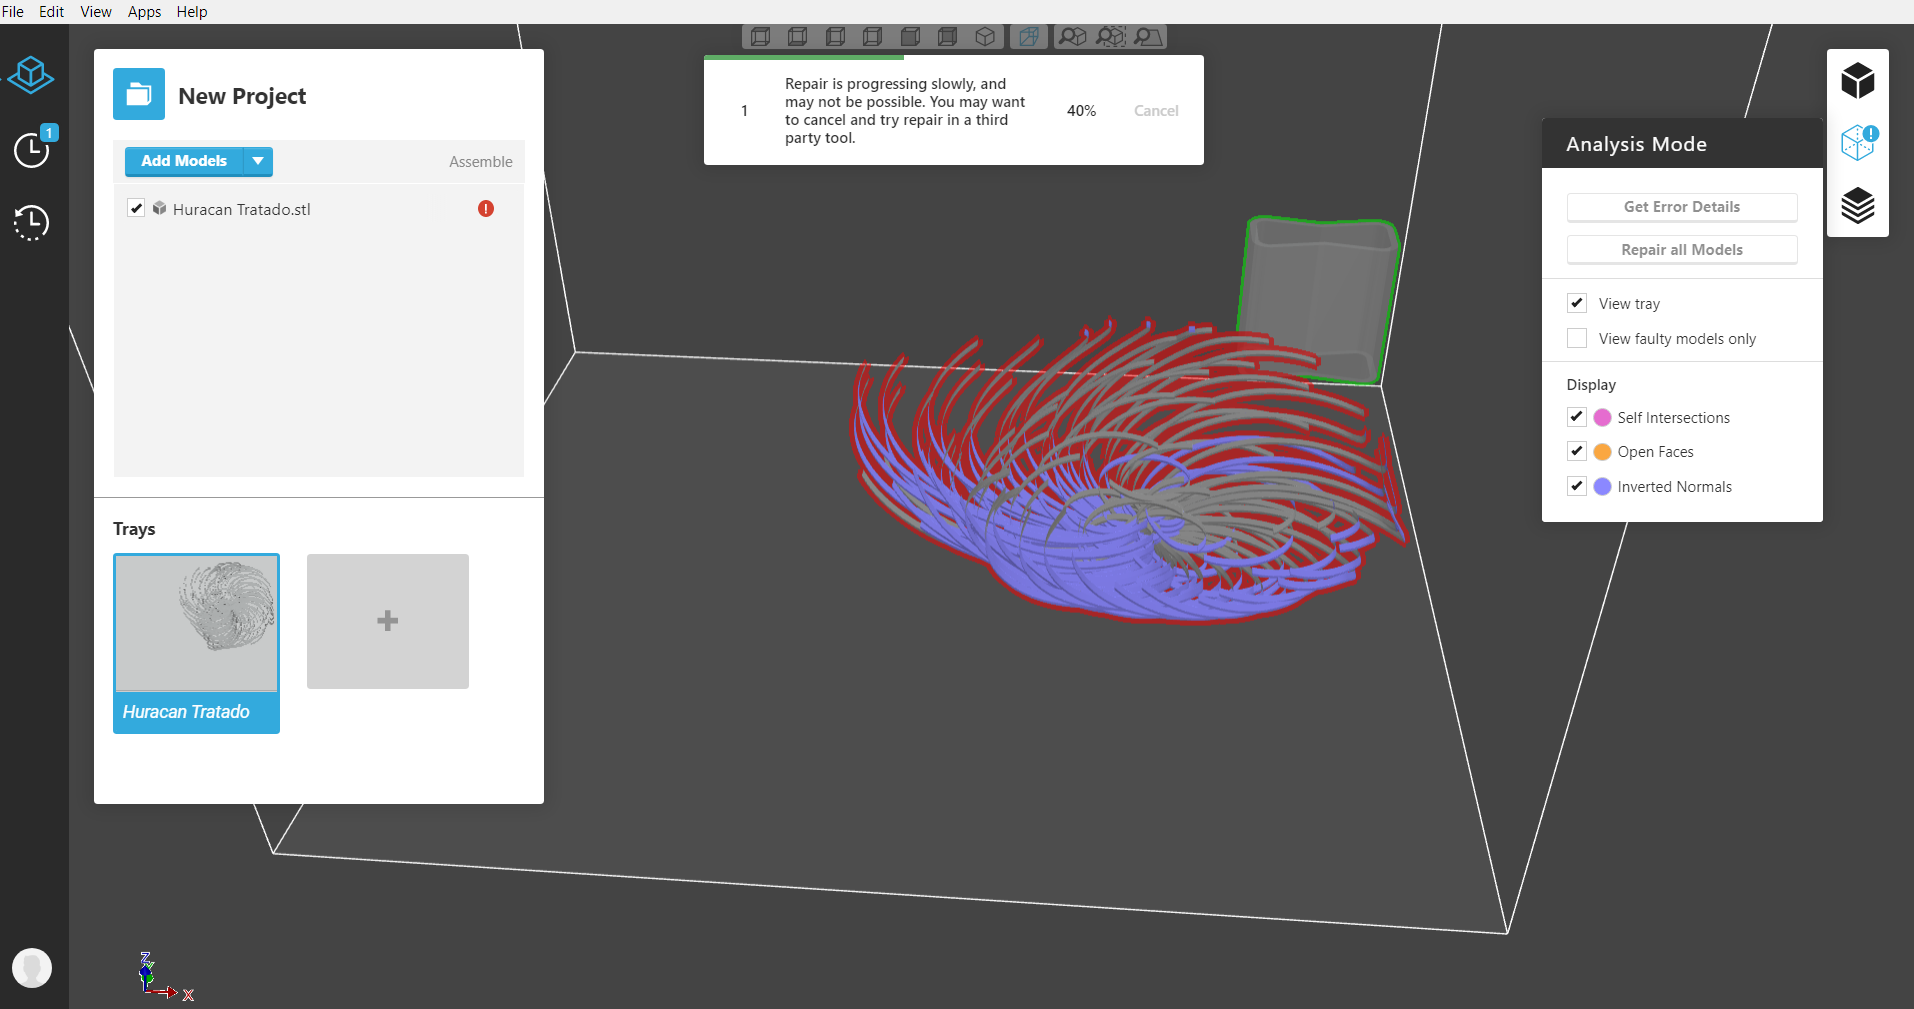
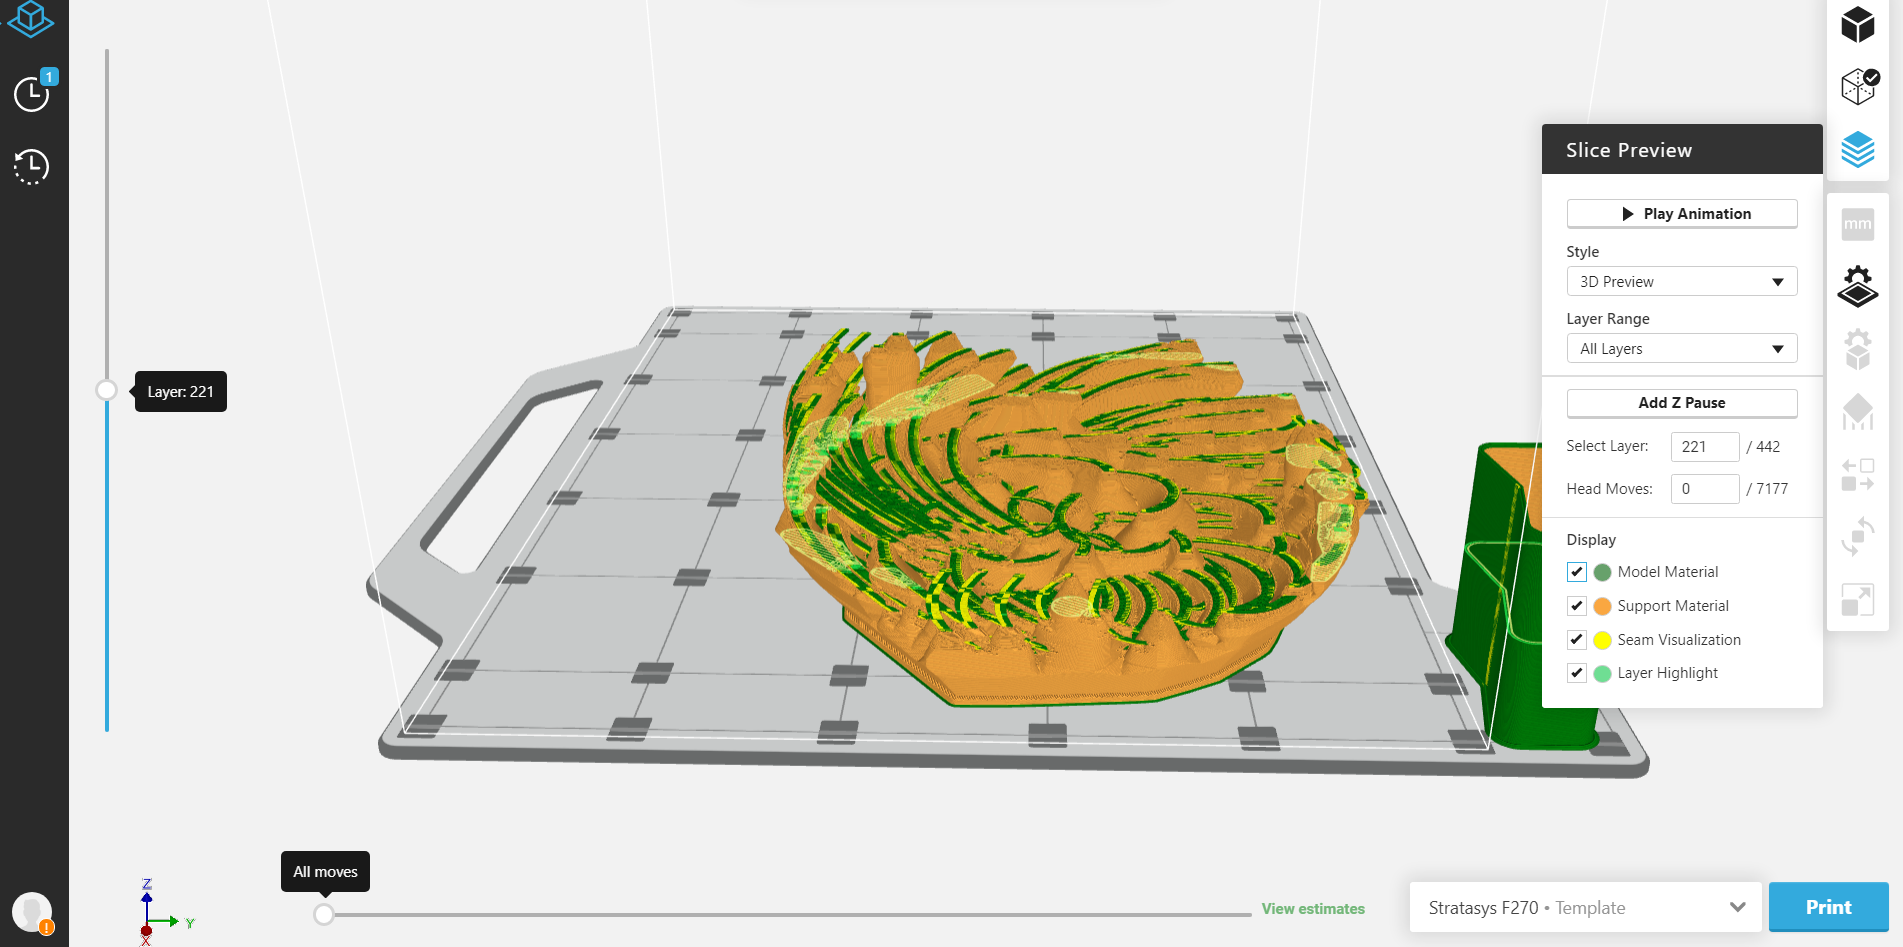
In the process of generating G-code this complex shape gives a lot of work to GrabCAD Print software to fix the model. So I used Meshmixer to fix it and even Meshmixer did a nice job GrabCAD needed almos 2 hours of process to generated G-code.
Final Result
Once I printed the shape. The printer show a error in 50% of the process. Support head was jogging, when I try to recover the print. The printer reboot in a strange way. Then I removed the piece and try to print a little sample to see if everything was ok. But no, the printer wasn’t working so I had to ask Stratasys support. We are still figuring out what happened. This was a nice experience to compare FDM technologies close and open source. In an open source printer you could try to fix it because you can find information on-line. In this case there is no information on line and you can lose Stratasys warranty.
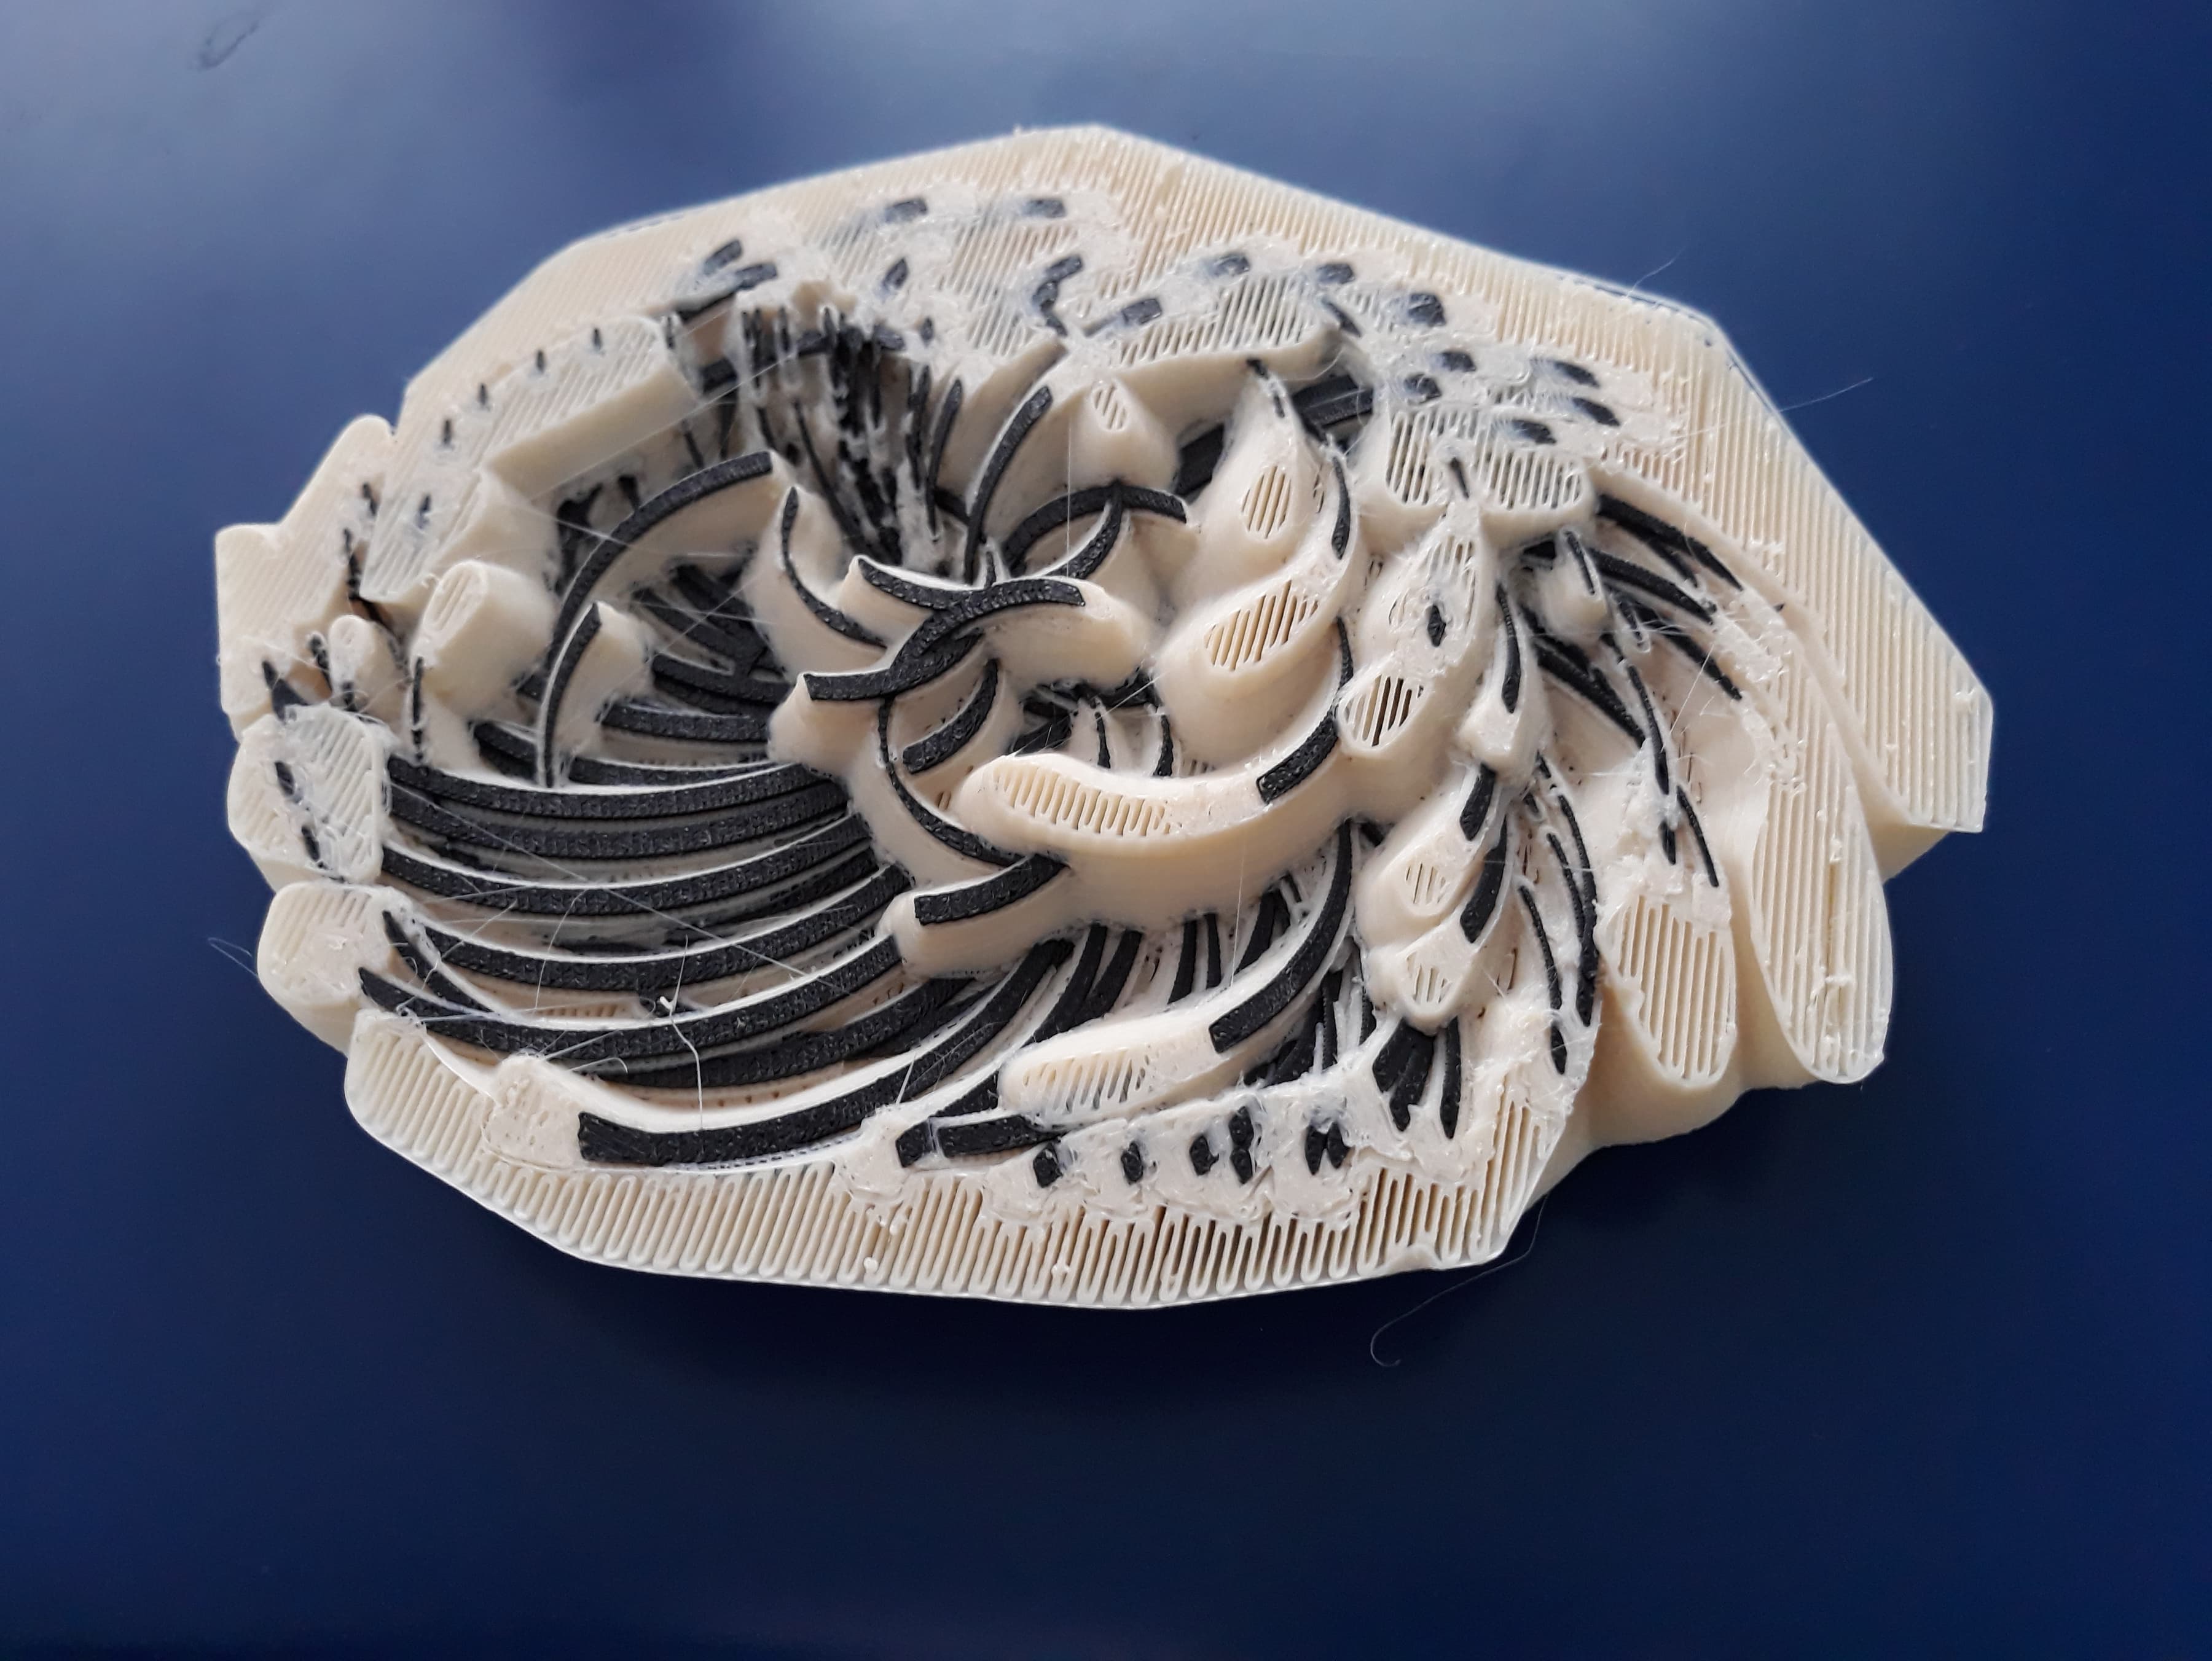
Fortunately the peace that I designed was enough printed for this exercise to prove the concept. I am really happy for the result because it perform as a “computational made fabric” that was the idea. In this sense you may find on gifs below that it is performing with a nice flexion and it can be used as a nice accessory for a garment.
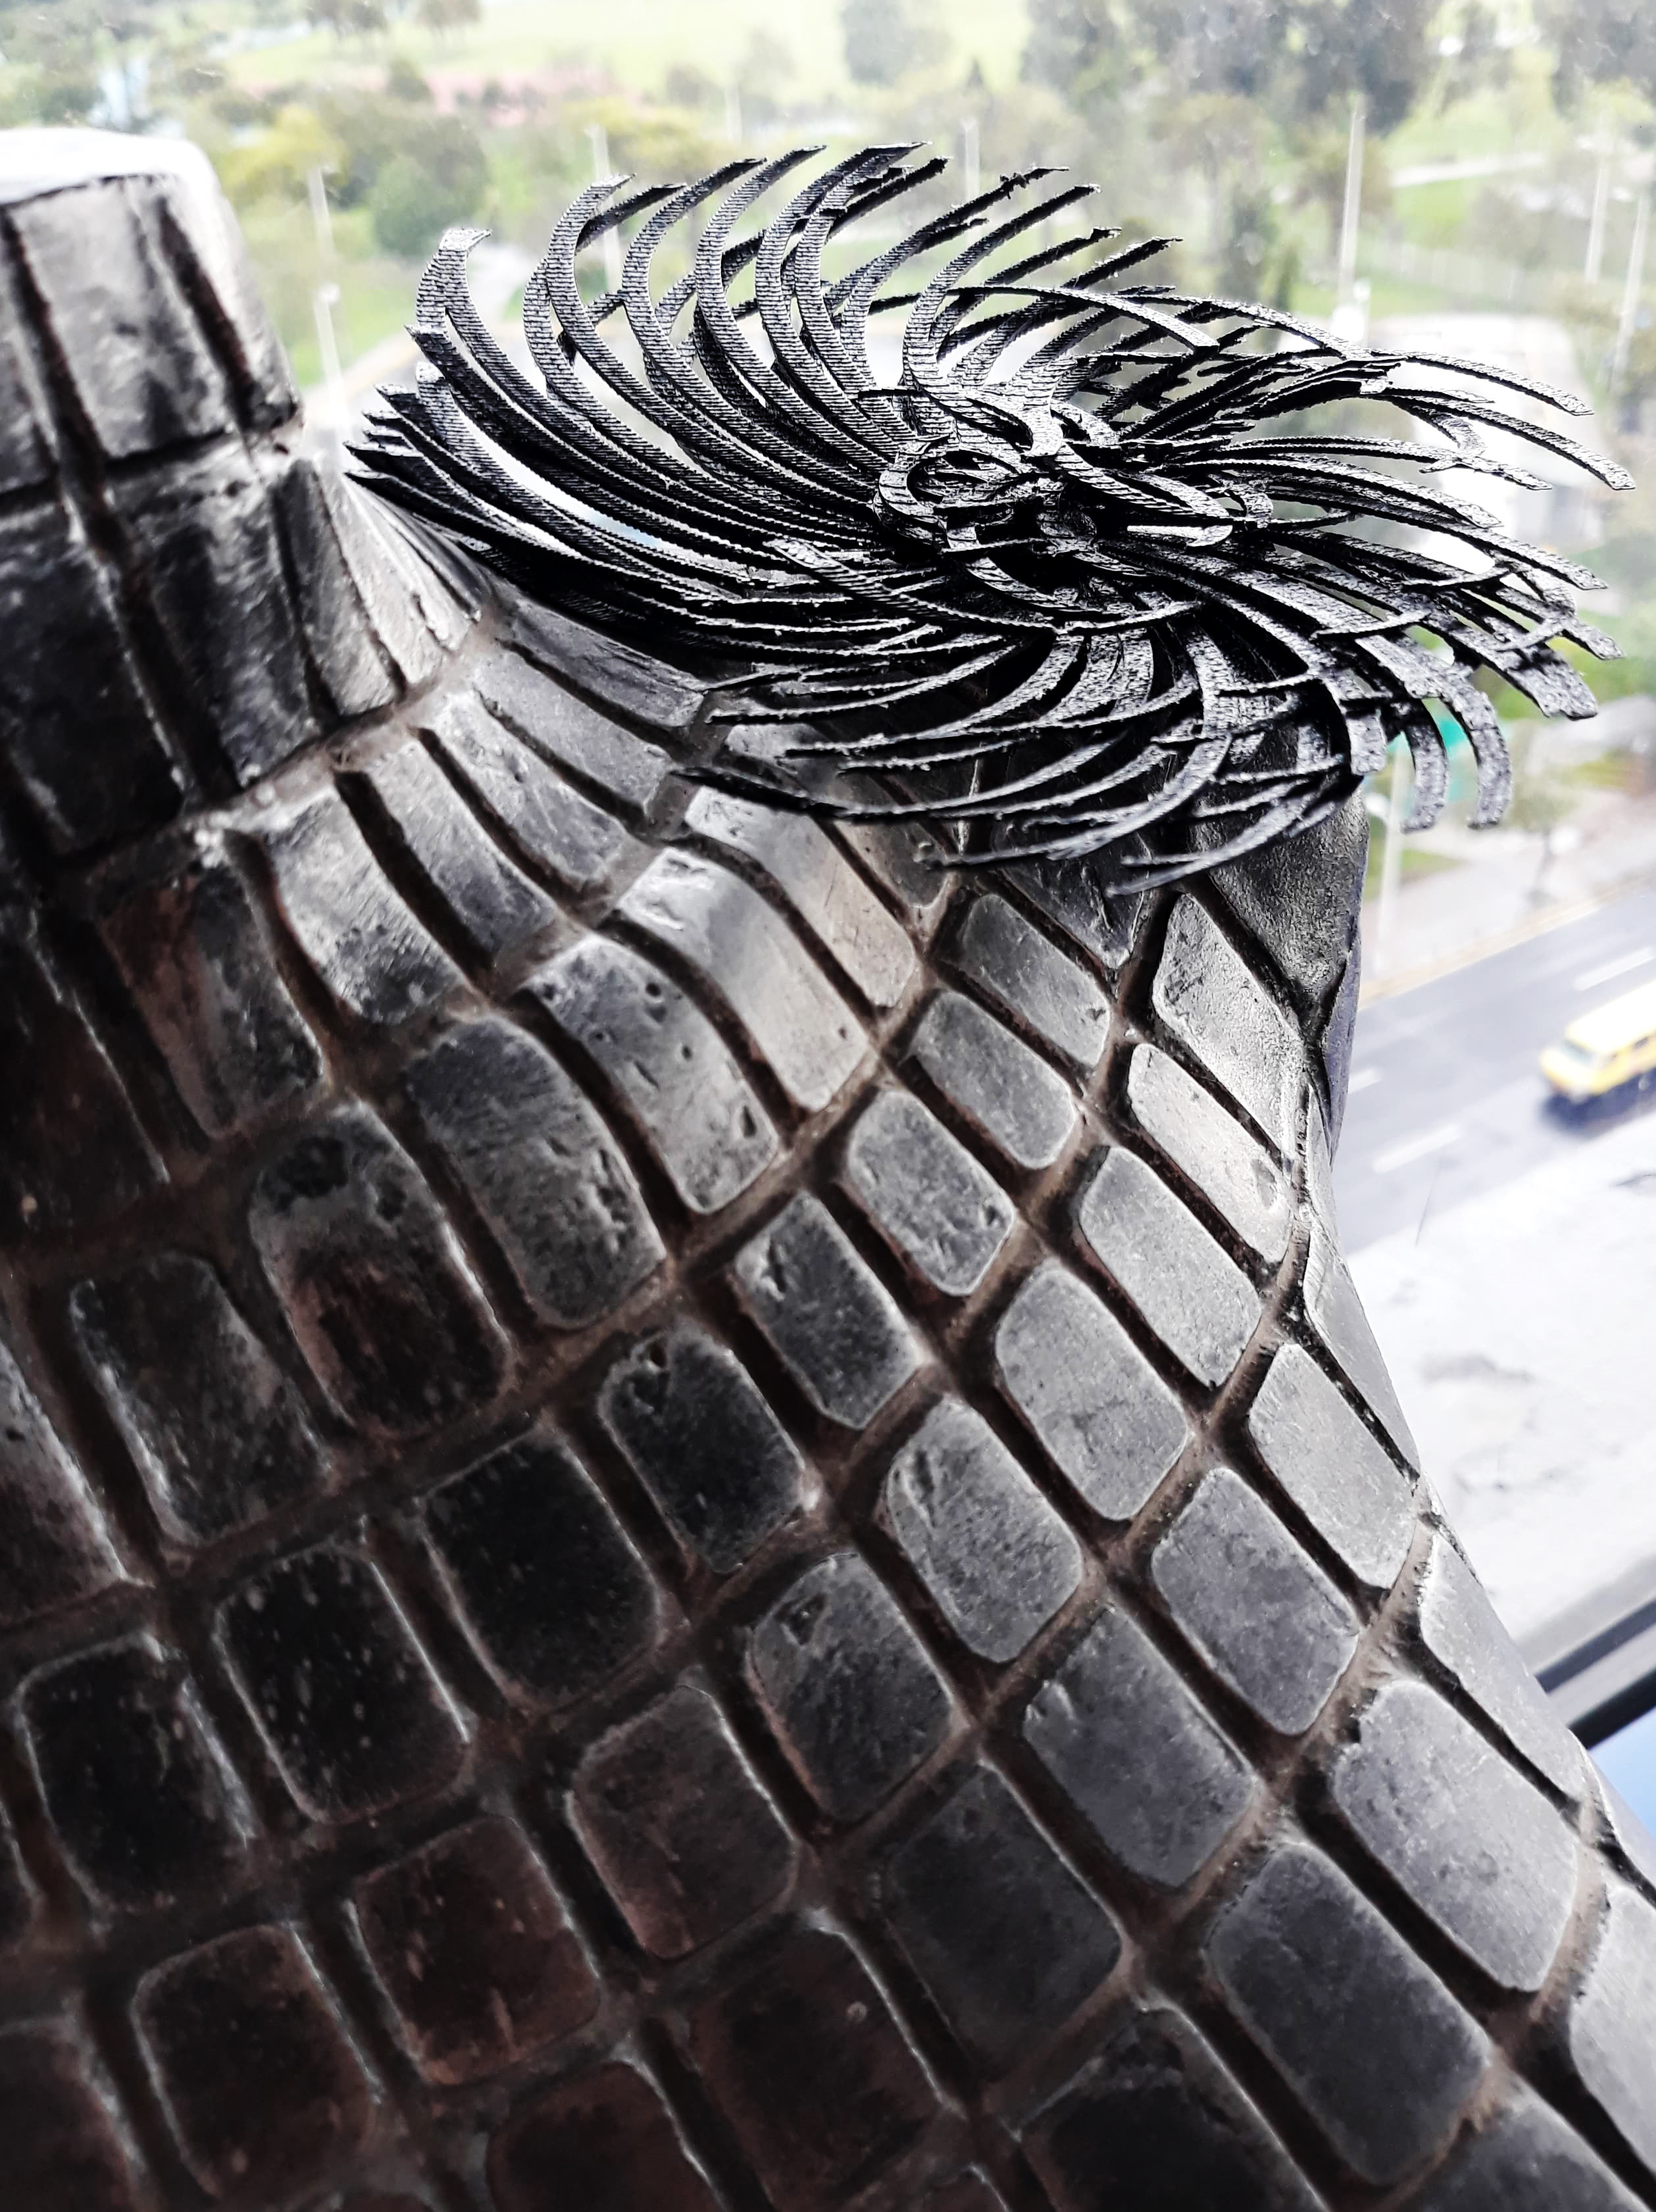

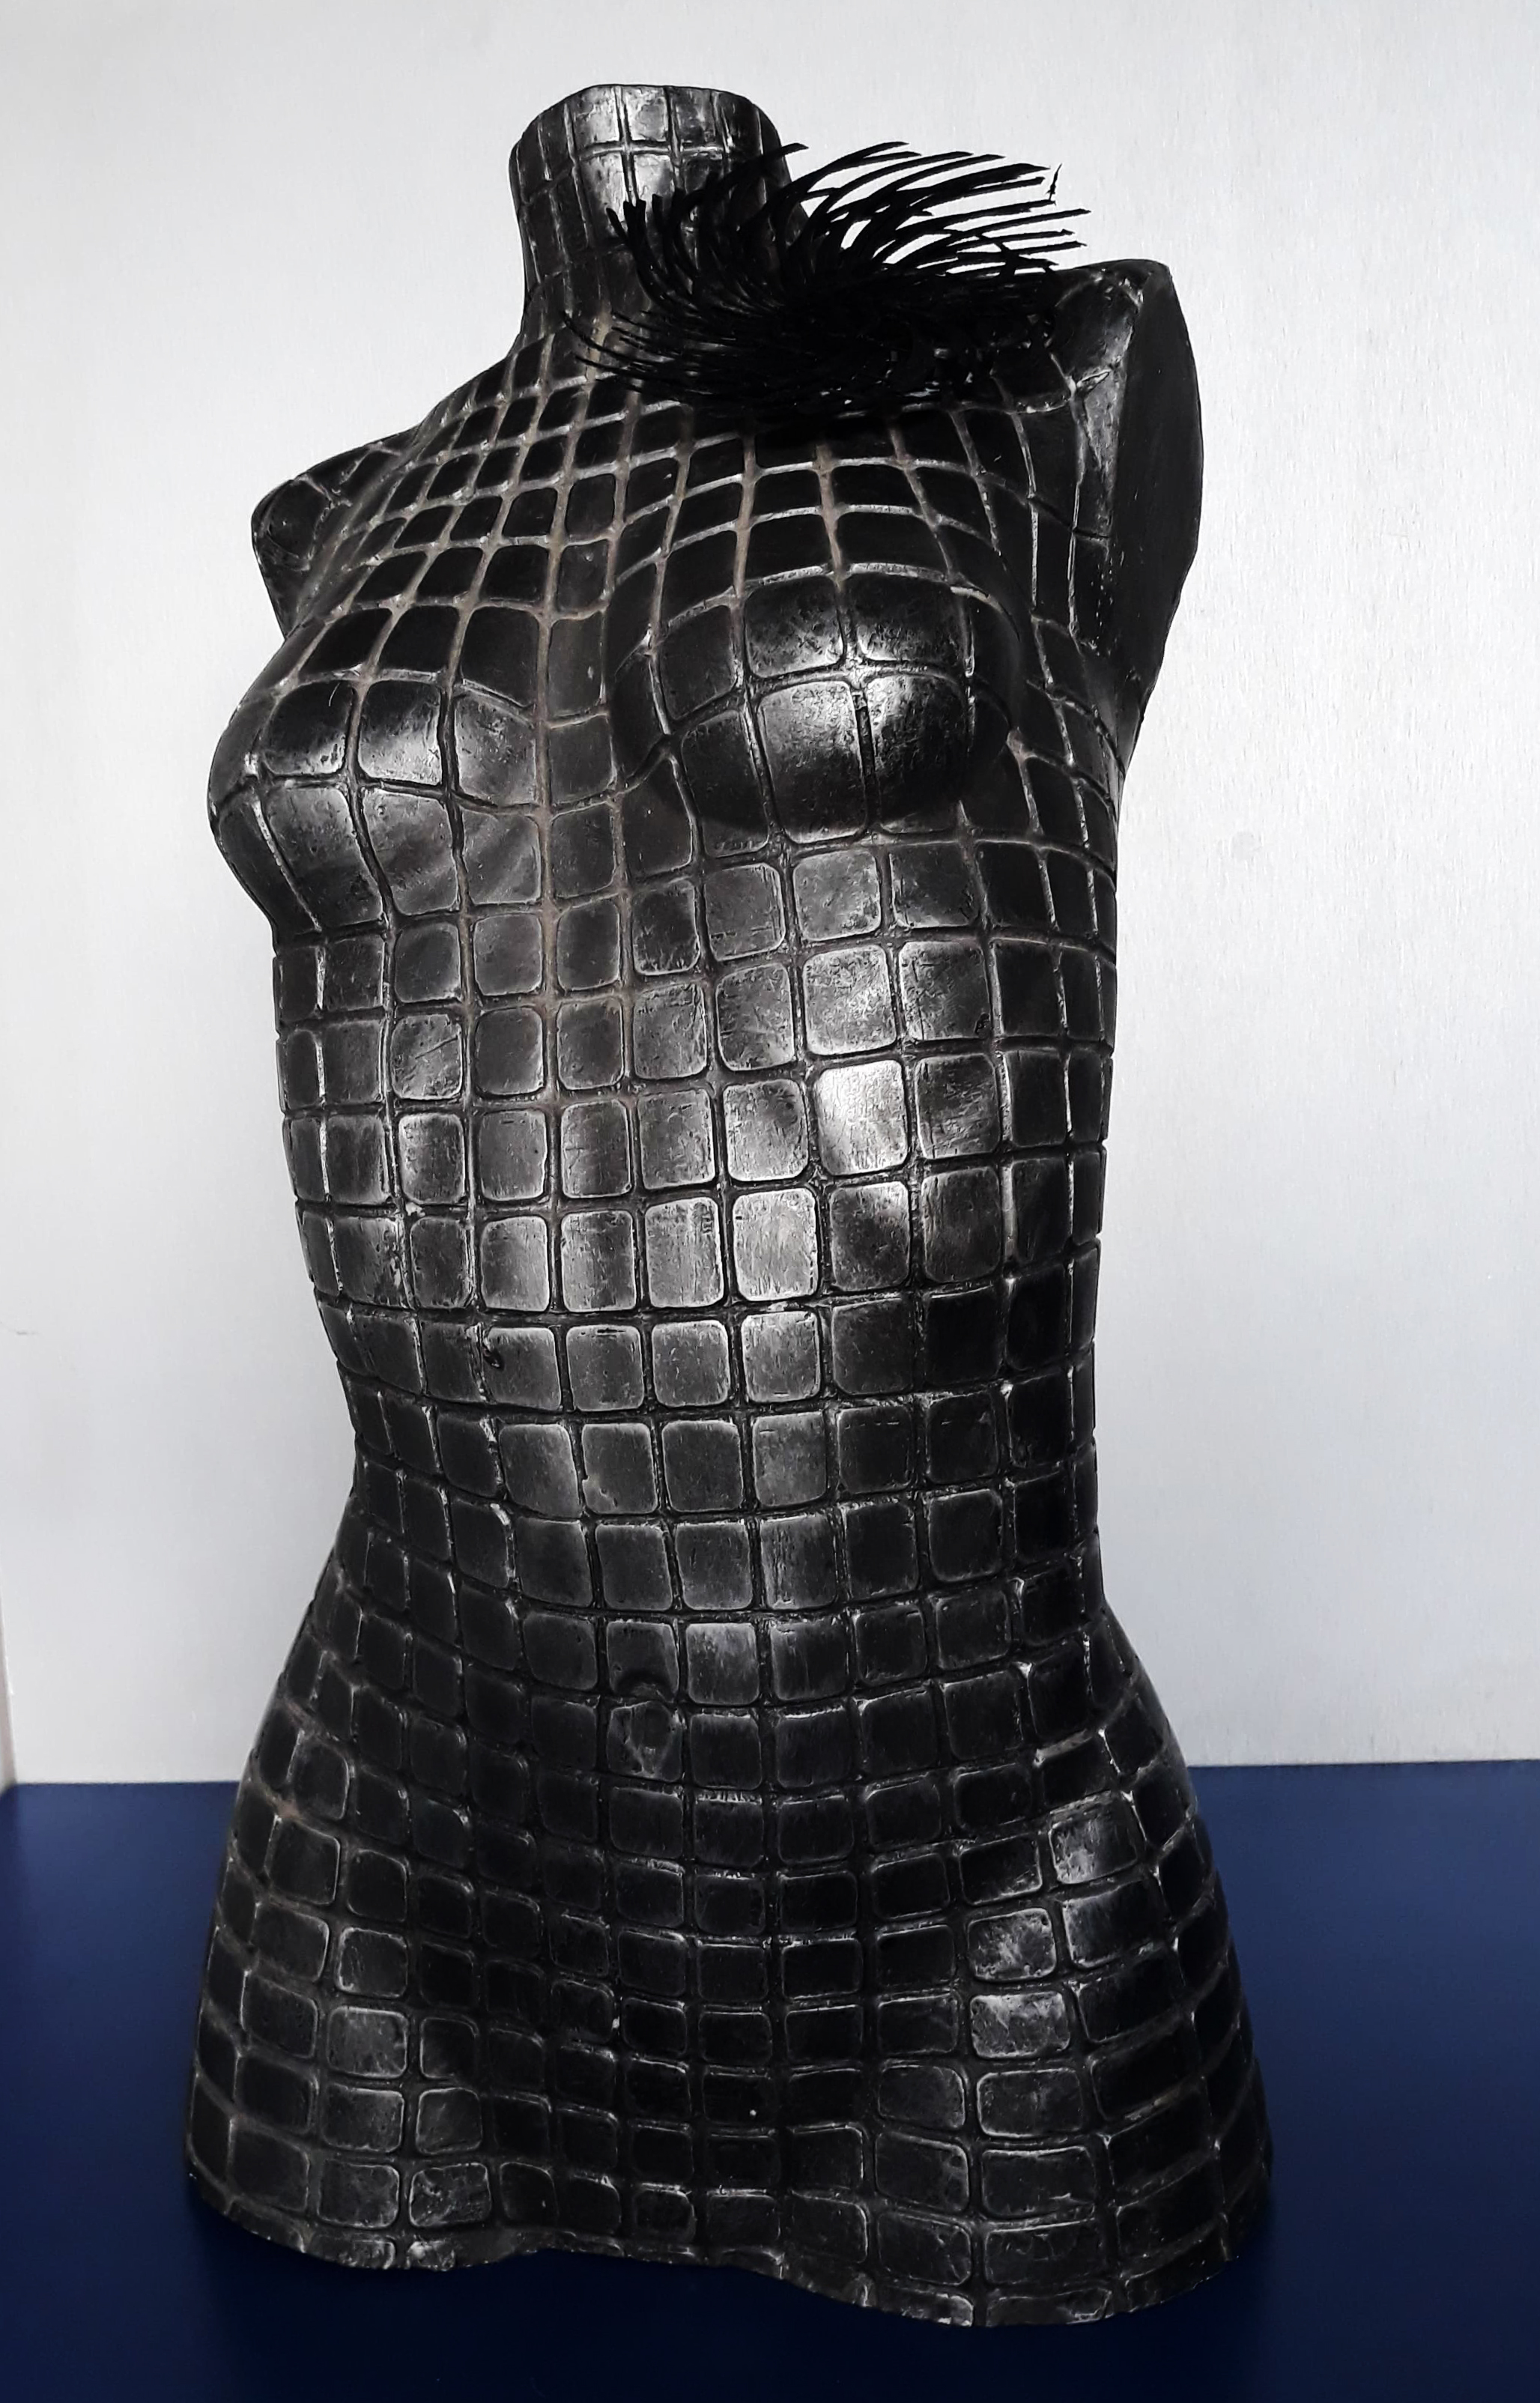
For future explorations the hurricane can connect with others to make an entire garment overlapping each other.