9. Textile as scaffold
This week I worked on defining my final project idea and started to getting used to the documentation process.
Assignment
- Document the concept, sketches, references also to artistic and scientific publications. √
- Design a parametric model using Grasshopper3D and upload the rhino file + grasshopper files. √
- Learn how to use 3D printing techniques to print the 3D model in/on the chosen materials. √
- Document the workflow for exporting your file and preparing the machine and gcode to be 3D printed. √
- Upload your stl file with pictures at : https://oscircularfashion.com. √
- Submit some of your swatches to the analog material library of >your lab. (20cm *20cm aprox). √
How will it be evaluated
- References : tutorial , links, inspiration √
- Design : sketch , 3D modeling skills, Parametric modeling skills √
- Fabrication : Capable of executing from file to production workflow, from 3D modelling to 3D printing , parameters, materials √
- Documentation : Anyone can go through the process and understand √
- Final outcome : Is the project assembled, functioning and complete √
- Originality - Aesthetics : Has the design been thought through and elaborated √
Files and Links
Workflow
- Research
- Design 2D and 3D
- Textil + wood
- Alpaca + rubber
- Final result
Research
Honestly “textile as scaffold” sound more as Lara campos final project and I understand more as a FabAcademy composites.
This week I also decide to explore and learn more about Rhino Grasshopper software. I have come up with the idea to produce a shape that could function on 2D and 3D. And thanks to parametric design would be a possibility.
Design 2D and 3D
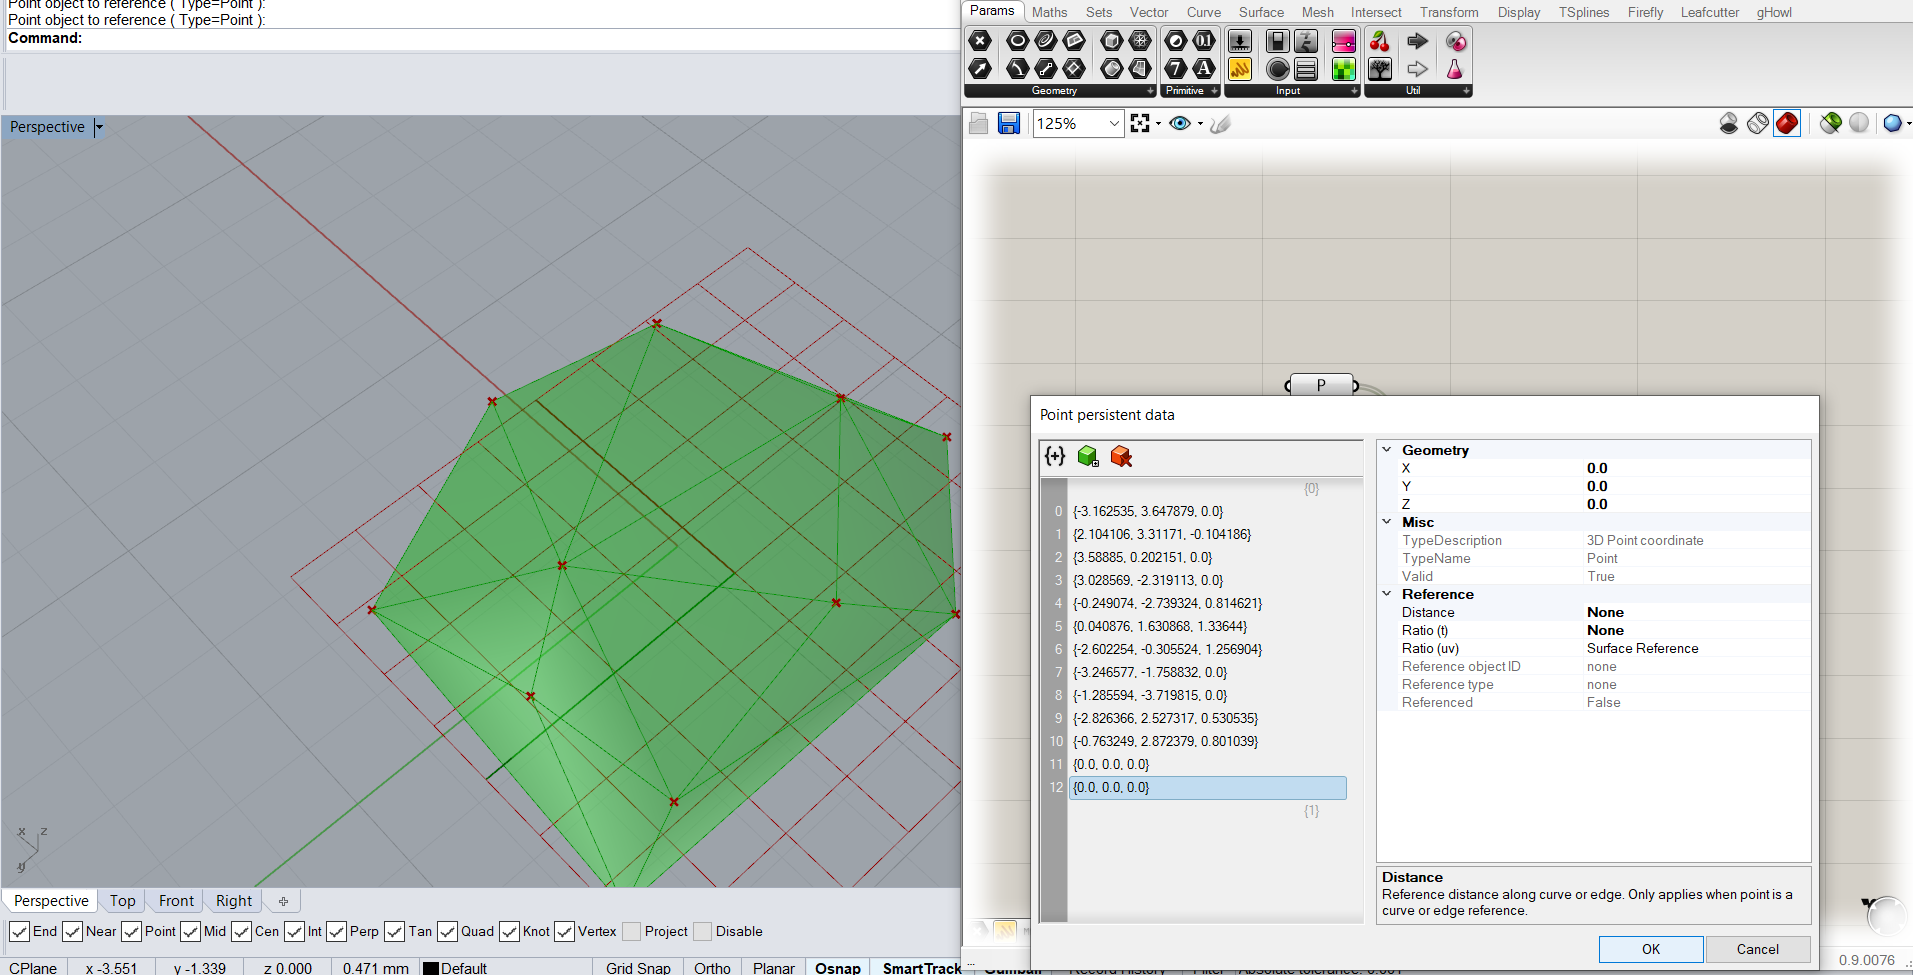
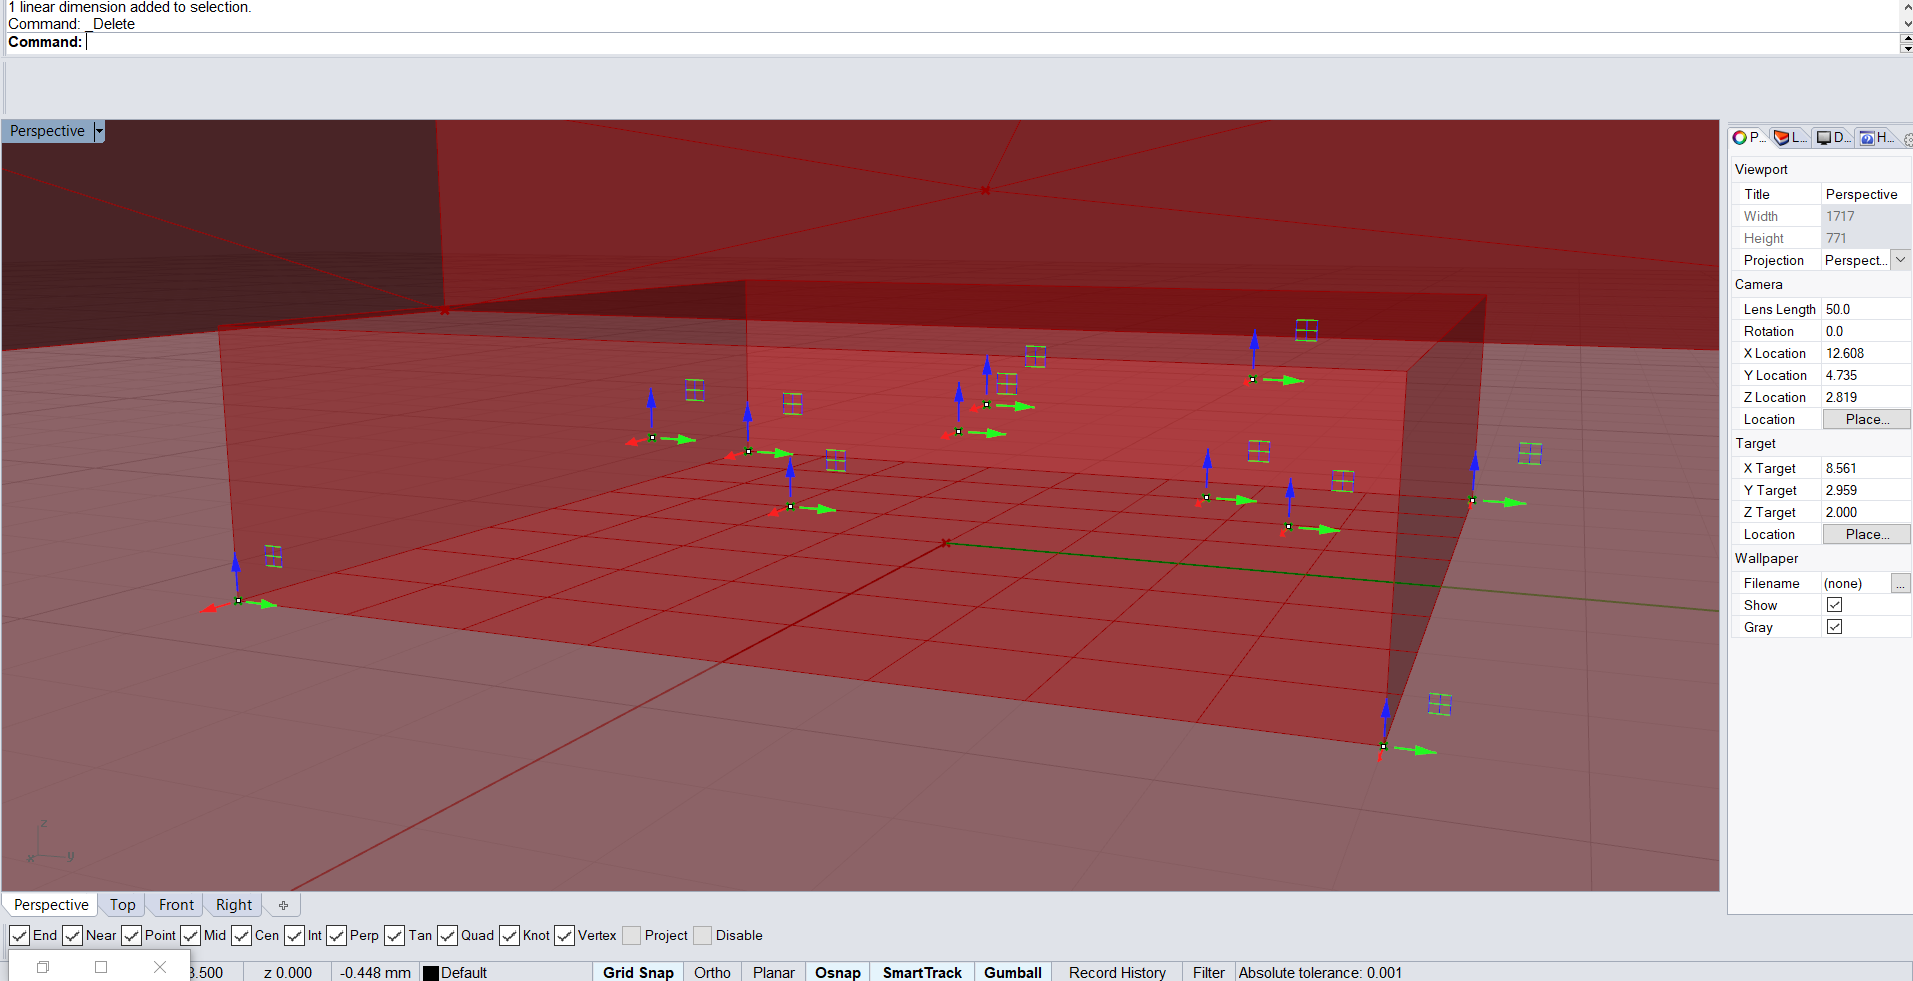
This time I decided to start my scrip from scratch. I began with setting a plane and some points above it.


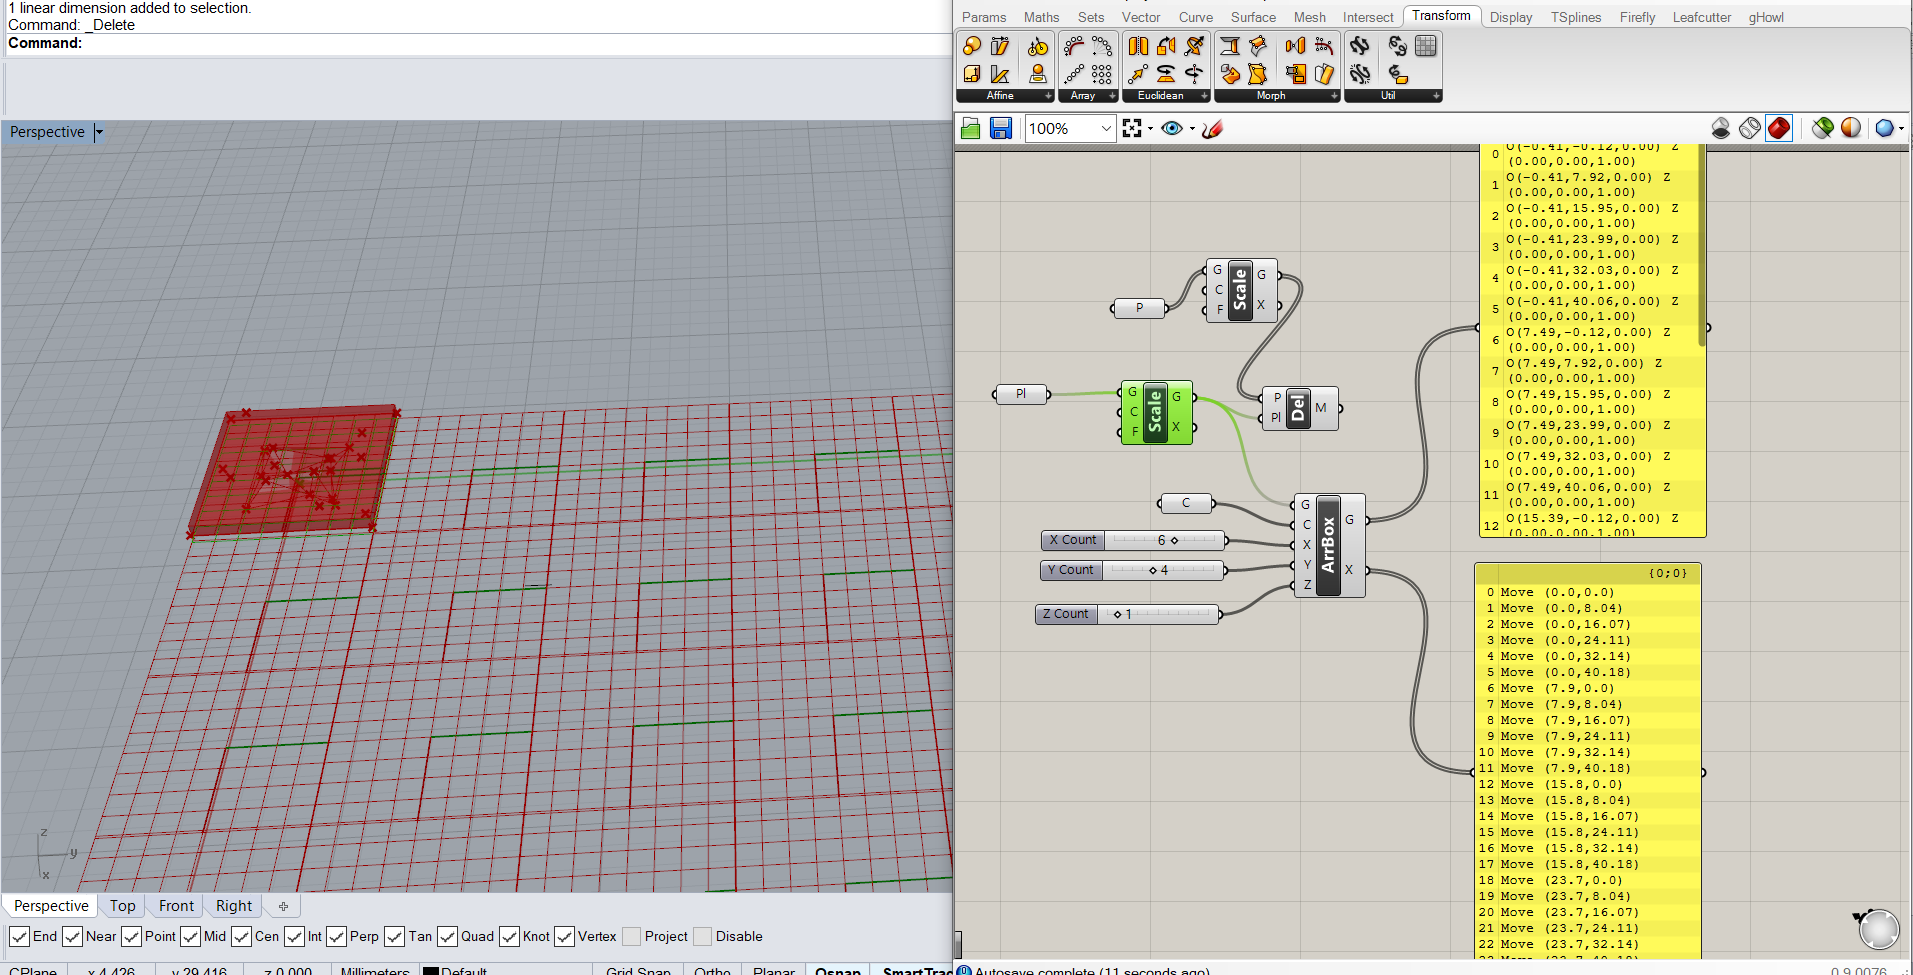
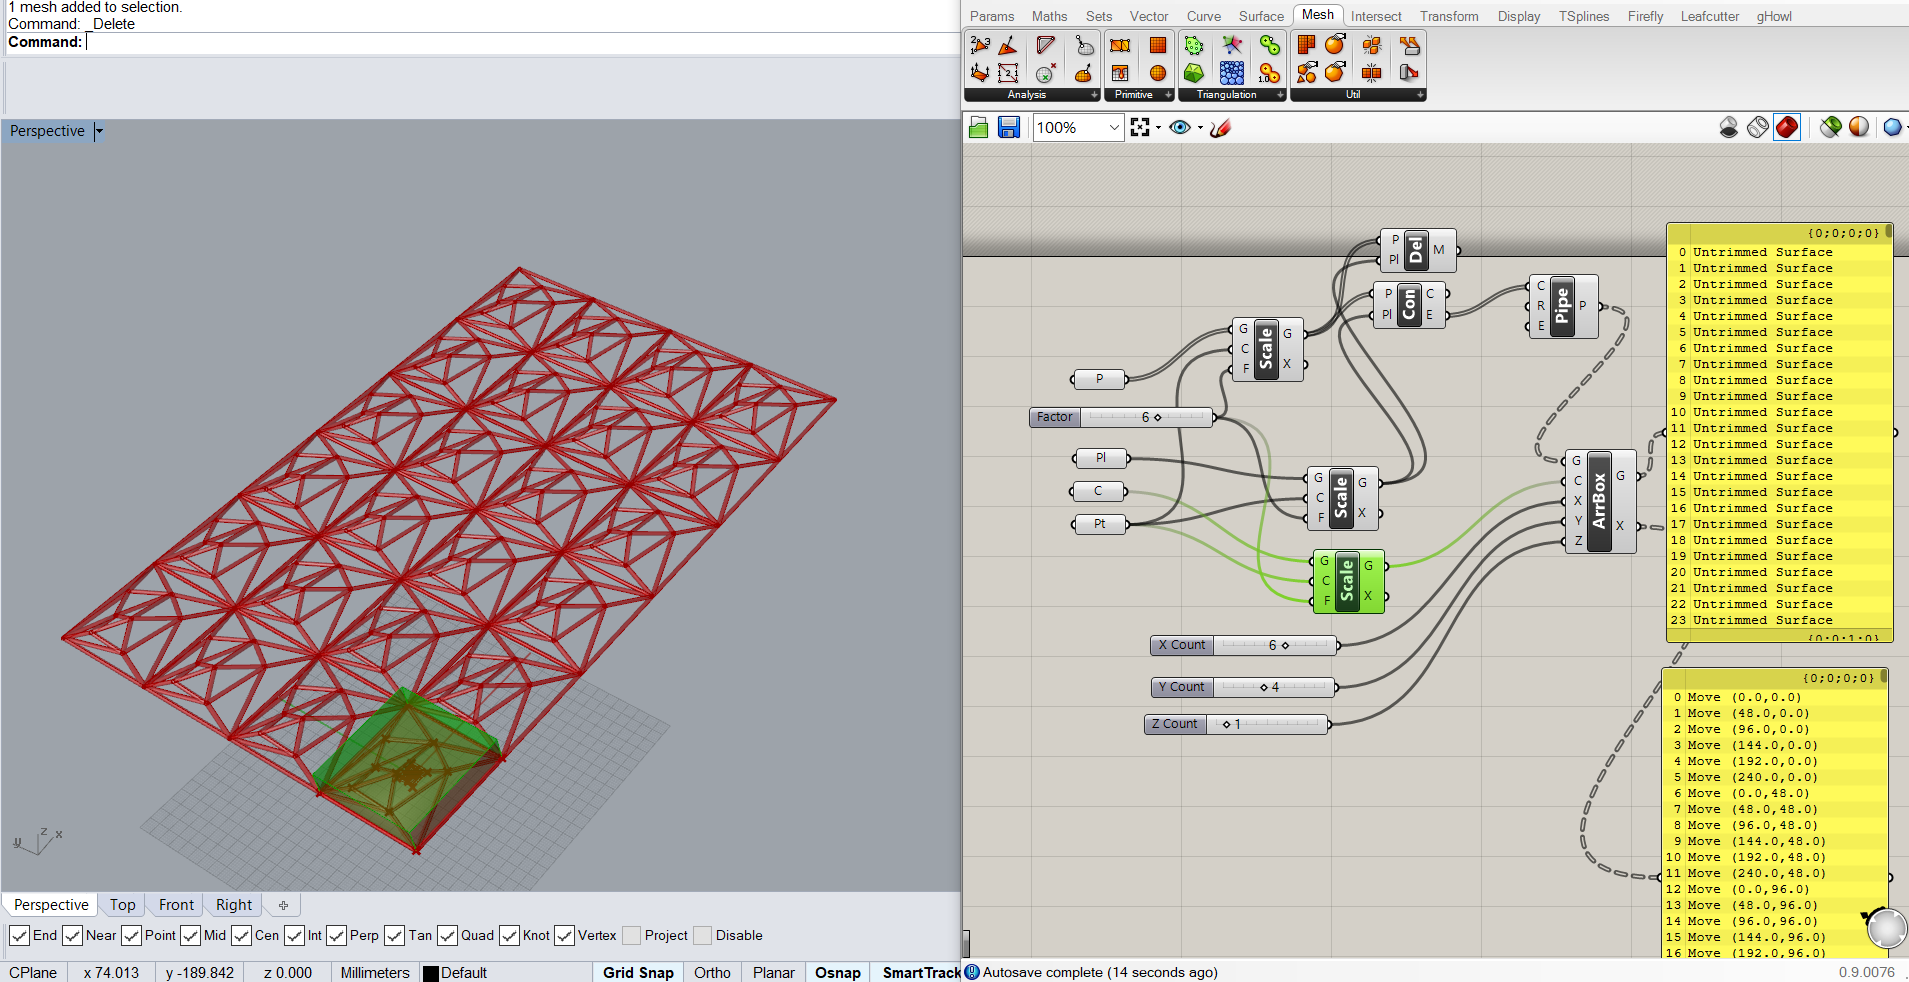
Then I did an array of the shape. Also I needed to scale my shape to be in a human and correct scale.
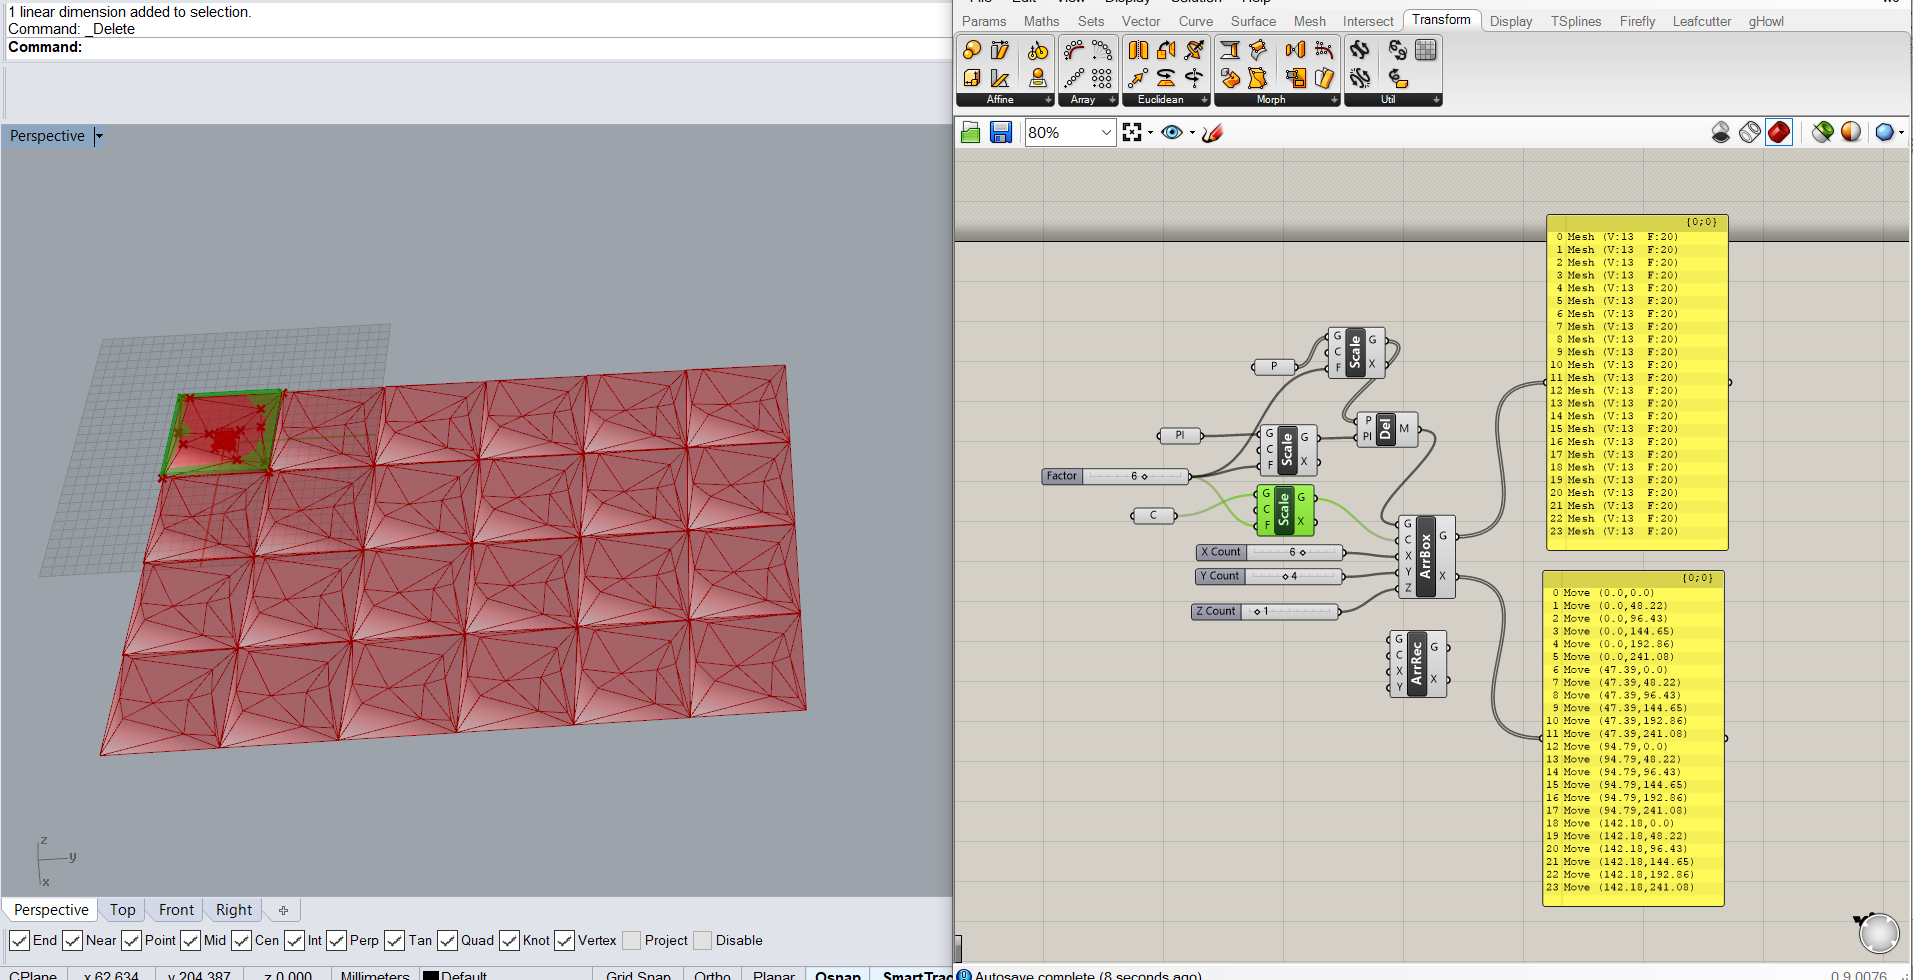
I have made a structure connecting points with pipes. But I had a lot of problems trying to make a cover using the same points. I took me around 1 hour to understand the logic behind each function.


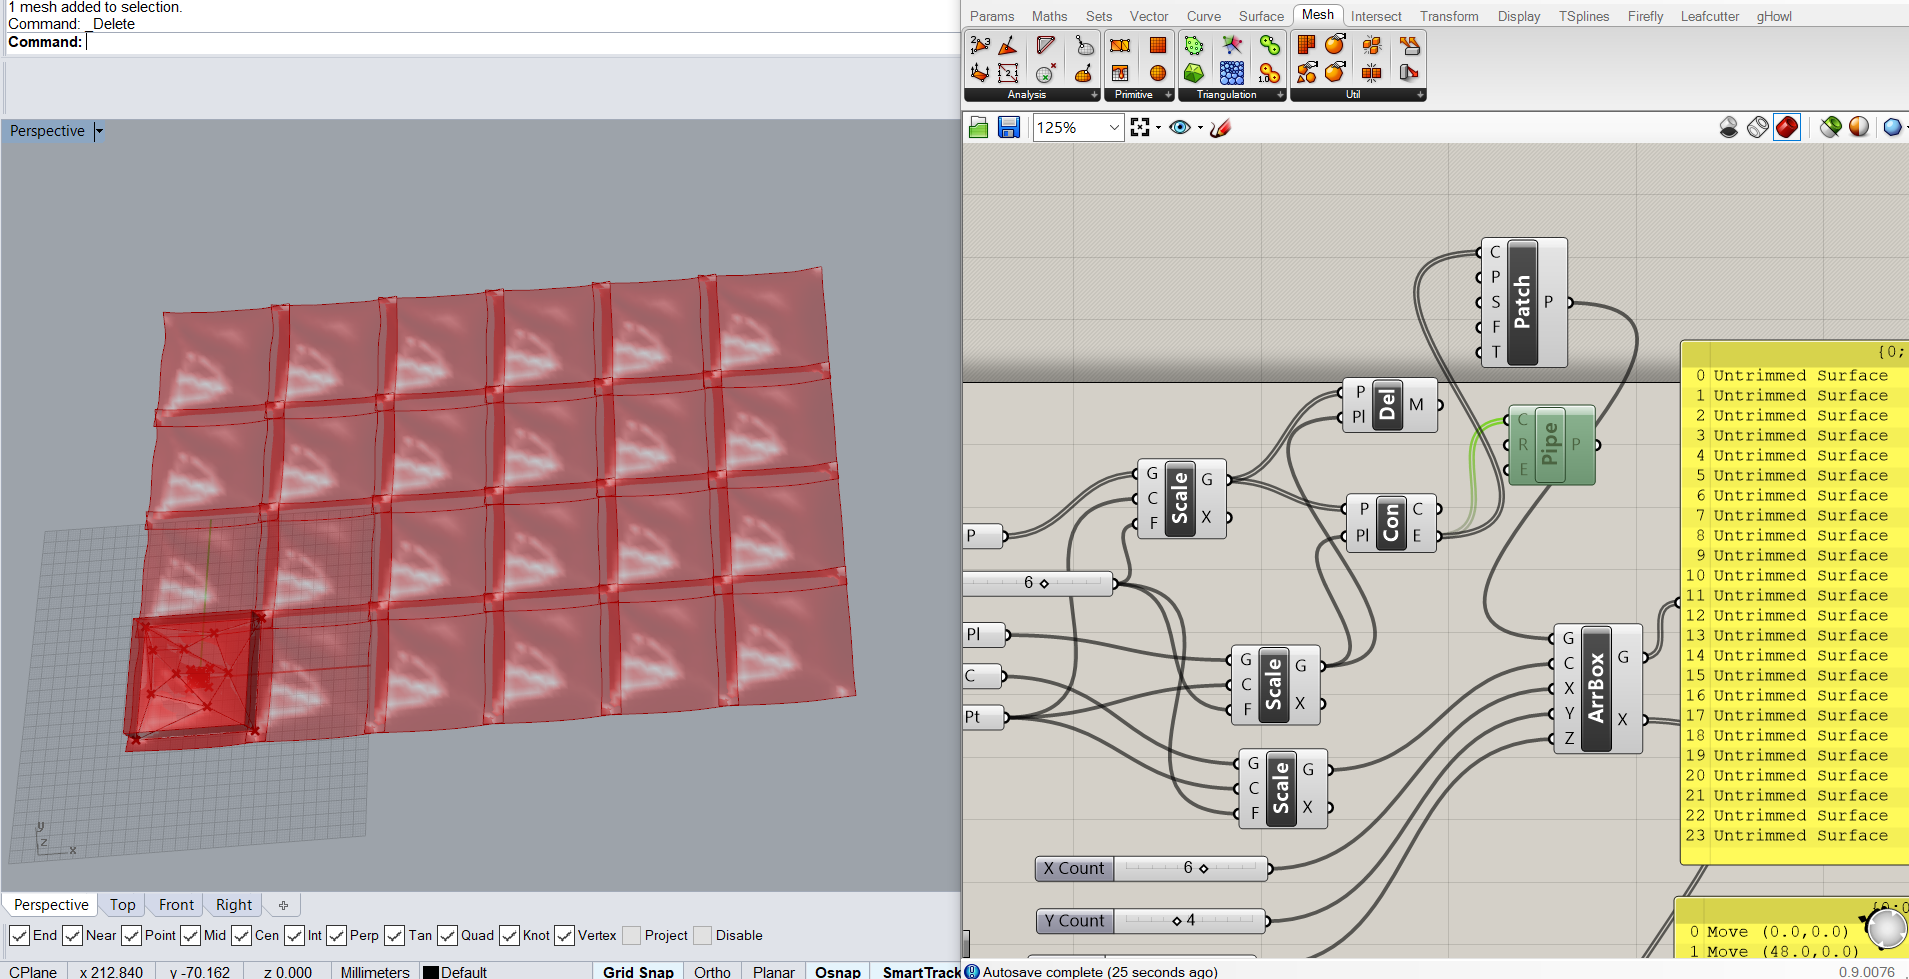
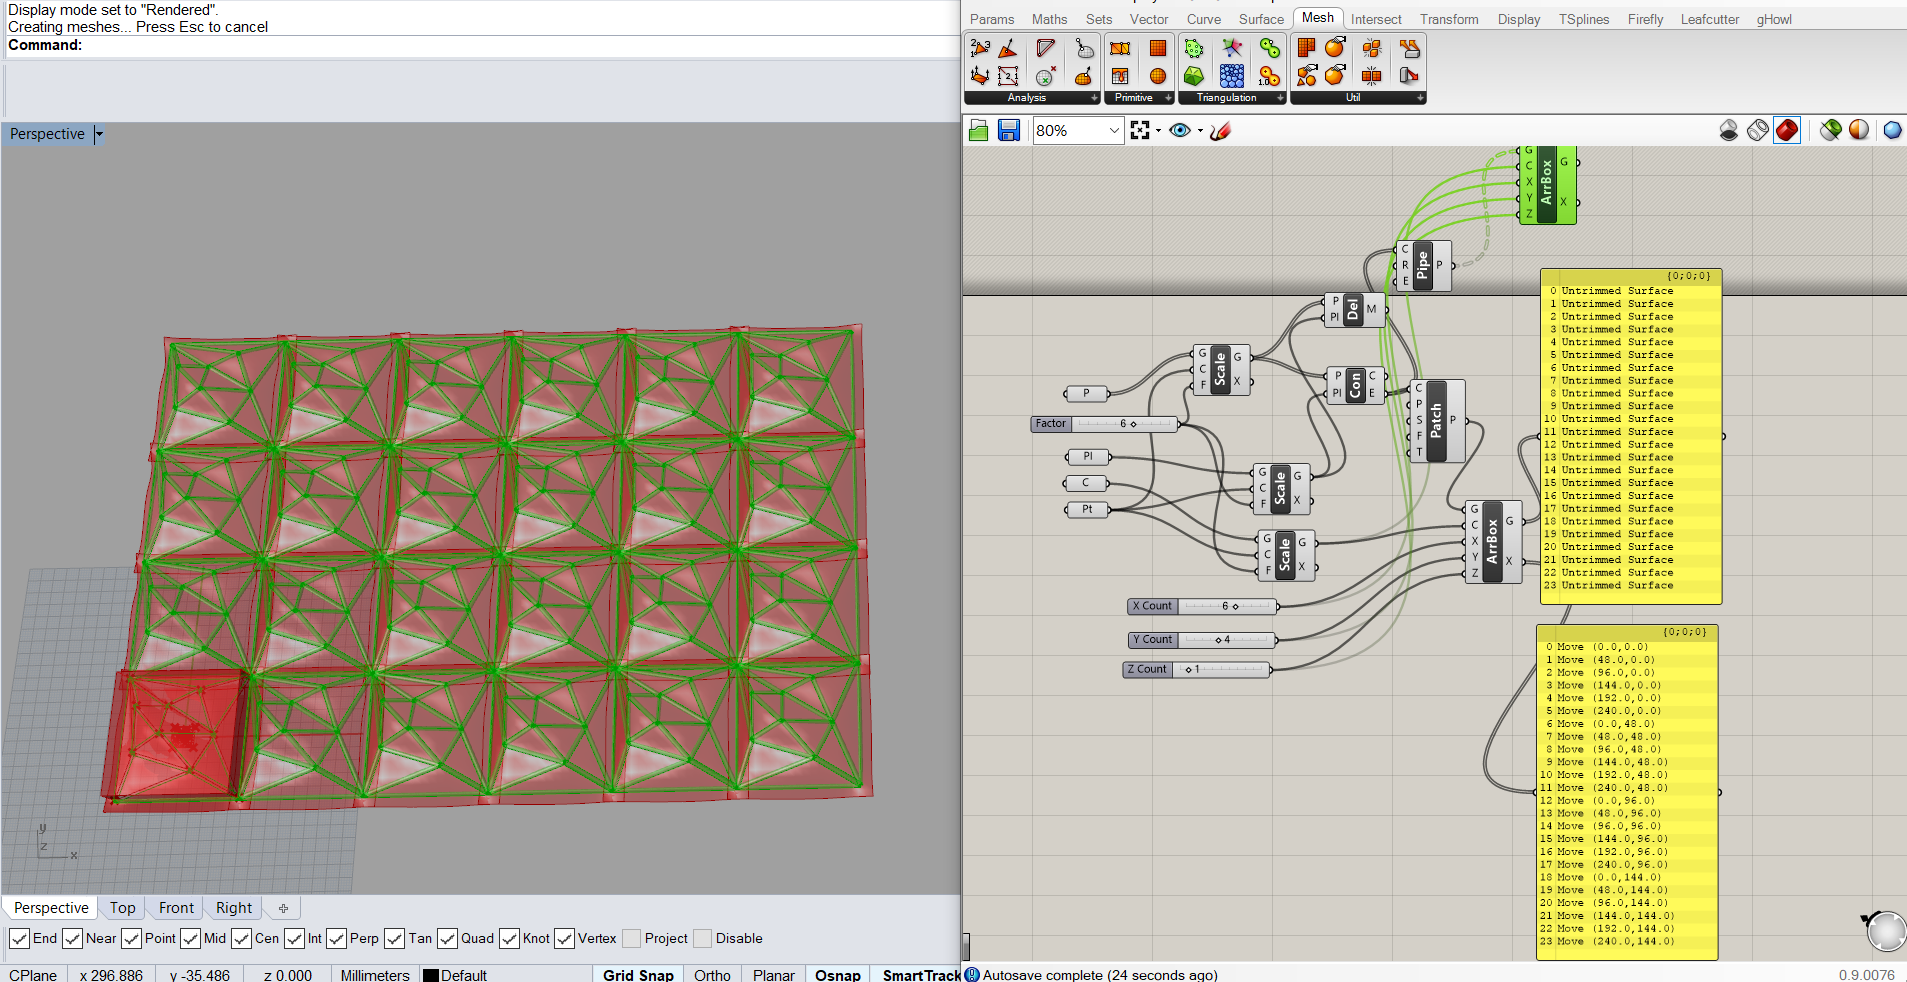

I find that patch was the best option to create the cover (surface) that I wanted. So I connect patch function to the equation. But I needed to duplicate Array Function to have pipes and surface working at the same time.
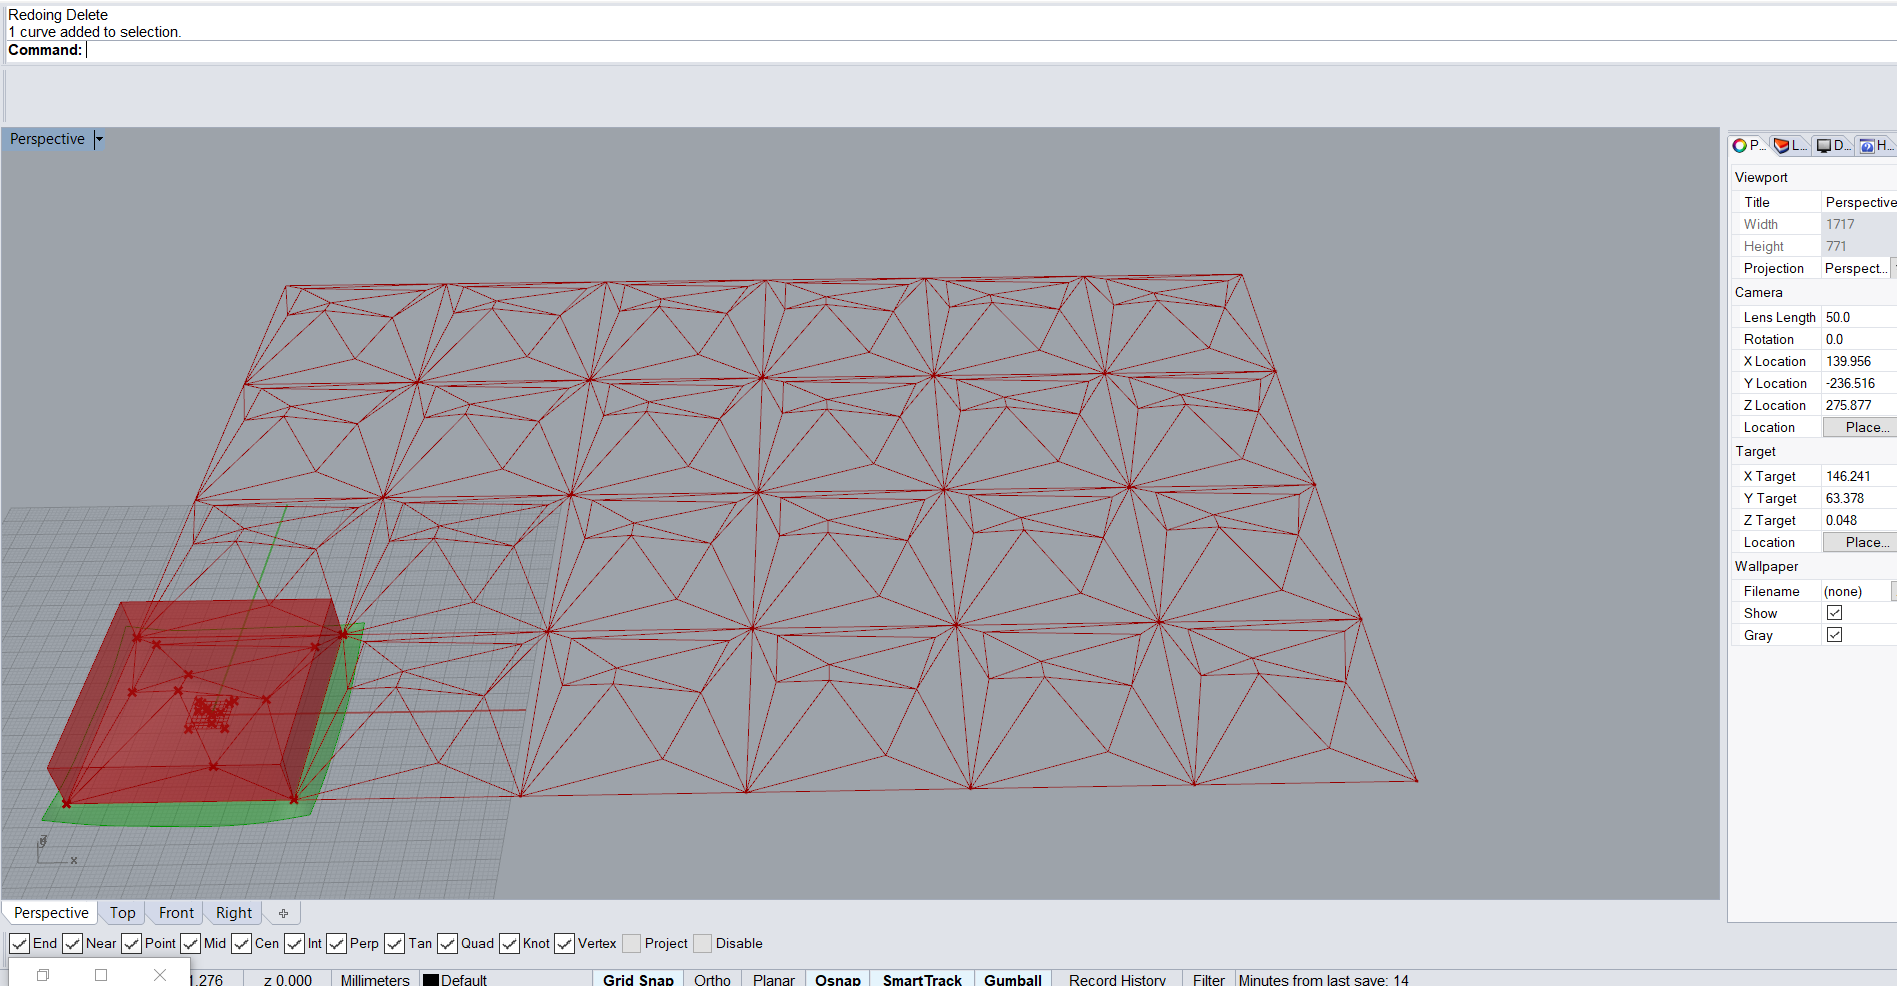
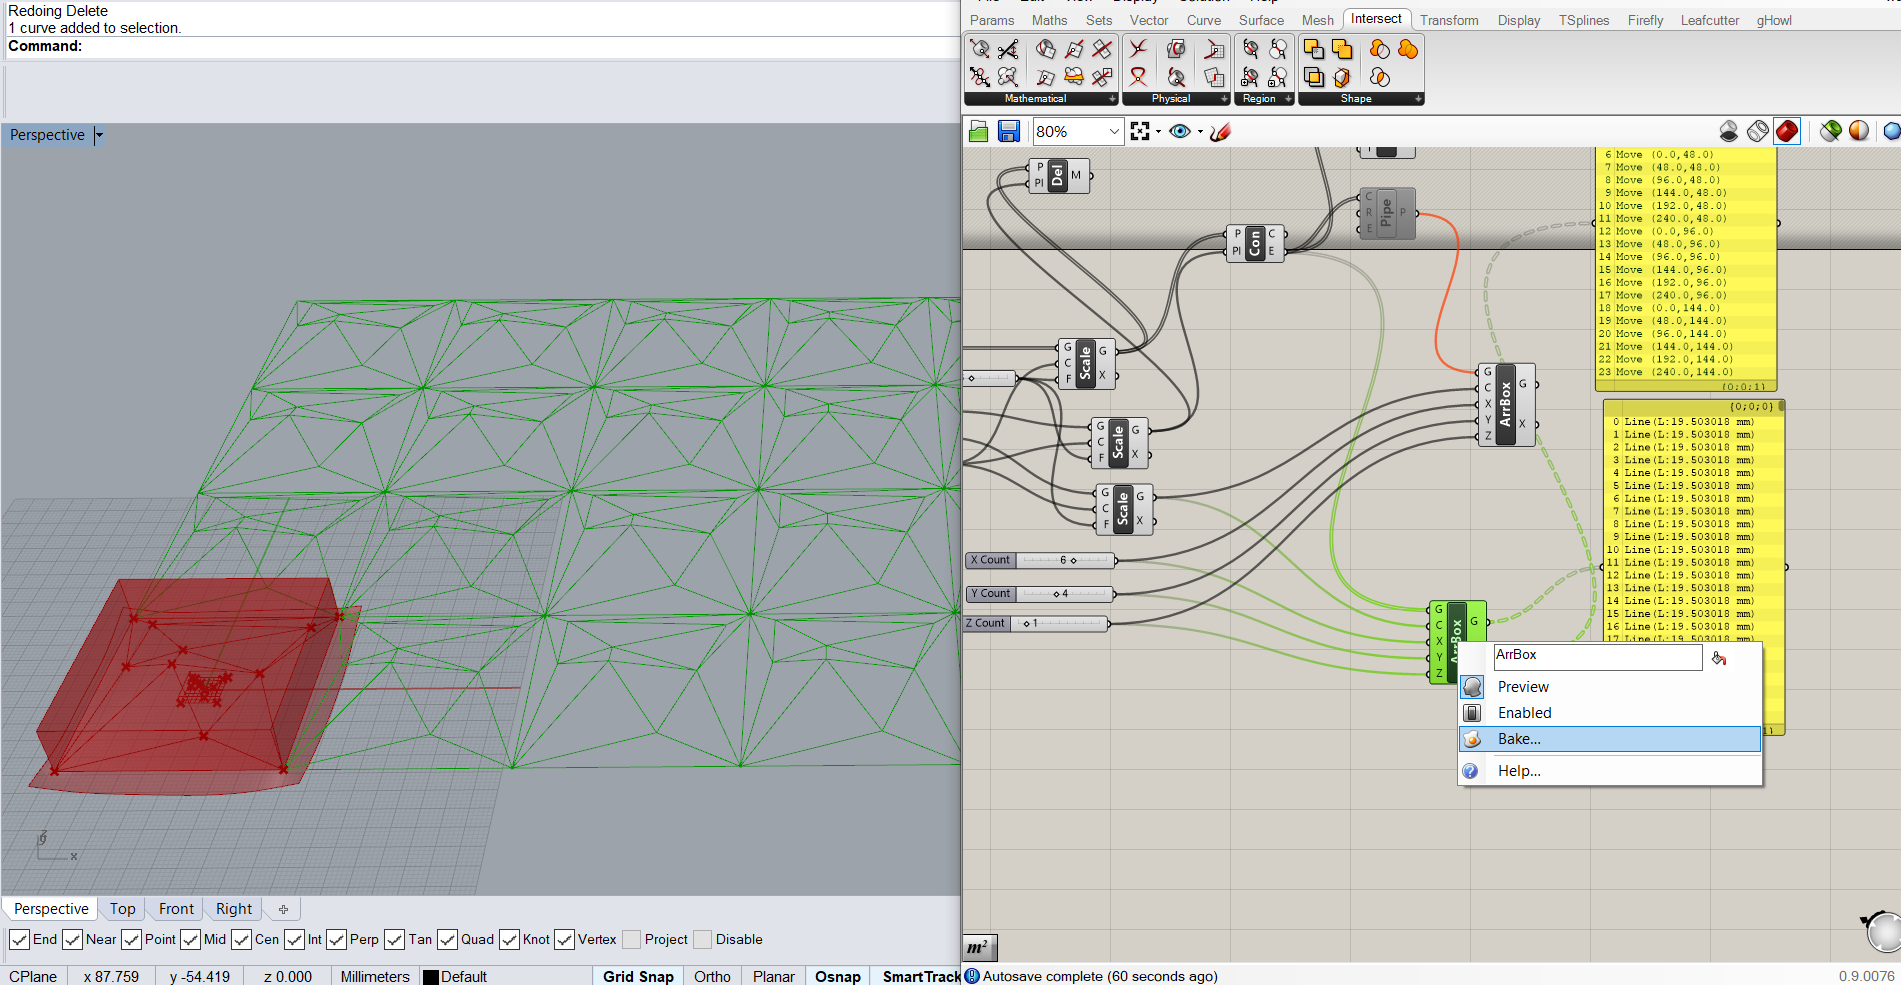
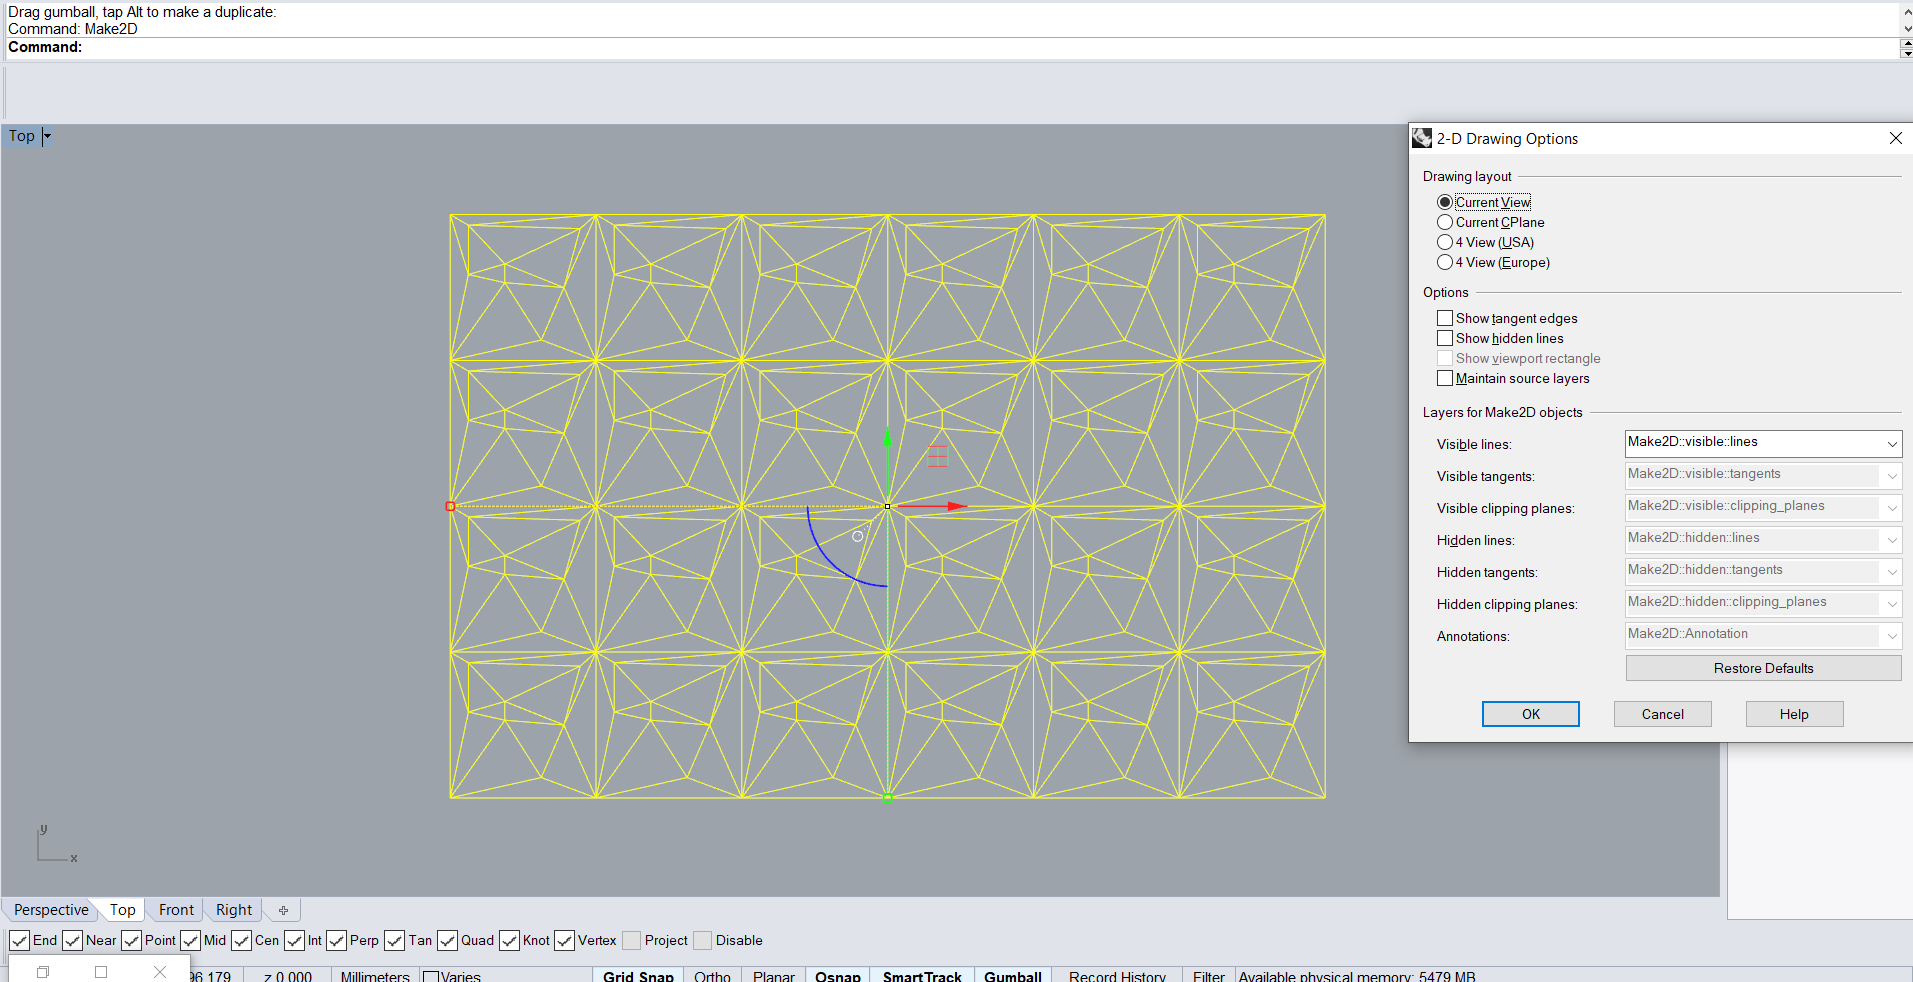

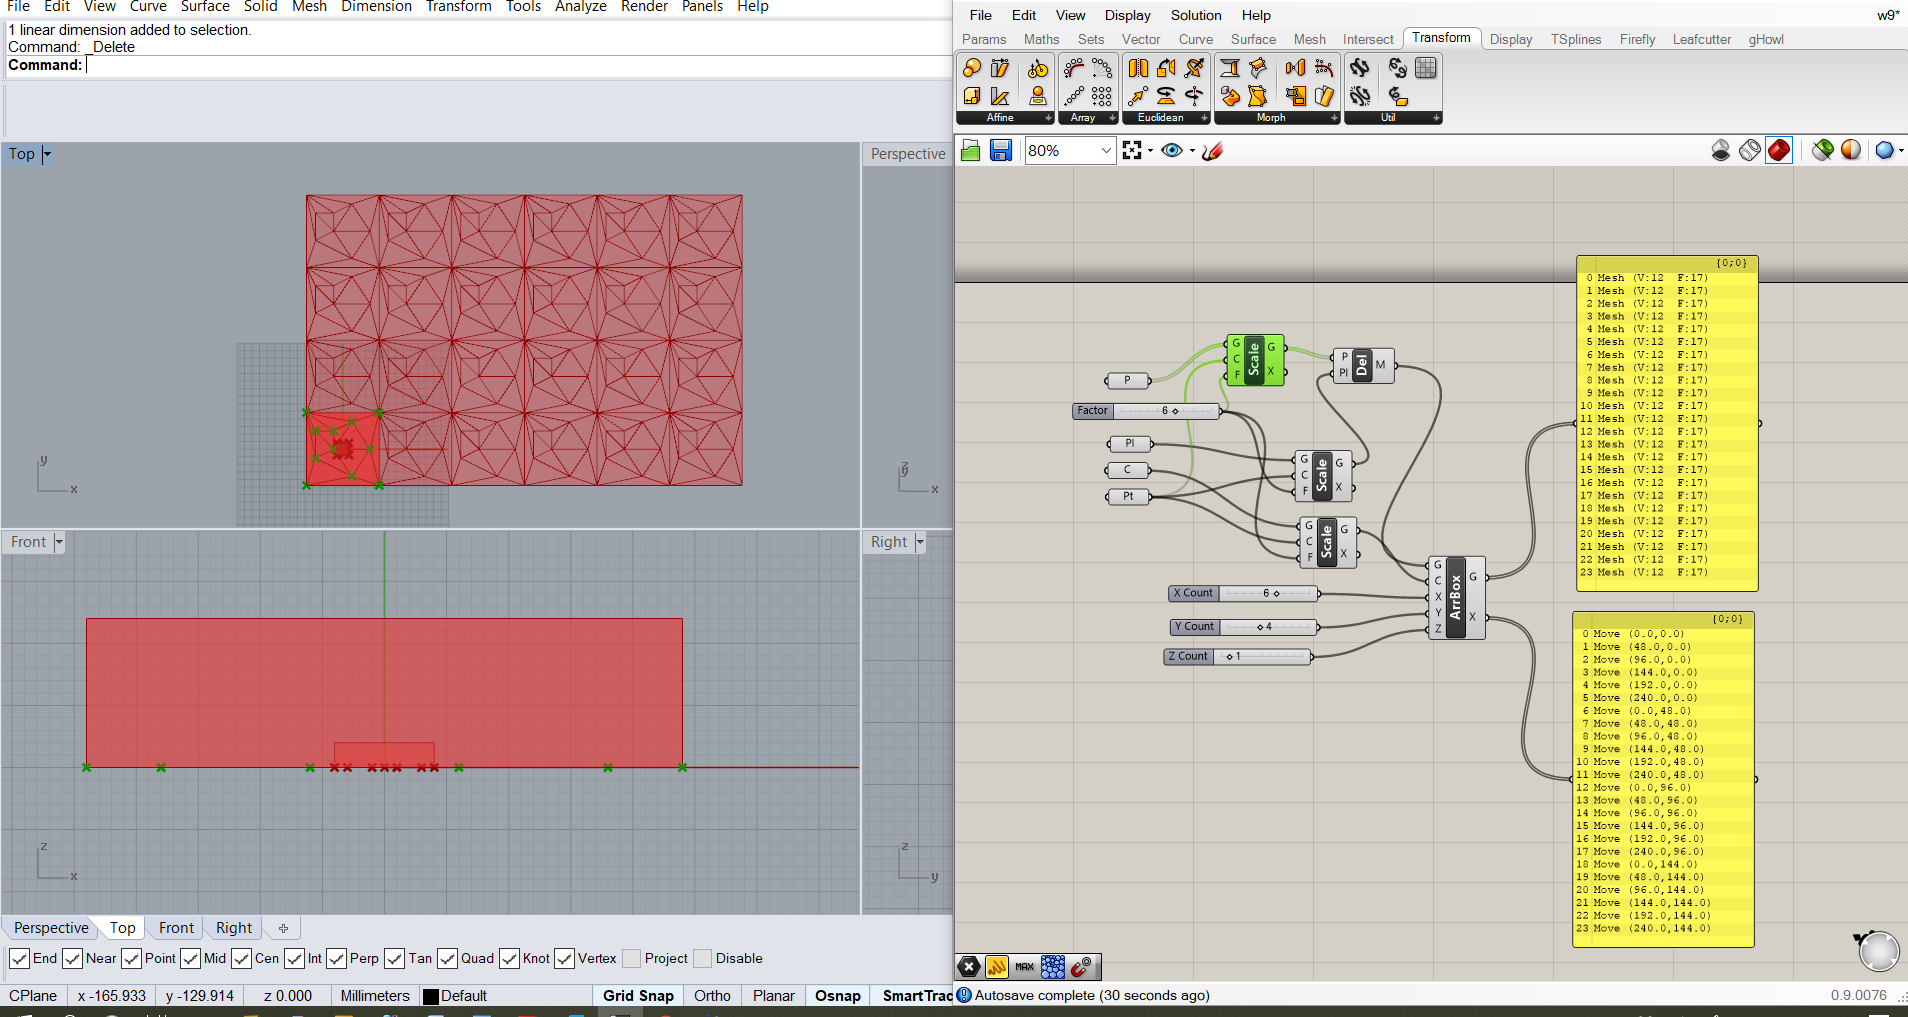
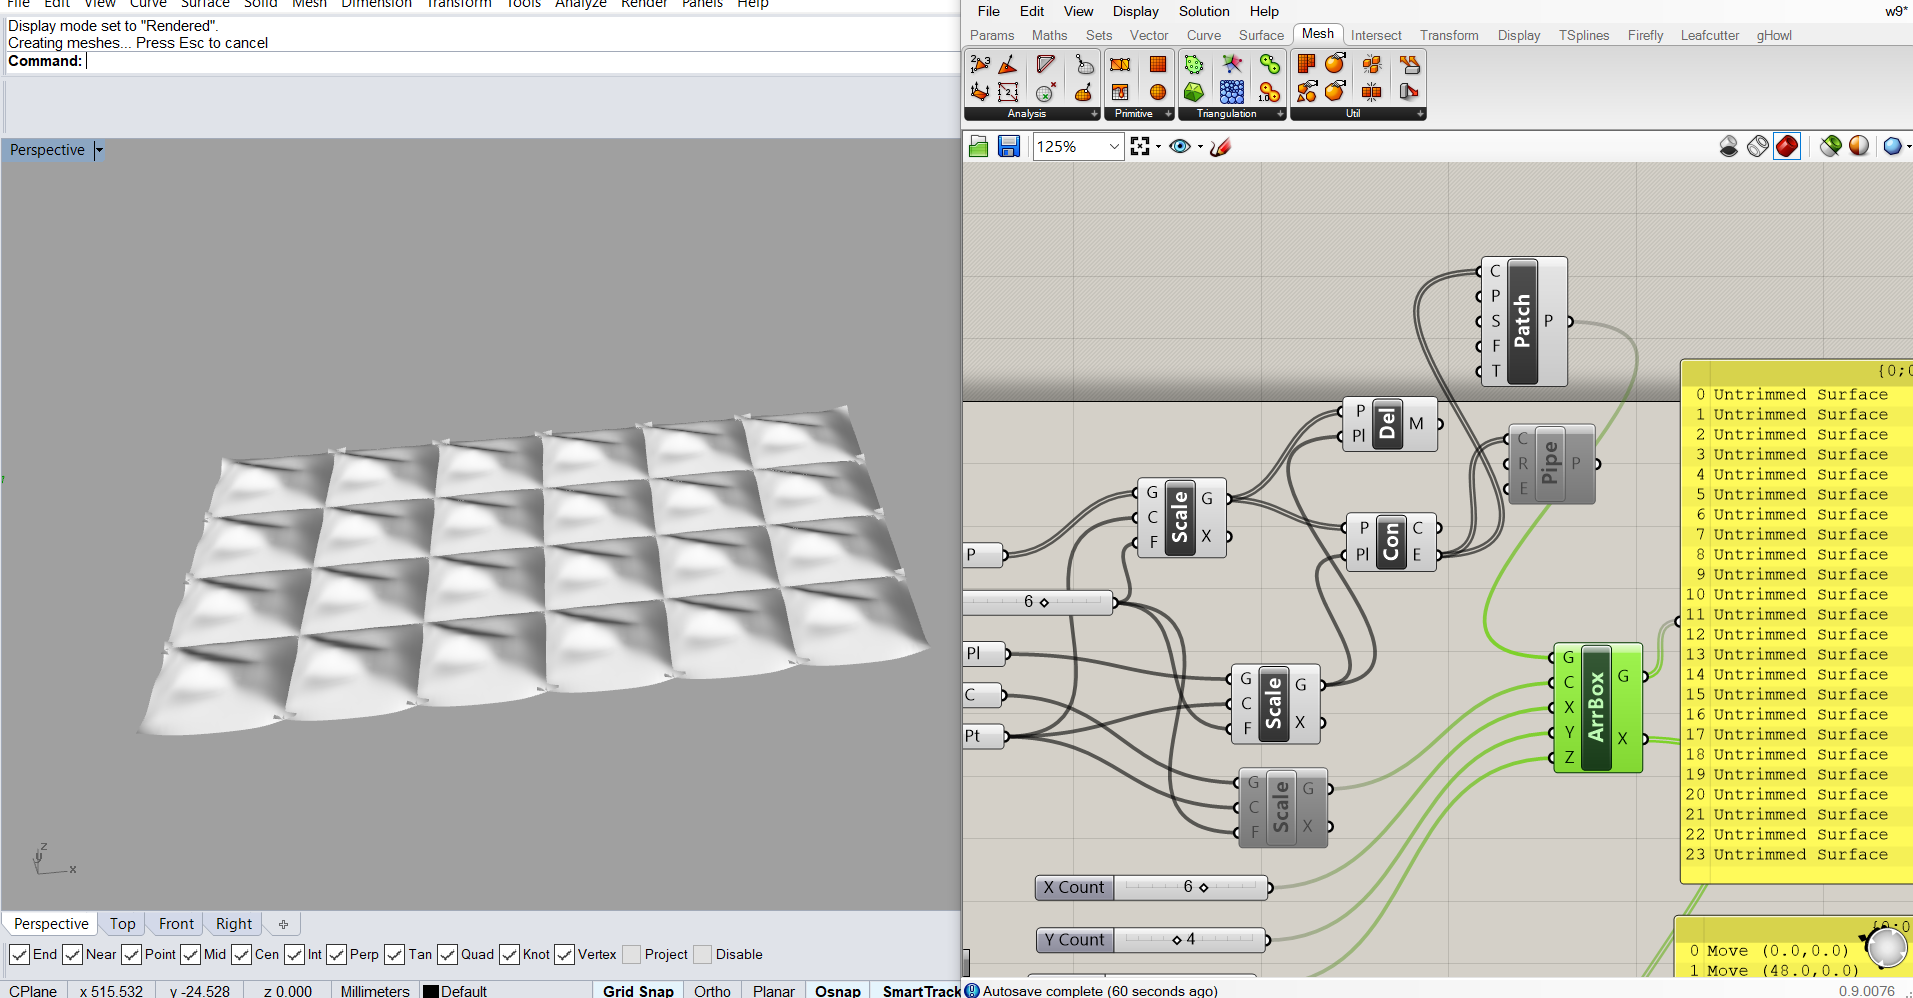
Finally I have bake 2D and 3D shapes.
Textile + wood
Recipe
3mm MDF wood
100% cotton fiber
White Glue
Workflow
1.- Set a cardboard behind MDF to avoid falling parts
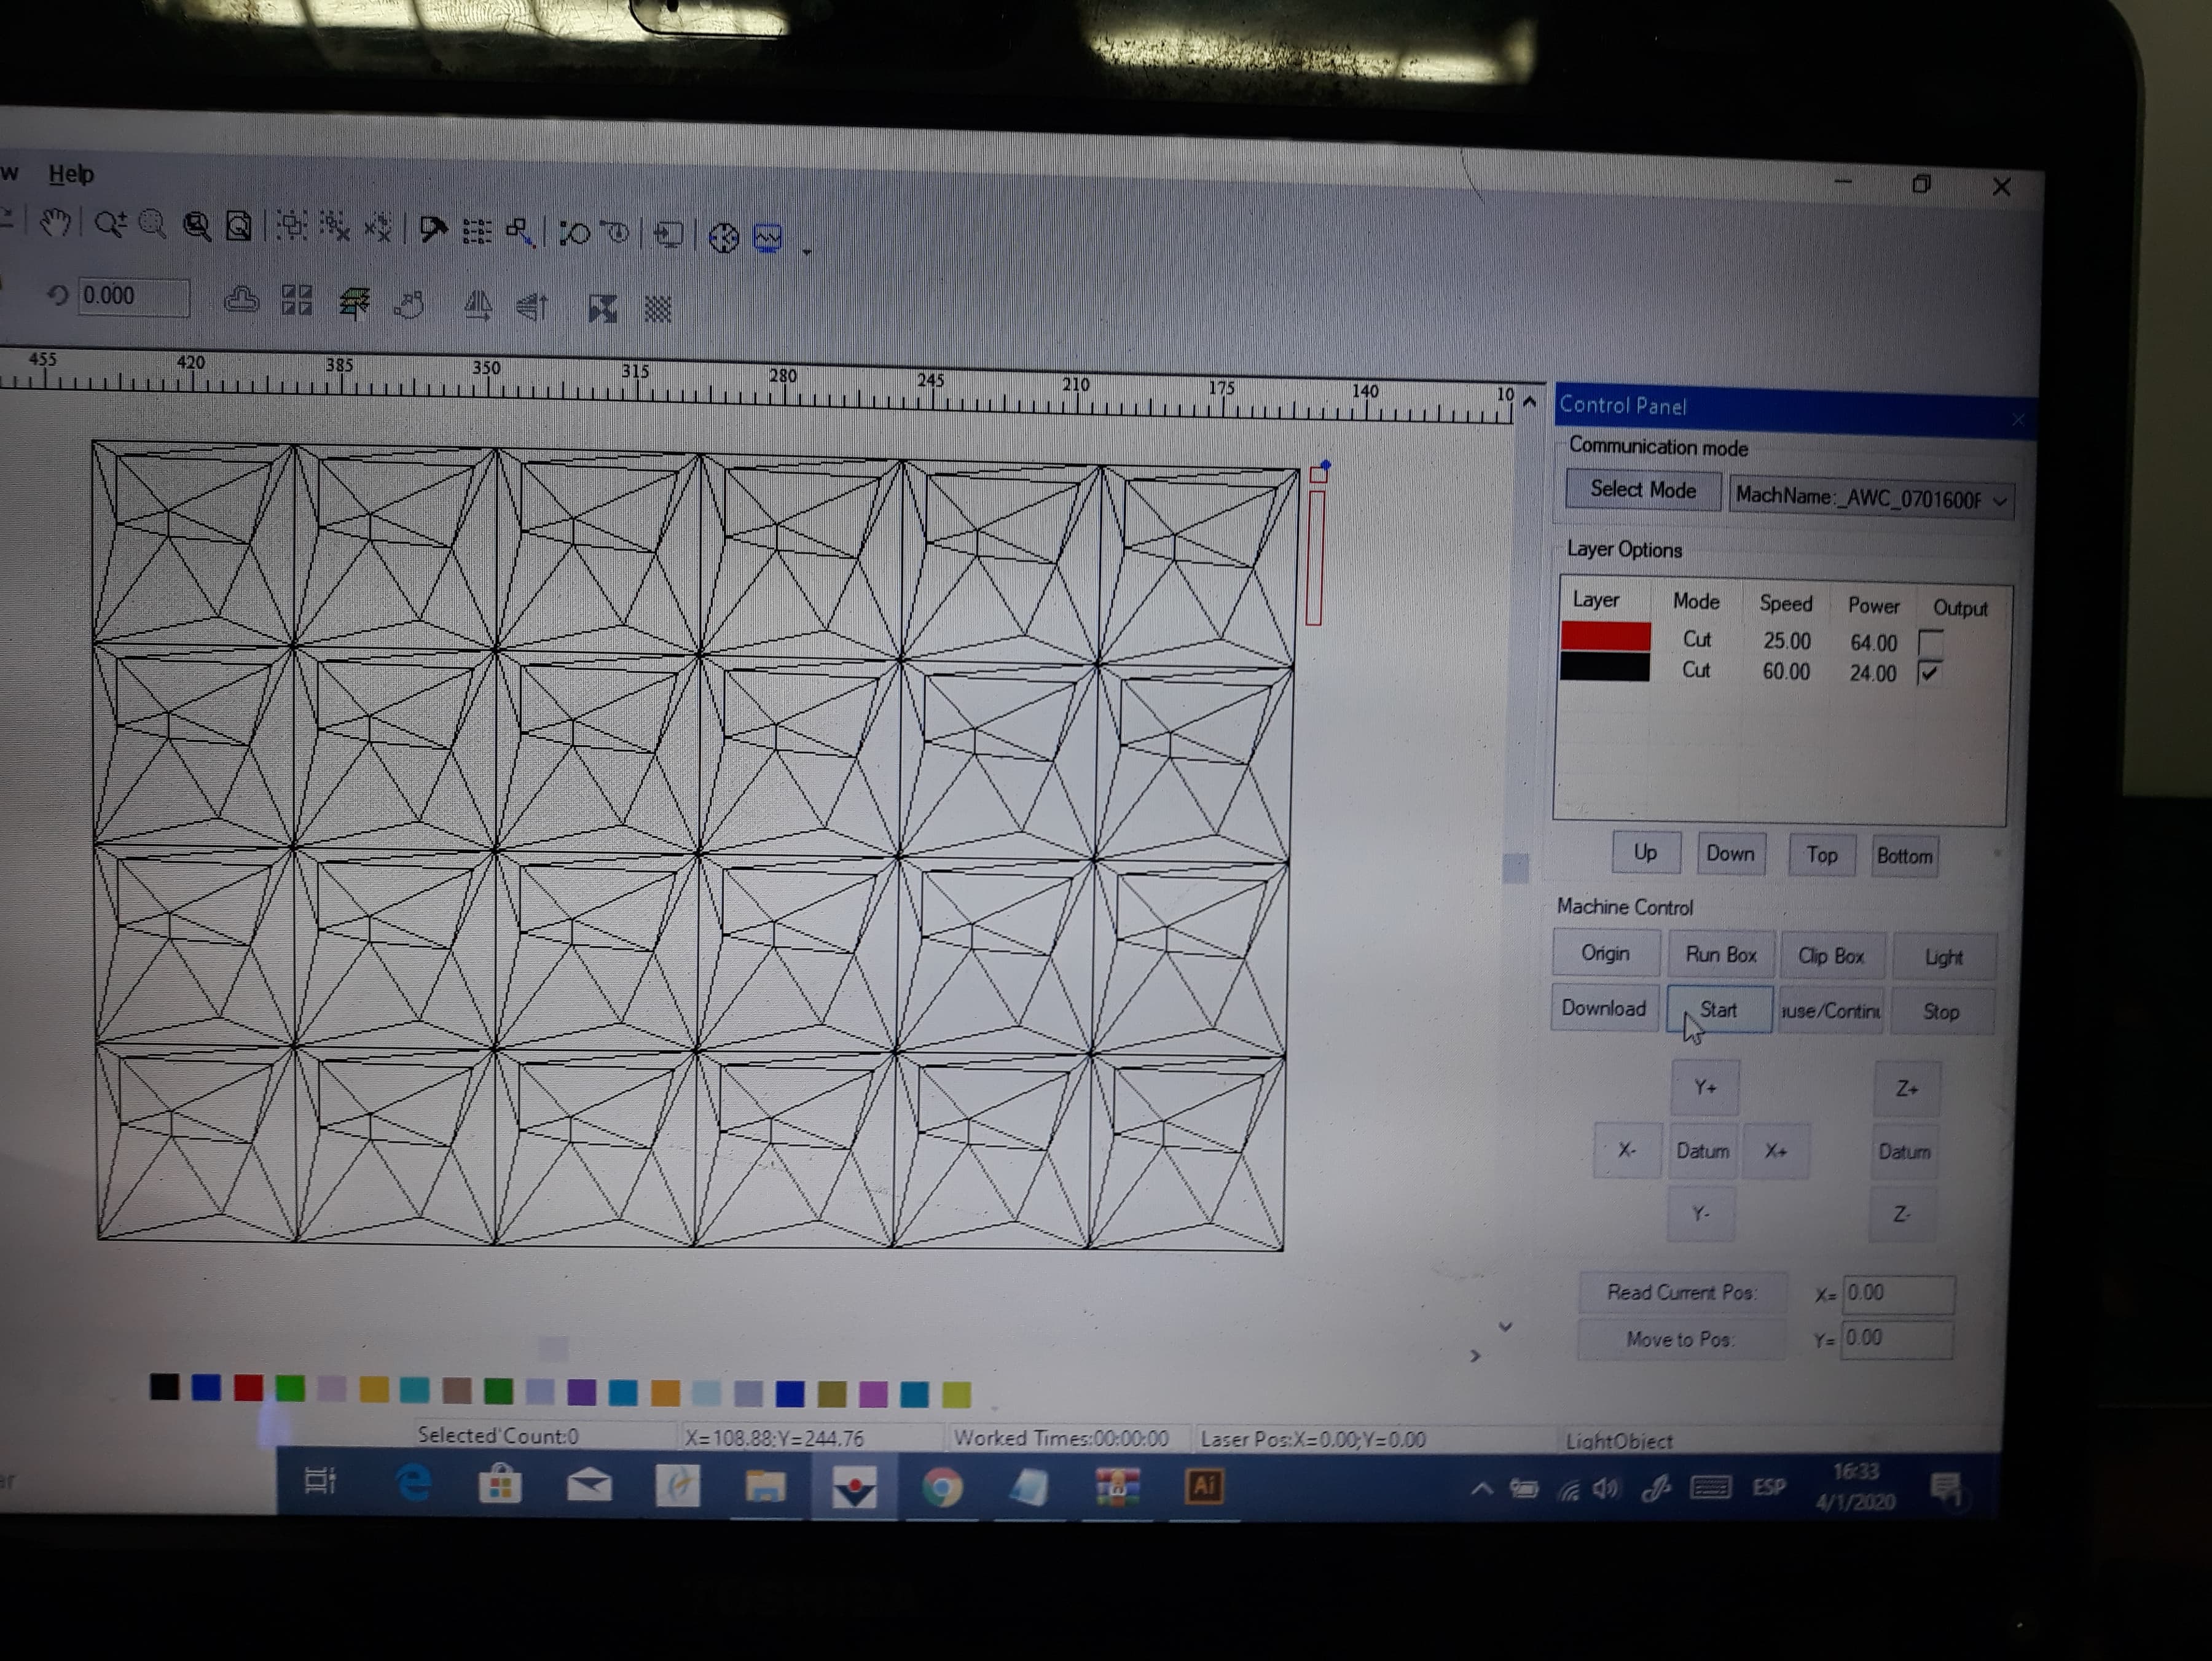
2.- Cut the pattern on laser cutter Same laser described on open circular fashion
Speed 25
Power 64

3.- Use an thick MDF to attach the textile to a flat surface and paste fabric with MDF with double sided tape.
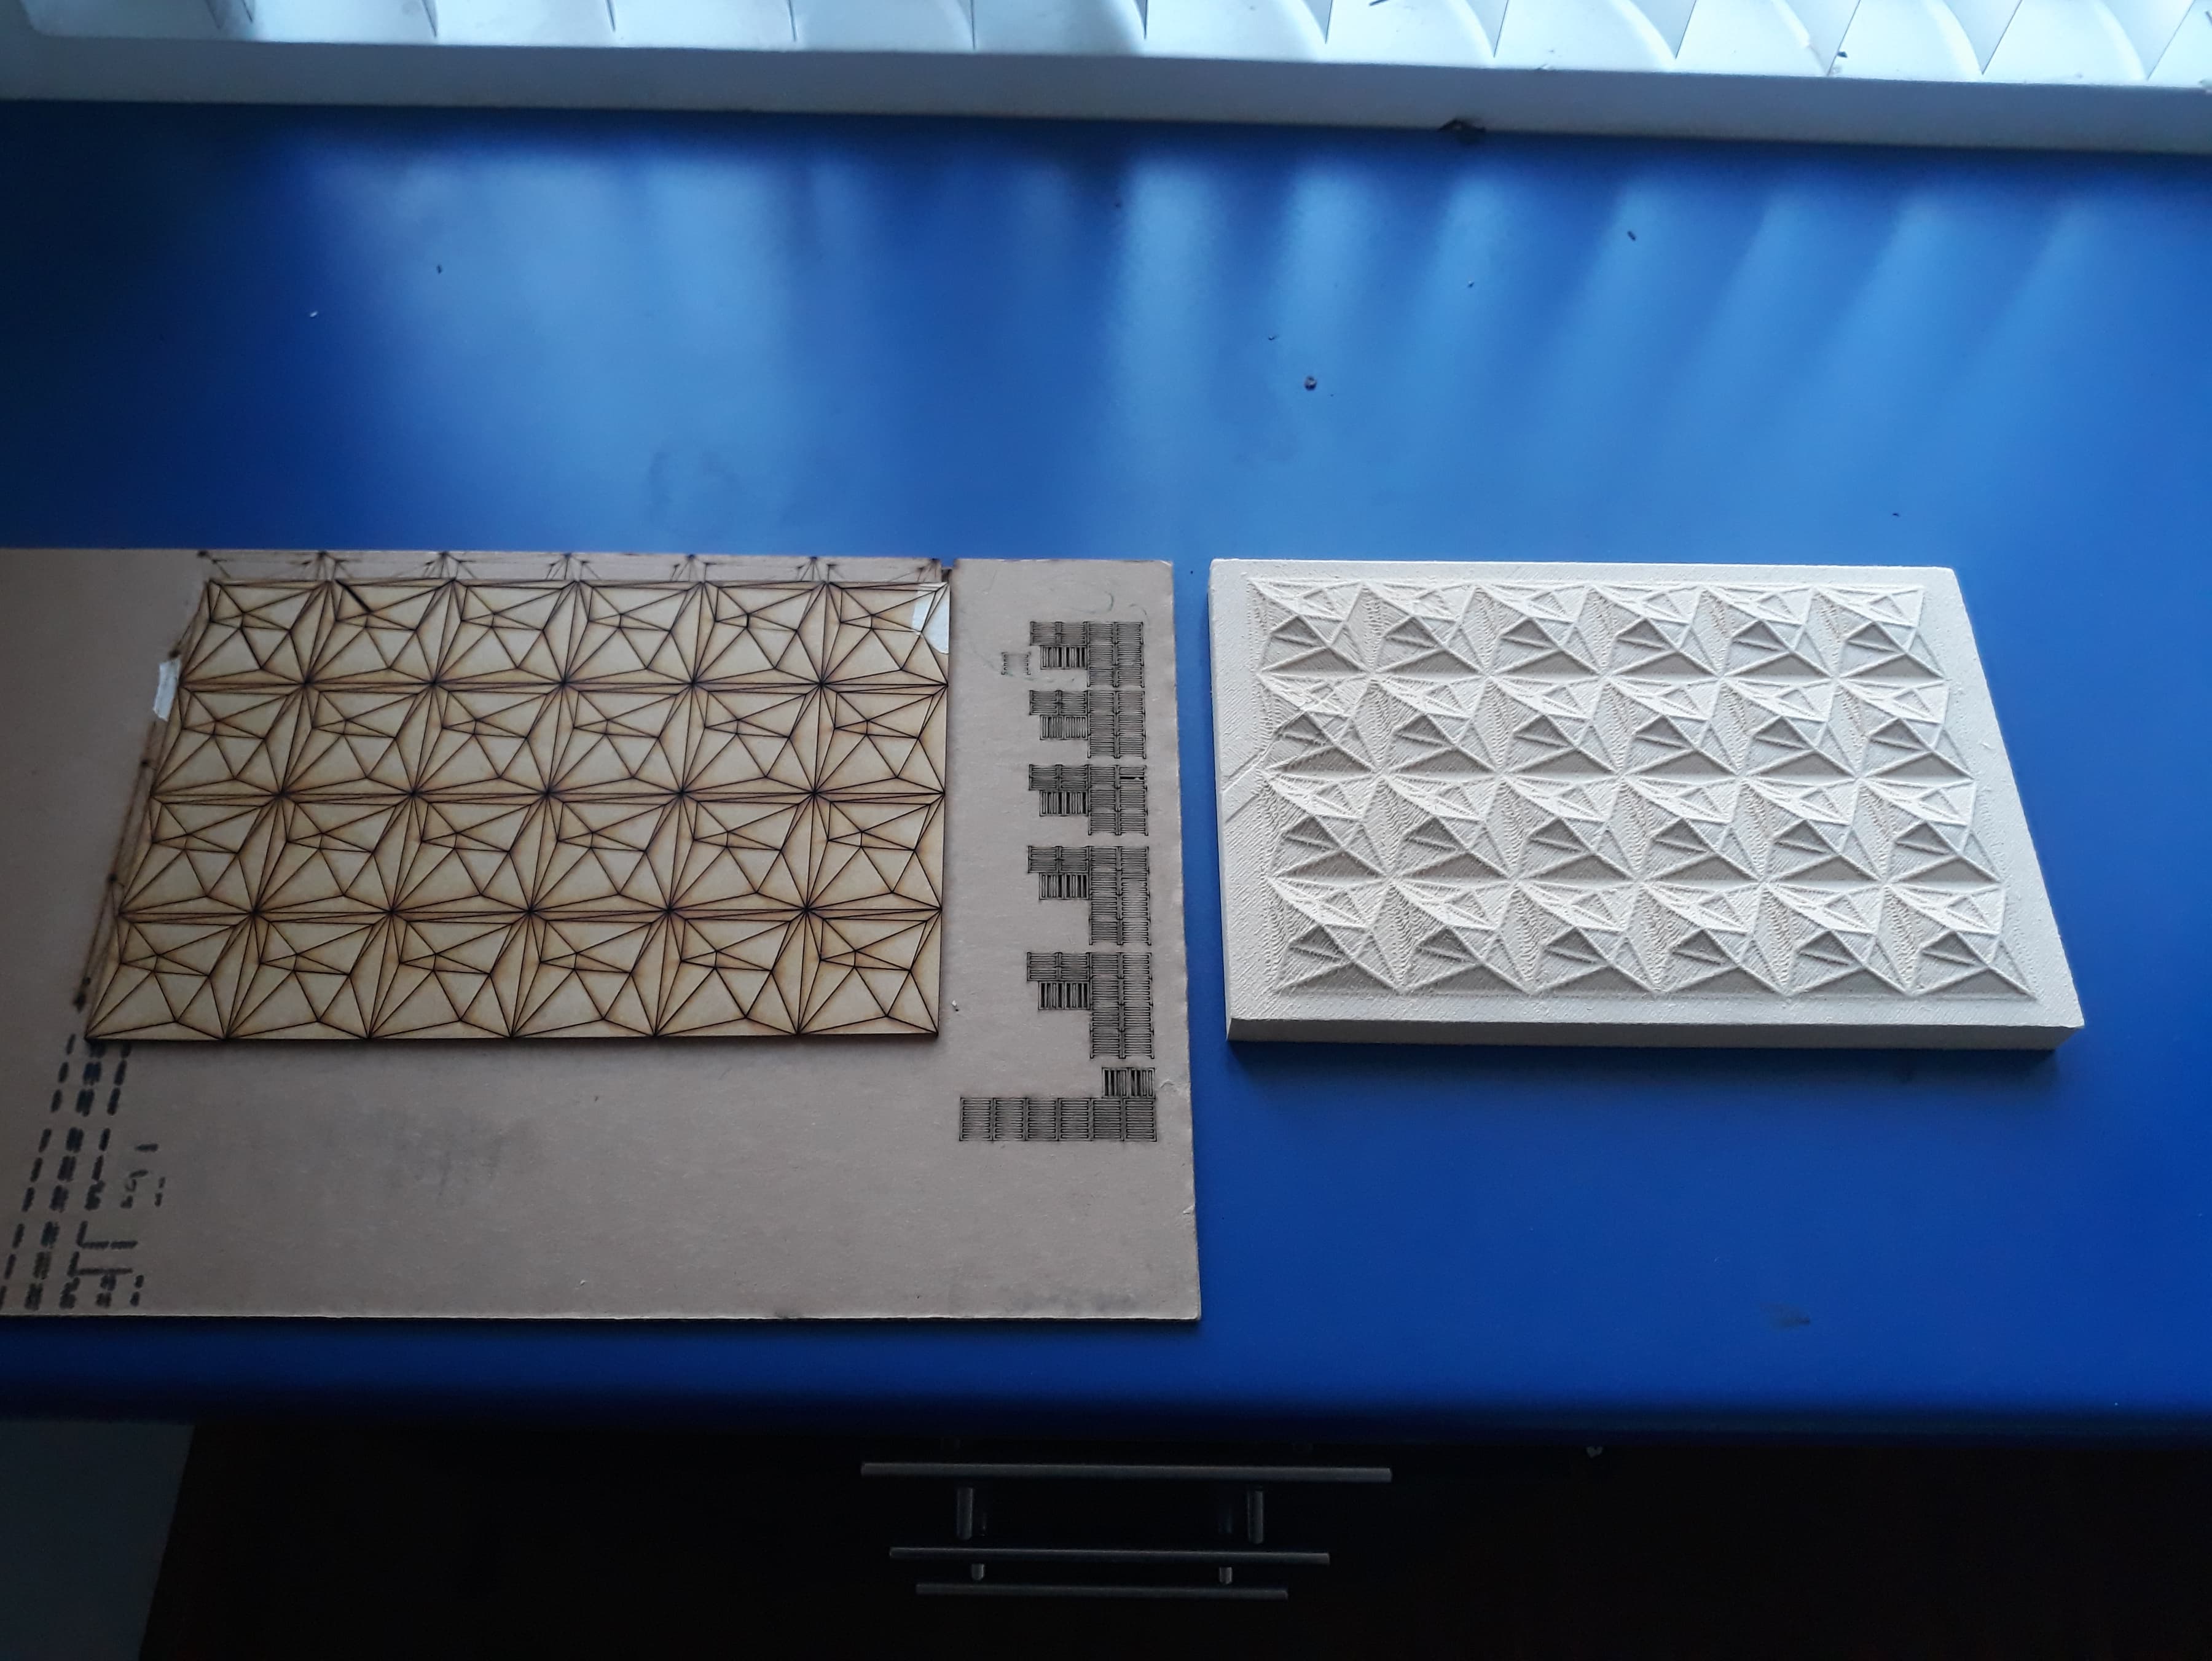
4.- Put glue to white glue to the laser cut MDF (3mm) and collocate the think MDF + textile above,pasting 3mm MDF with textile.
Final Result
5.- Finally wait 24 hours and remove the textile from the thick MDF.
I did not resize that the pattern was not good if it work on two dimensions because al different directions in the design until I test it.
Alpaca + Rubber
Recipe
Silicon rubber
Alpaca felt
3cm MDF sheet
Workflow
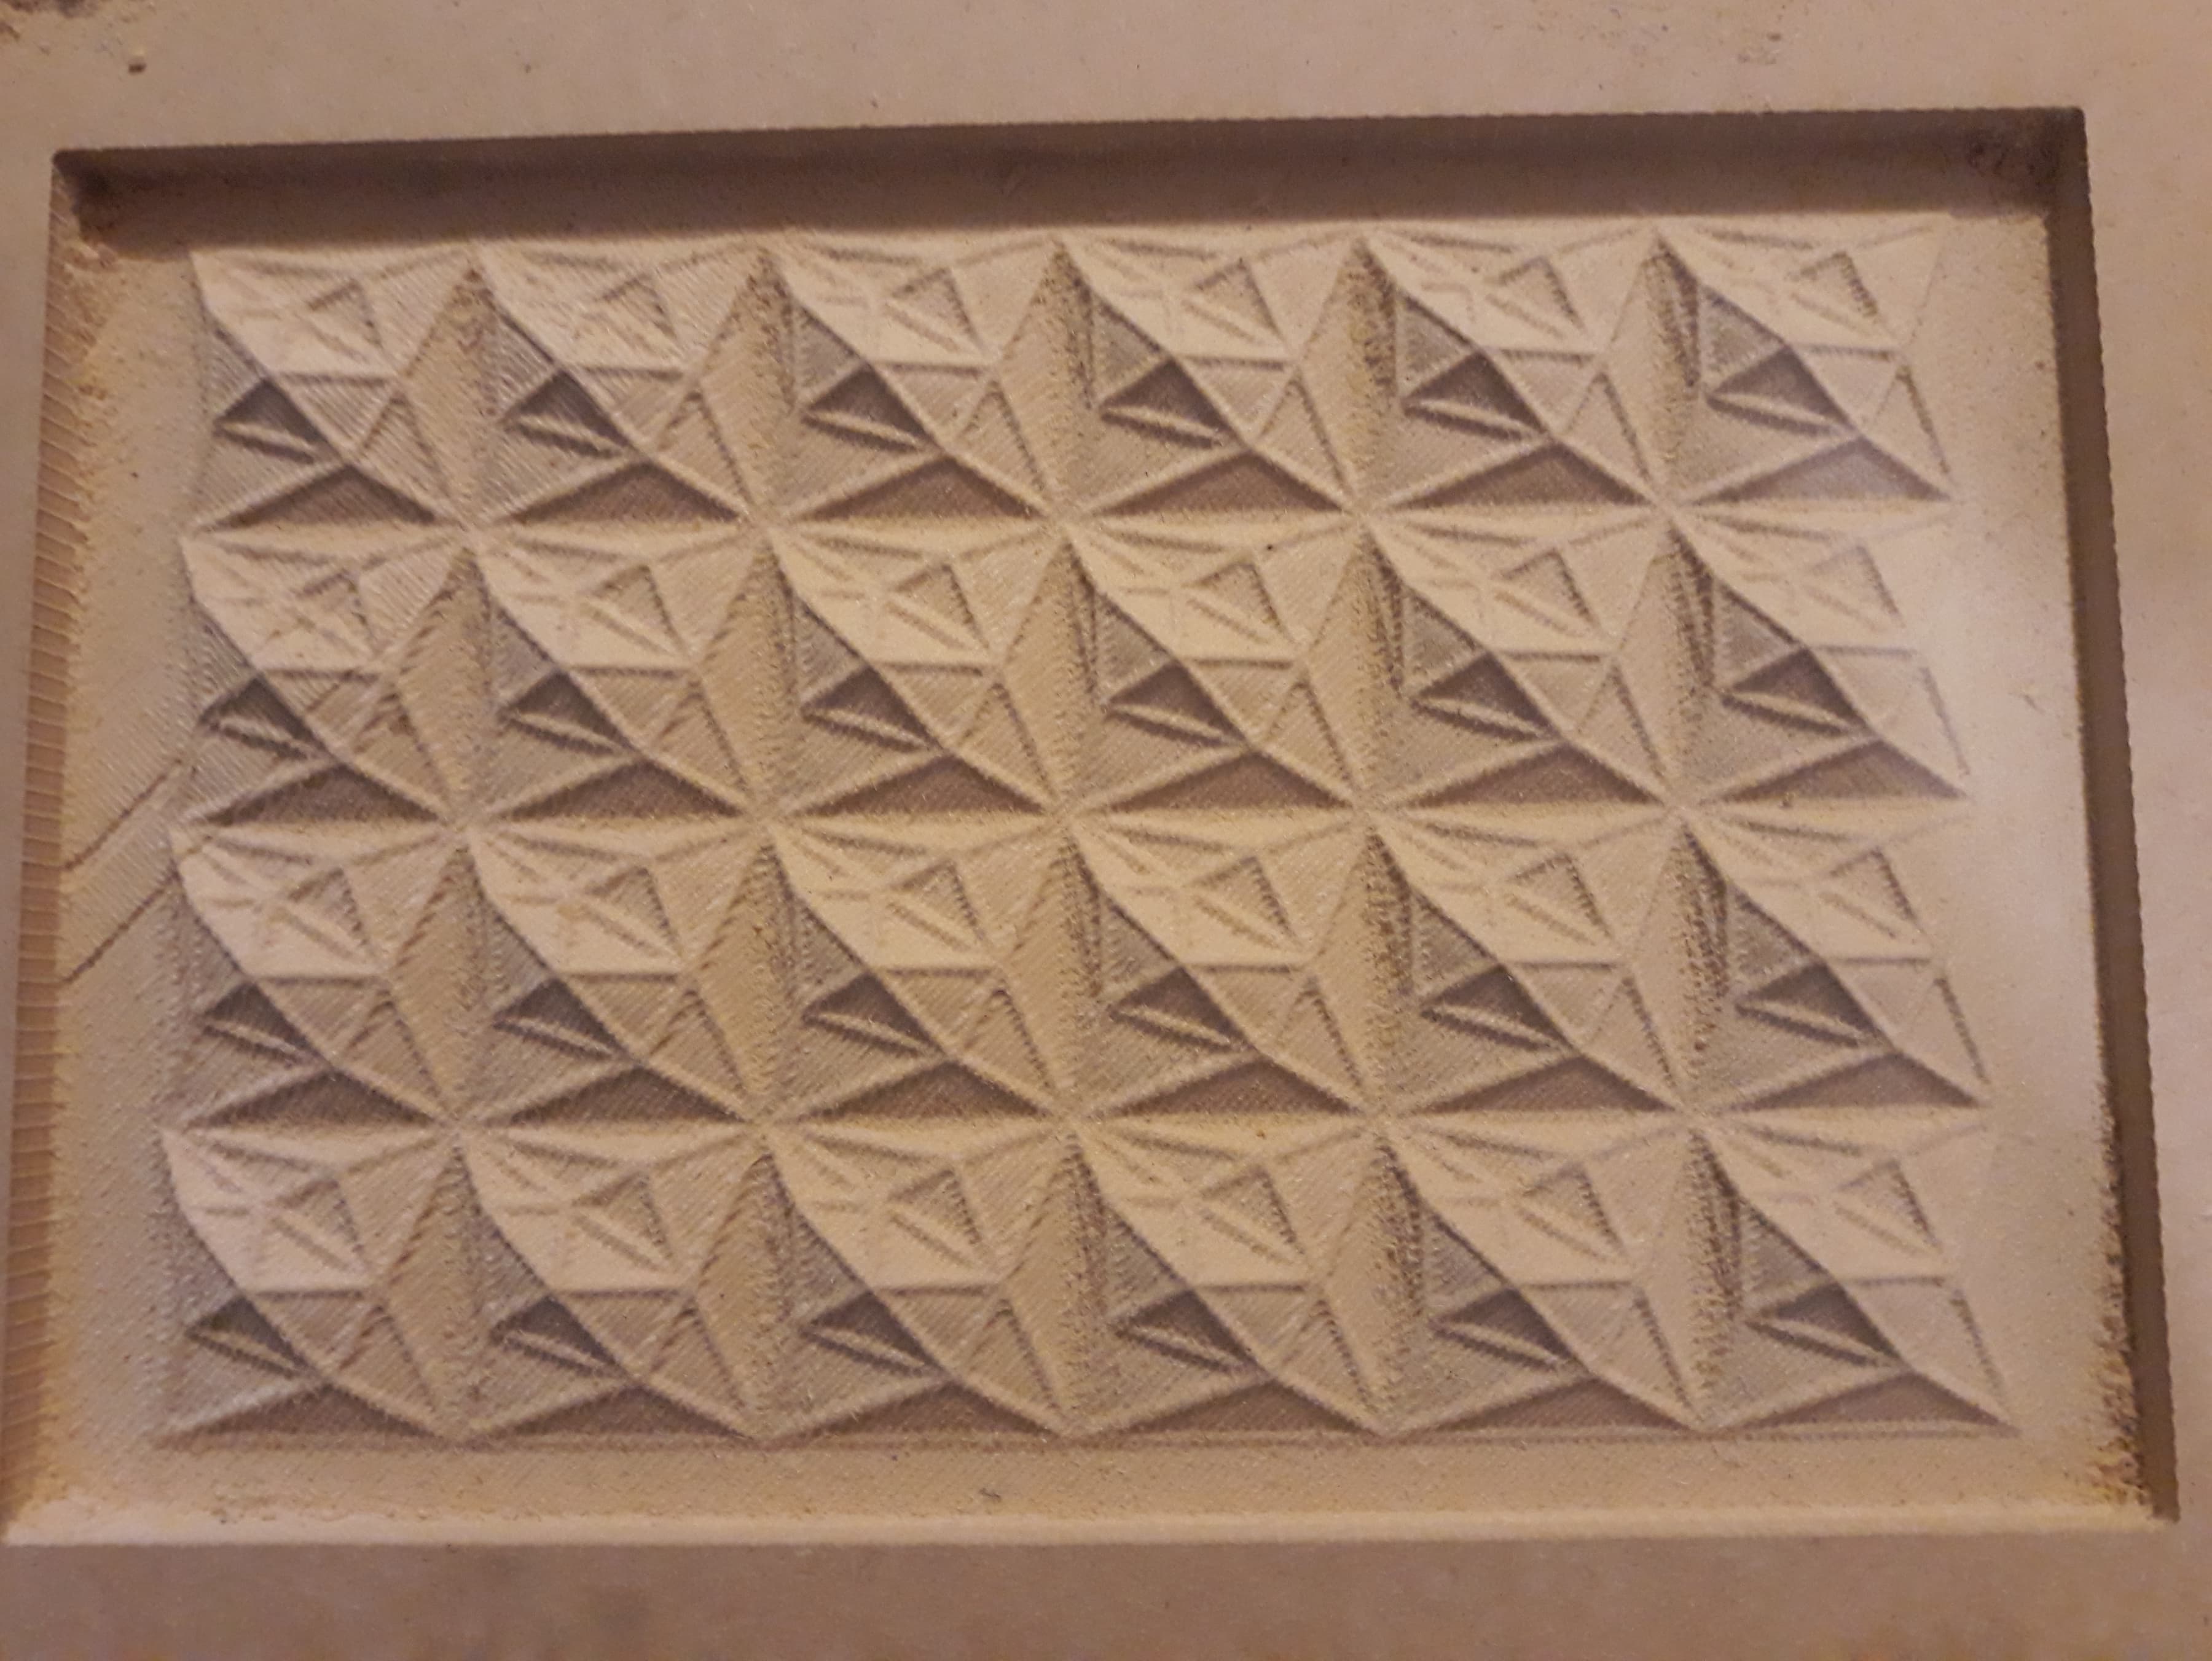
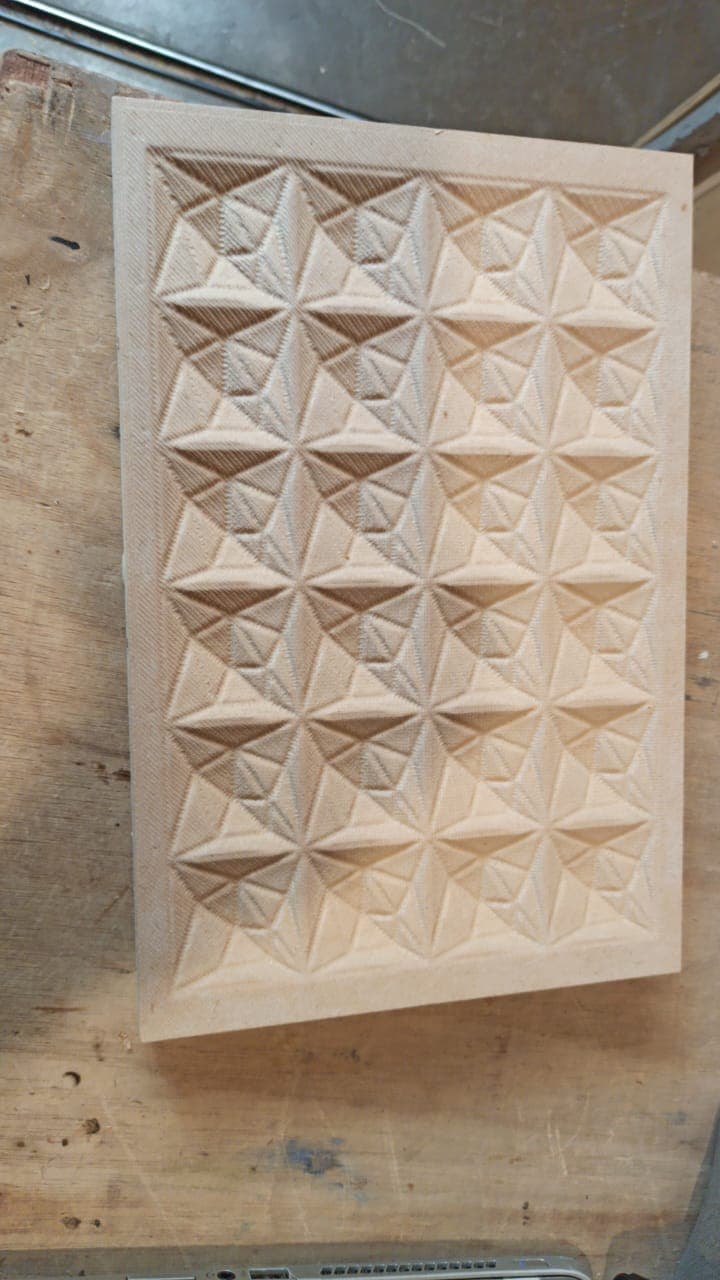
1.- Use a CNC to fabricate your mold. In this case I made a 2 parts mold with milling machine.
The parameters I used are:
Engrave
Mill: ½ inch ball 2 flutes mill
Feedrate: 100 mm/s
Step Over: 80%
Finished
Mill: 3 mm ball 2 flutes mill
Feedrate: 50 mm/s
Step Over: 30%
Part 1
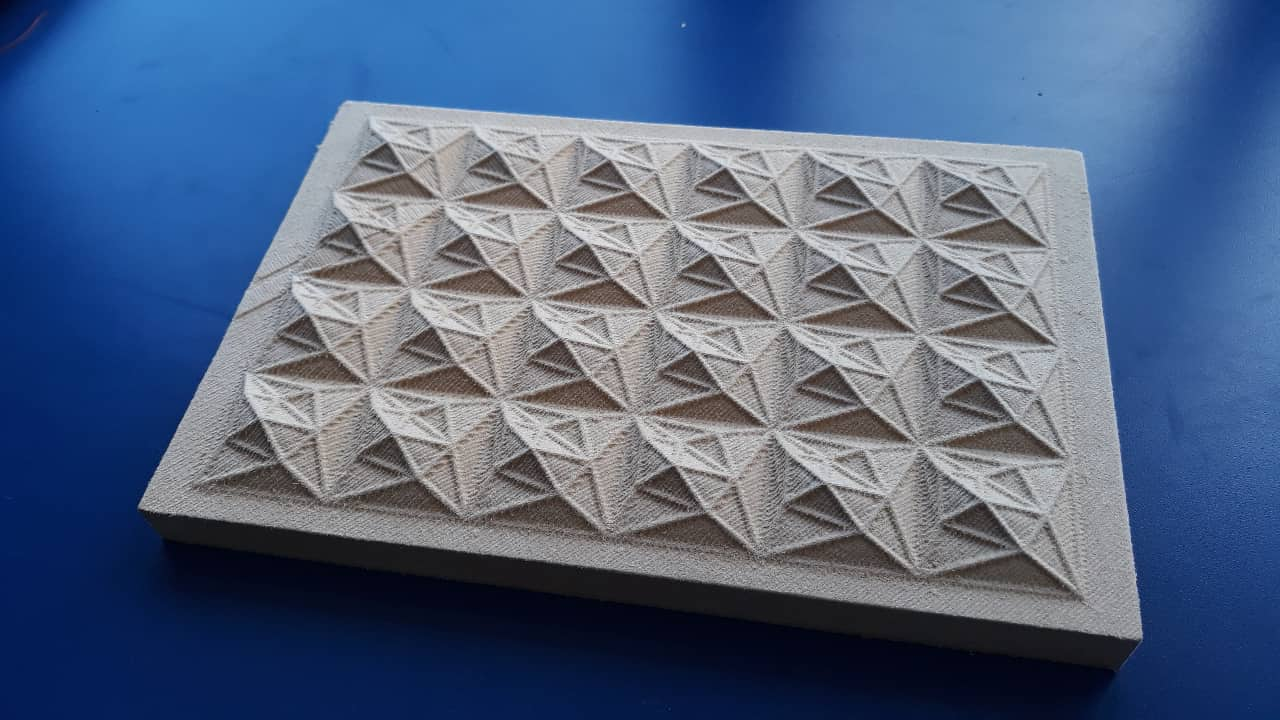
Part 2
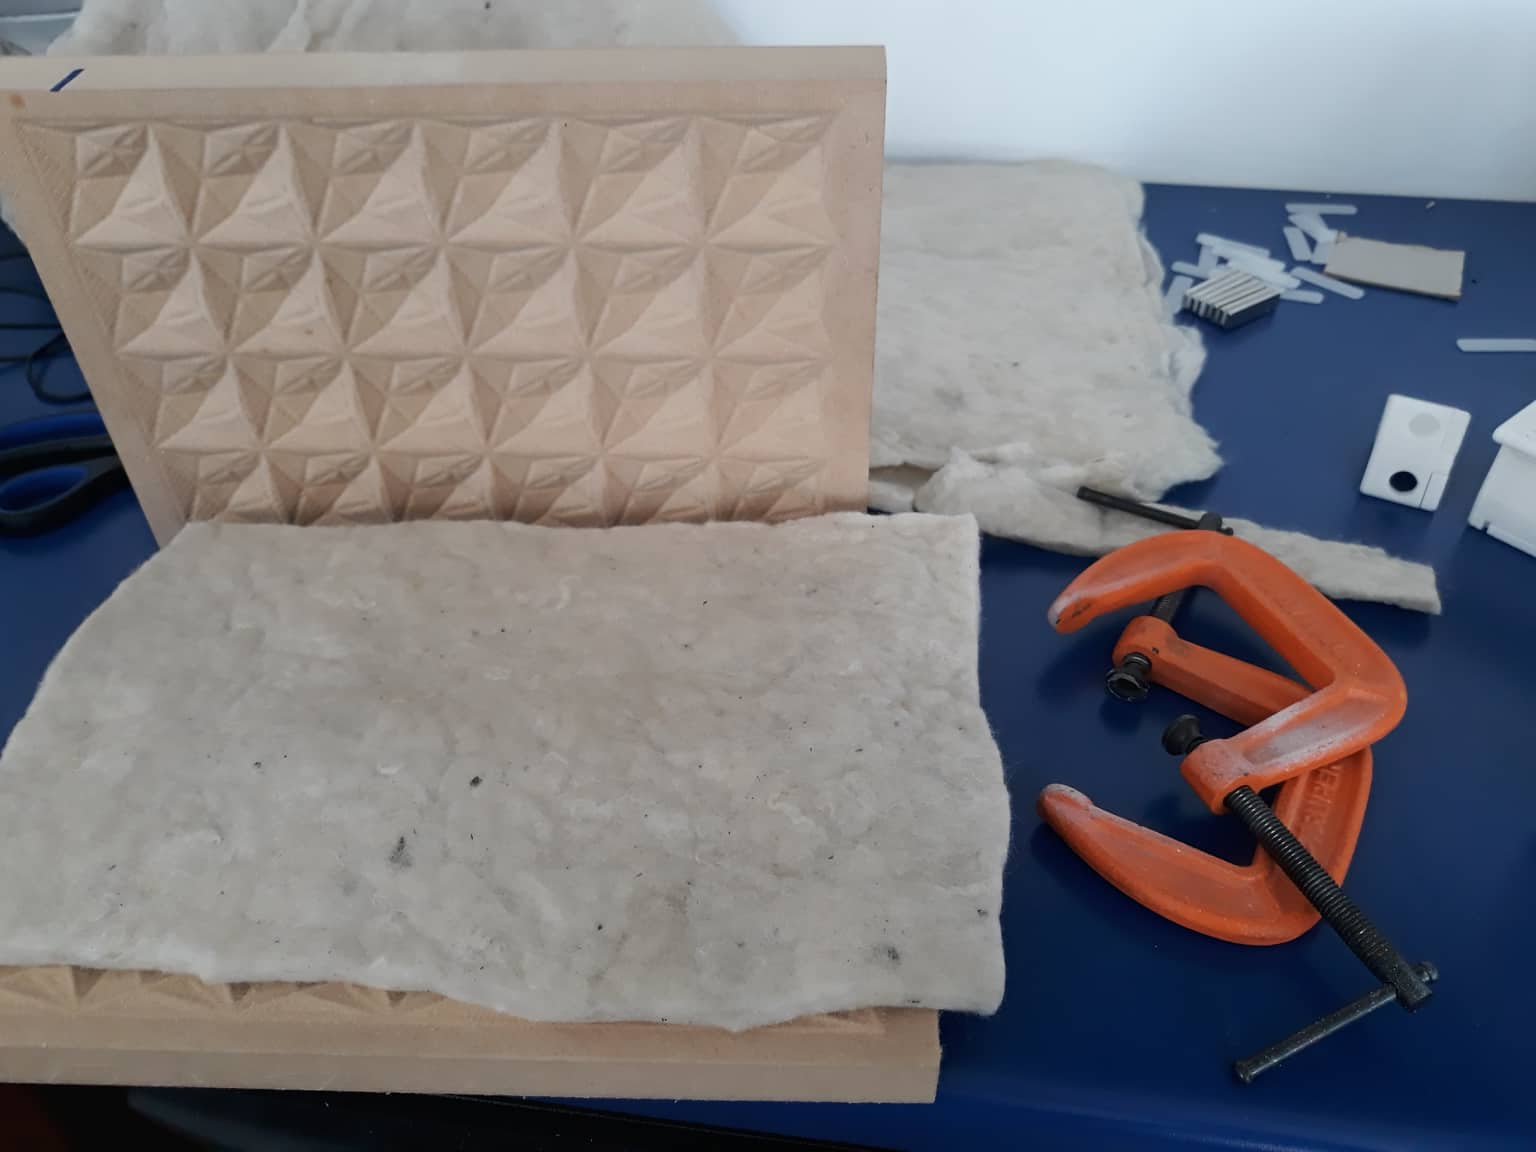
2.- Clamp rubber and Alpaca. At this point we have a positive part of the mold and a negative one. As you can see in the photo the alpaca goes between both molds. I did a sandwich with the first layer of Mold Part 1, then a plastic bag to avoid rubber attaché to MDF, rubber (apply it as you put Mayonnaise in your sandwich), Alpaca felt, another plastic bag, Mold Part 2 and clamp everything together for 24 hours.
Final Result
Side A
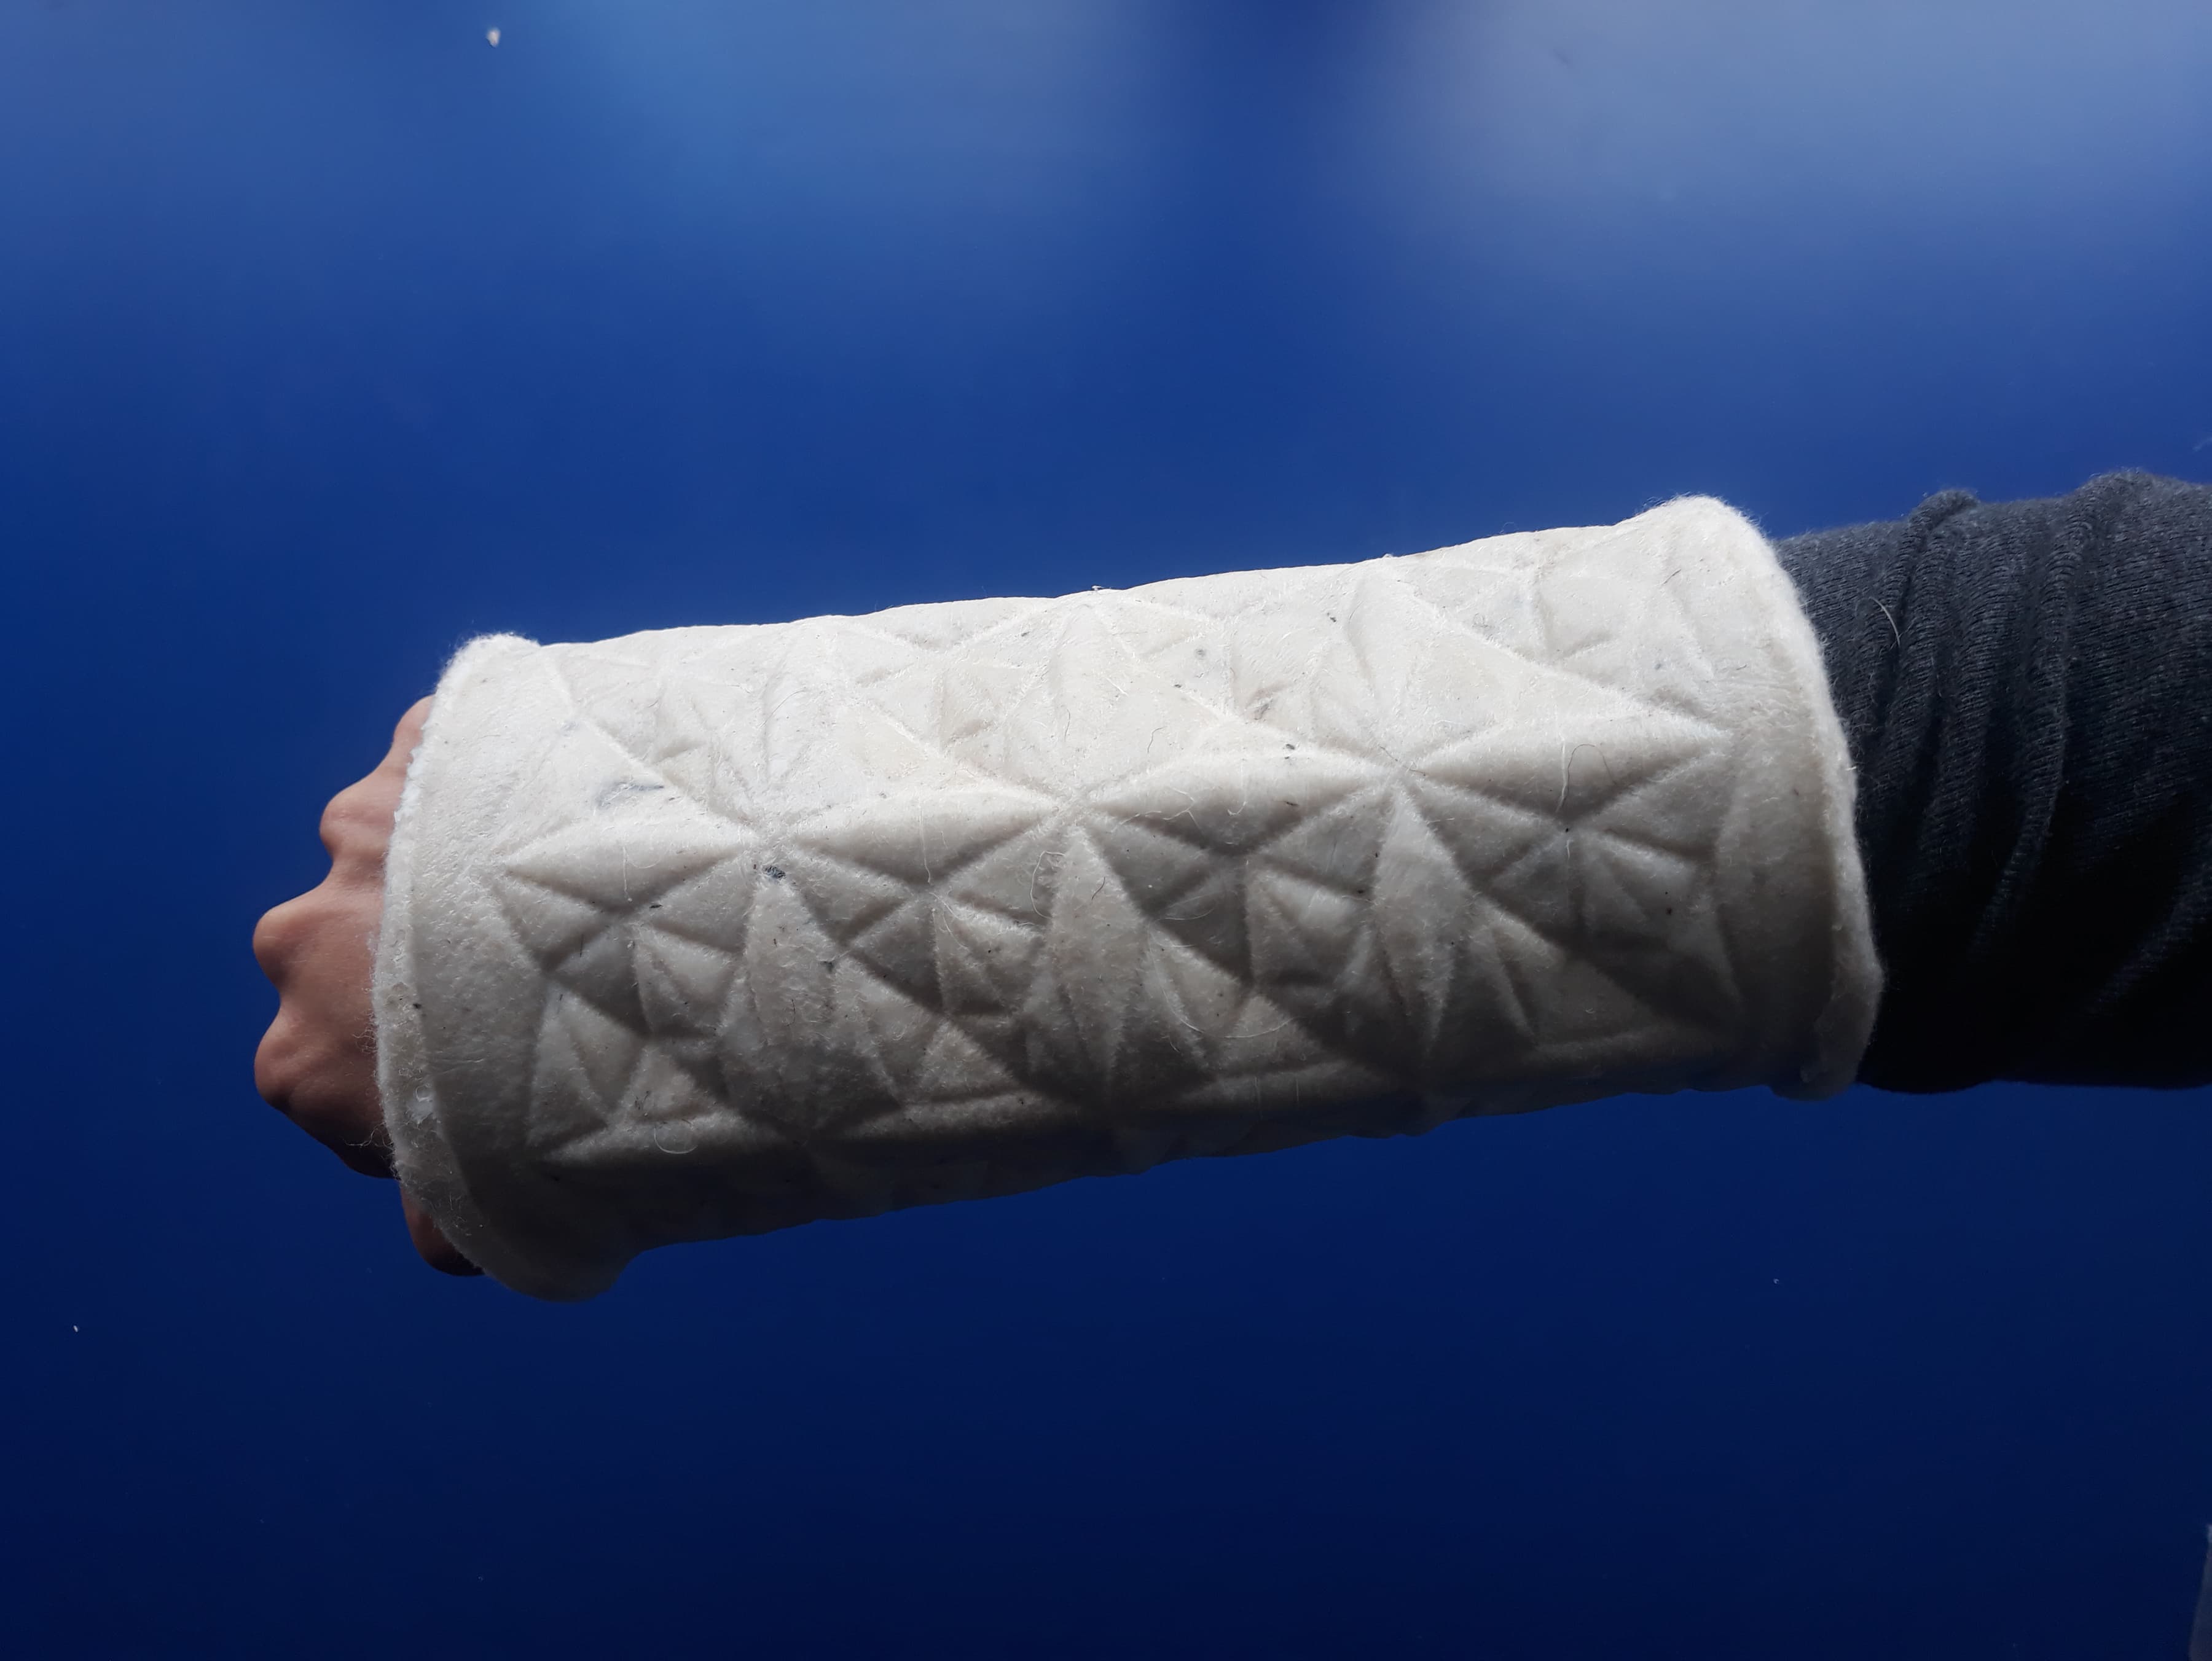
This side is the one I apply the rubber directly. As you may notice this side has a clear mold shape also it has the same sticky aspects as a rubber mold.
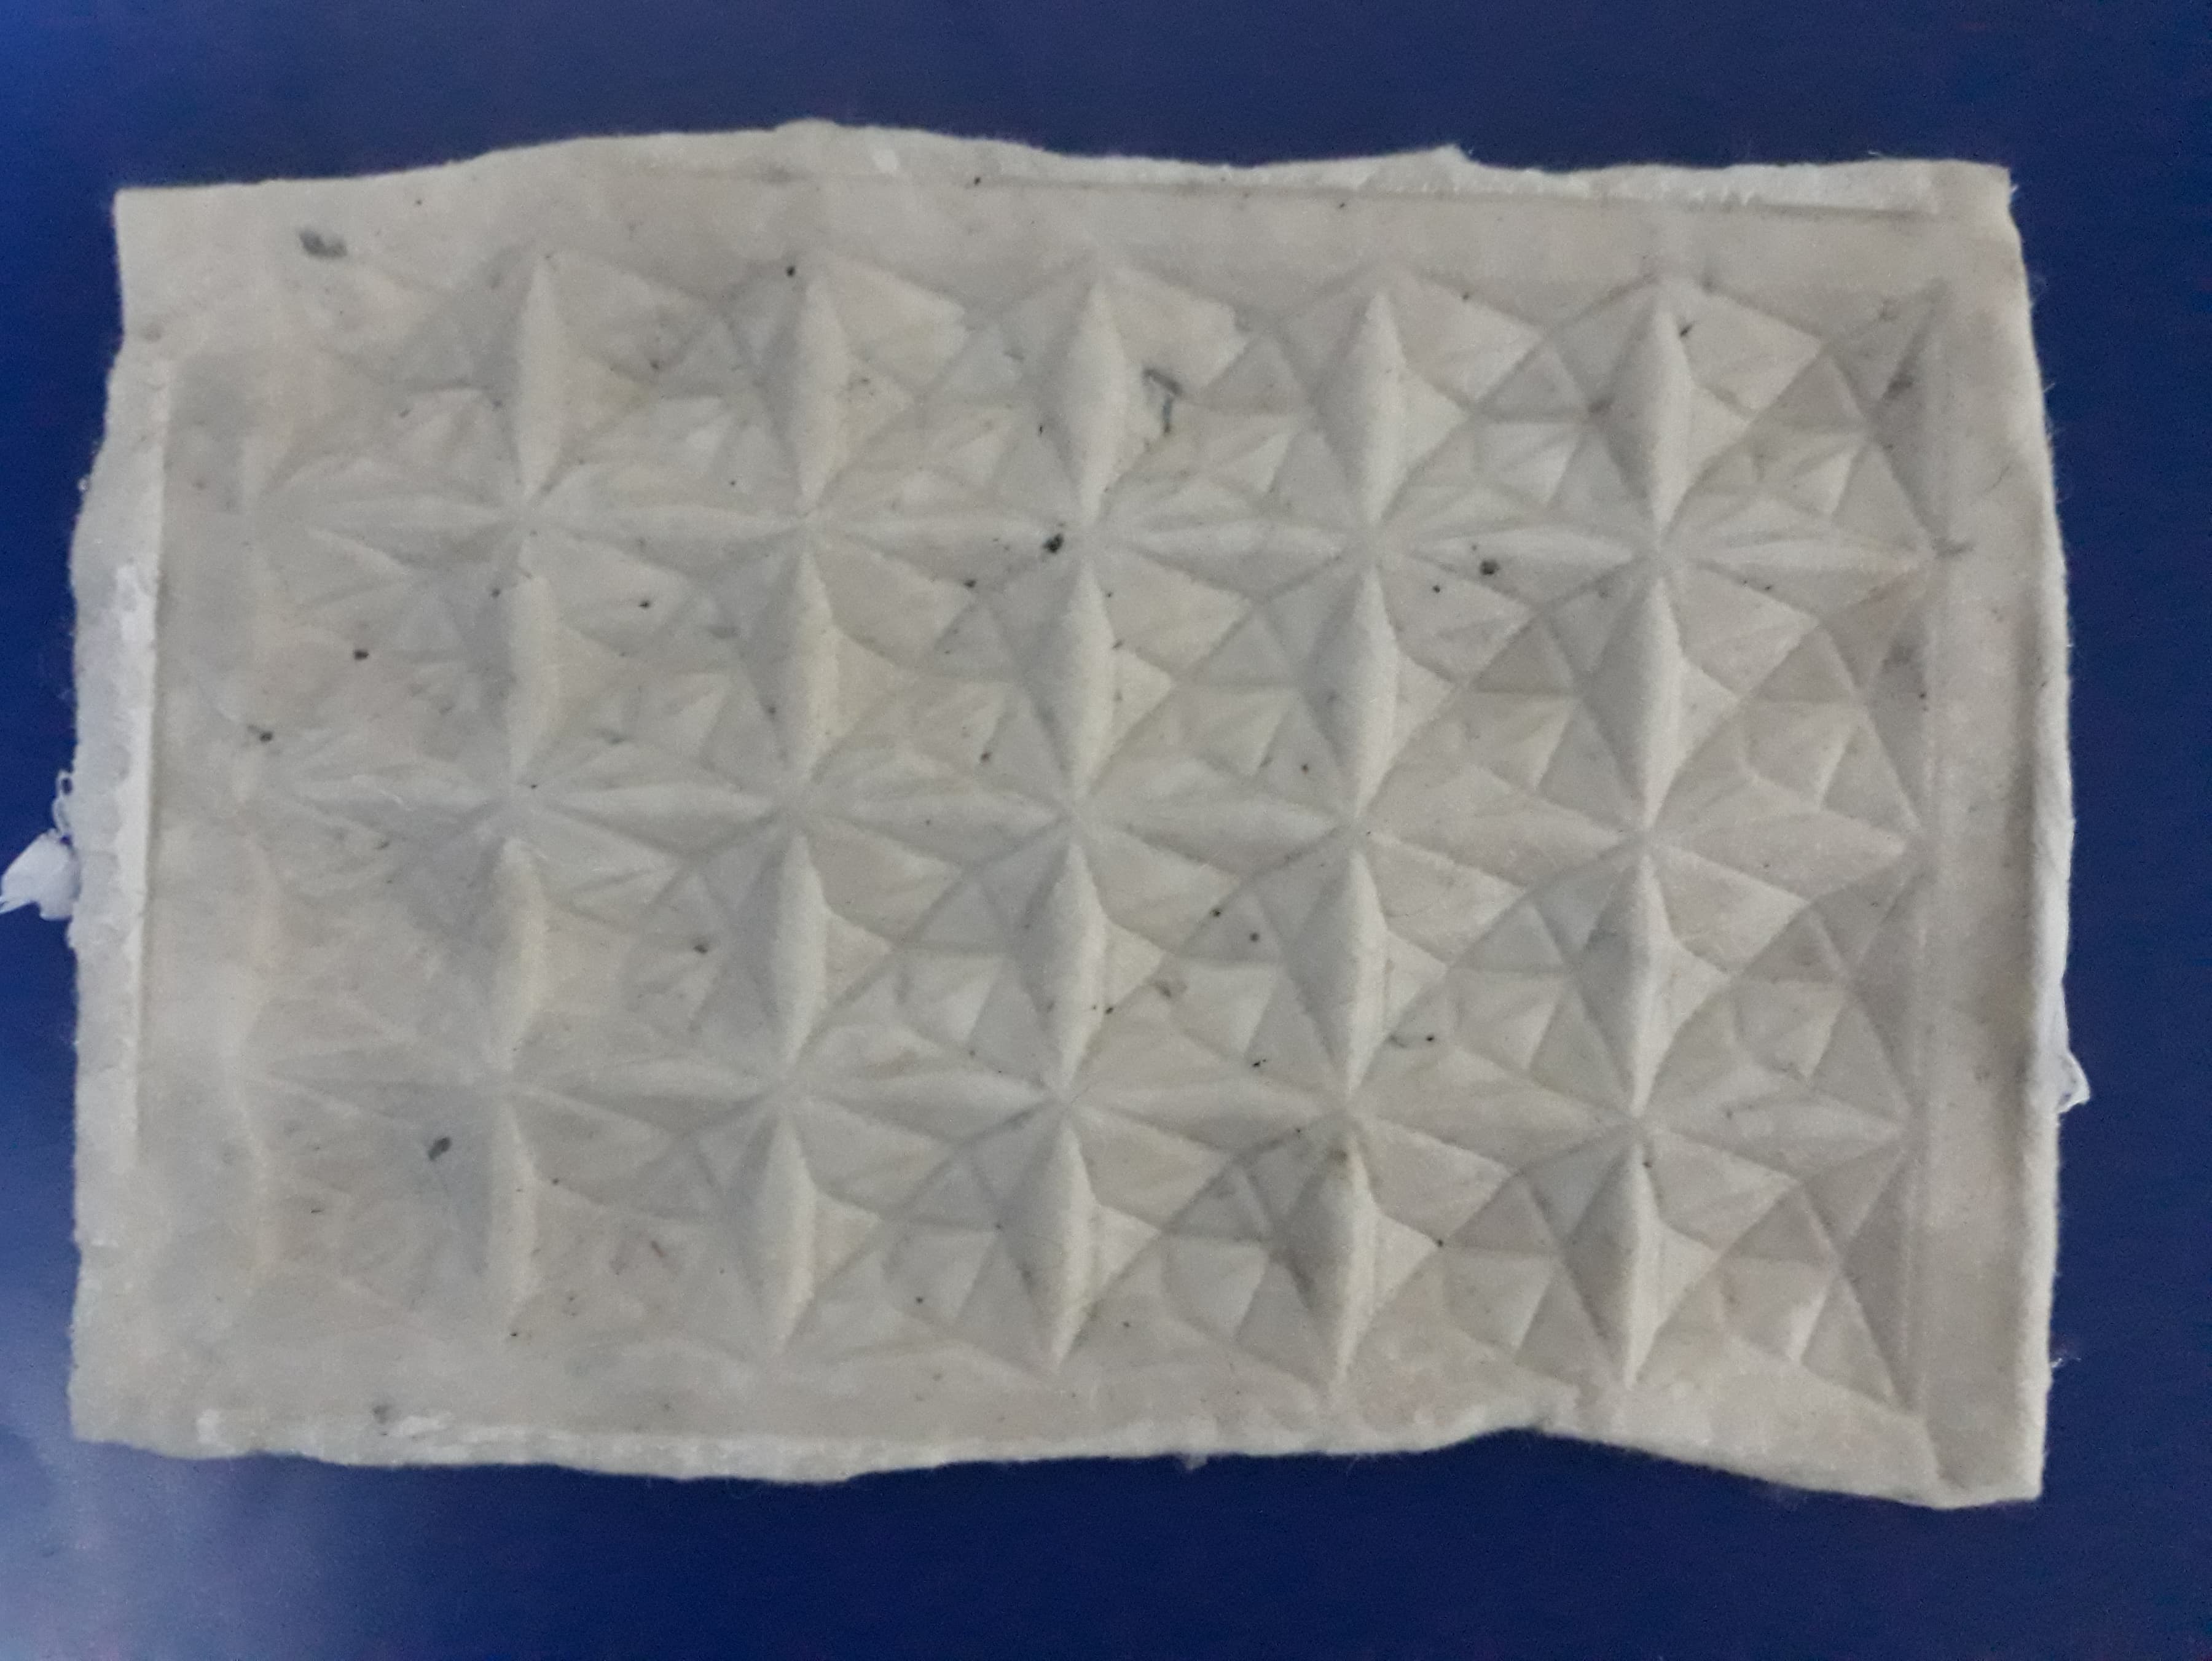
Side B
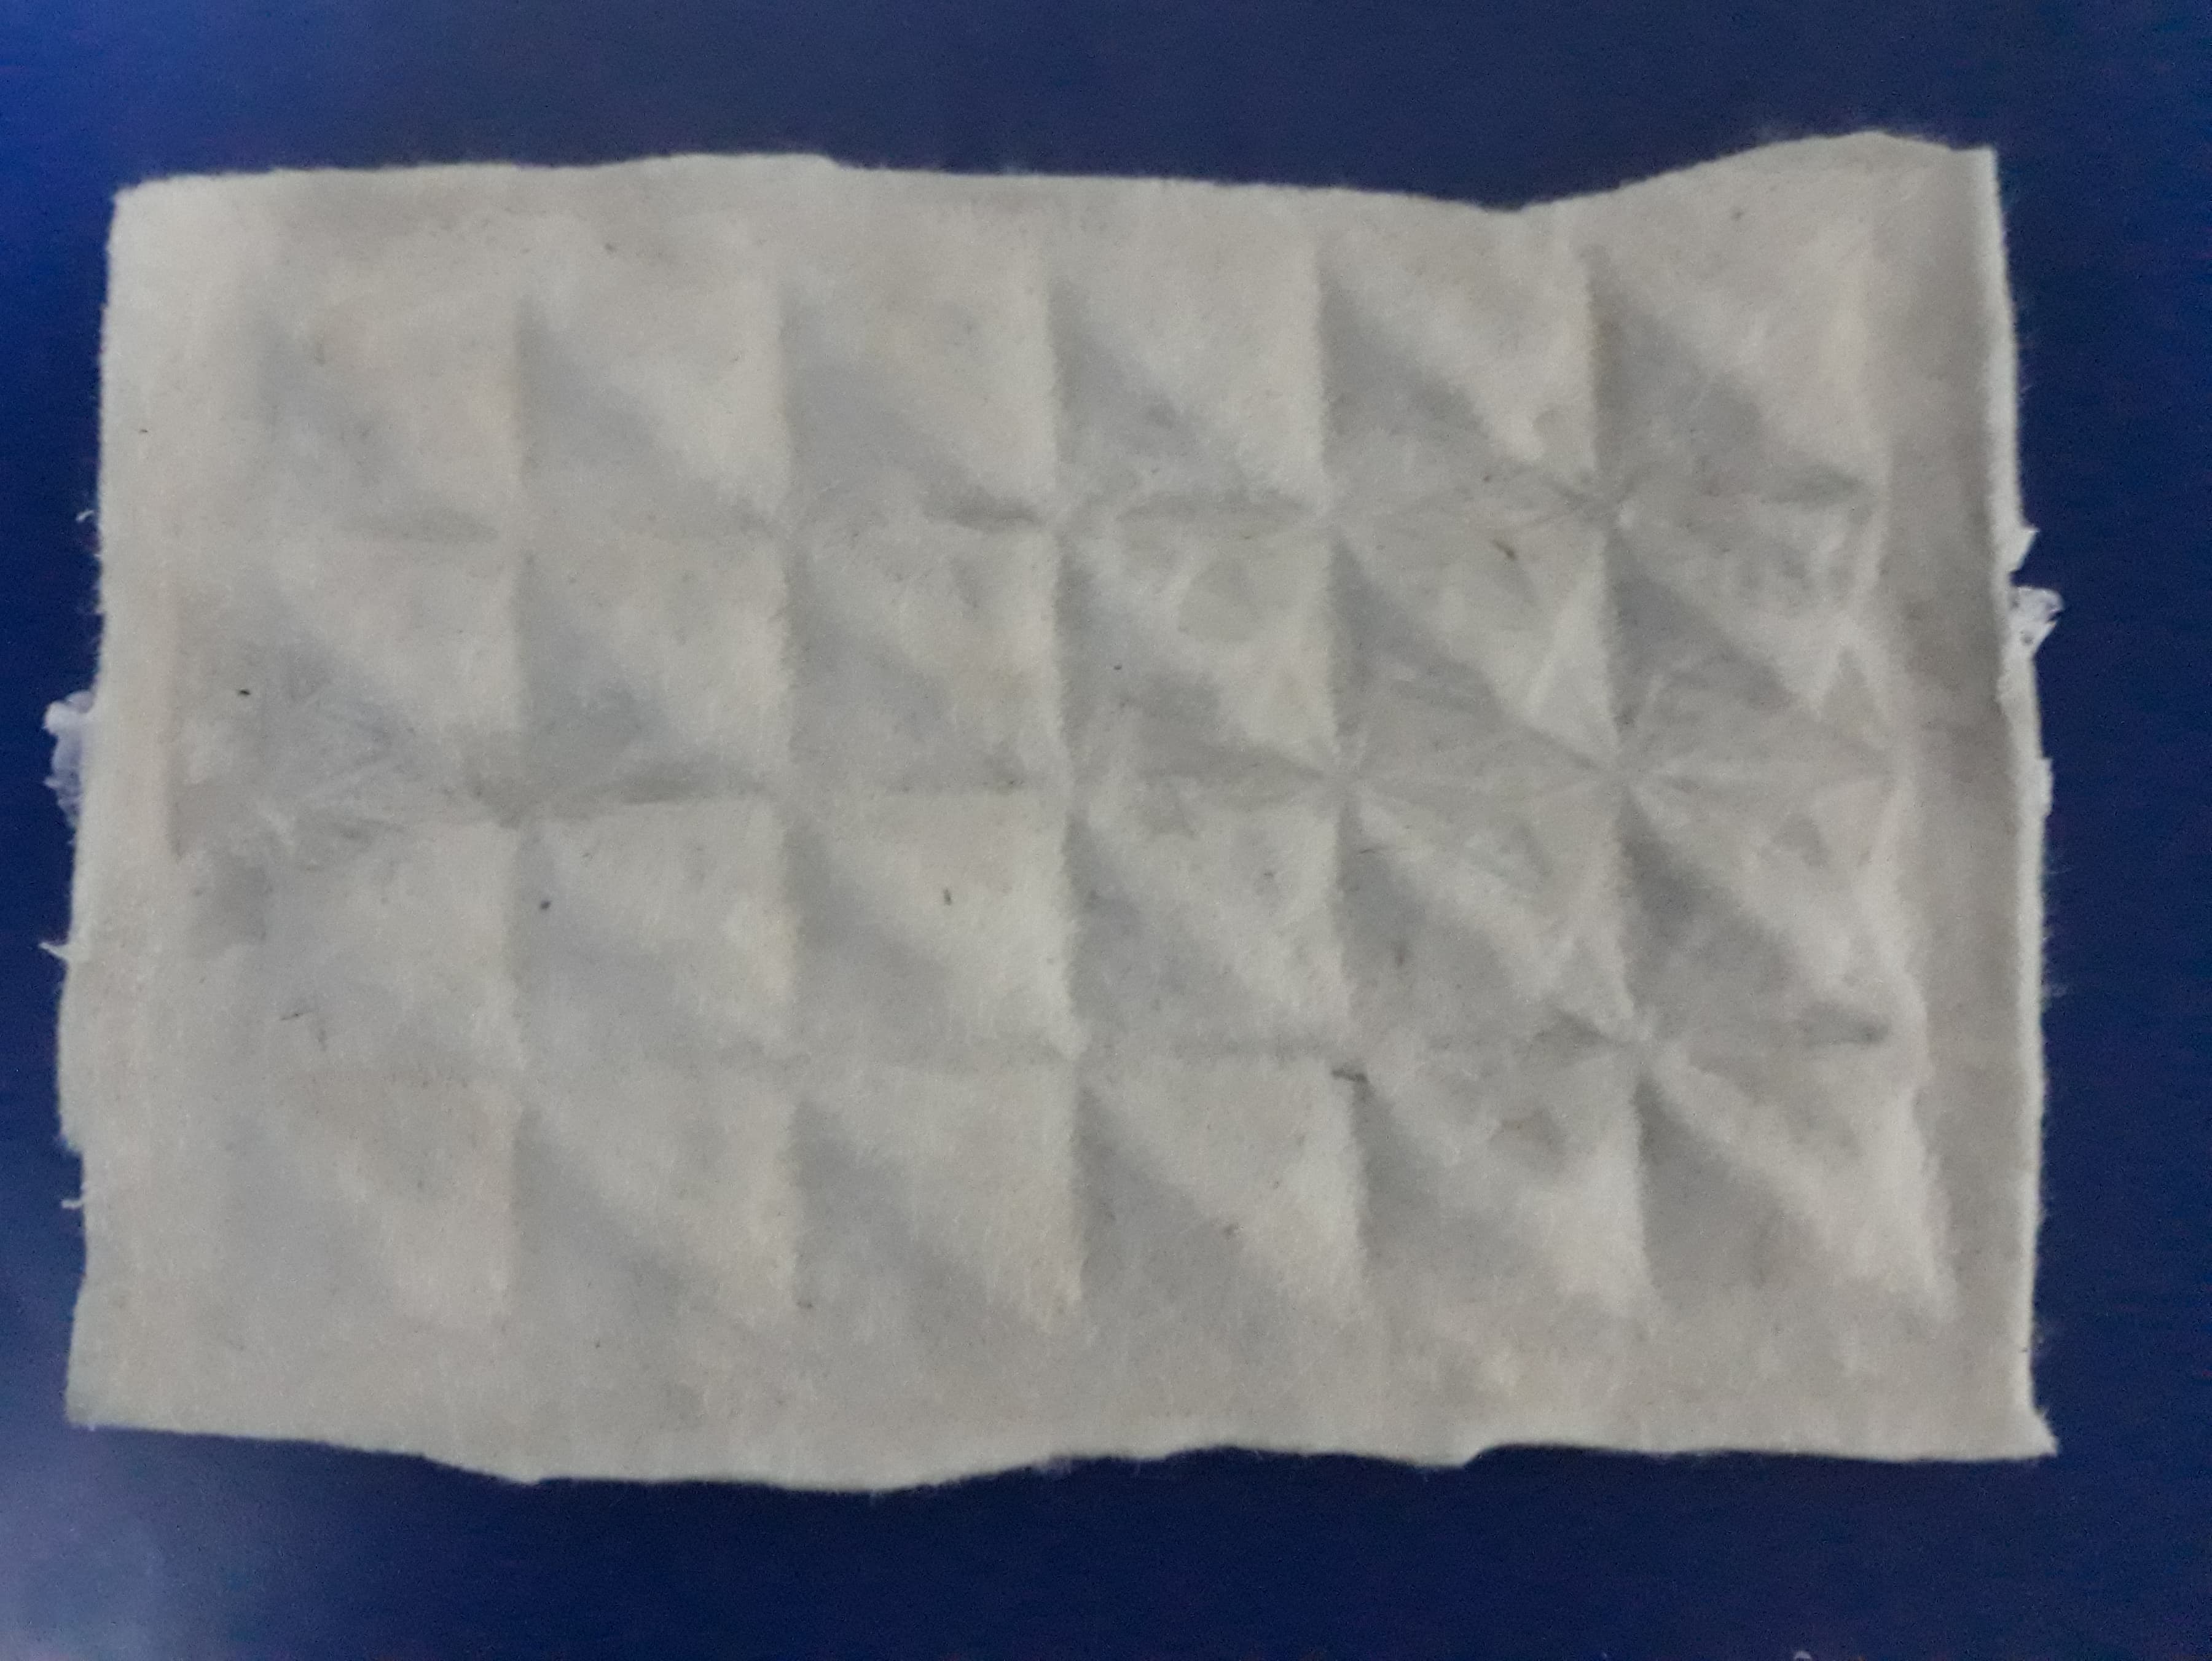

It has more felt field to the touch and it shows an interesting Alpaca texture and a less mold shape.
Conclusions
It is super important to force yourself to learn and go deeper into parametric tools each week. I feel that I have increased my Grasshopper understanding at least five times than last week.
The Textile + Wood technique was not as successfully as I wanted because MDF was not super clear when I have past textile on. It cause a poor attached and MDF tend to take off textile. The positive fact, this is the first time I have apply this technique and I find it really useful. Also this exploration let me understand that shapes you do for this assignment are important to the flexibility of your exercise, not all shapes on MDF will facilitate textile flexibility (it can also bloke it).
The Alpaca + Rubber exploration was really successfully. I have fall in love with this compose material. Alpaca felt normally has a problem with friction, more use more balls of Alpaca you will find in your cloths. Rubber could be a good solution to avoid Alpaca friction problem.