Digital bodies
Process
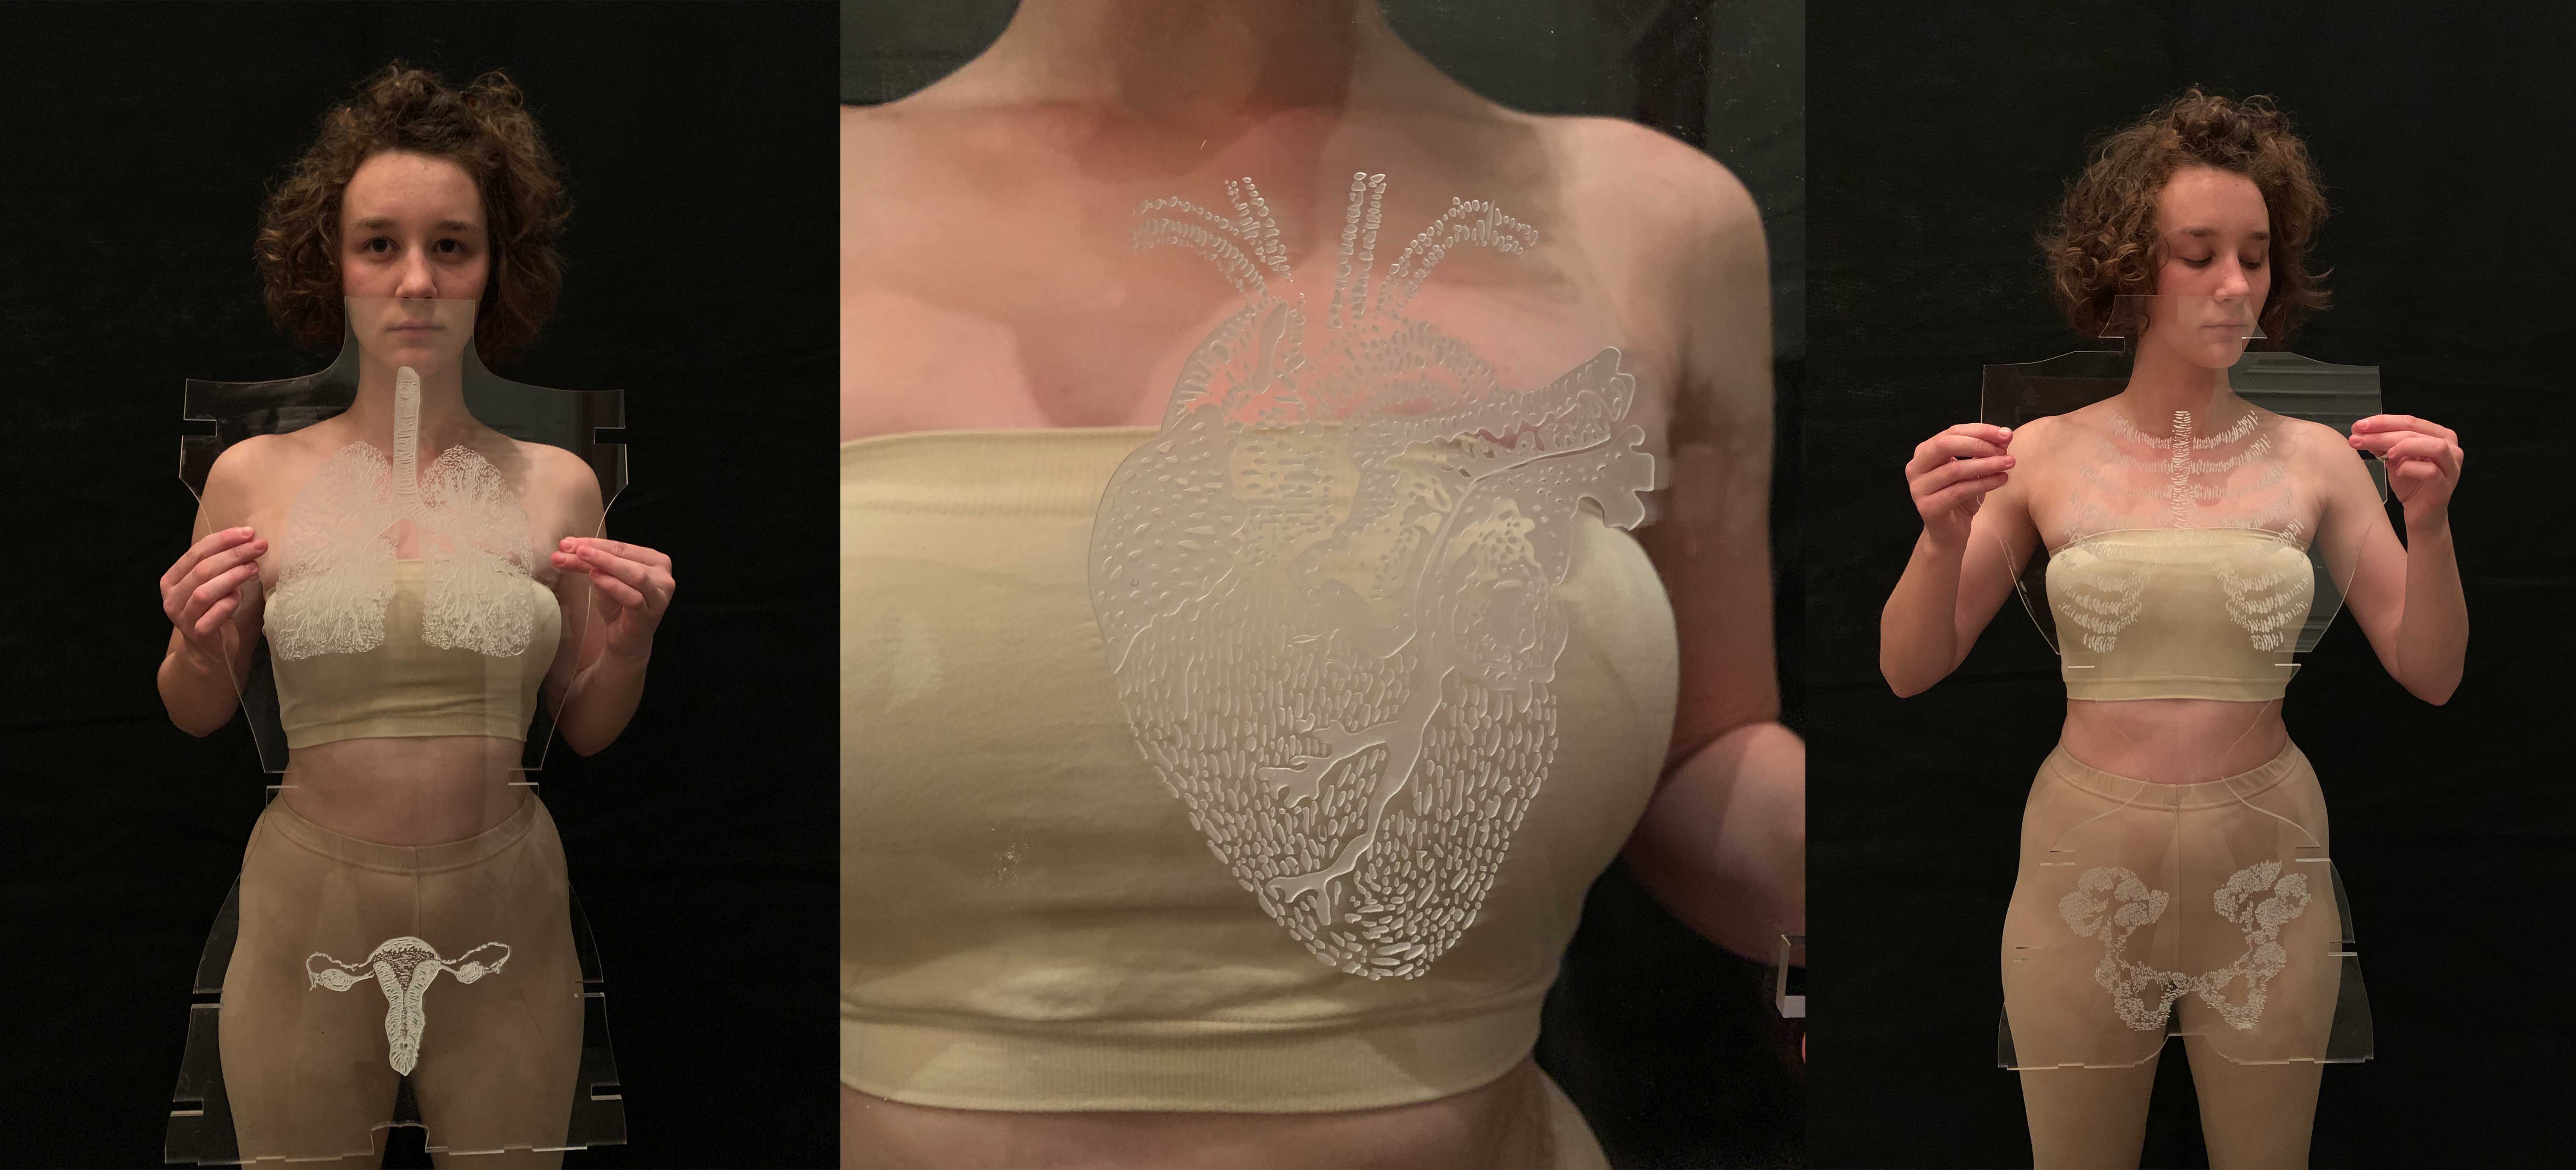
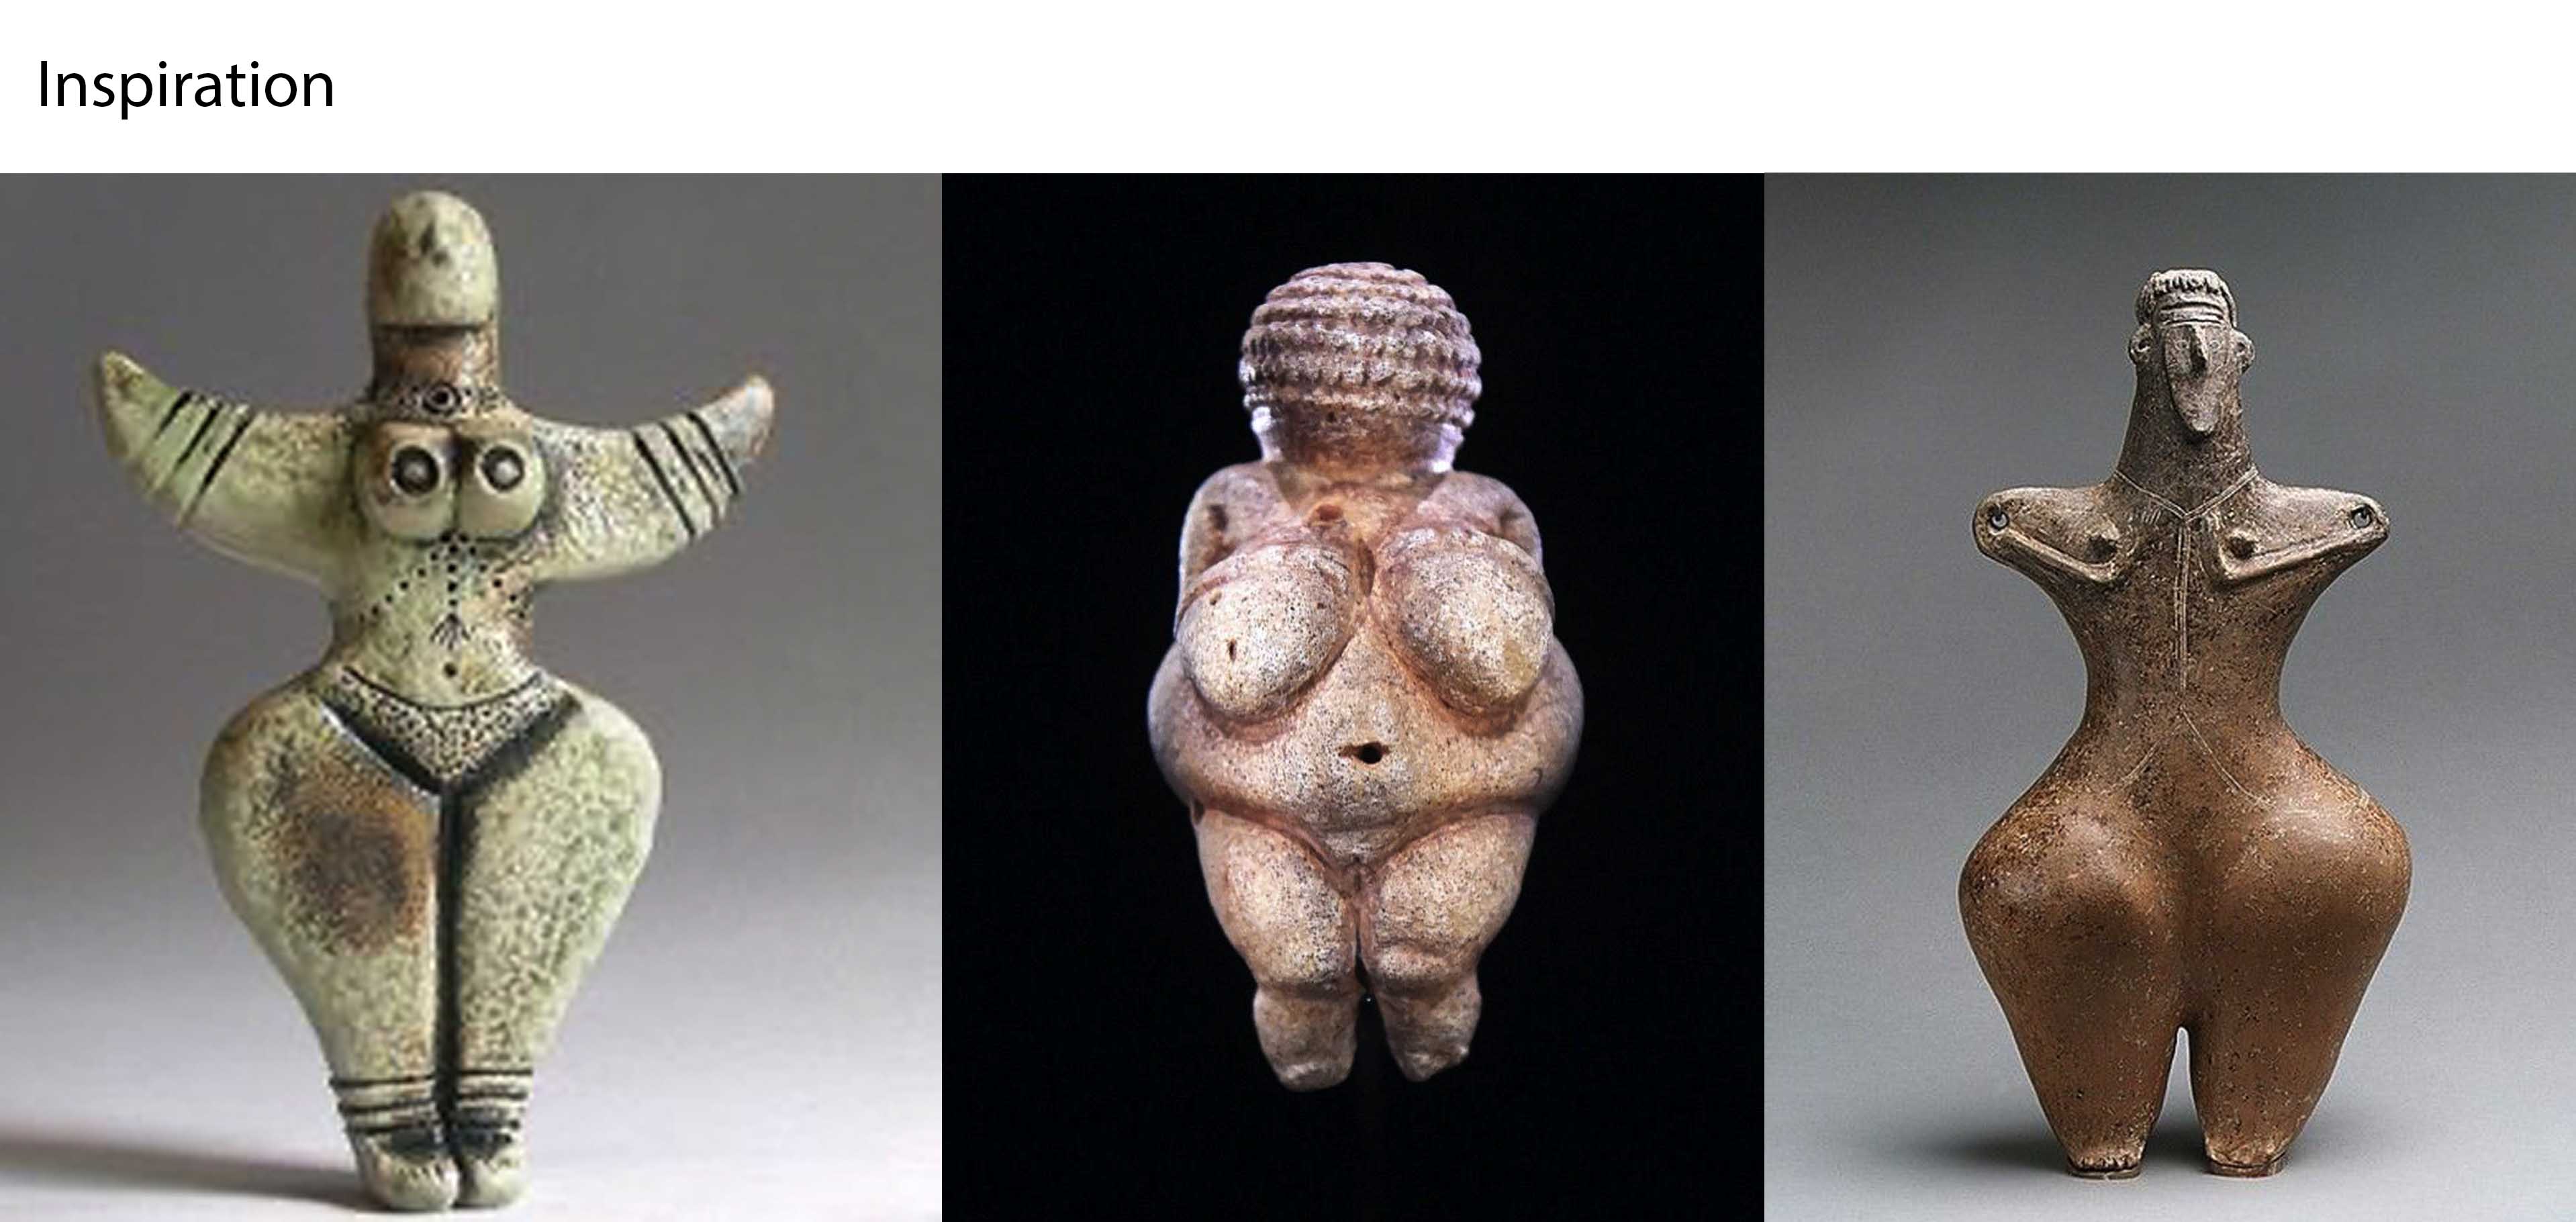
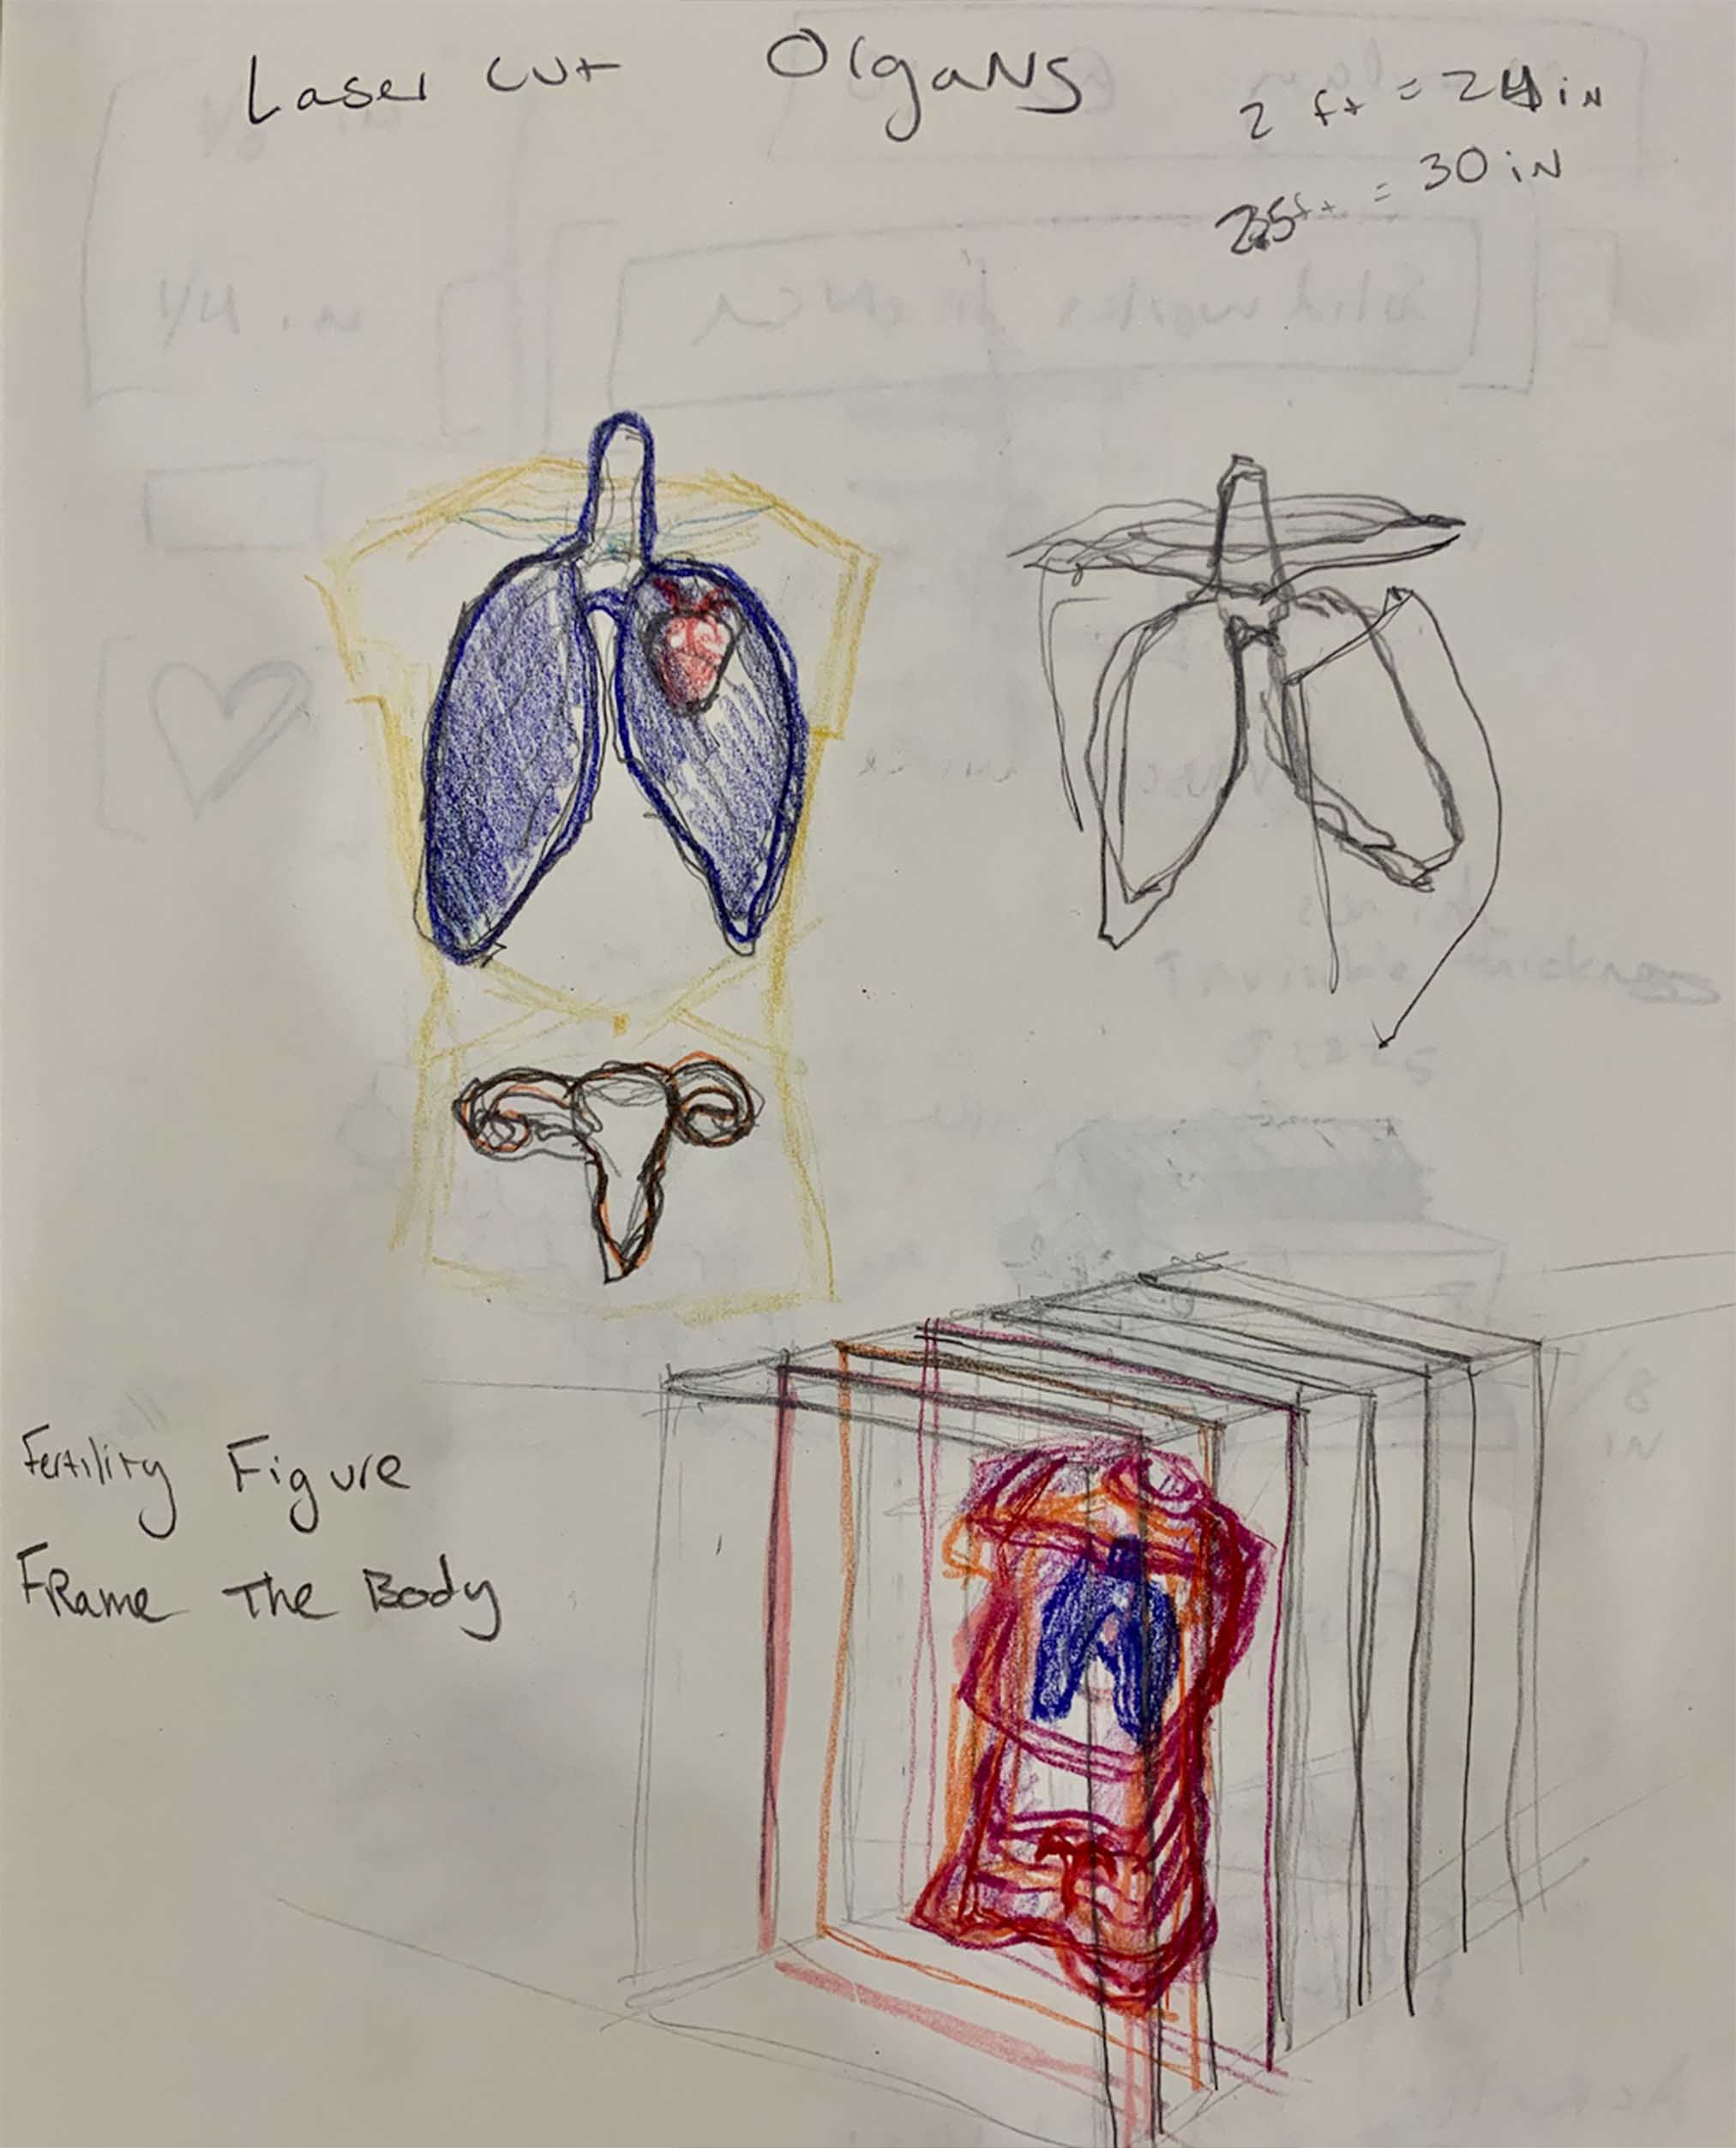
The female form is often over sexualized, and this was the case with female torso 3d models that I found on the internet. I was struck by their hyper-sexualized poses, and accentuated nude bodies. The models reminded me of traditional fertility figures seen throughout art history. I wanted to reference this, but also humanize the mannequin as much as possible in an attempt to humanize the female form. The mannequin has sex organs, but also a heart, lungs, and a protective ribcage and pelvis.
I chose to use clear acrylic because it emphasized the transparency of women, and how their completeness as humans is often overseen or overlooked. I also was interested in experimenting with layering and creating an optical illusion, where we see an object as human from one perspective, but not another.
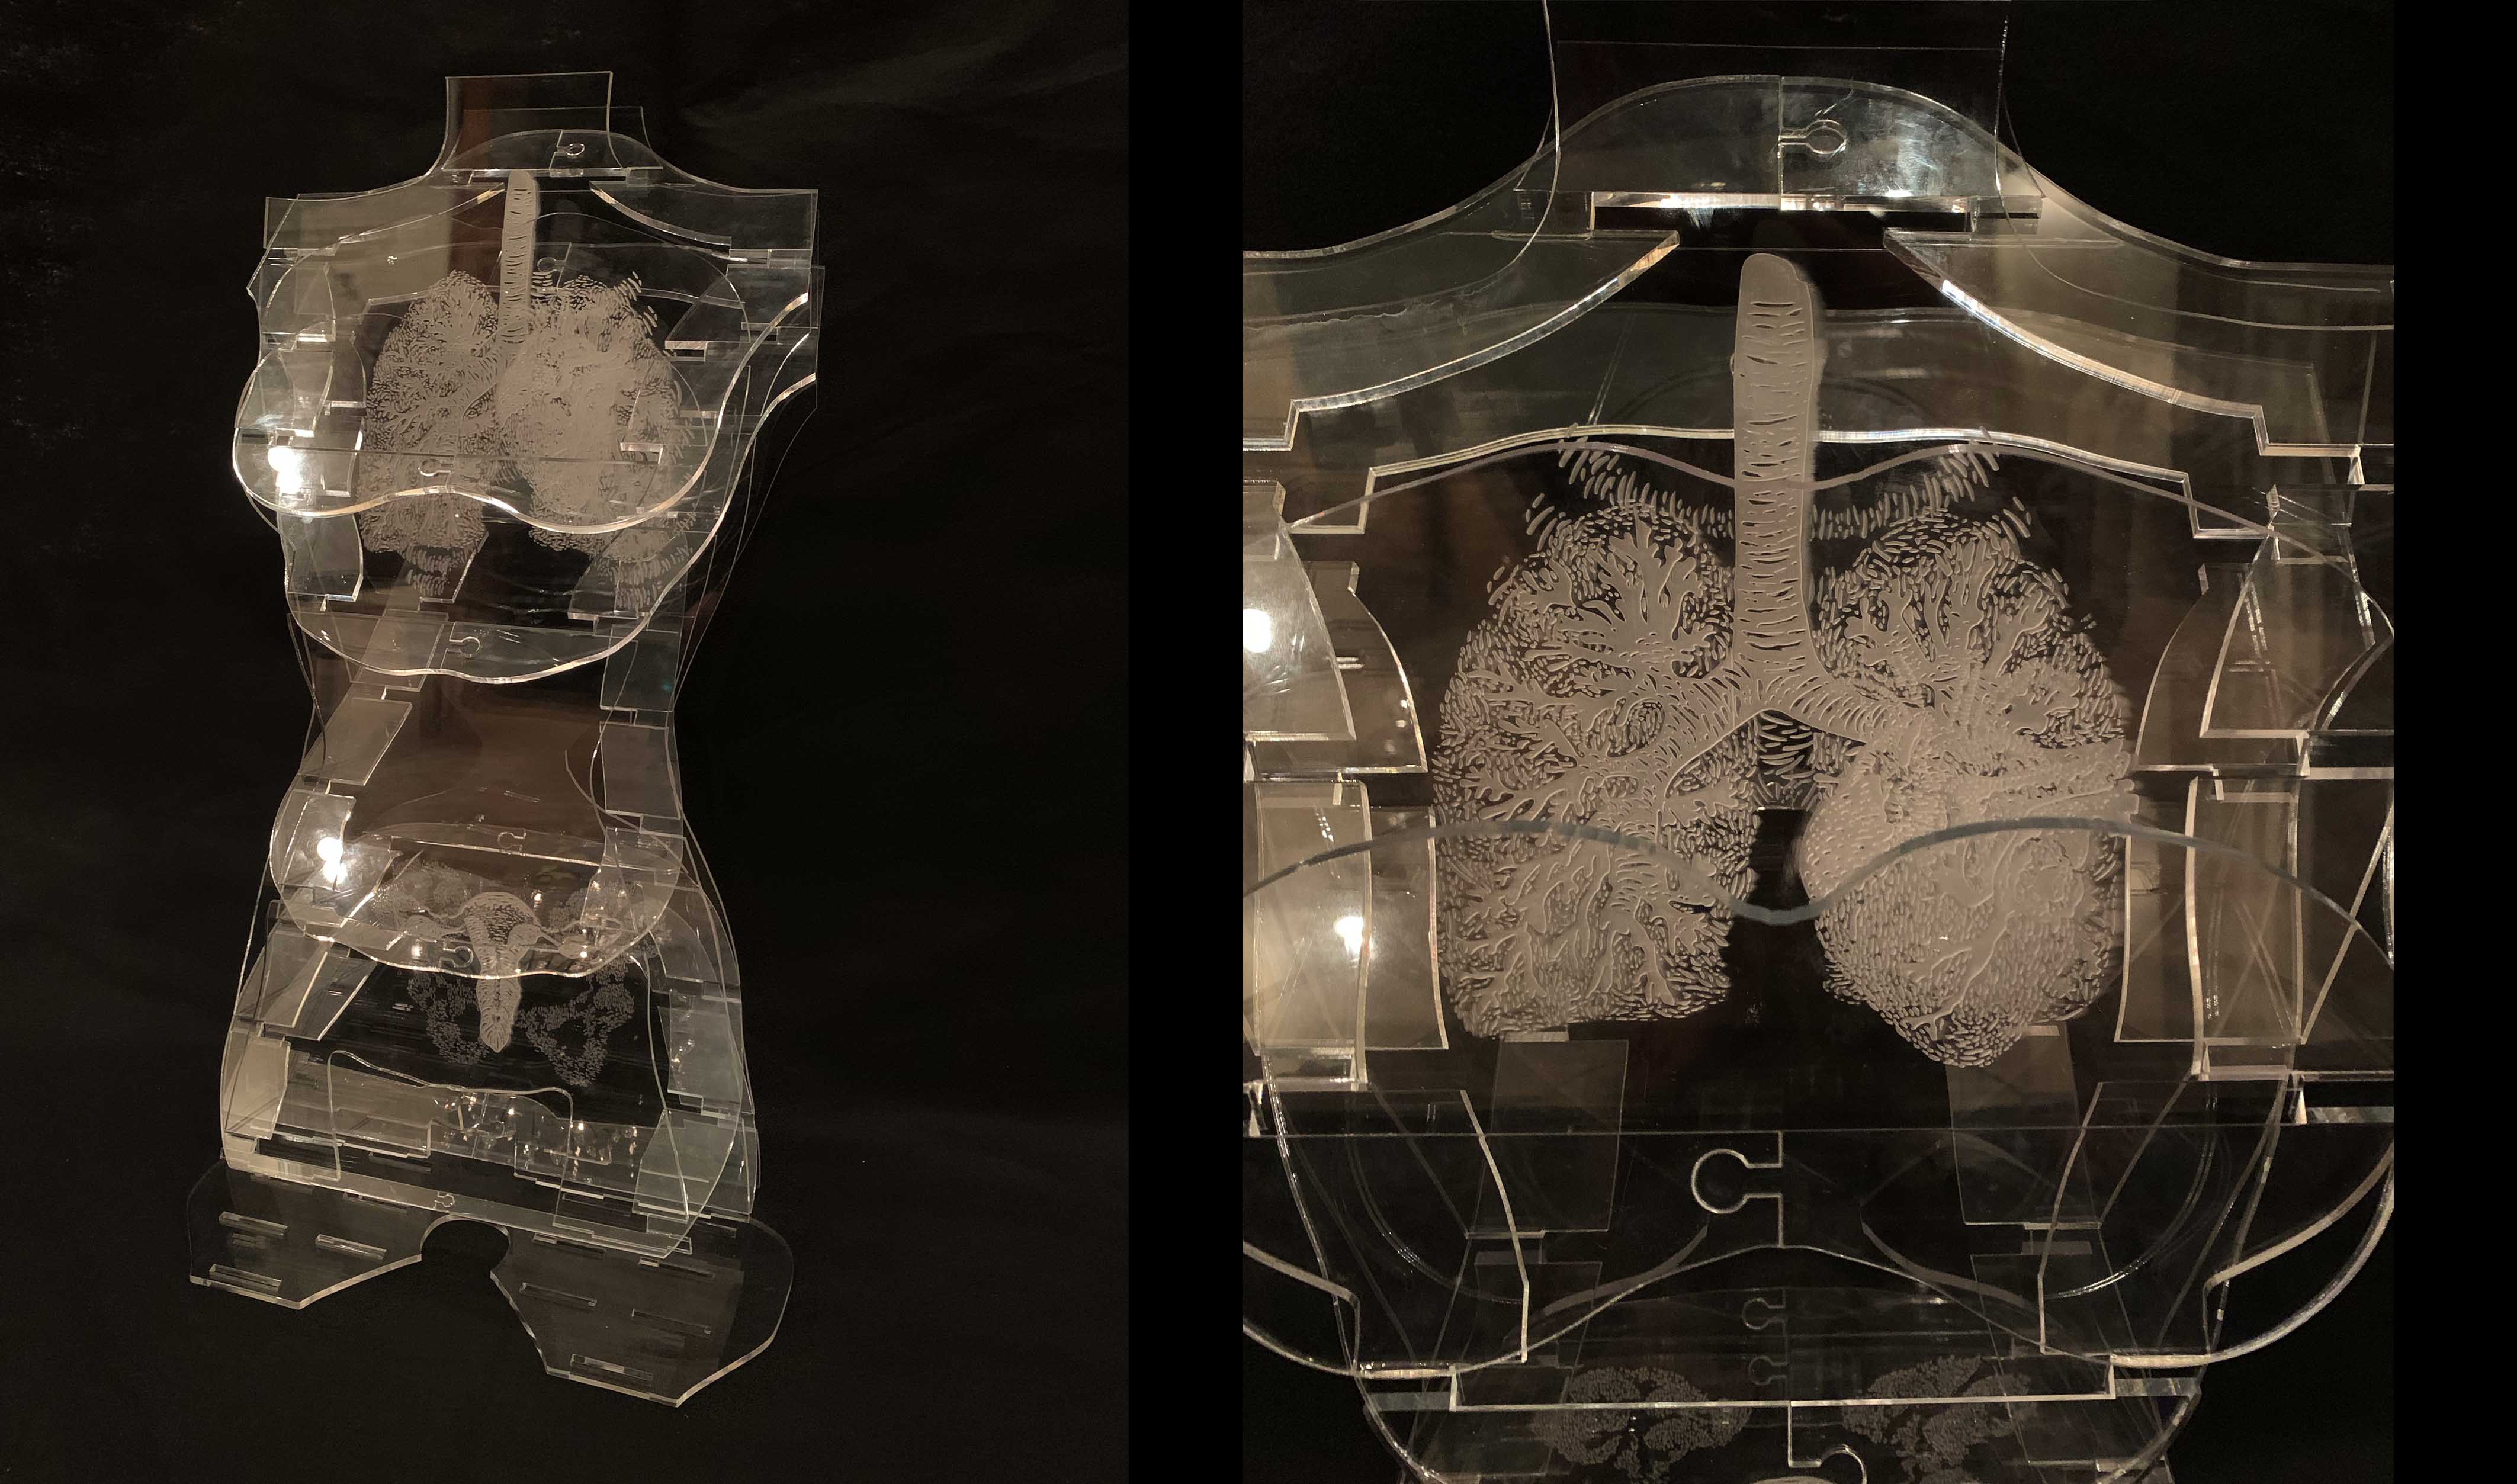
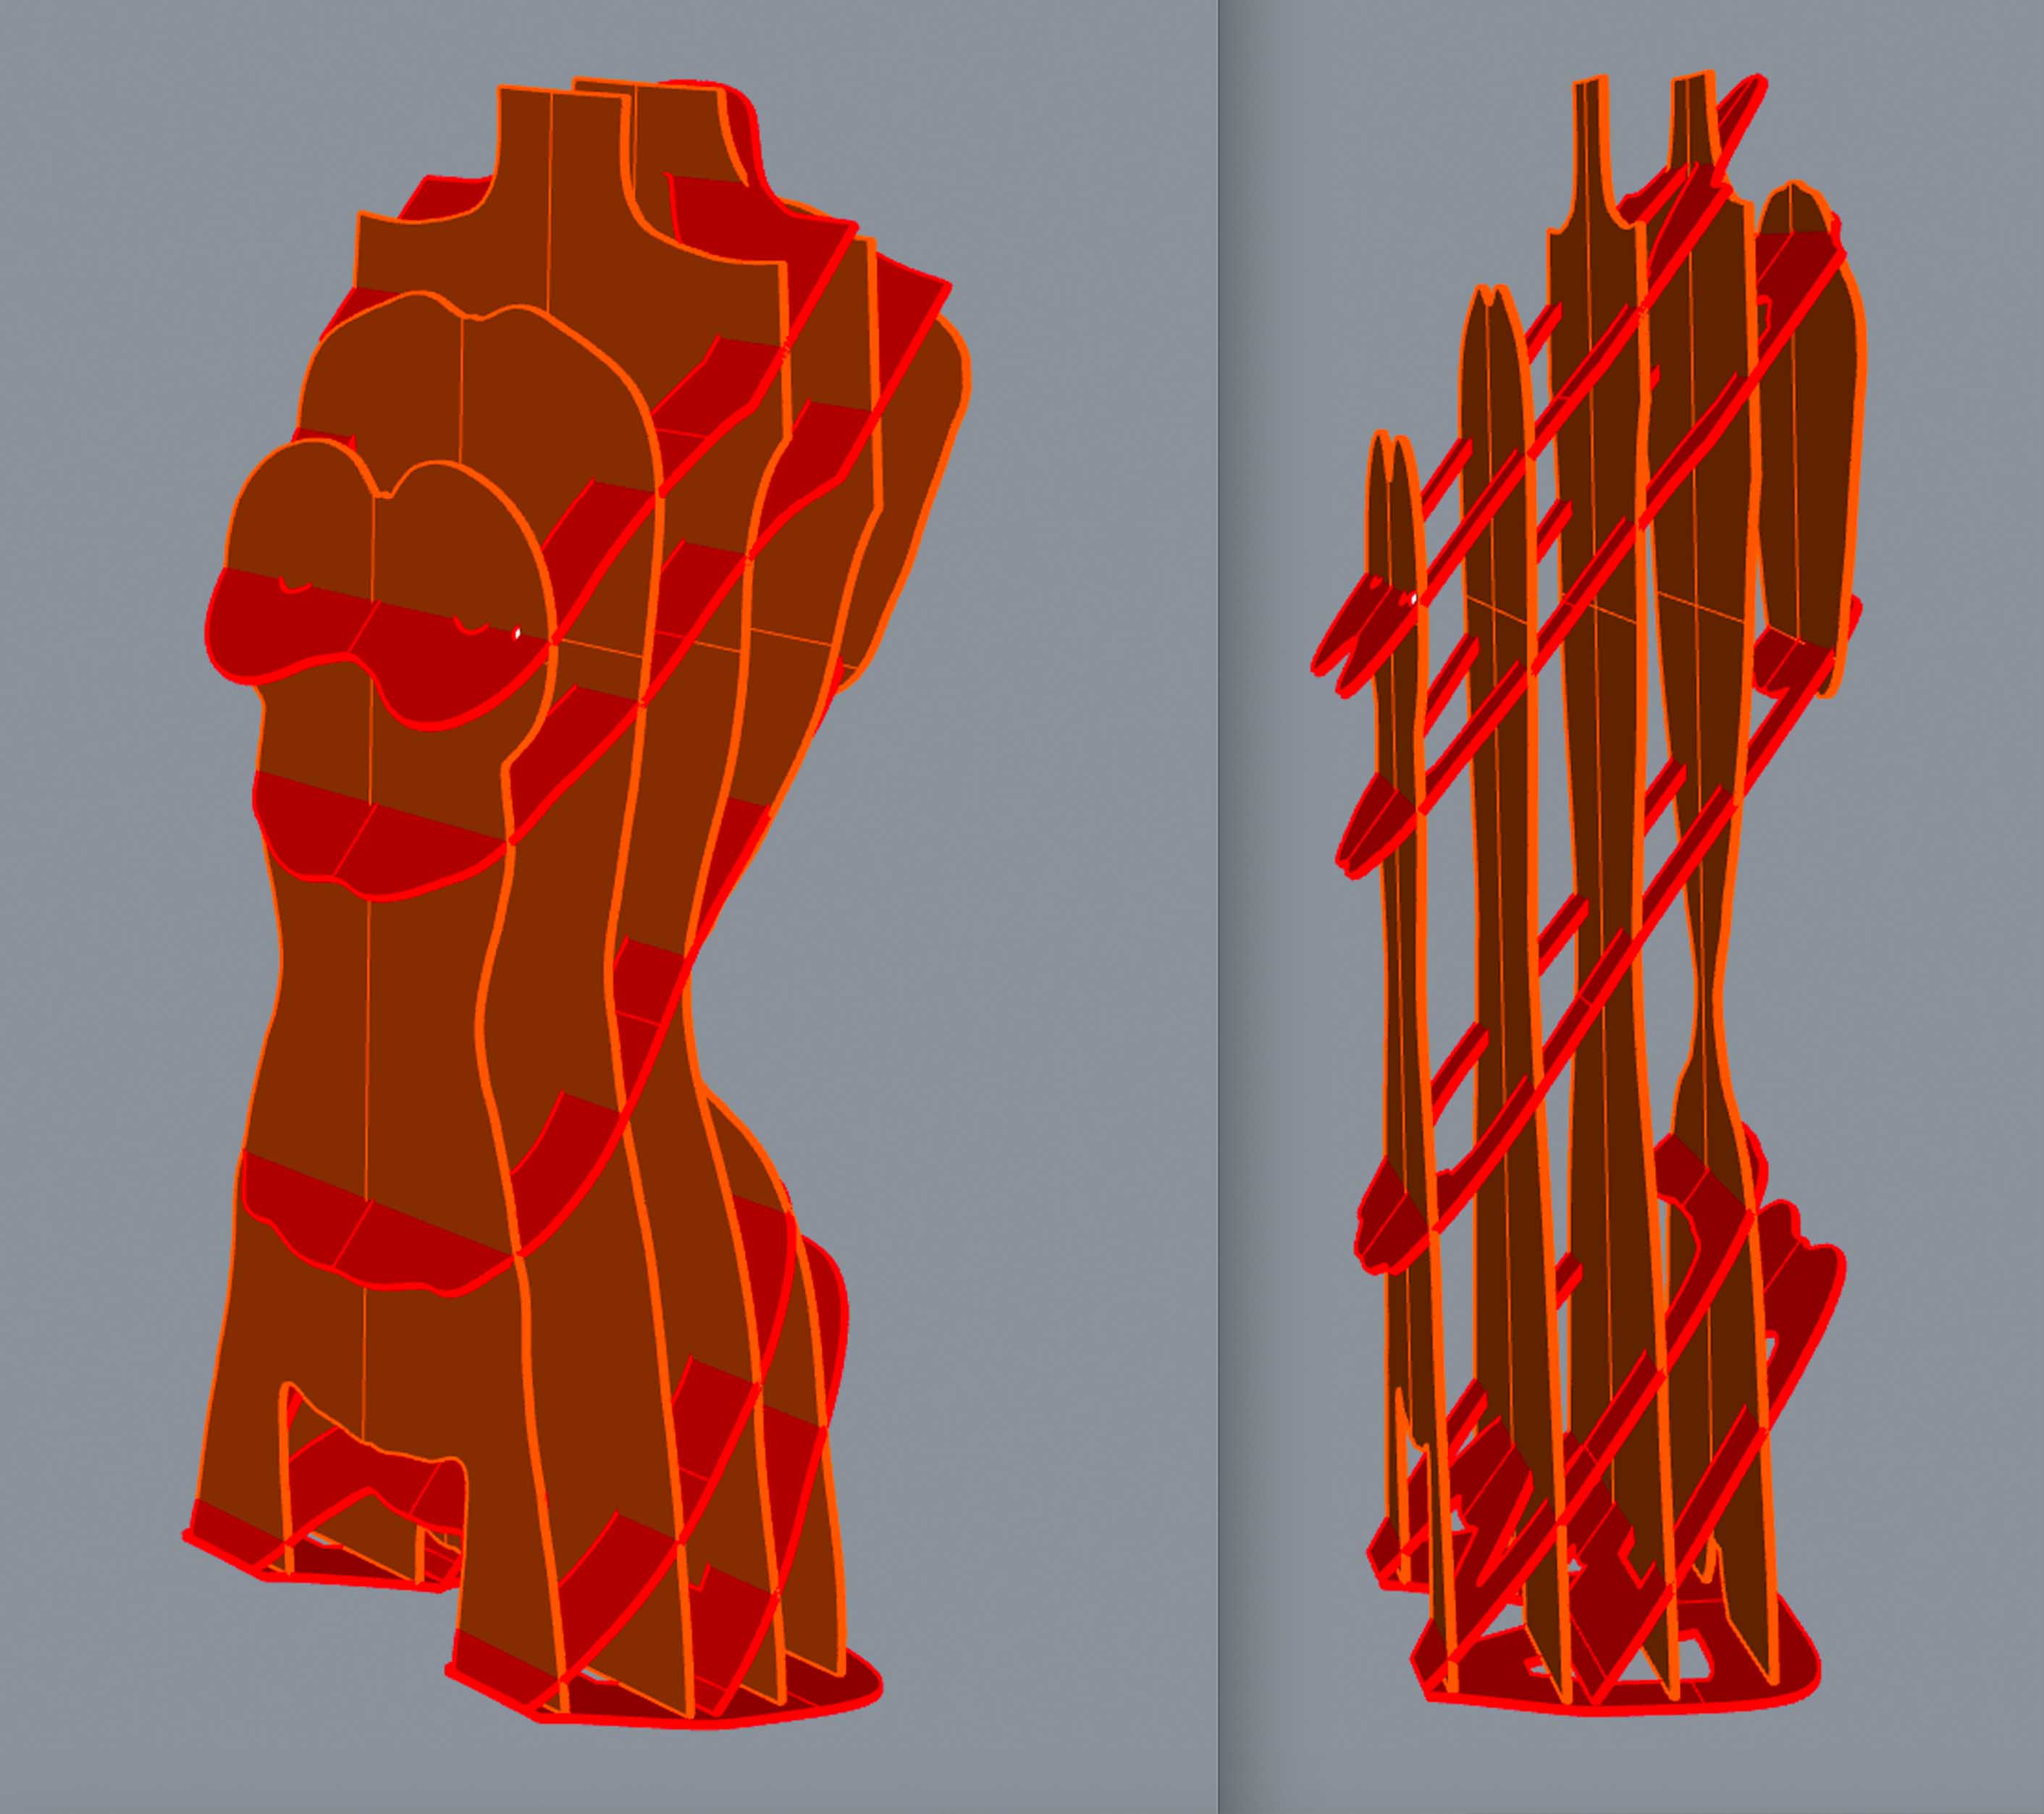
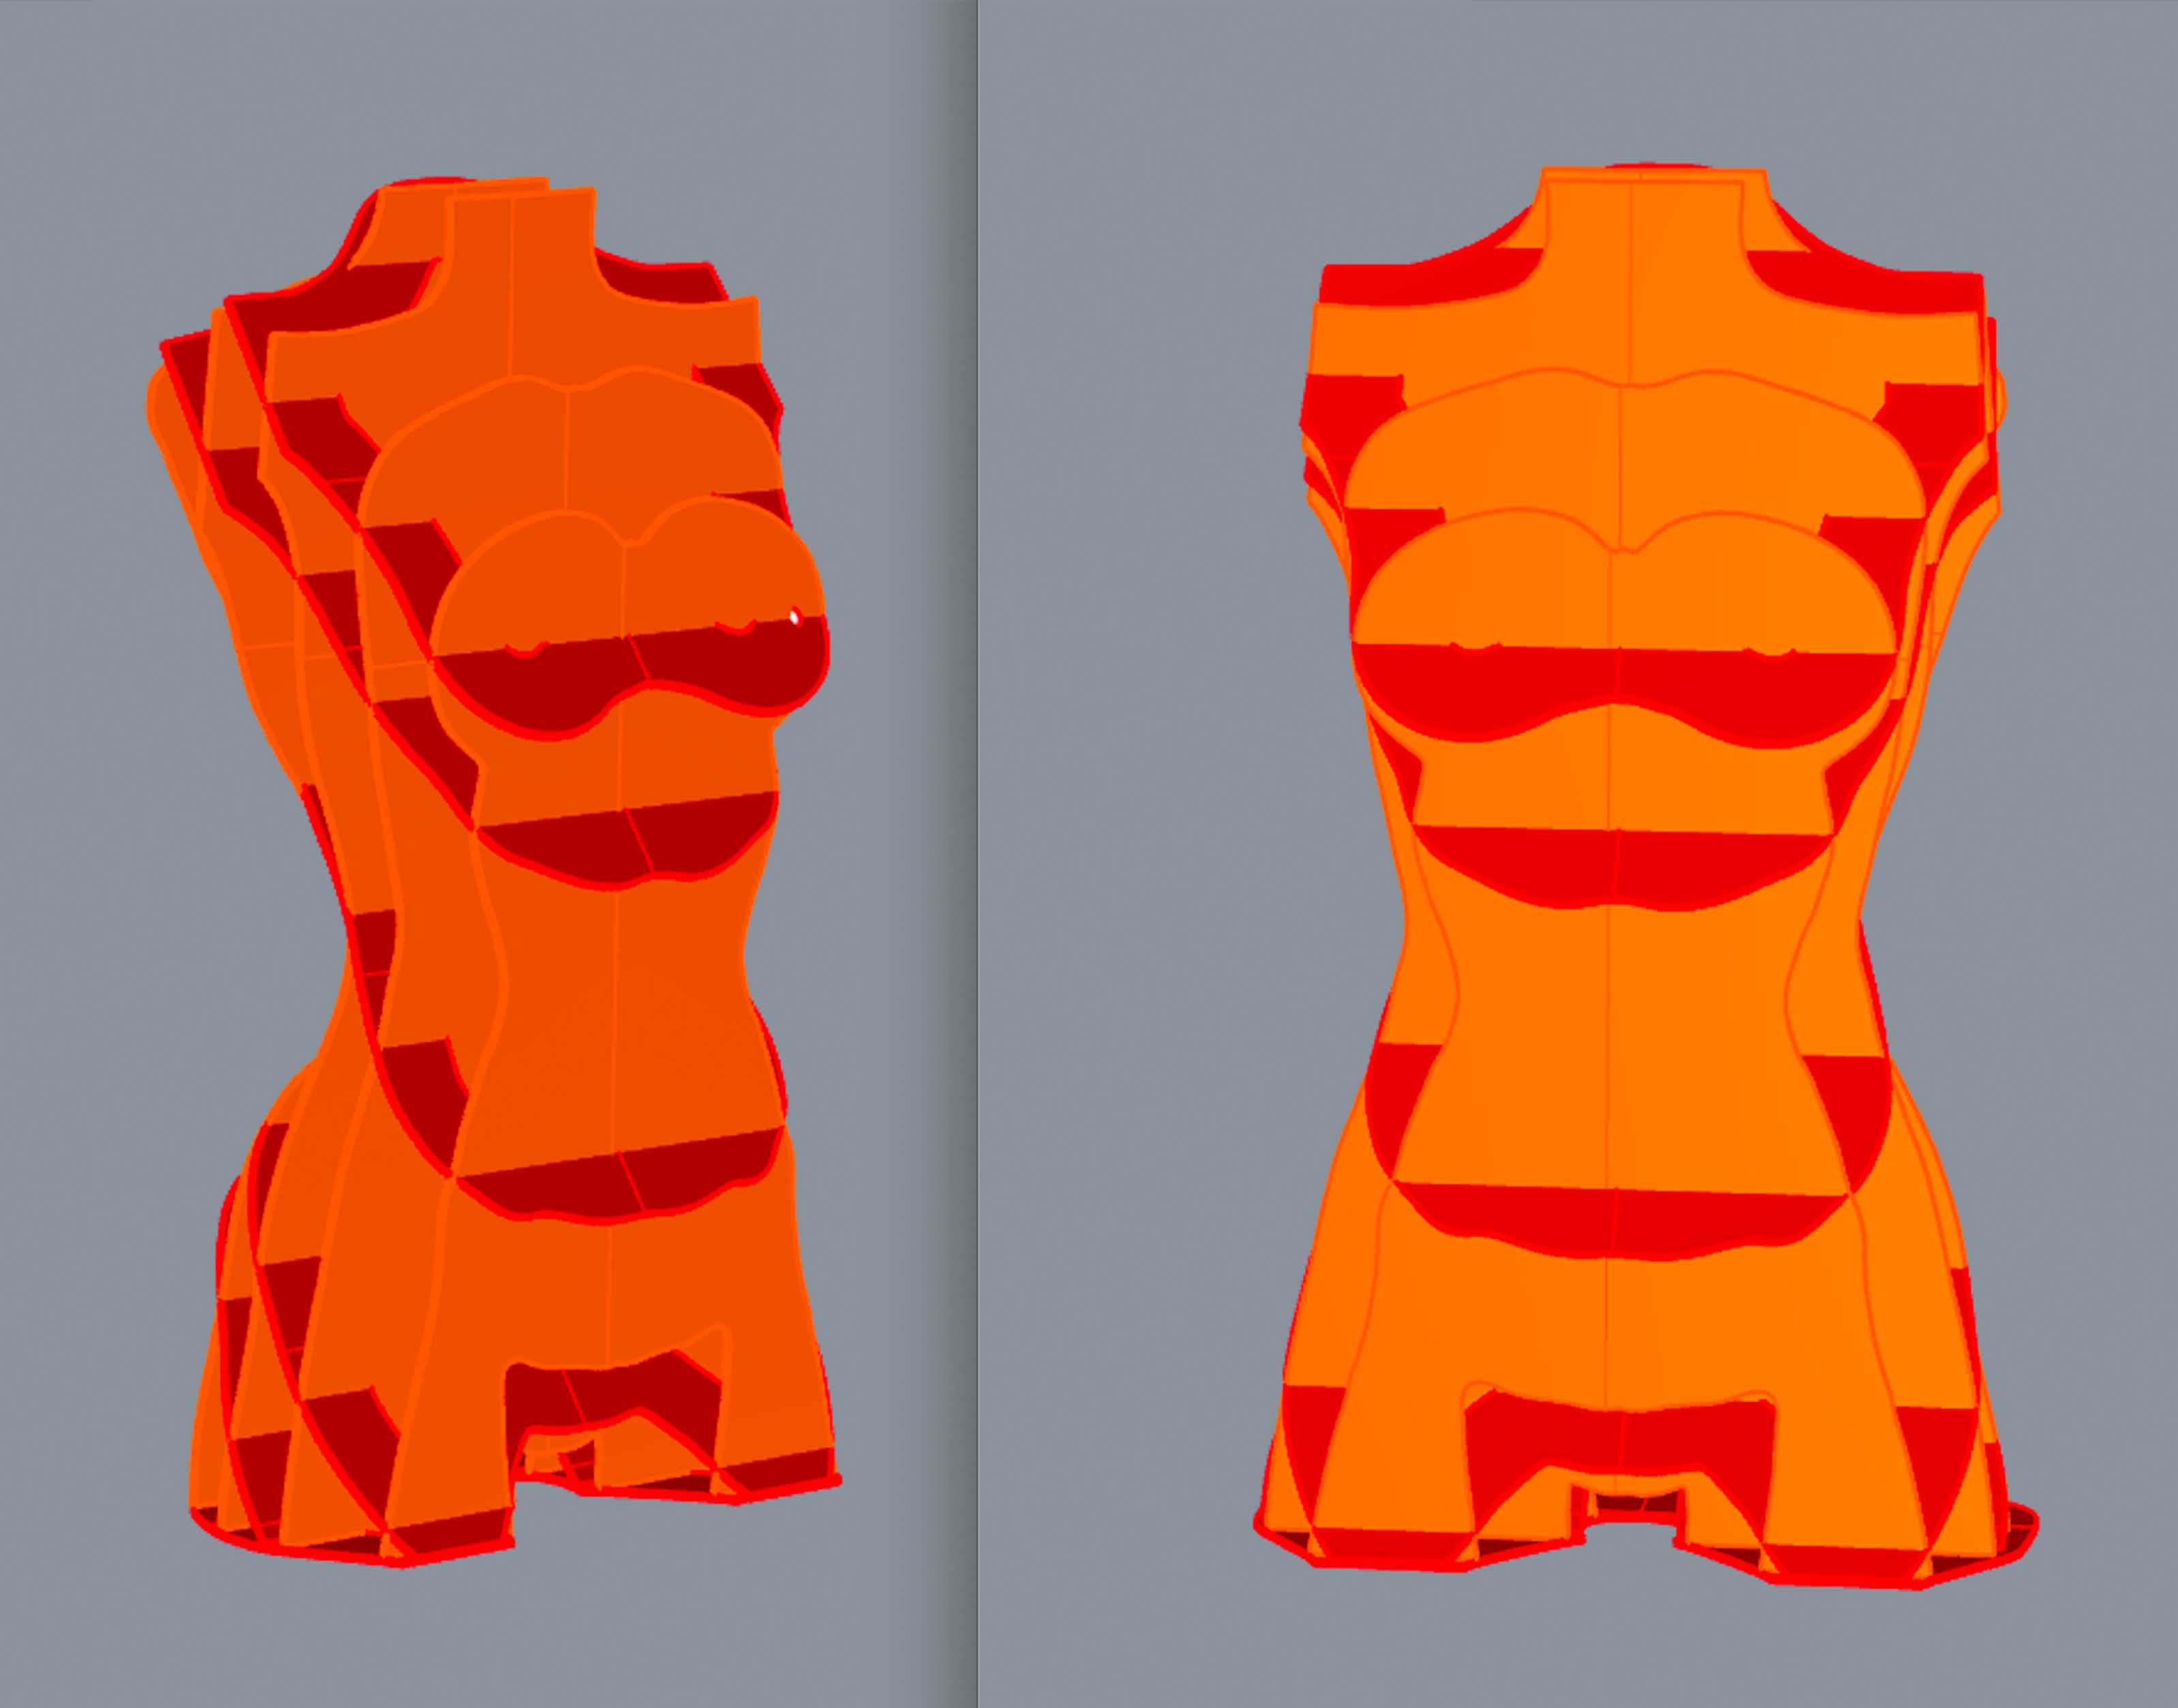
I downloaded a female form from Thingiverse and opened it up in Rhino. I first had to turn it from a mesh to nurb. I wanted to create a waffle structure but wasn’t interested in the sharp perpendicular angles that came with it. I made my own waffle-like structure and kept all of my planes parallel to maintain structural stability. This made it a bit trickier to design all of the pieces to fit together.
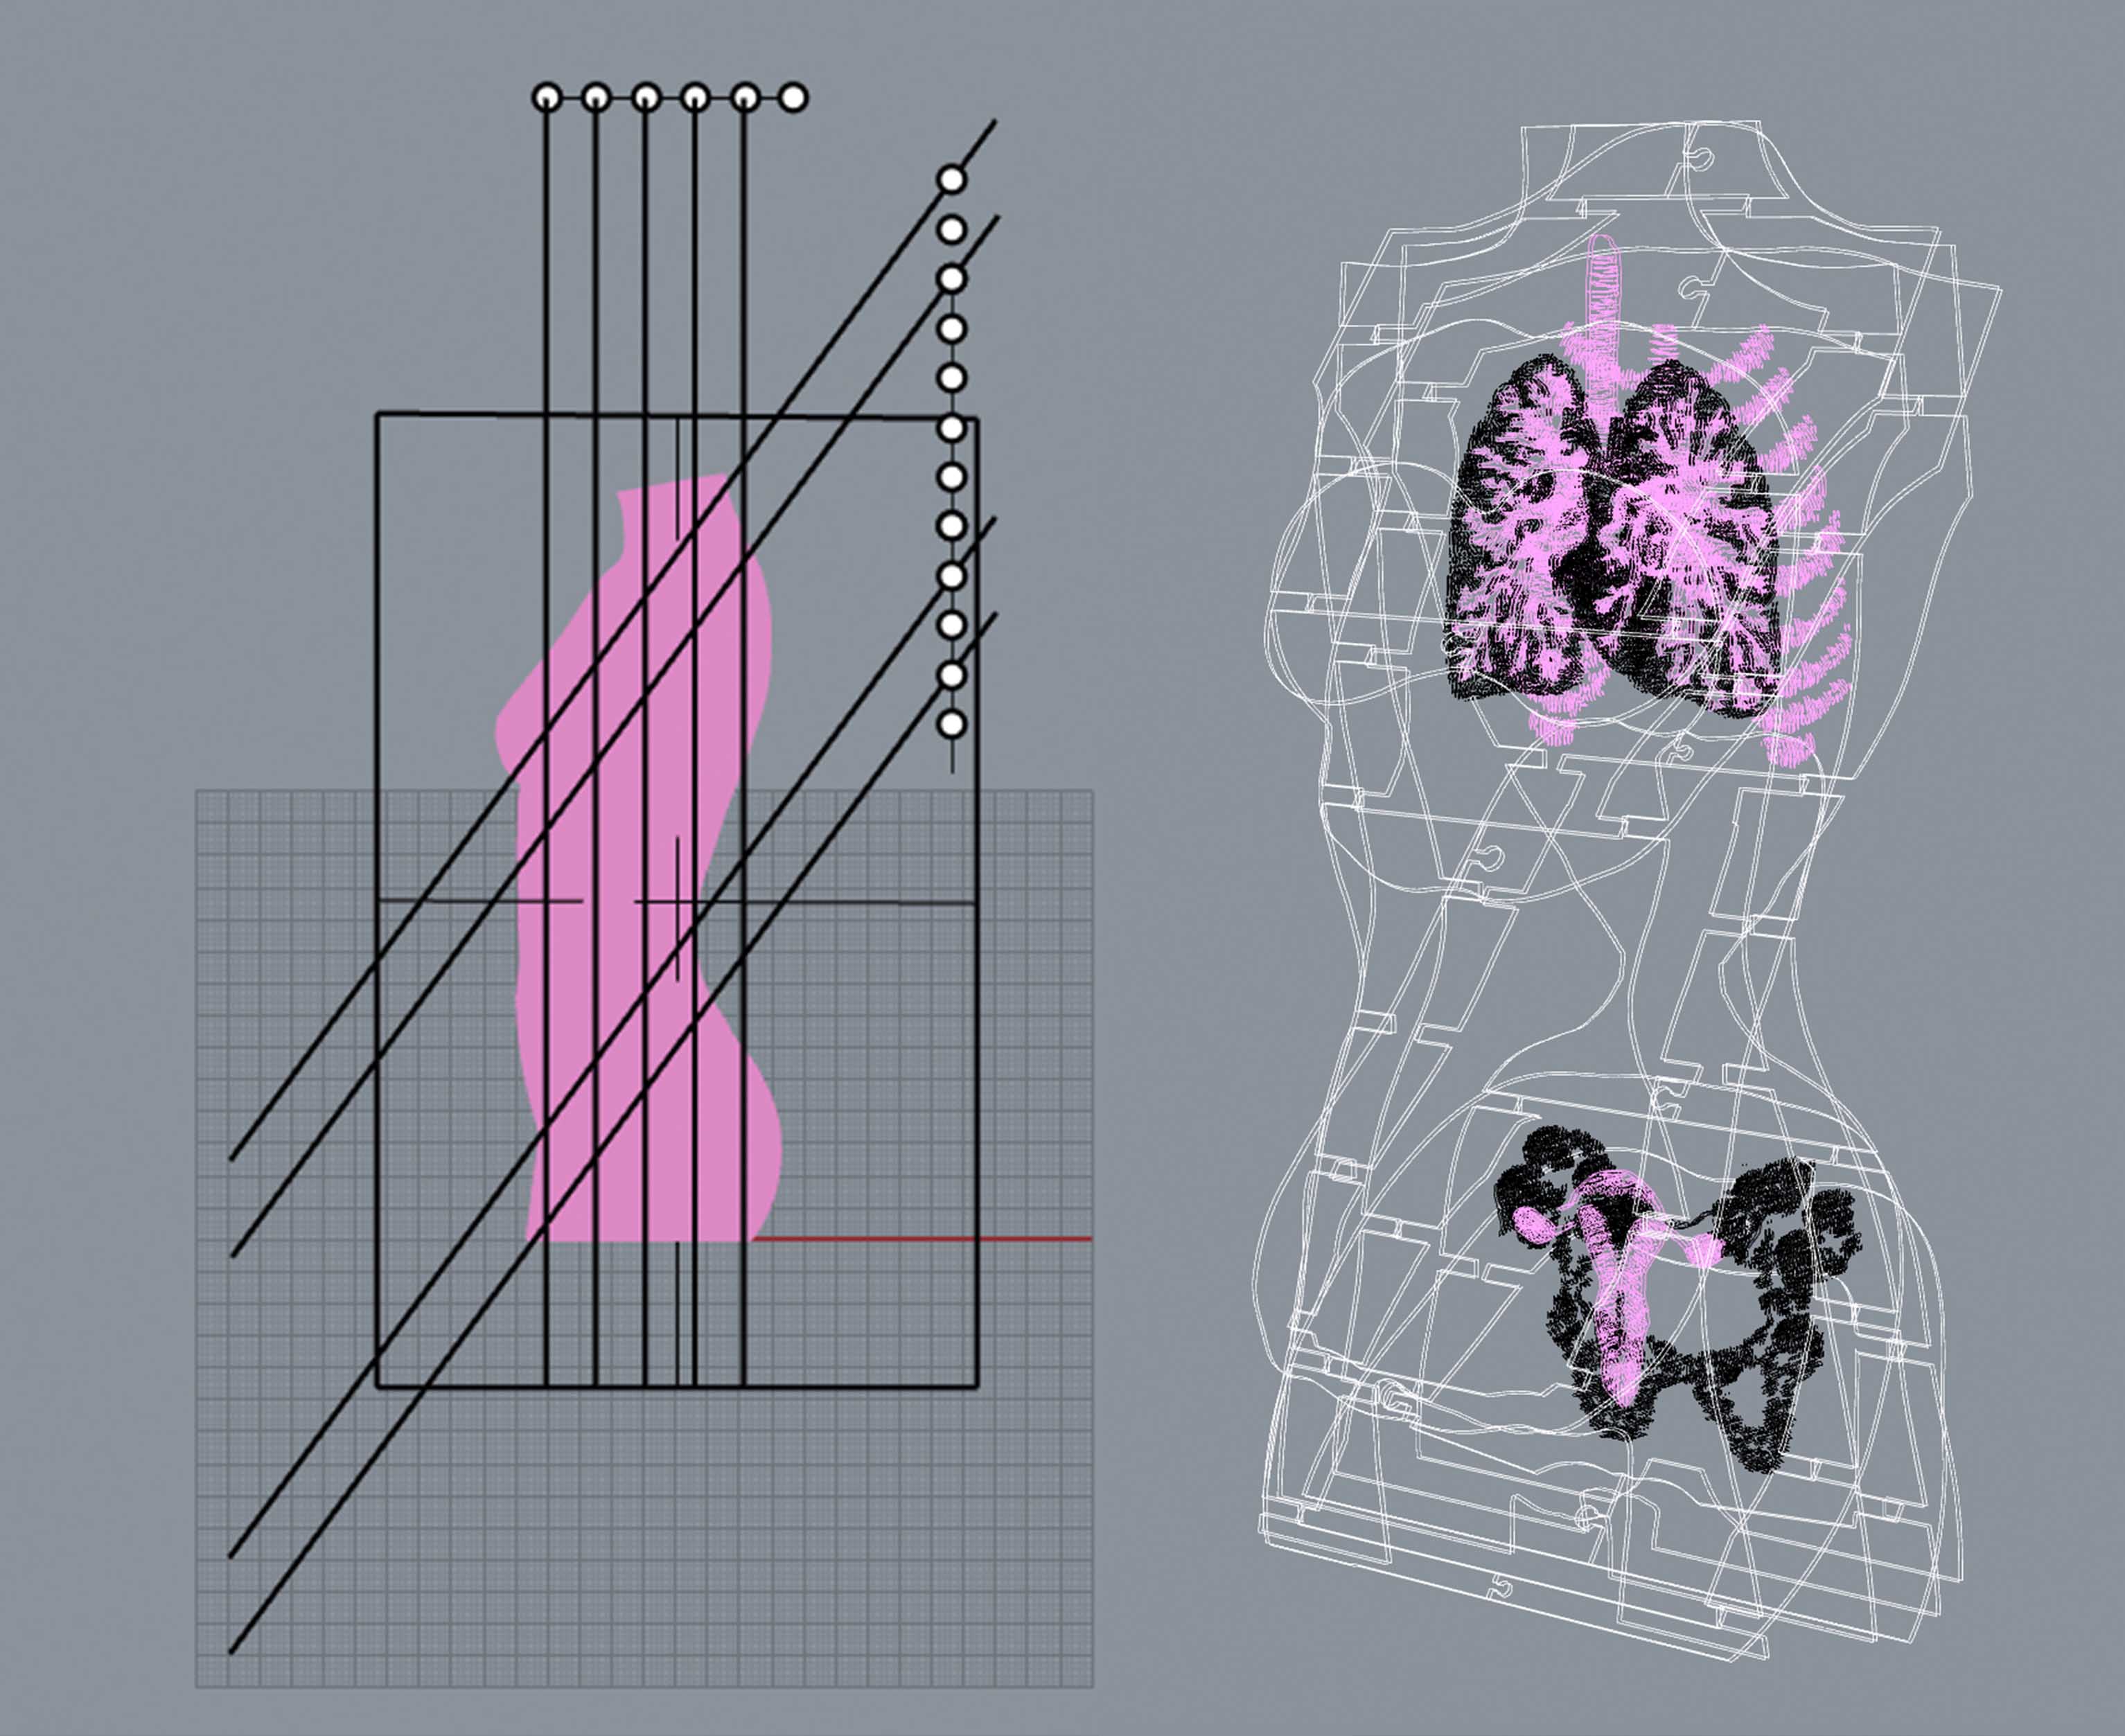
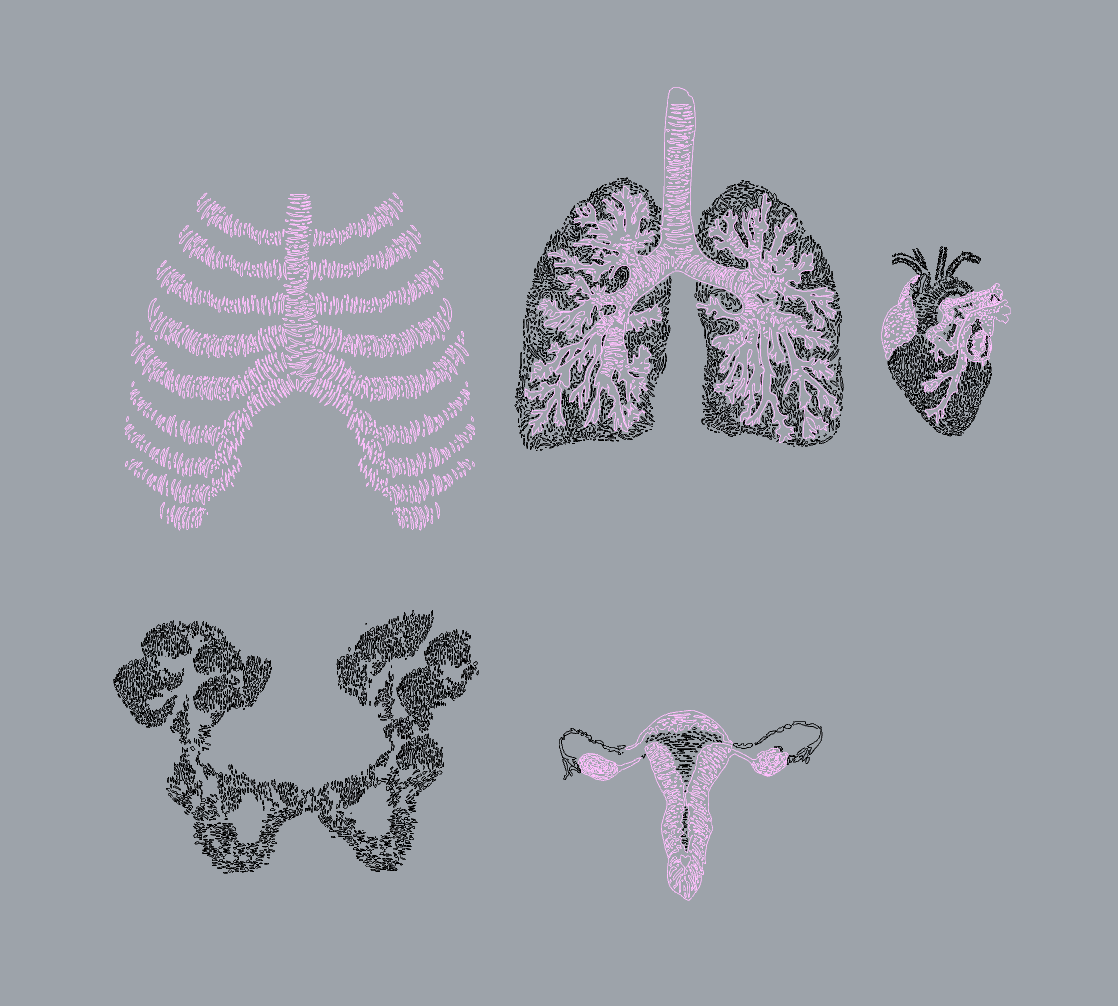
After I chose my planes, I started to create illustrations to be laser etched on each layer, keeping in mind I didn’t want it to get too visually heavy. I decided to have the laser etchings framed by the other plates to frame the illustration. This would emphasize my fertility figure reference, and save materials.
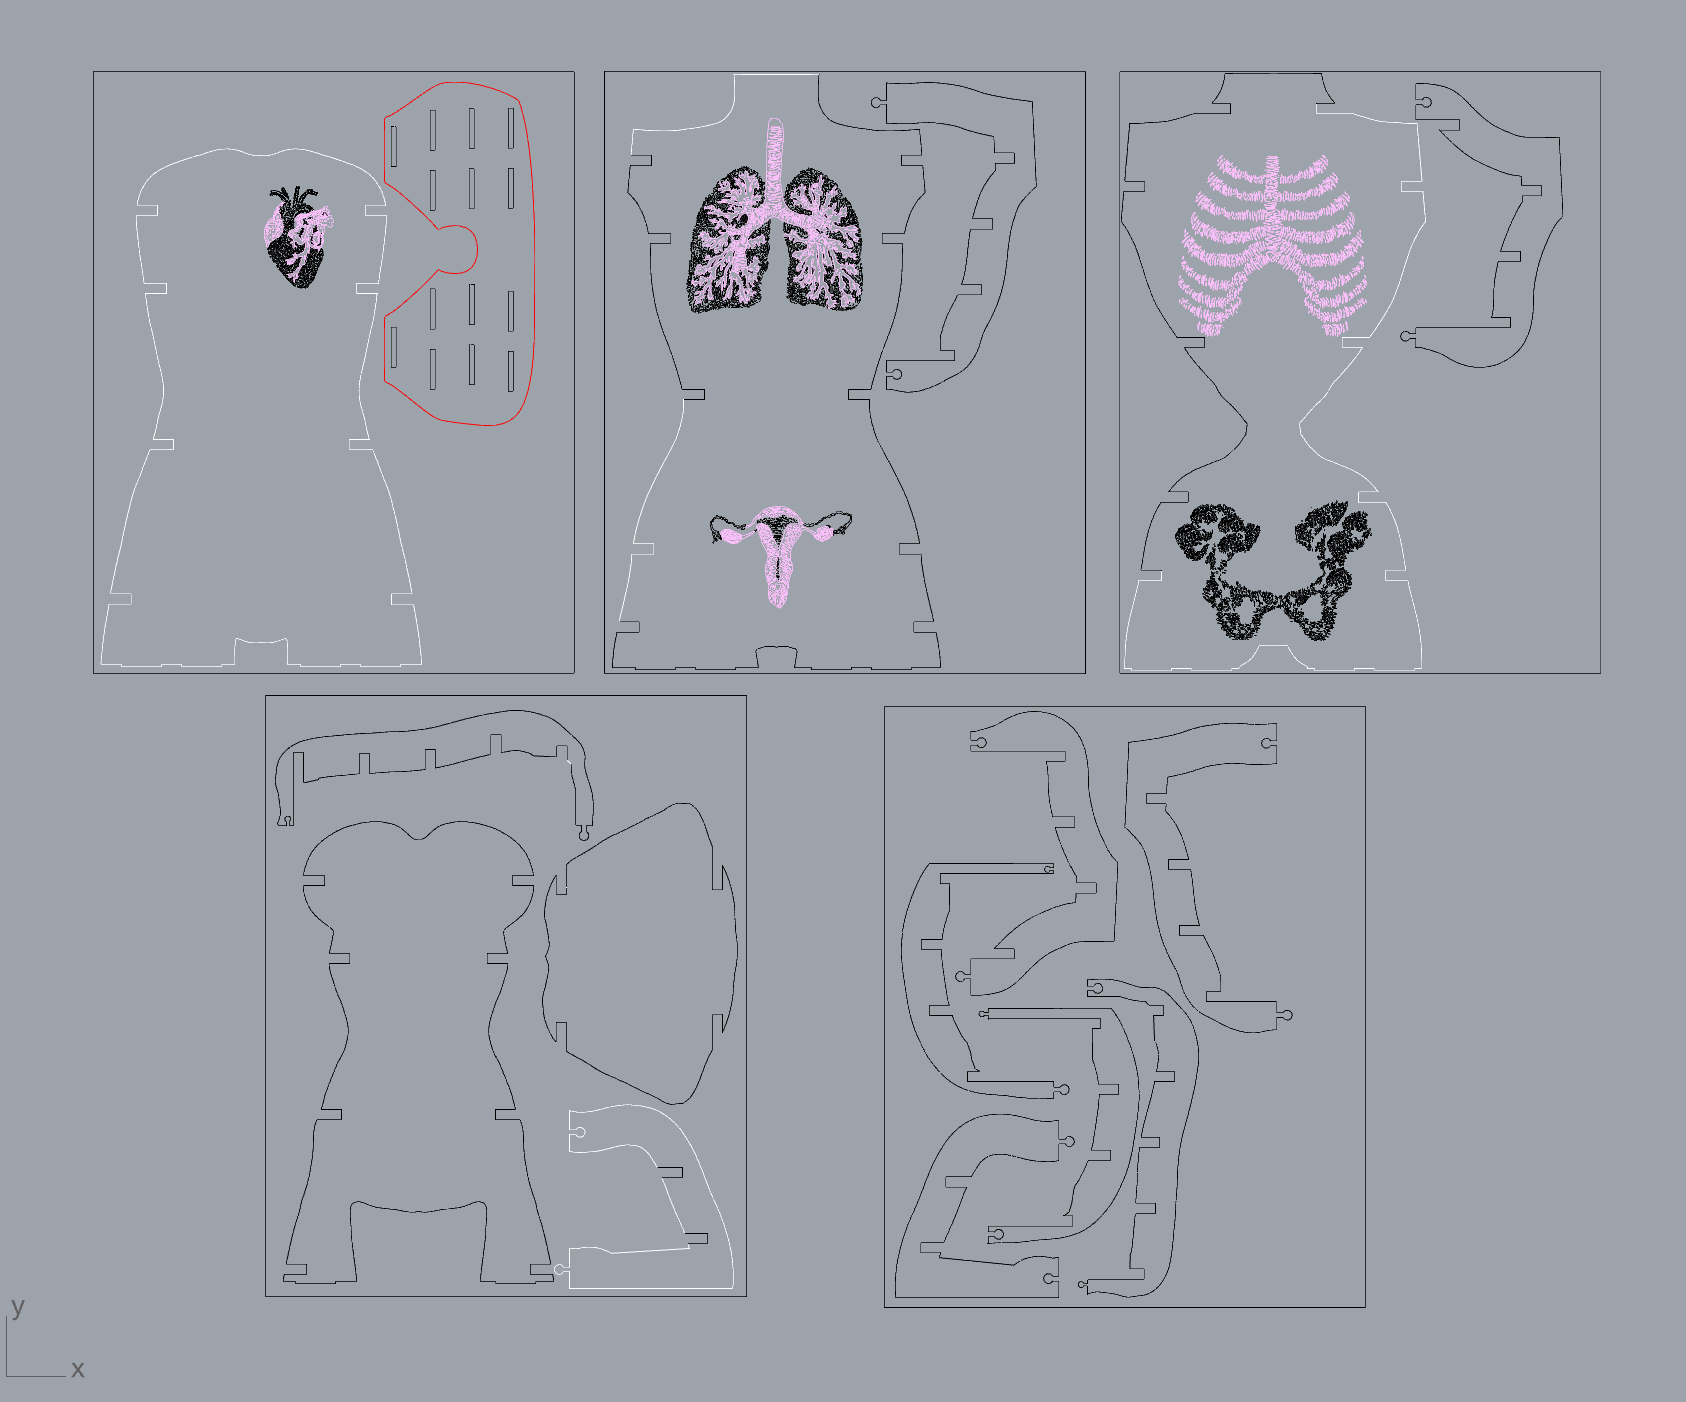
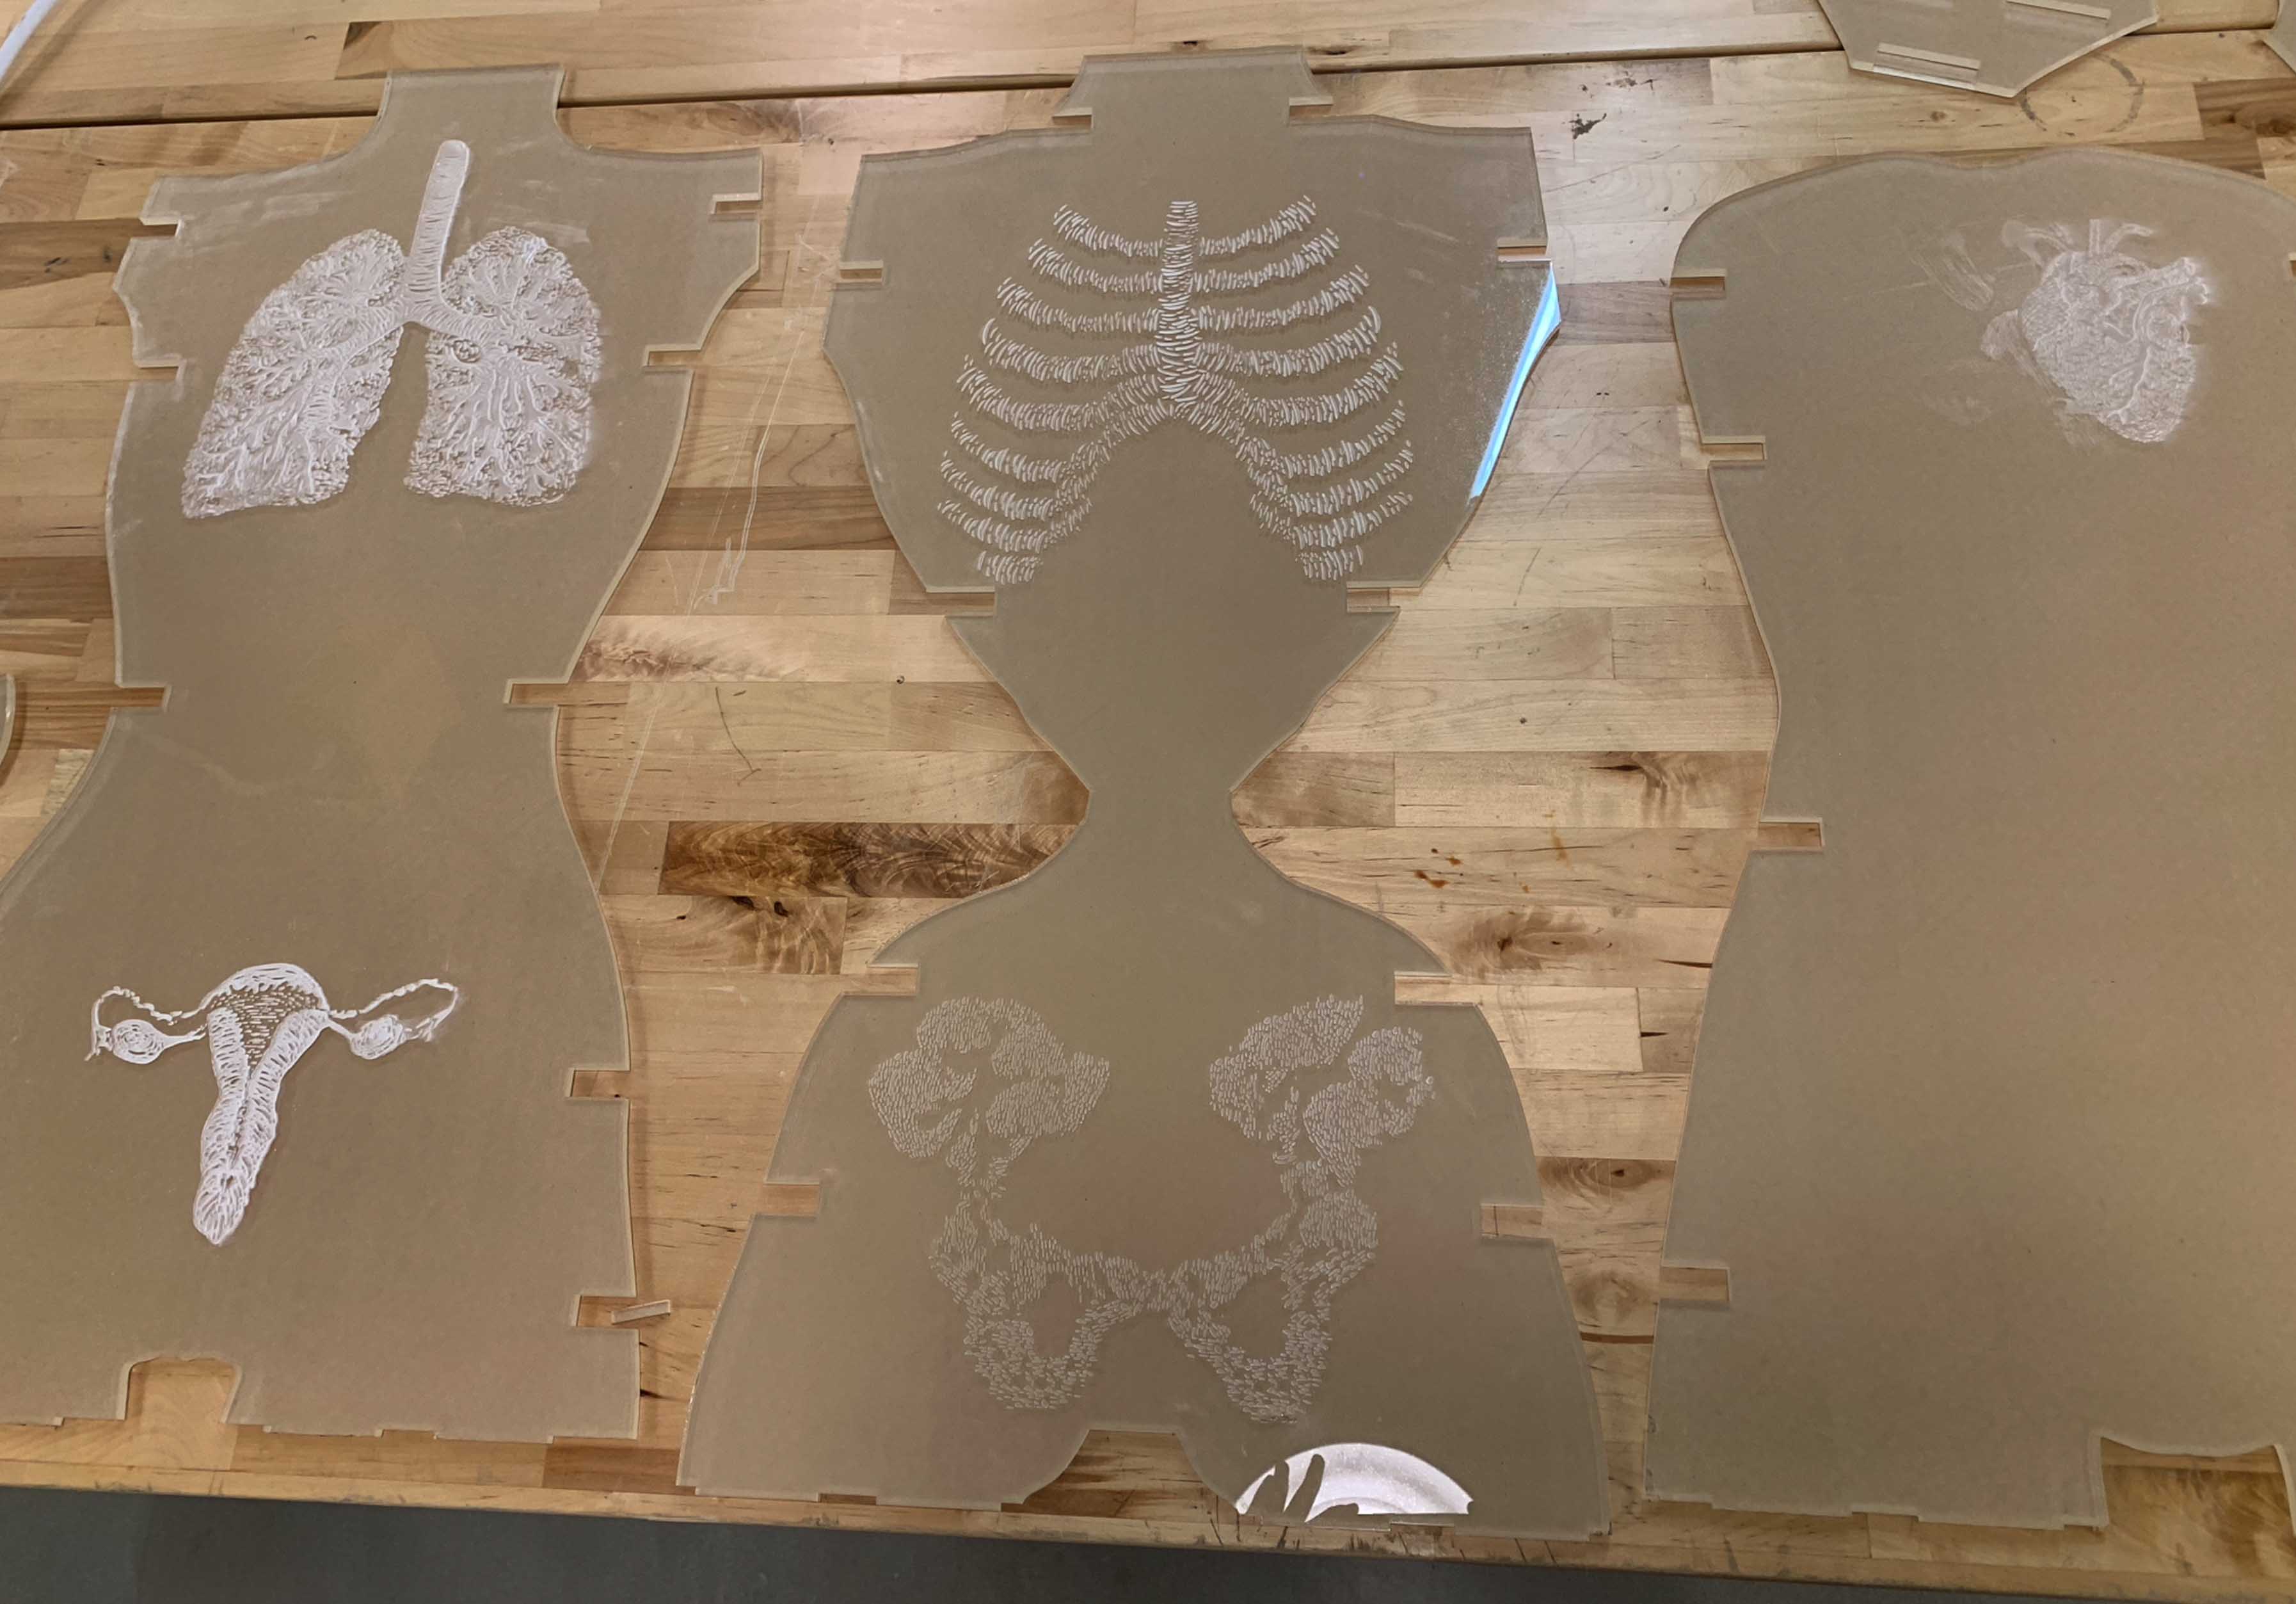
Lasercutting went as expected. I ultimately spent 5 hours cutting and engraving the pieces. I initially thought I would fill the engravings with paint to add more clarity, but after seeing the beautiful iridescent quality of the engravings without paint, I decided to leave it as is.
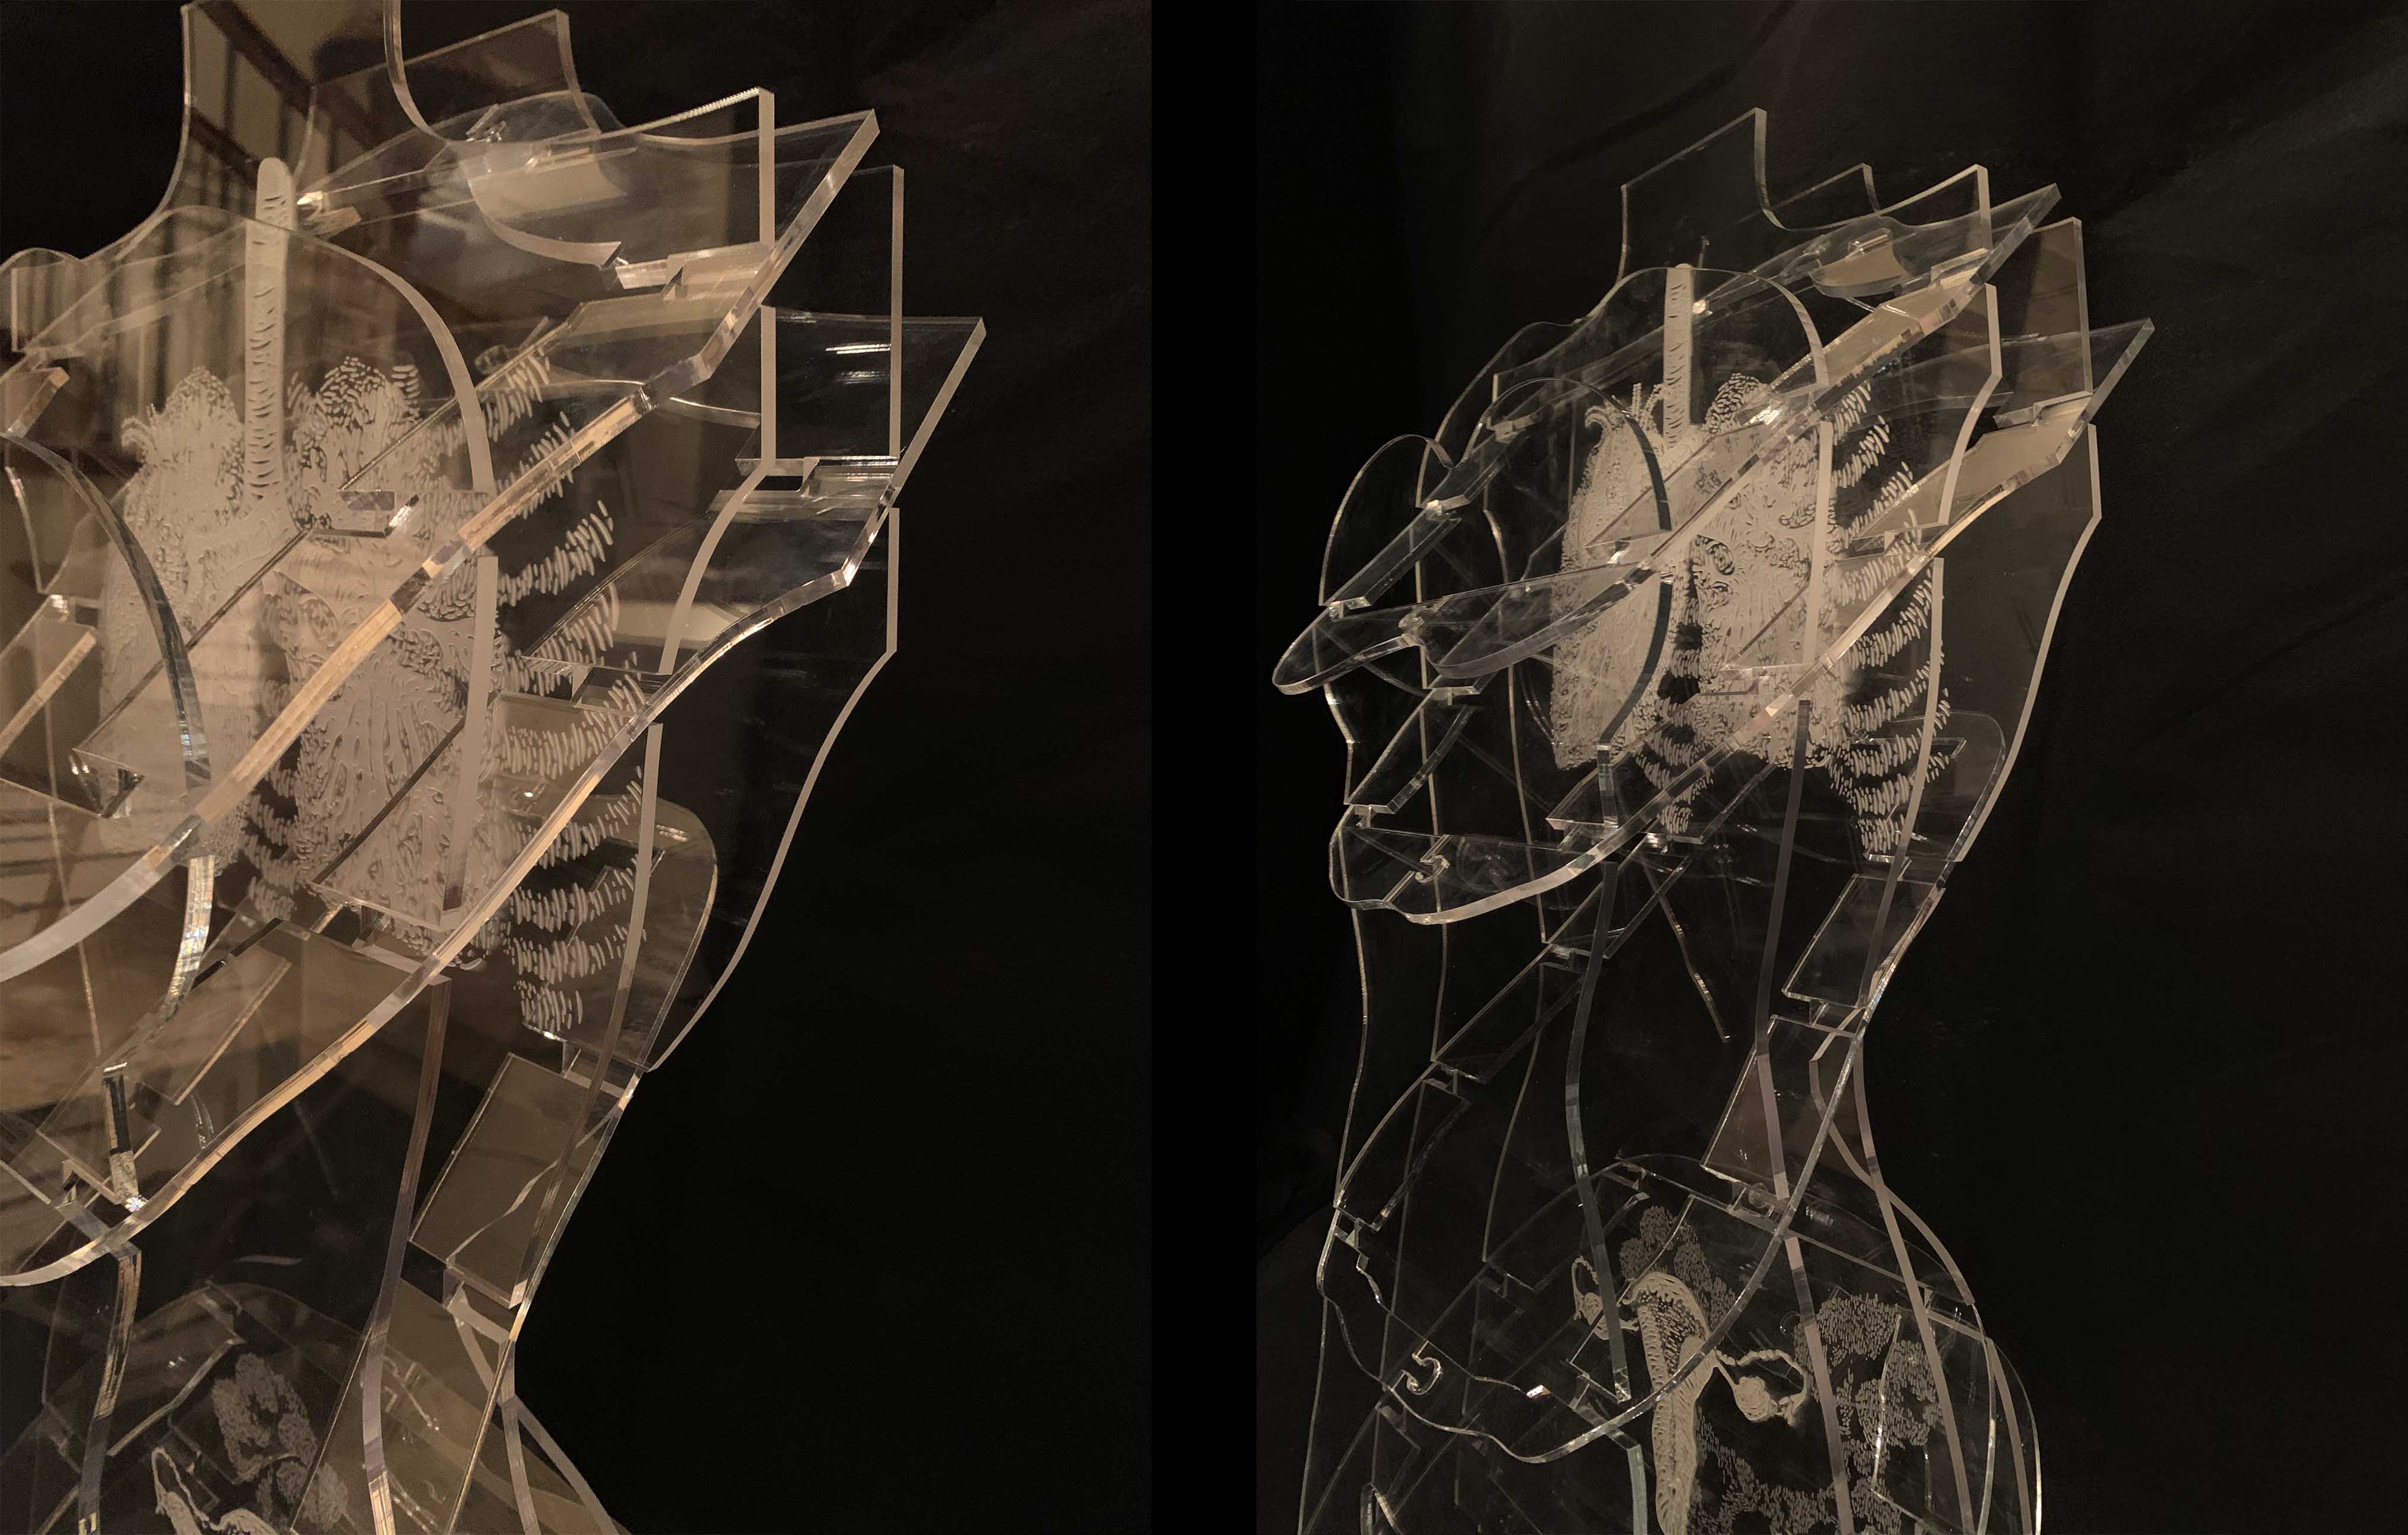
Assembling was a two-person job. I avoided perpendicular planes for aesthetic reasons, and with glue required, this made the mannequin a little trickier to assemble. The sculpture fit together like a puzzle, the more pieces that were in place, the smoother the pieces slid together.
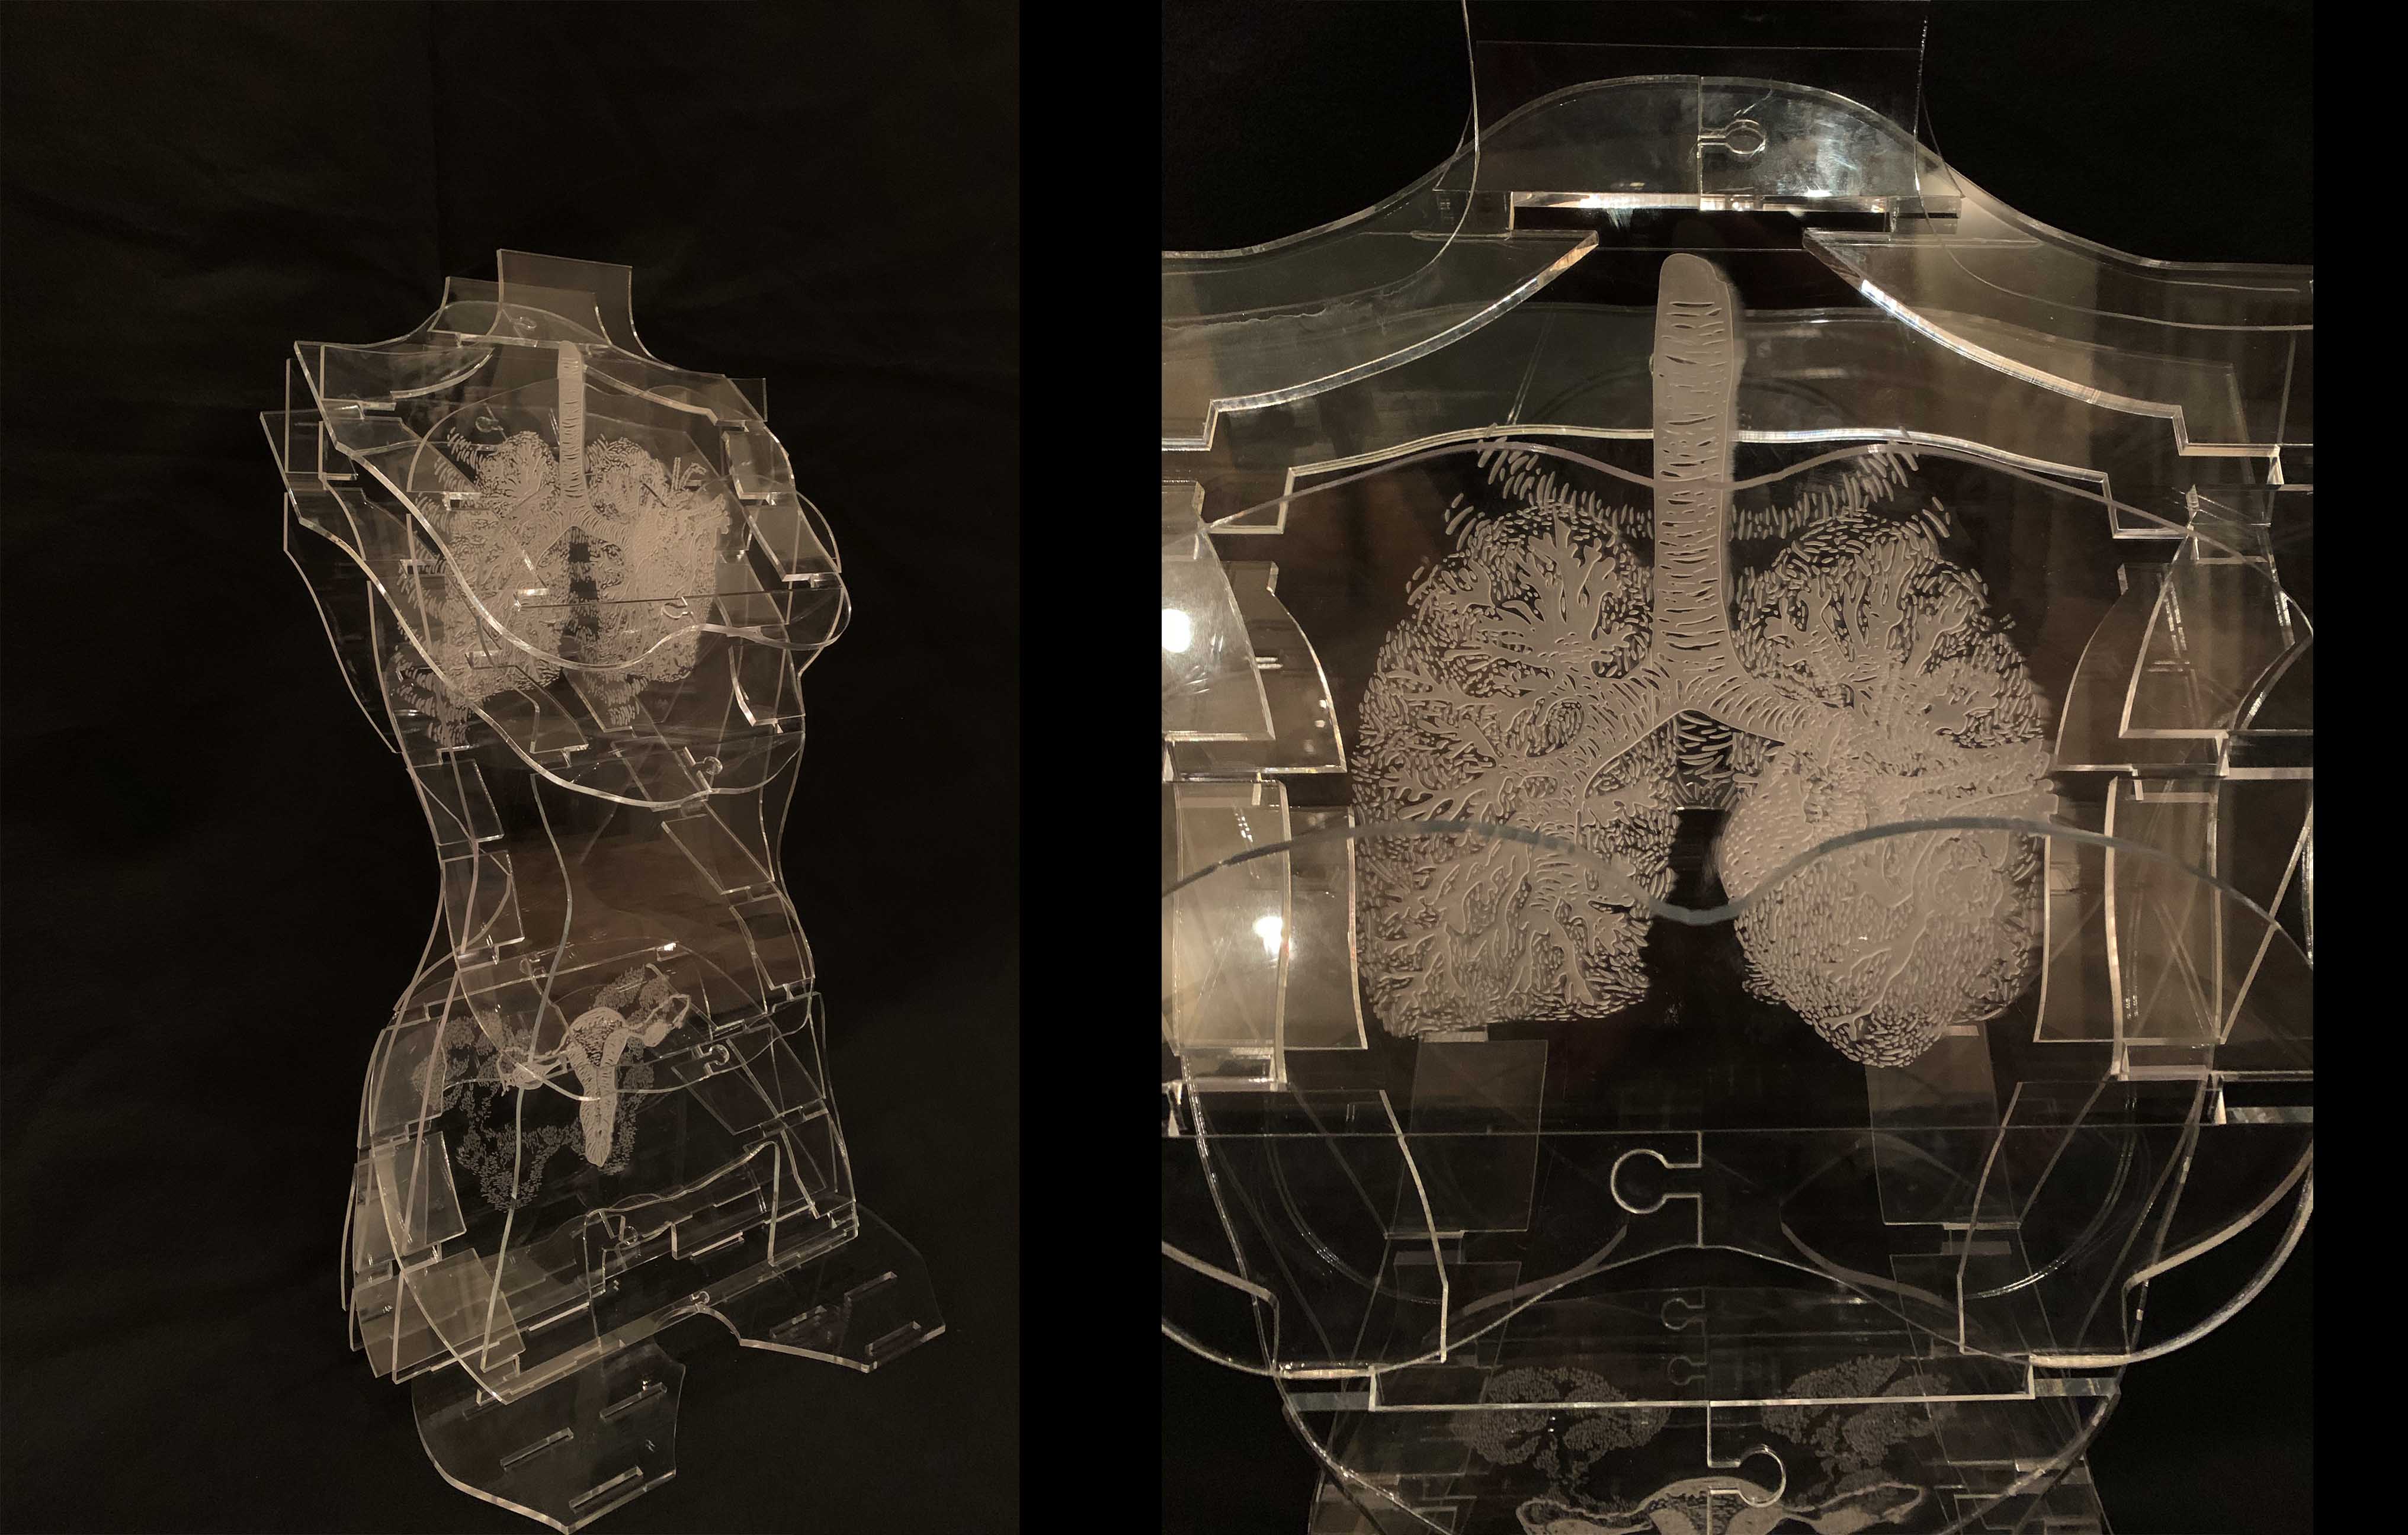
I am very happy with the overall result. The transparency of the acrylic creates intricate nooks and crannies to delight the eyes and draw you in. The base didn’t quite fit how I expected, and as a result the sculpture is a bit top heavy, but once I cut the correct base, I expect it to be stable.
This sculpture was made of ¼ inch clear acrylic. It was designed in Rhino, Photoshop and Illustrator, and cut on a Trotec laser cutter with Power: 20, Speed: 100, Frequency: 80.
Final