Wearables
Bare Bones
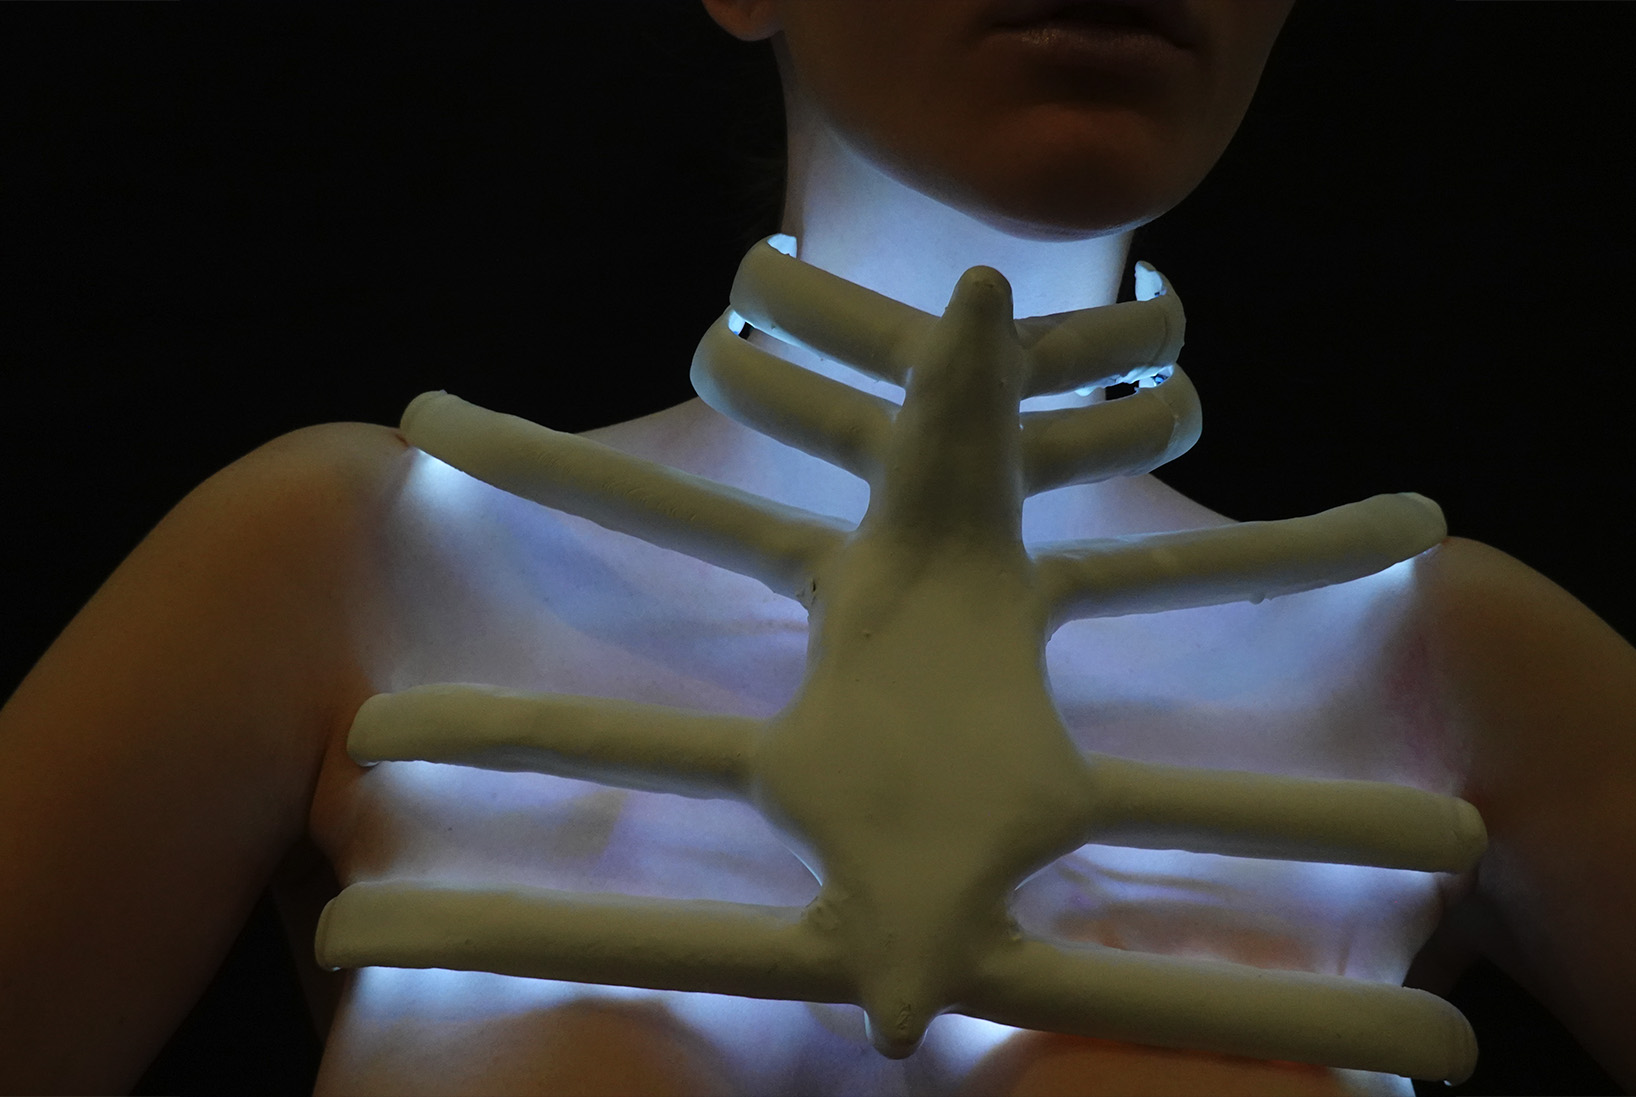
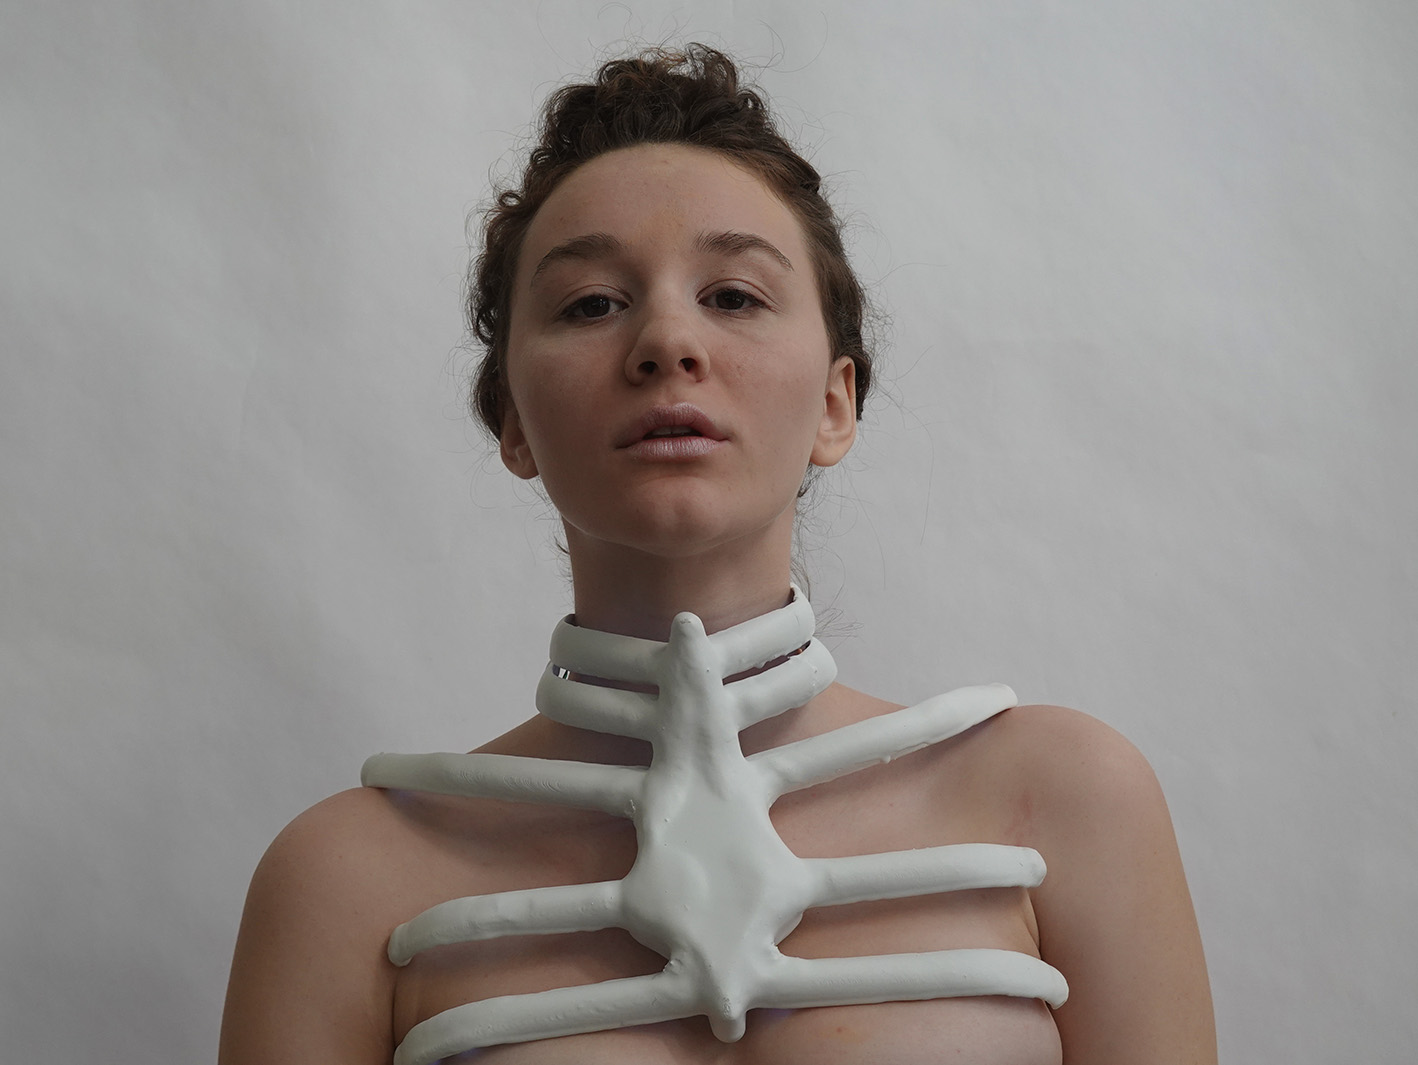
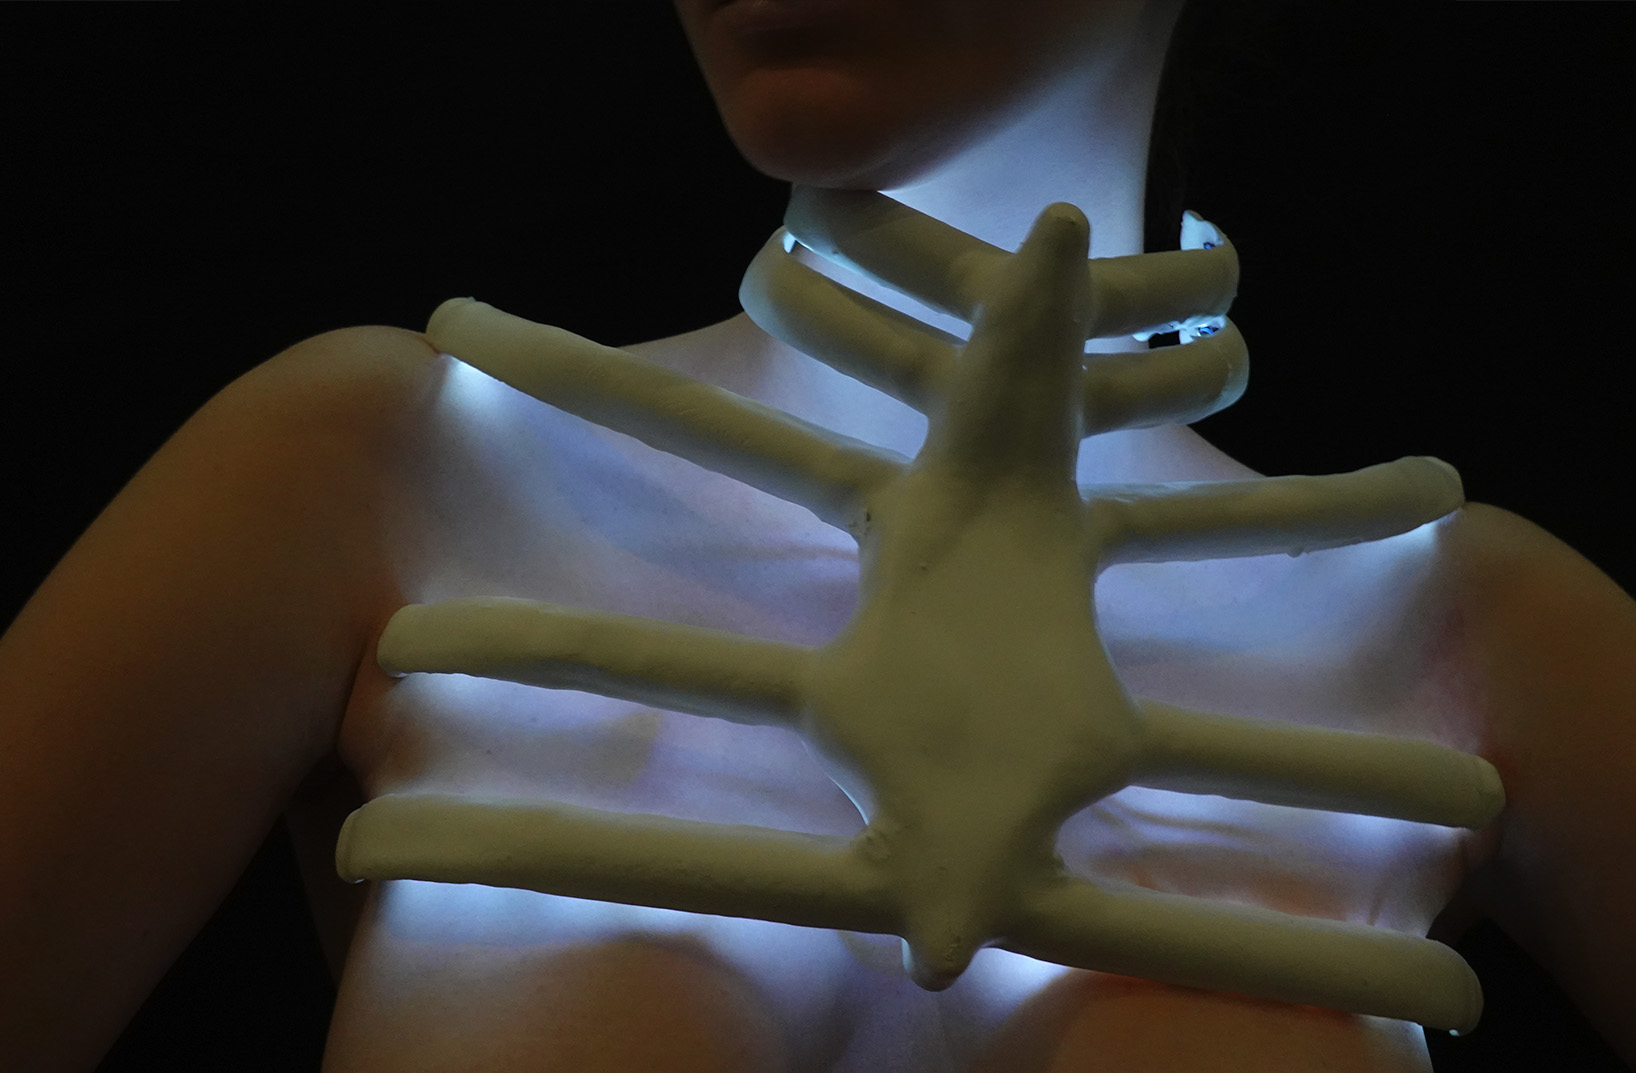
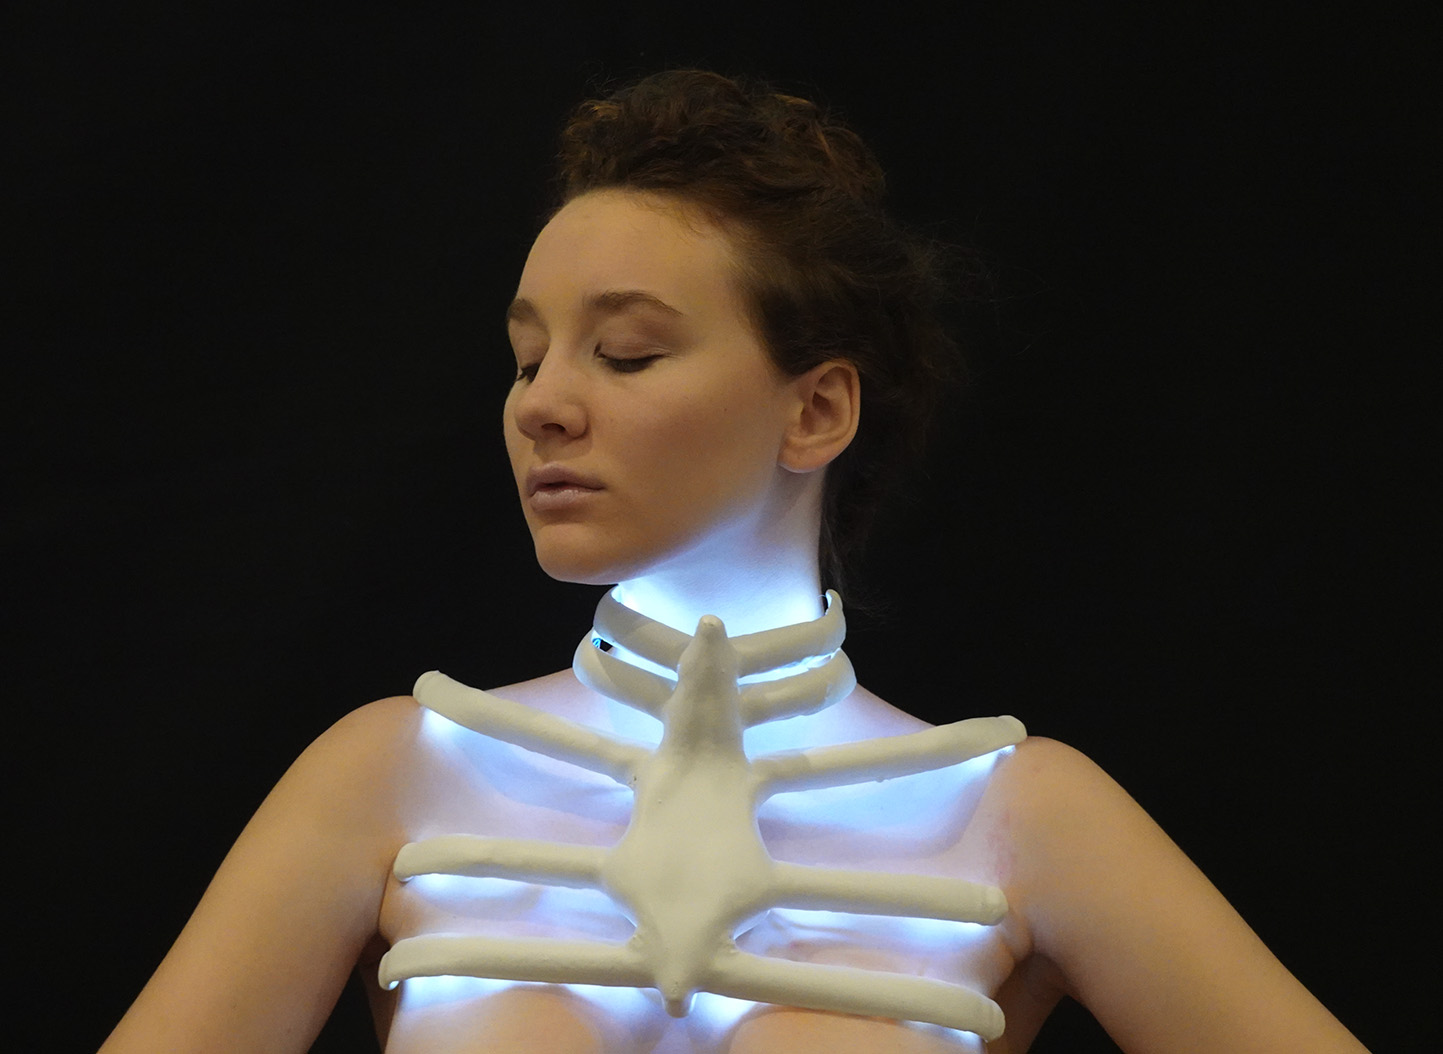
This exoskeleton uses light to provide comfort and protection to its wearer. The darker the scene, the brighter it glows. Bare Bone was parametrically generated, and 3D printed.
Process
This week was a bit tricky because our studio was not open most of the week due to the Thanksgiving holiday. The stores were also closed so it was hard to get access to everything needed to work. Nonetheless I had a very exciting week.
First, a crystal update. I experimented with making color changing crystals. I added thermochromic paint to an Epson salt crystal mix, and unfortunately the crystals didn’t form. Growing crystals is a slow process with many variables that can fail. To date, I still have six crystals underway.
This week I was also inspired to make a wearable. I was thinking a lot about protection, and the parts of our bodies that are naturally protected. I was inspired by the rib cage that surrounds our heart and lungs, and wanted to extend that ribcage idea further to also protect the voice. I was also inspired by bioluminescence in nature and the way it is amplified in darkness. I created an exoskeleton that calls attention to the neck. The darker the scene is, the brighter the exoskeleton glows, providing comfort and protection to its wearer.
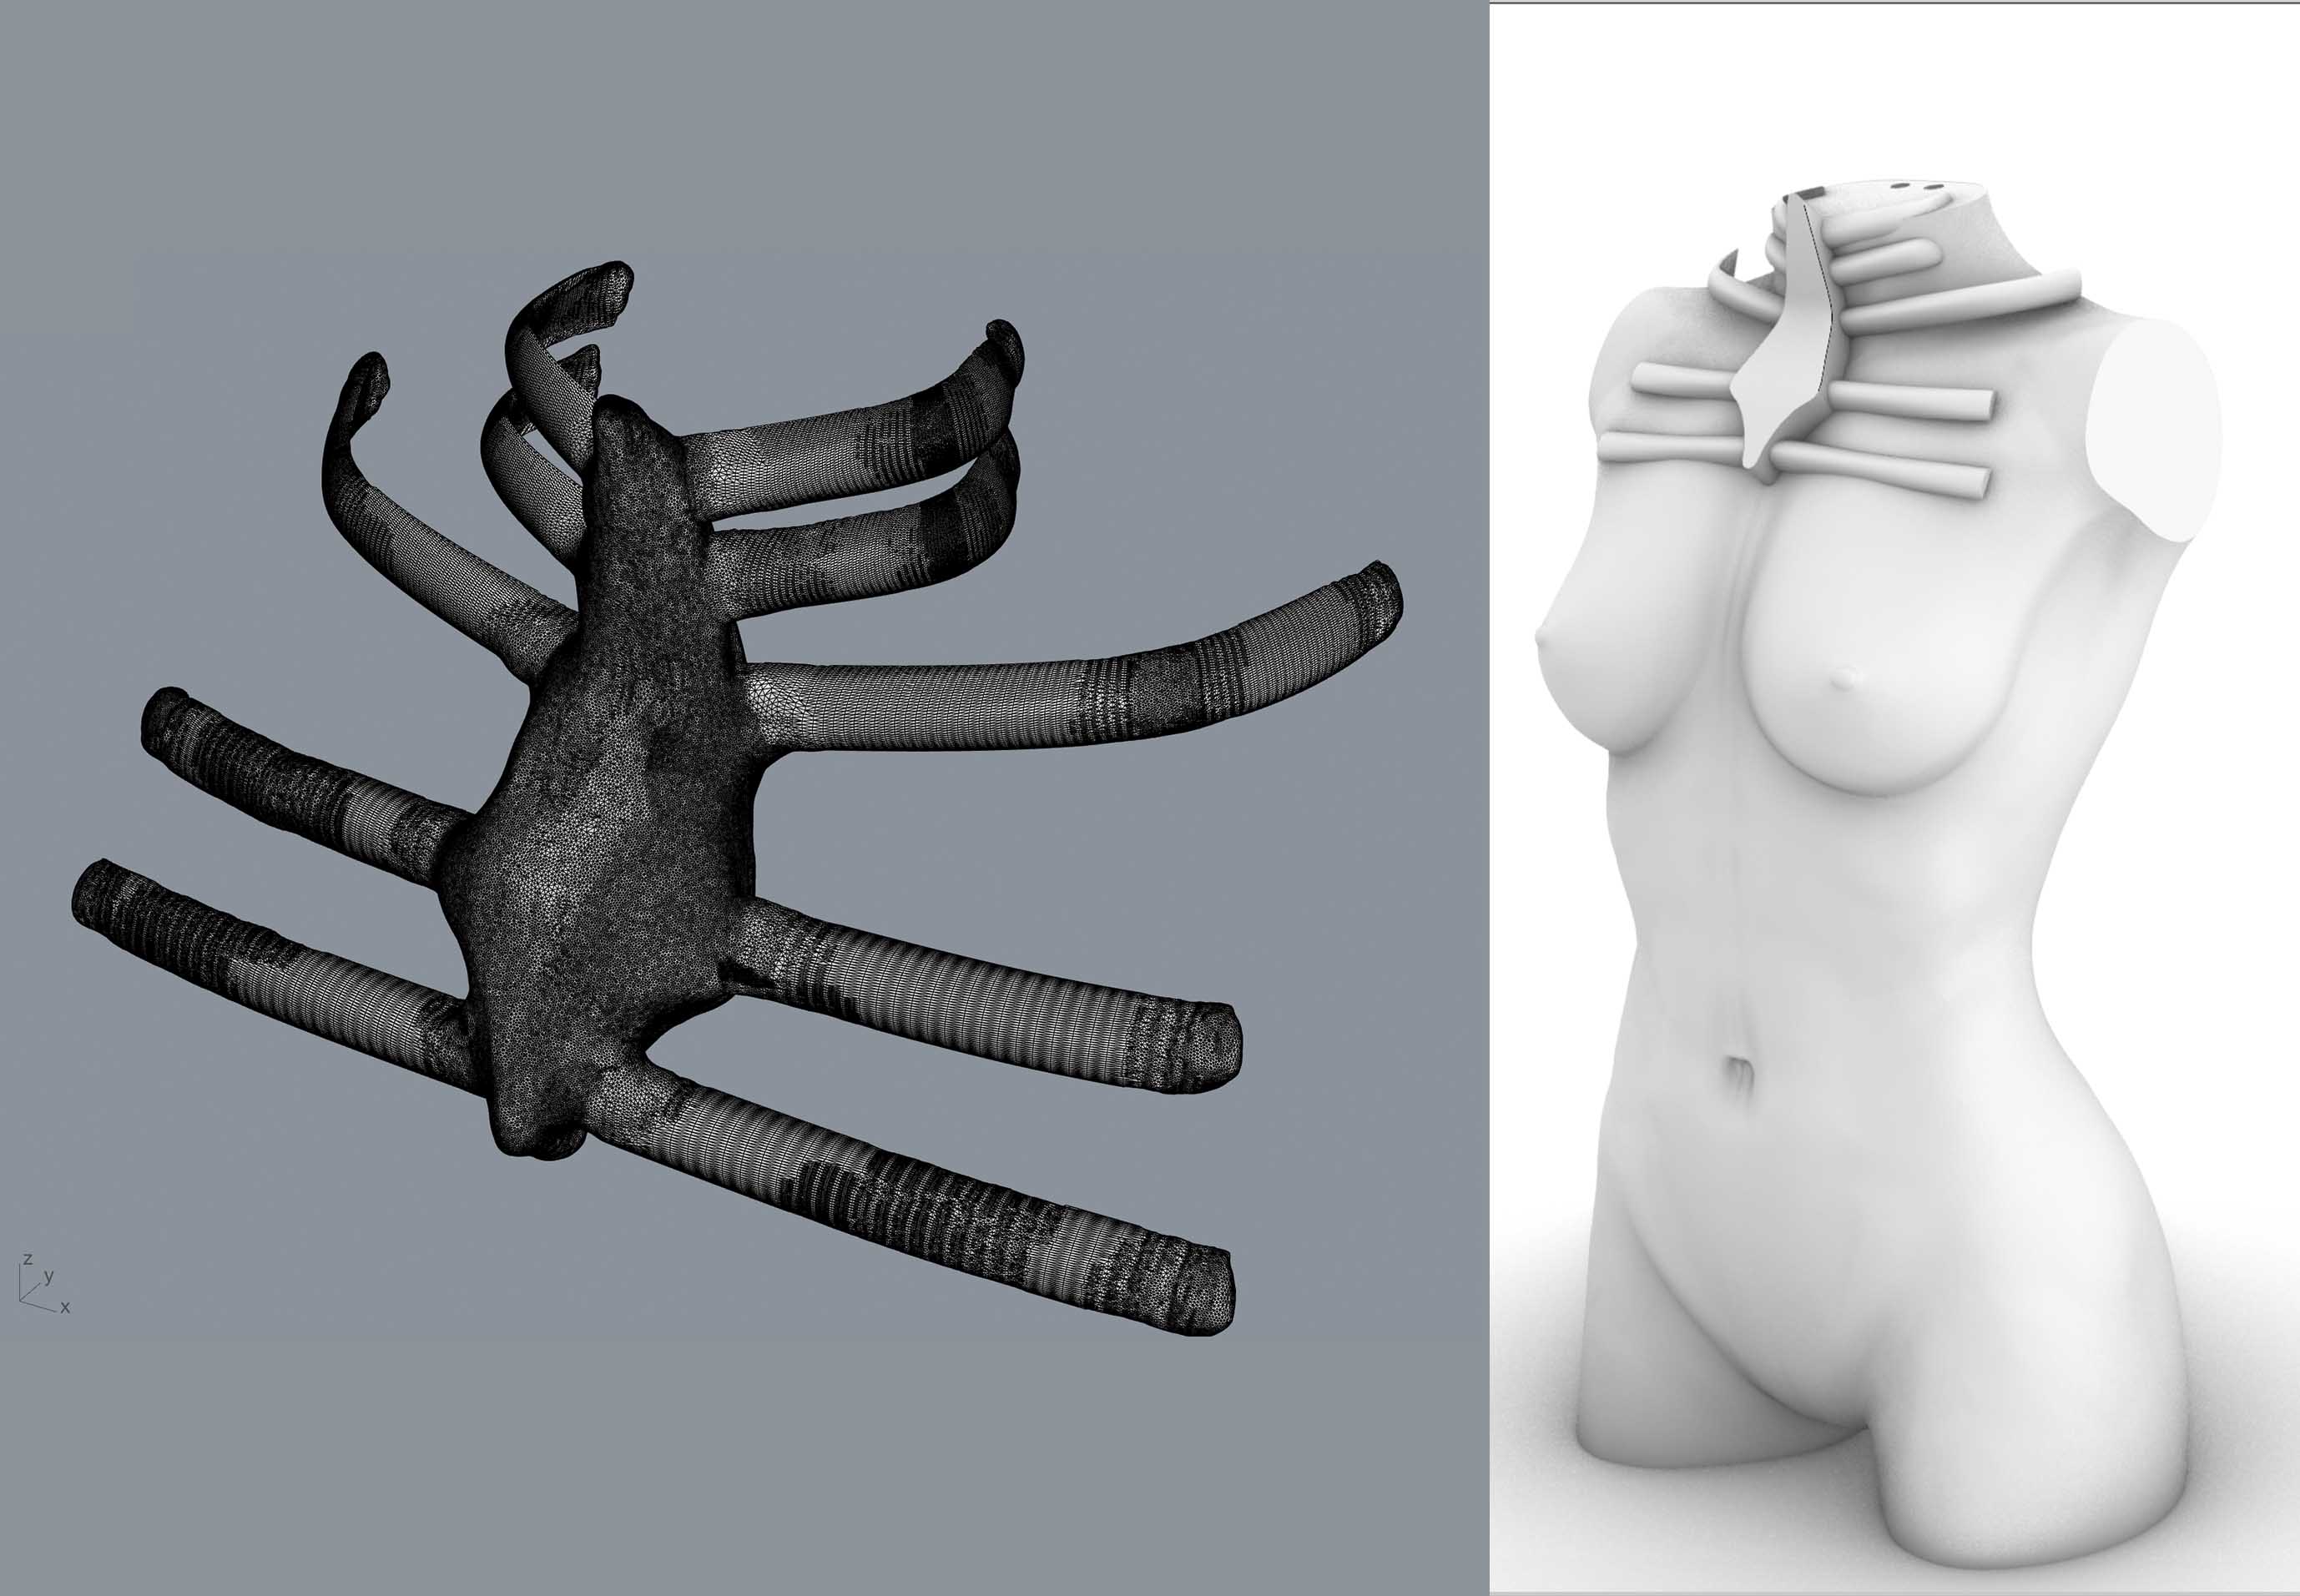
I first started this week out revisiting one of my models that I hadn’t had a chance to complete during Computational Contour. I created a parametric design that molded to a human form I had in the software. I got the exoskeleton as close to the form as I could and then decided to 3D print it.
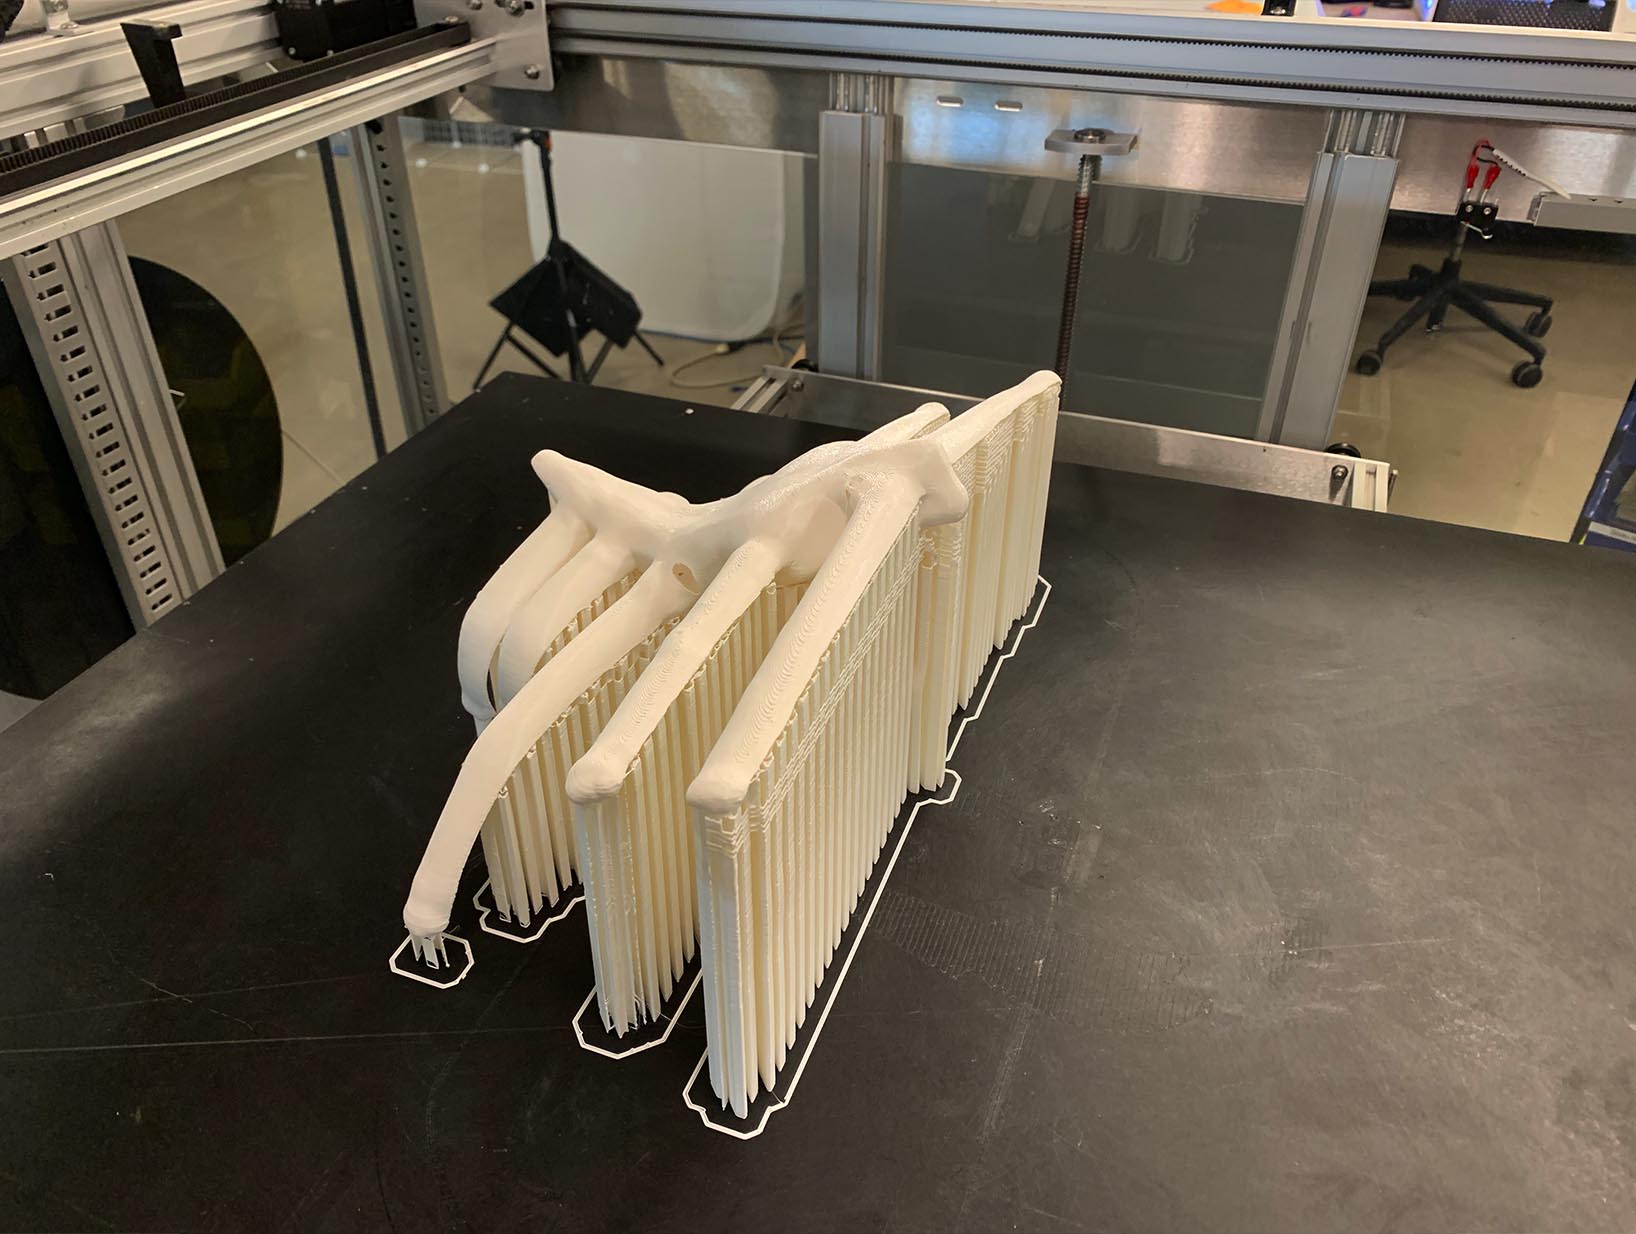
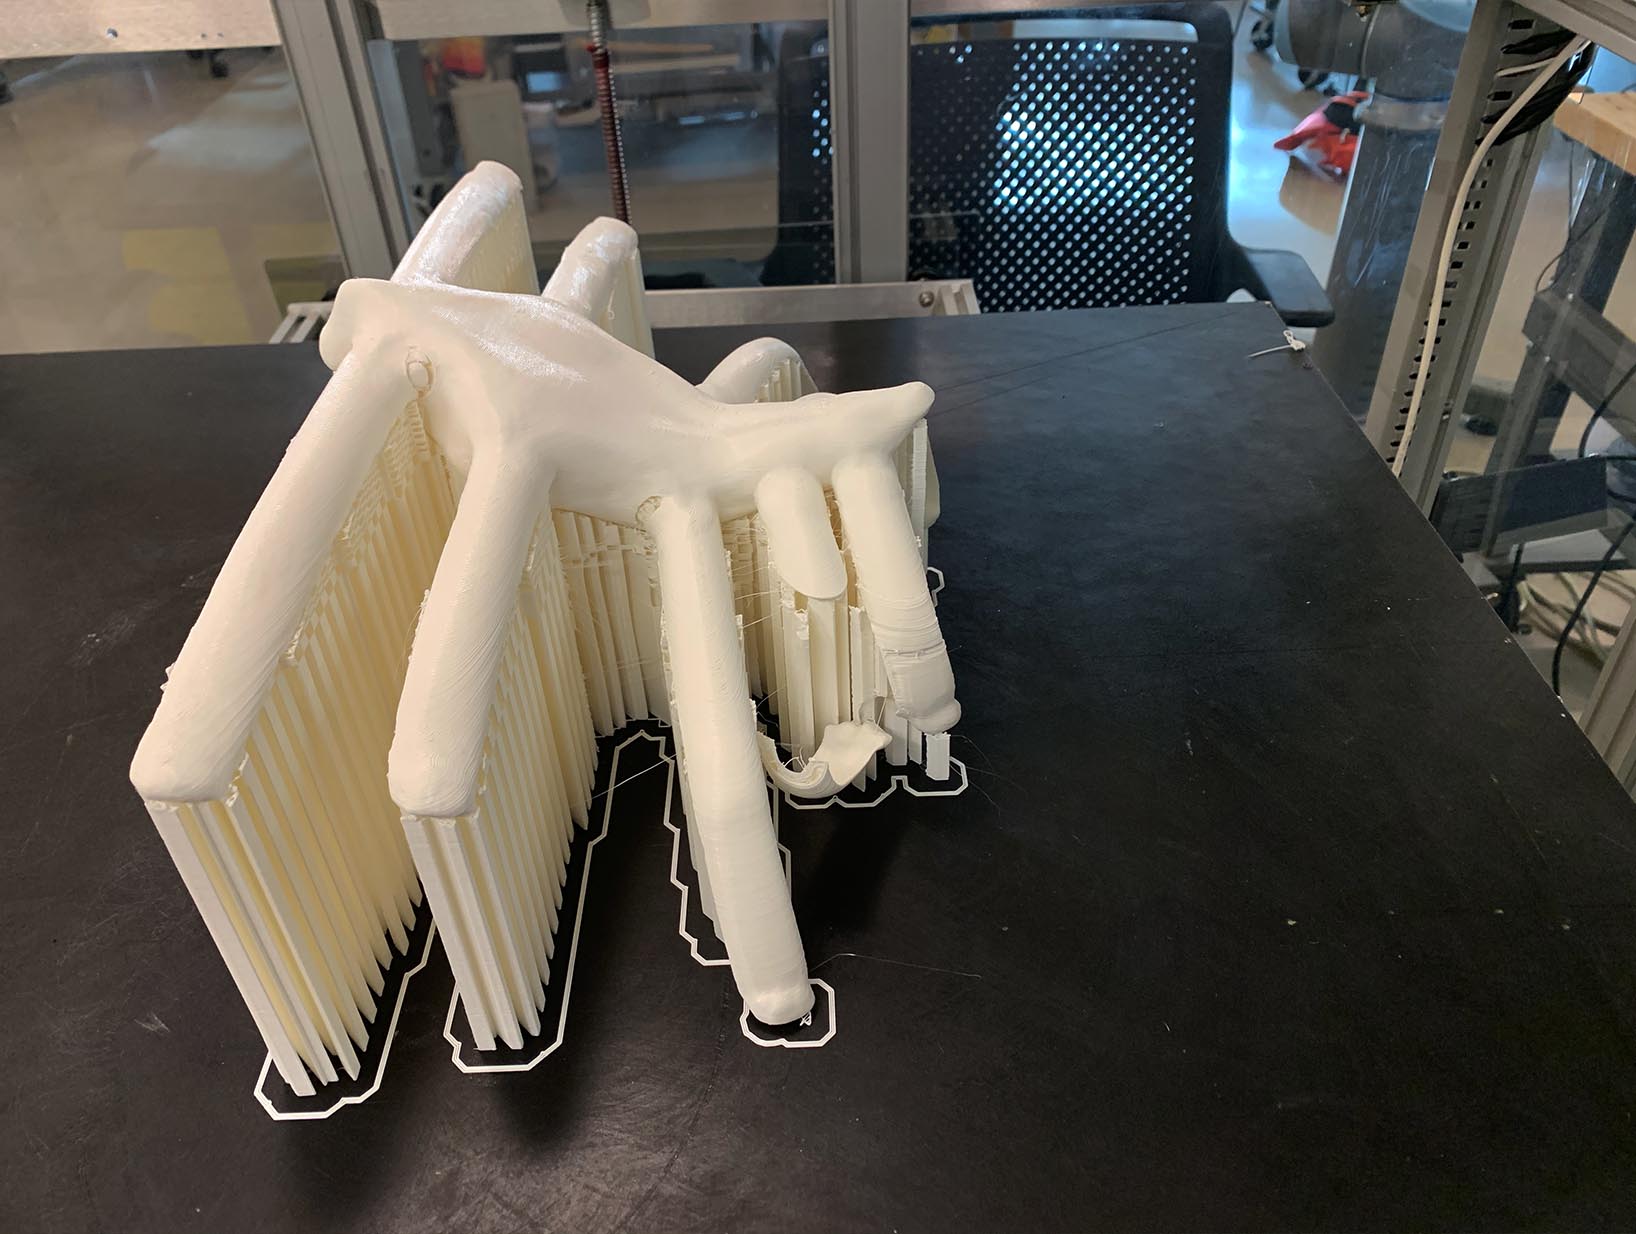
It printed beautifully except for one of the arms that fell off sometime during the printing process. Luckily, it fell off in one piece so it was easy to glue back on. When I took it off the printer, it mostly fit my body but felt a bit loose. I dipped the print in boiling water to melt the plastic a little bit and molded it to my body. I went back and forth between the boiling water and my chest a few times until I ended up with a shape that I was comfortable with. I did burn myself a little bit in the process, but it was definitely worth it for the results.
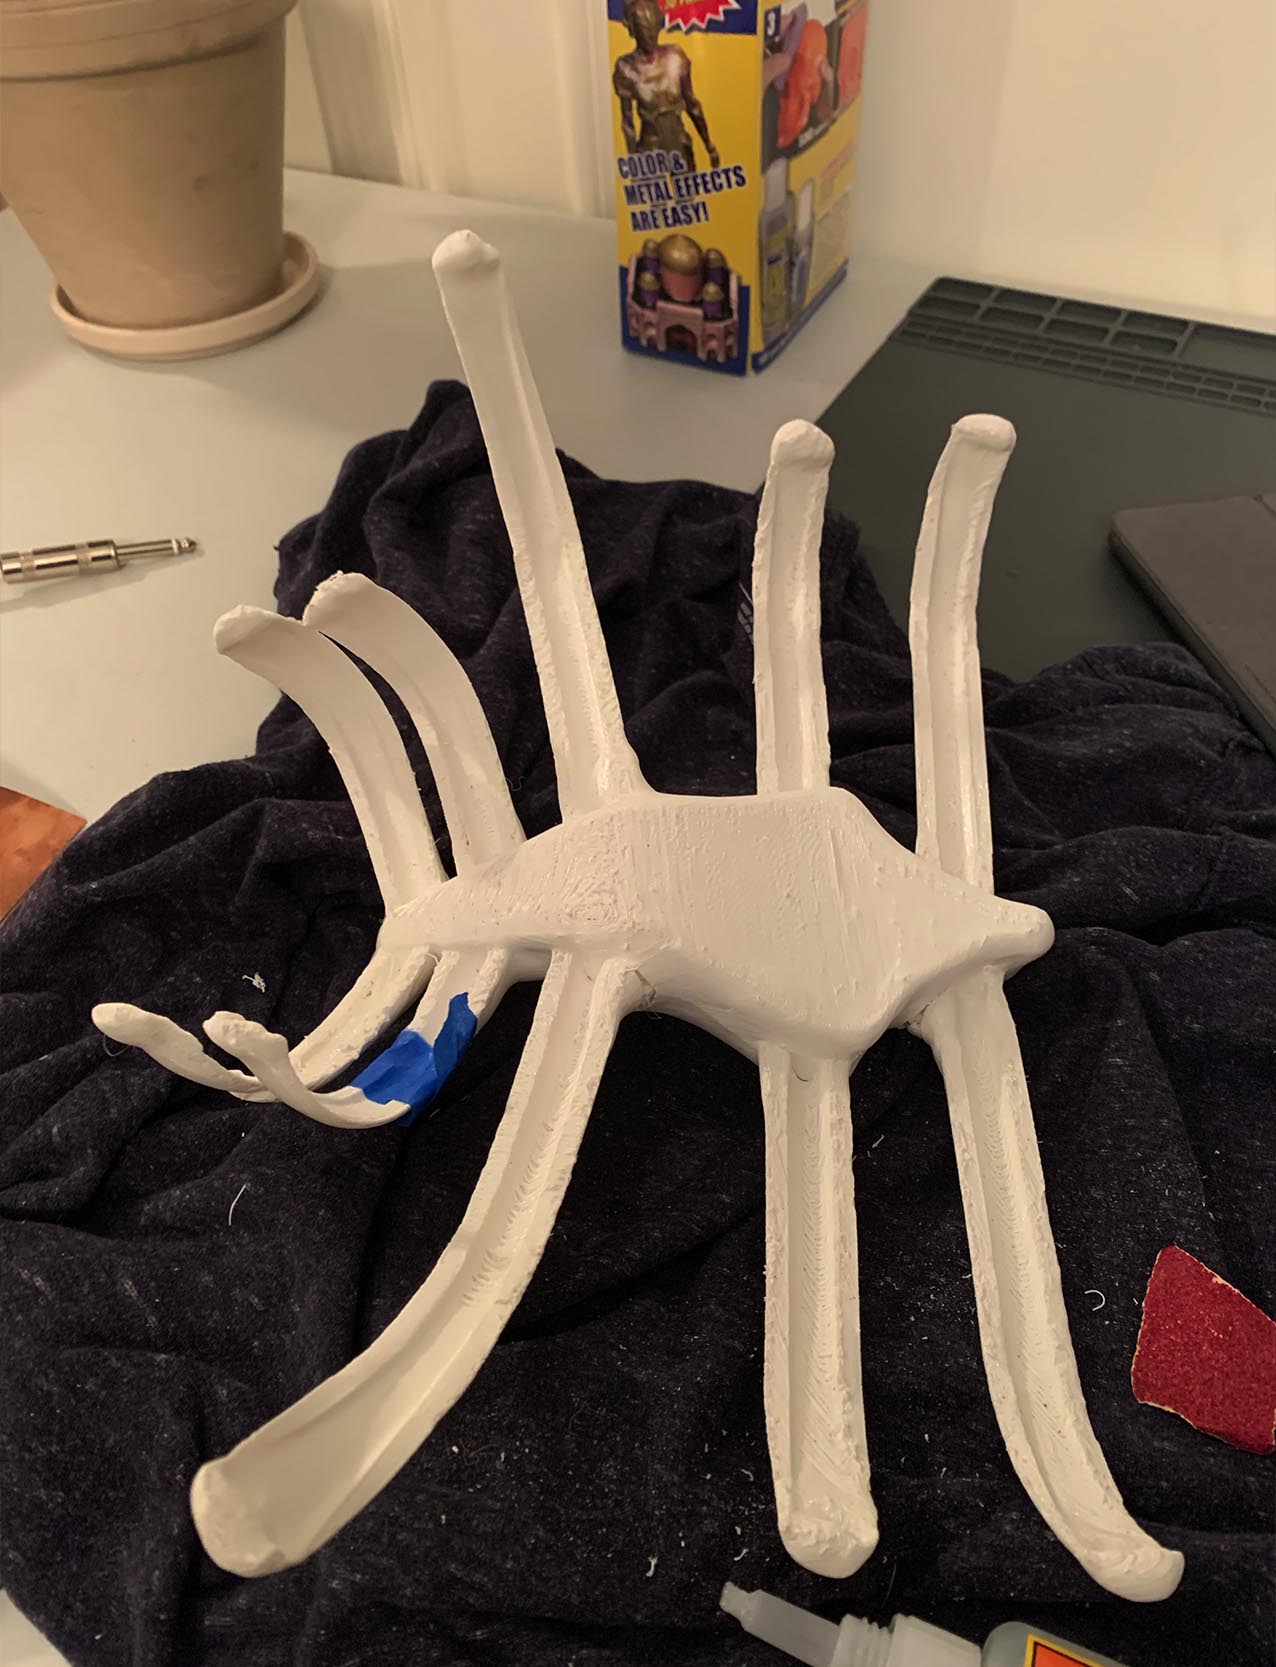
Once I was happy with the form I coated the print with two coats of XTC-3D epoxy resin. This was the first time I used this process. It smoothed out all of the layers from the 3D print and added some structure. After the resin, the form no longer felt delicate. I spray painted the entire structure for a consist look.
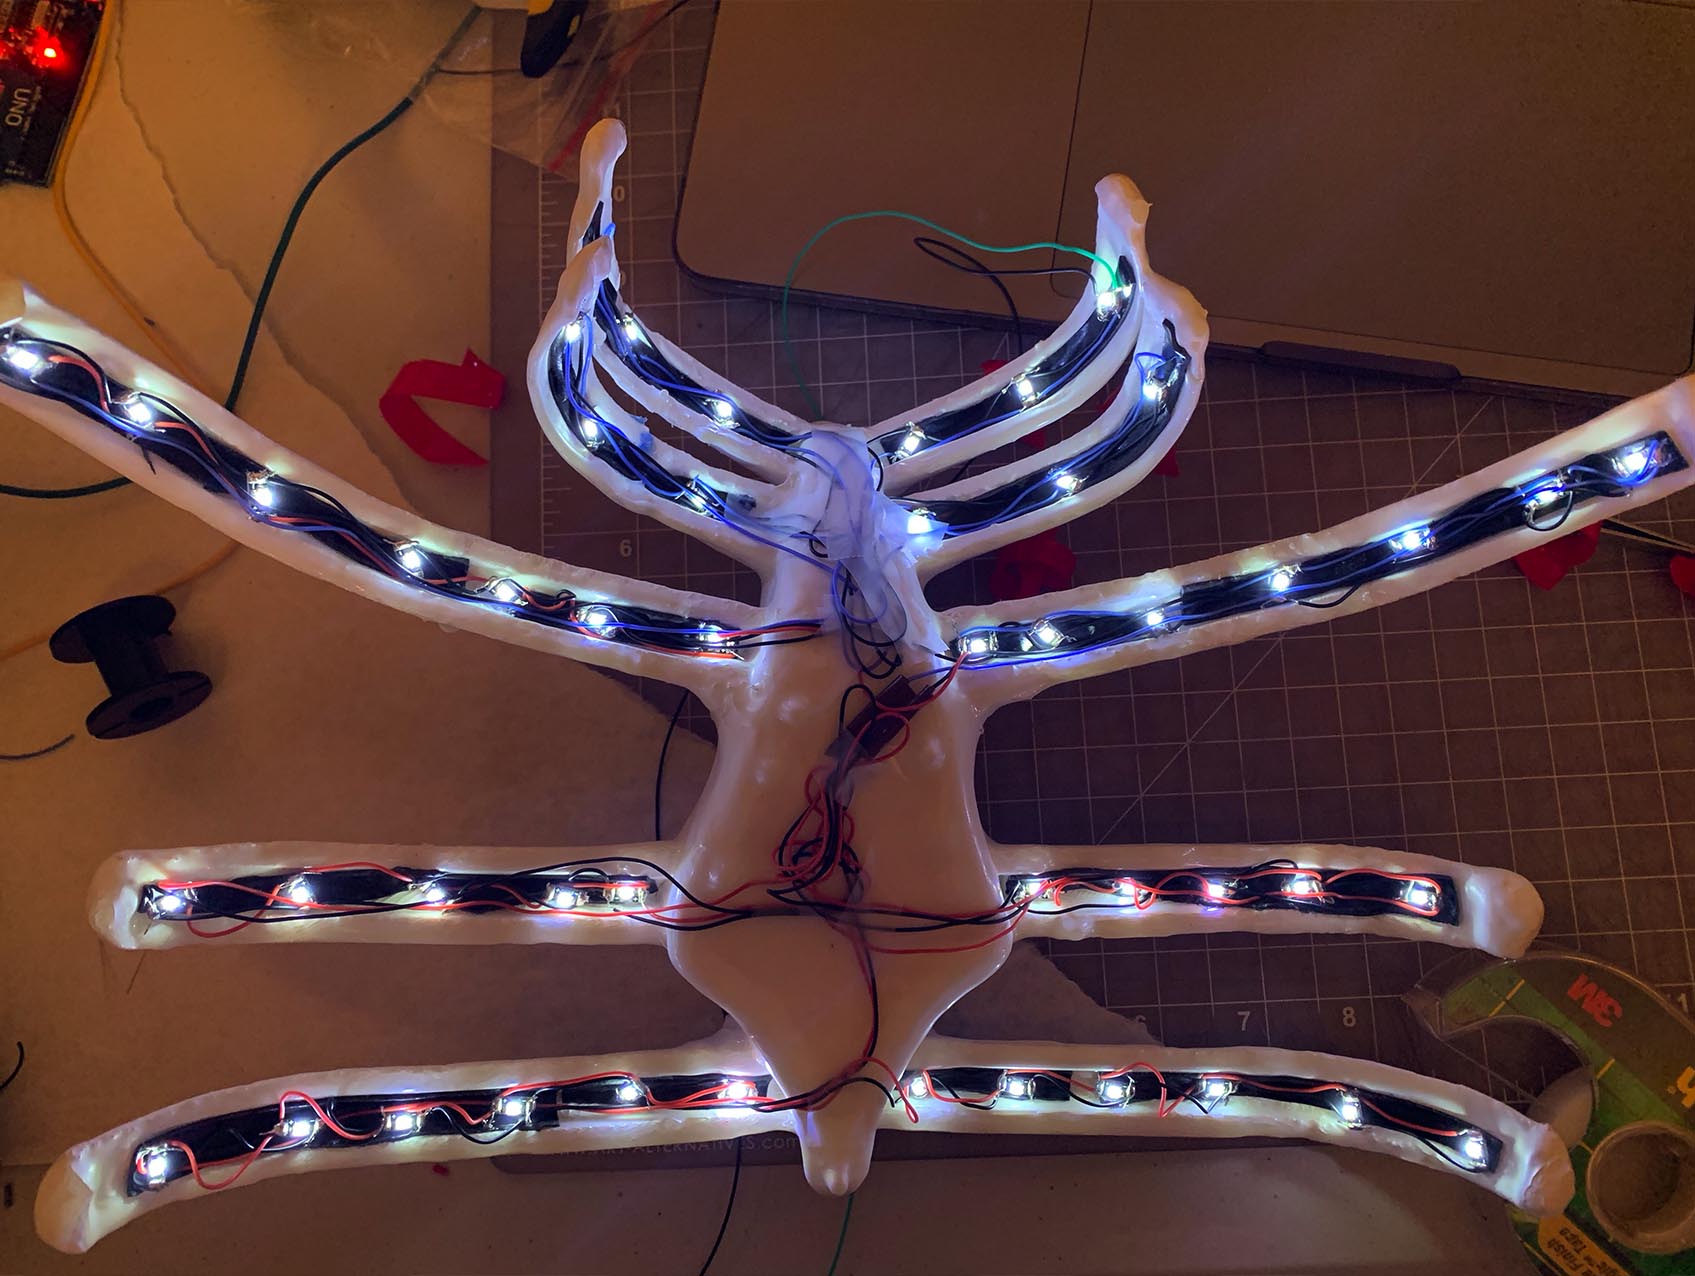
My next task was lighting the exoskeleton. I used sequin LED lights to light the back so they would be able to stay hidden. I soldered each sequin light individually, which took quite a long time, but was definitely worth it. I taped the lights into the channels in the ribcage using double sided sticky tape. I hooked them up to a light dependent resistor to get the lights to glow brighter in darker situations. I followed this tutorial for the electronics. It was really exciting to see this piece working in action.
Final