Textile as scaffold
Process
This week was a whirlwind.
For this project I was inspired by leather; skin from a fellow creature that feels very much like our own. We harvest cows for food and resources; we harvest humans for organ donation and scientific research.
I was inspired by the act of growing, molding and re-molding leather as one grows, evolves, and changes form. With every lover, I imagine a life that could have been. This piece is an homage to my past relationships. I generated two faces to act as a mold that were a combination of myself and past lovers.
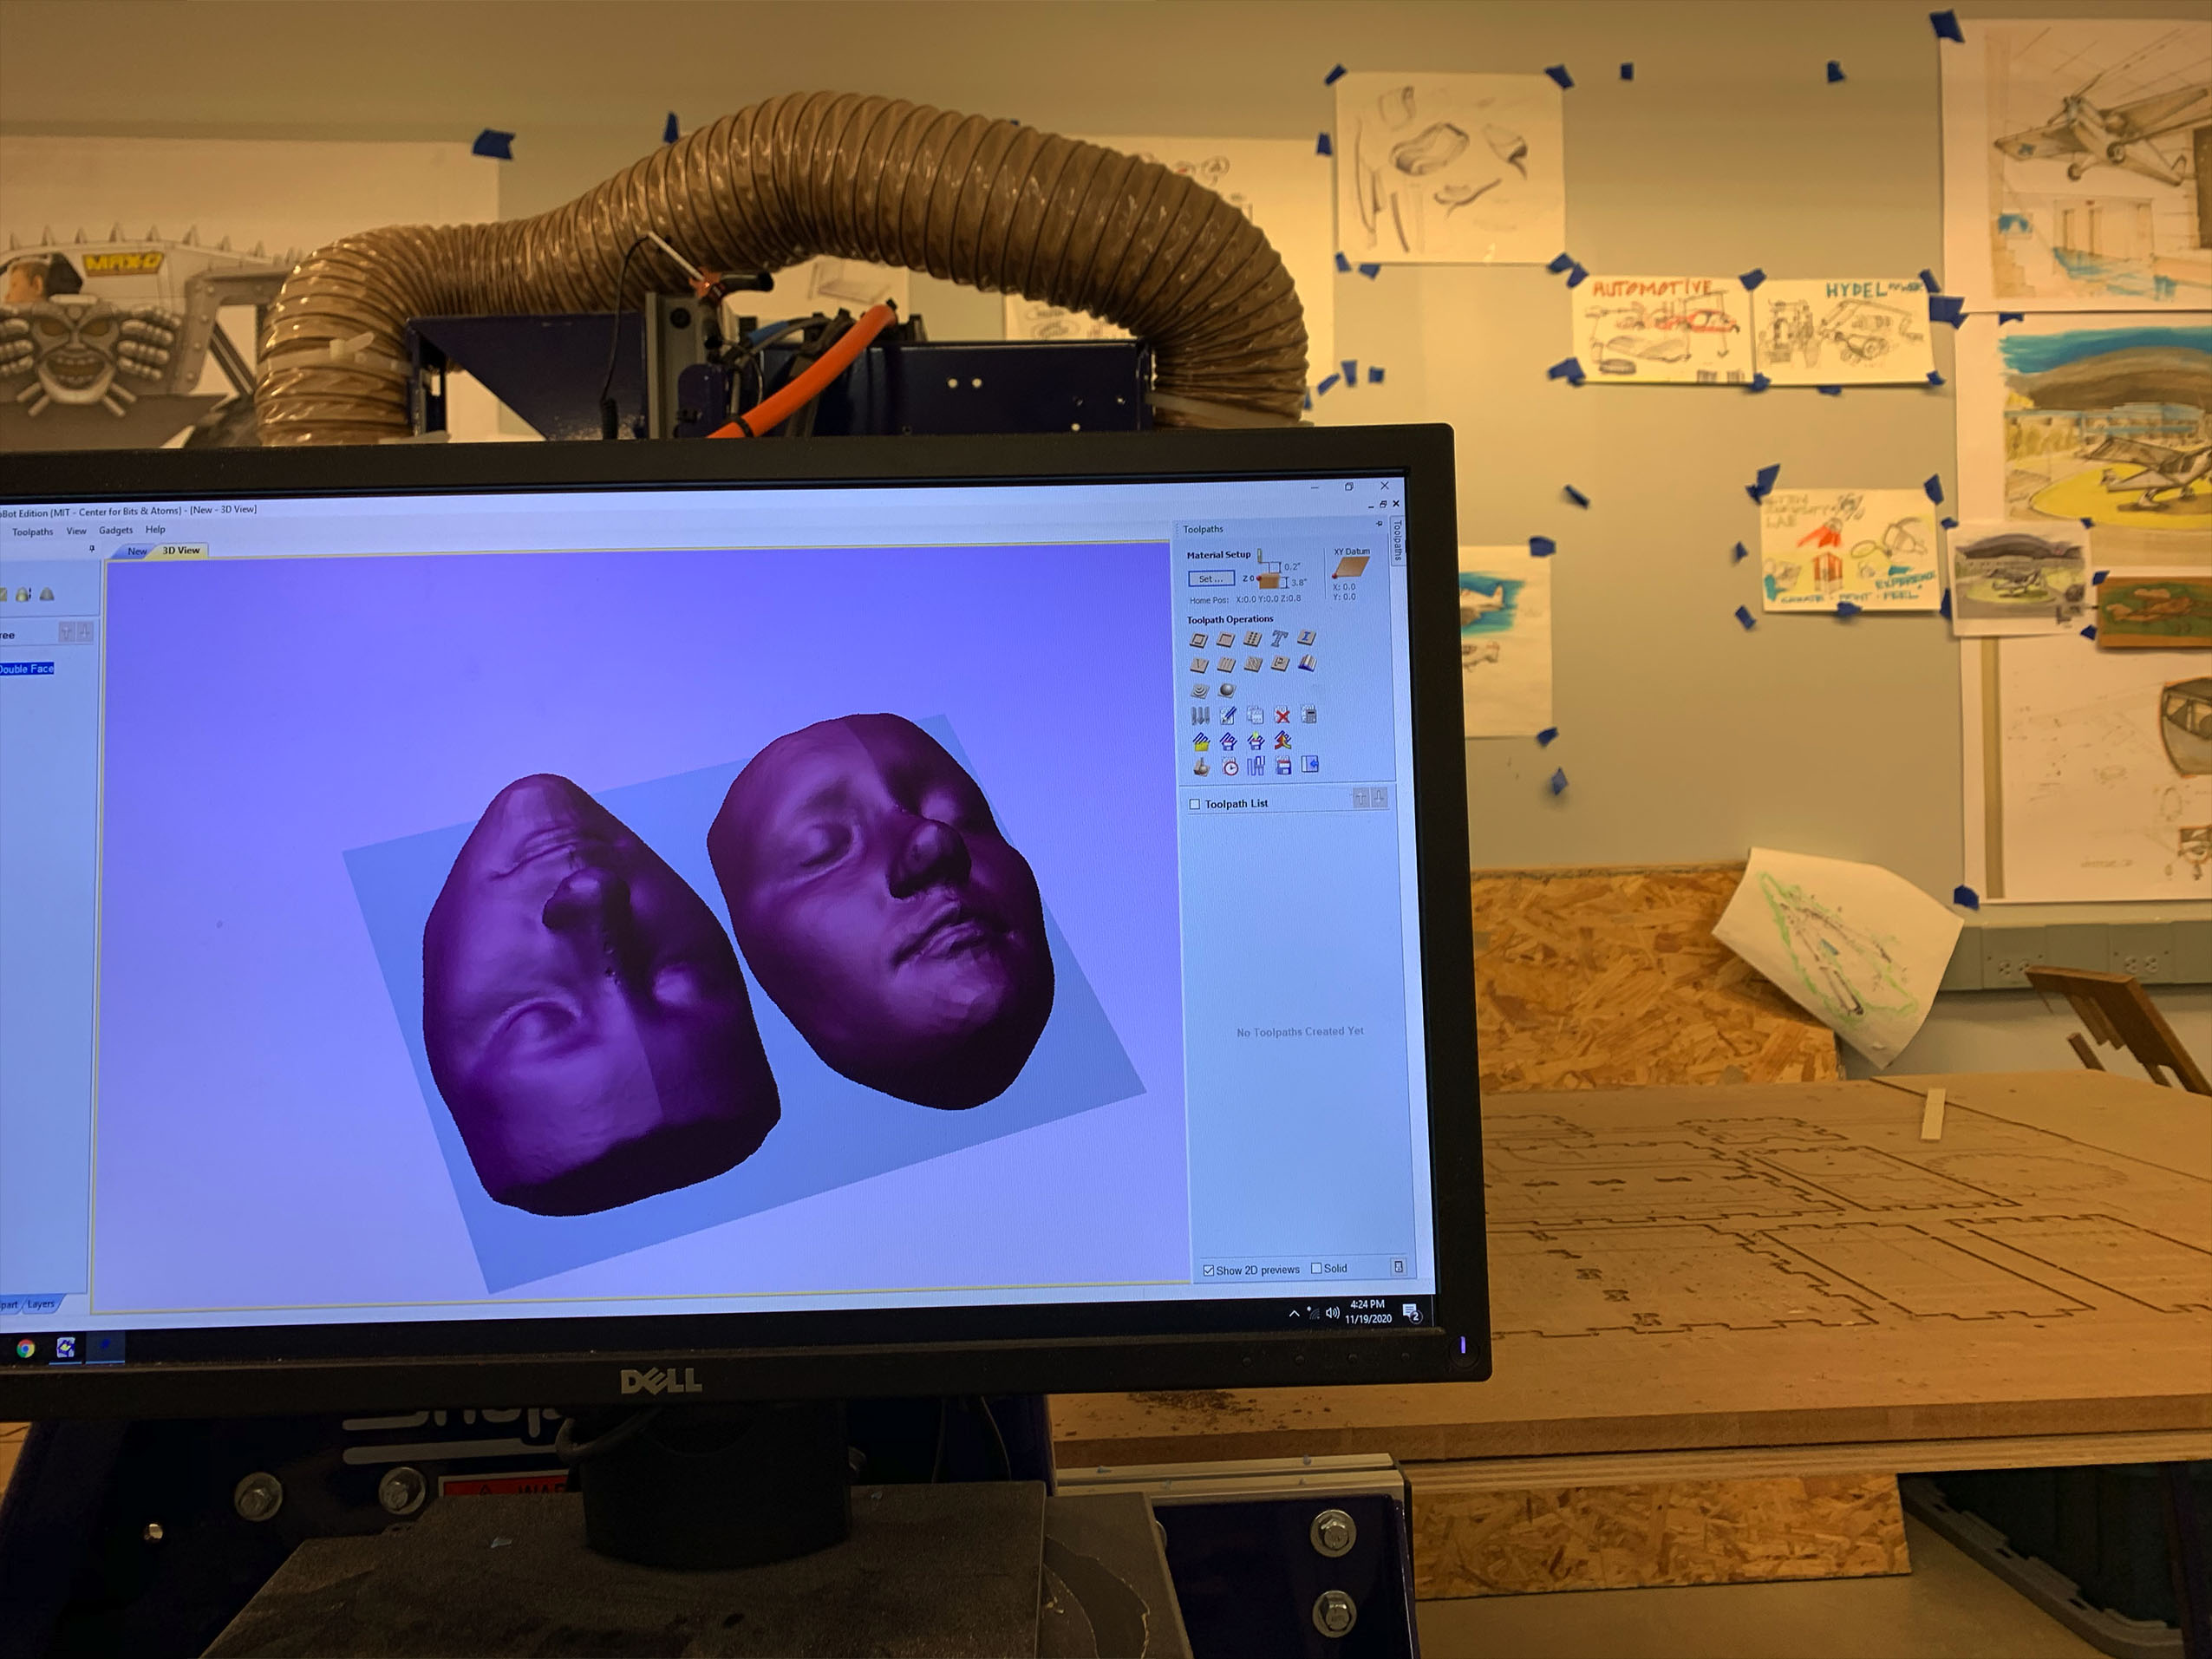
I began this project using a 3D face reconstruction algorithm made at the University of Nottingham. This algorithm can turn a single image of a face into a 3D model. It was accurate enough to get something to start with. I used a HD scan of my own face from a previous project. After merging their faces, I smoothed out all the faces using a mesh mixer. My face was clear as day, and I preferred it this way, with their faces more like the distant memory that they are. This made each face a combination of man, machine, and myself.
I came to studio with a paper sketch and a bag of leather in hand. I used to make sandals so I had lots of scraps lying around my basement. The first step for leather molding was gluing up the wood to CNC a mold out of. I used the CNC to cut a wood composite into squares to glue on top of each other.
Using the CNC was straight forward. I saved a dxf file with the geometry I needed to cut out. Next, I aligned the piece of wood I was cutting so that it was parallel with the CNC cutter bed. I did this using a big block aligned along the edge of the CNC. I ran my fingertip along the block and could feel when my wood was not parallel. Once the wood was parallel I drilled it into the CNC bed, pushing hard so the wood wouldn’t bow. I then set my Z access to the top of my cutting material.
I imported my file in the software and then chose the cutting path. I placed tabs in the software to make sure the pieces wouldn’t fall down or move as I was cutting them. One my file was ready I turned on the vacuum system, turned on the machine and was good to go. It was very exciting to use the CNC for the first time.
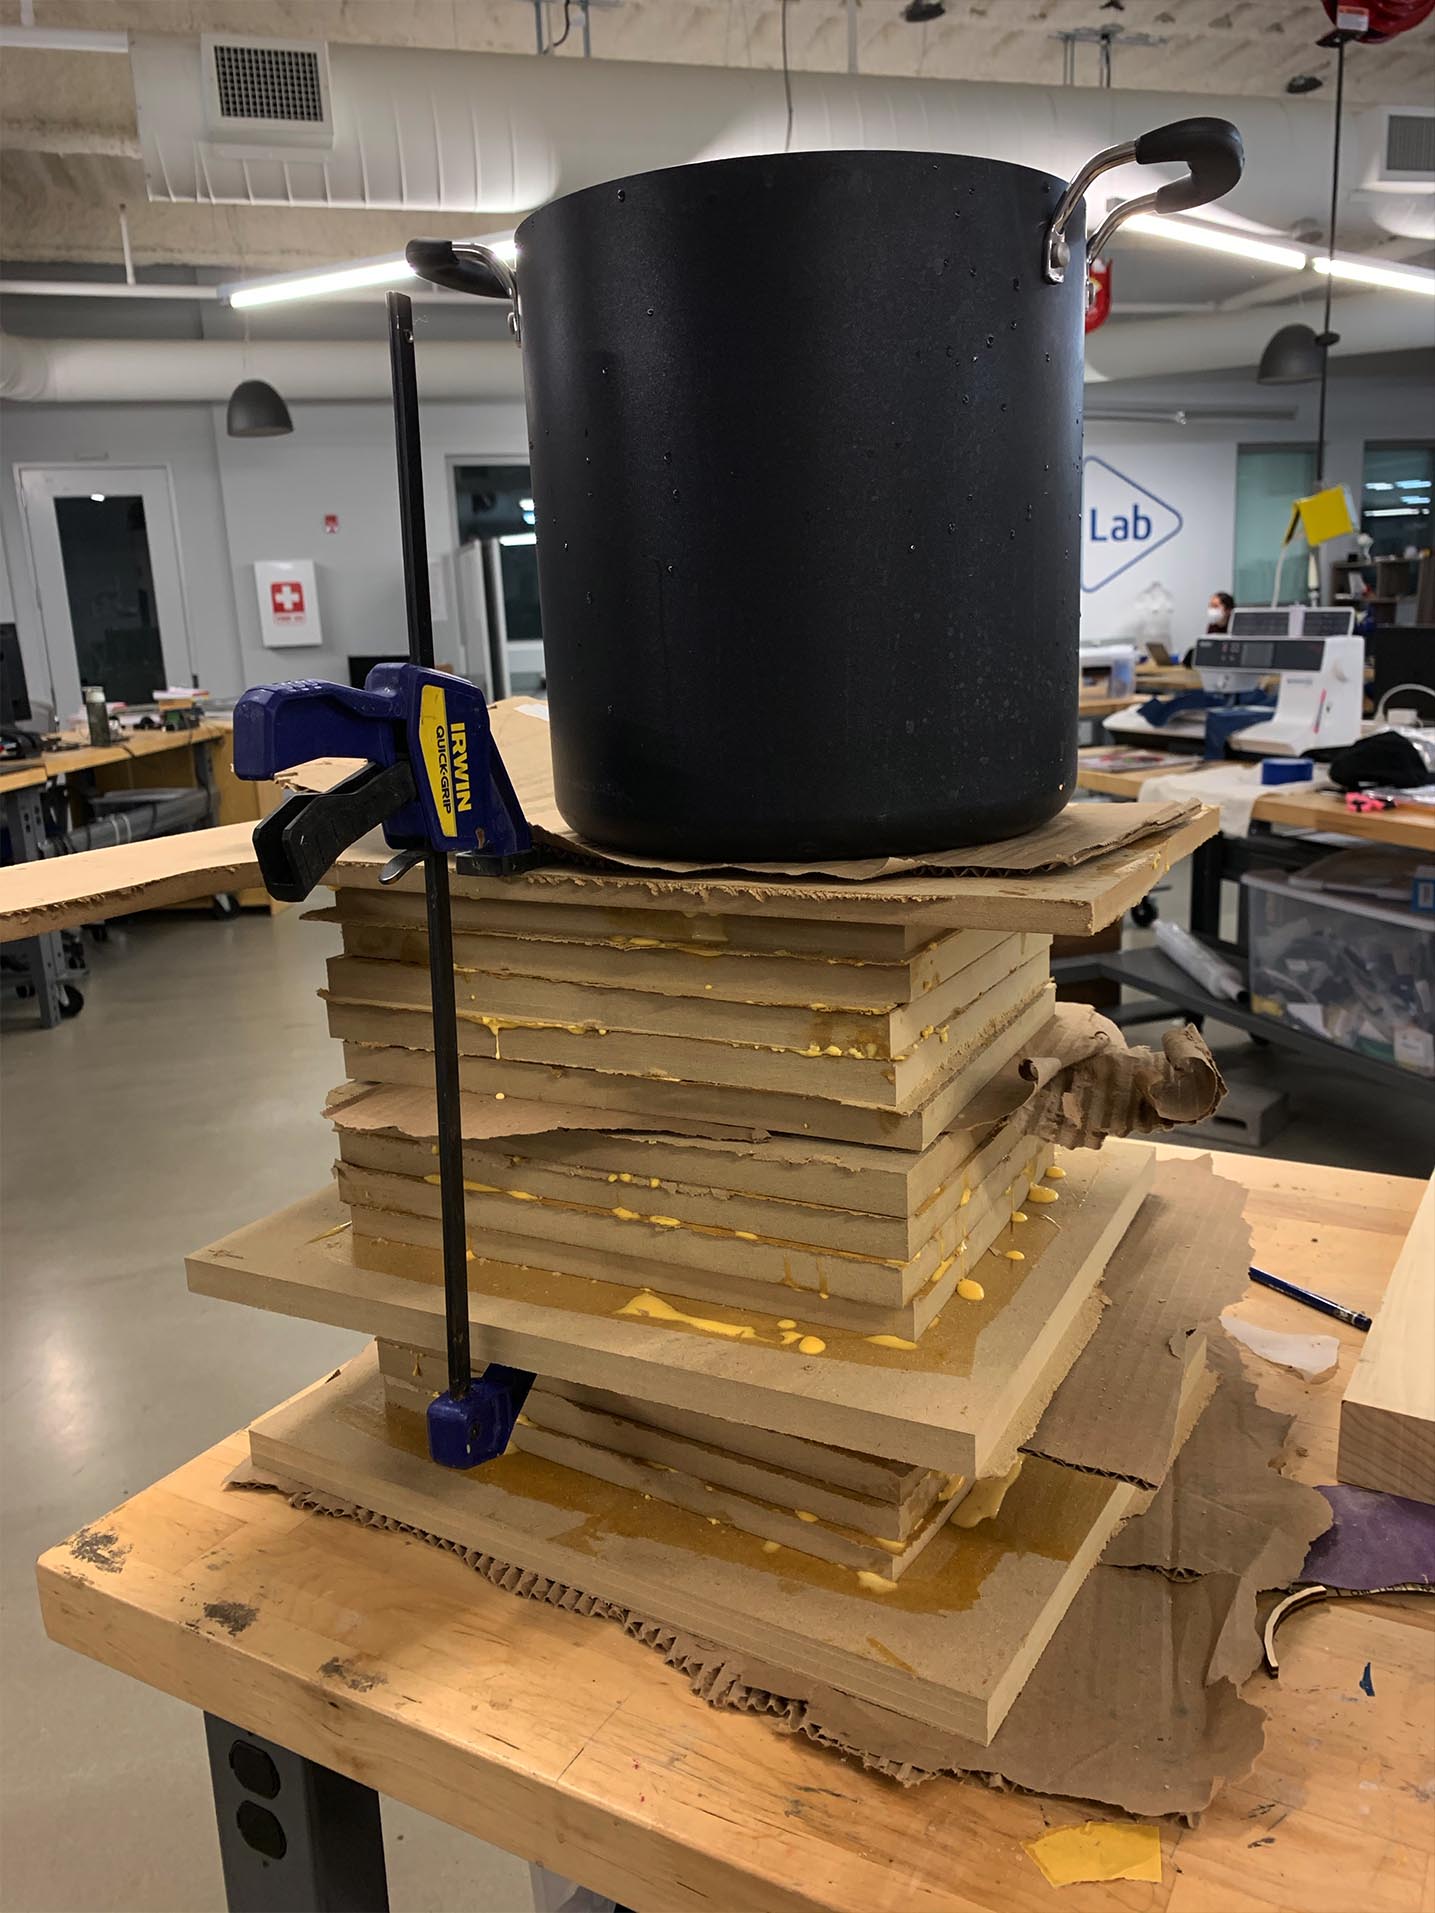
After I had my pieces, I glued them together so that I could CNC them again the next day. There were only 2 clamps in the shop, so we ended up stacking all of the pieces on top of each other and clamping them all together.
 We had glued each blank to be 3.8 inches tall, which we thought was a reasonable height for the CNC. I got my files all ready for the machine with my wood screwed down, and that’s when the problems started rolling in. When the CNC starts cutting, it likes to lift up an inch to make sure it has the proper clearance to enter the wood block. Unfortunately, when our CNC lifted up an inch, it hit its Z max and canceled the cut. It took us 20 minutes to figure out why it wasn’t starting the cut. Then it took us an hour to try and override the setting. When we finally found an override for the setting, it still didn’t work. We had glued all of our blocks to be too high, so we couldn’t just switch our cutting block. After two and a half hours of trying to get the CNC to work, we went to Plan B, which was 3D printing.
By the time it was 3D printing time, it was 6pm on Thursday night. Due to COVID-19, our shop is not open during the weekend, so once we switched to 3D printing, we signed on for a time crunch. I anxiously printed four faces on the four 3D printers at our shop, hoping that at least two faces would successfully print.
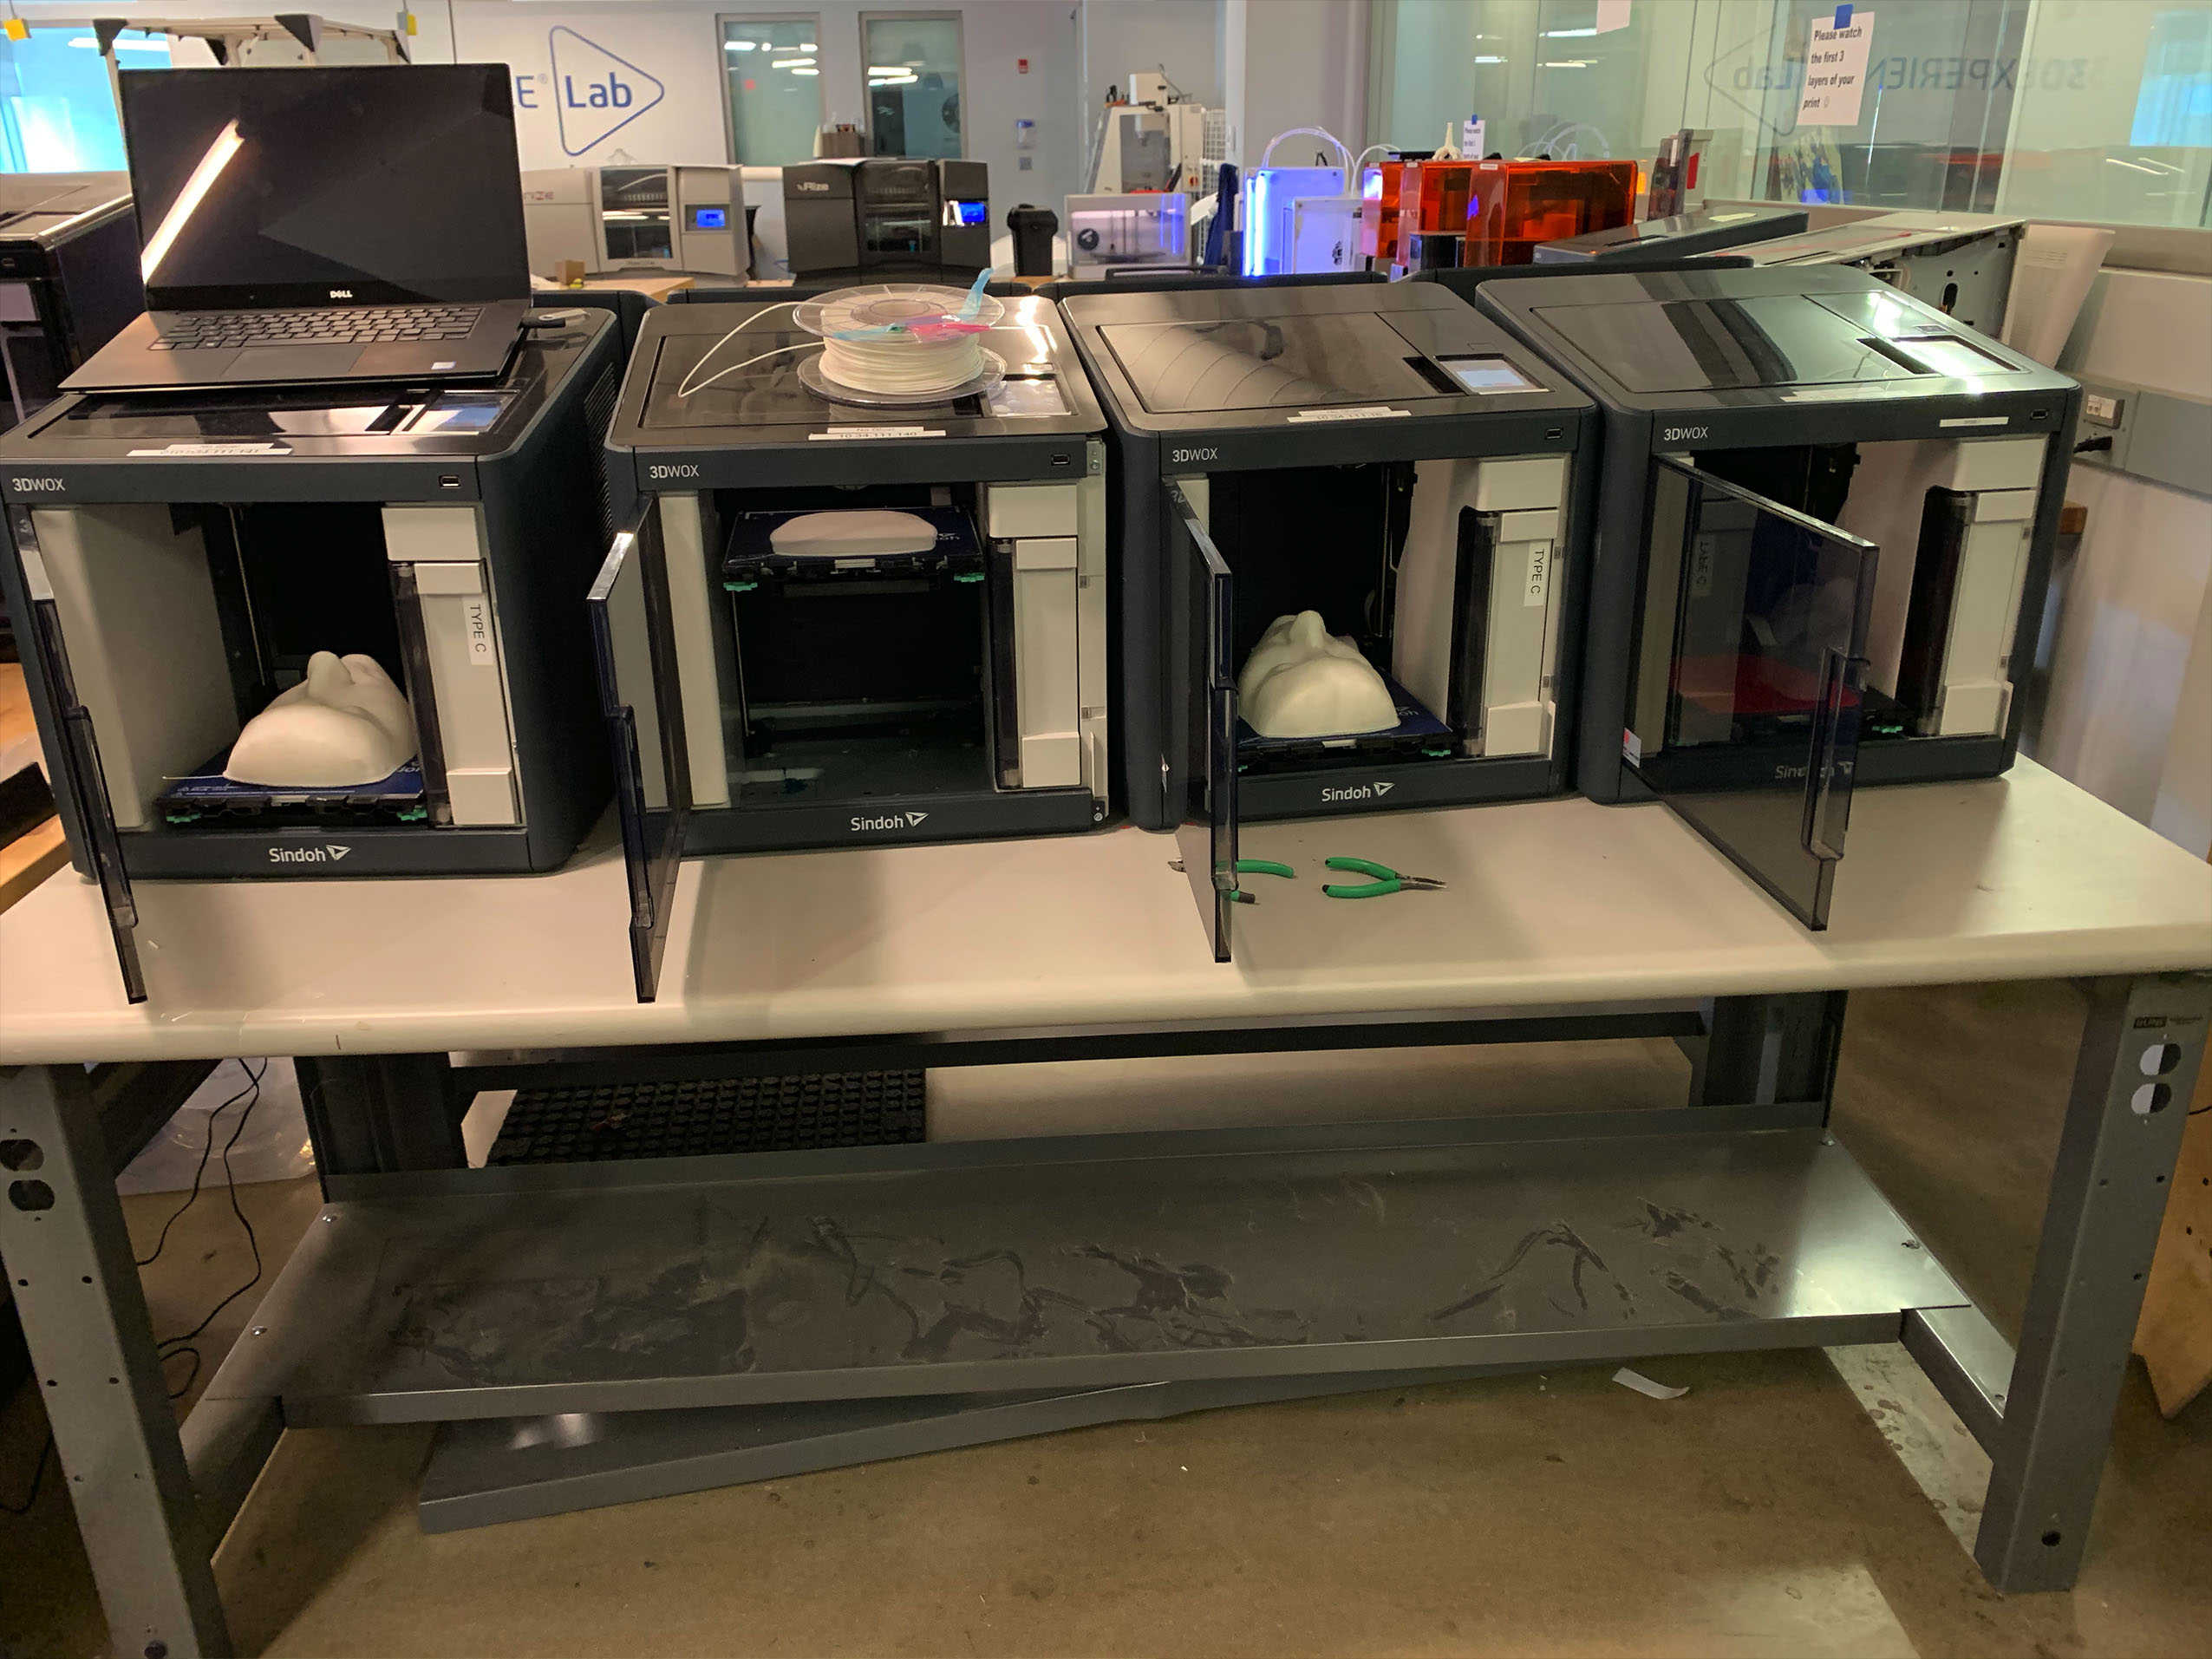
I came back the next day to find my intuition was correct. Two printers successfully printed a face, and two printers failed. Luckily, I only needed two faces. I brought the faces home for the weekend and started the leather molding process.
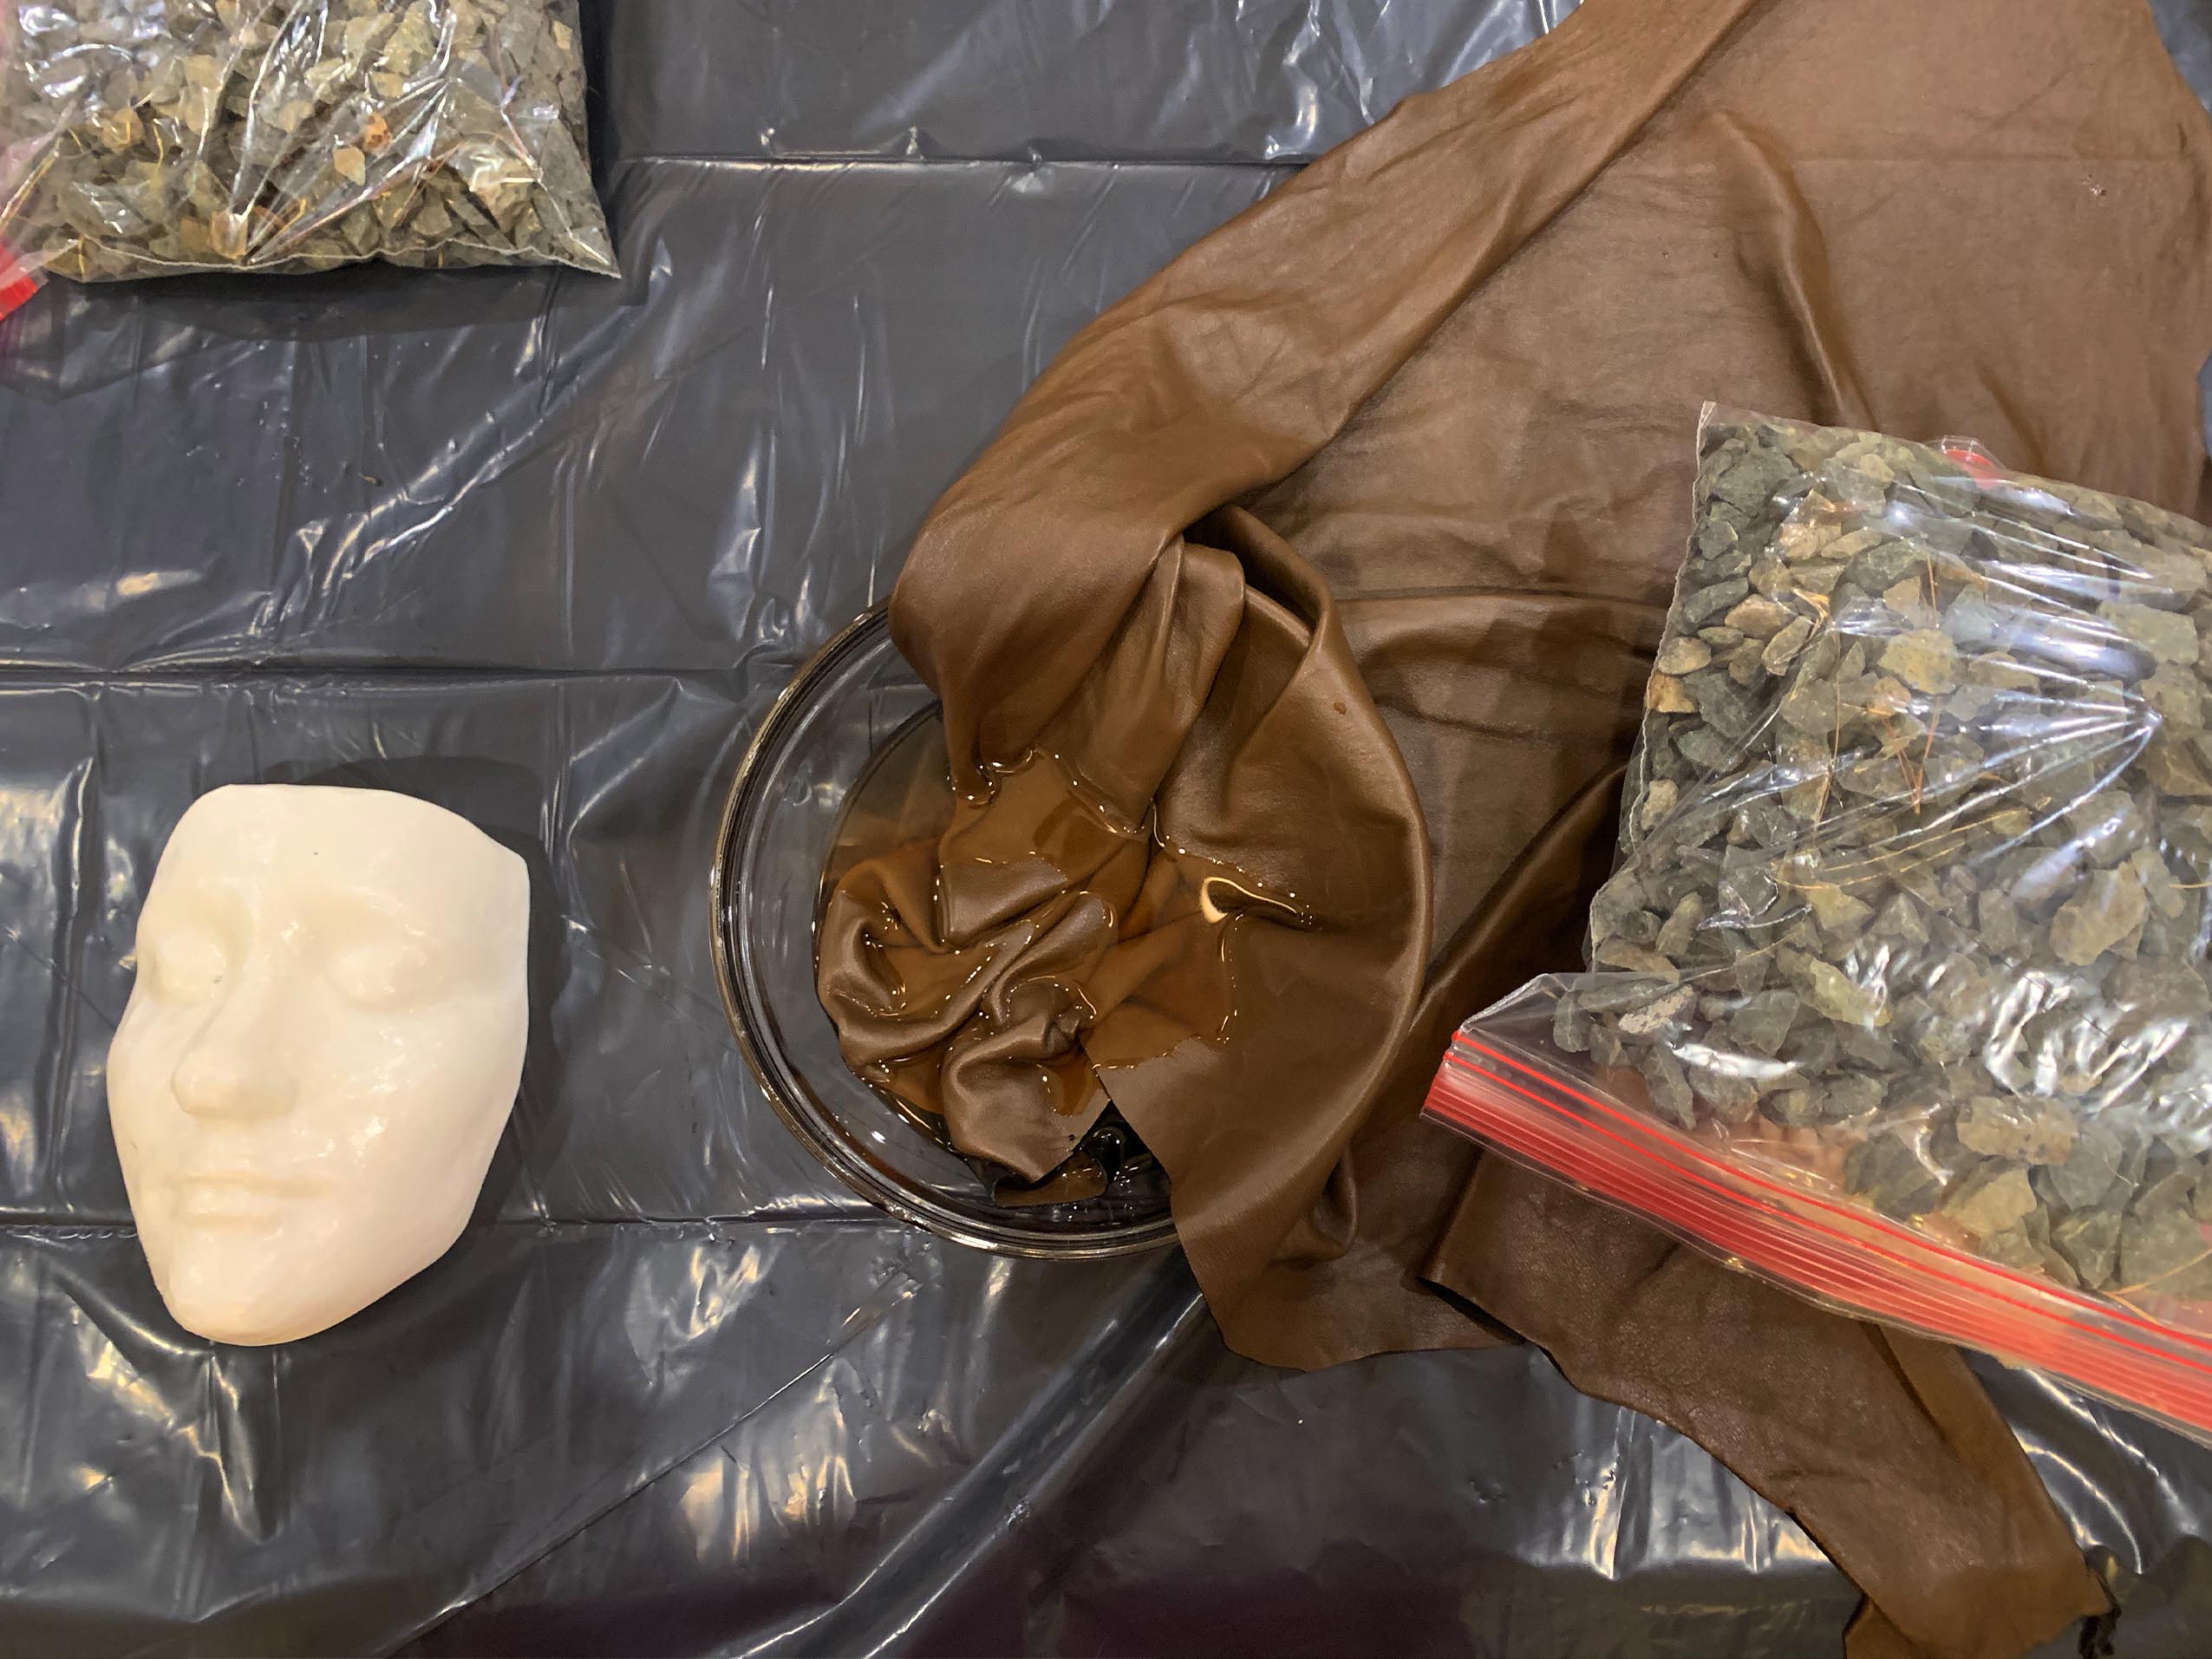
I soaked the leather in water for two days. I then wrung out the water as best I could, covered the molds with Vaseline, and began stretching the leather over the mold. Because I was working from home I didn’t have access to a vacuum chamber, but I did have access to my family of four living at home right now, which worked just as well.
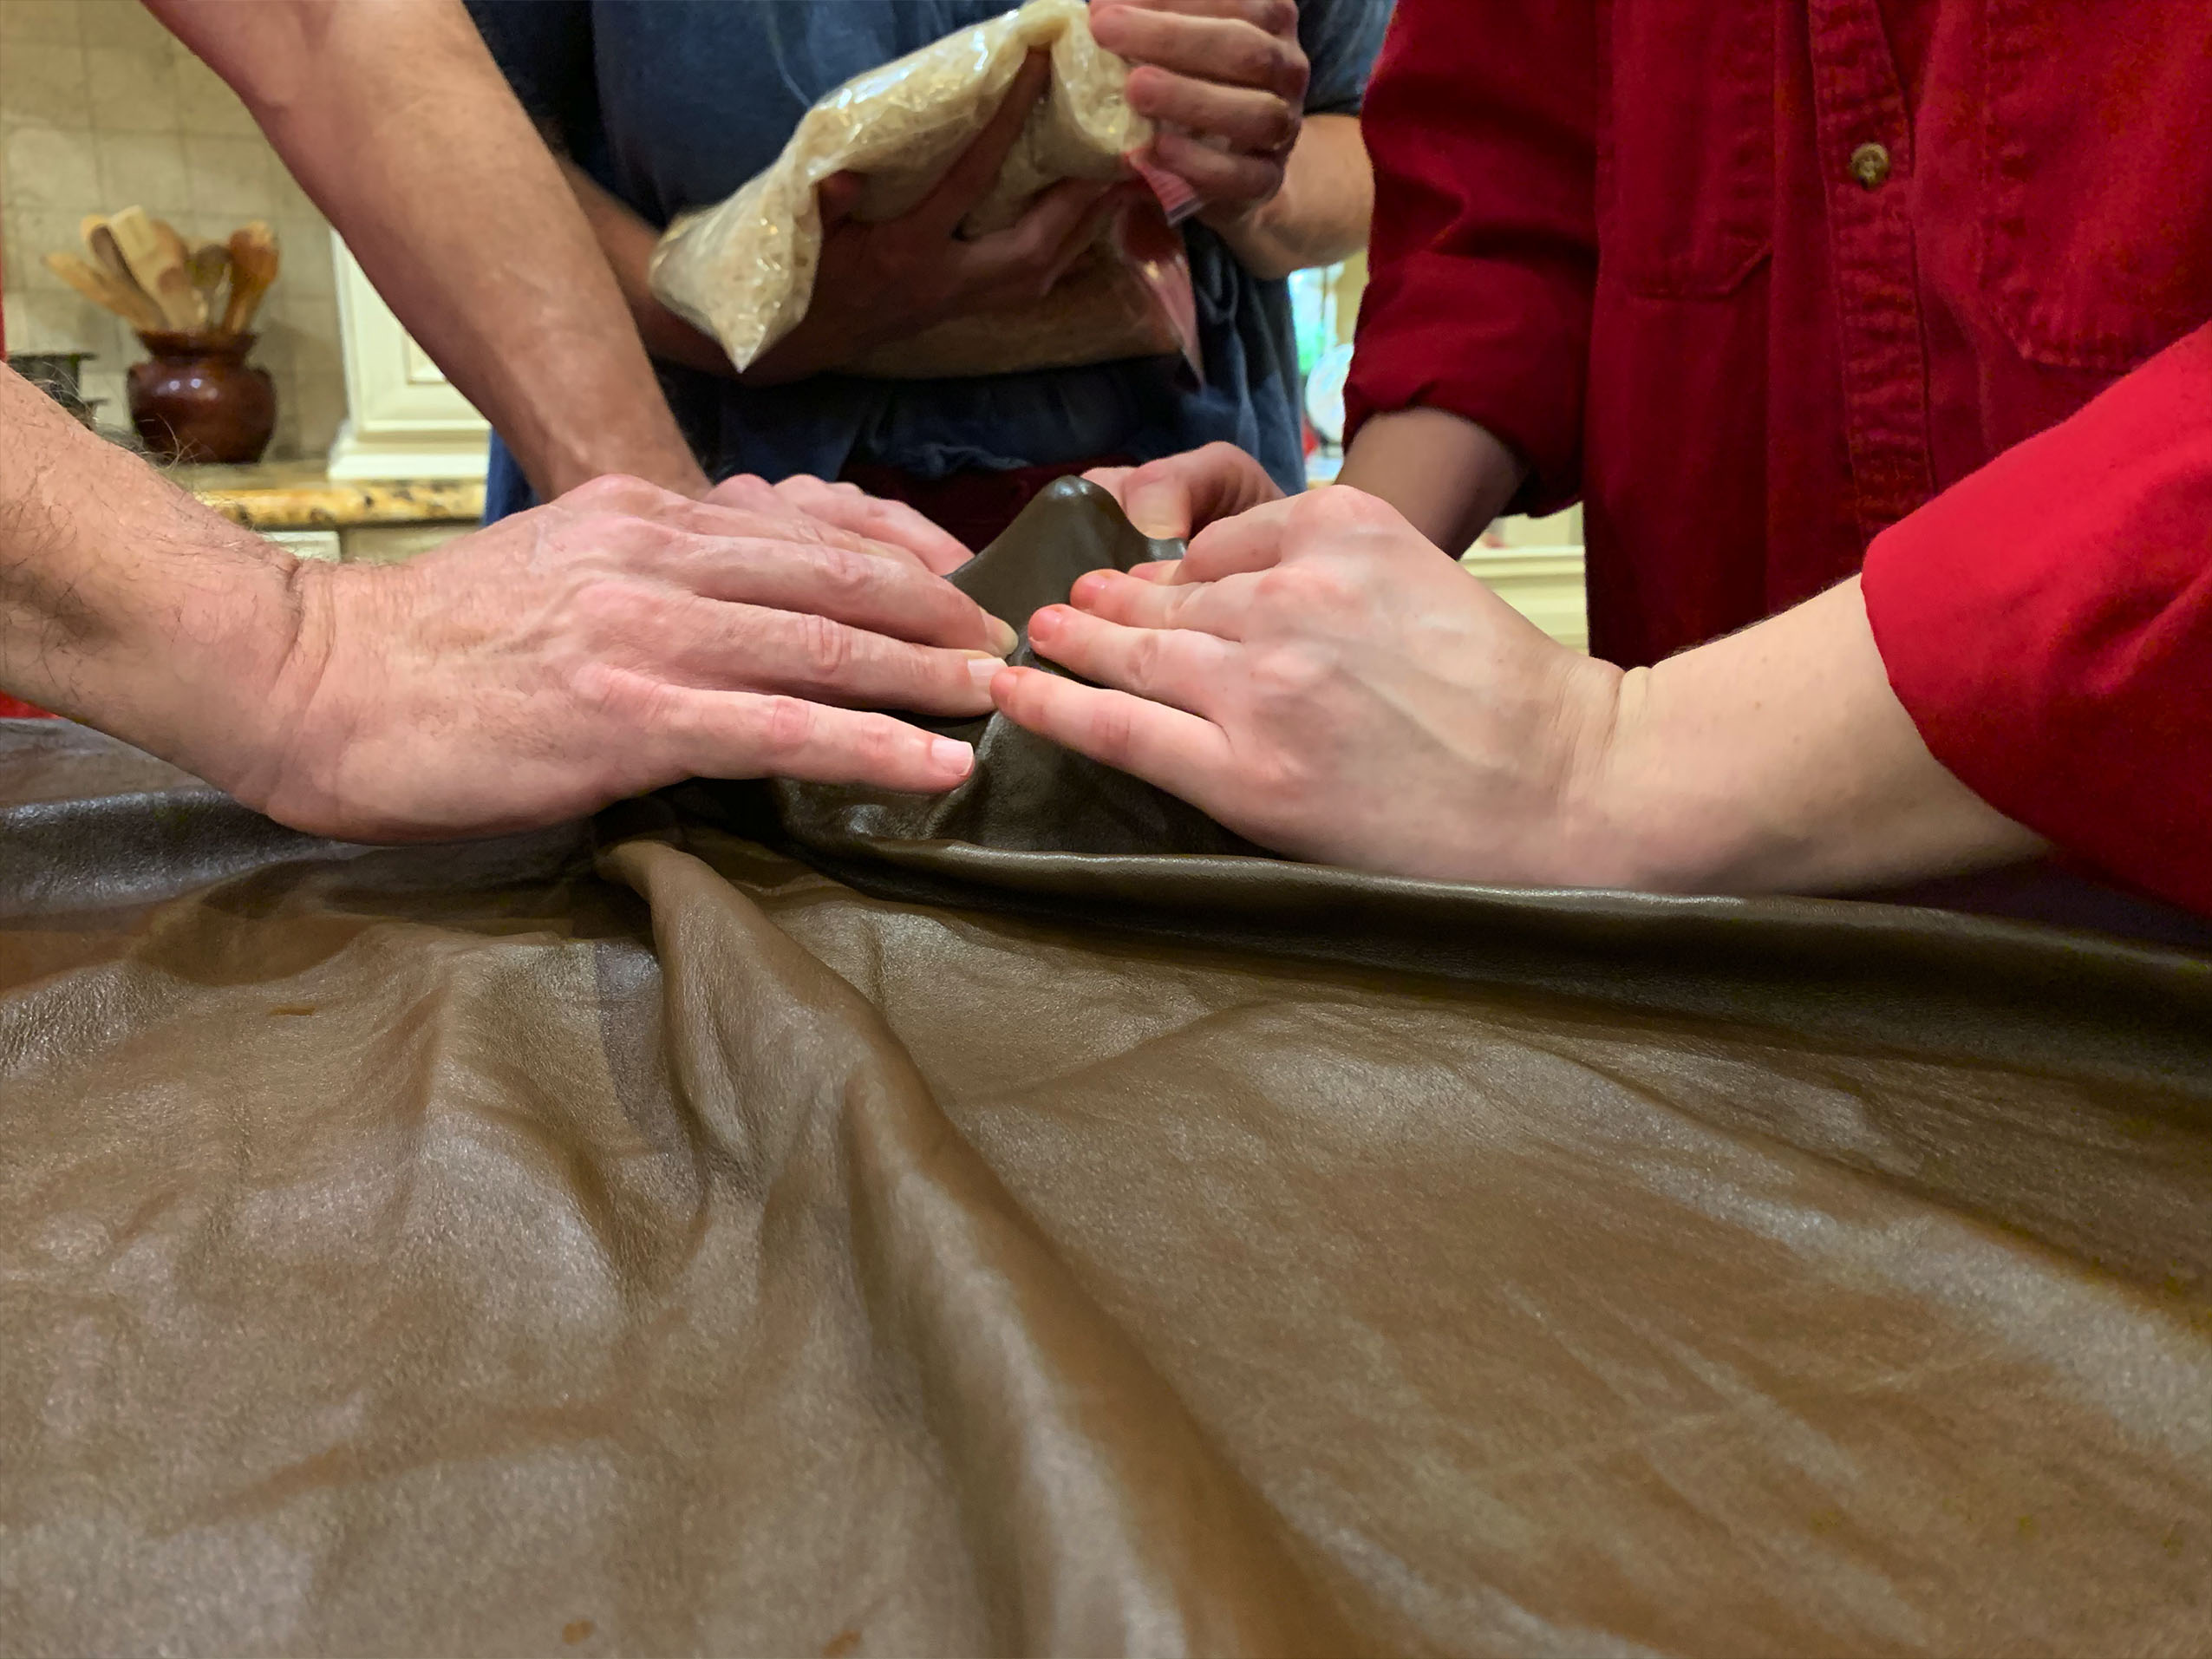
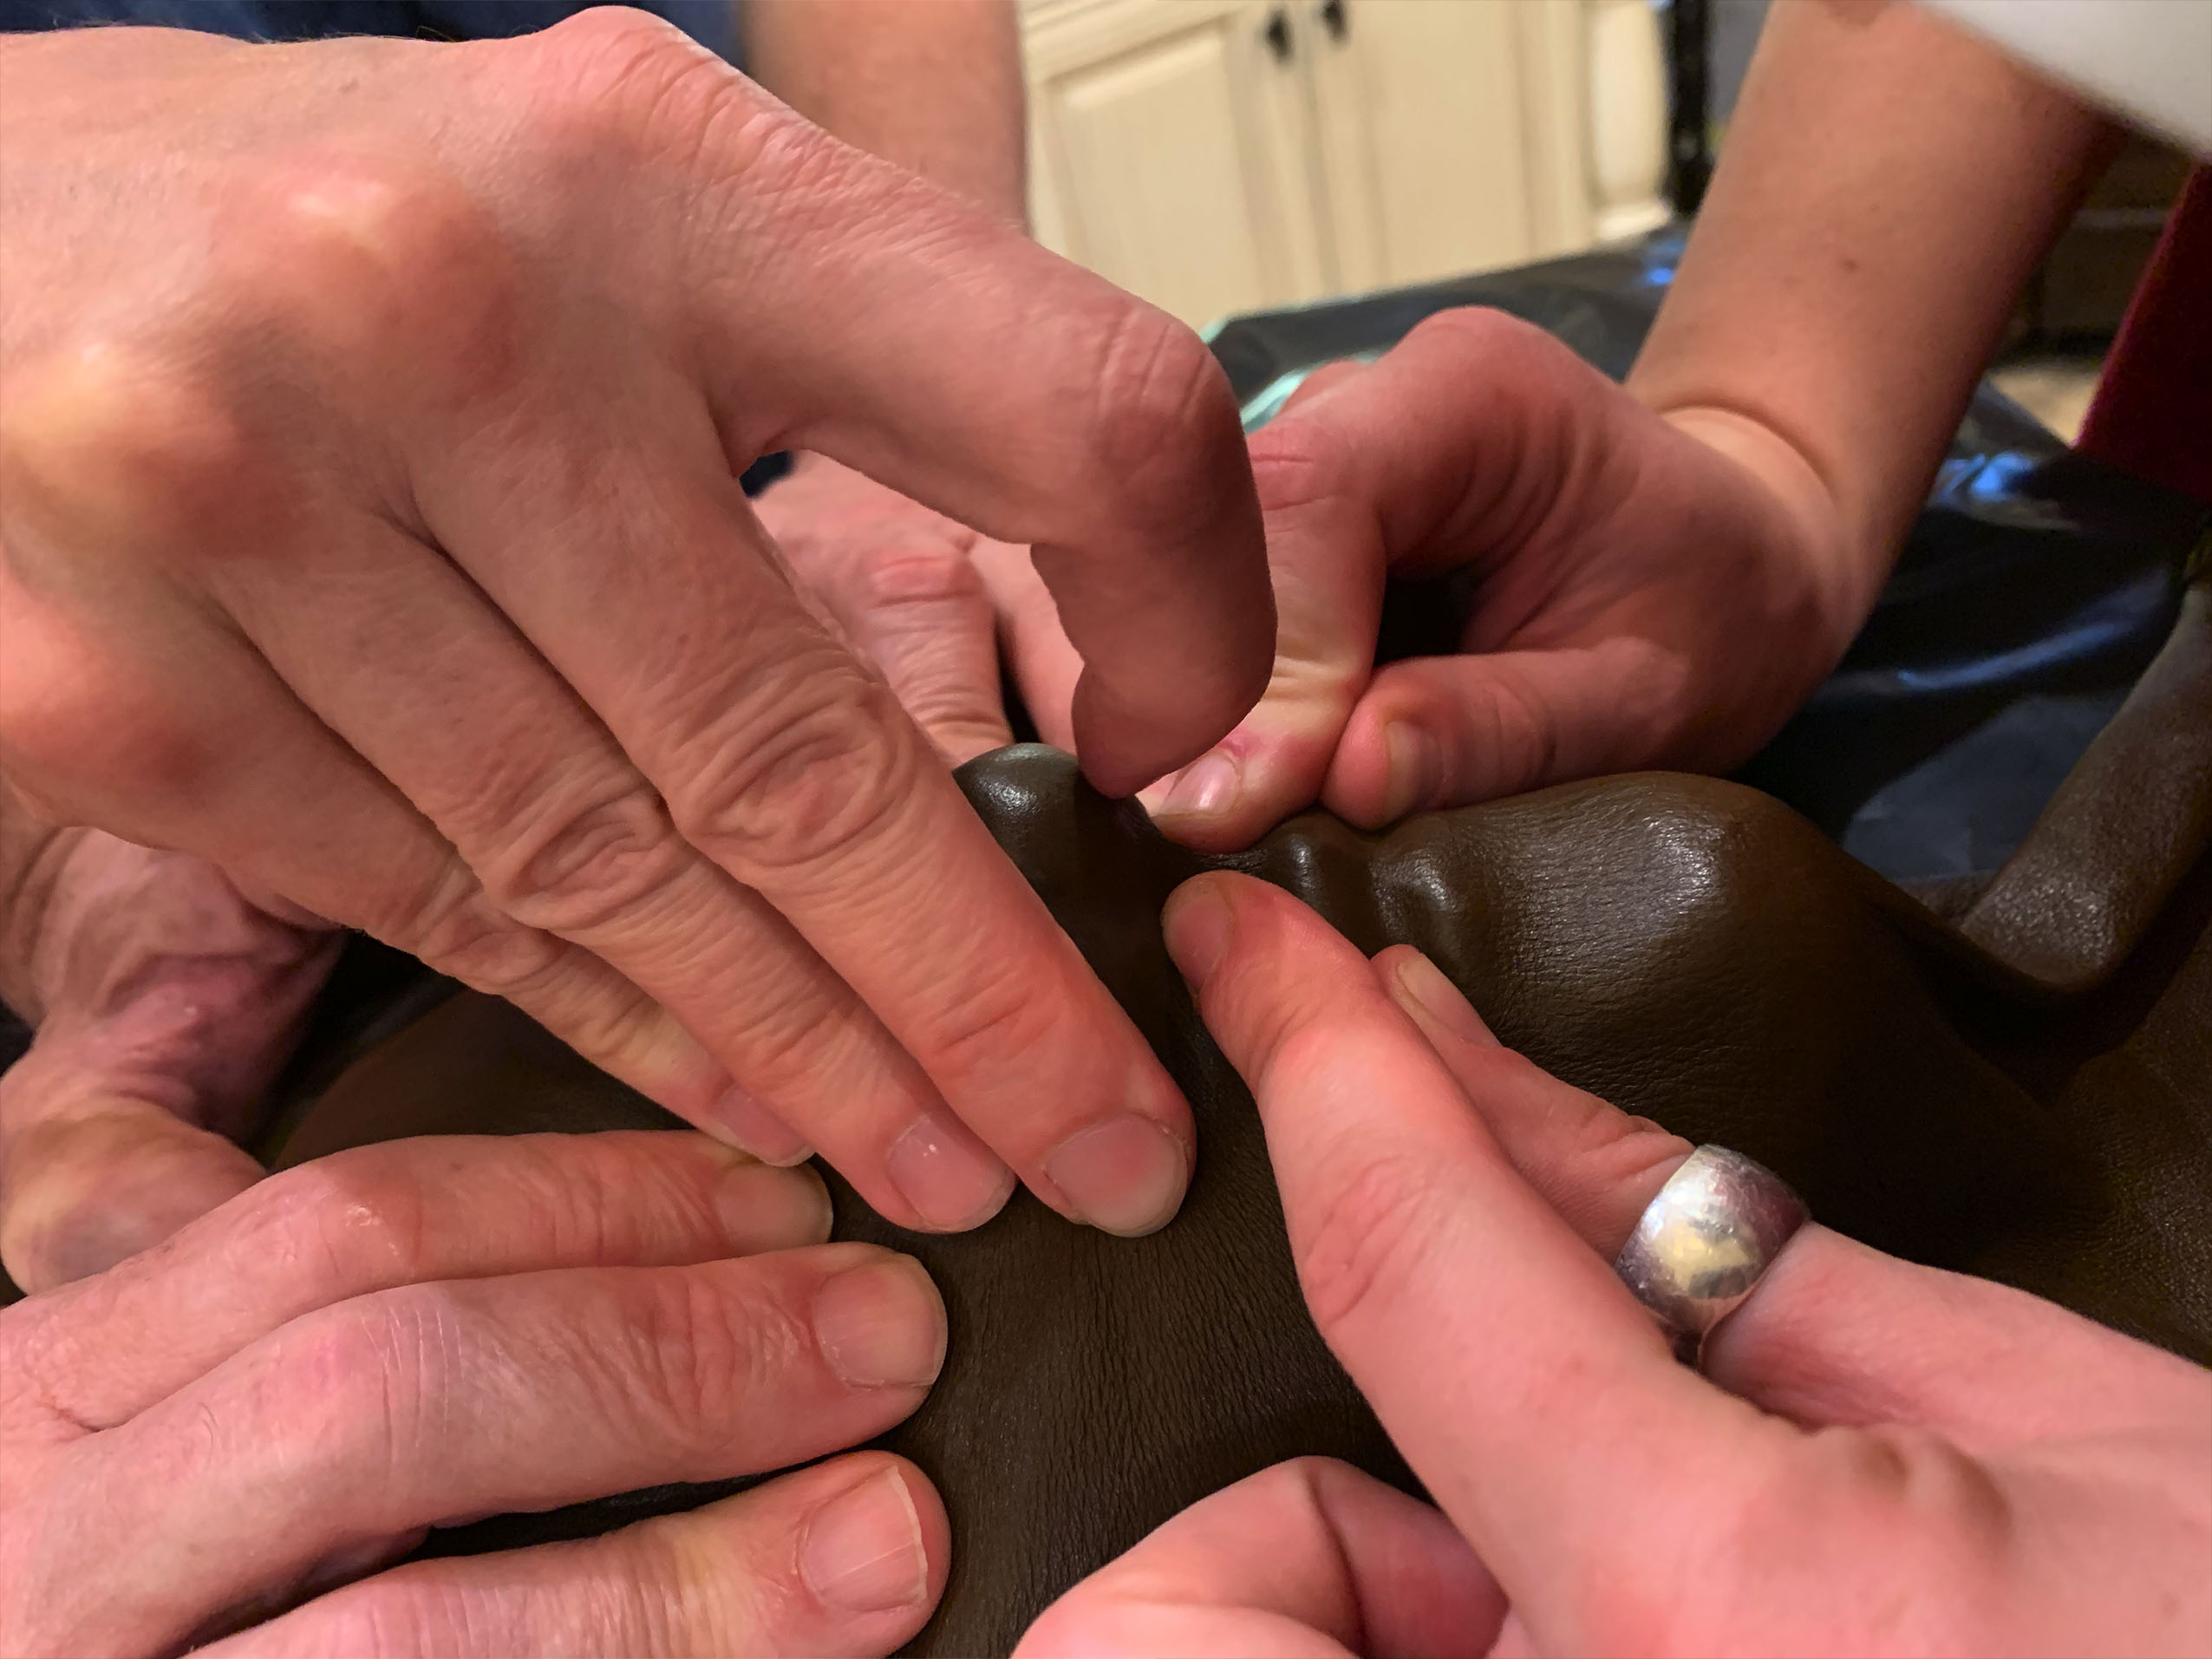
We ended up pulling and holding the leather with all of our hands on it at once, smoothing and mushing it into the right places. We blow dried it on hot while we were manipulating the leather and it started to hold the form. After 15 minutes of pulling and blow drying, the leather felt pretty stable. Once we felt confident in the form, we left a bag of rice on the face with some weighted rocks on top to maintain the form as it dried overnight. We repeated the process for the second face.
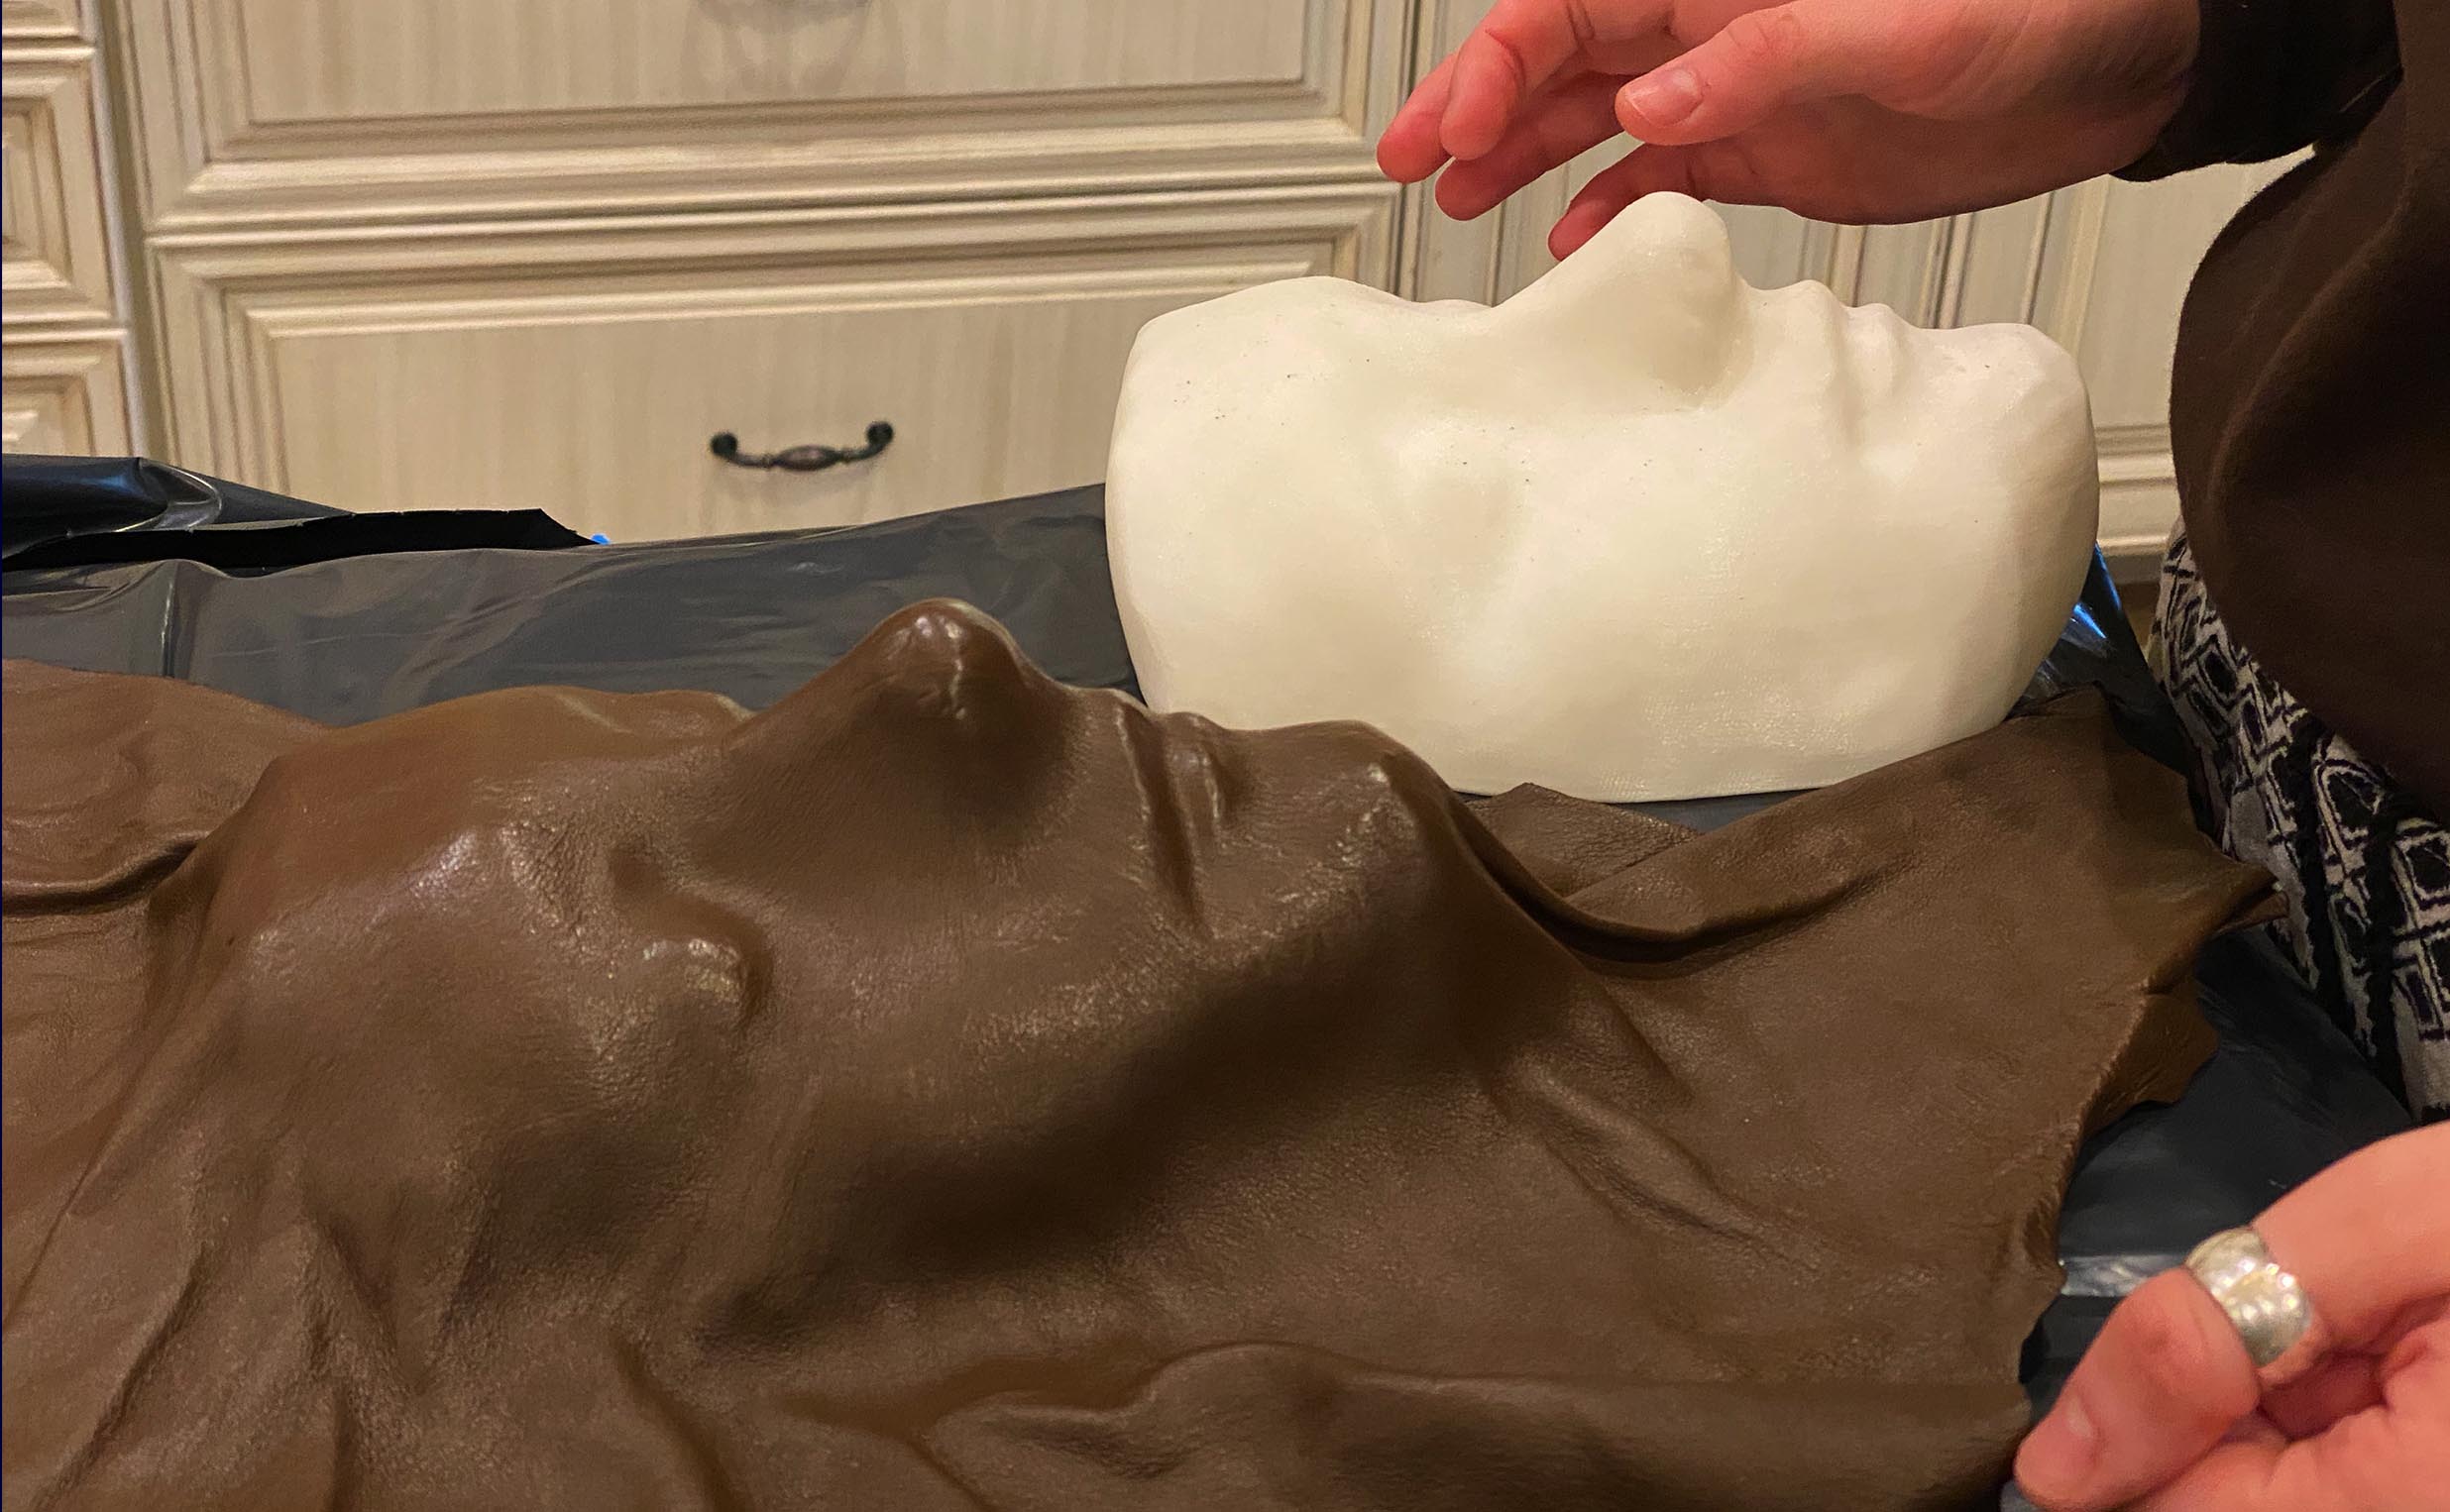
When I came back the next day, the leather looked beautiful on the form. However, when I pulled the leather off the form it barely resembled a face. The leather was too malleable and lost its form instantly. I blow dried the leather some more to heat it up and then painted on the fa-Brick onto the back hoping that would help stiffen the fabric. I massaged the leather back onto the form after painting on the fa-Brick, which now made it very difficult for the glue to dry. By now I had officially gone rogue, so decided to stick the whole project into our food dehydrator, hoping that would help the leather set.
The dehydrator was really helpful, but it started to melt the 3D print. I took the leather out of the dehydrator and painted on another layer of the fa-Brick. This time I put plastic wrap over the mold and set the leather back on the mold. I covered the mold again with the bag of rice, then a bag of rocks for weight.
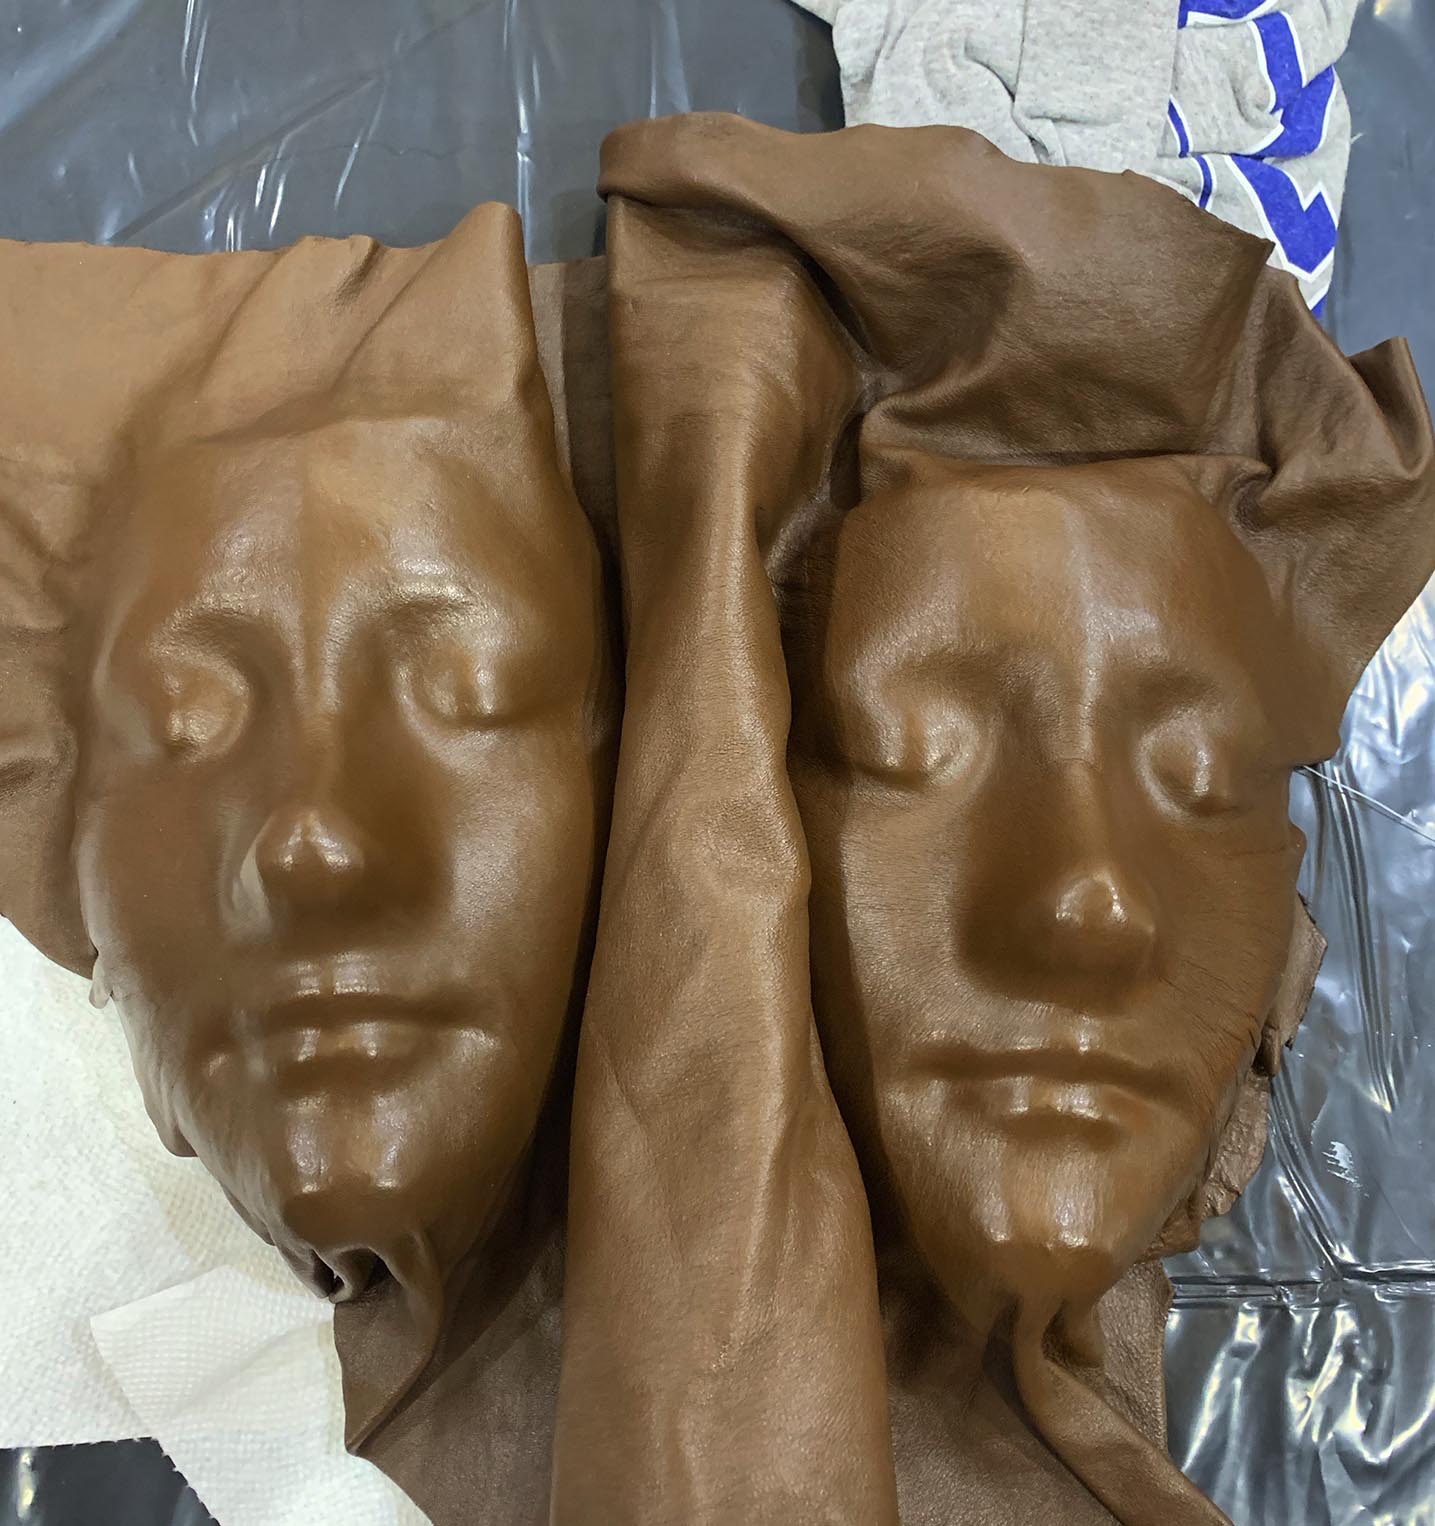
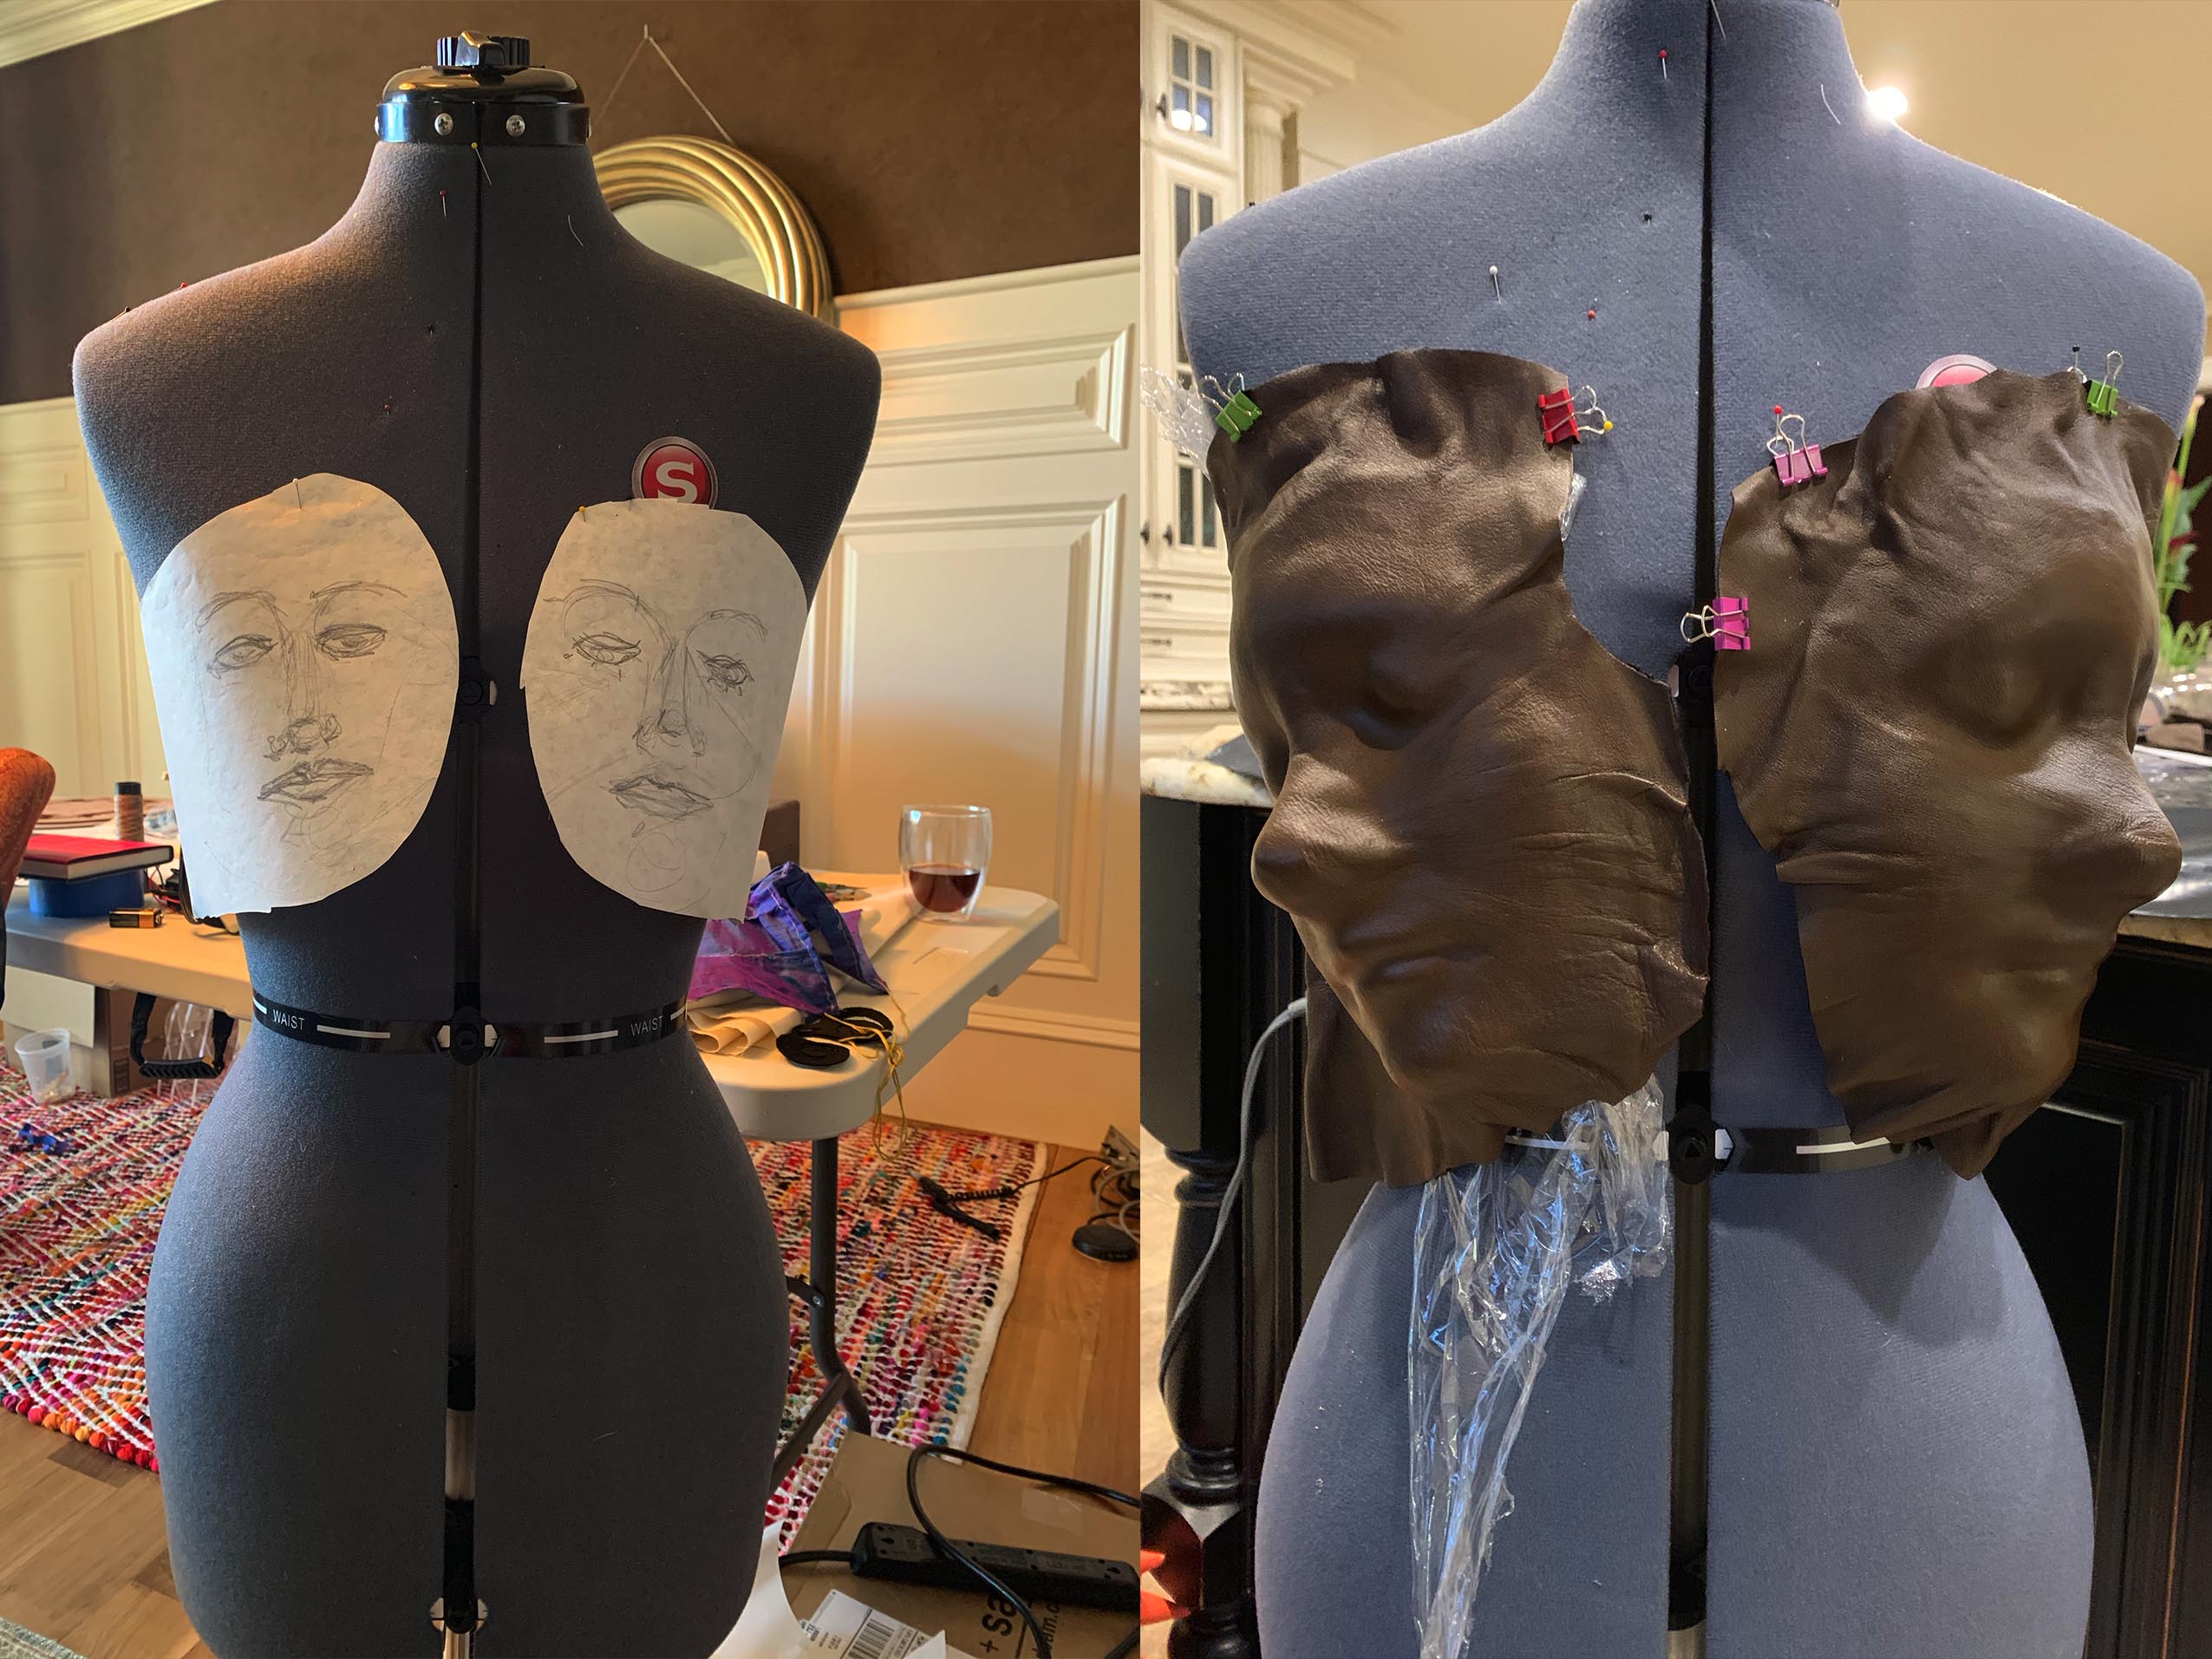
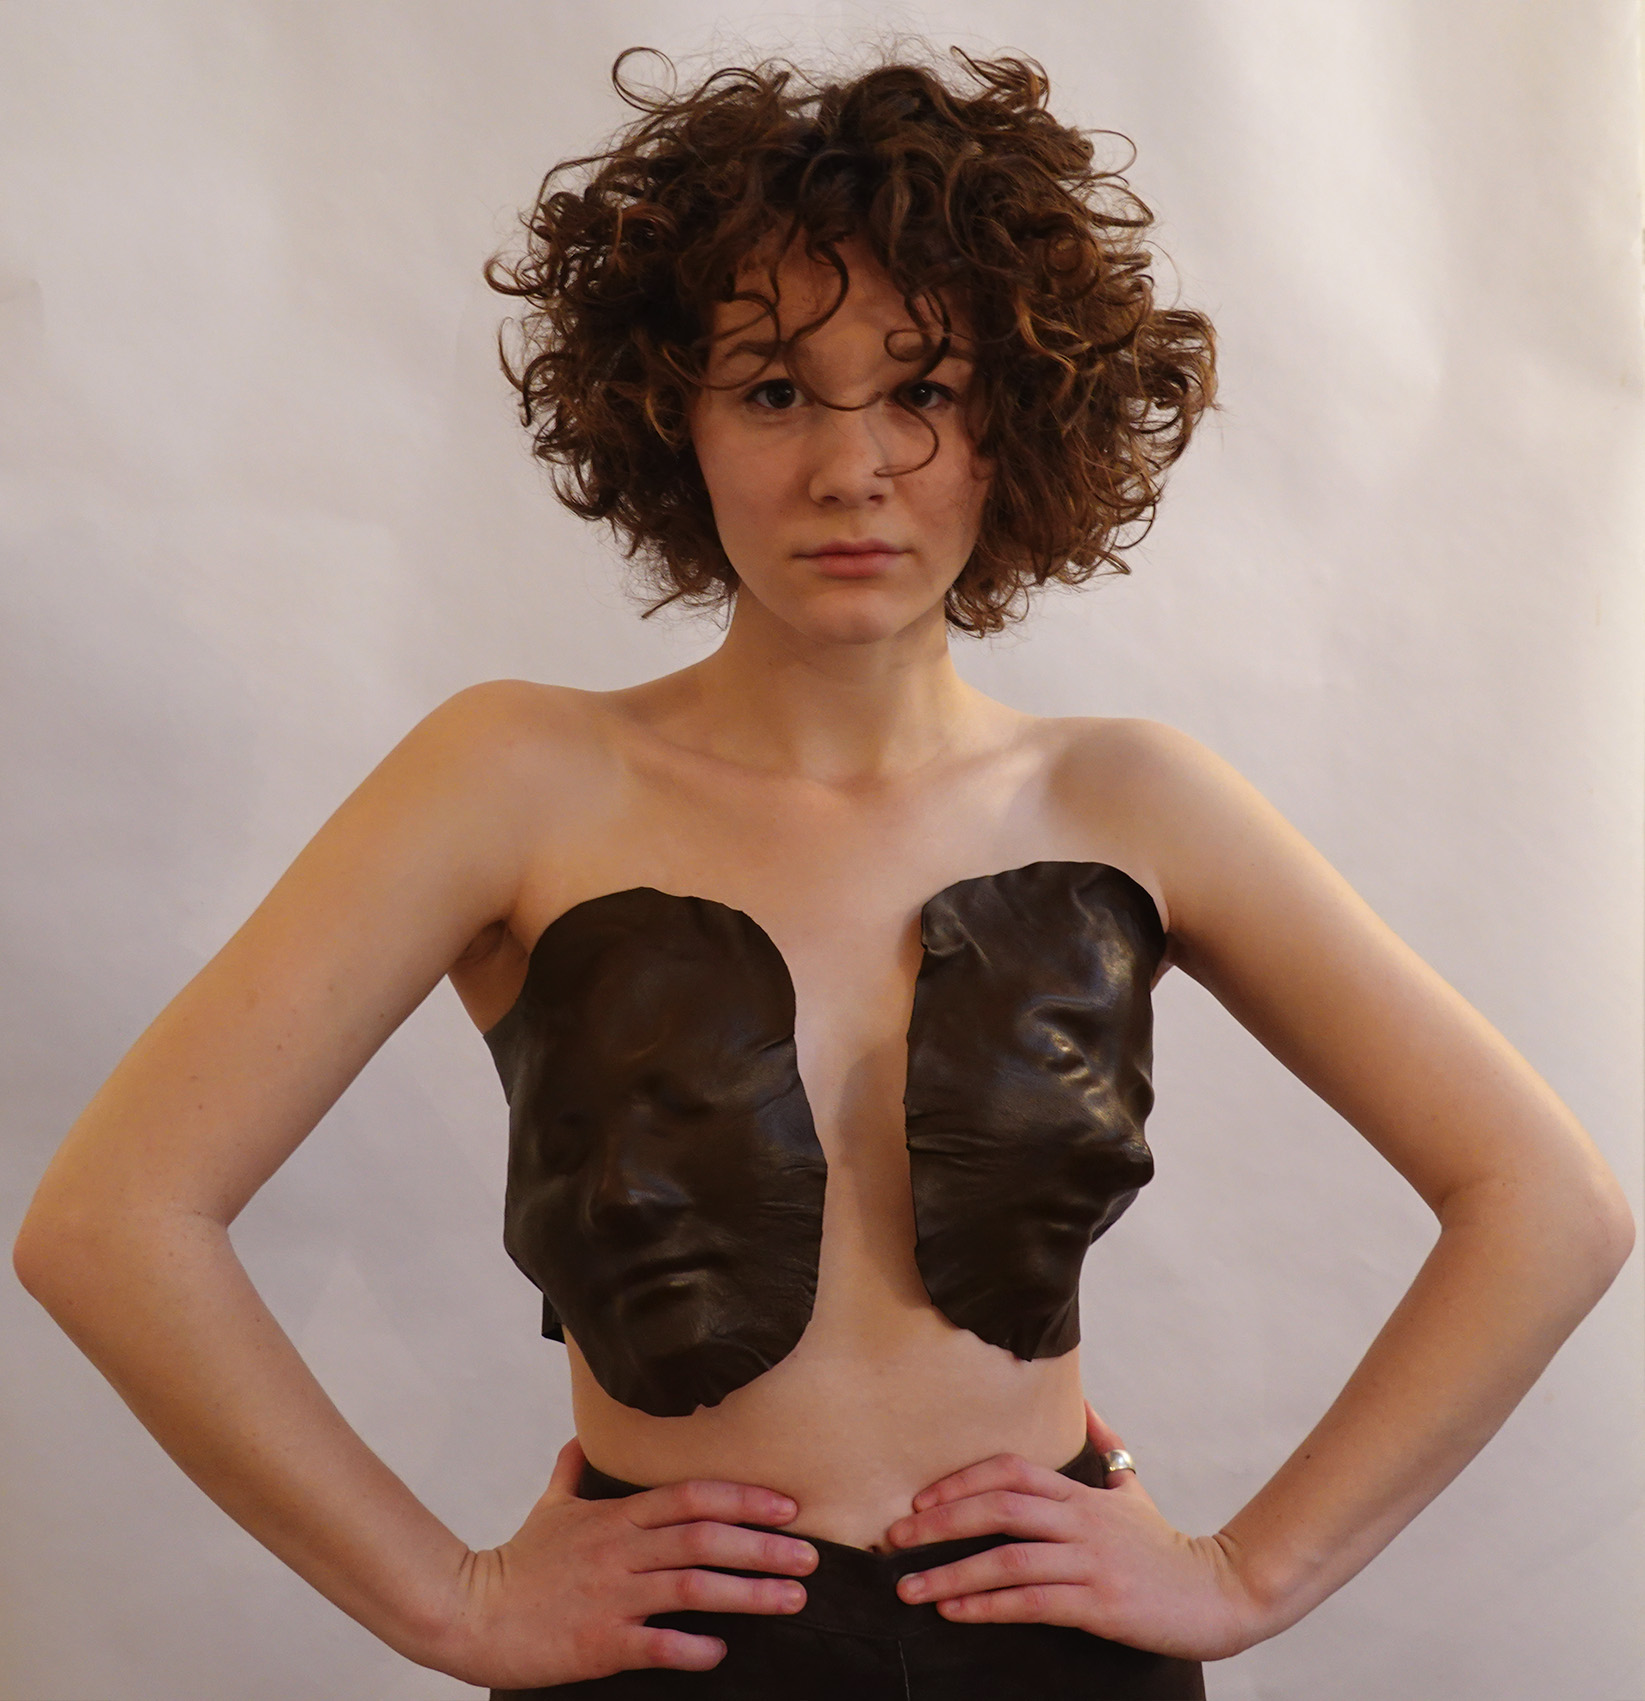
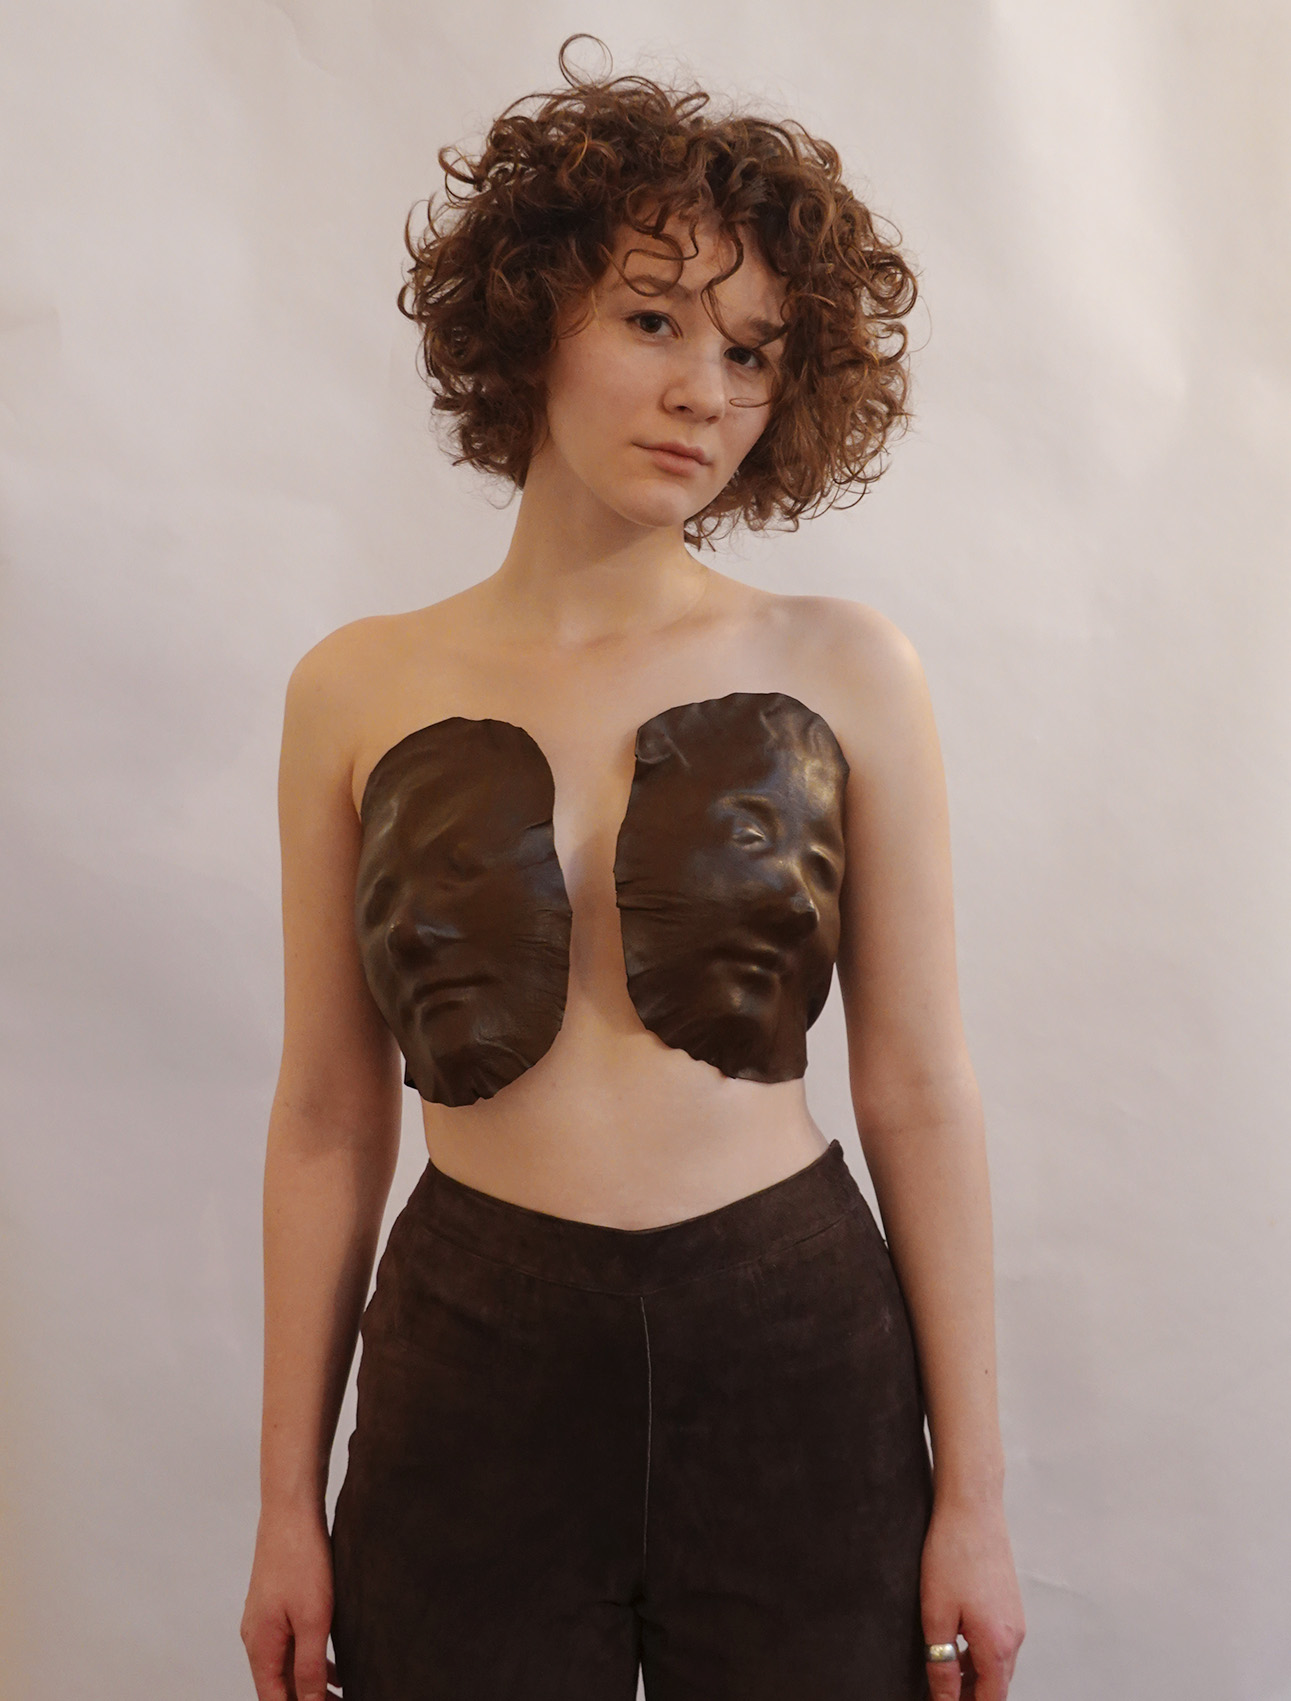
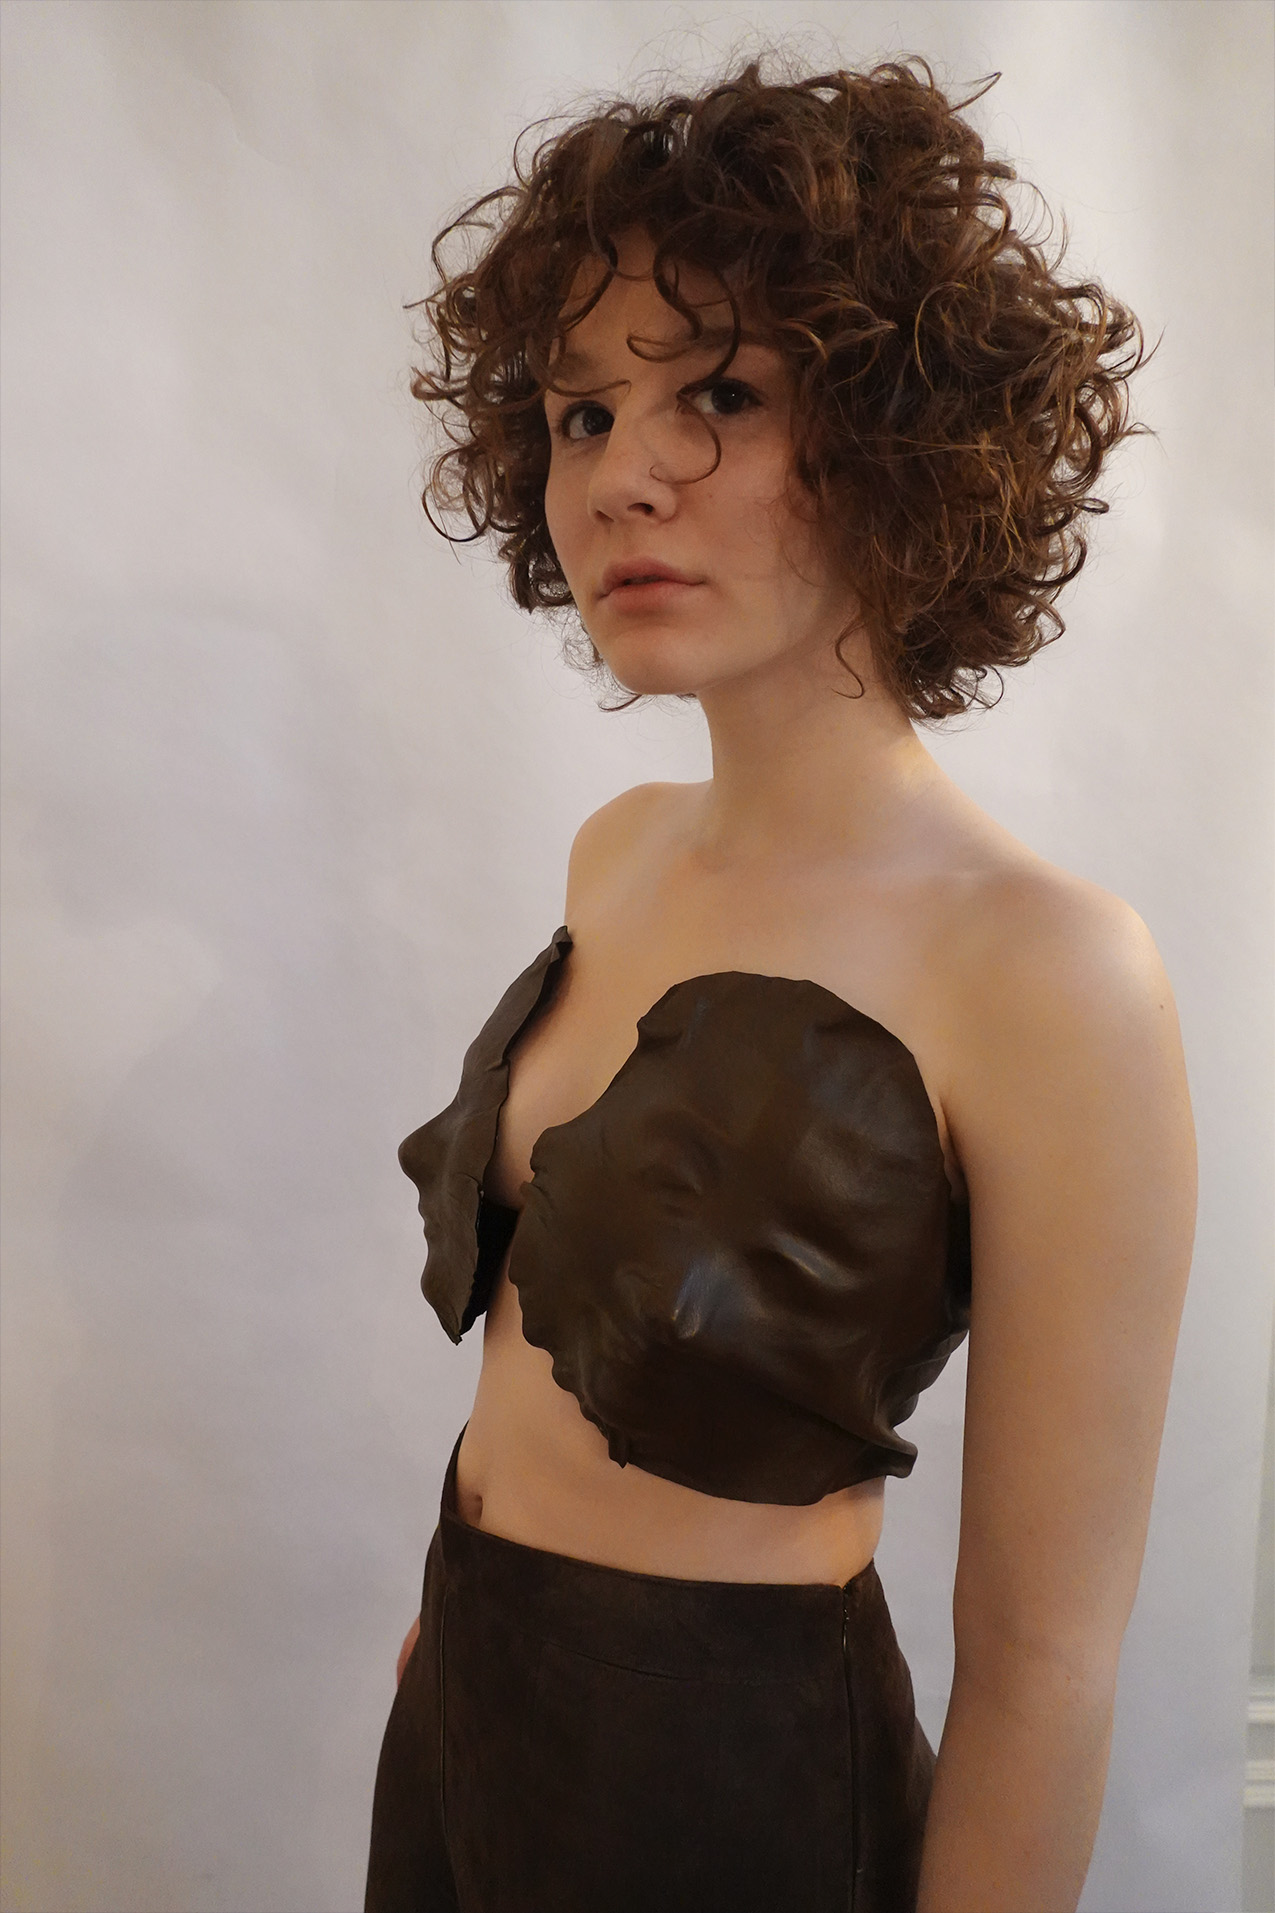
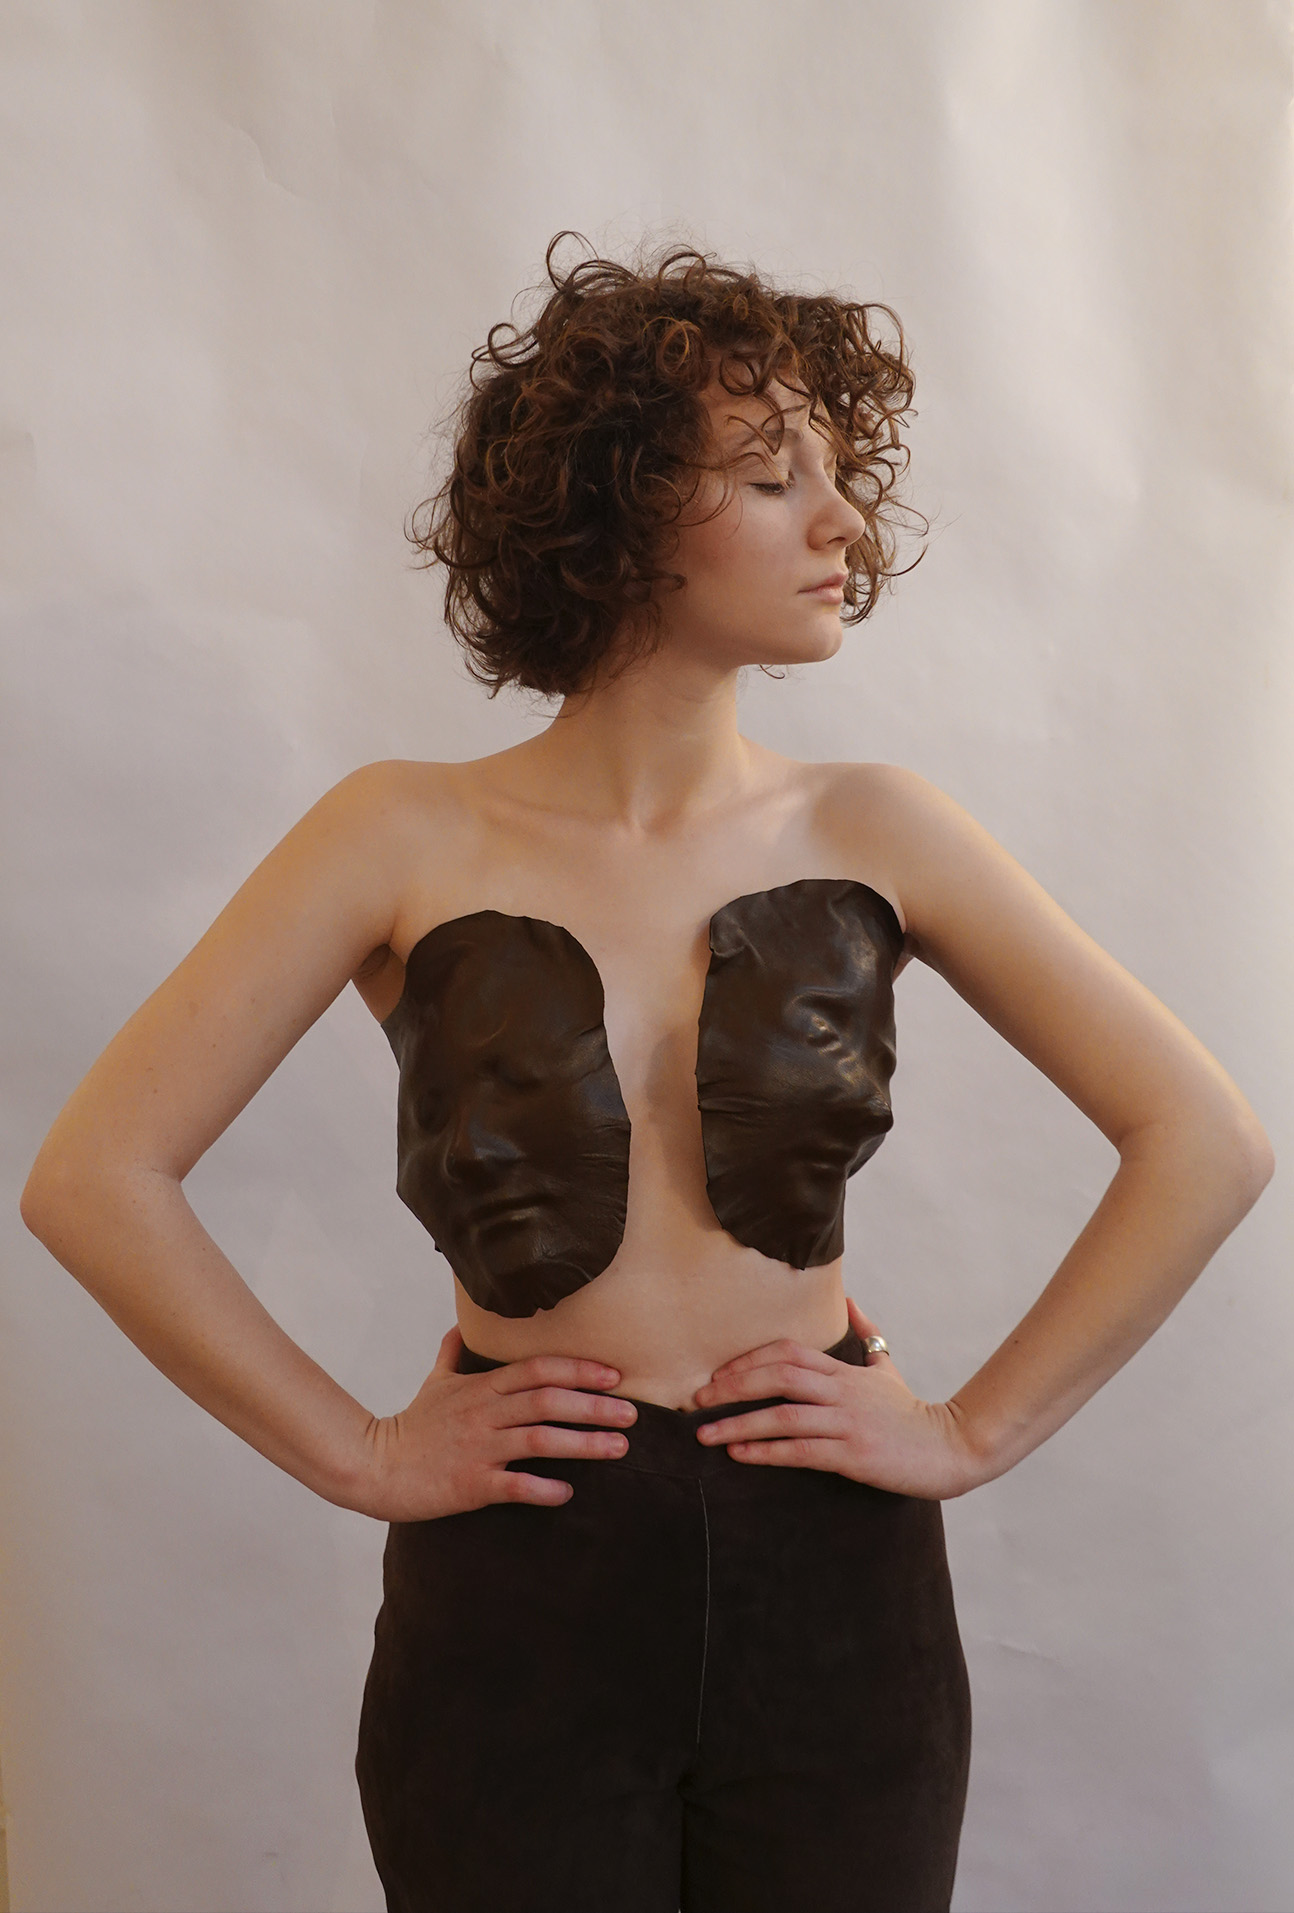
The next morning, with trepidation, I removed the bags of rice and rocks. The faces looked beautiful and held their form! What a relief! I cut the final project into shape, molding it to my body and had the quickest photo shoot of my life. By the end, the faces were already starting to soften. I have since painted them with another layer of fa-Brick and have them drying under rice once again. I am confident that this will stiffen them enough to be sturdy and reusable. I the end, I am very pleased with the result.
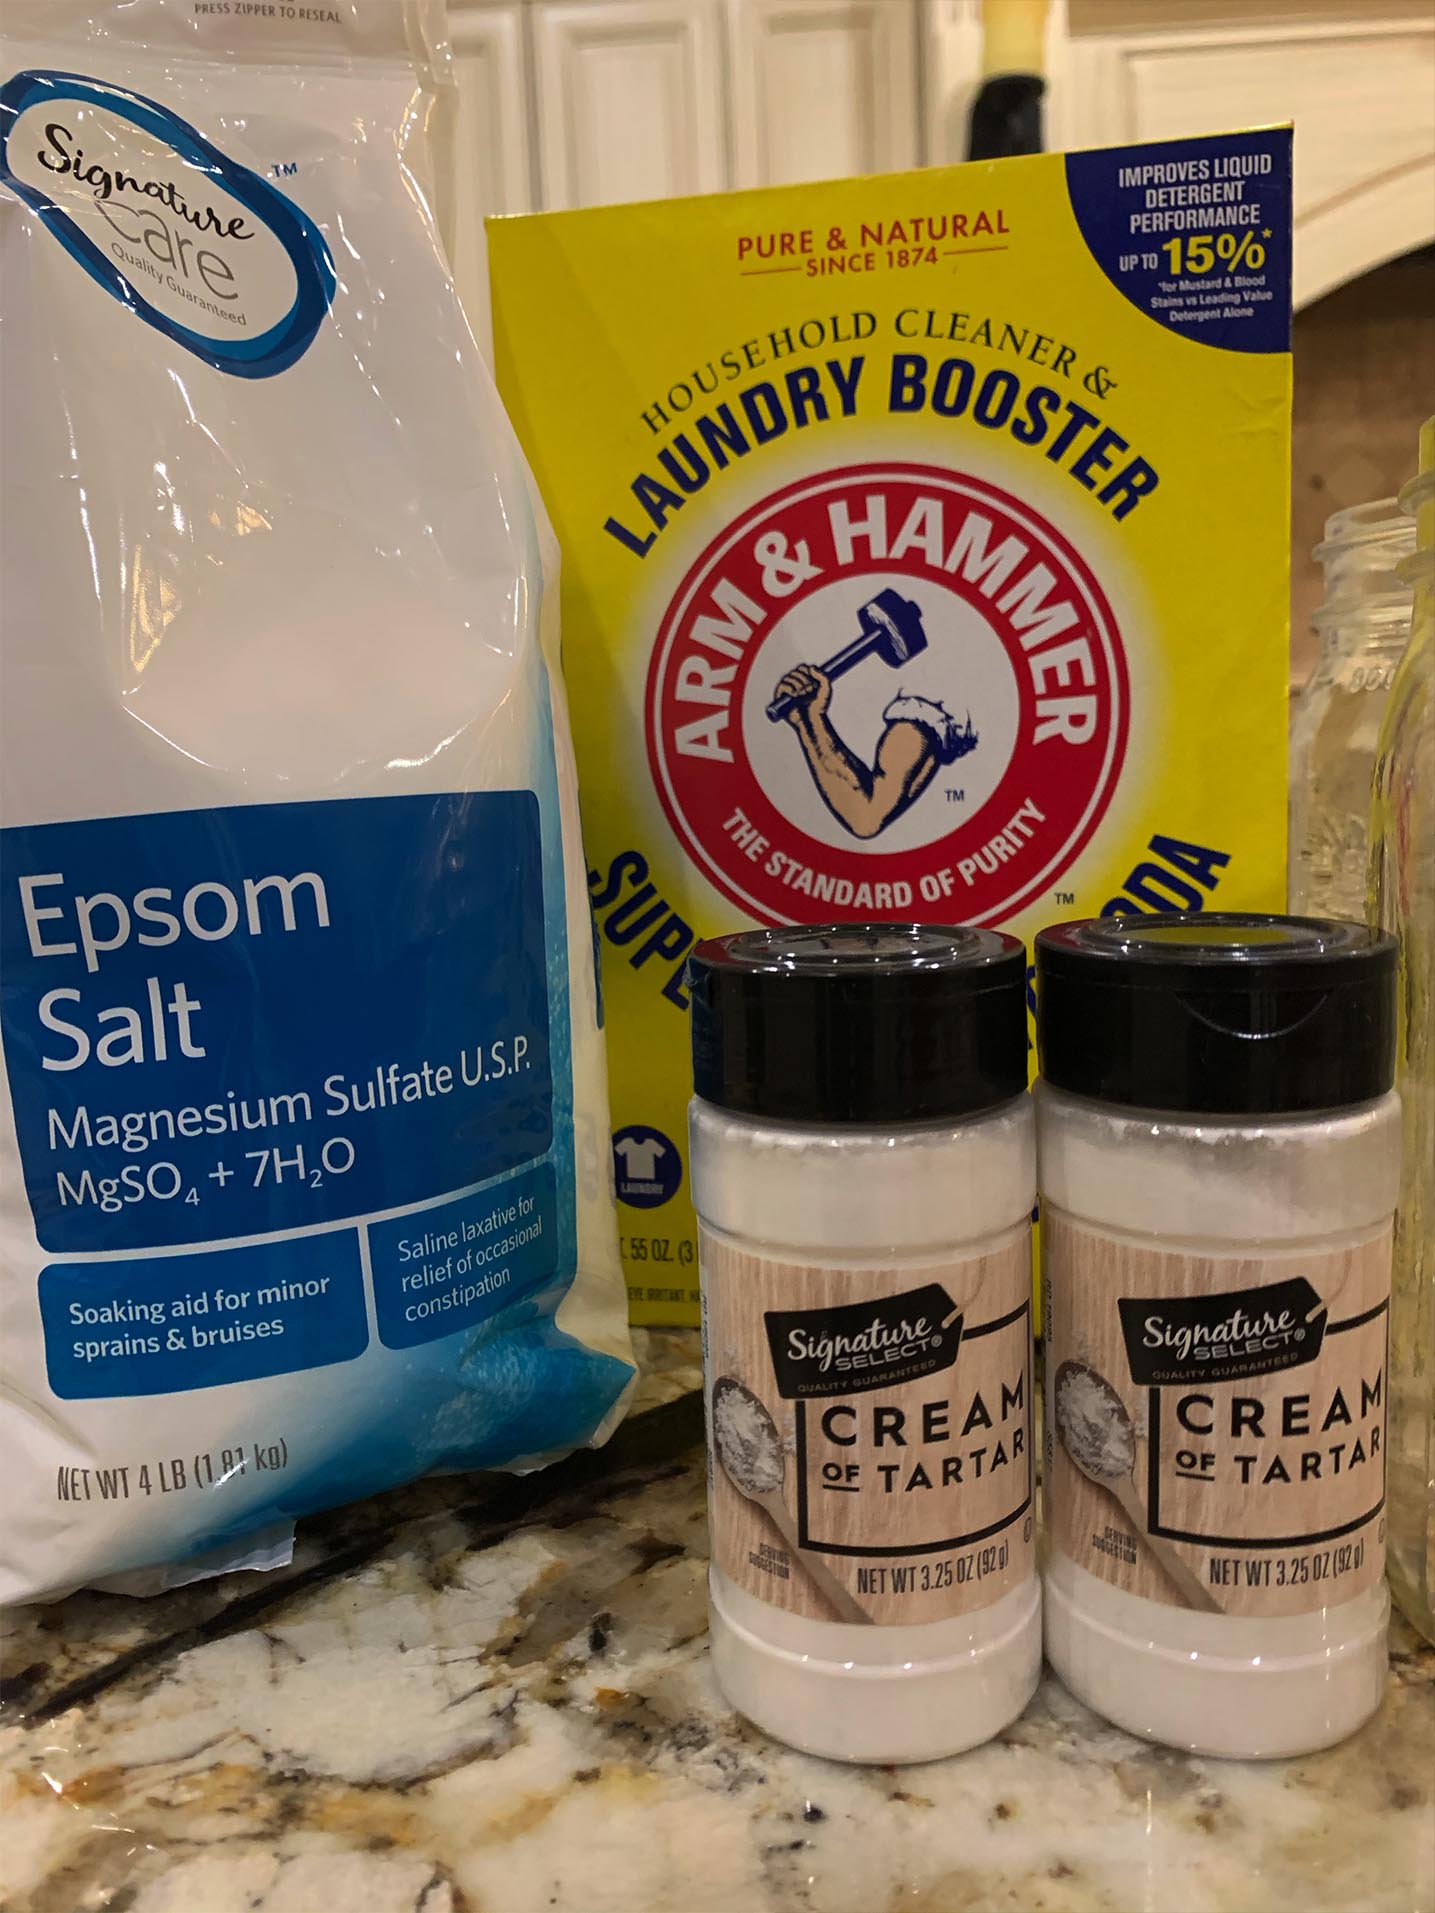

As an aside, I also began growing some crystals this week. I grew Epson salt crystals, sugar crystals, table salt crystals, piezoelectric crystals, and a sugar crystal with 2 tsp of conductive paint added to it. I started the crystals just a few days ago so I haven’t seen much progress yet, but hopefully by next week I will have some gems.
Final