4. BioChromes
Research
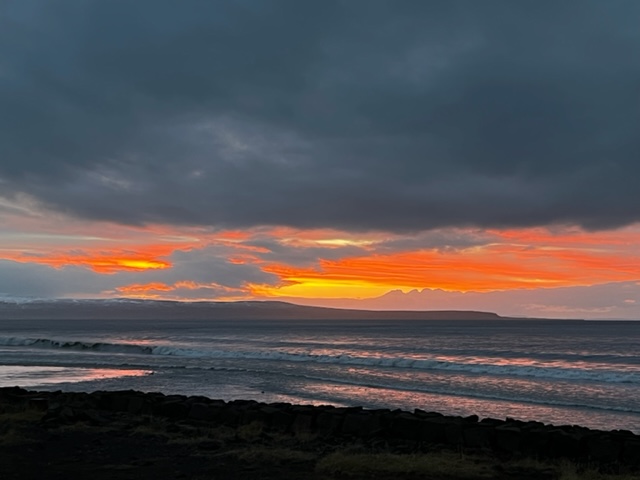
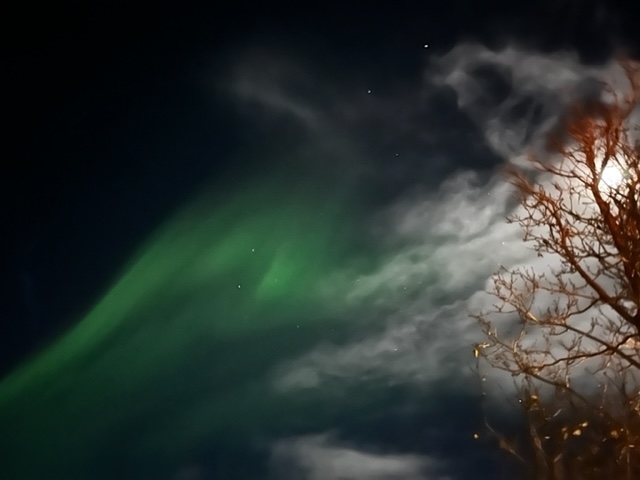
This week was all about nature and colors.
This week I found wonderful colors in nature in Blönduòs.
It was the first time that I dyed textiles by myself. I was also amazed that I never thought about why the chemistry of the colors isn't on my clothes labels? I'm also quite sensitive to the taste of badly dyed (cheap) clothes - for me the taste when entering an H&M Store is very deterrent.
References & Inspiration
Because it is already winter in Iceland, Margeret and Louise have collected plants earlier. But we also found mushrooms that Alice is trying to work on. I was wondering if you could also dye with lava salt?
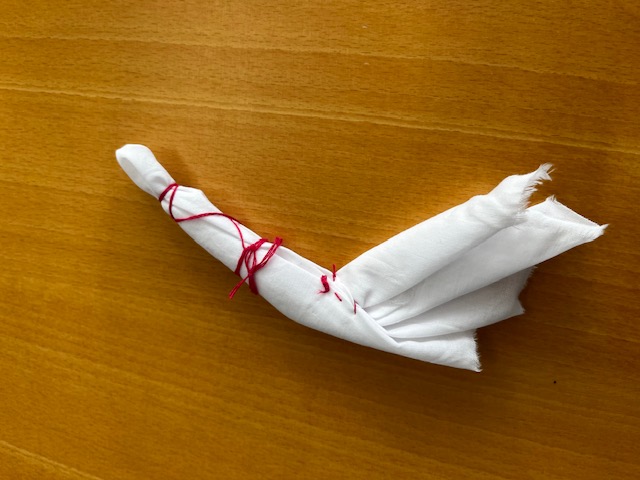
I did some research in Shibori and I really liked the video from honestlywtf.com
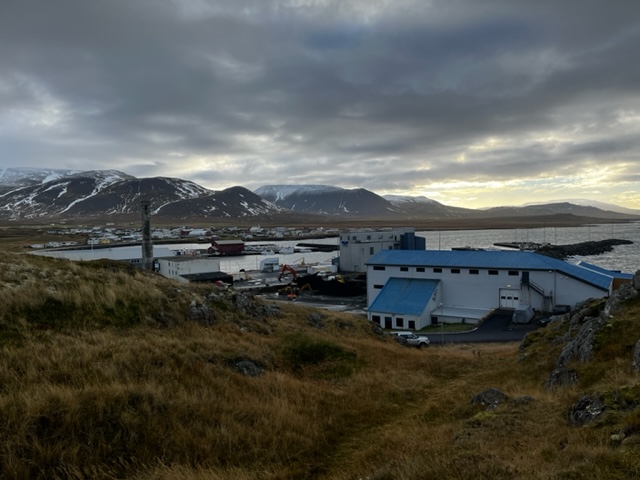
We was driving to the Labor Biopol in Skagaströnd
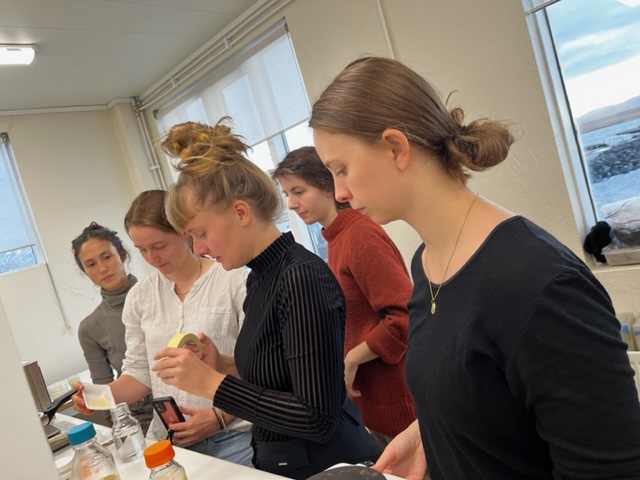
We learnd how to strealize the Bacteria, and later in our Lab how to transfer them to the petri dishes. Our Bacteria called : janthinobacterium lividum
I found also in Linz(Austria) a amazing instresting Institut who is focus on dying and researching about the bacterias. Here is the link
I am fascinated that colors or fabric can grow. I can imagine potential in it.
- Image reference
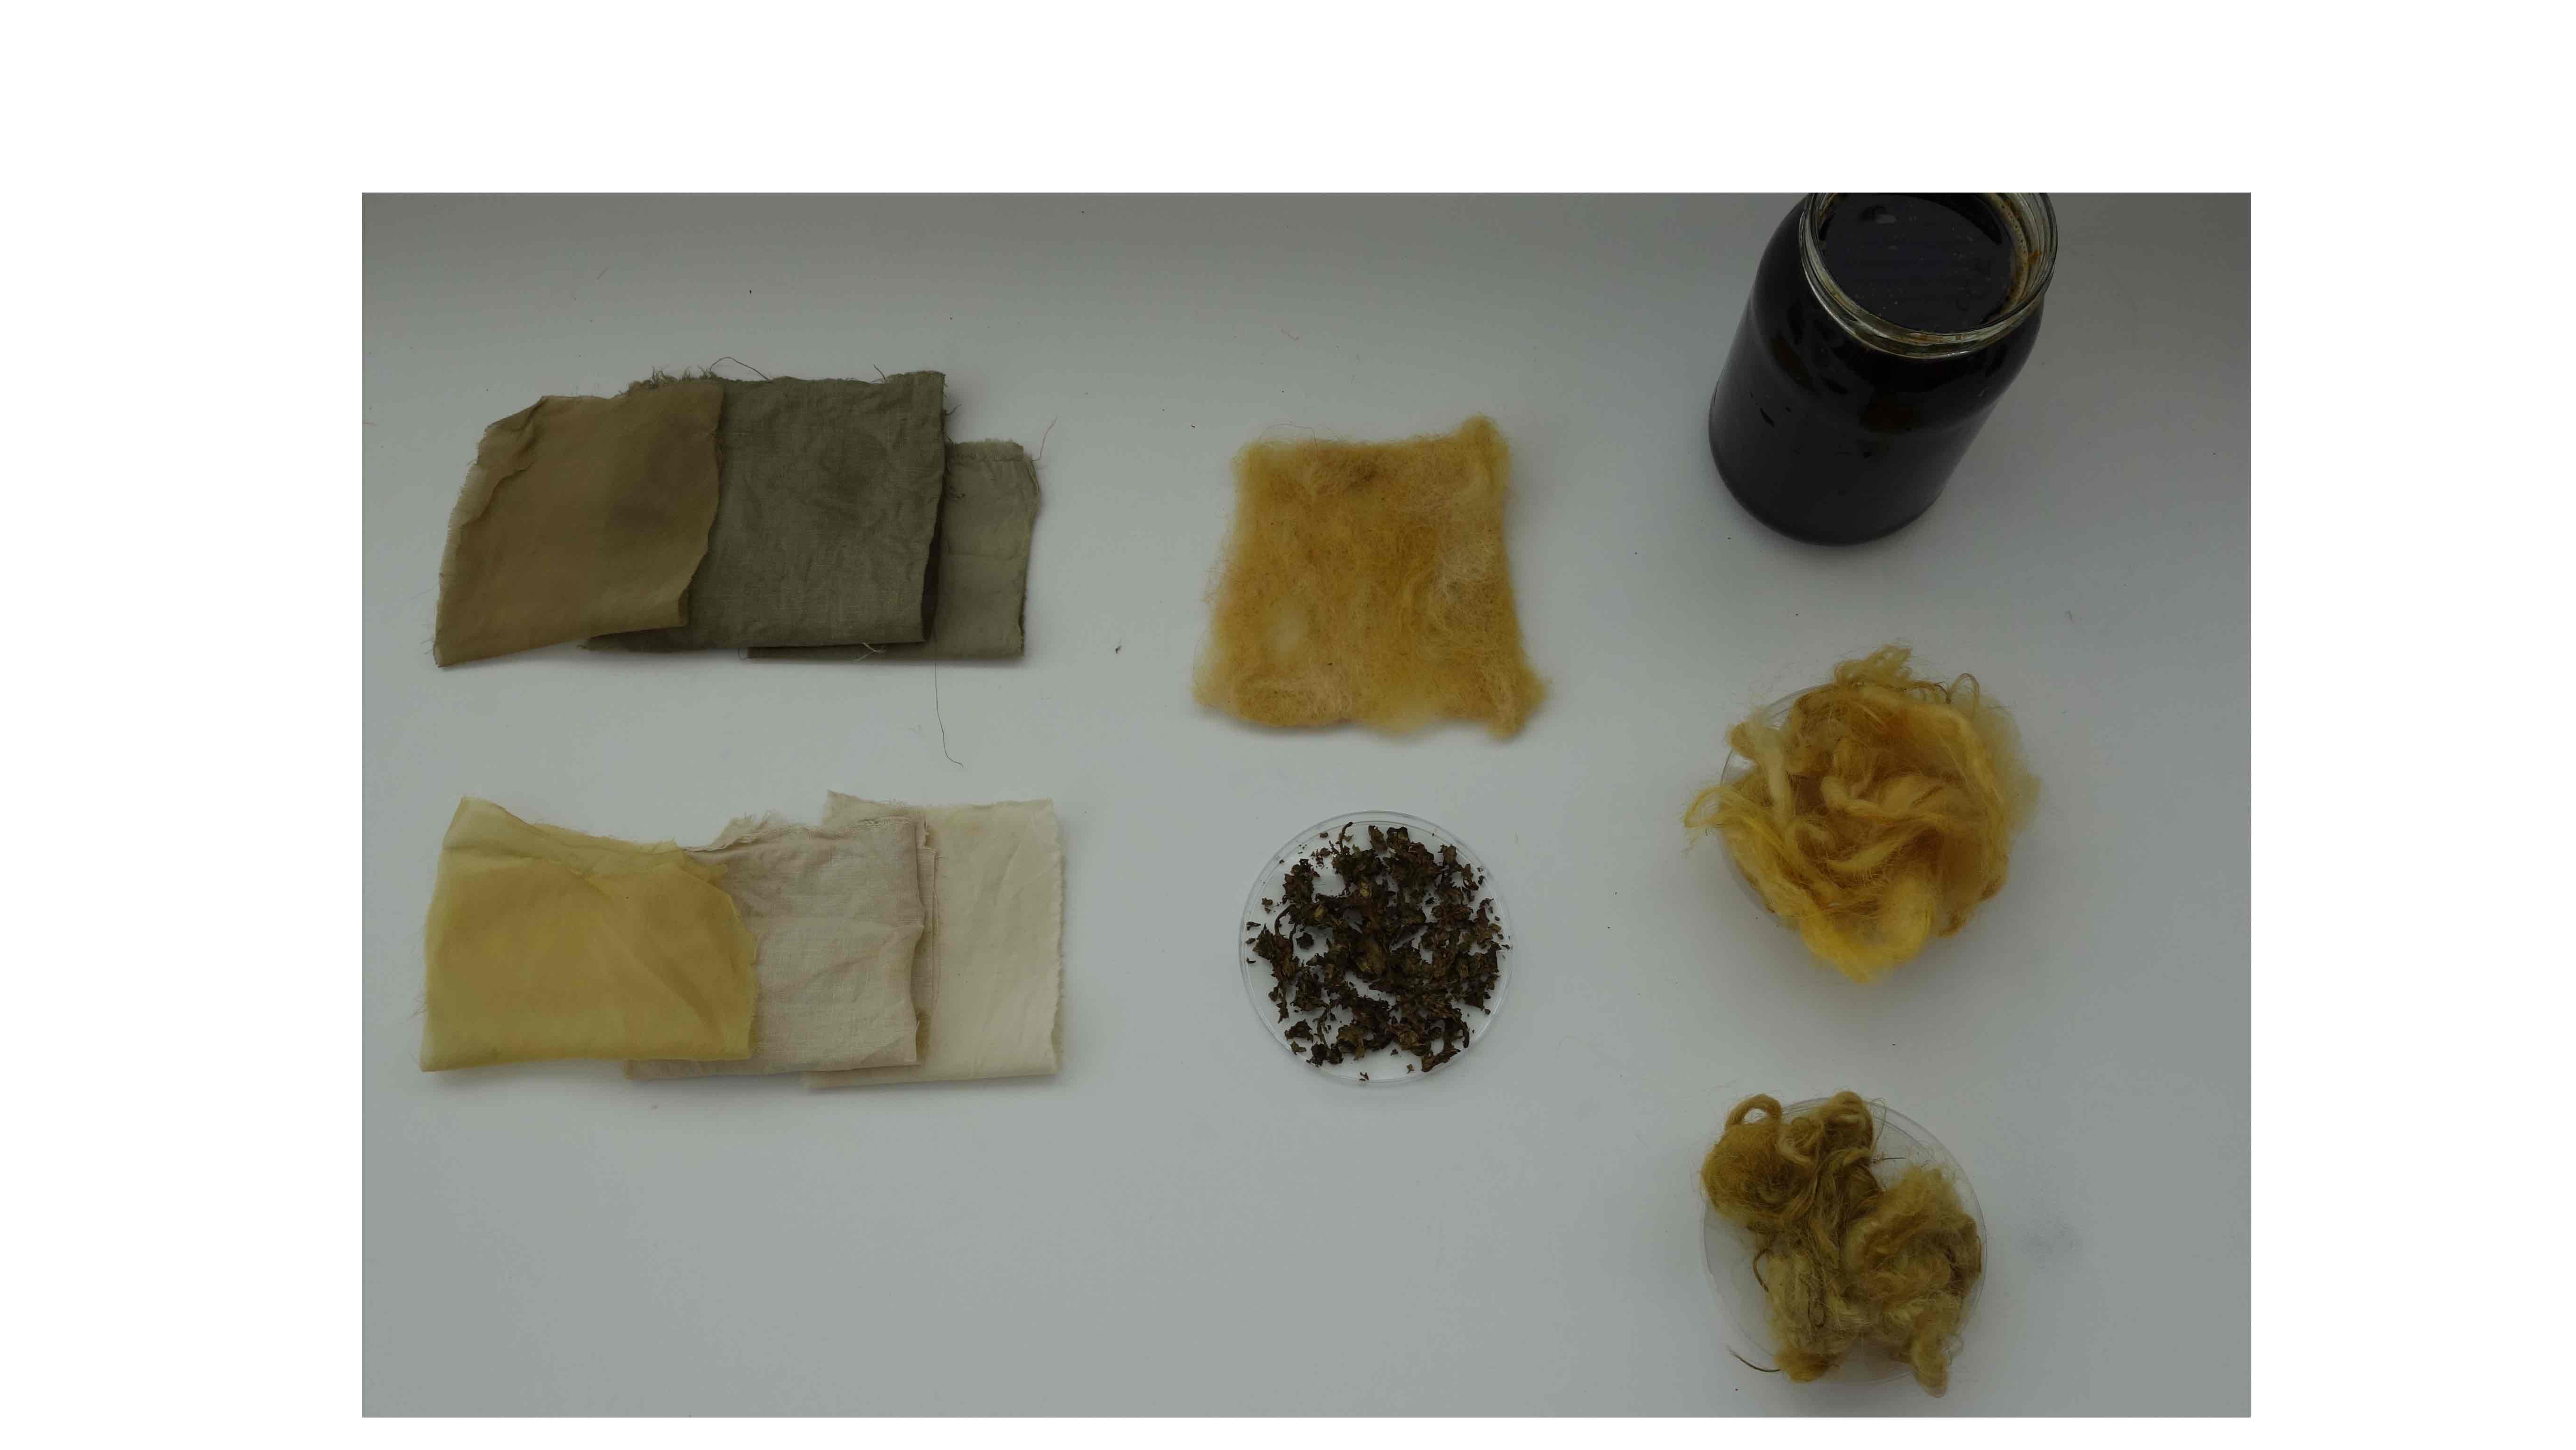
Natural dyeing
For me the process was a bit difficult because I'm the only one in the group who has never hand dyed. So things progressed quite quickly and I often didn't understand the technical terms in english and then translated them into a native language and also didn't understand. I did further research on wikipedia to understand the process. So I wasn't mostly on the same level as my dear fellow students, but I really enjoyed the beautiful strong and soft colors we created.
Tools for natural dyeing
- dry plants
- pots, jars
Process and workflow natural dyeing
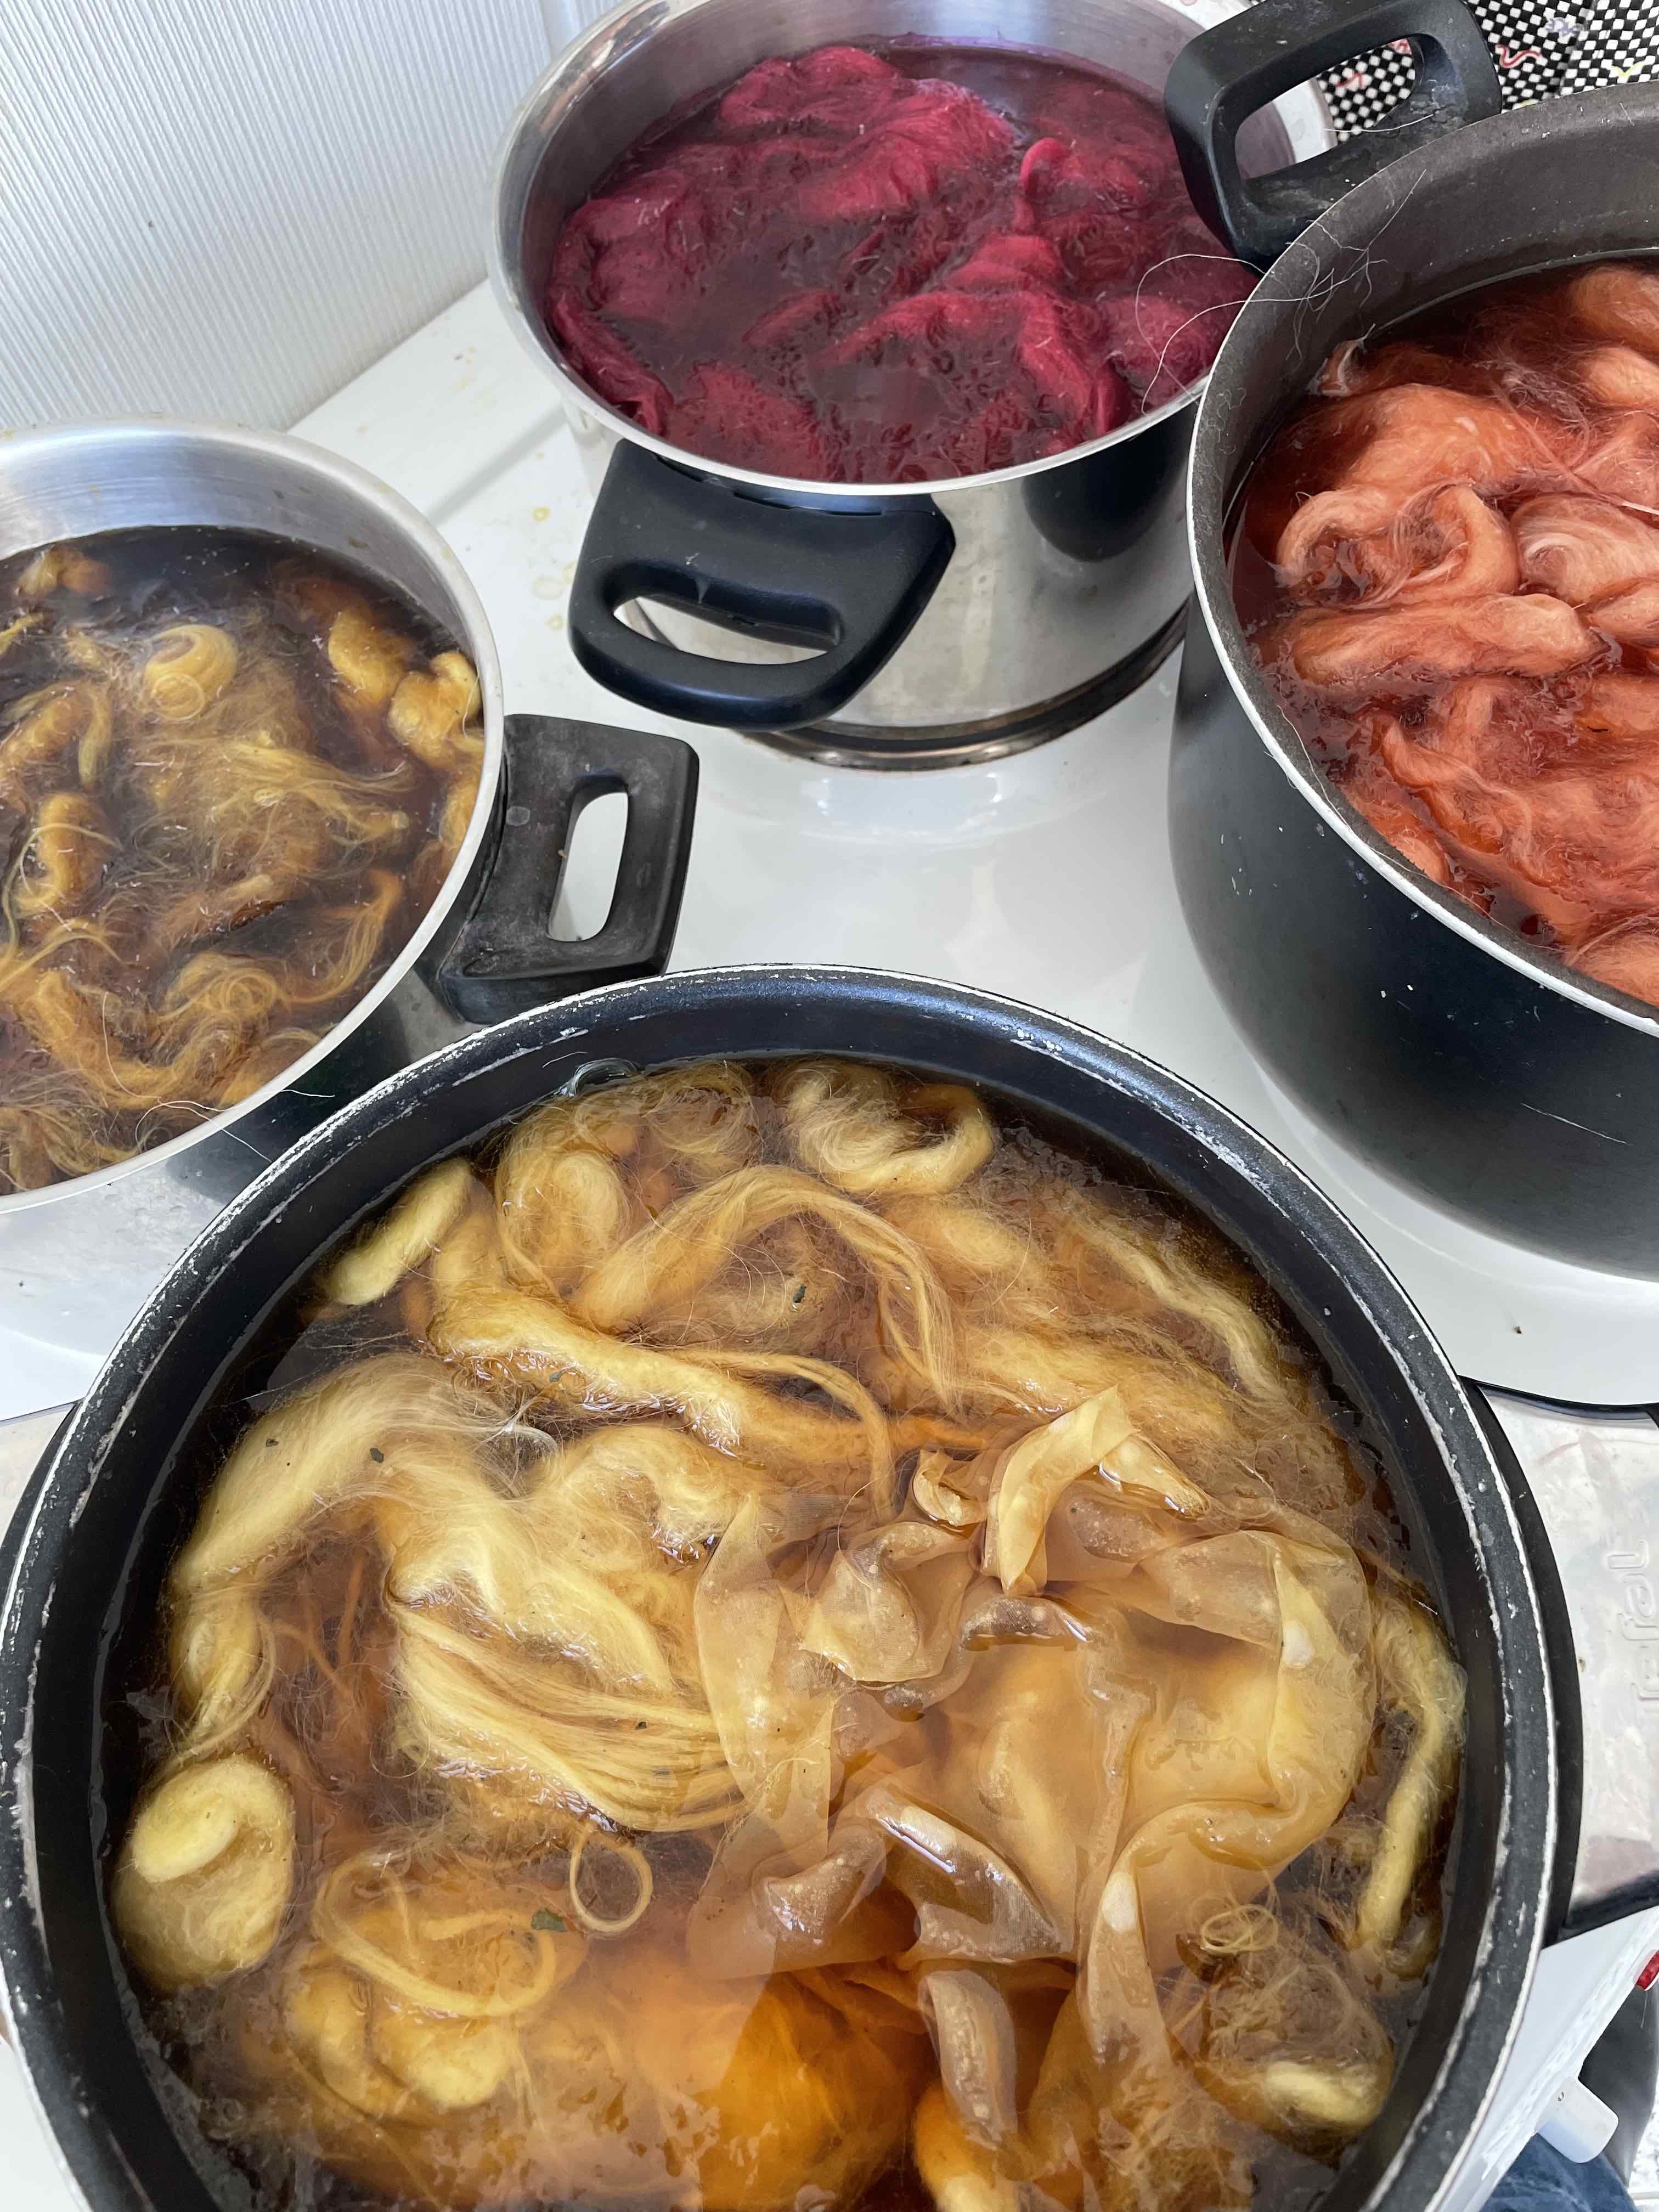
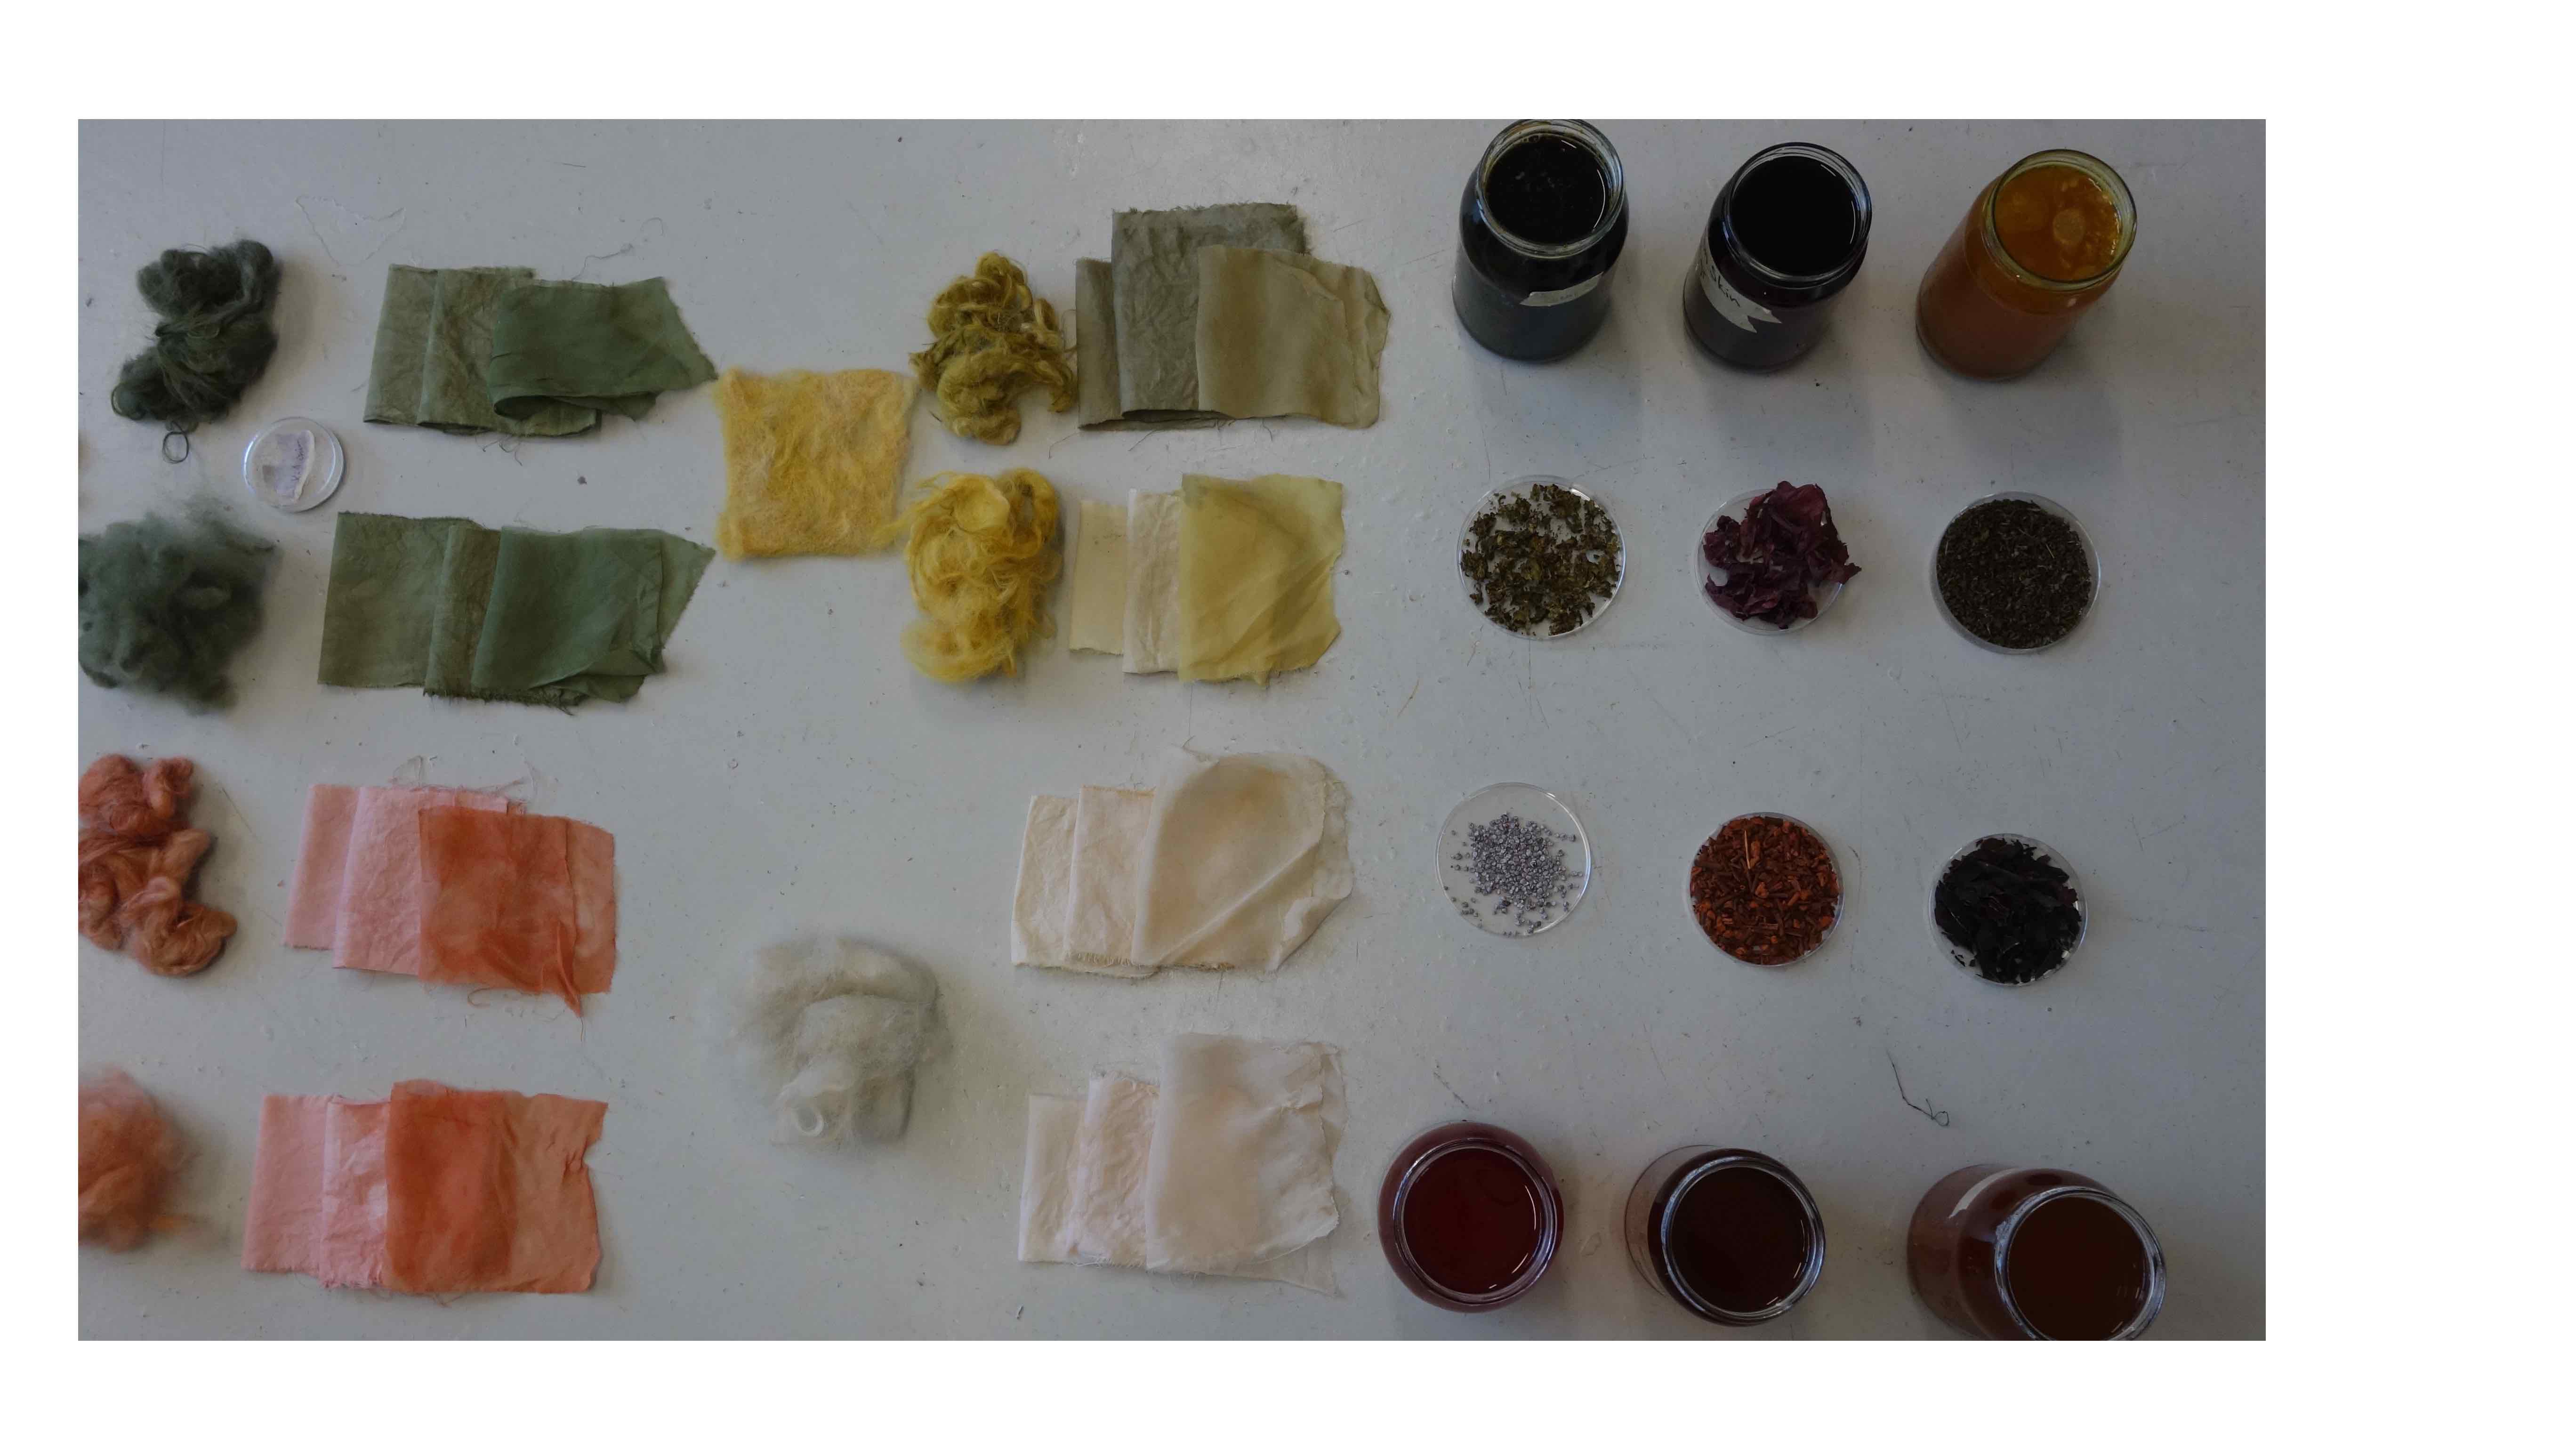
We was dying with:
- Madder roots
- Rubaber leaves
- Lupins
- Cochoniel
- Onion
- Seaweed
We made examples with:
- Wool
- Silk
- Cotton
- Linen
Step 1 Scouring for cleaning and prepear the textile we used Soda Ash 2% WOF (WOF ist the shorcut for weight of textile / fiber )
we had 810g wool & 16,2 g soda ash
you ad water that the fiber are fuel into and can move for at least 1 h
Step 2 Mordanting the textile for open the fiber that the color can go in I had to add mordant, we use alum . For the alum we take 12% of the weight of the dry textile
we had 810 g wool & 97,2g alum
you ad water that the fiber are fuel into and can move for at least 1 h take care with the wool, that isn't cooking to hot, and also massage the fiber careful that the wool don't felt.
Step 3 We cook the dryplants in water, it's depent of the plant how long you cook this, and if you do it longer, the color get moren intense. After the palnt water pot is cool down, we take the plants out, and sift the colorwater, heat it again up and
Step 4 We put the fiber in the colorfuel plant pot and heat a little bit up, again take care with wool about the heat.
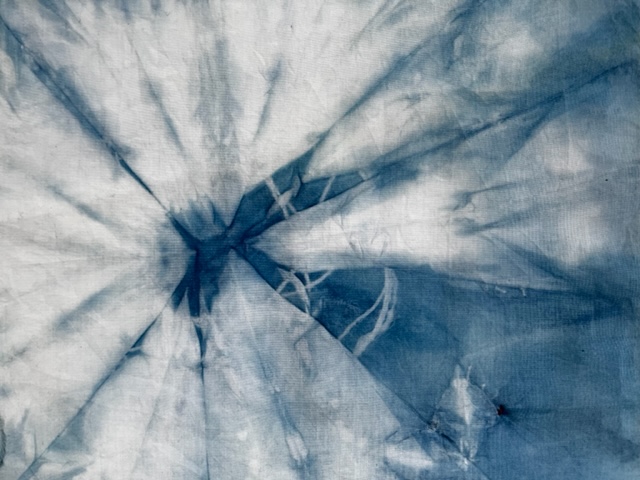
Indigo dyeing
Indigo VAT (fructose) 1:2:3 pH arround 10 (alkaline)
- 1 Indigo
- 2 Calcium Hydroxide
- 3 Fructose
Tools for Indigo
- Indigo
- Calx, Lime, Calcium Hydoxide
- Fructose
- Vinegar
- Pot
- Water
Process and workflow Indigo
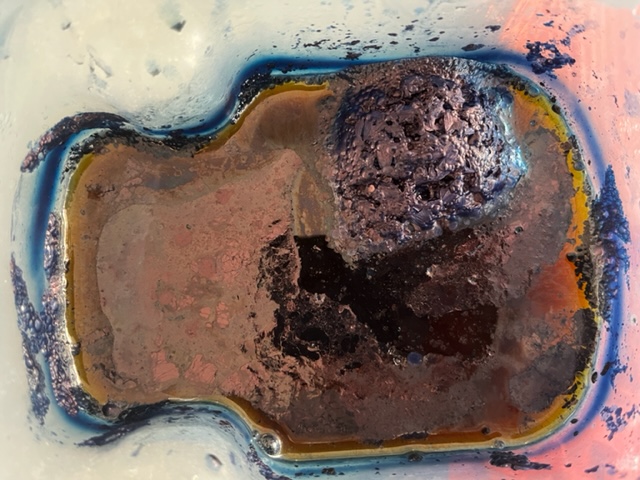
Its good to work with mask and gloves when you do indigo. we make a paste with the indigo powder and a little bit of hot water. We work with hot water from 40 to 60 C you have to work on the same temperature that the process work. First we put the lime in the hot water, then the fructose, and you allways stir careful , don't make bubbles!! At least you do the paste of indigo in and stir a longer time for build the foarm in the middle. You should have after a oily / petrol film on it. Then you have to wait one night / minimum 12h . Your Indigo is ready when it yellow.
If you start dyeing you have to be careful with the foarm, best you remove the foarm, after the dyeing you put it back into the pot.
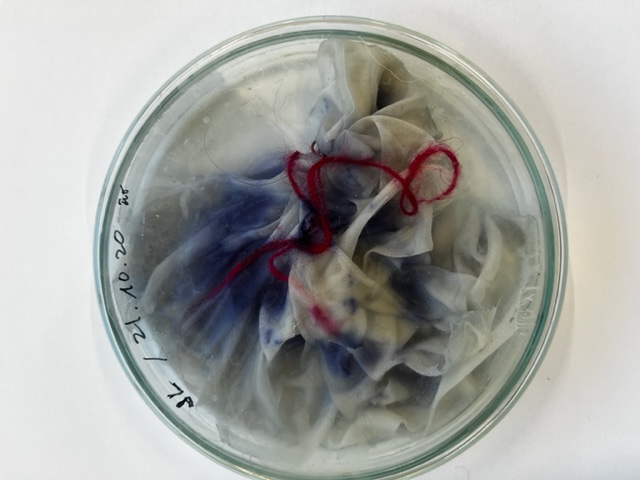
Bacteria dyeing
Tools for bacterial dyeing
- janthinobacterium lividum
- LB Broth & Nutrient agar
- ethanol 96%
- petri dishes
- propane burner
- pressur cooker
- gloves / mask
- bottle (better pyrex glas who are good with heat)
- inoculation loop
- lighter
- parafilm (elastic tape)
Process and workflow bacterial dyeing
on the folow link you can see how I prepare and transfer the bacteria to the petri dishes
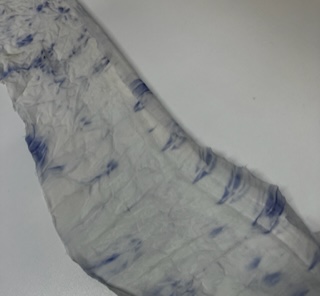
MY TEST EXAMPLE BACTERIA DYEING
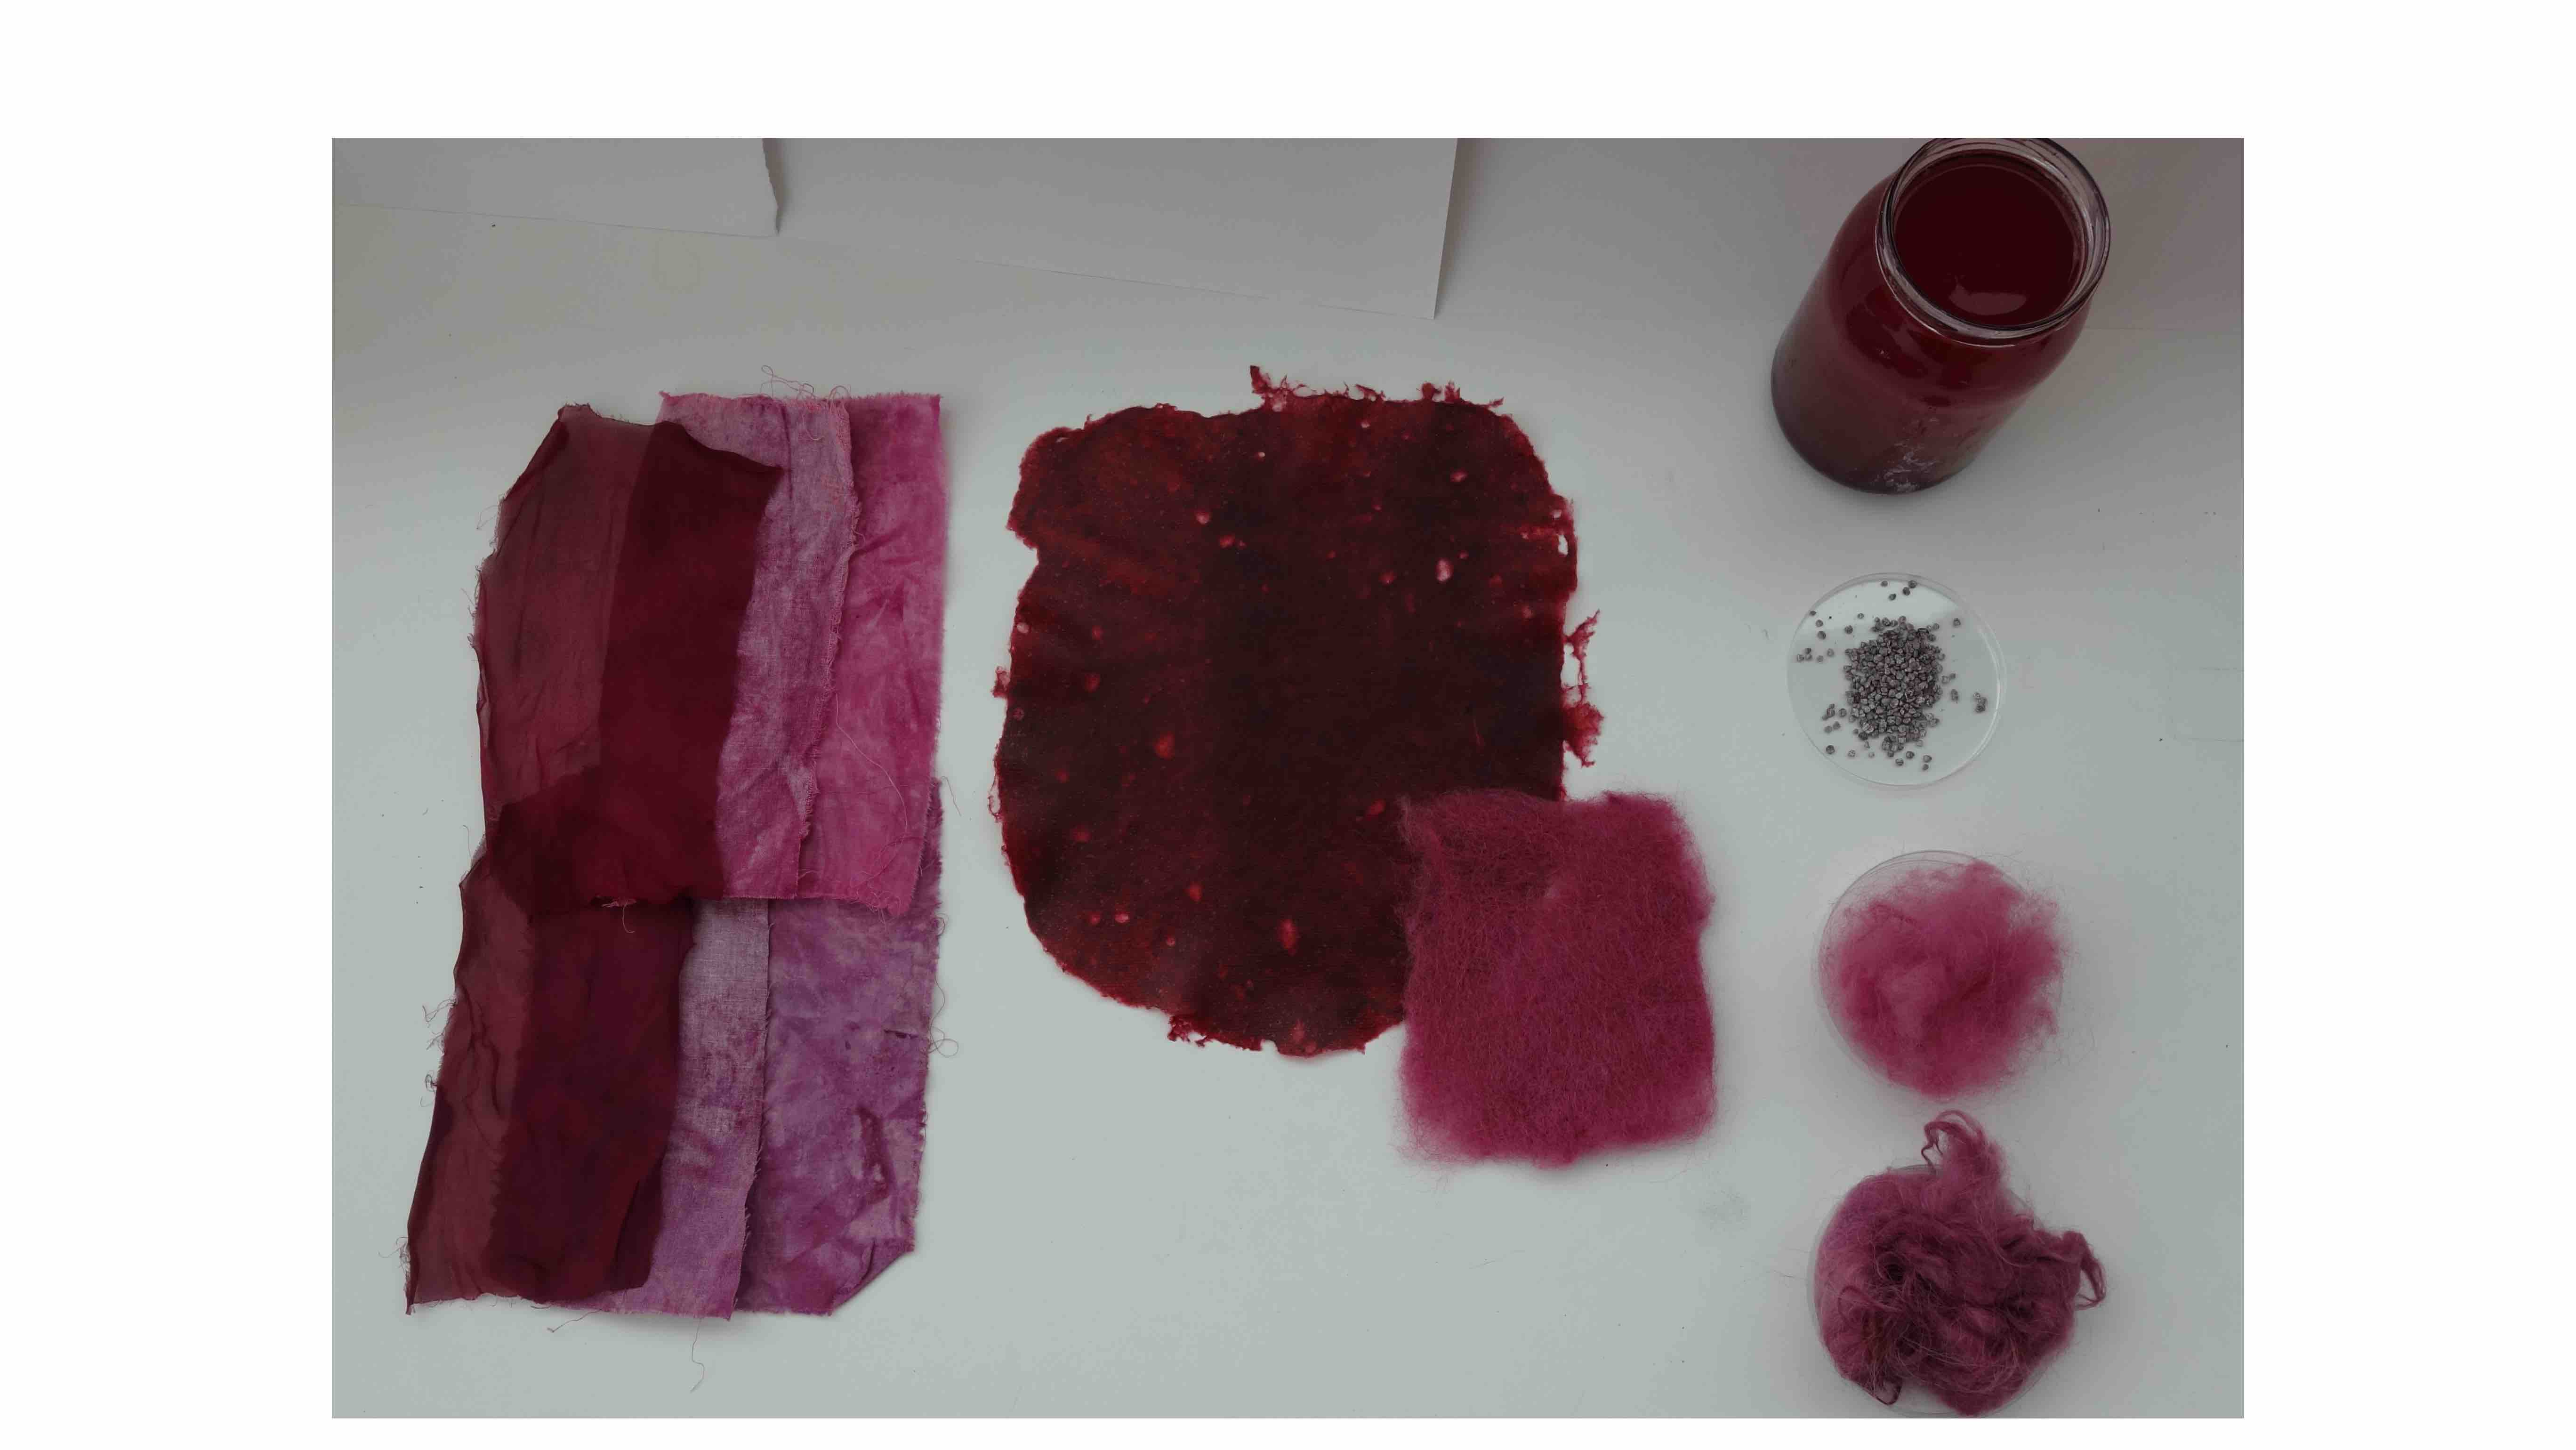
SOME EXAMPLES FROM OUR NATURAL DYEING
This week was a colorful adventure in a witch's kitchen