7. Computational Couture
Research & Ideation
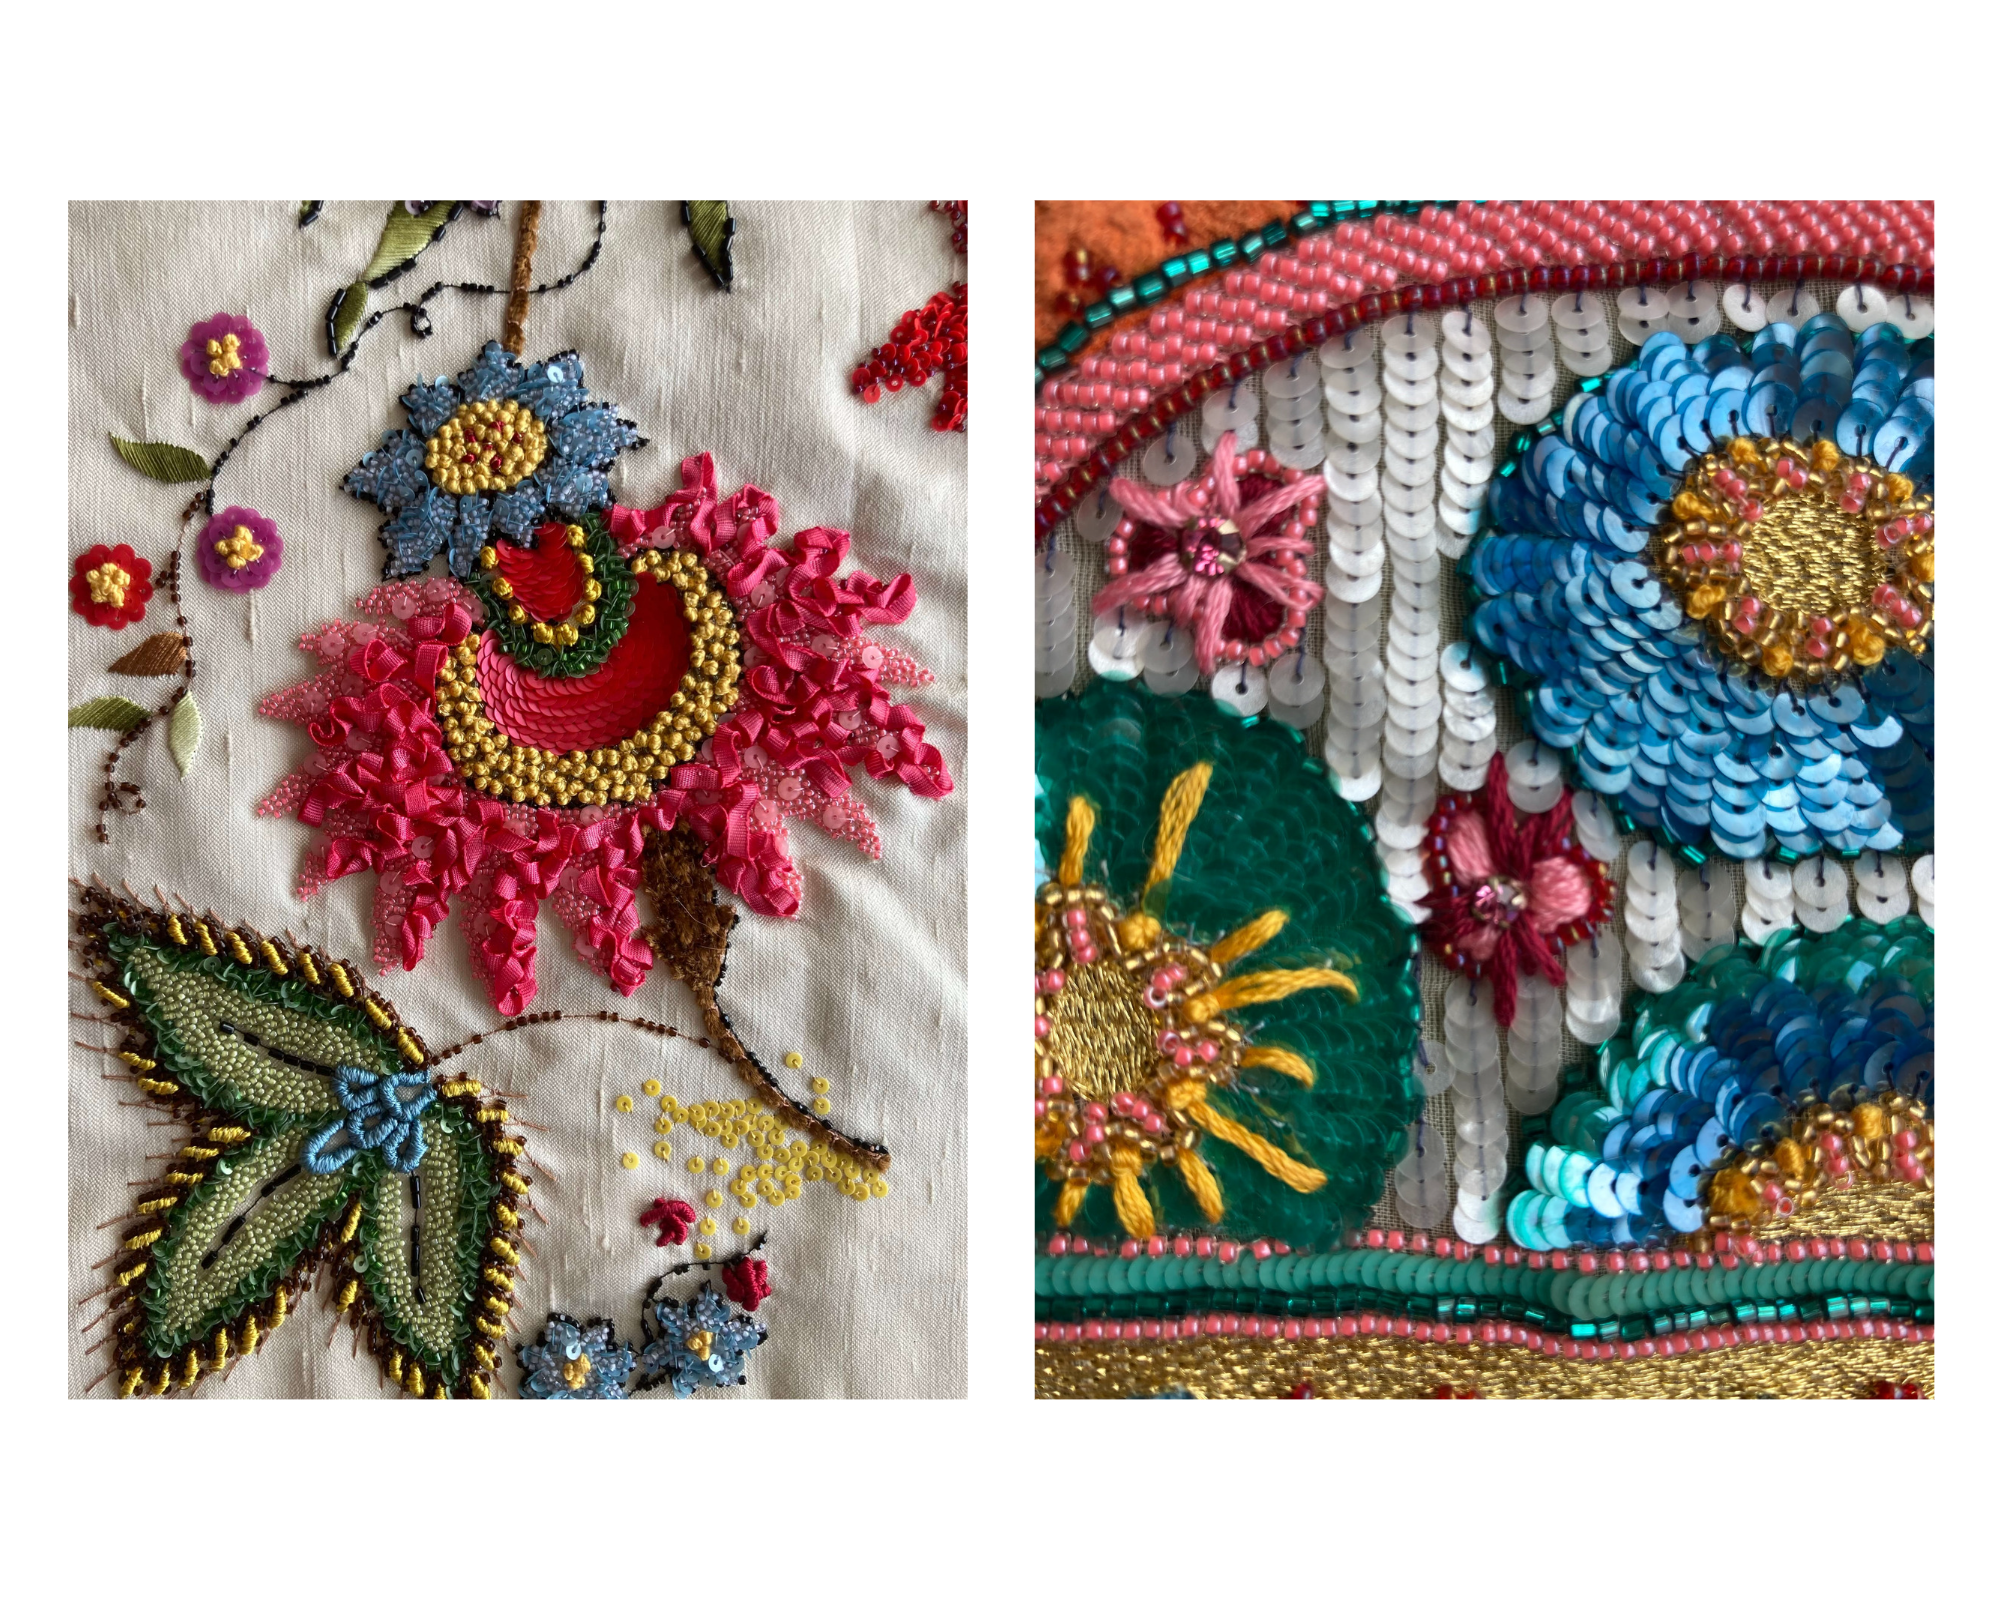
Ever since I was trained for Haute Couture Embroidery by Ecole Lesage in 2017 I haven’t been able to go back to the practice. Don’t get me wrong, it is a beyond beautiful and meditative practice but it was quite hard on my physical body to stay seated in such asymmetric postures for so long. I also pondered on ways I could replace some materials for more interesting textures, less perfect, more organic. The French are quite adamant on things being done a certain way, I’m a Dominican gal from the Caribbean who refuses to do things in ways that don´t encourage experimentation.
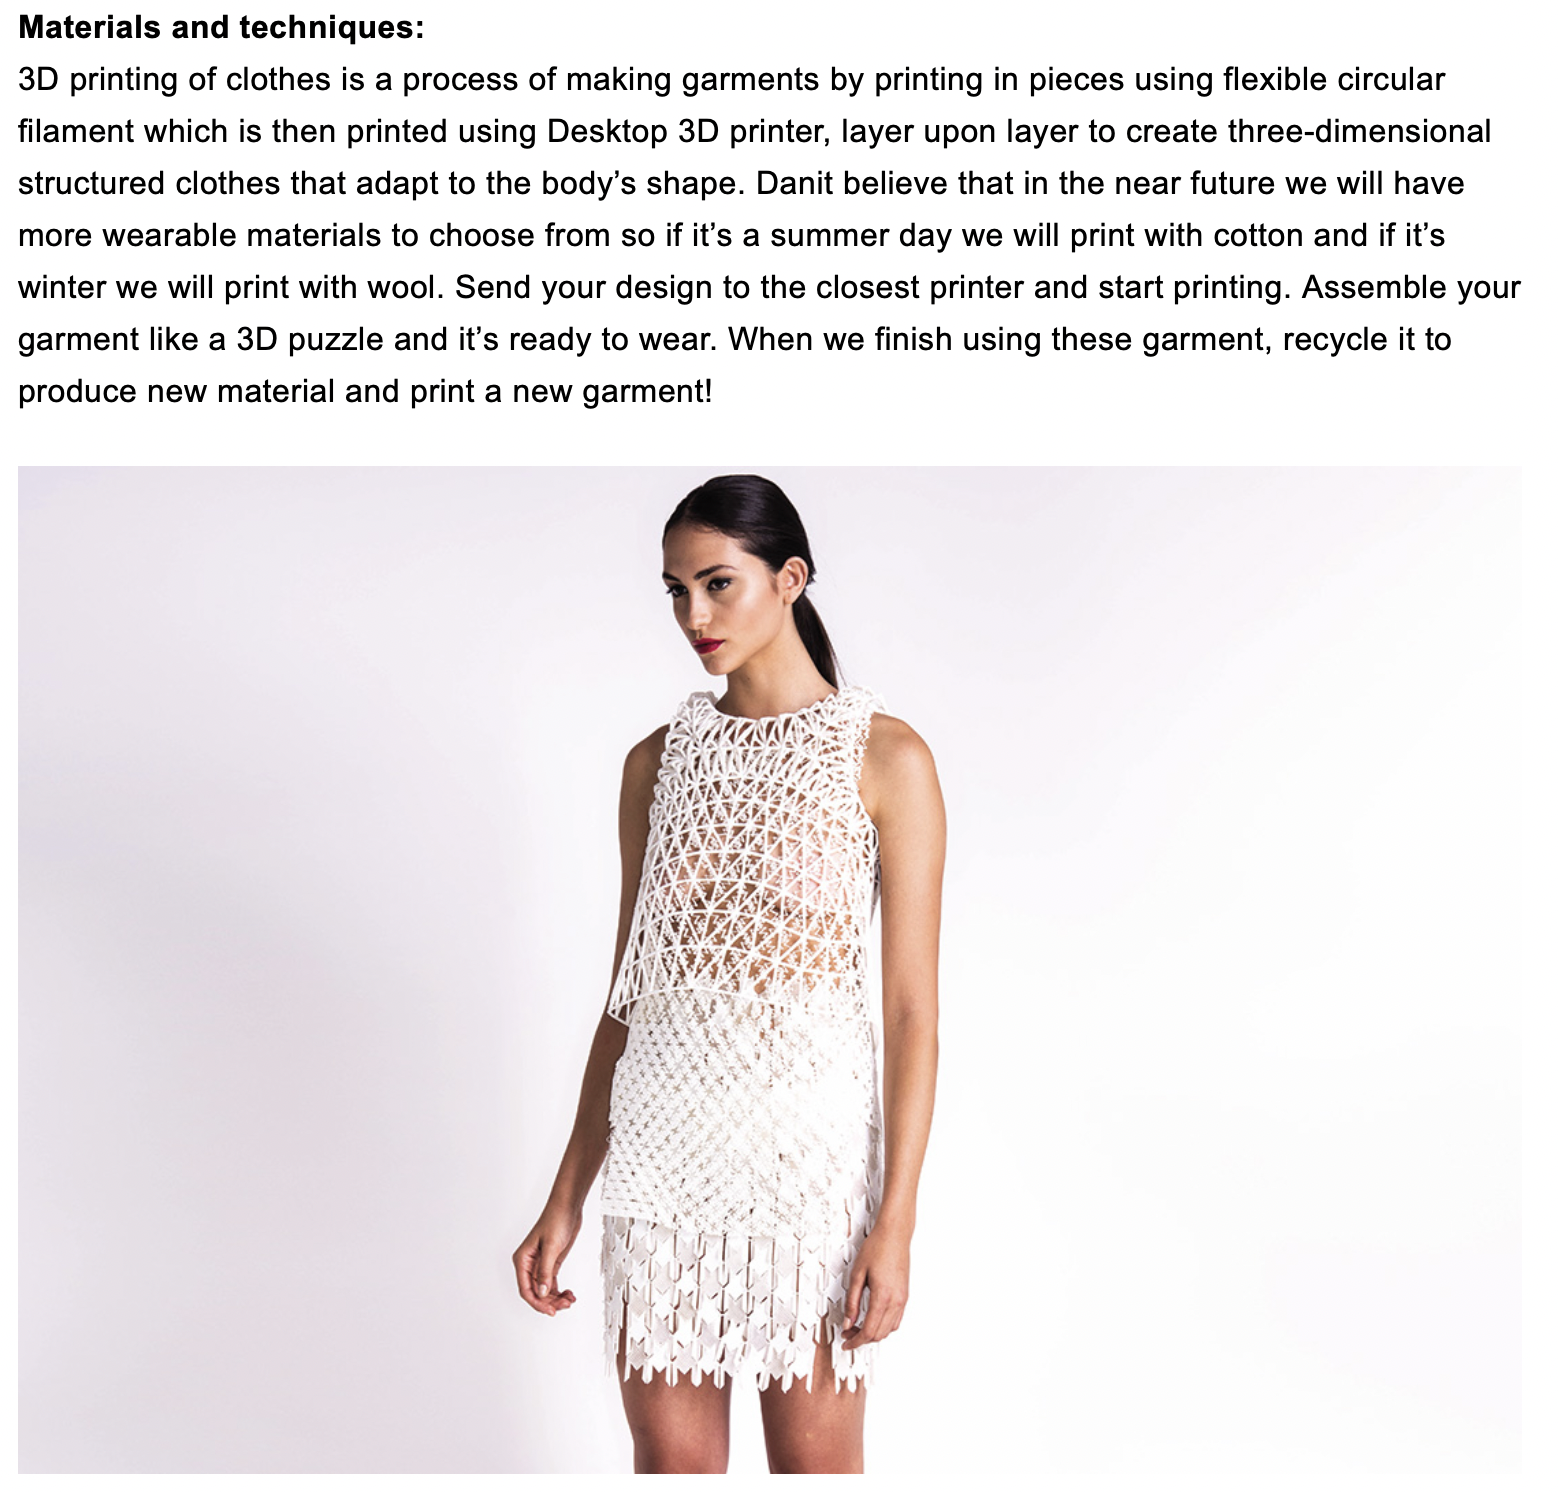
The whole computational couture is really ringing my ear since the beginning of FabricAdemy as I felt it was the intersection of technology and craft I was hoping for in 2017. When I think about 3D printing I can’t help but play out my adolescent fantasy of Chers closet and I imagine how cool it would be to design your own outfit and print it out, kind of like Chers computer wardrobe. In the perfect scenario, when you’re over the outfit, the filament can be recycled into yarn again.
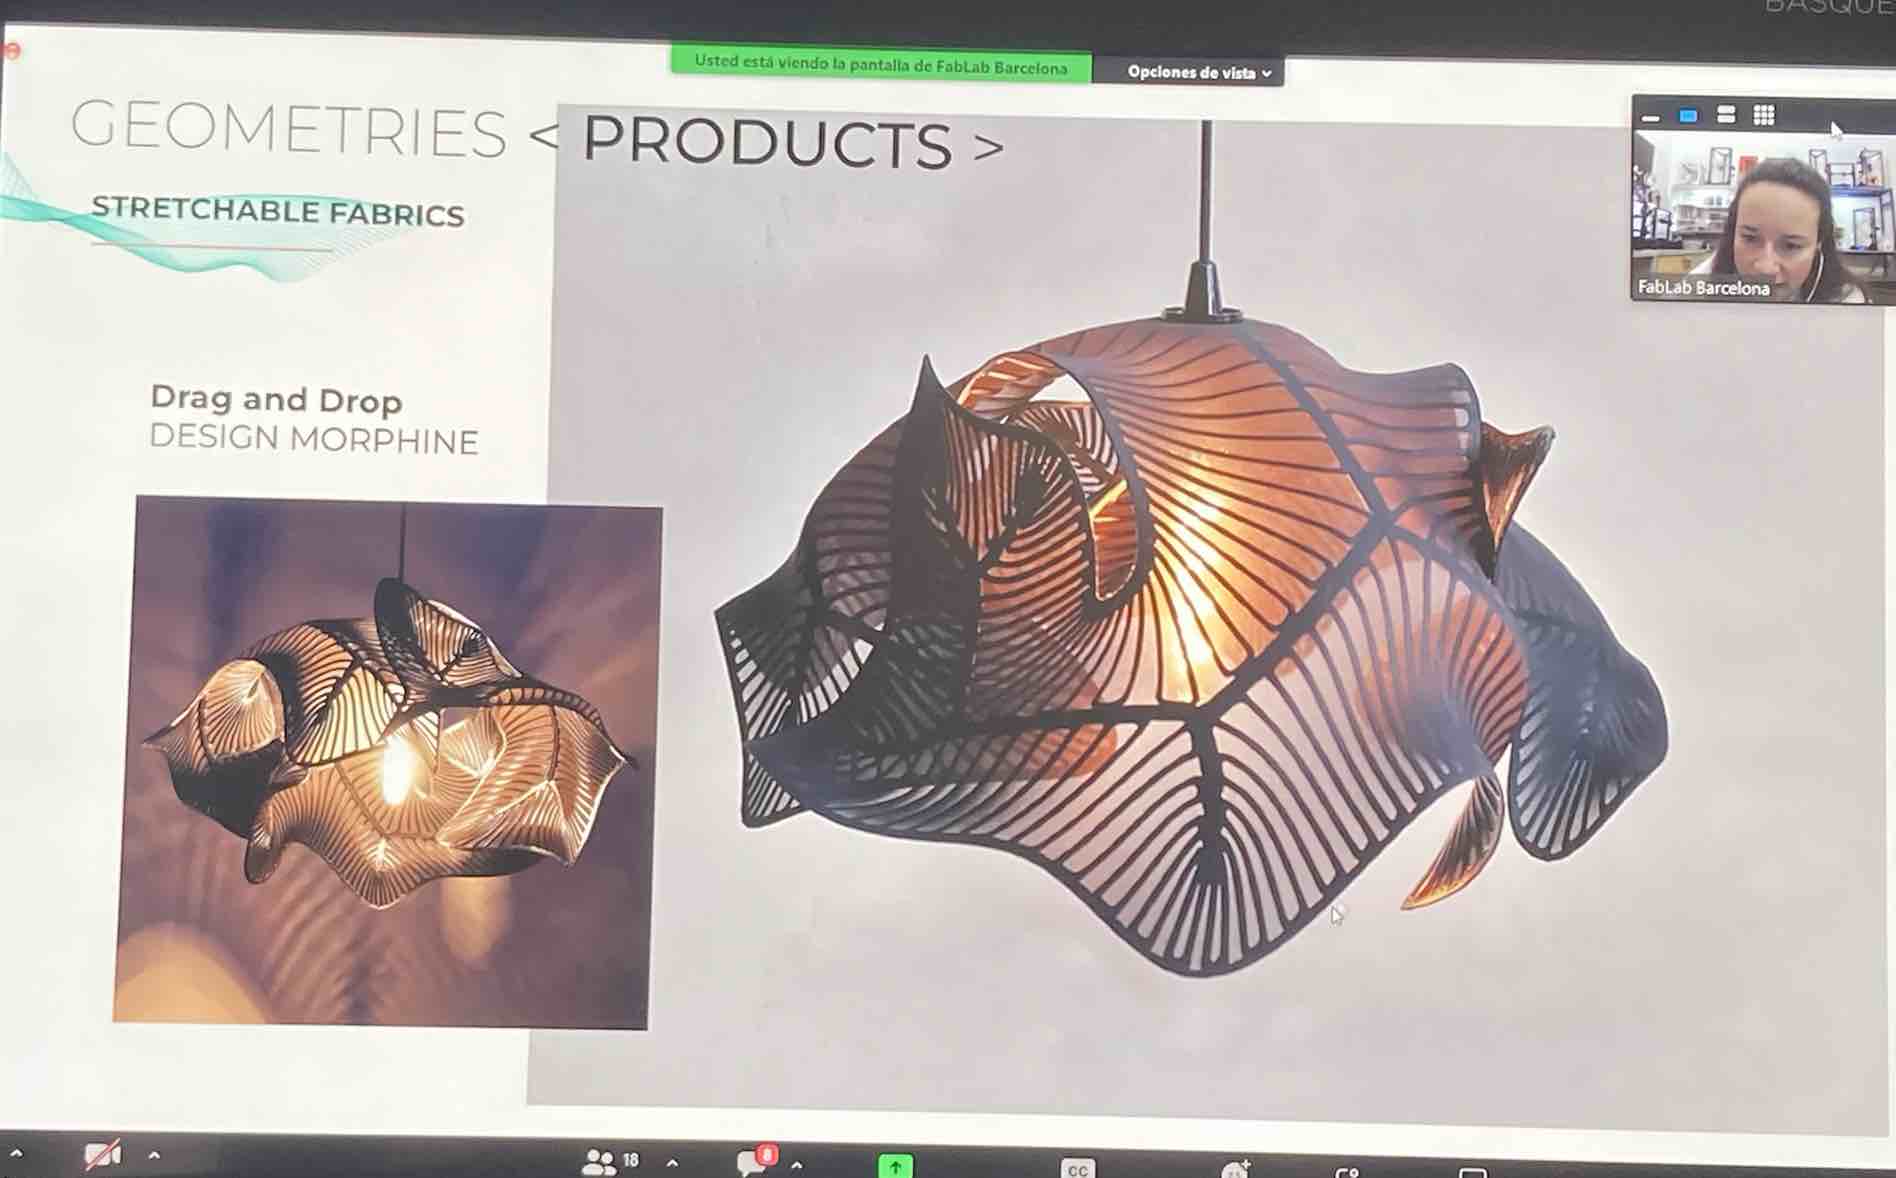
References & Inspiration
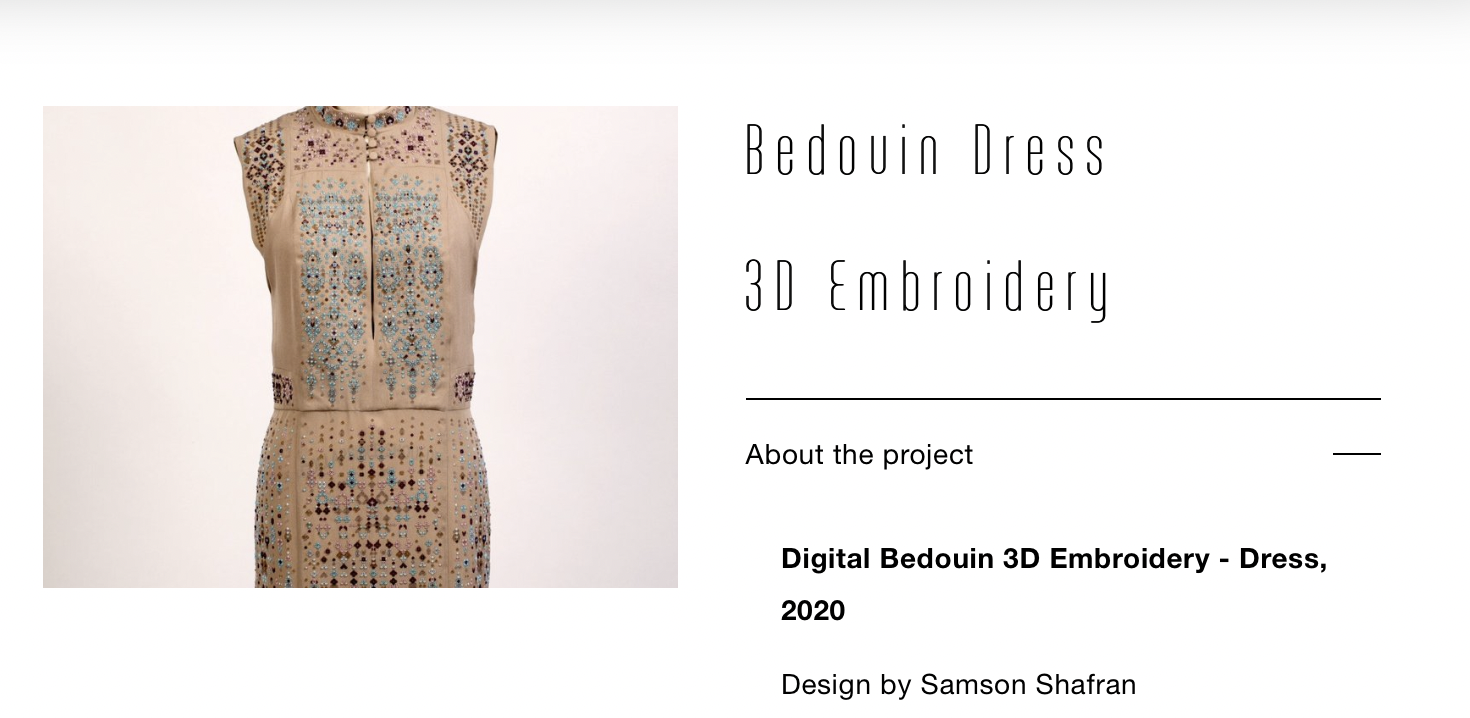
3D EMBROIDERY


Intro to GRASSHOPPER
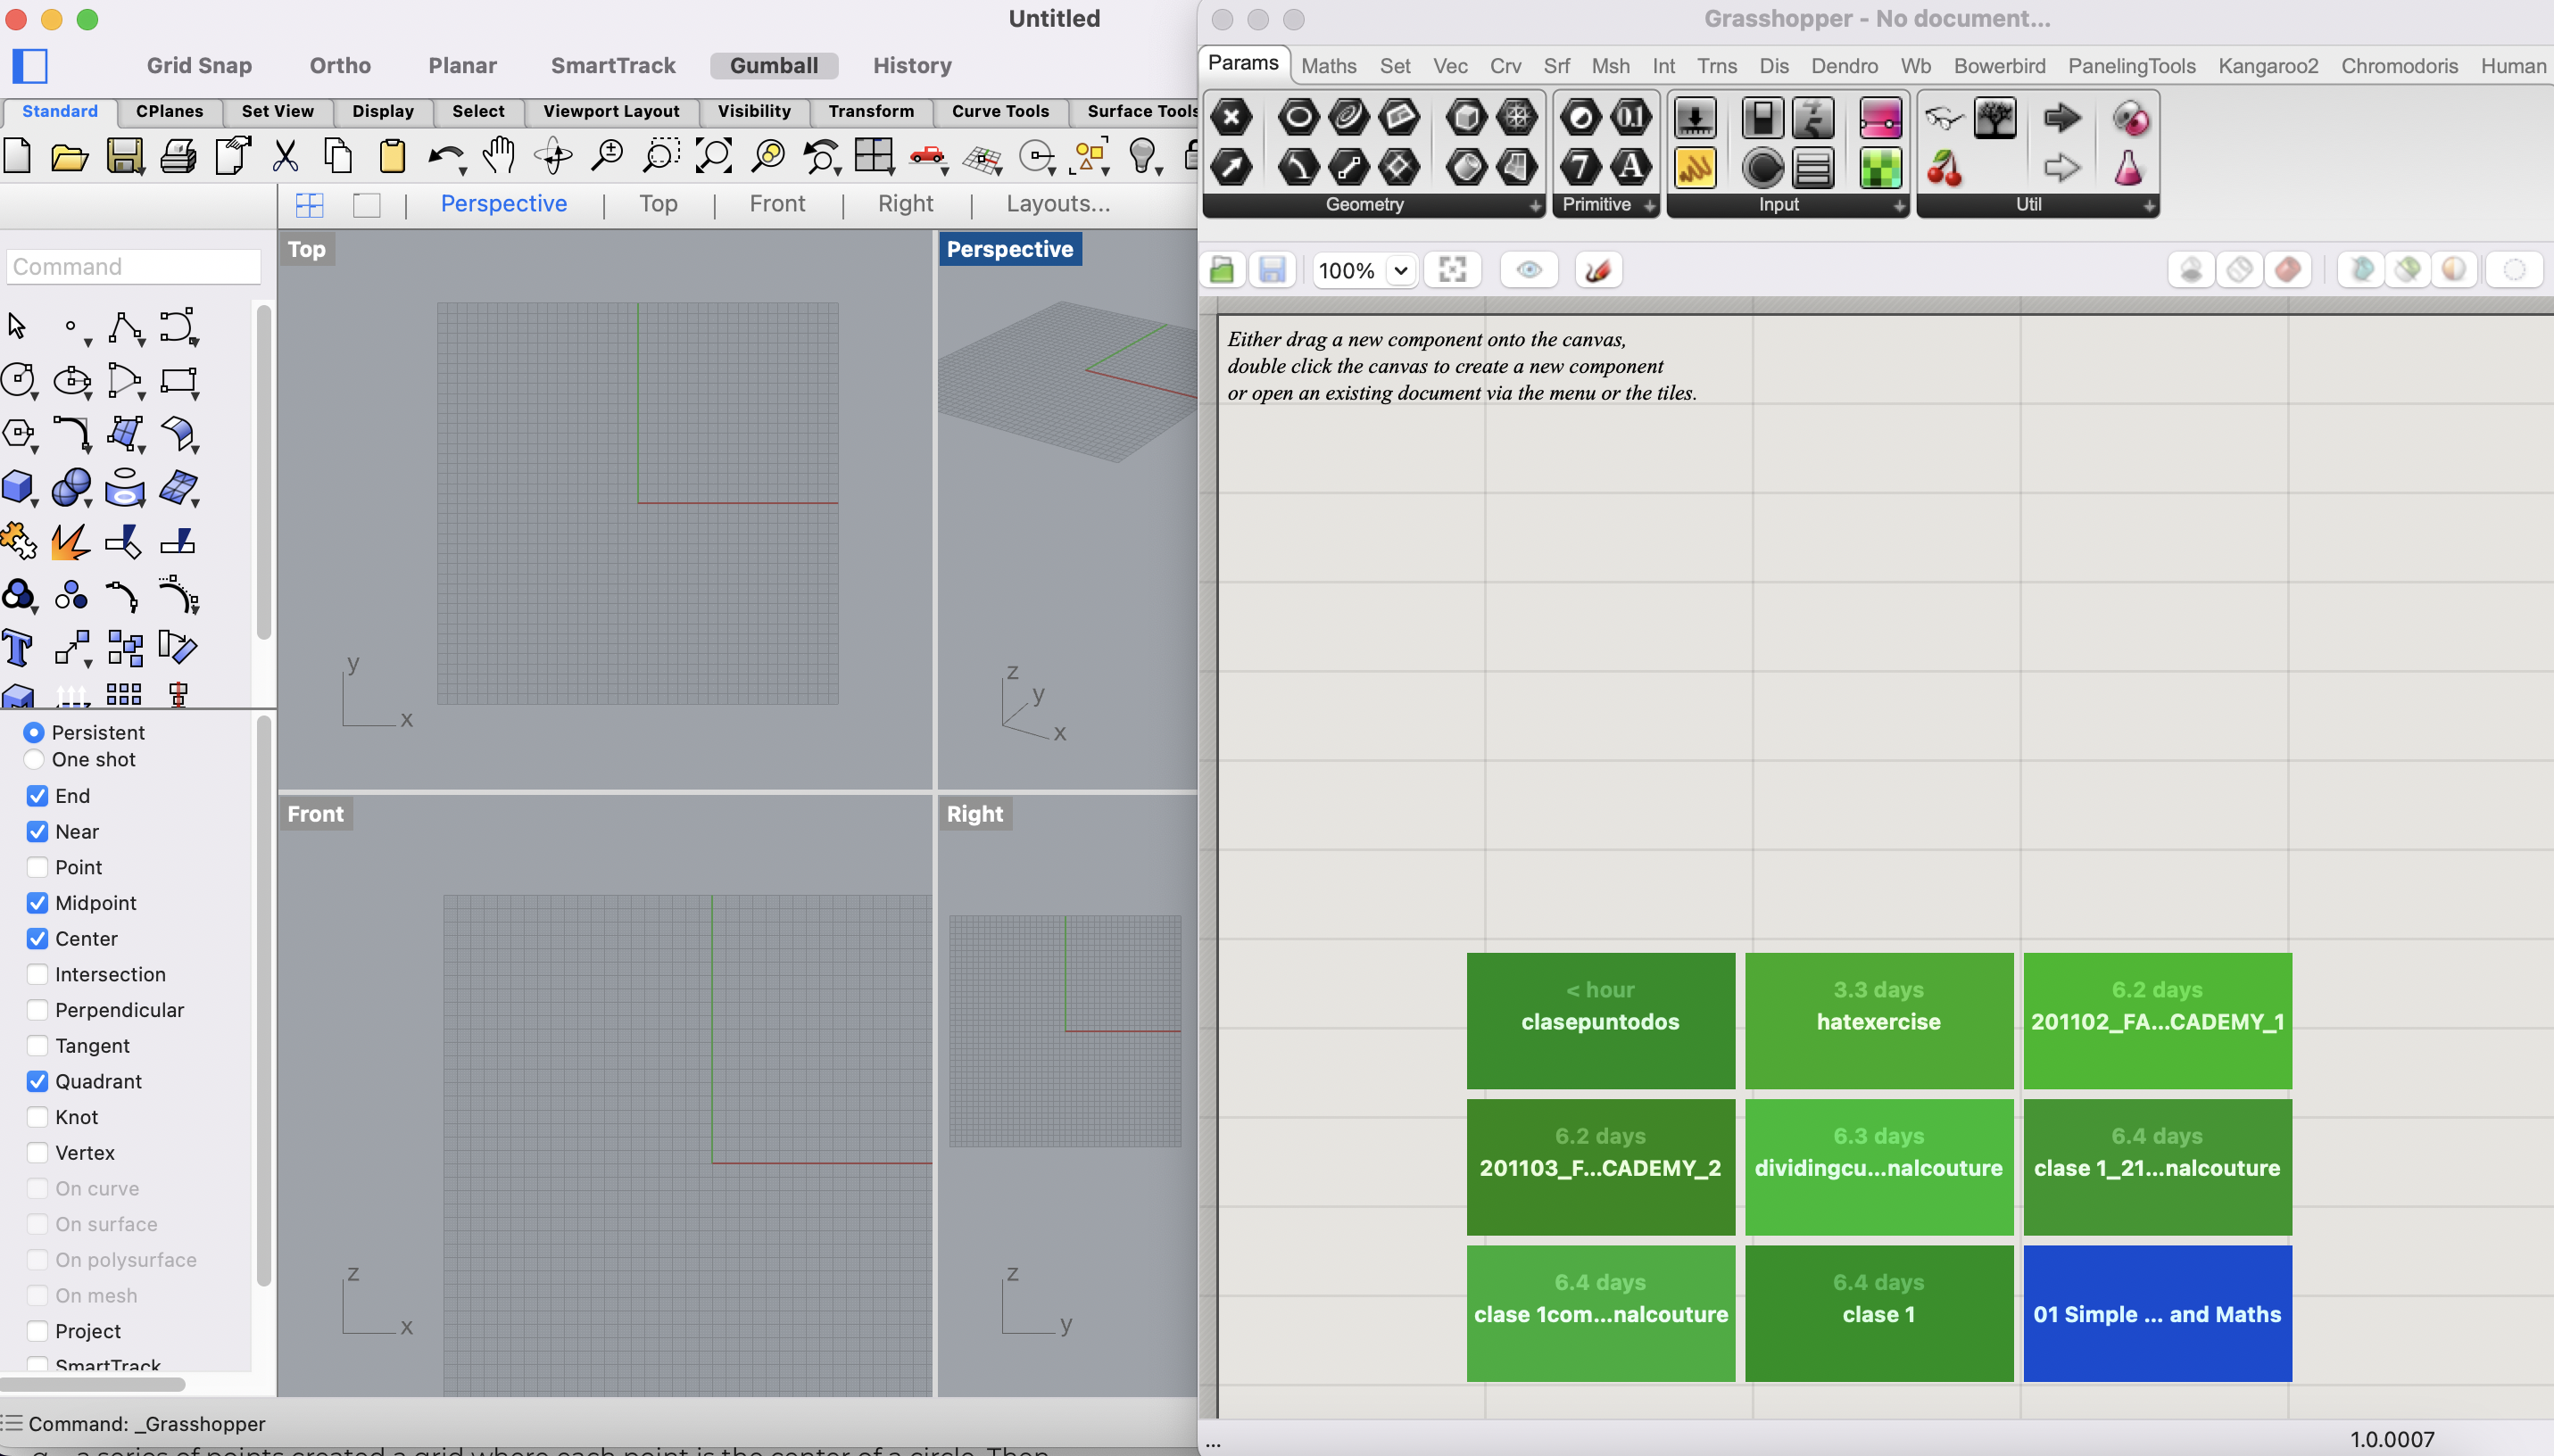
Grasshopper is a visual programming interface for the 3D modeling program Rhinoceros. Rhino uses non-uniform rational B-splines (NURBS) to precisely, mathematically model geometry. With visual programming, you can algorithmically generate geometry by composing diagrams that link data to functions. An algorithmic approach enables designers to create complex forms and rapidly generate alternative designs. In Cartesian space a point is defined by x, y, and z coordinates. In Grasshopper points can either be constructed from x, y, and z coordinates or drawn in Rhino and referenced in Grasshopper.
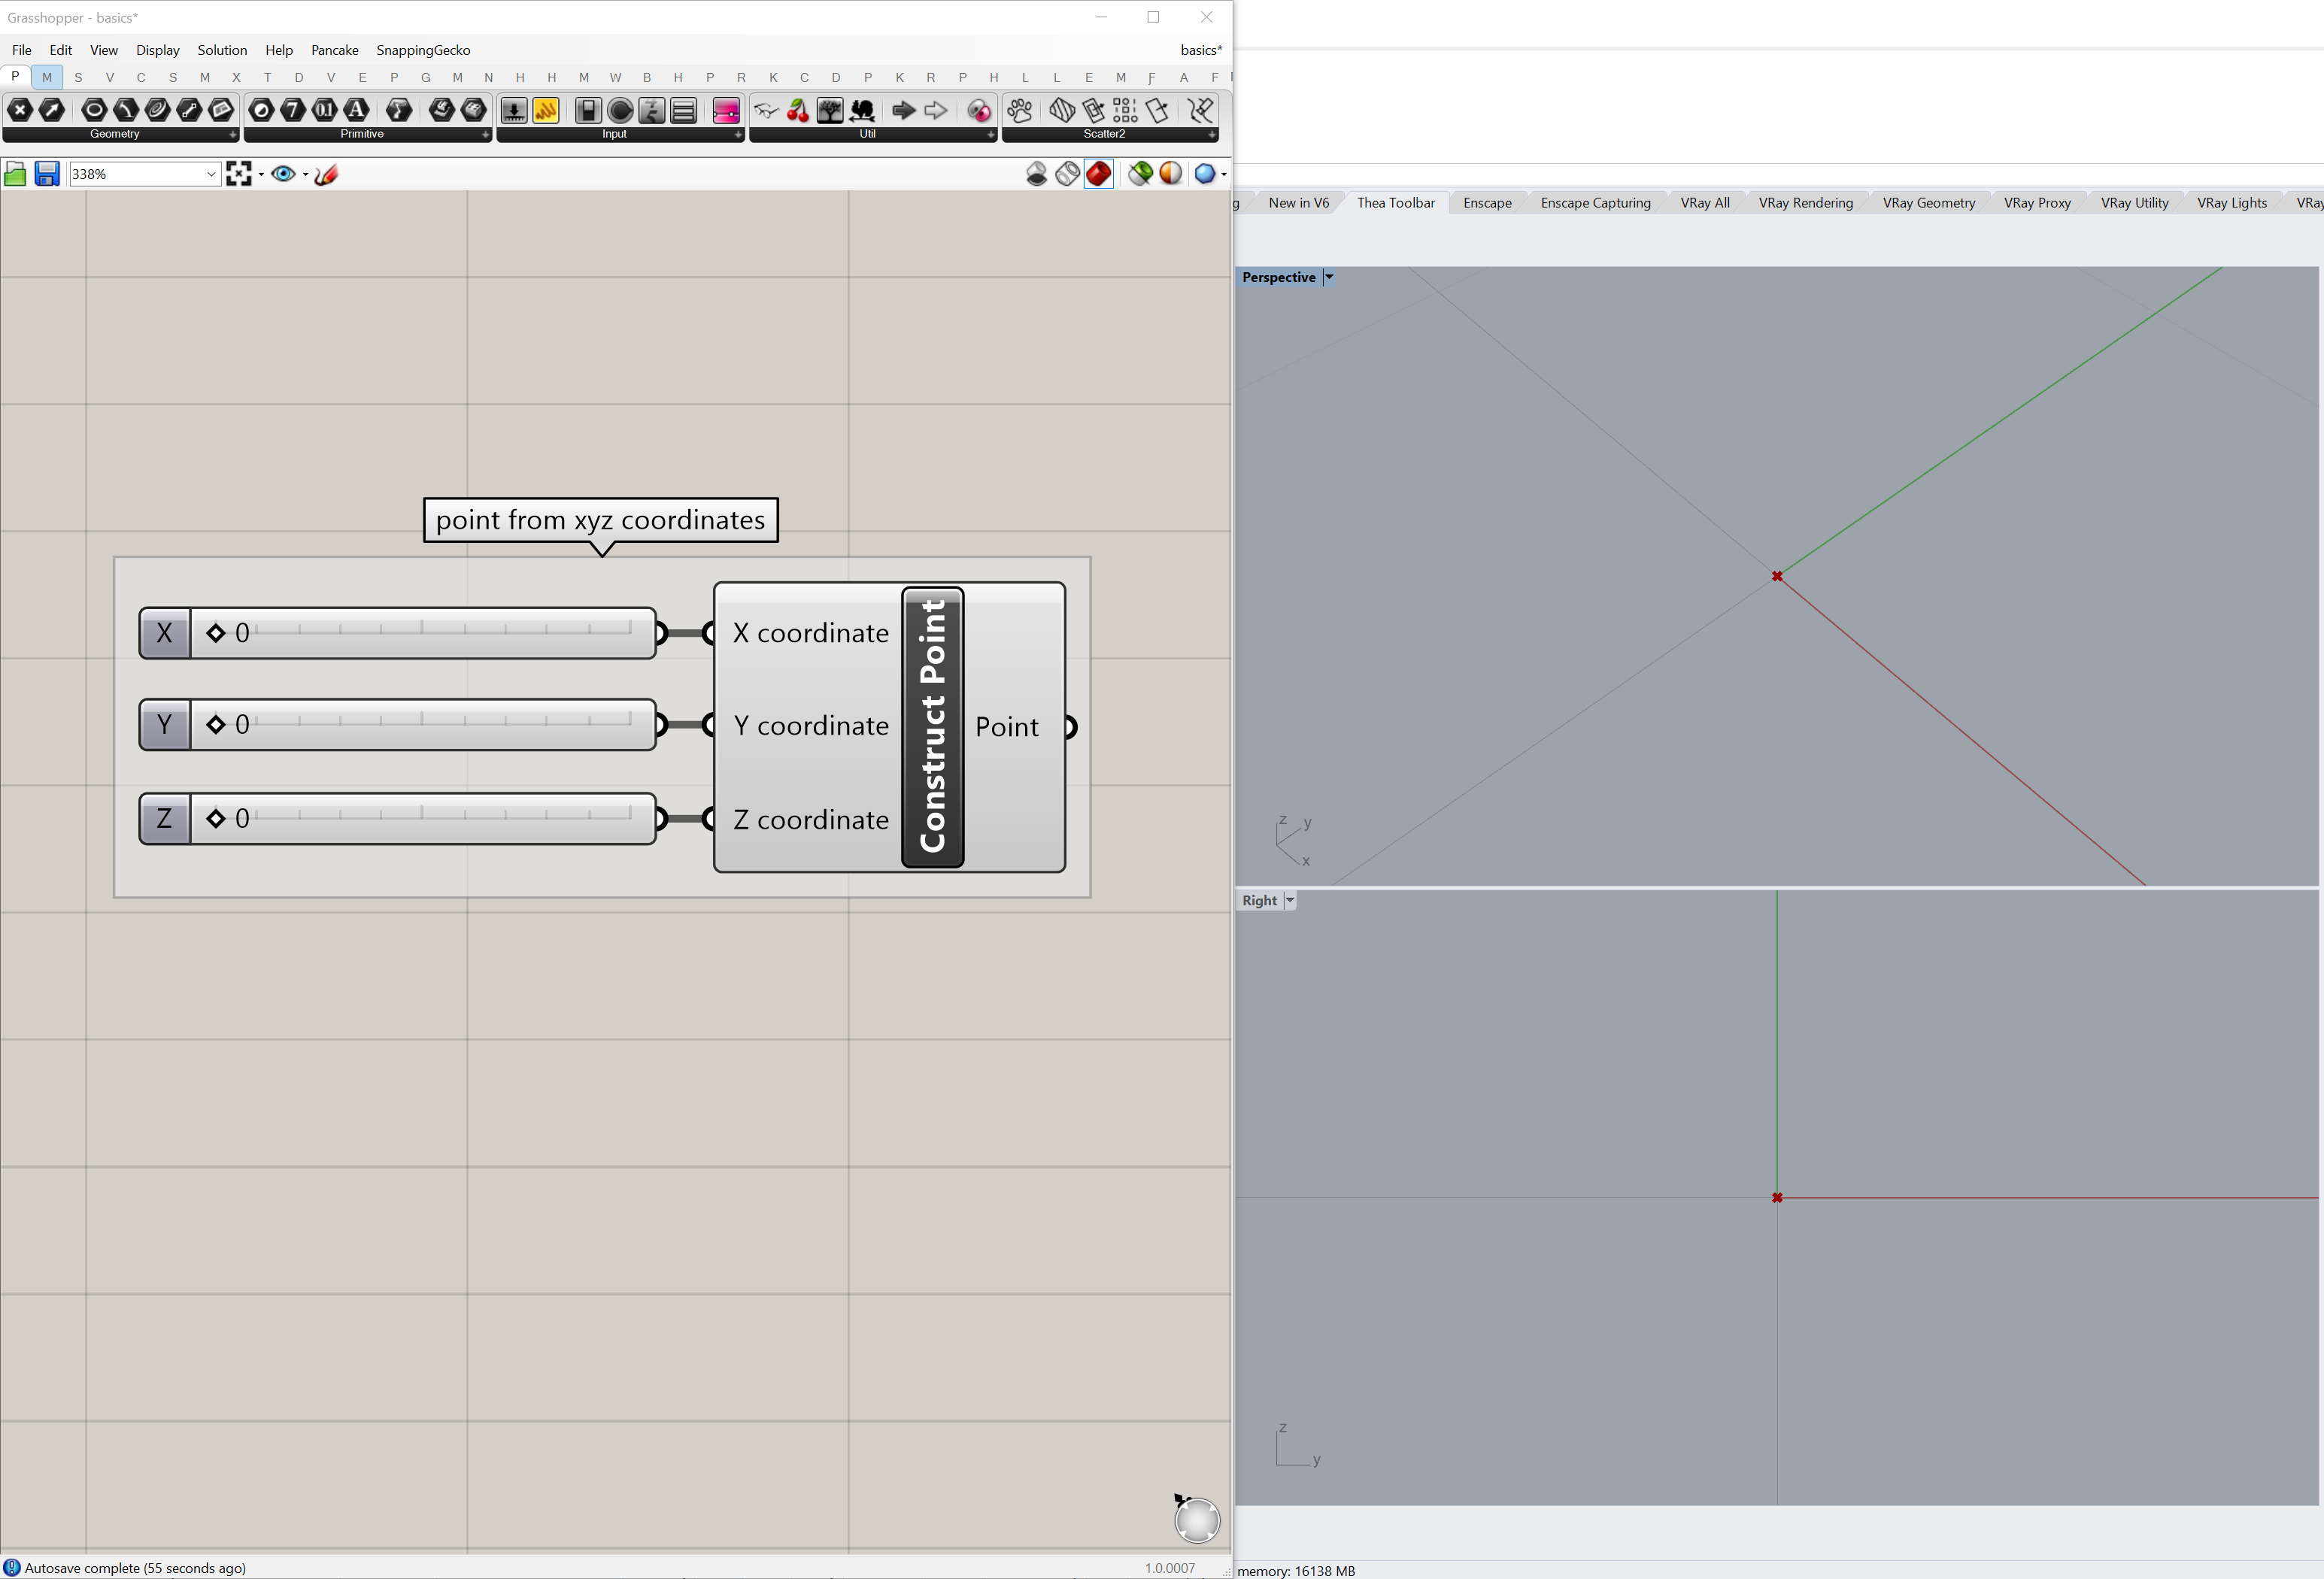
One way to define a point is with the Construct Point component. Find the Construct Point component in the Points panel of the Vector tab. Drop this component on the canvas. Then add input data for the x, y, and z parameters using Number Slider parameters. Find the Number Slider parameters in the Input panel of the Params tab. Or double click on the canvas to search for a component and then type in either number slider or a value for the slider such as 10. Connect wires from each of the output nodes on the right side of the number sliders to the respective input node on the left of the Construct Point component. Drag the handle on each slider to a set x, y, and z values for the point.
Personal Notes on Grasshopper
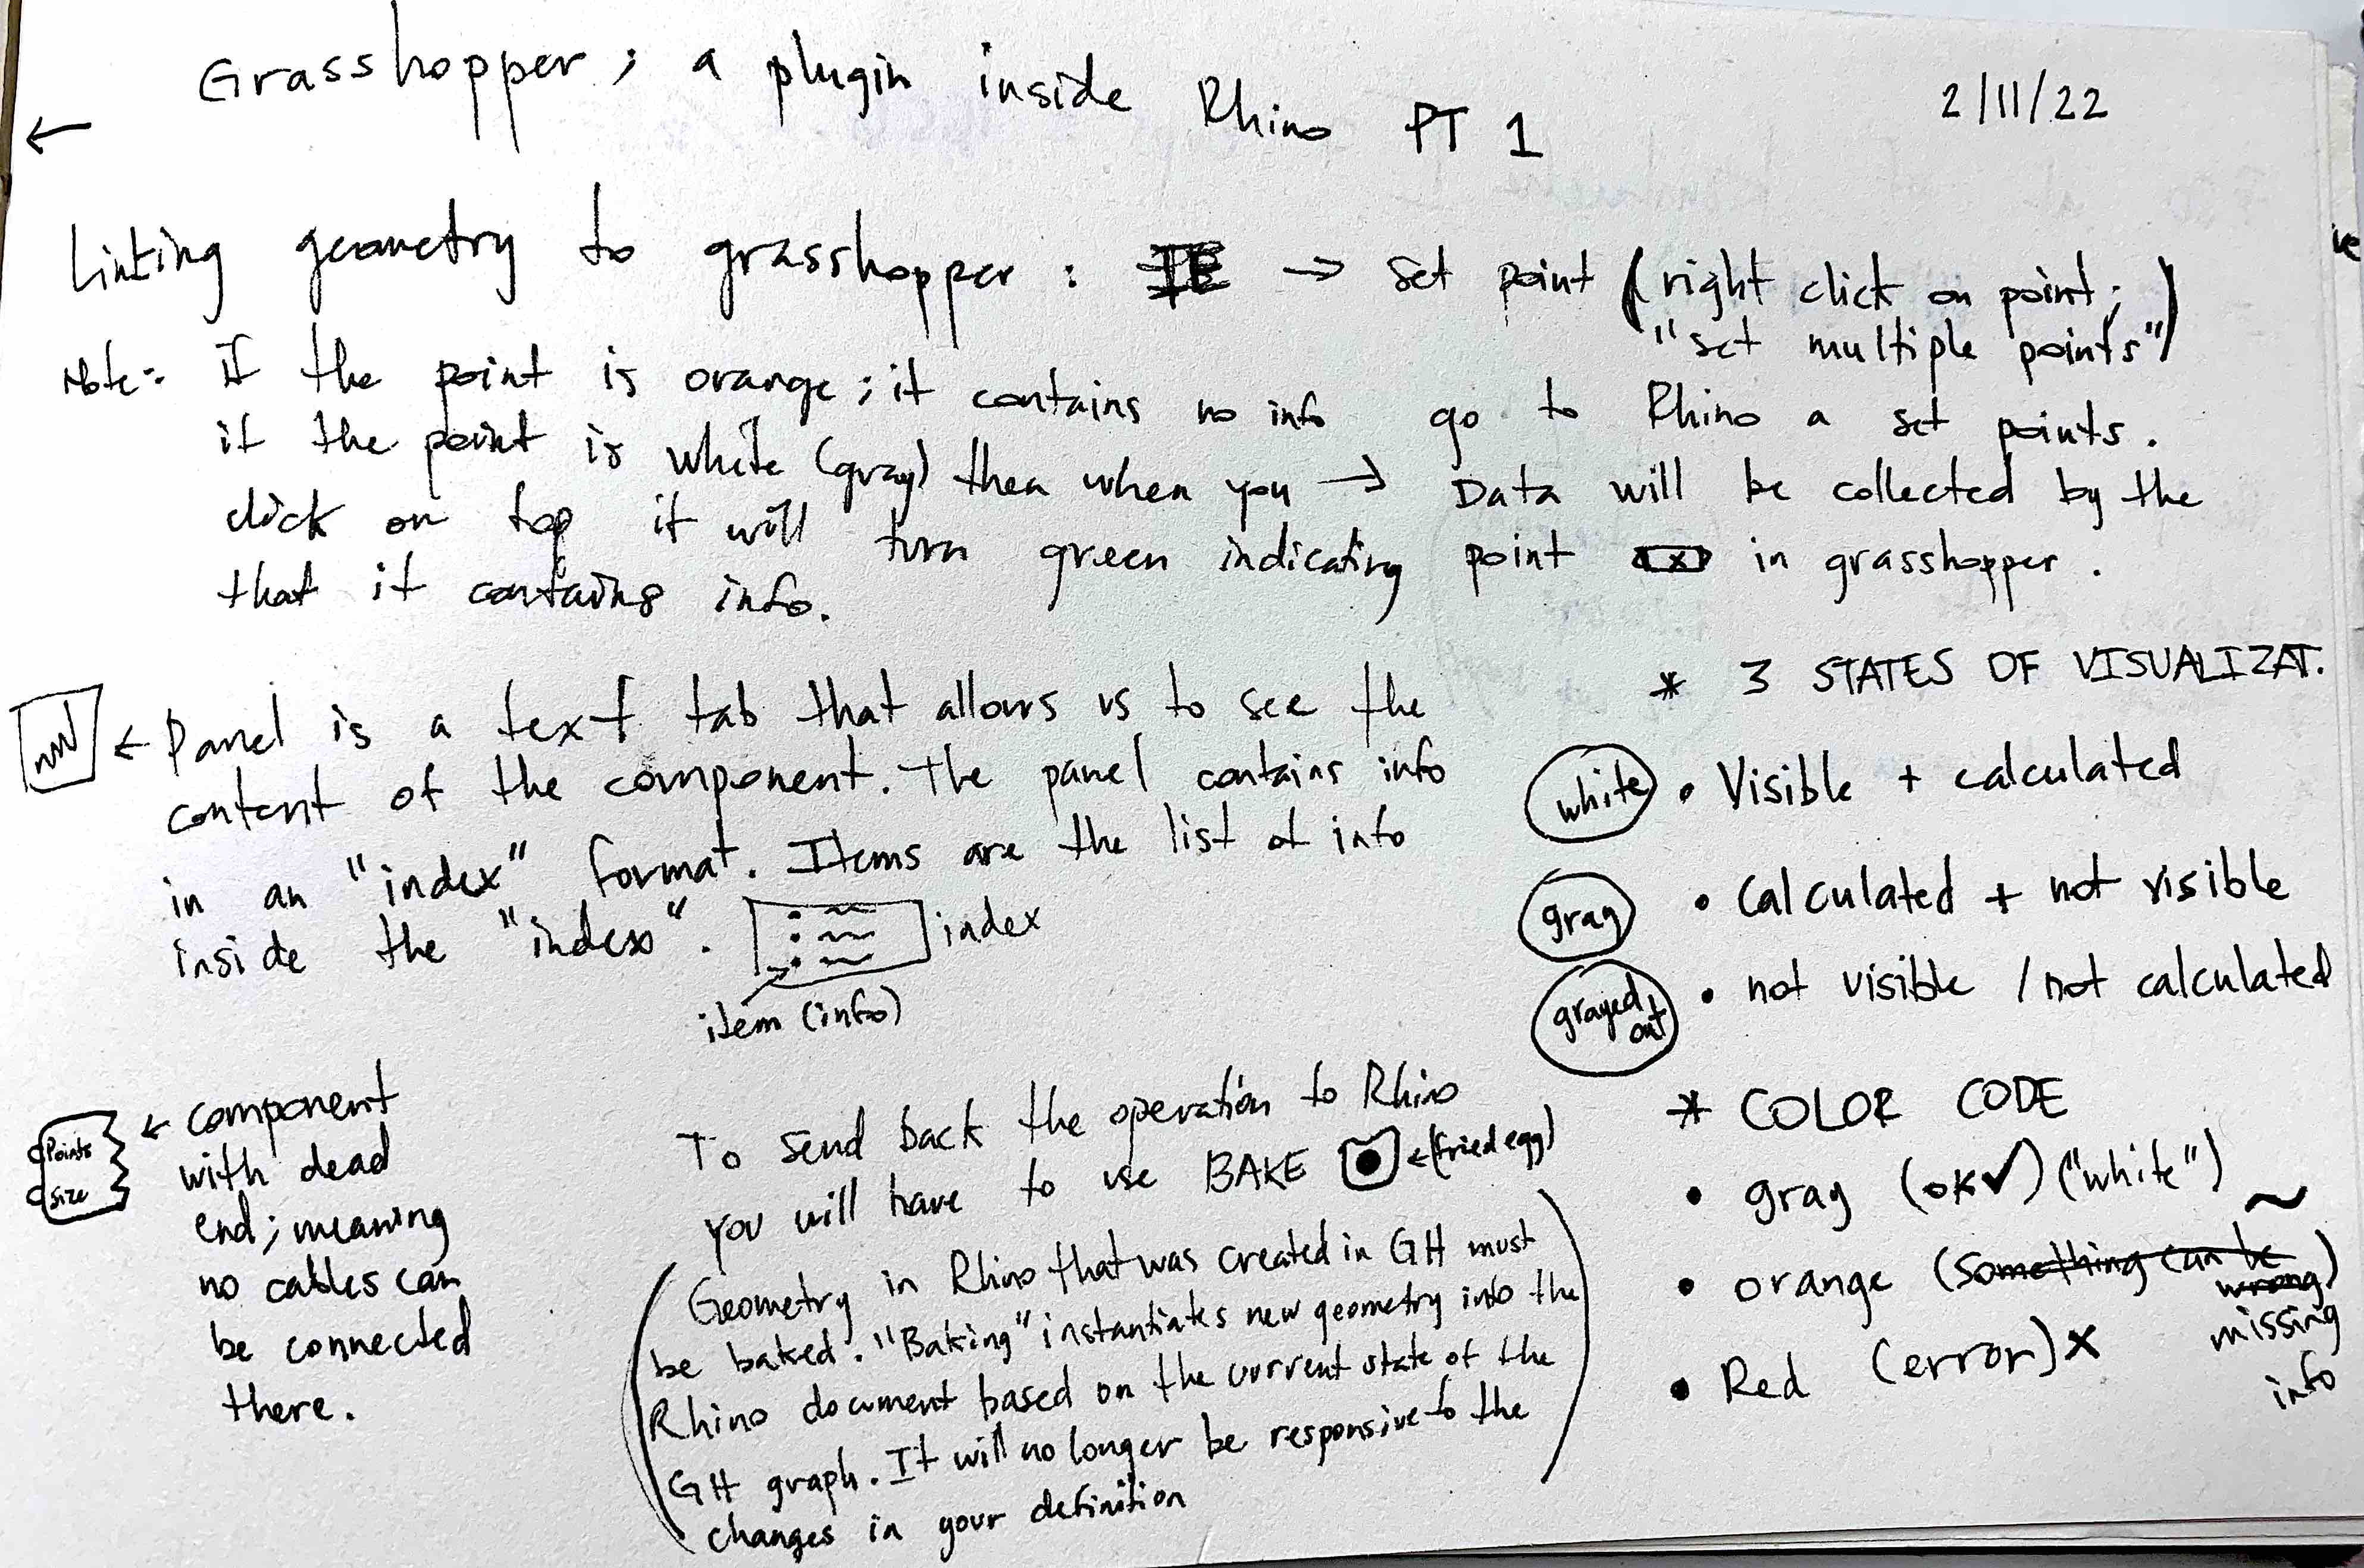
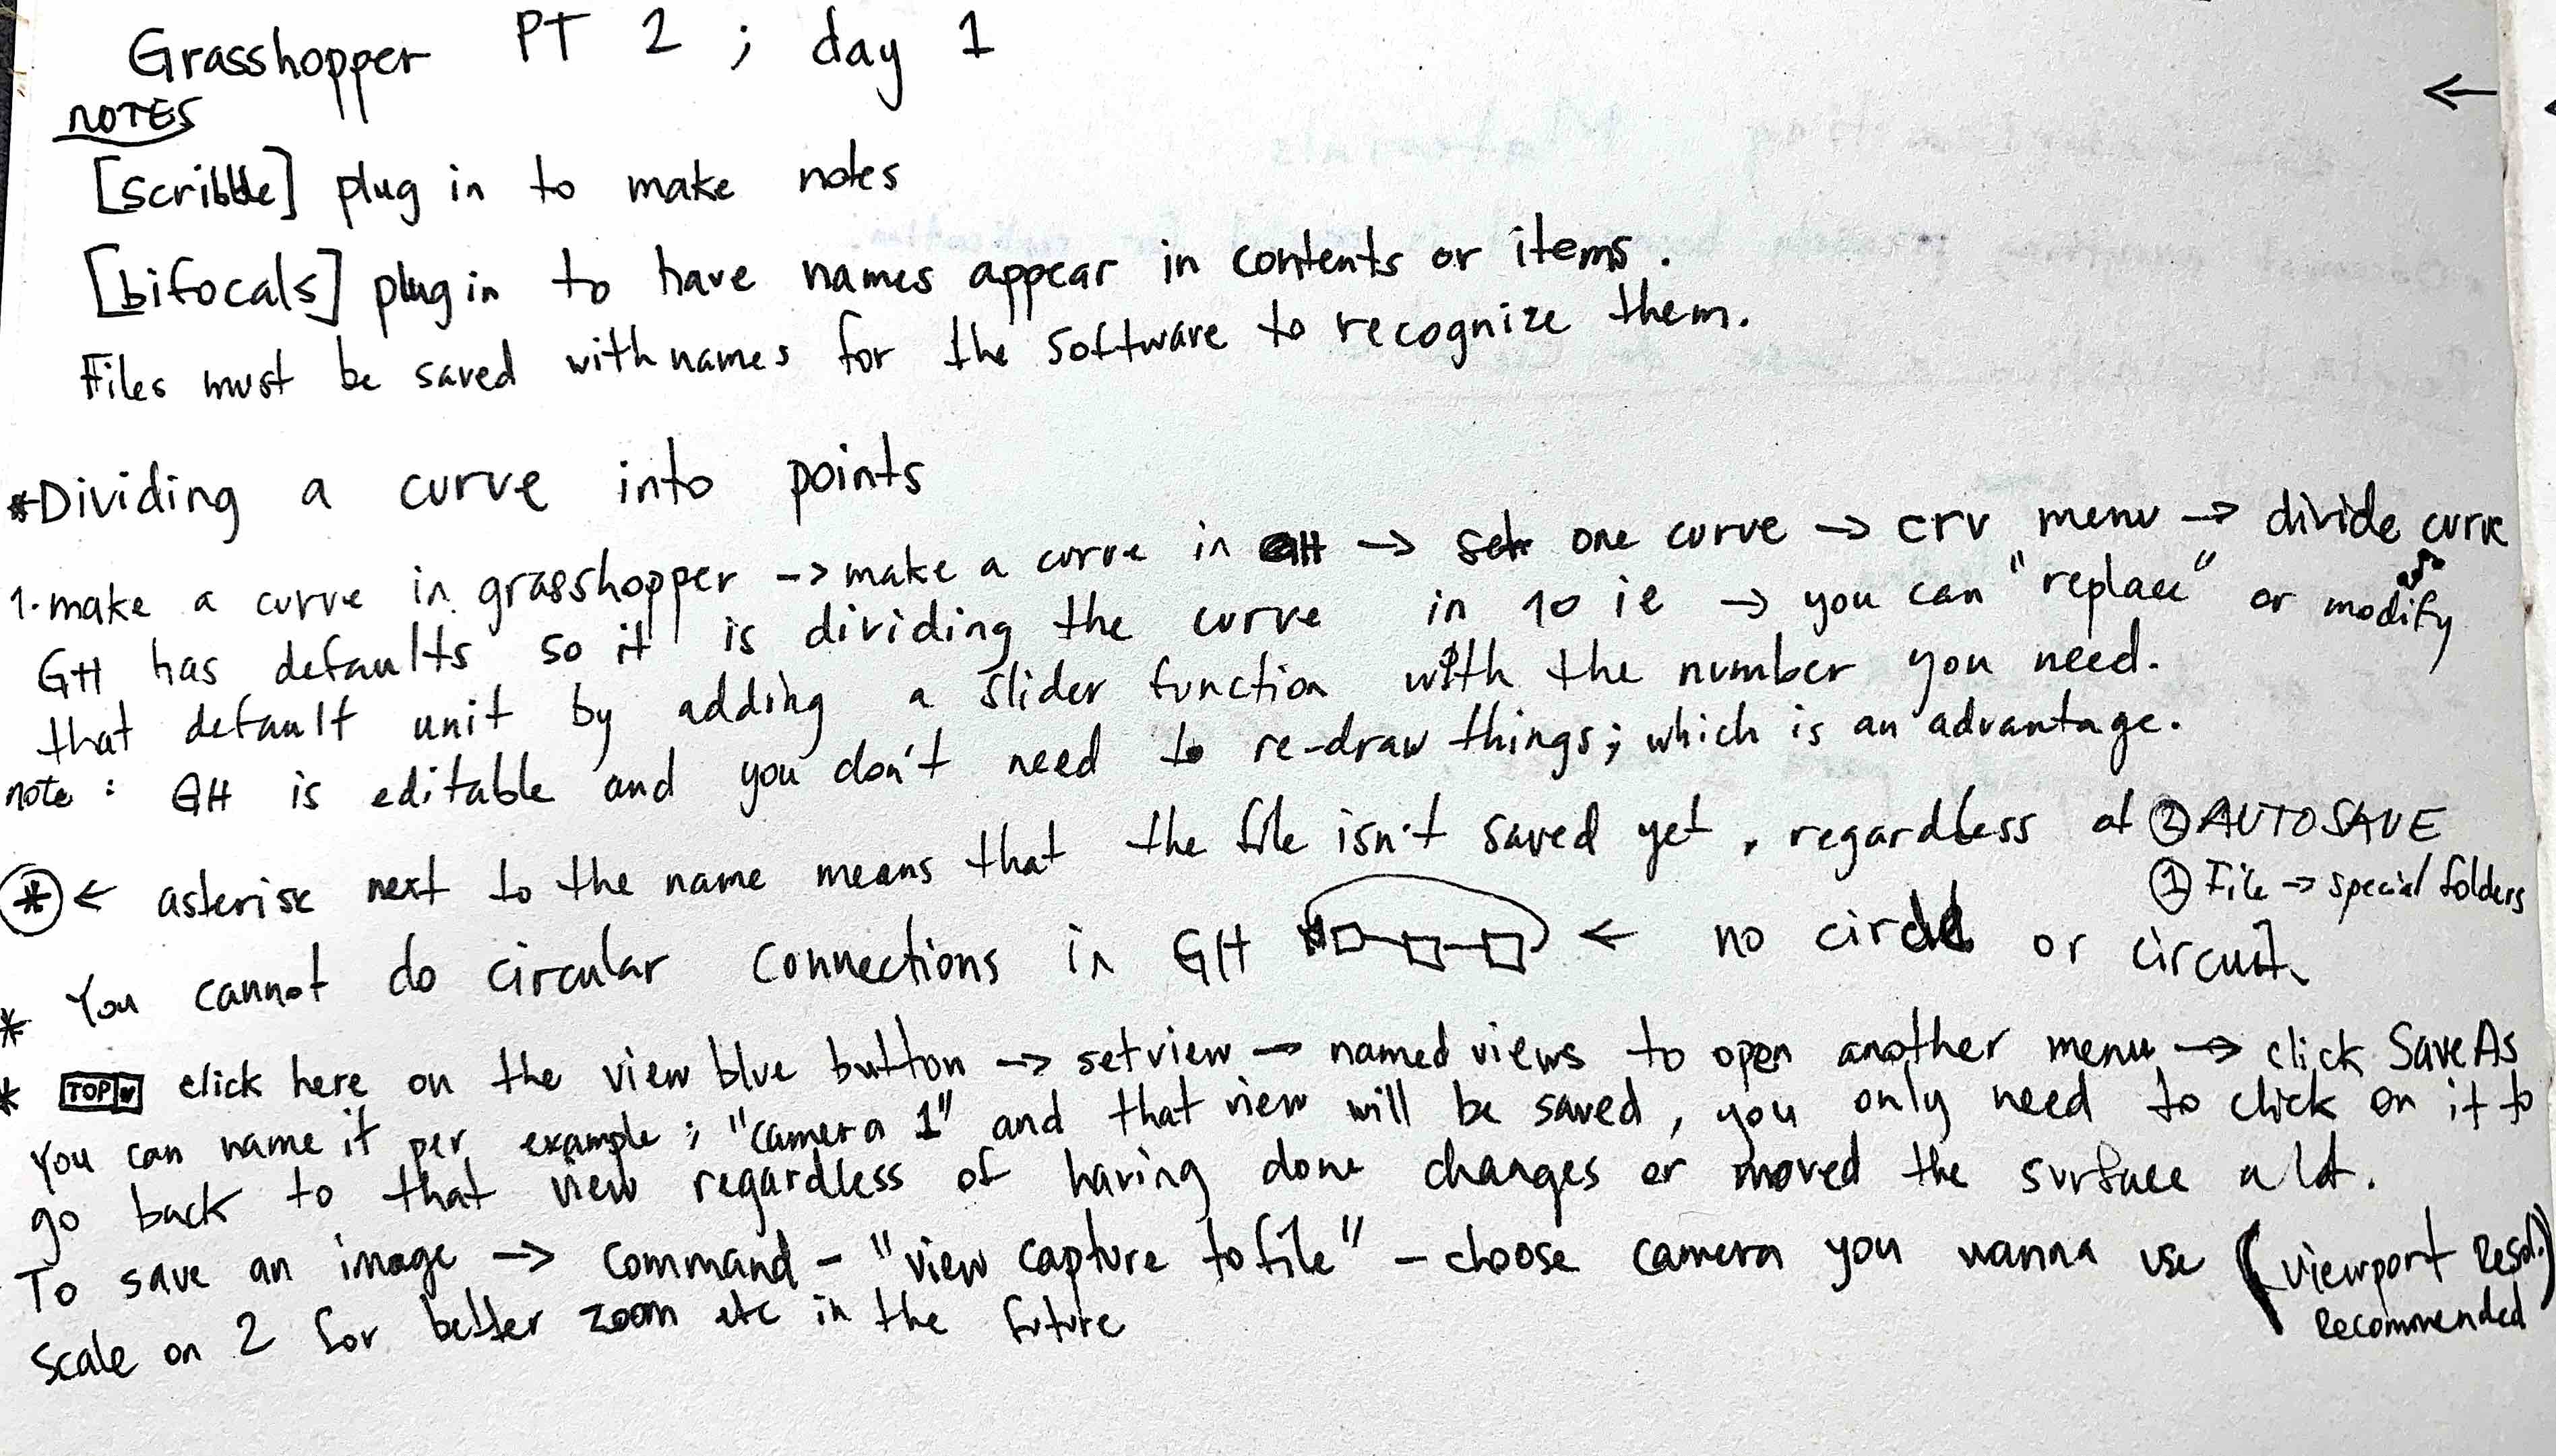
Basic things you must know before using GRASSHOPPER EducationalVideoHere
Process and workflow
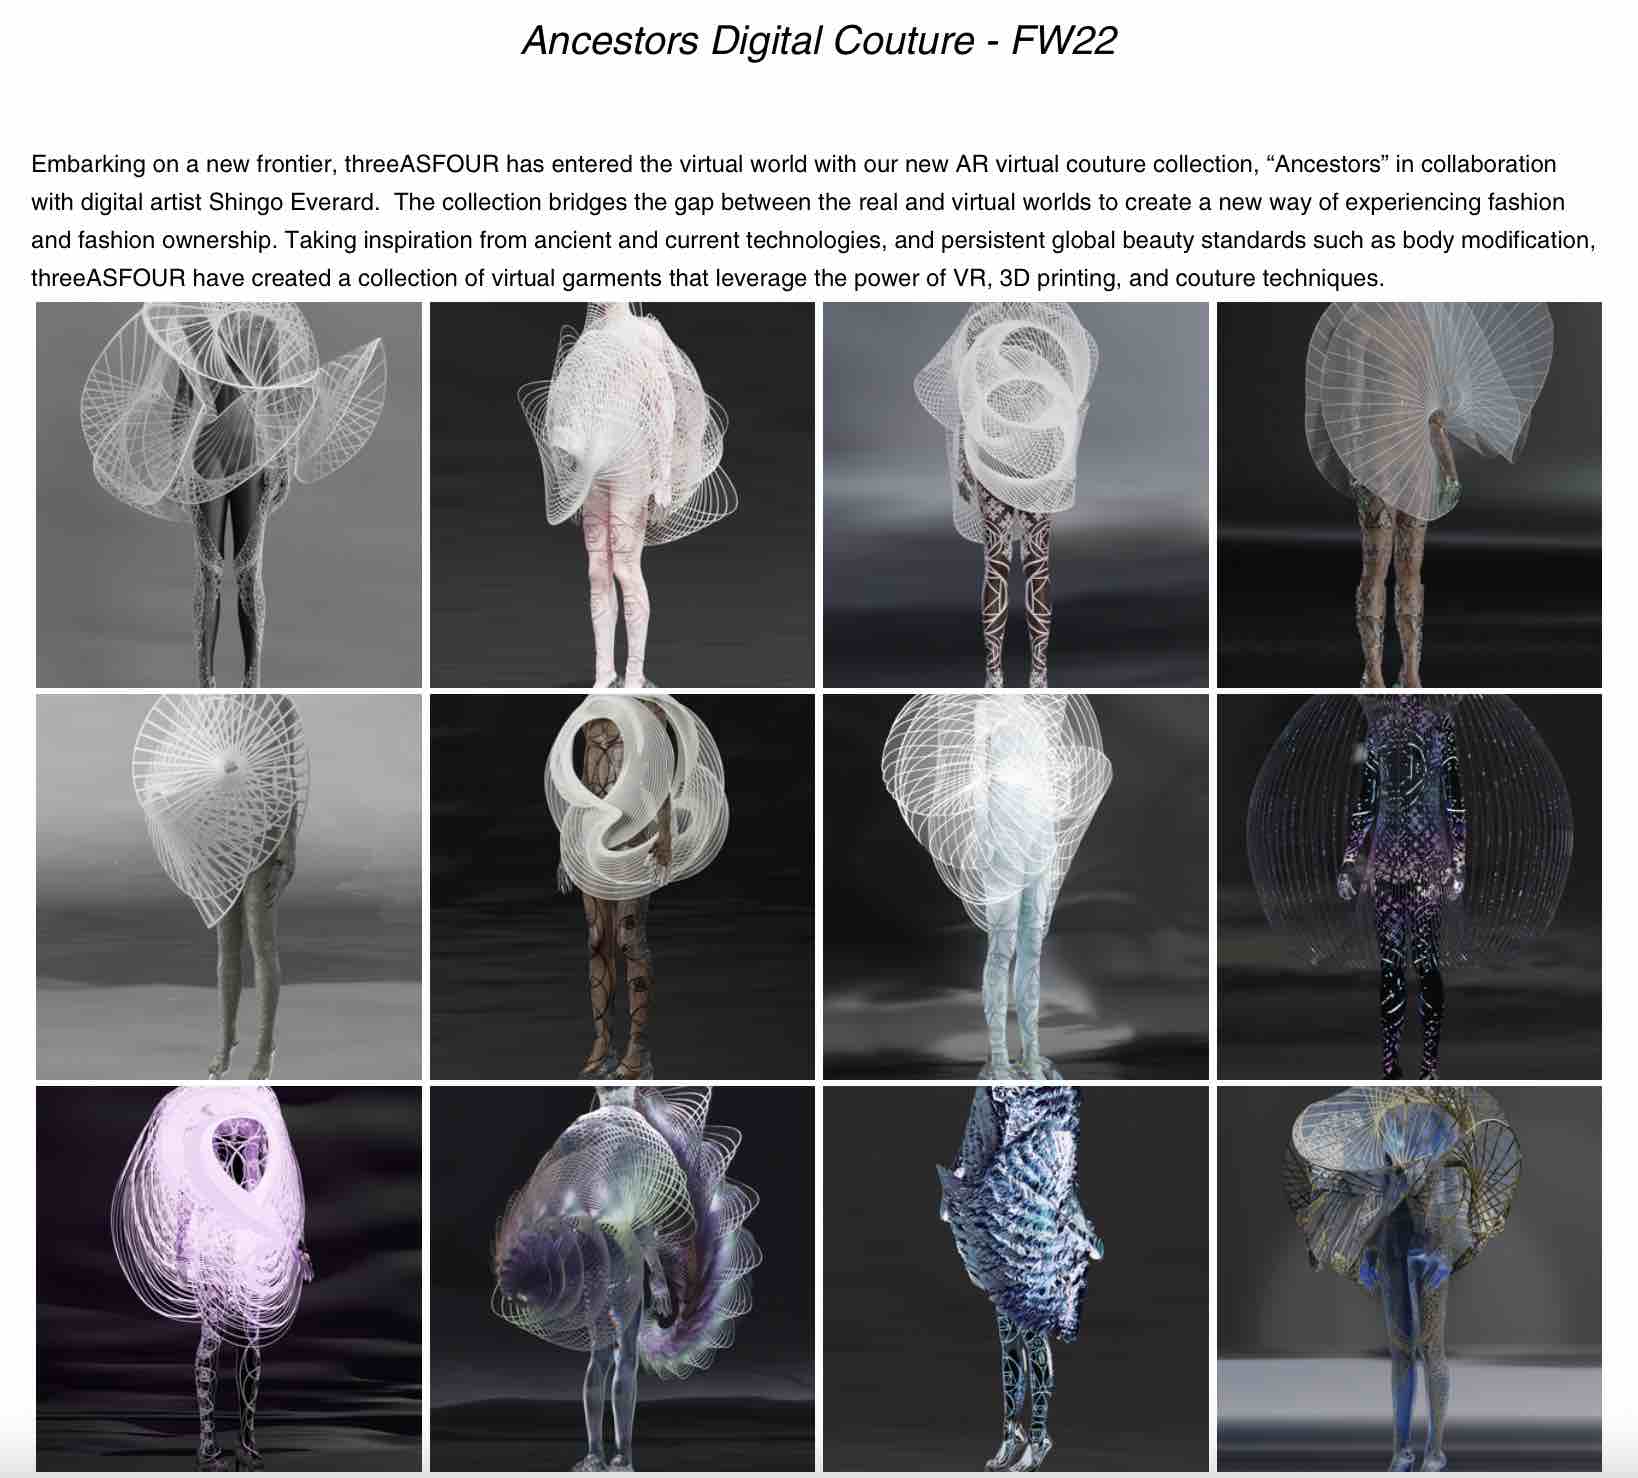
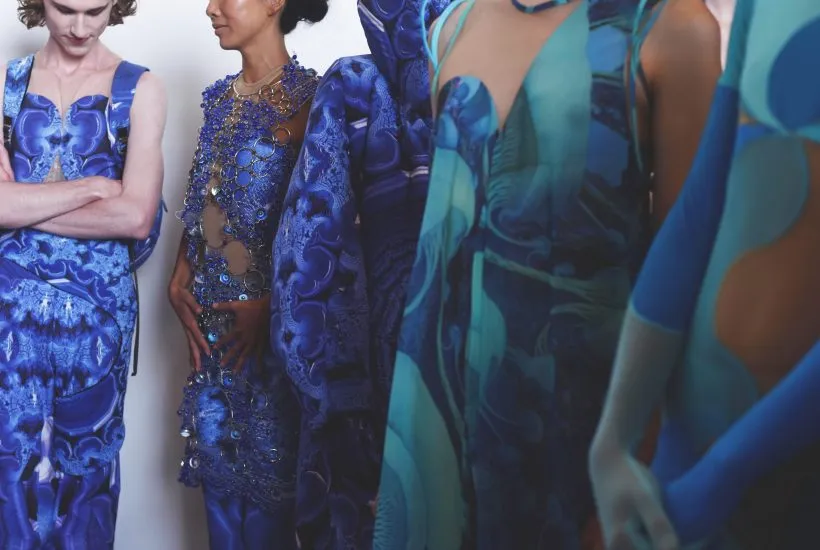
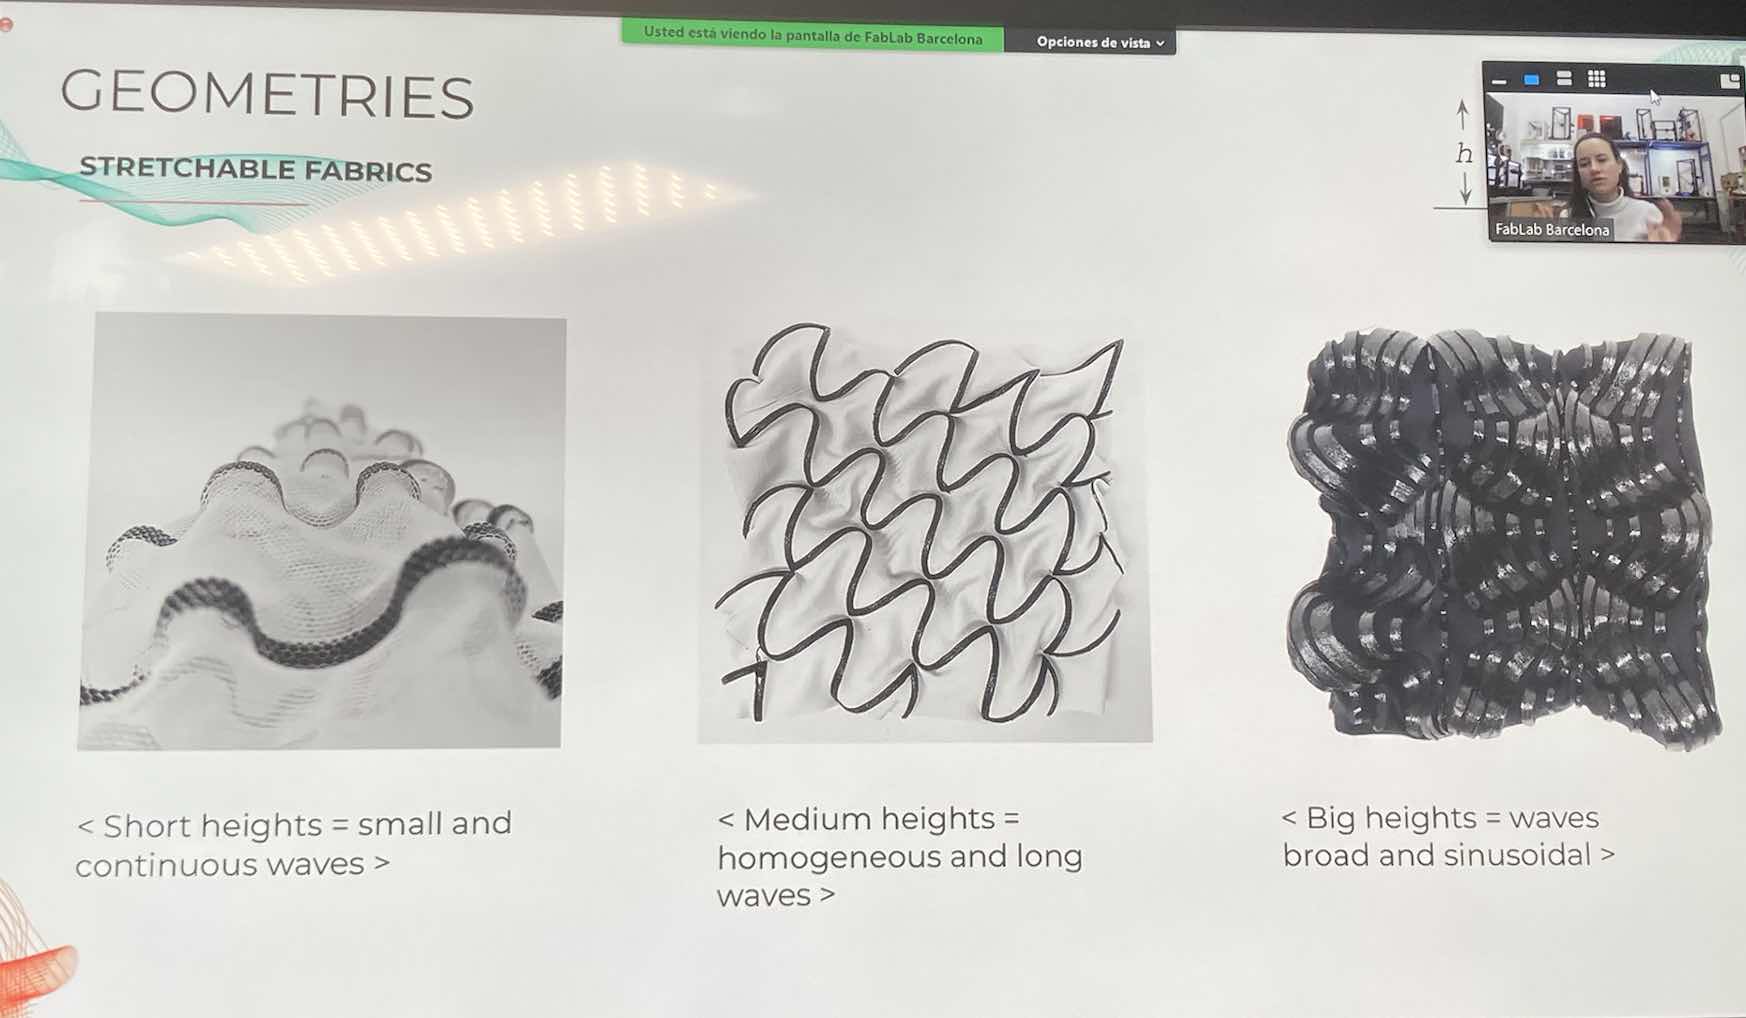
I was really inspired by these two references:
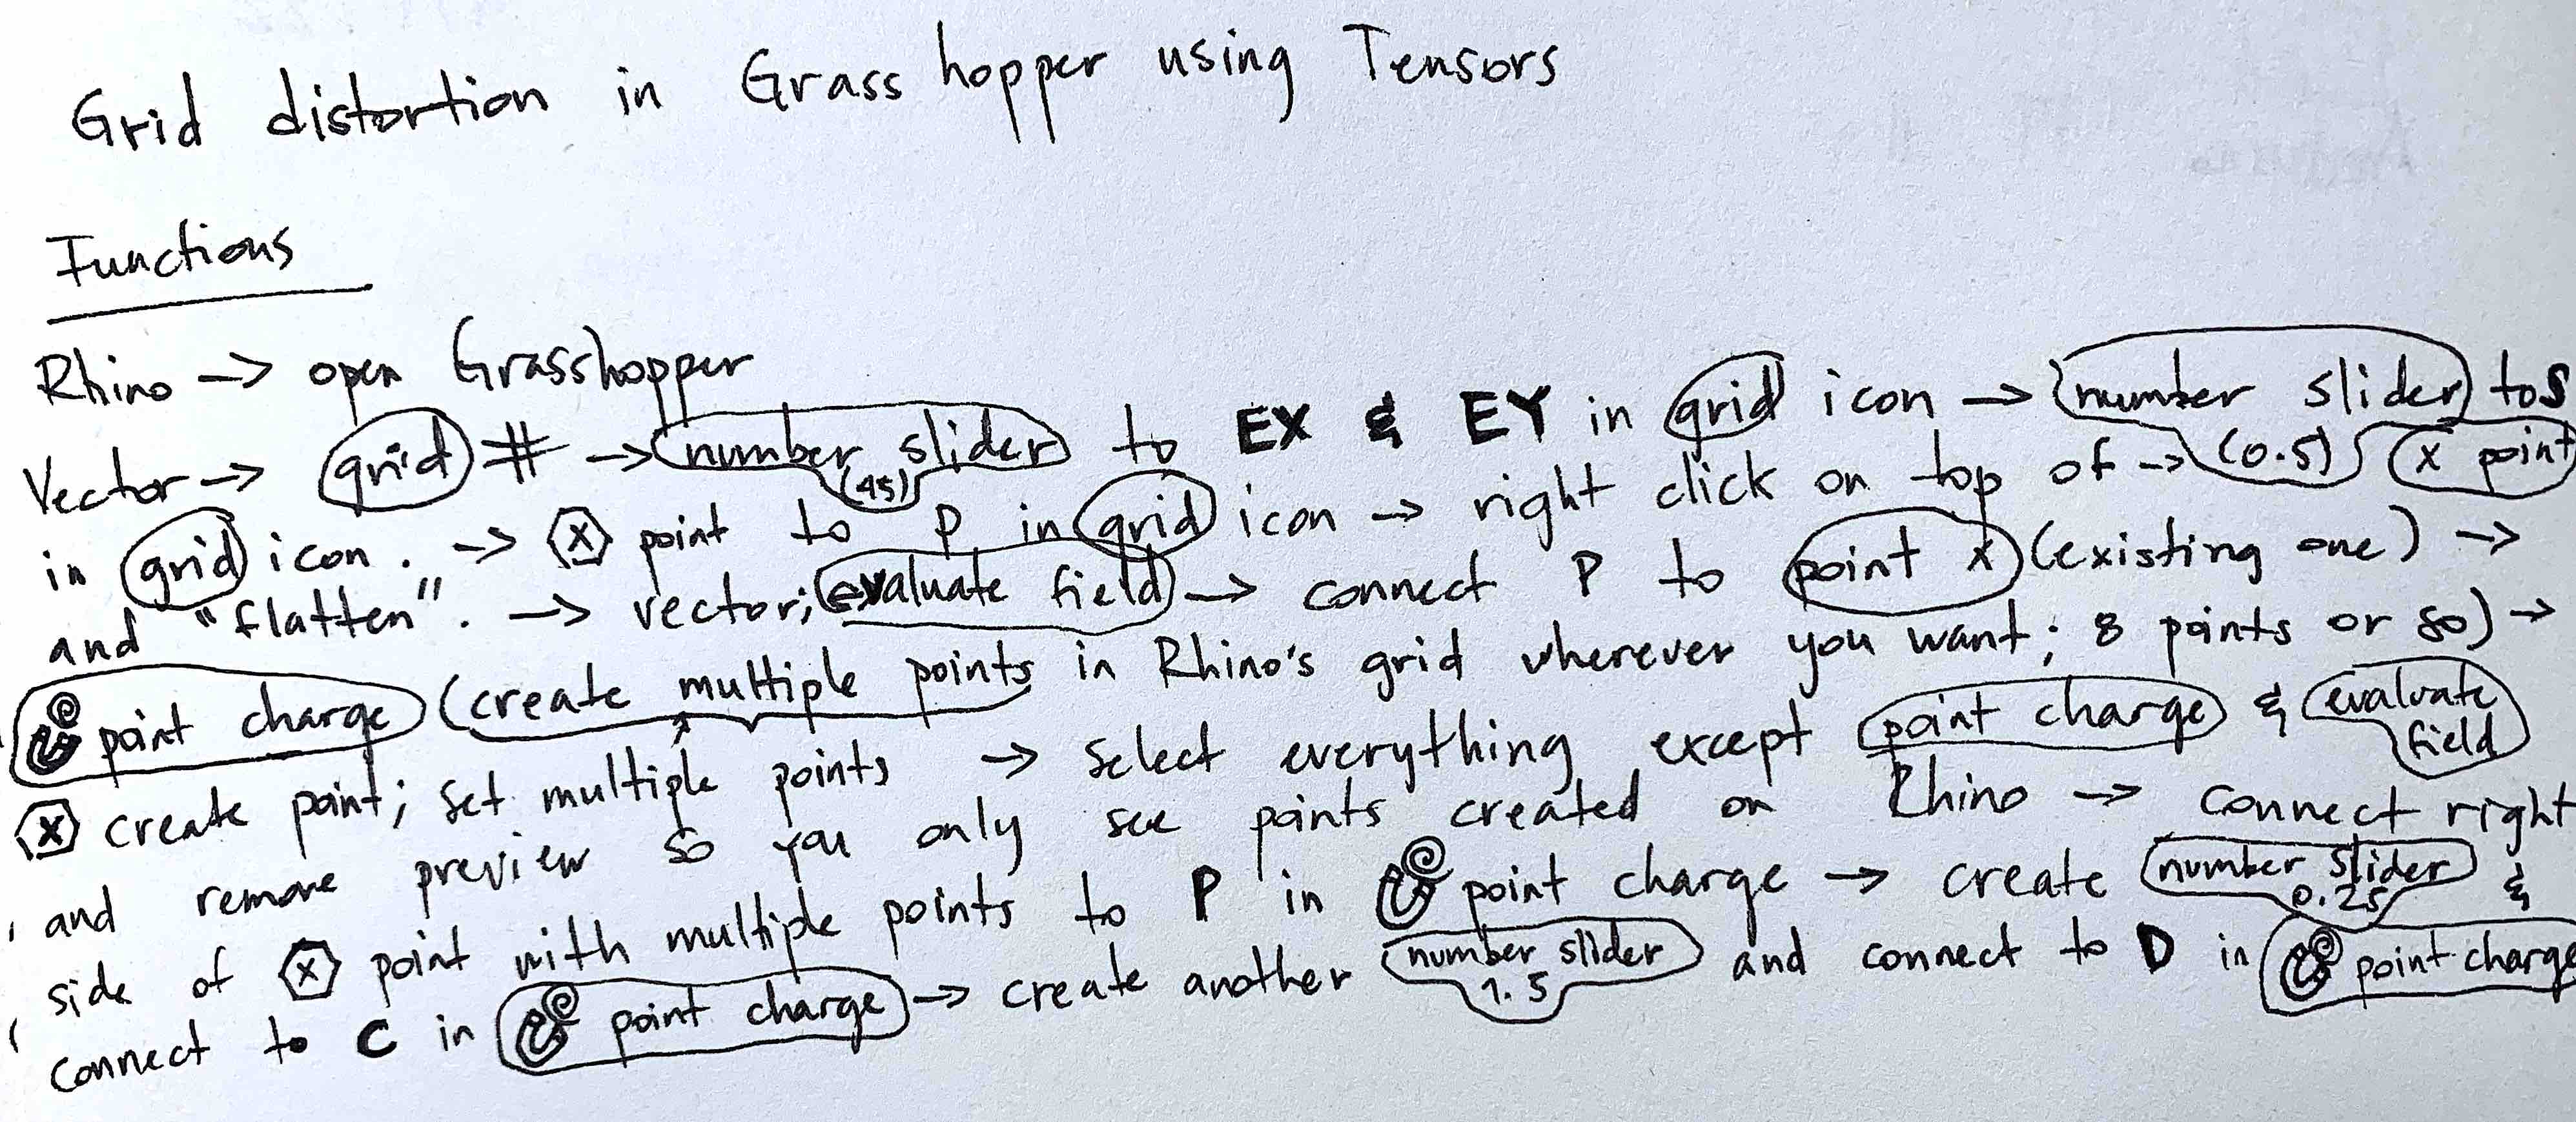
...so I decided that my model was going to be soft looking, a distorted grid. I´m into psychedelic shapes so I did this:

Steps


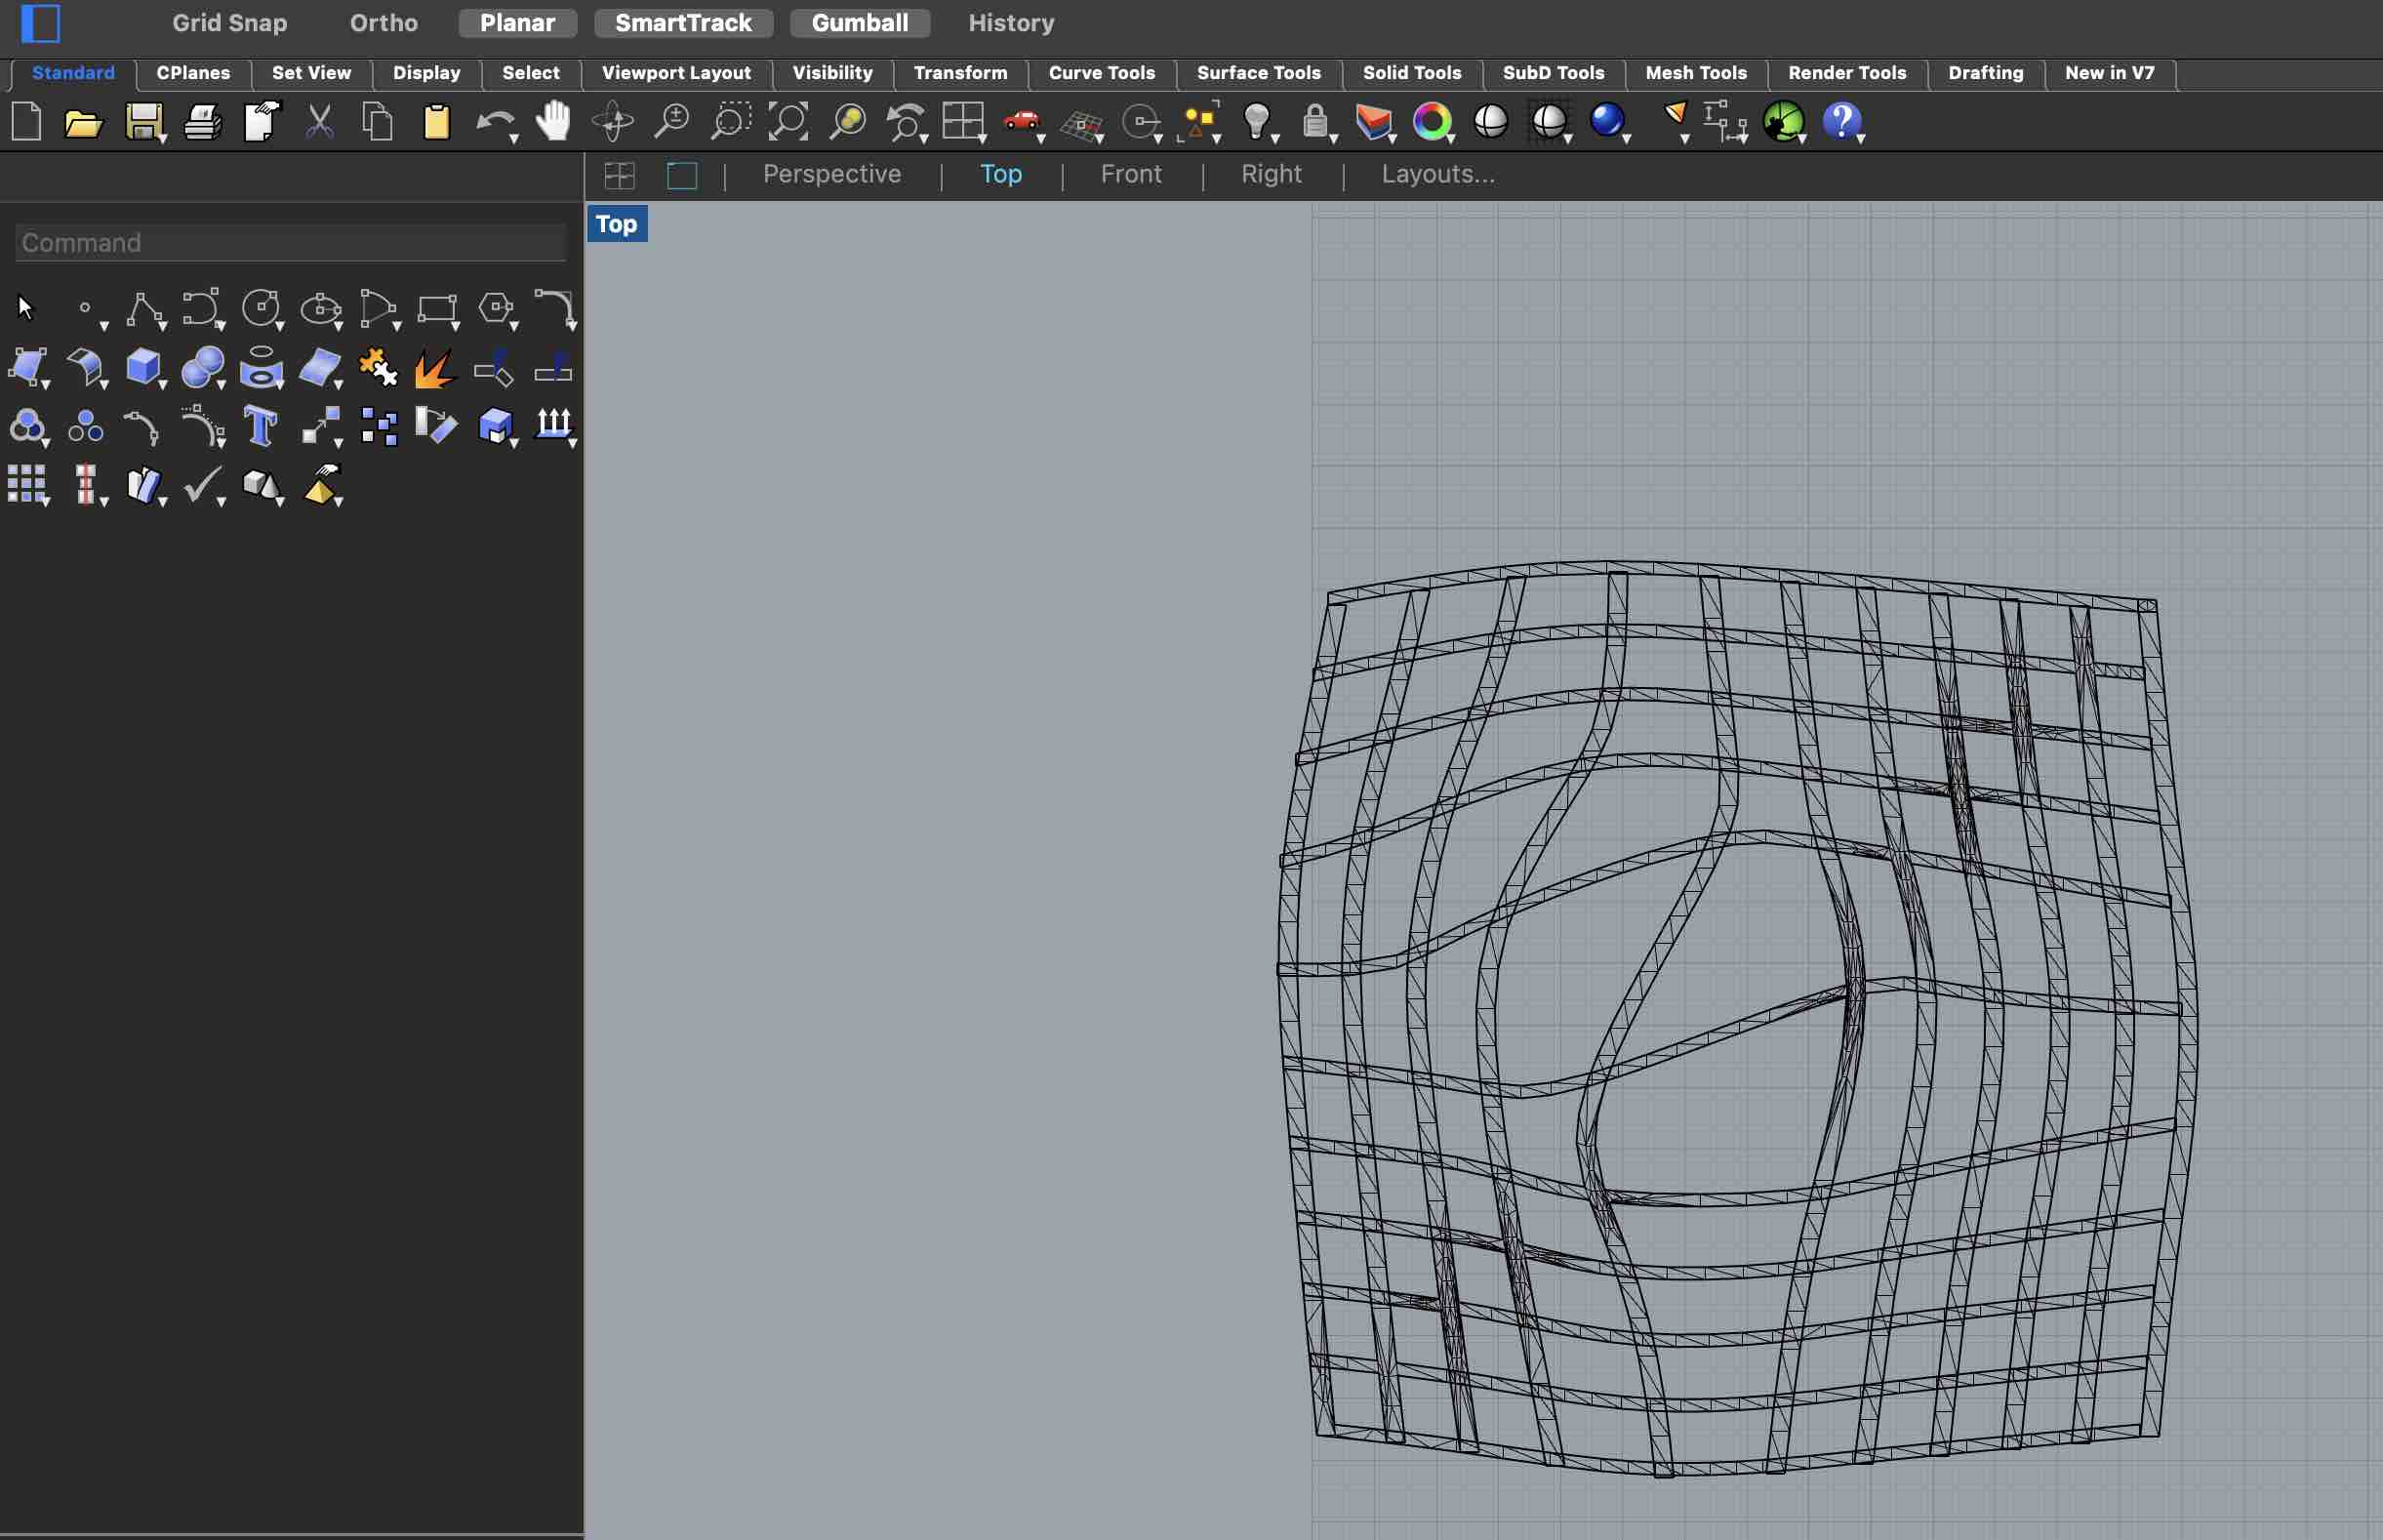
3D Models
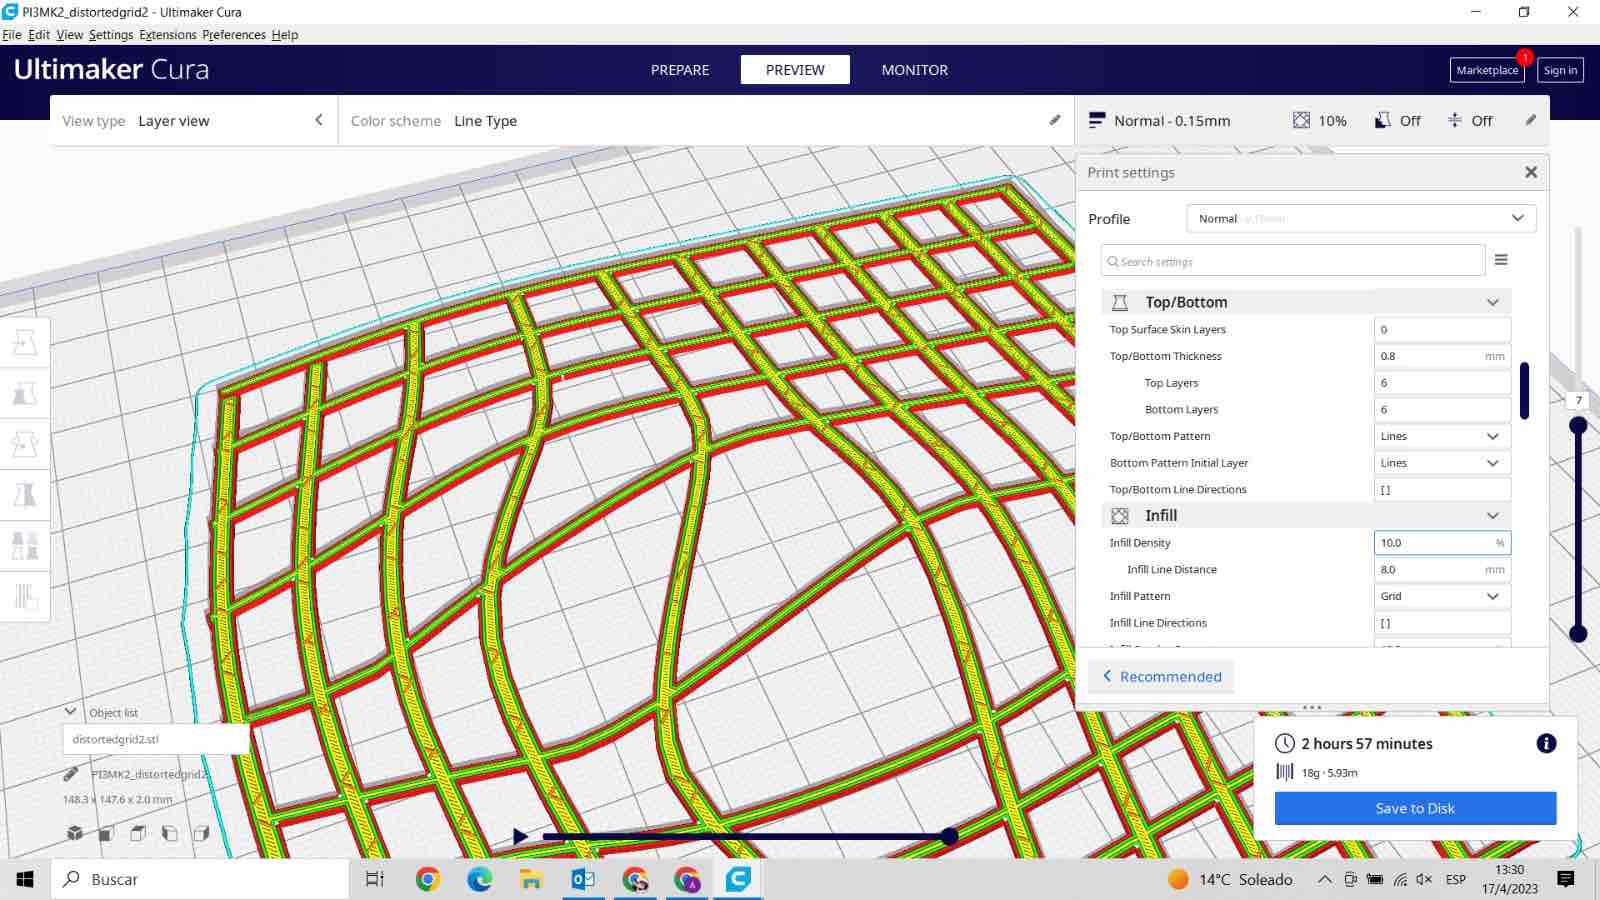
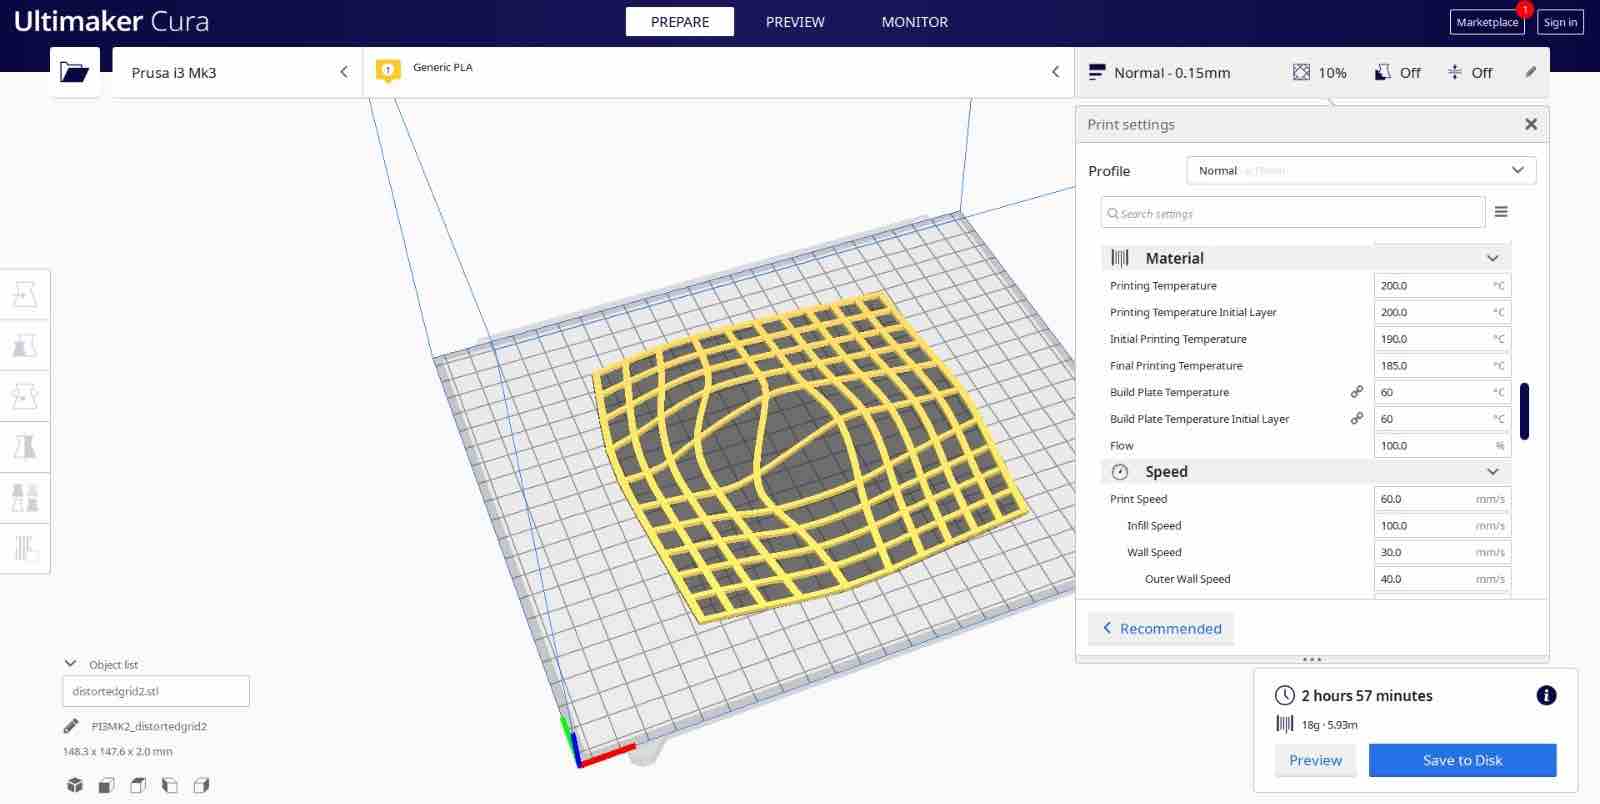
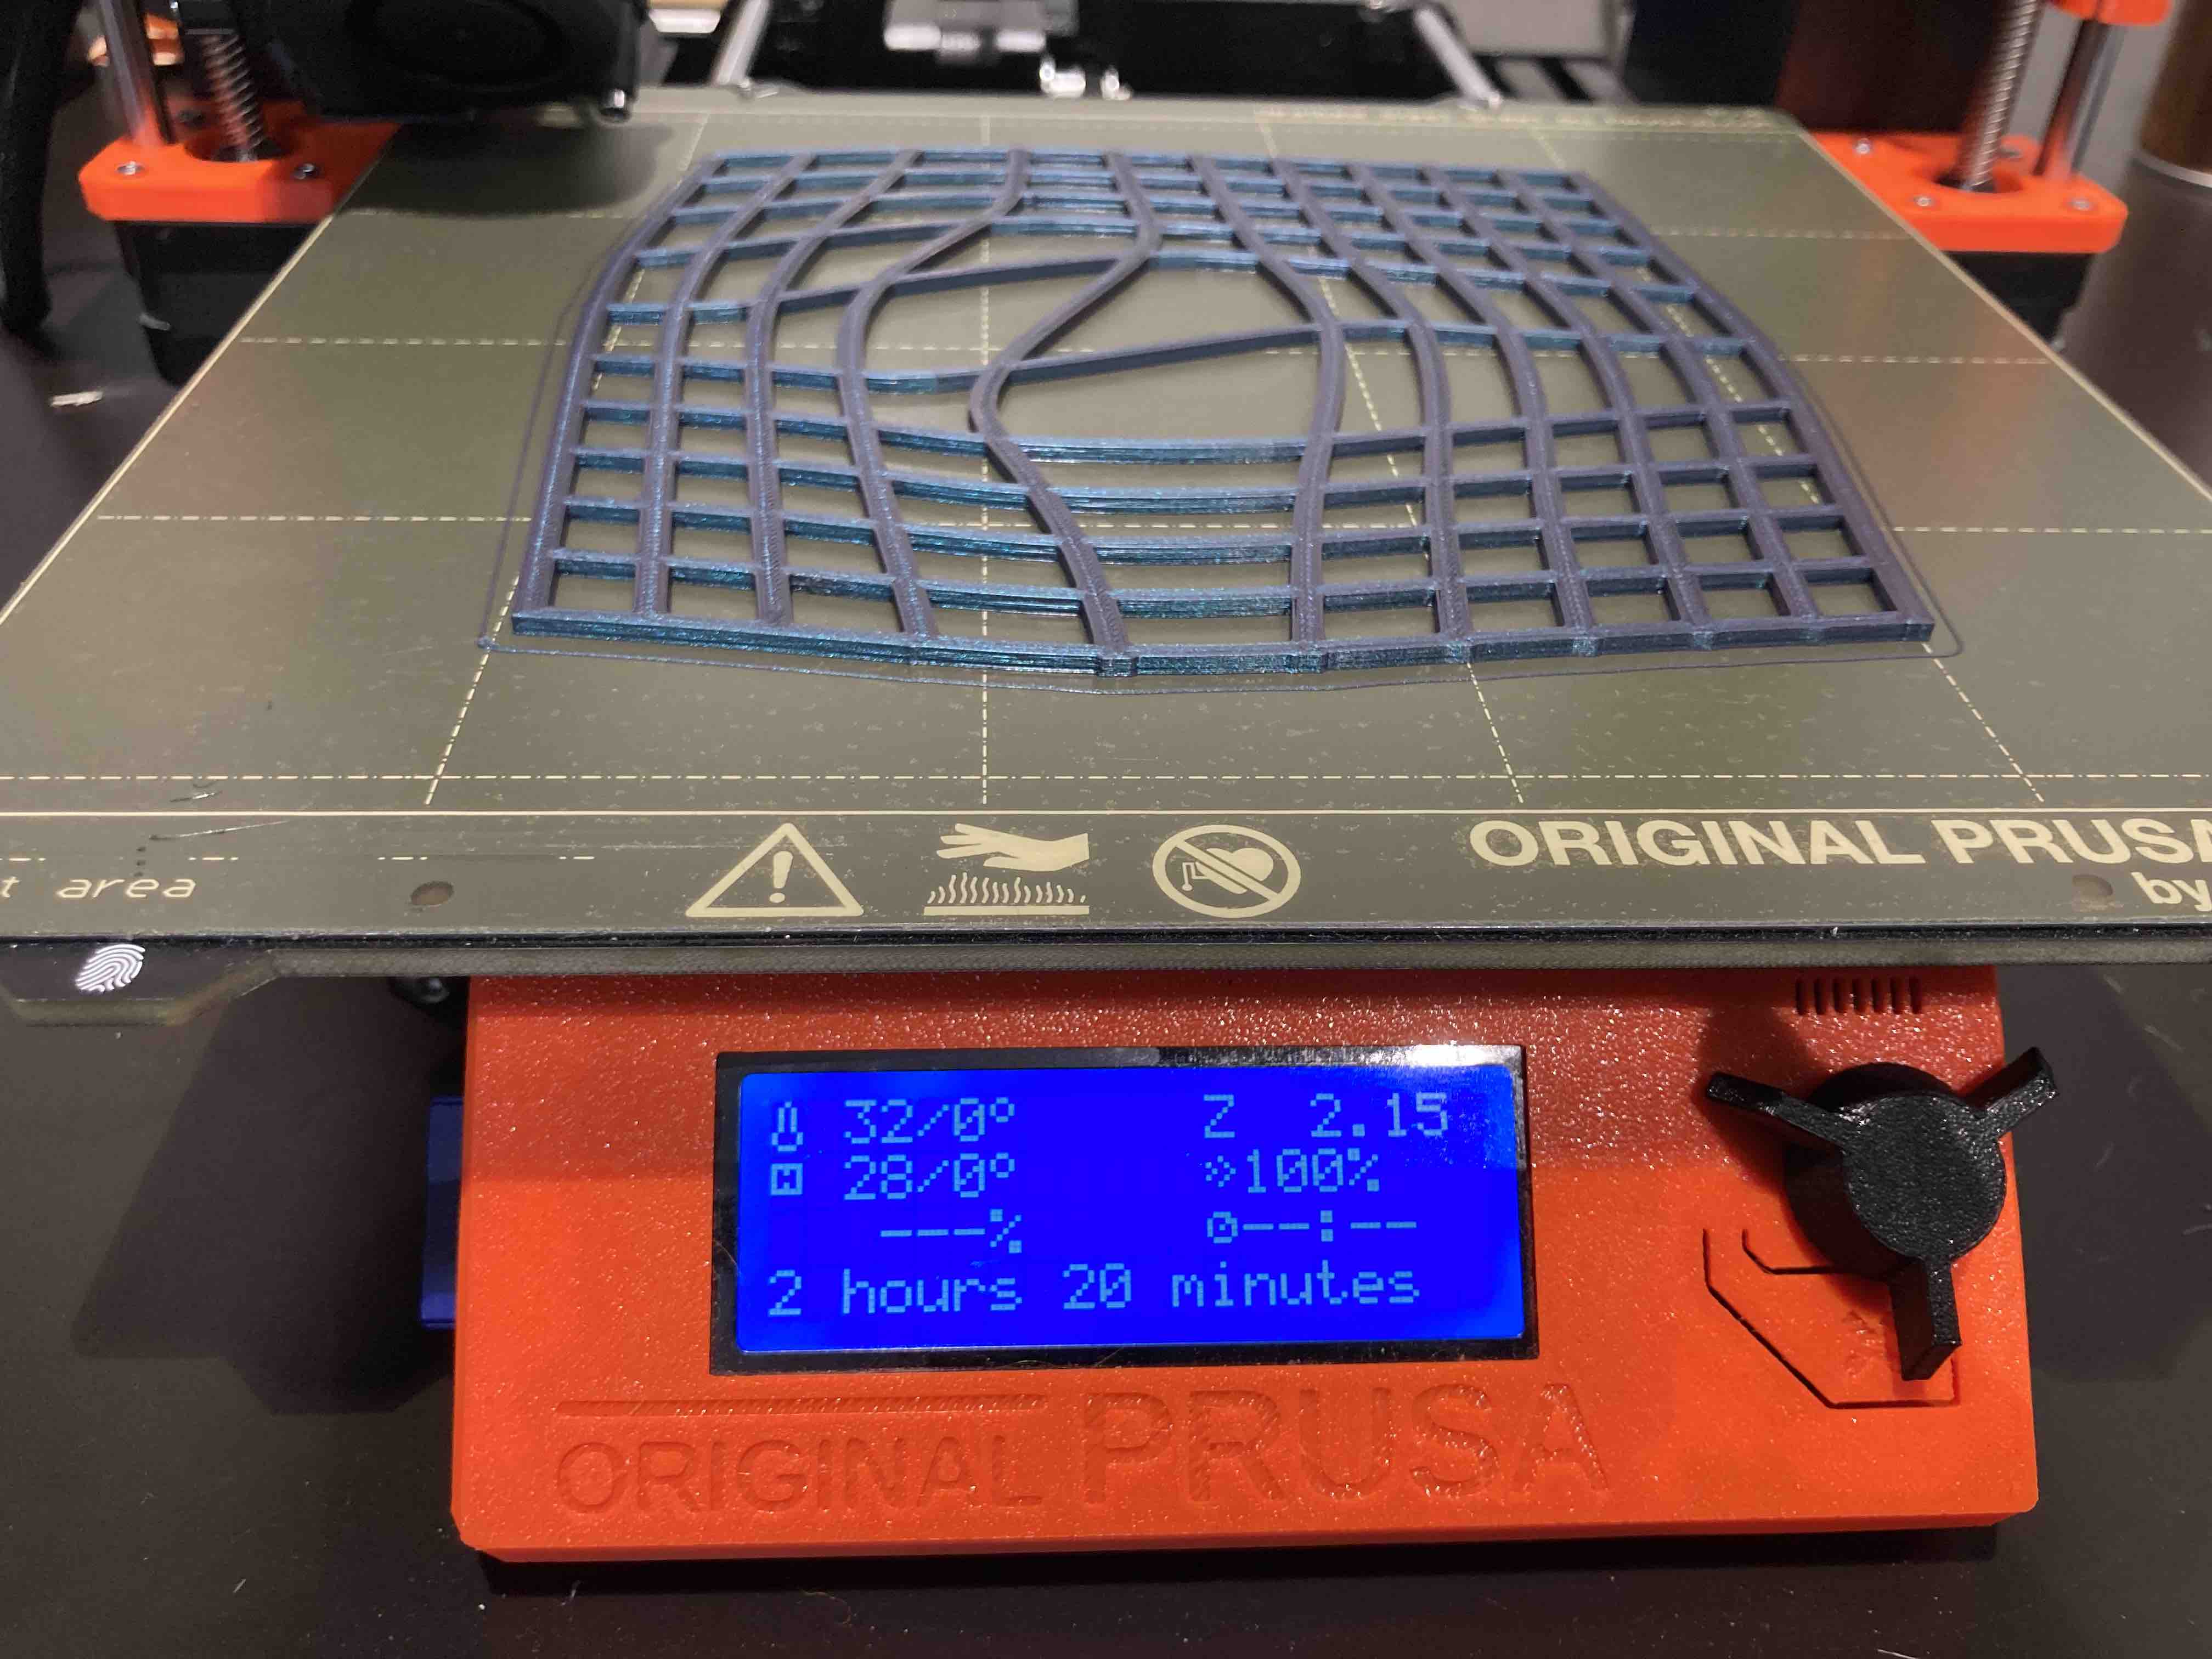
Fabrication
| Material name | Layer height | Extruder temperature | Temperature of bed | Speed | Retraction speed | Retraction distance |
|---|---|---|---|---|---|---|
| PLA | 0,2mm | 210ºC | 60ºC | 40mm/seg | 35mm/seg | 0,8mm/seg |
FILAMENTPLA 1.75