6. BioFabricating Materials
References & Inspiration
Beatriz Sandini
Ephemeral Fashion Lab
DOMINIQUE VIAL
Twist again
Tuesday's Class
Fabricademy 2022-23 Week 6 Biofabricating Materials
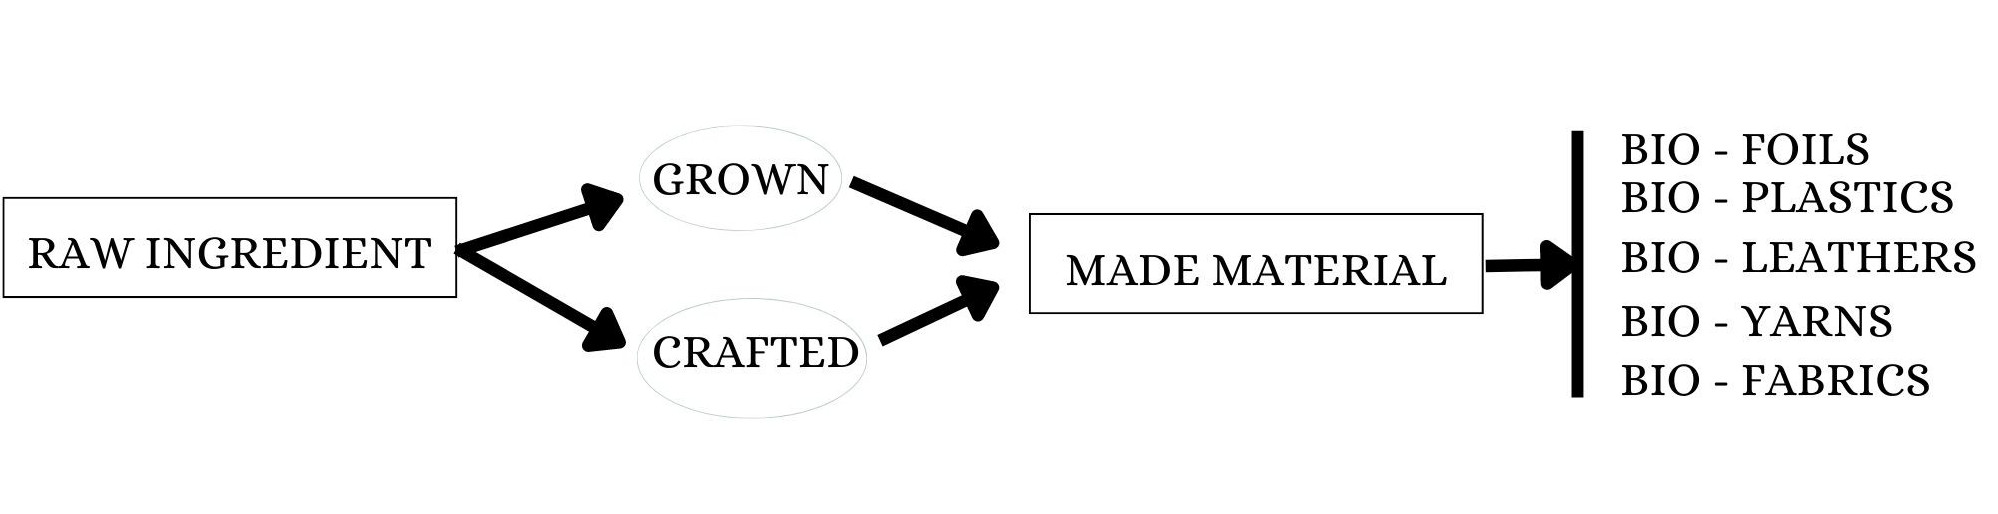
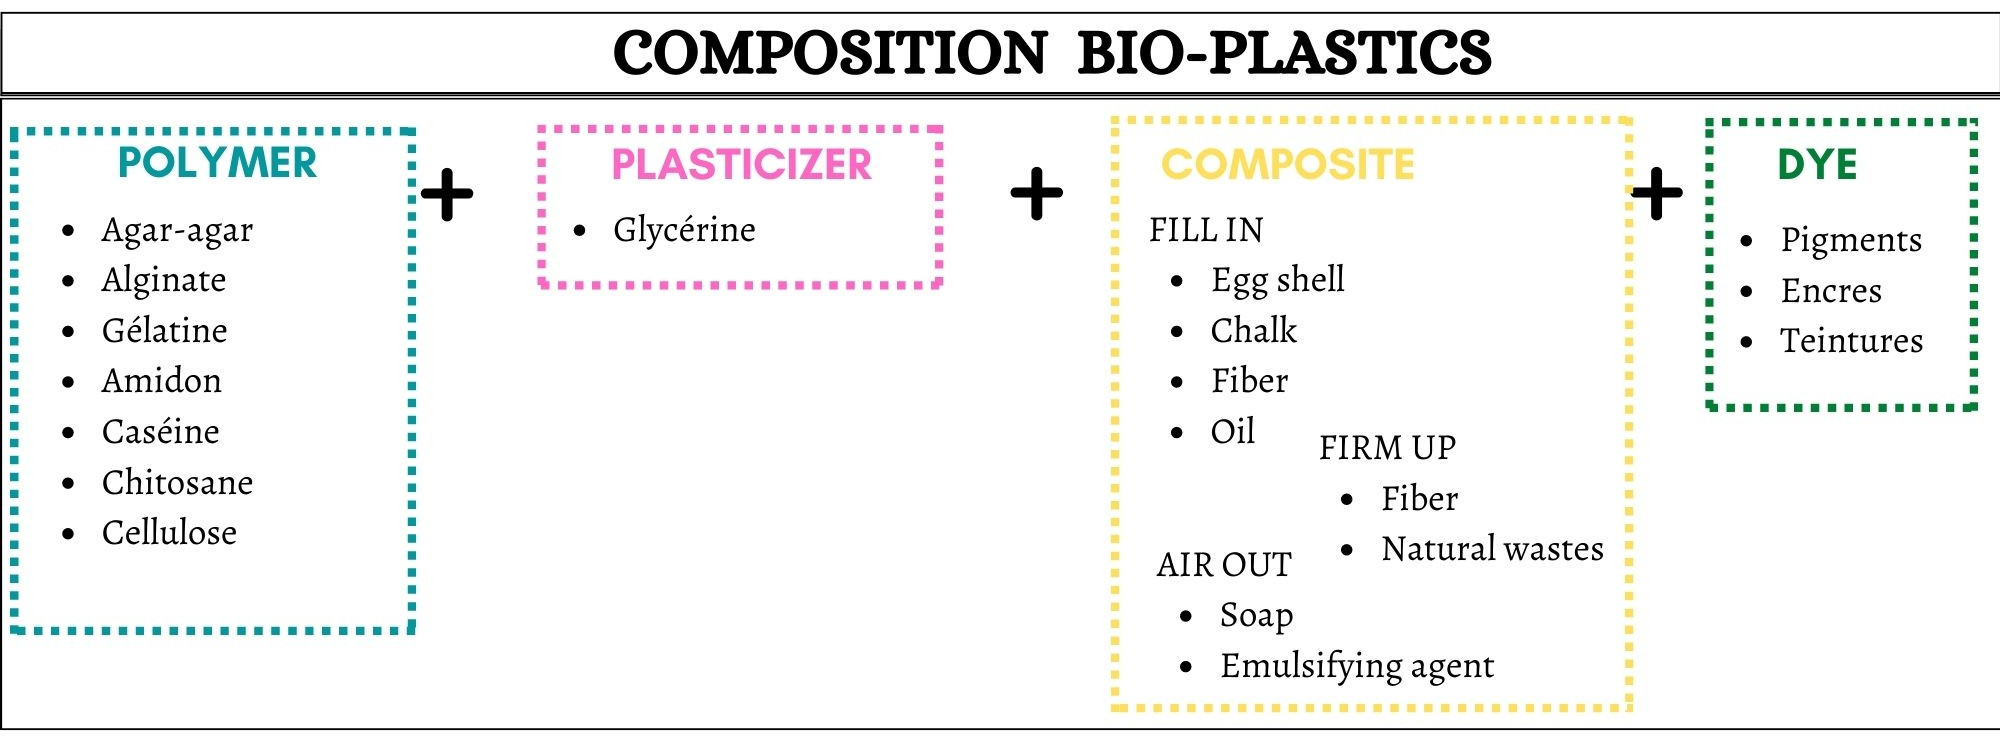
First of all, after the Cecilia Raspanti class, I have to sort out in my brain the forms of biomaterials and the MANY ways. Here you can find several diagrams.
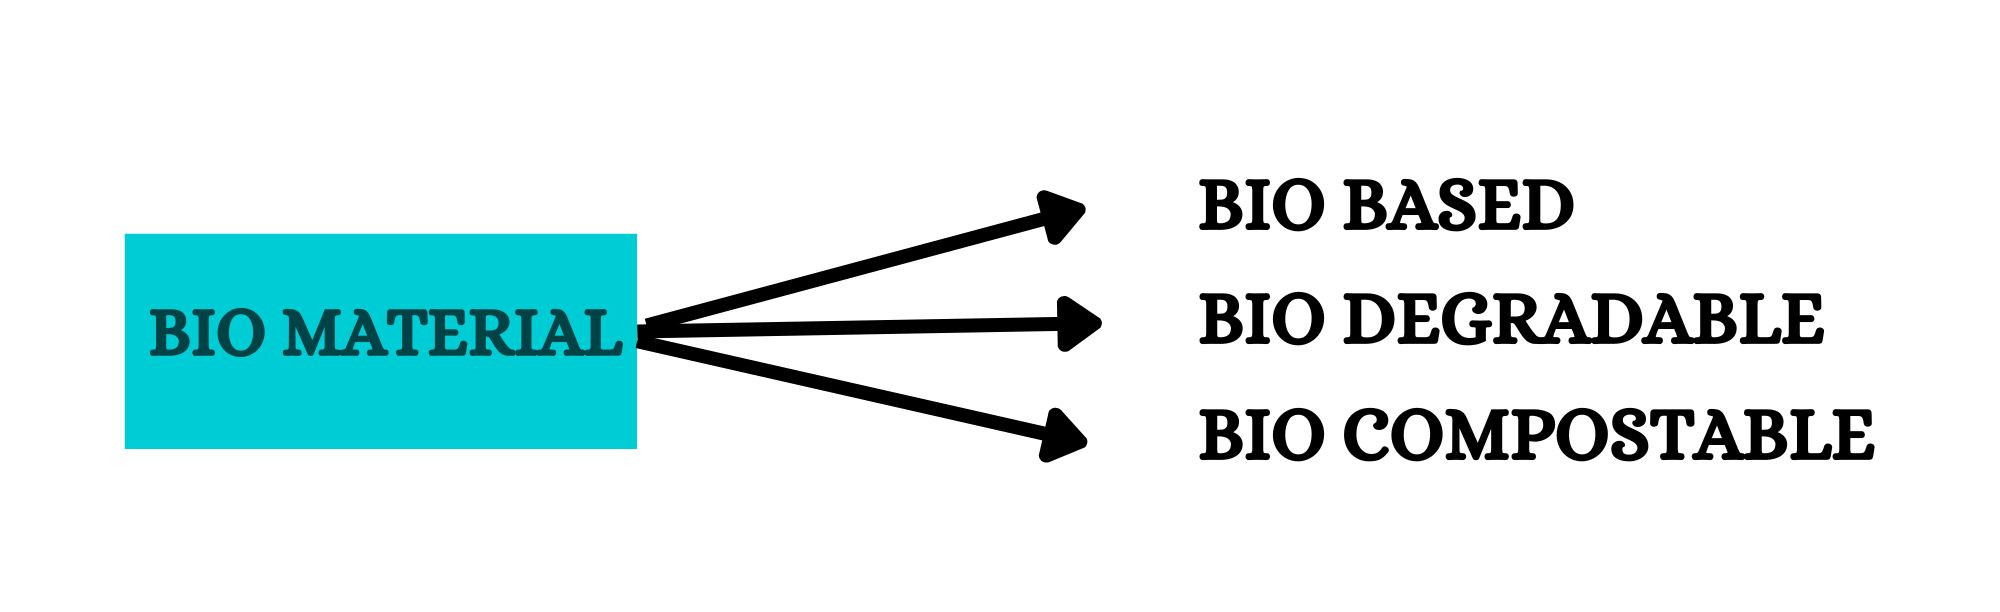
DEFINITIONS
- Bio = biological = biology = science of living beings.
- Plastic = foldable and easy to shape
- Polymère = several parties
- Cellulose = Material that composes the cell walls of plants, it is a natural polymer.
- Biofragmentation = biodegradation = fragmentation of a material caused by a biological process; it requires the presence of certain decomposing microorganisms and moisture.
- Bioplastique : biomaterials with the characteristics of plastics.
- Biodegradable : Susceptible d’être décomposé par des organismes vivants.
- Biosourced : material or a product made with raw material from biomass.
- Biomass : plant-based material used as fuel to produce heat or electricity. Examples are wood and wood residues, energy crops, agricultural residues, and waste from industry, farms and households Since biomass can be used as a fuel directly, some people use the words biomass and biofuel interchangeably. Others subsume one term under the other. Government authorities in the US and the EU define biofuel as a liquid or gaseous fuel, used for transportation. The European Union's Joint Research Centre use the concept solid biofuel and define it as raw or processed organic matter of biological origin used for energy, for instance firewood, wood chips and wood pellets.(Wikipédia)
Track 1 : Kombucha
In Le textile Lab, we started a kombucha last week. Surzhana explained to us all the steps to follow to start a kombucha.
Kombucha can be made from wine, beer, tea, hibiscus etc. Here we realized Kombucha with black tea, because we want to create dark fabrics.
* 1L Water
* 10% Sugar
* Cider vinegar
* 1,5g - 3g tea (black or green)
* Scoby (which you can buy on Kombucha shop)
* Casserol
* Cooking plate
* Scissors
* Spoon
* 1 large container  (the width of the tub will become the size of the kombucha)
* 1 towel to cover the container
* Thread or elastic to hold the towel to the edge of the container
* Heating mat (optional)
* Measure all ingredients (3L water - 300g sugar - 8g tea)
* Mix water and sugar in the casserol
* Heat until water boils
* Put the tea in a bag and brew it in the casserol
* Let cool for 2 hours
* Put it in the large container
* Add the scoby and its liquid.
* Preferably, add a pot on top of the scoby so that it does not rest on the surface.
* Measure Ph with phmeter. Ph should be between 2.5 and 3.5. If the Ph is too much, adding vinegar
* Cover with the towel. The lid should not be airtight.
* Waiting - Kombucha will grown!
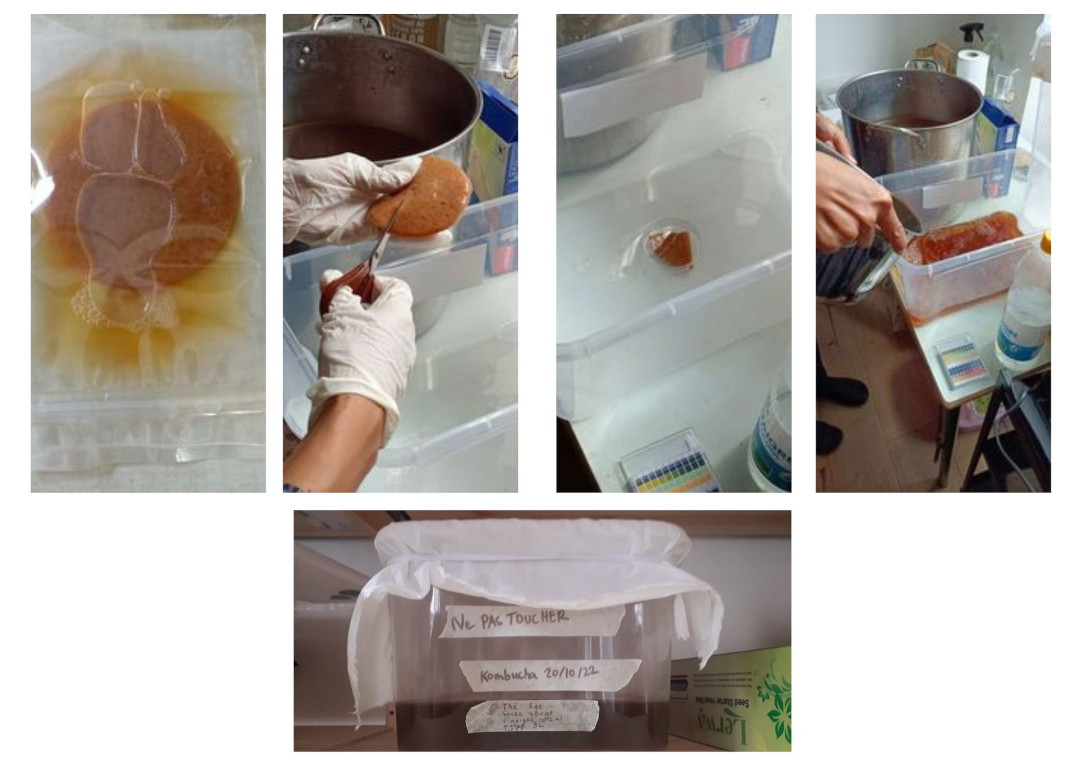
Unfortunately, our Kombucha got moldy because we had placed it in our biolab near drying biomaterials. We will have to repeat the experience. The kombucha was put in a vermicomposter to test its degradability.
Track 2 : Project of a pair of biomaterial earrings
For this project, I thinked with a specific form of object: a small, light object, an earring, round, opaque and very intense in color, pop close to the skin but not against it. After touching several materials, I didn't feel a soft material or one that I would want to put on my skin. So, this directed me to the accessory and the idea of an ear pendant.
STEP 1 : Finding the right biomaterial
TEST 1 Gelatin & Agar-Agar
My first step was to try two recipes with two different polymers: one with gelatin and one with agar-agar. I wanted to see how to work their different polymers and have two different biomaterial results. Furthermore, I chose a clay as a composite and also as a dye. I have used clay in my own cosmetics before. So this biomaterial will be able to be close to the skin without fear of having an allergic reaction.
Recipe GELATIN + GLYCEROL + CLAY (from the Bioplastic CookBook by Margaret Donne)
* 2 gr Gelatin
* 1 gr Glycerol
* 0.83 gr Red Clay
* 10 ml Water
* a few drops of sunflower oil
* Casserol
* Hot plate
* Spoon
* a mould with a little oil at the bottom
* Measure all ingredients
* Mix gelatin, water, glycerol in the casserol
* Heat to 70° degrees and mix. Gelatin must be completely dissolved.
* Add clay
* Mix well with the spoon, the desired texture is glossy. The temperature should not exceed 80° degrees.
* Stir for 4 minutes
* Pour the liquid into the mould.
* Let it dry
Warning
There was too little in my casserol, so the gelatin dried out quickly. I lost a lot of material in the bottom of my casserol.
Recipe AGAR-AGAR + GLYCEROL + CLAY (from the Bioplastic CookBook by Margaret Donne)
* 1 gr Agar-agar
* 2.7 gr Glycerol
* 5 gr Red Clay
* 40 ml Water
* a few drops of sunflower oil
* Casserol
* Hot plate
* Spoon
* a mould with a little oil at the bottom
* Measure all ingredients
* Mix Agar-agar, water, glycerol in the casserol
* Heat to 70° degrees and mix. Agar-agar must be completely dissolved.
* Add clay
* Mix well with the spoon, the desired texture is viscous. The temperature should not exceed 80° degrees.
* Stir for 4 minutes
* Pour the liquid into the mould.
* Let it dry
Advice
The clay must be very well mixed. Otherwise, pieces of clay will remain in the casserol.
Where do Ingredients come from ?
- Agar-agar = algae
- Gelatin = animal skin or bones (pork, beef, fish)
- Vegetal Glycérol = This video show how glycerol extracted to oil.
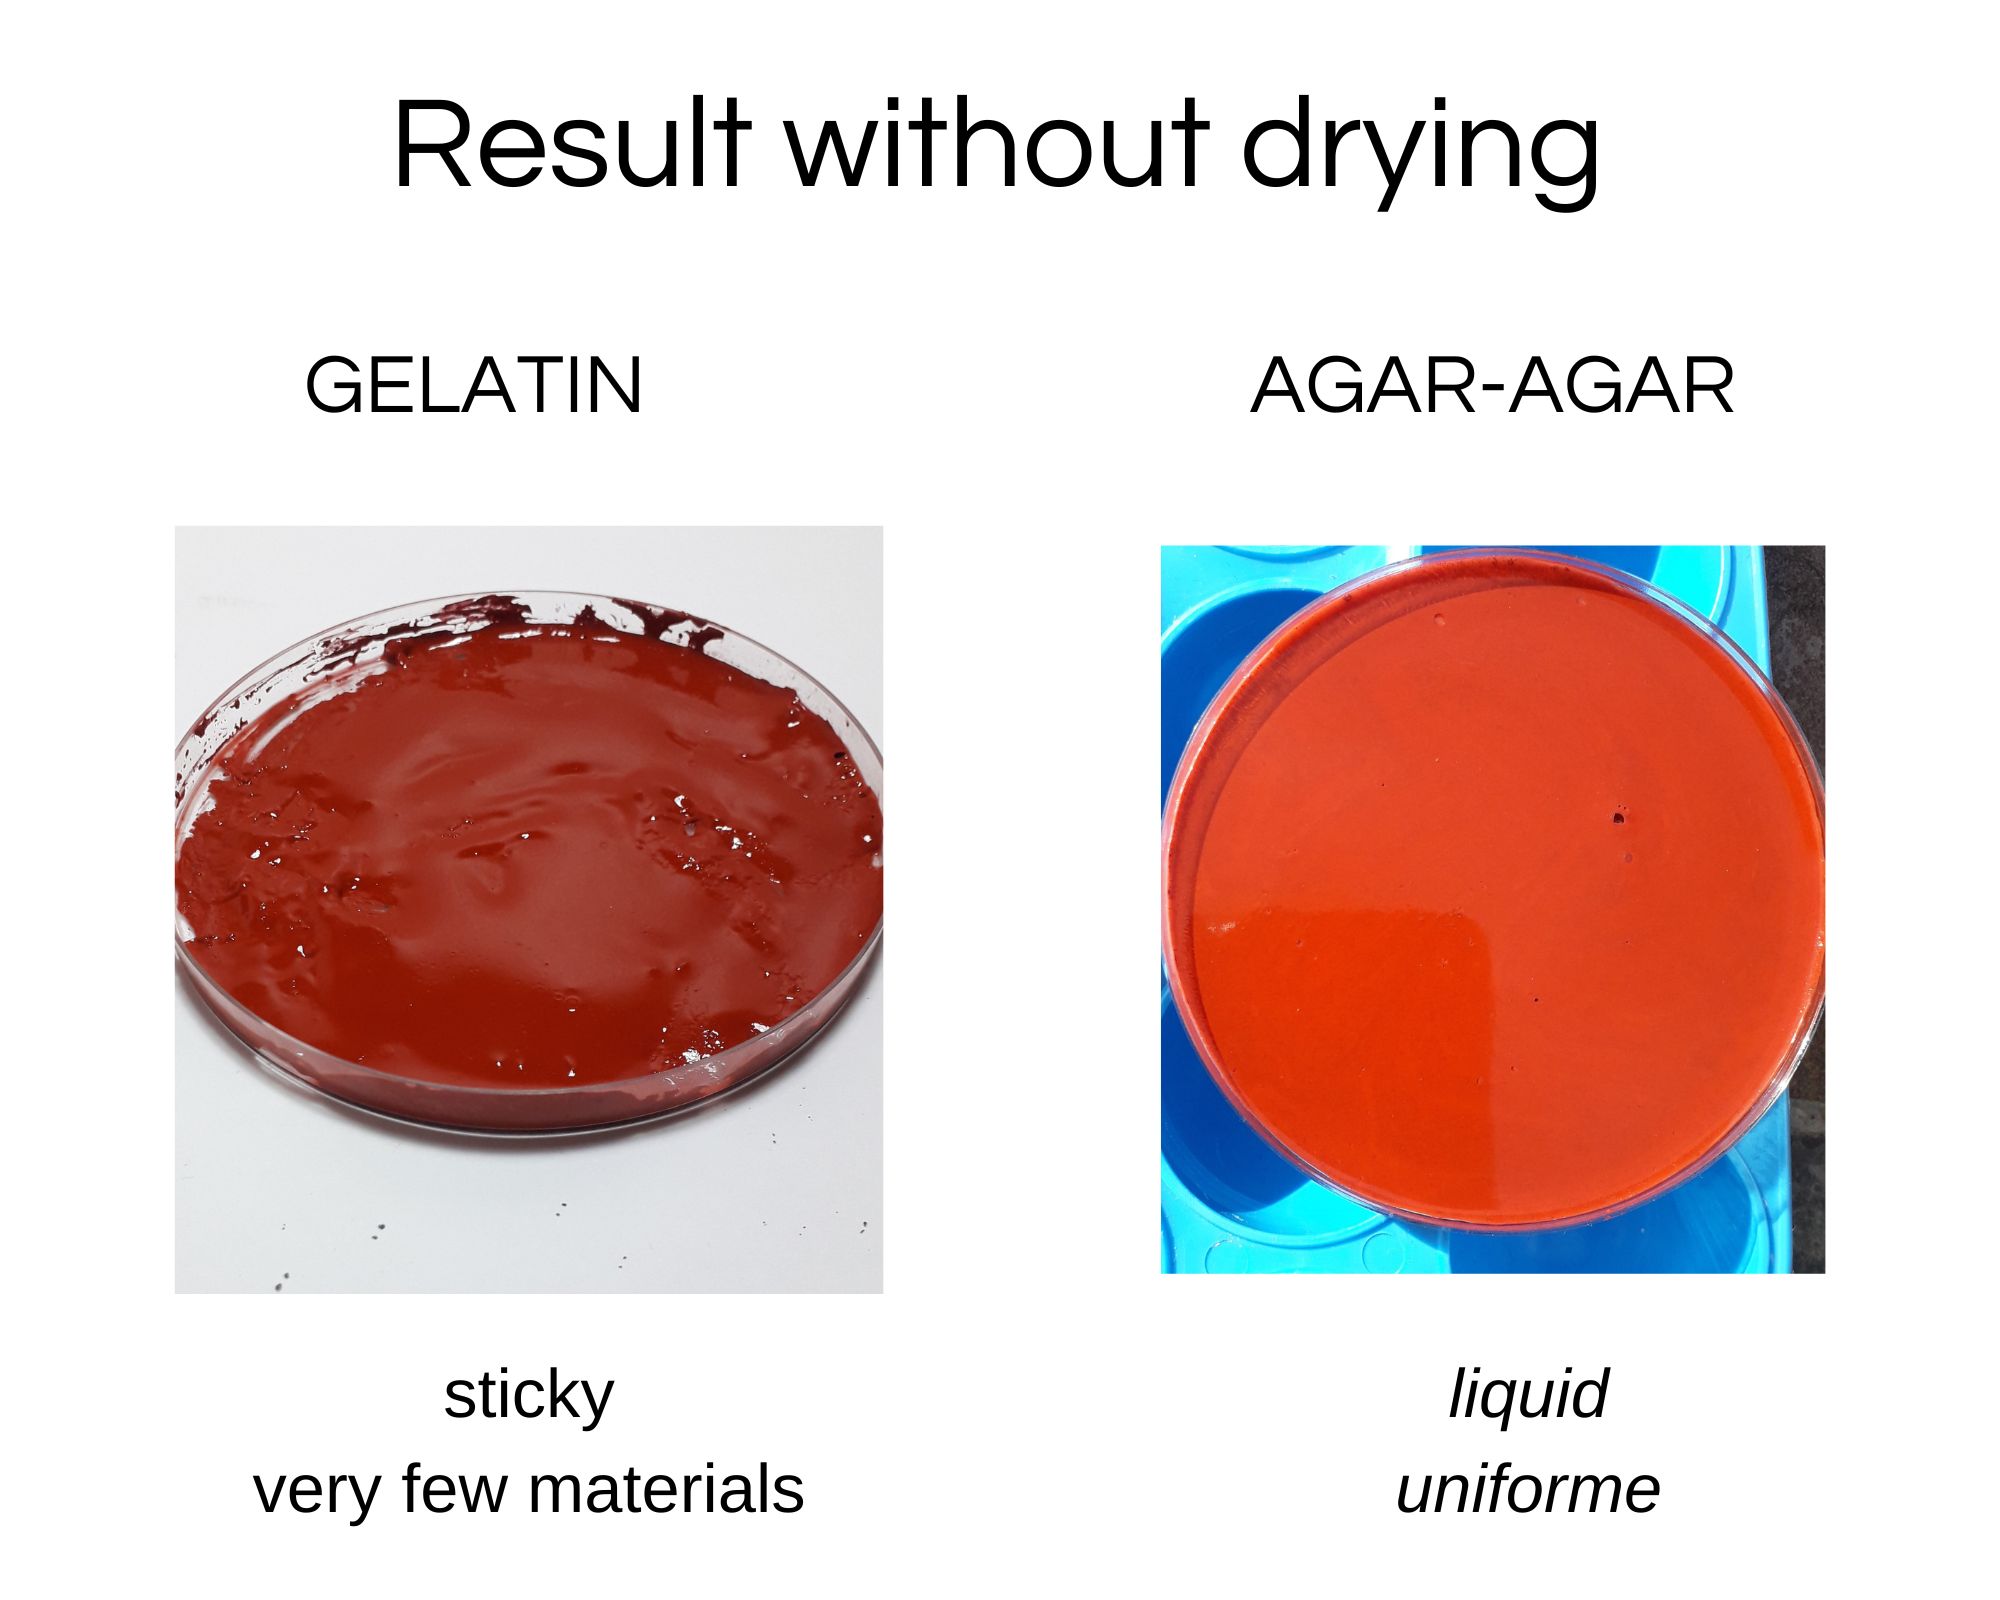
OBSERVATIONS TEST 1
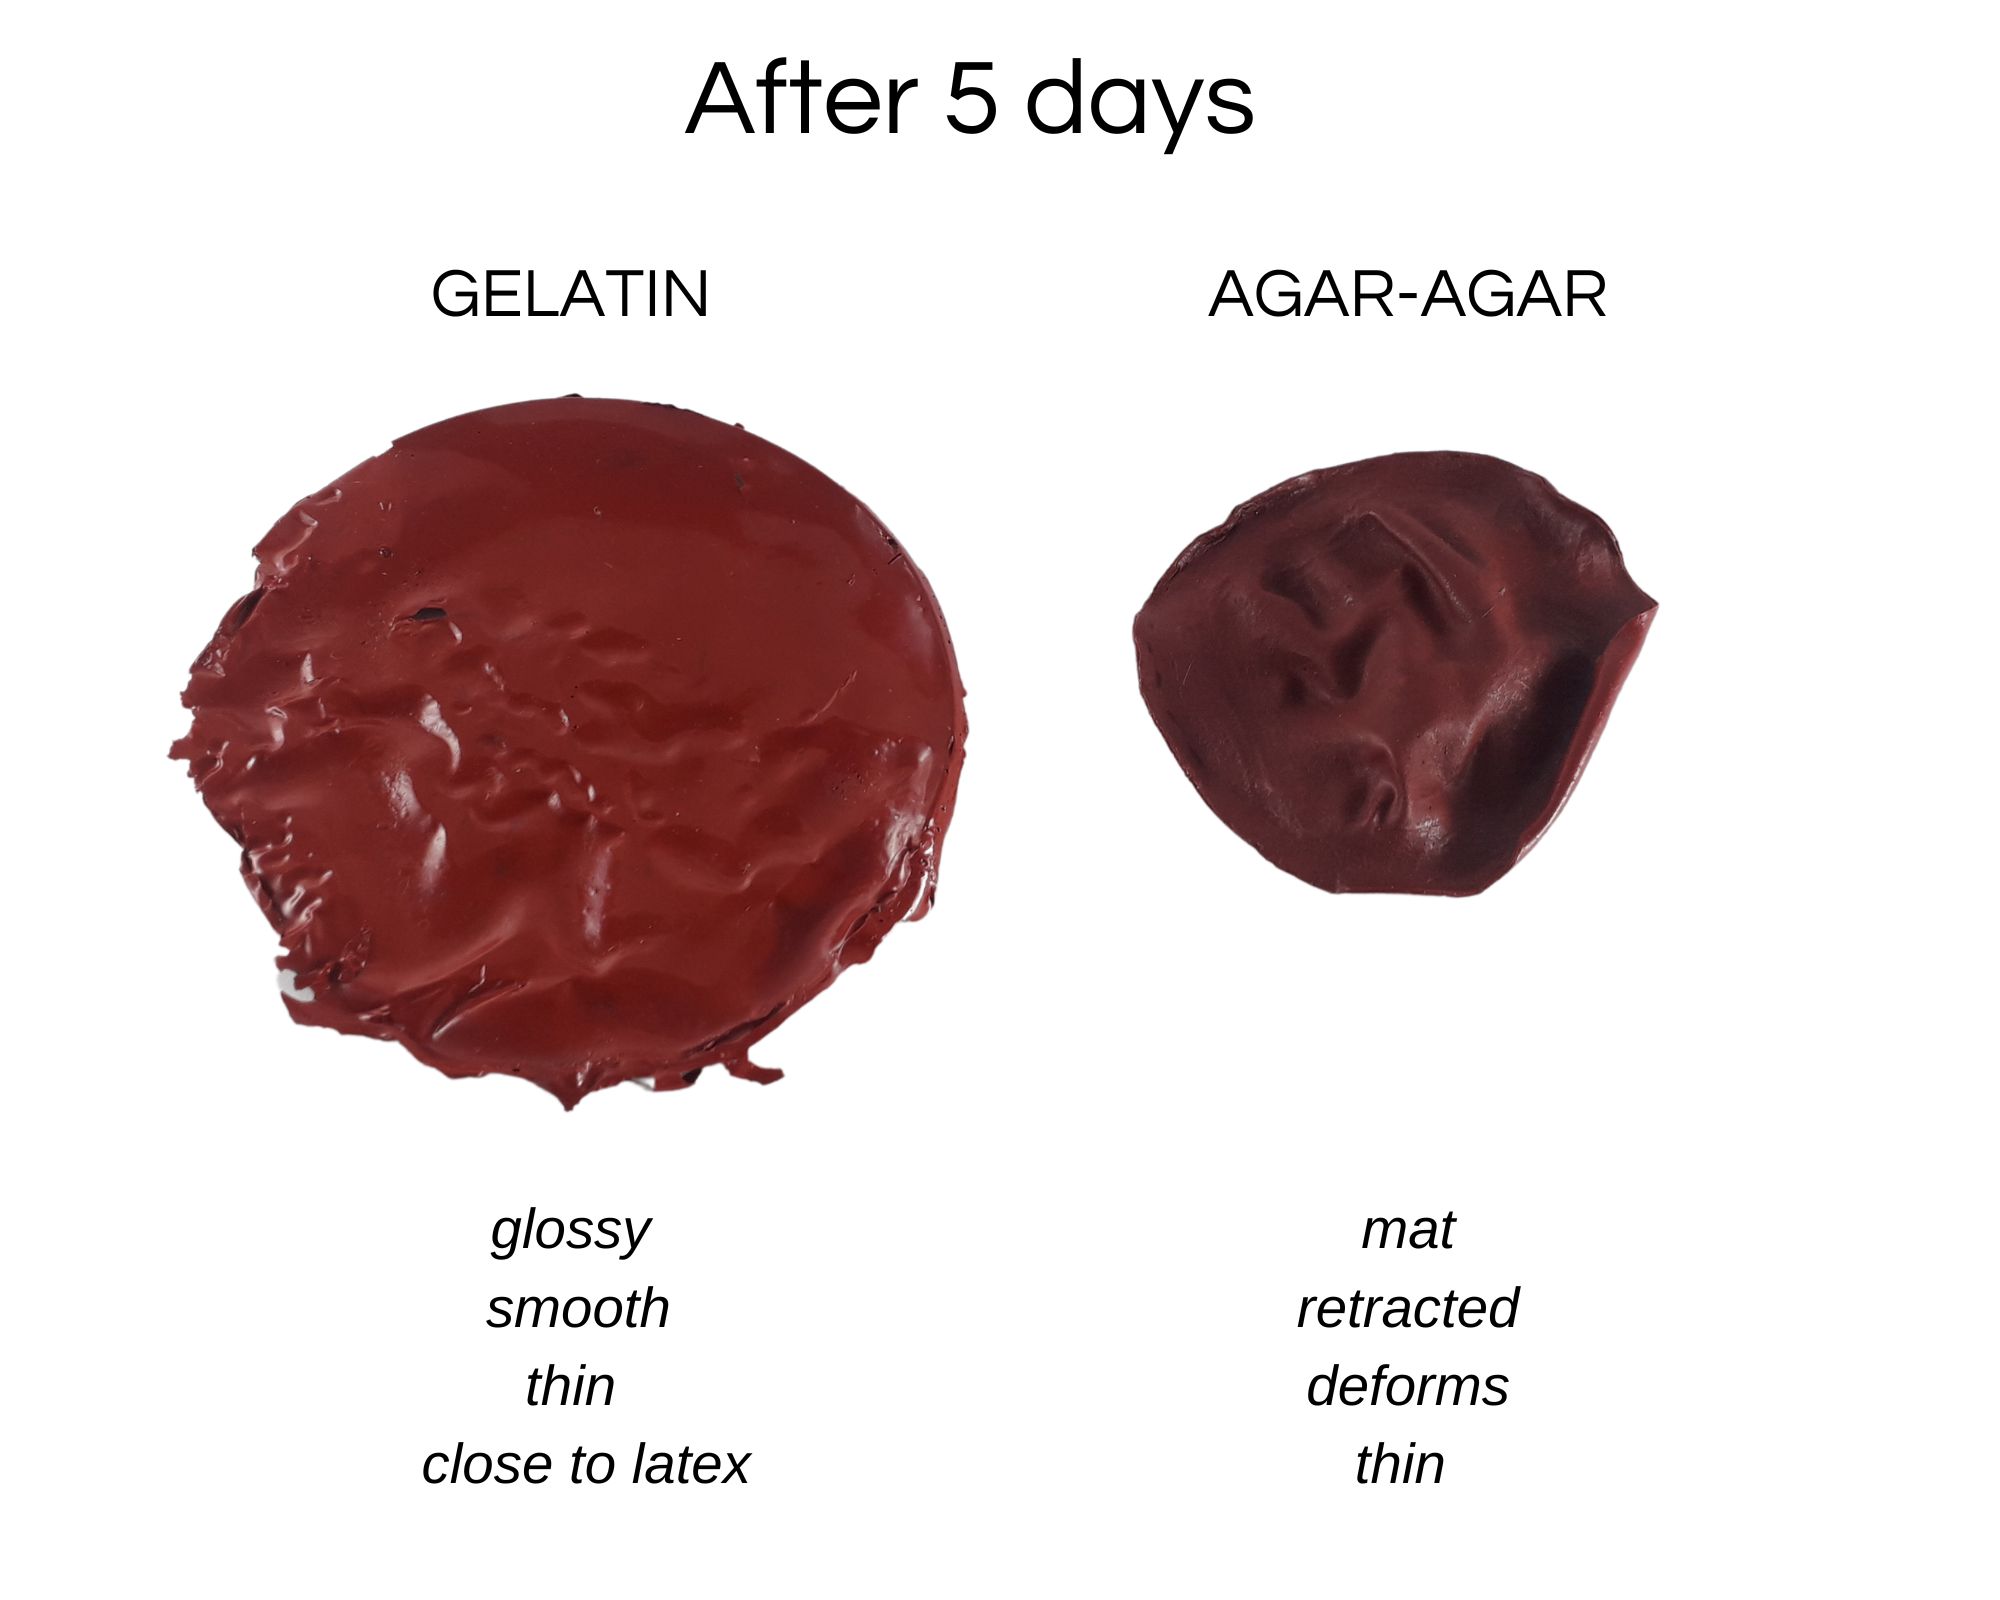
I hadn't thought about the shrinkage coefficient. I think it would be interesting to create a protocol focused on the shrinkage coefficient.
GELATIN + GLYCEROL + CLAY -- AGAR-AGAR + GLYCEROL + CLAY
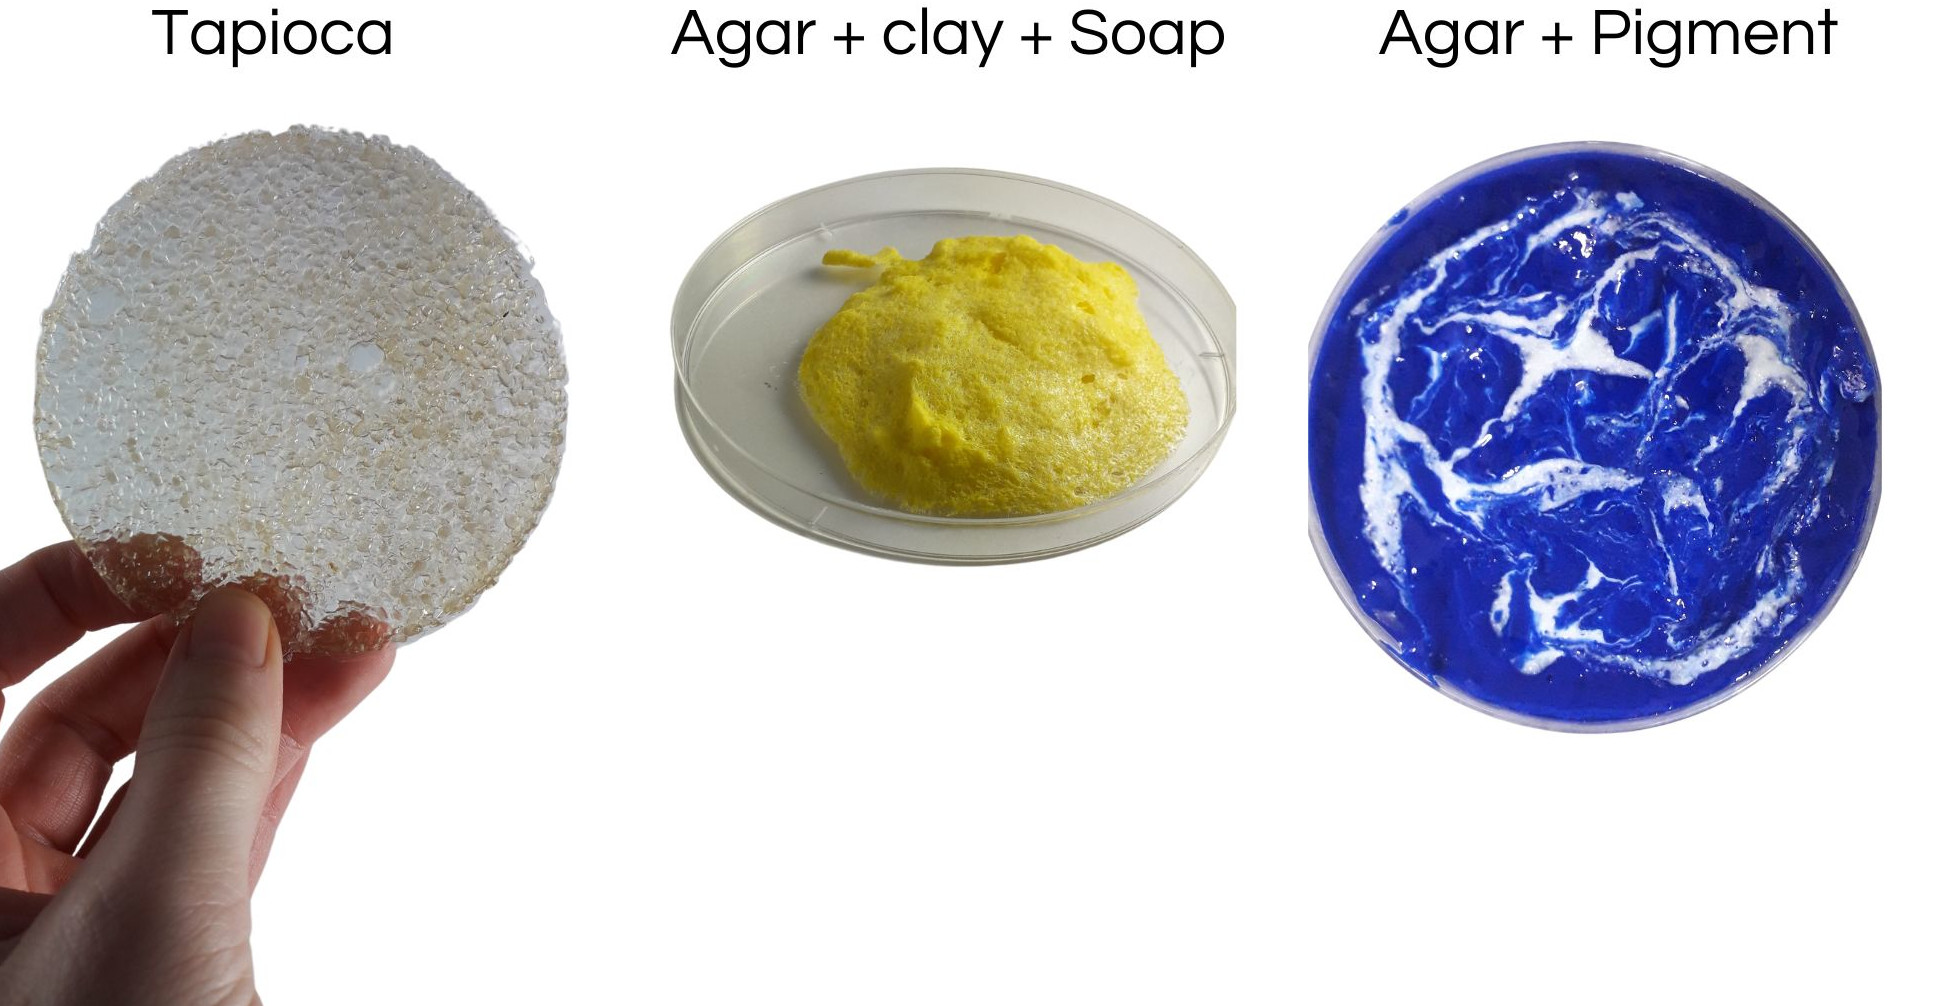
TEST 2 : Agar-Agar & Clay various concentration
For the test 2, I focused on the concentration of clay in the biomateriau. The clay is drier dust. When I put the clay on my face to make a cosmetic mask, the clay preparation dries very quickly. The clay may have accelerated the drying process and had an impact on my preparation. In addition, I decided to work on the concentration of the clay in the biomaterials because I wanted to experiment with the color intensities. How many grams of clay are needed to have an opaque biomaterial? Does glycerin have an effect on clay? Does agar-agar have an effect on clay?
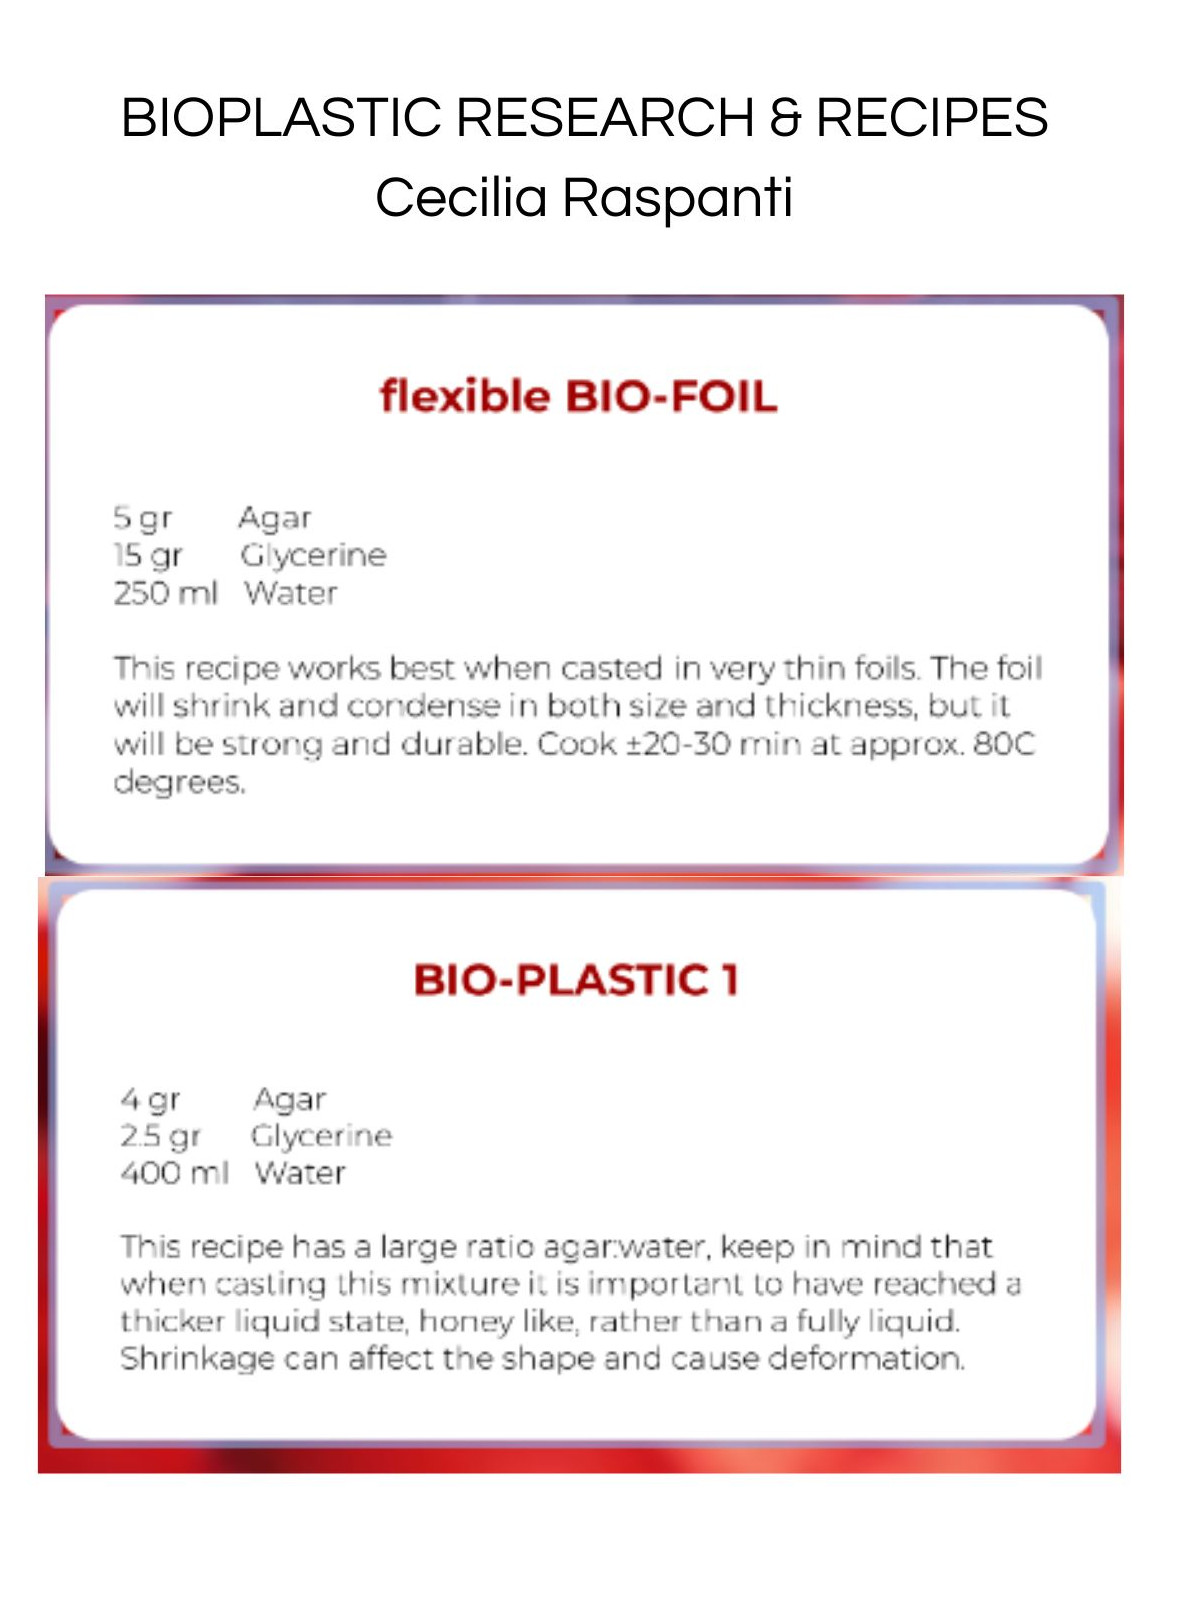
Here, I used two recipes from the class in other to have two various textures :
| Material pic | Material name | polymer | plastifier | emulsifier | filler |
|---|---|---|---|---|---|
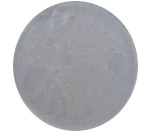
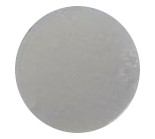 |
Flexible bio-foil | agar-agar 5 gr | glycerol 15 gr | water 250 ml | yellow clay 0 gr |
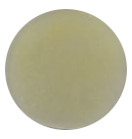
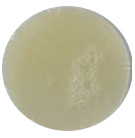 |
Flexible bio-foil | agar-agar 5 gr | glycerol 15 gr | water 250 ml | yellow clay 0.25 gr |
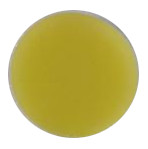
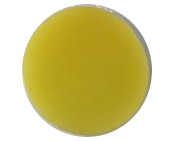 |
Flexible bio-foil | agar-agar 5 gr | glycerol 15 gr | water 250 ml | yellow clay 1 gr |
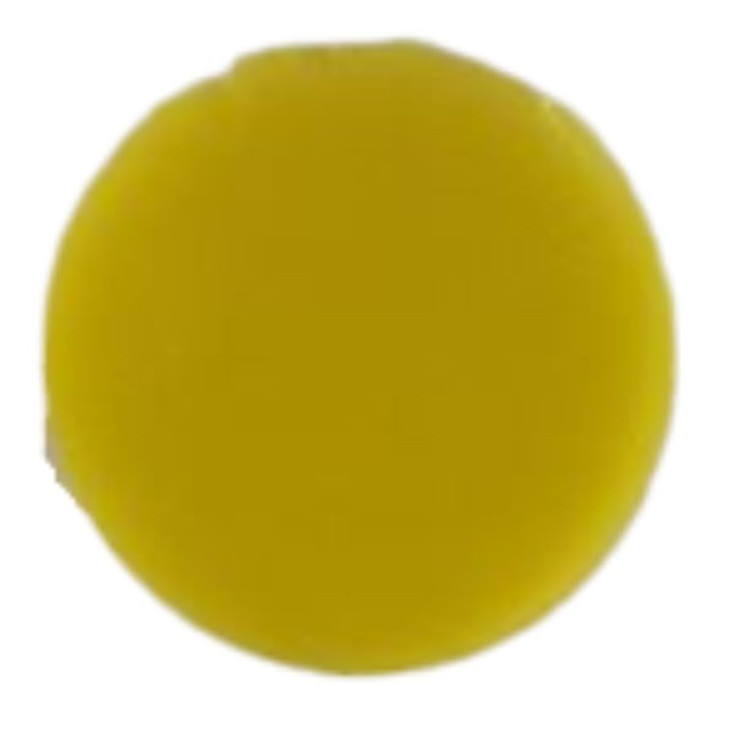
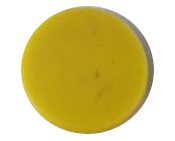 |
Flexible bio-foil | agar-agar 5 gr | glycerol 15 gr | water 250 ml | yellow clay 5 gr |
 |
Bio-plastic 1 | agar-agar 4 gr | glycerol 2.5 gr | water 400 ml | Yellow clay 0 gr |
 |
Bio-plastic 1 | agar-agar 4 gr | glycerol 2.5 gr | water 400 ml | Yellow clay 0.25 gr |
 |
Bio-plastic 1 | agar-agar 4 gr | glycerol 2.5 gr | water 400 ml | Yellow clay 1 gr |
 |
Bio-plastic 1 | agar-agar 4 gr | glycerol 2.5 gr | water 400 ml | Yellow clay 5 gr |
Protocol
- 1) Preparing
- 2) Put all the ingredients in the pan except the clay
- 3) Pour into the first mold with the label without clay.
- 4) Add 0.25 g of clay to the preparation + pour into the mold with the 0.25 g label
- 5) Add 0.75 g of clay to the preparation + pour into the mold with the 1g g label
- 6) Add 4 g of clay to the preparation + pour into the mold with the 5g g label
Observation TEST 2
After 3 weeks of drying, my samples look like this. They have reduced nicely but the color is still there. They are all fragile and very thin.
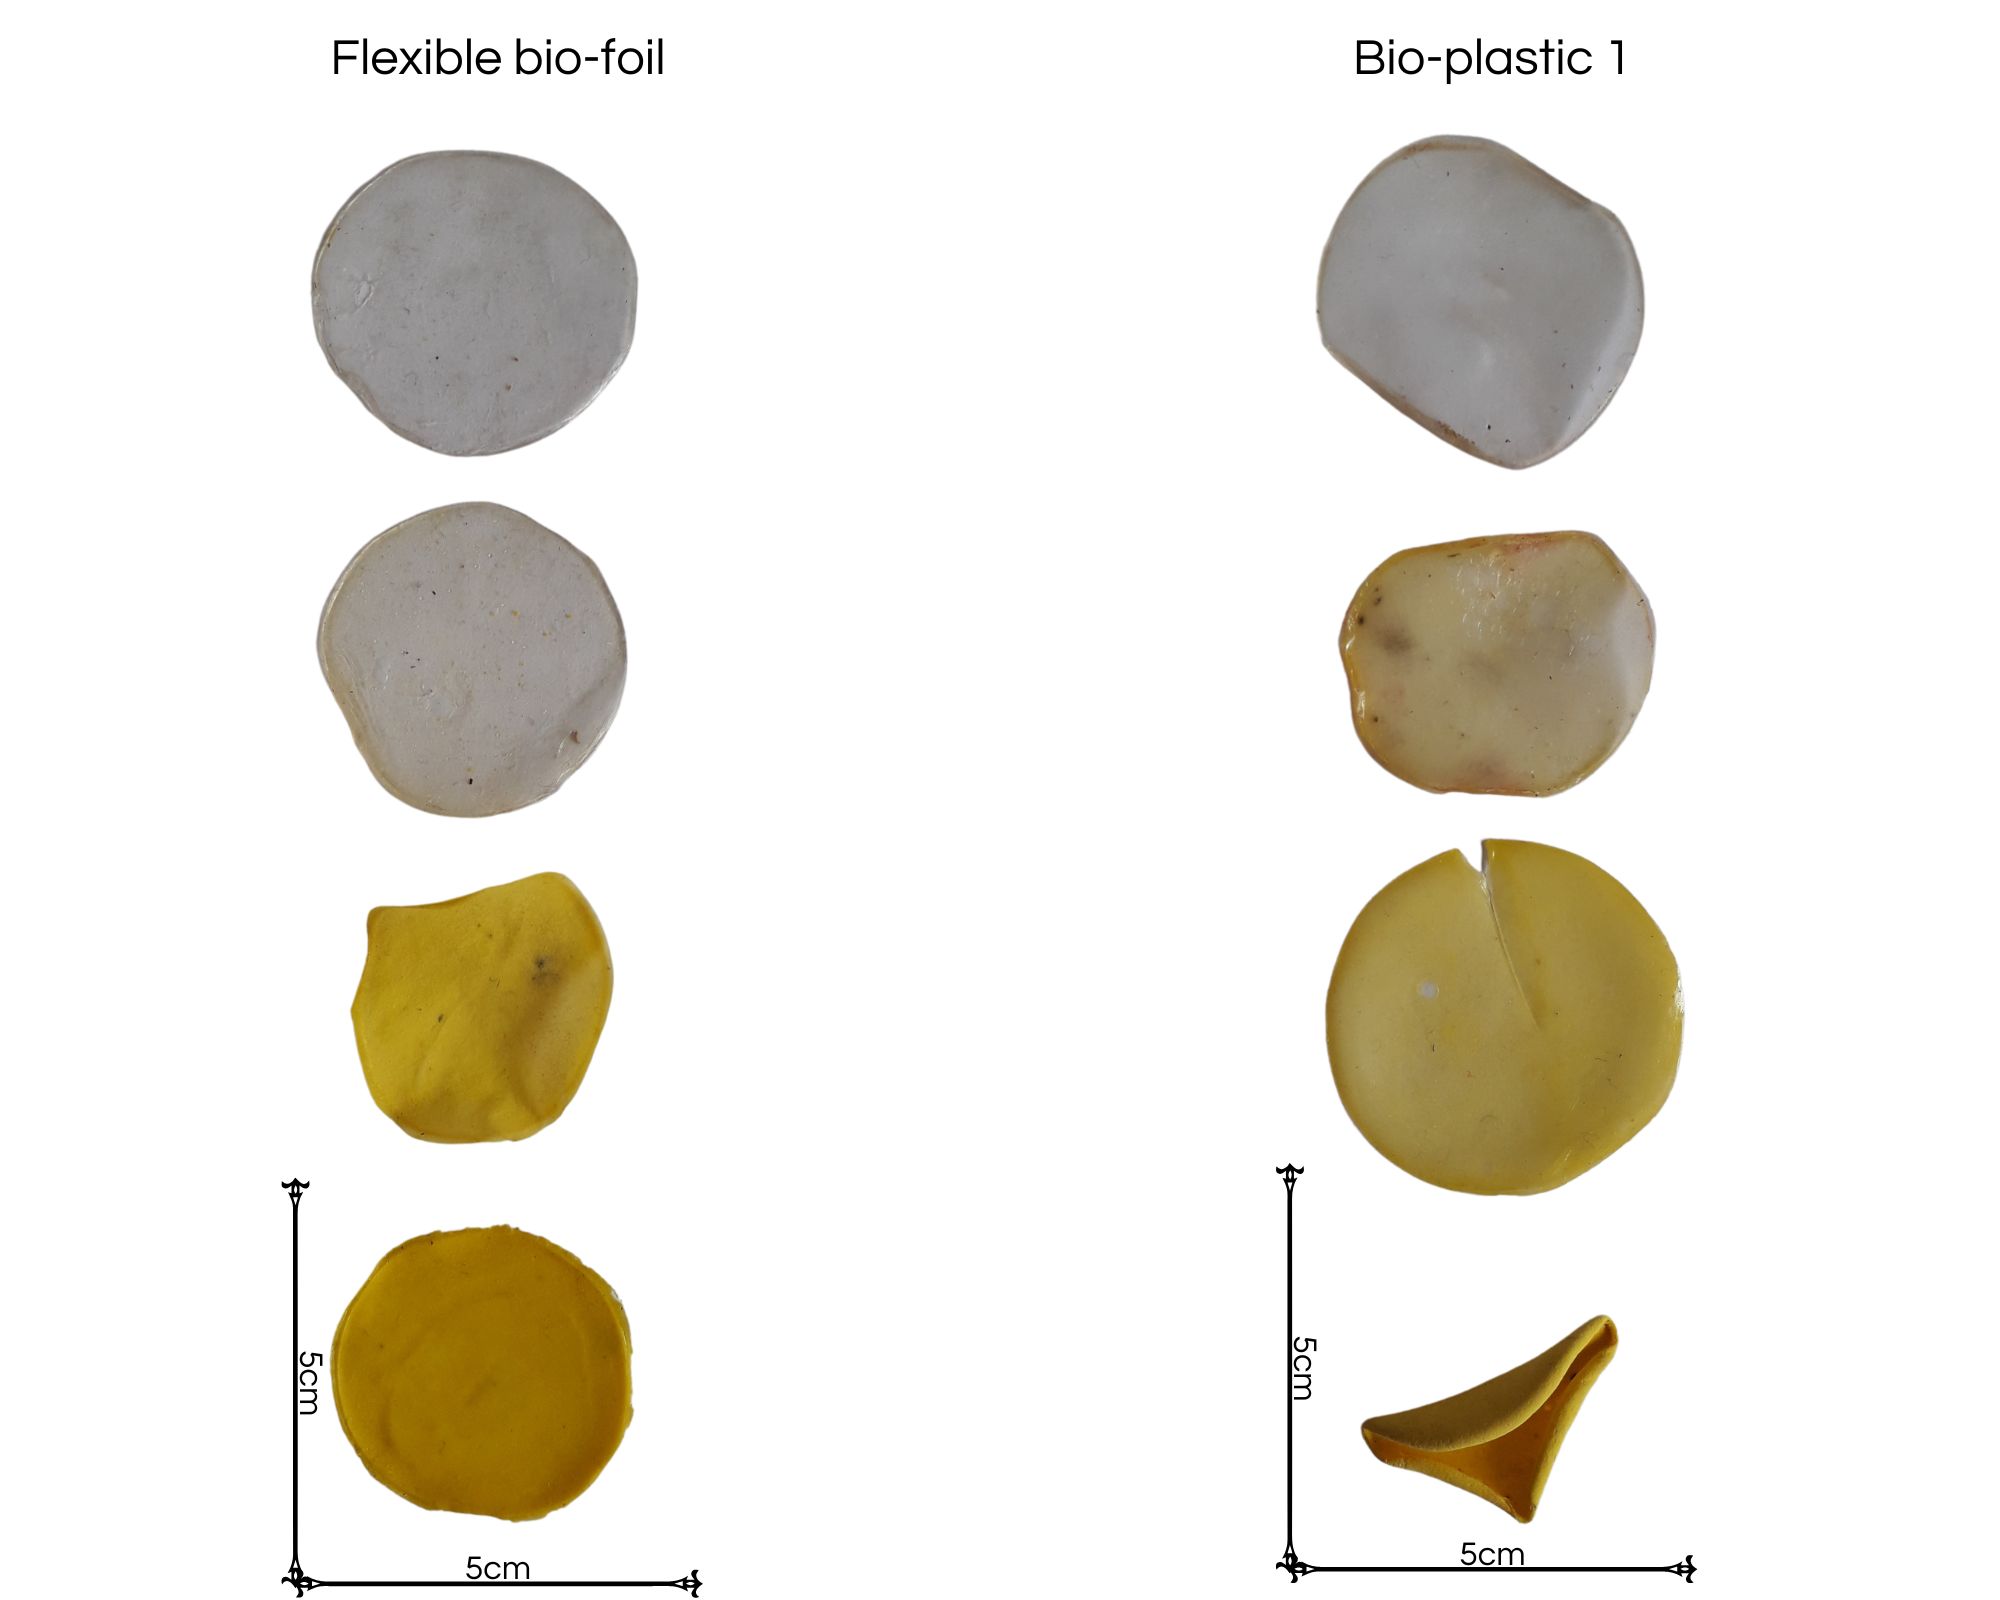
We can note that glycerol has an impact on the retraction of the biomaterial. The second bio plastic 1 recipe contains much less glycerol than the first one. Regarding color, the bioplastic 1 recipe is more opaque and bright yellow. On the contrary, glycerol could have an effect on the color created by the clay. The last conclusion I can make is that clay has a high coloring power, that it plays a role in the drying time. In the end, clay cannot play the role of filler. It does not mitigate the reduction of biomaterials.
What would remain to be done if I decided to realize my original project, biomaterial earrings.
- Continue my research to find the right biomaterial and the right amount.
- Creating the mold and making it.
- Think about the conservation of earrings and recycling or the end of life of the material.
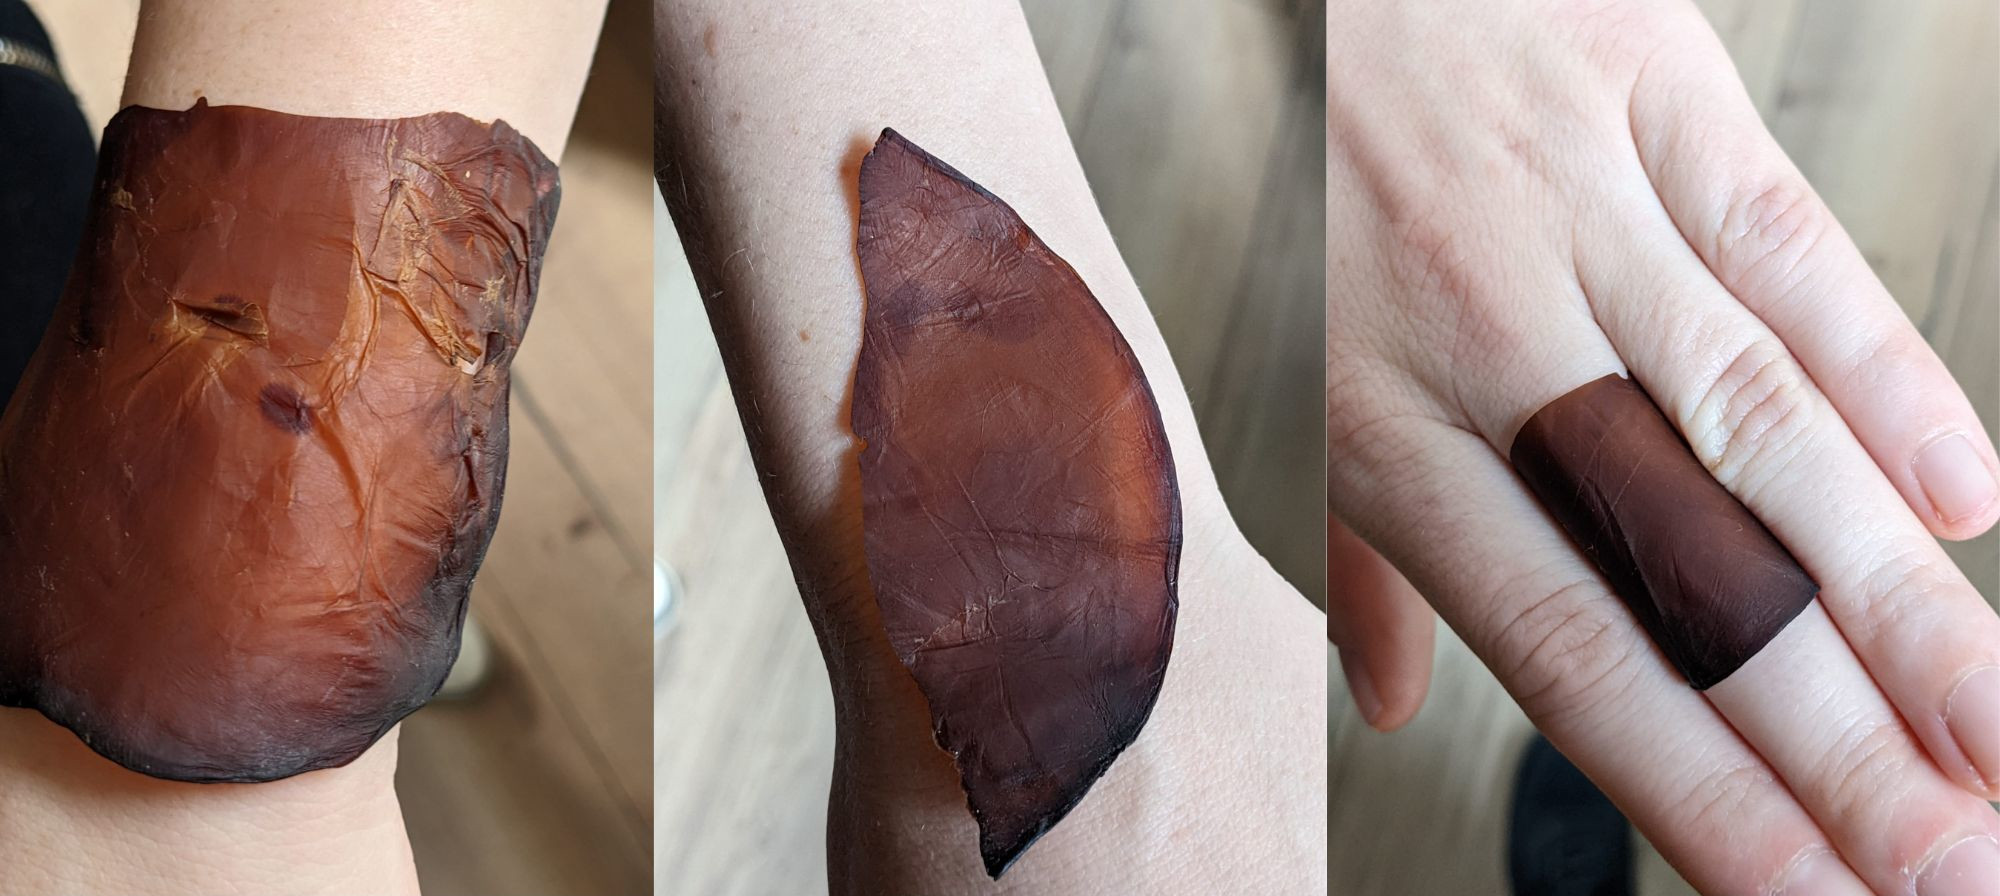
Track 3 : Fish leather
Inspiration :
ICTYOS : Fish leather company in France near Lyon.
Experimentation :
Several people in the lab were interested in fish leather. We decided to use several fish skins that Diane had brought to the lab. Some of these skins were already a bit worked.
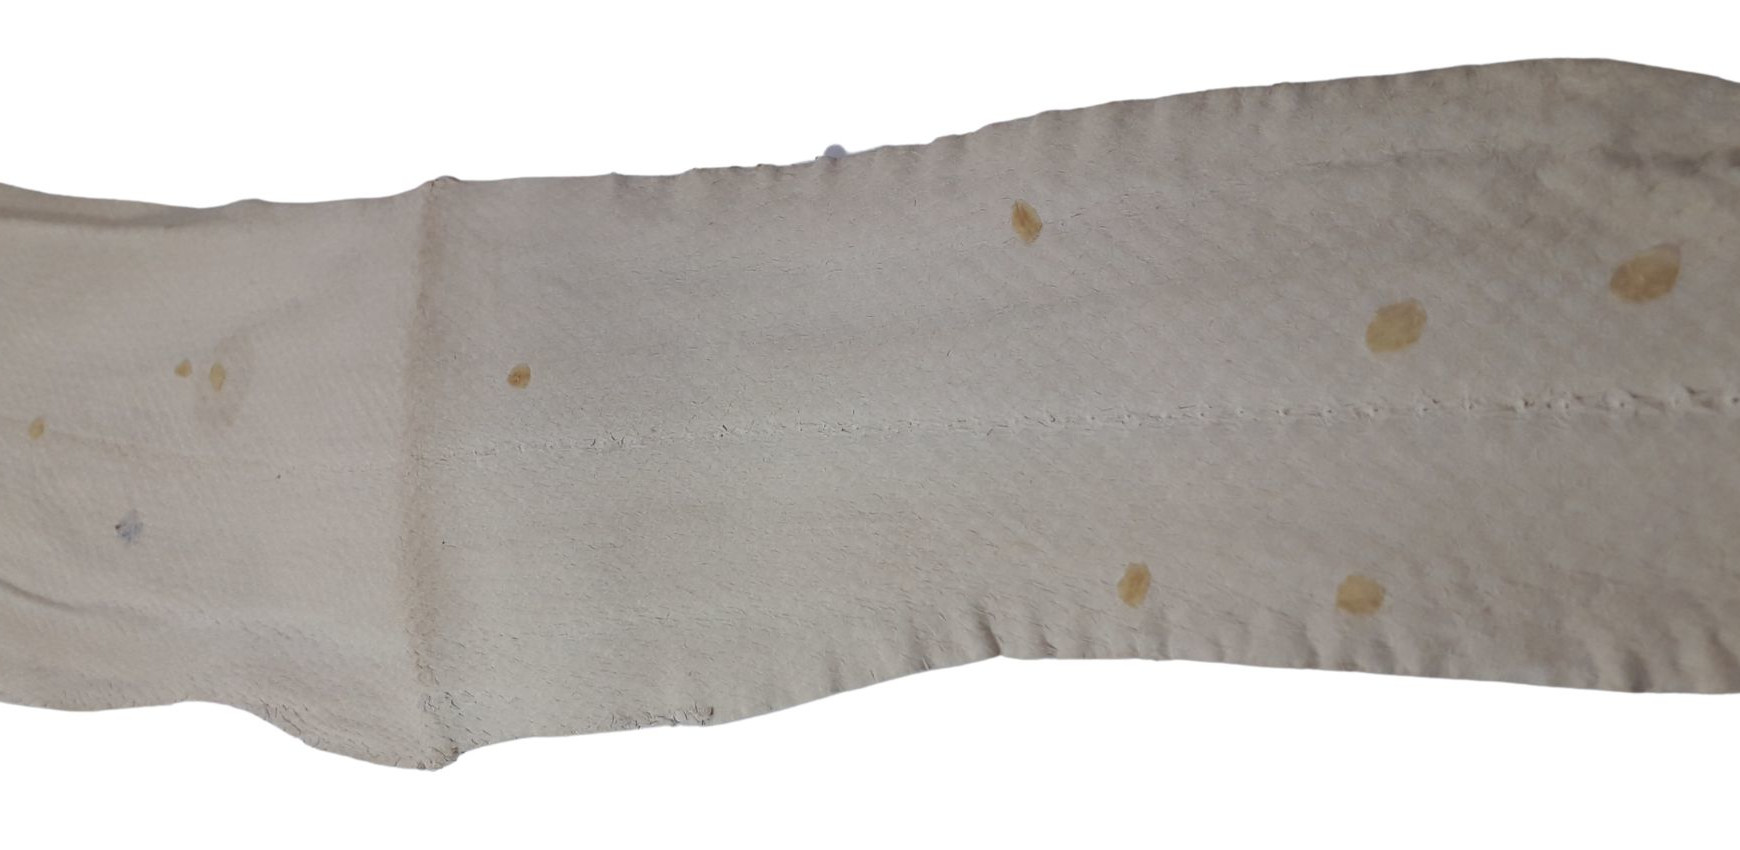
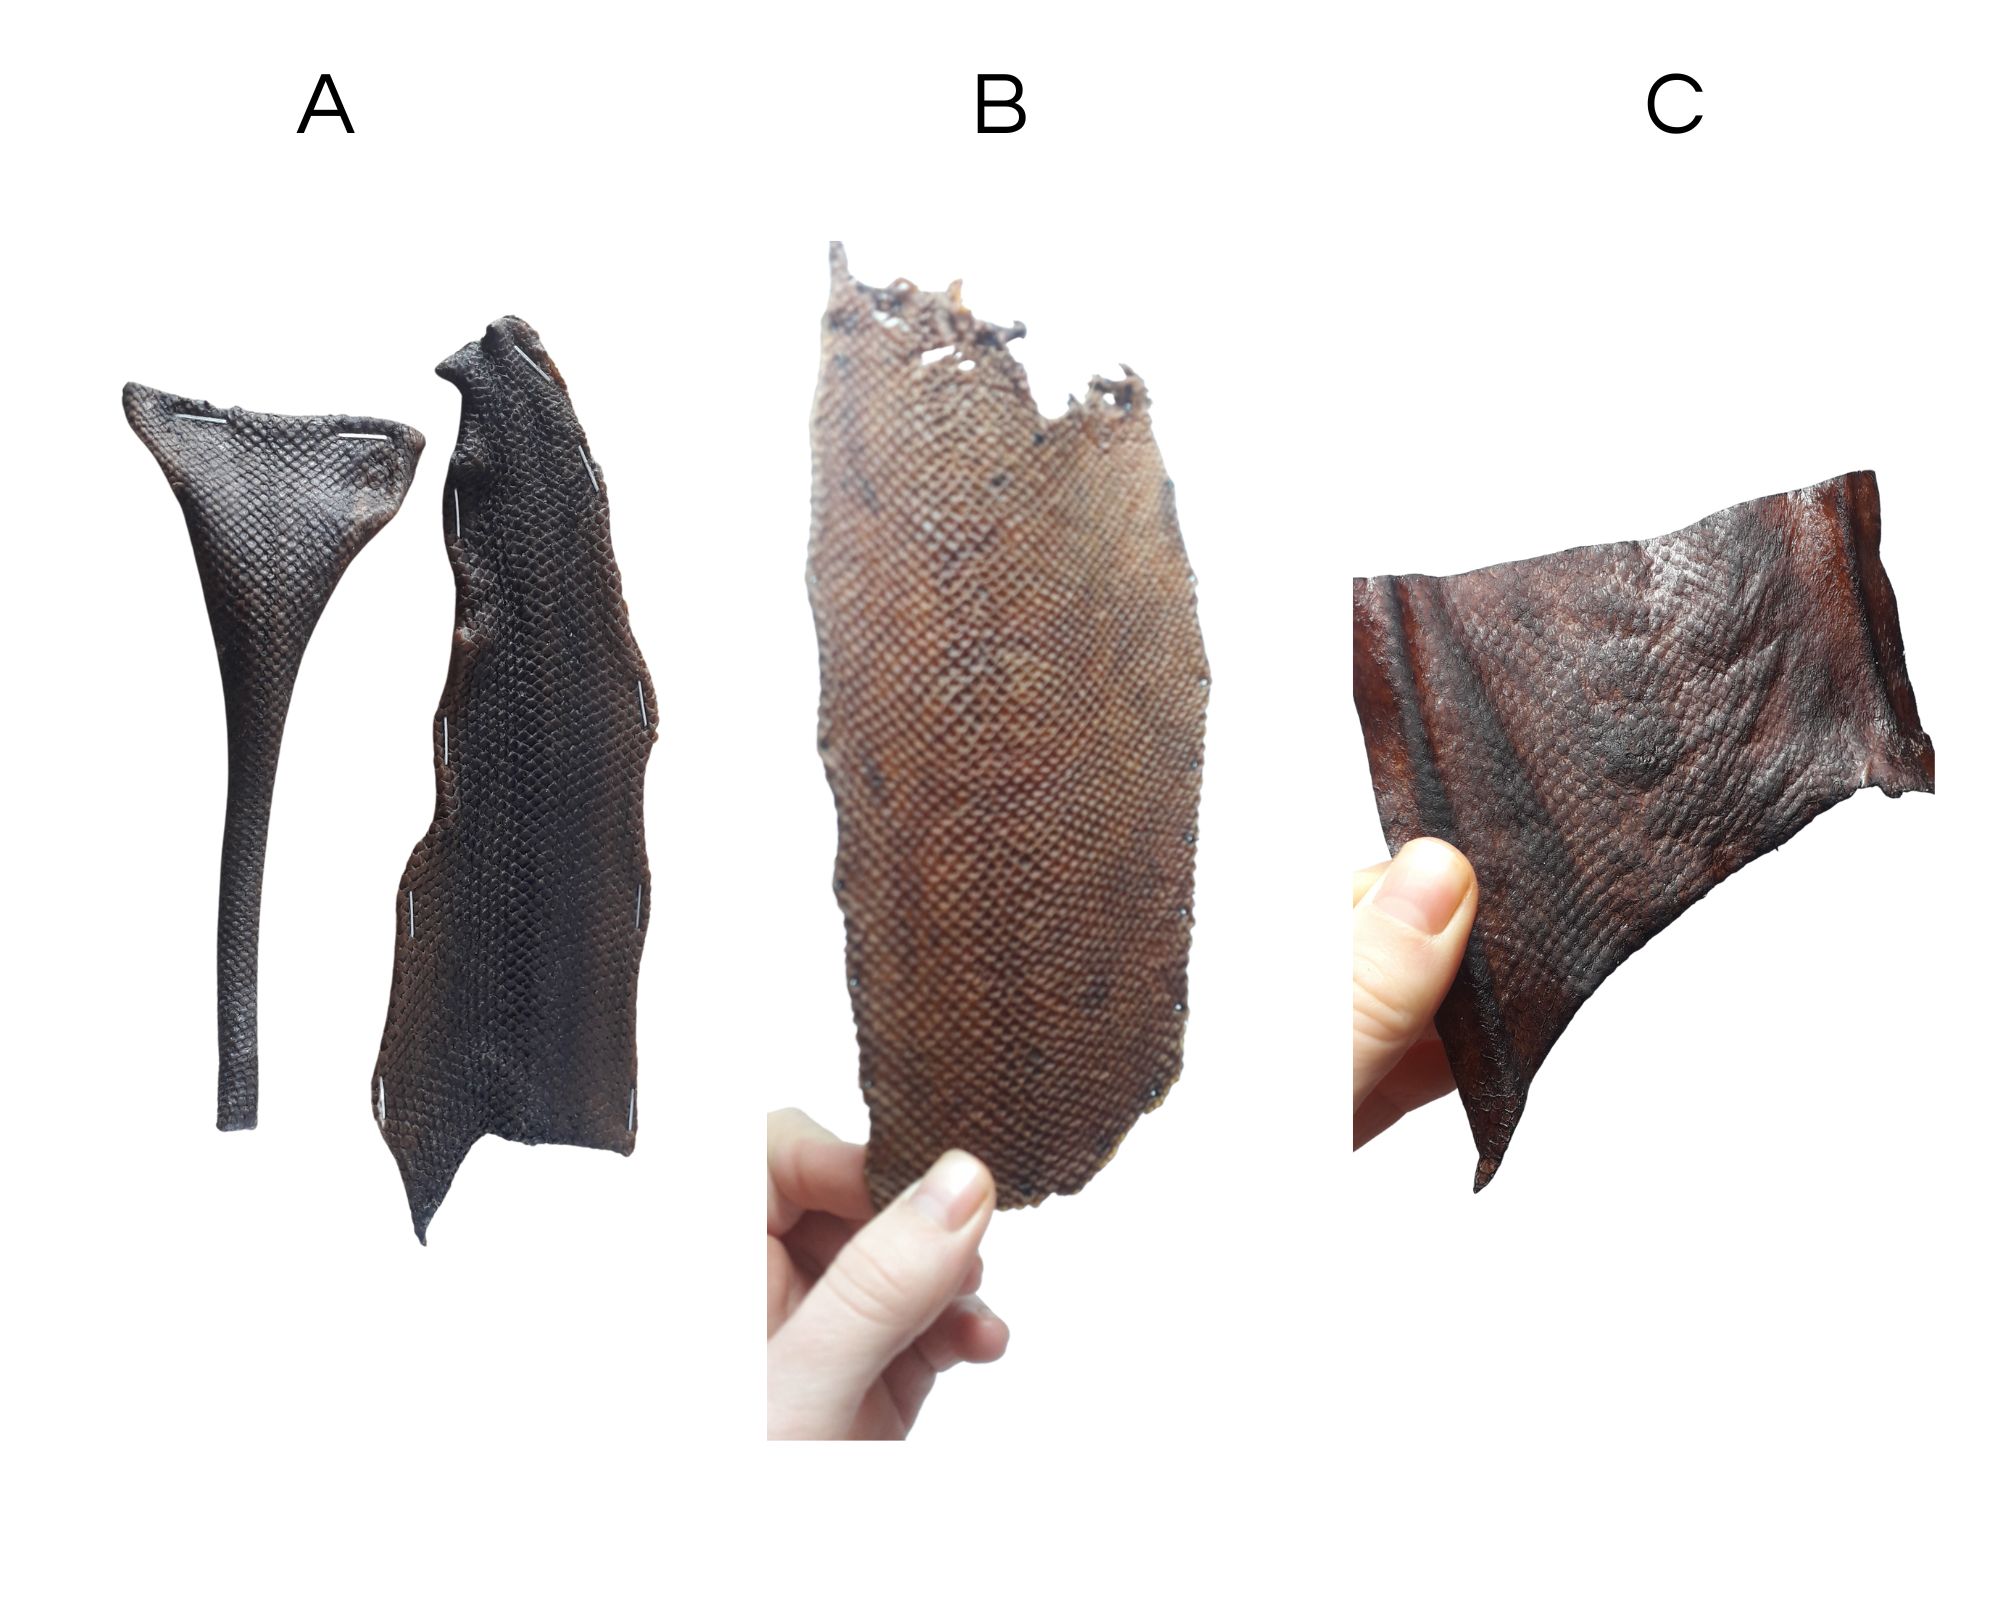
We did several manipulations in a row: tannin, dye, cream (egg yolk + oil + soap), egg white. We did not do the same order each time. Therefore, it is difficult for me today to retrace a path on what we did. Here are some pictures of our work.
Amandine has meticulously noted the recipes on her site. The recipes are here
A] Hot Bath of tannin (gallnut+water) -> Drying -> Dyeing -> Nothing because the skin is too hard.
B] Cold Bath of tannin (gallnut+water) -> Cream + tanning -> Drying -> Dyeing -> Drying -> egg white
C] Medium Bath of tannin (gallnut+water) -> Drying -> Dyeing -> Drying -> Cream + tanning -> Drying -> egg white
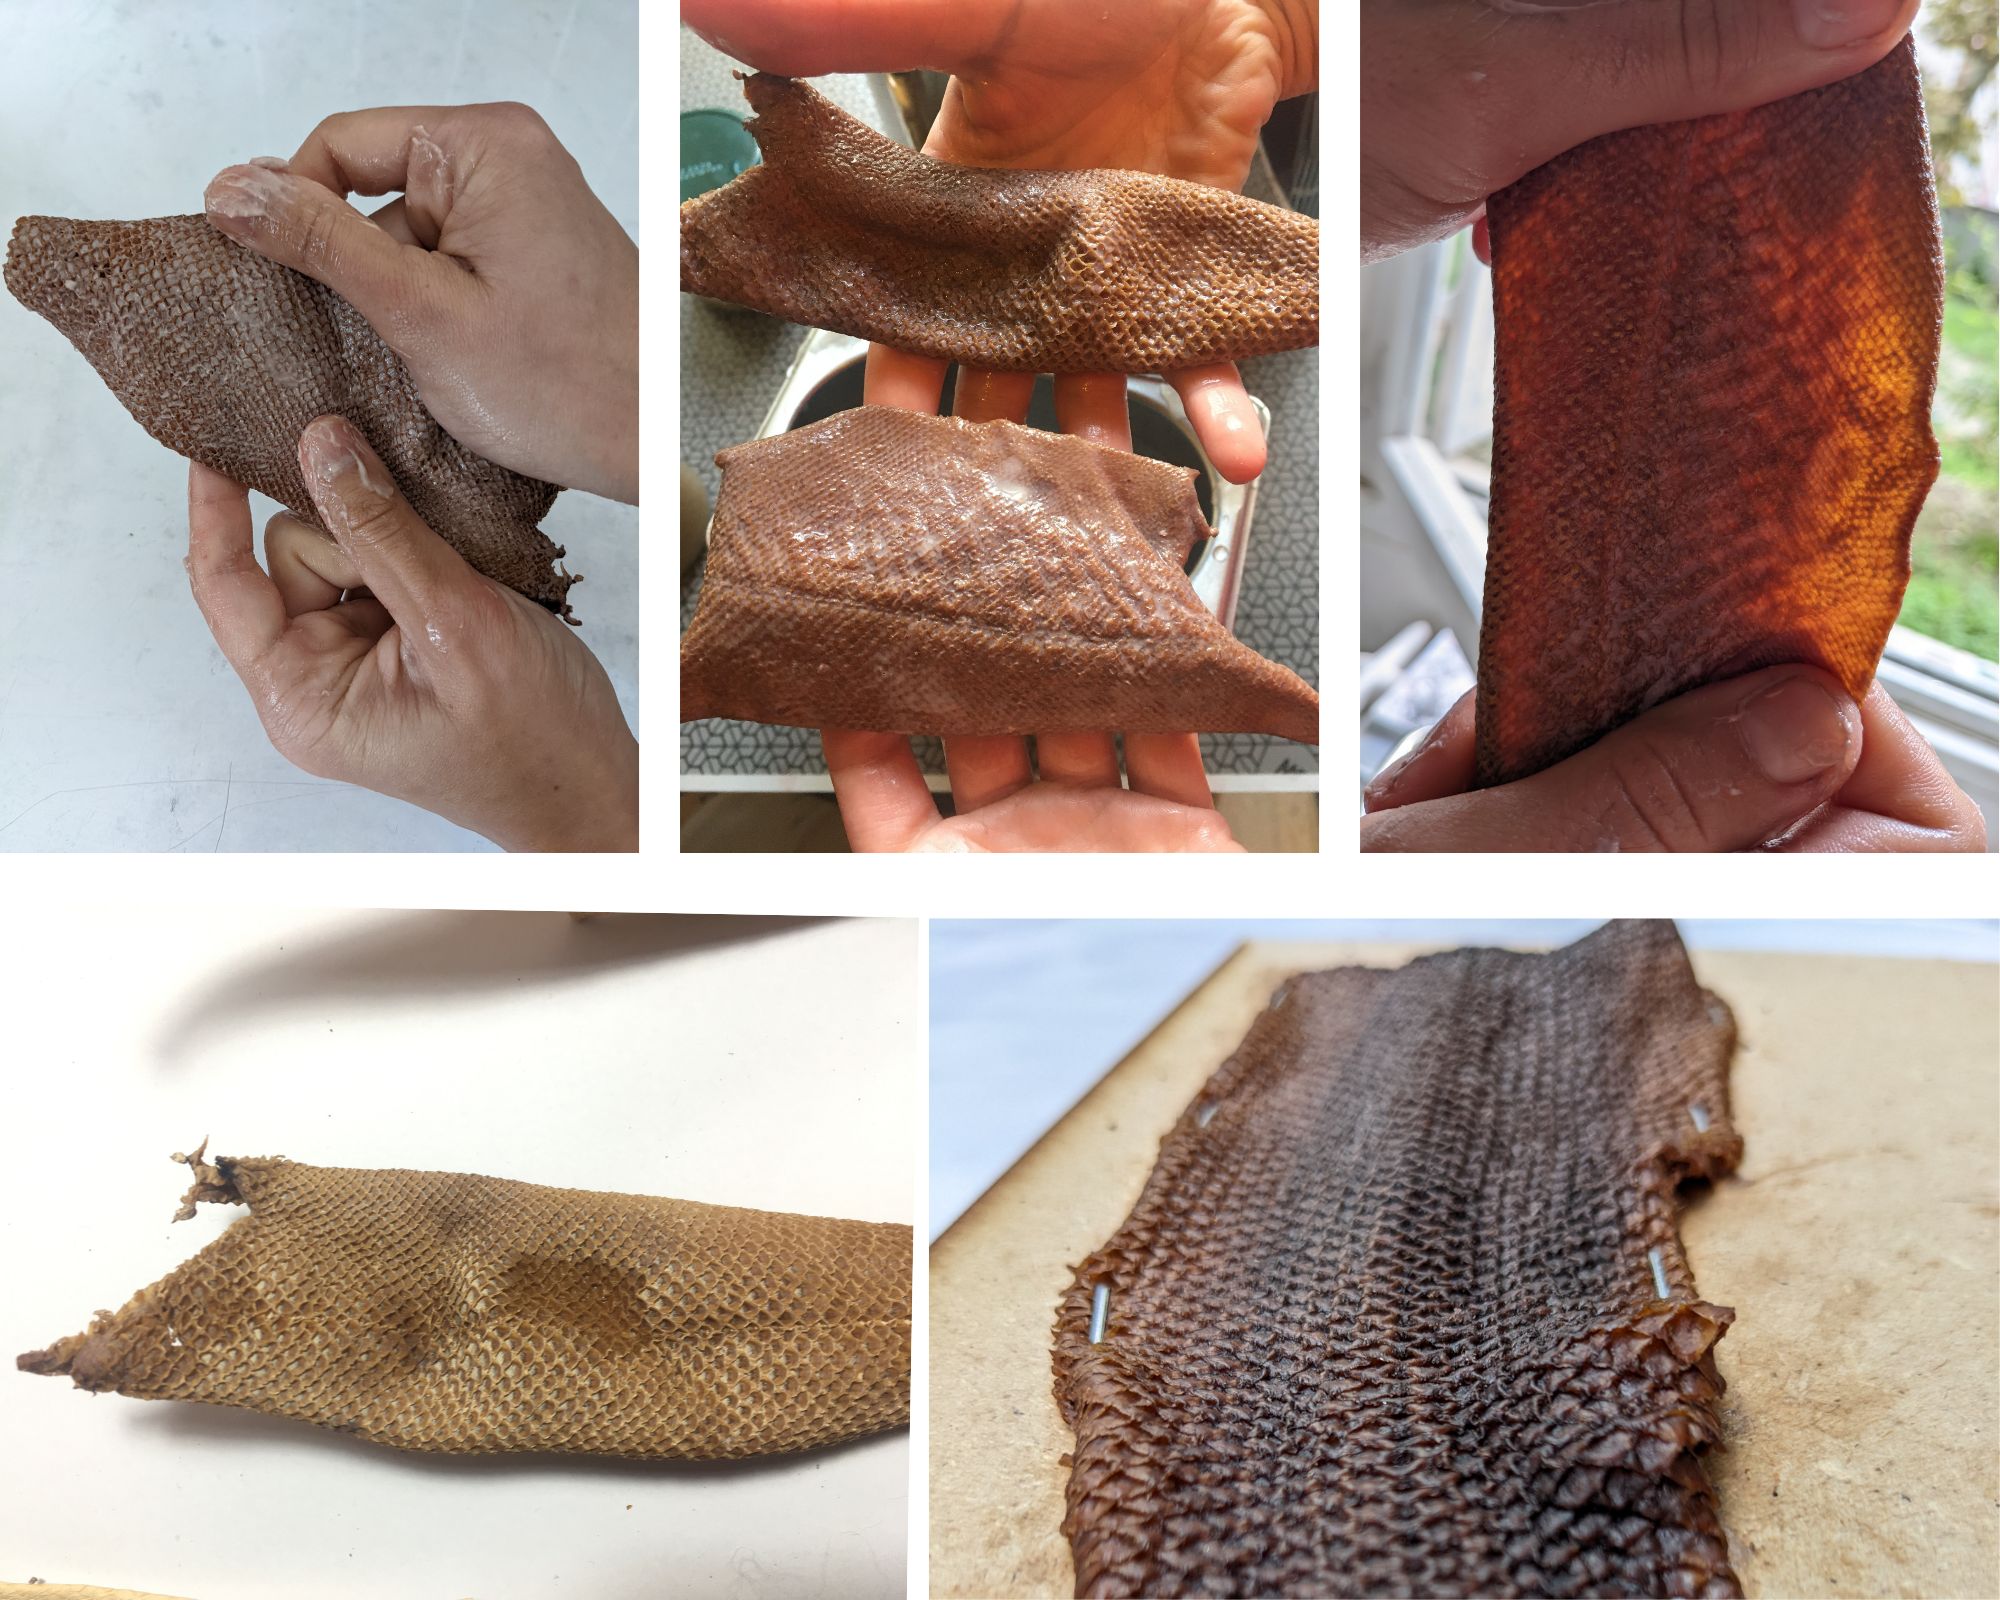
Application of the cream on the fish skin and tanning of this skin on a piece of wood.
Overview of the results of the research in the Textile Lab in Lyon