4. BioChromes
Research
The theme of week 04 is Natural Dyeing, or BioChromes. In our Green Fabric workshop, we were able to try out one recipe of Indigo, thanks to our teacher Amandine from Atelier Brun Sauvant. We applied it with a warm or cool bath, depending on the materials. Animal materials such as wool react better to dye in a warm bath.
Ingredients & Recipes
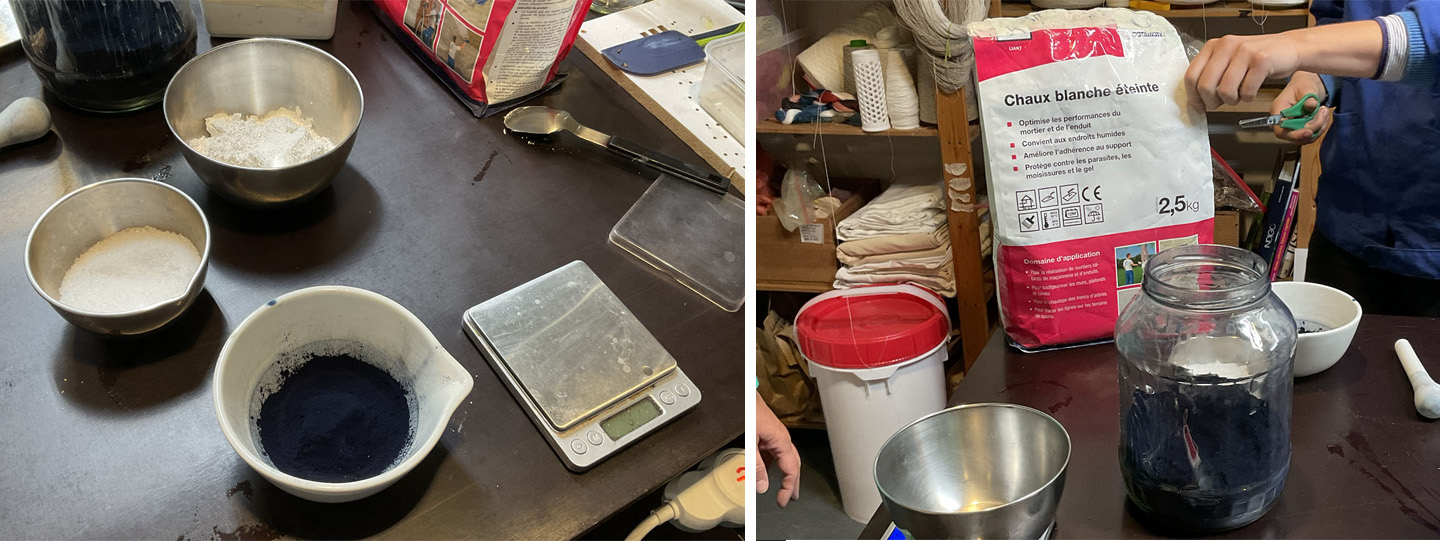
We worked with 3 products: Indigo, fructose and slaked lime. We started by defining the quantities of each product according to this ratio: 1 / 3 / 2
For 4-litre and a ratio of Indigo of 8g per litre (for a dark version) : we mixed 32 grams of Indigo, 96g of fructose and 64g of lime. The ingredients were added in the same order, little by little with a pestle and some water. First the indigo alone, then the fructose, then the lime. Always with a little water to keep the grinding going. It is important to grind for a long time, to obtain a very smooth paste, and to avoid irregularities during dyeing.
Tip
1 quantity of Indigo for 3 quantities of fructose and 2 quantities of lime

Process and workflow
We then added this paste to our 4 liters of hot water, and waited for a deposit to form on the surface.

Tip
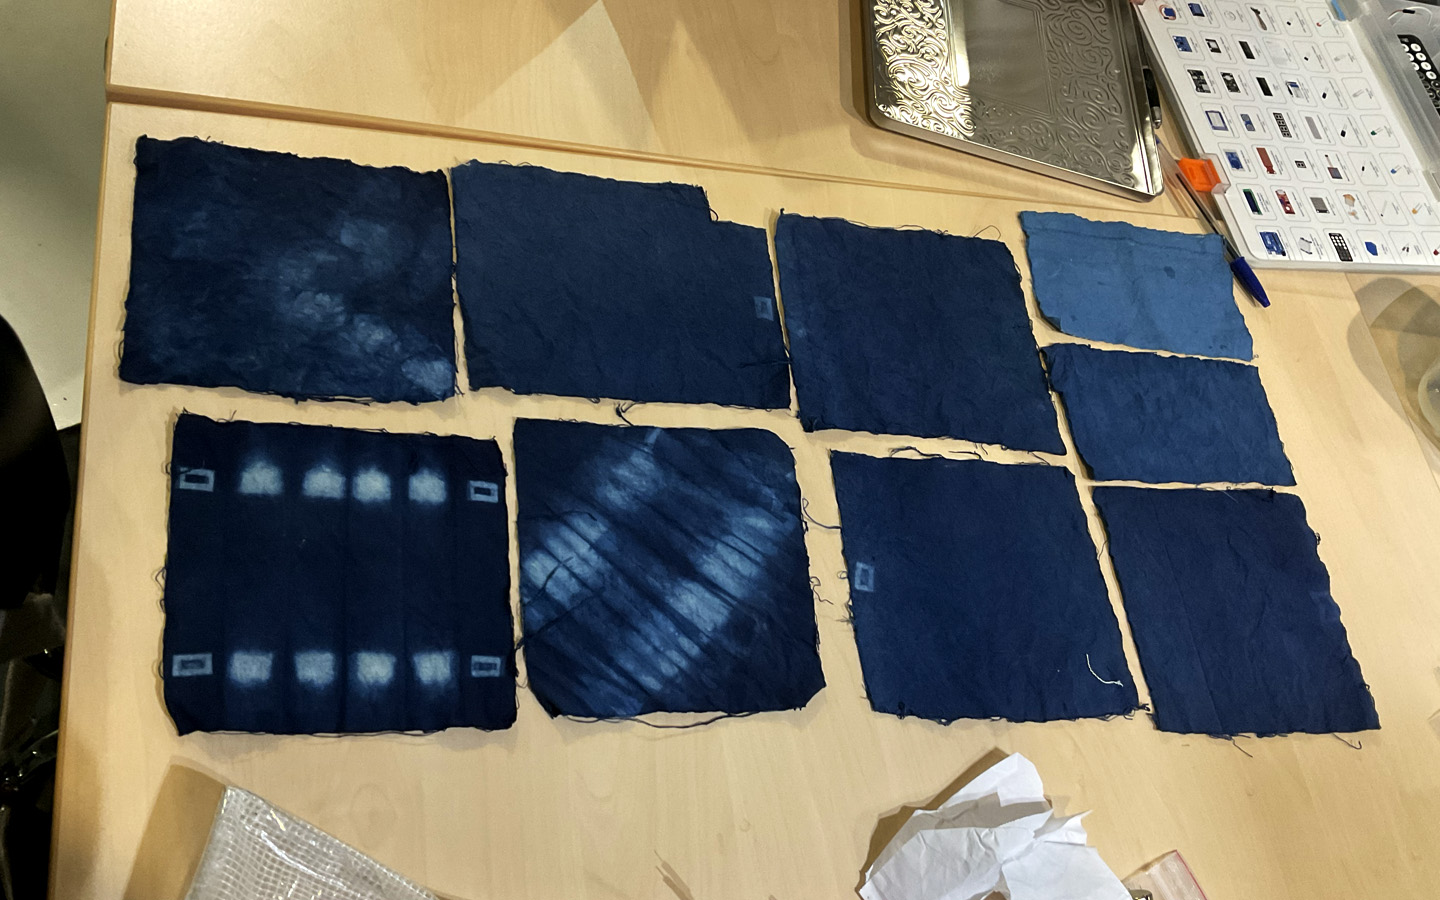
I use a 15x15cm template laser-cut from Plexiglas to cut out these sample formats. This gabarit comes from some quilting trials I did previously in sewing, to have identical dimensions of fabric scraps.
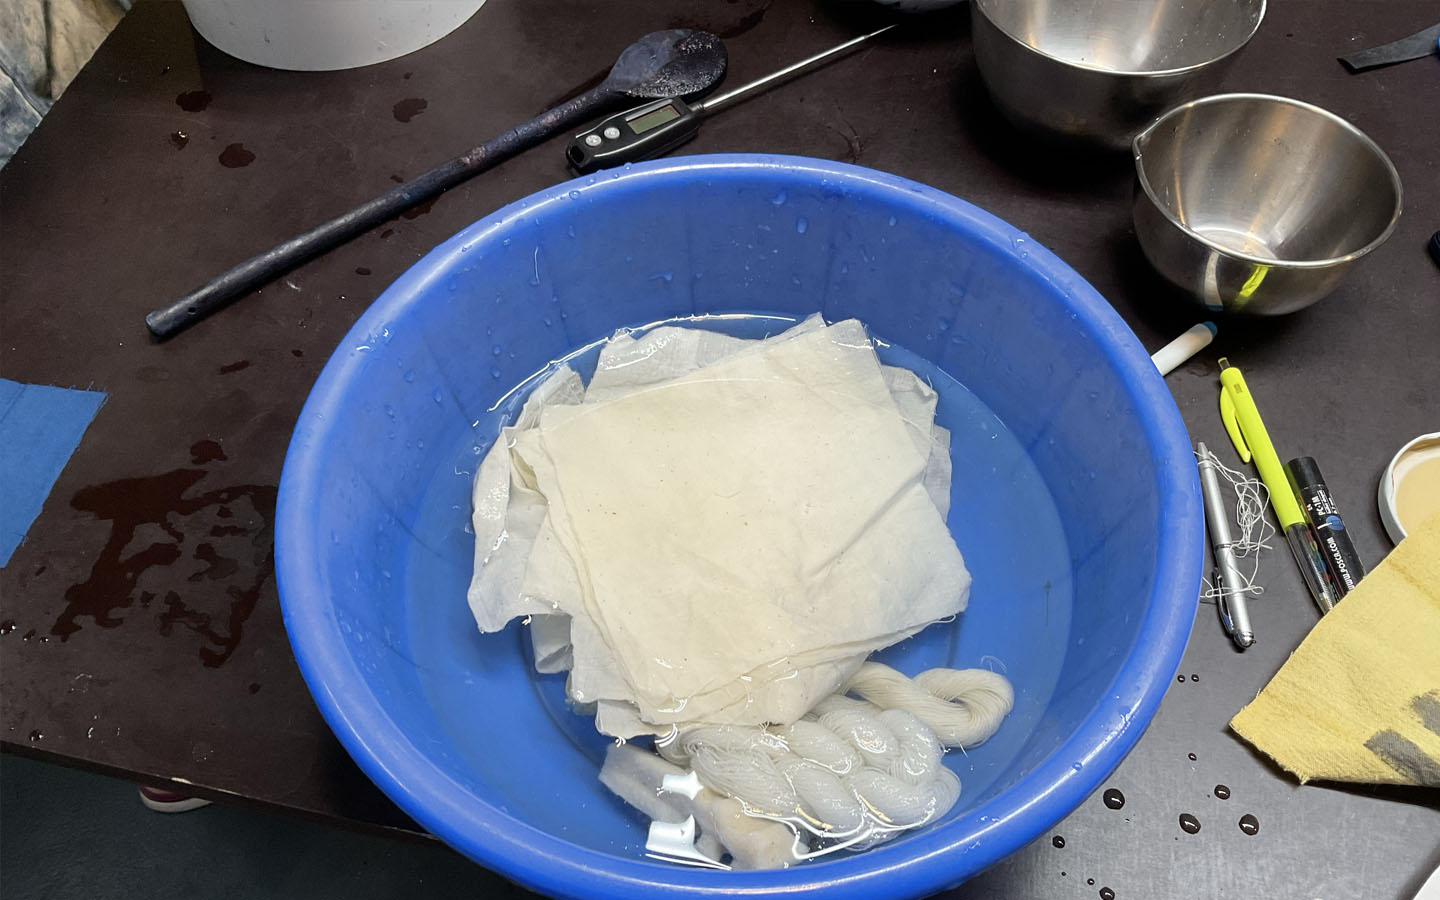
After a break of about 1 hour, we started to prepare the samples we wanted to dye by soaking them in clear water. Once the materials were wet, we made our first bath, soaking them for a few minutes in the water + Indigo mix. We holded them so that they didn't fall to the bottom. The first bath lasted just 2-3 minutes.
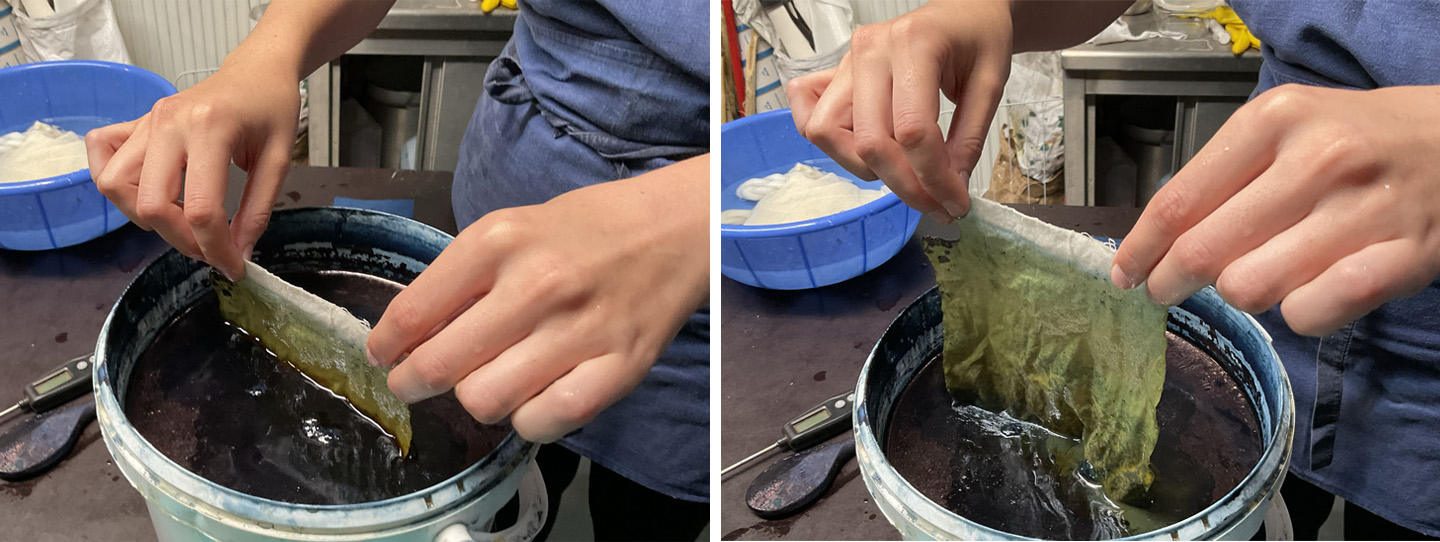
The sample then needed to be taken out, wrung out and soaked in clean water before being wrung out again and left to dry. The addition of oxygen during the drying process gradually reveals the blue of the Indigo. The bath is green/brown and so are the samples when they come out, and then they turn blue with oxygen. We repeated this bathing step twice, for about 12 minutes for the second and 30 minutes for the last bath, to fix the colour. Then we rinsed our samples in clean water and laid them out vertically with tweezers.
Initially, I kept a margin of fabric on the surface of the bath while holding it to observe the contrast associated with the colouring. This inspired me to imitate the Japanese Shibori process, experimenting with folds and light patterns contrasting with the blue. I used tweezers of varying degrees of finesse to hold my folds in place and obtain patterns. These clamps also enabled me to optimise production a little by allowing me to manually hold several samples in the same bath.
References & Inspiration
I really enjoyed and was inspired by this training. Our teacher also showed us some samples worked with mordants, and tinting mixes which could be applied by silk screen printing. I would be interested in working on the subject, combining natural dyeing and digital patterns.
After the week 04, I received this book written by Michel Garcia wich is indicating a lot of recipes and some great methodology tips. I quickly tried making an ink from dried flowers according to his recommendations, by mixing the juice with alum powder and soda crystals. It would maybe be useful for my final project for biomaterial packaging exploration.
recipes
Here is a Miro board with initial and adaptated recipes of each week EXPLORATIONS.
get inspired!
Some references :
The japanese Katazome technique Aurélia Wolf Camille Bénet Dézert Michel Garcia Nuances de Plantes
With more time to organize it, I would combine these dyeing explorations with a colour chart that I am developing in silkscreen printing with homemade but not natural inks. I am using for now the NCS system, which seems more 'scientific' than Pantone in its organisation and stays universal for Architecture & Design applications.