11. Textile Scaffold
References & Inspiration
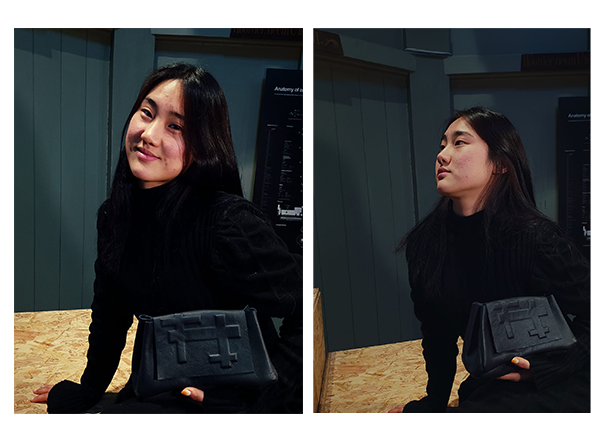
And this week Machteld and I collaborated on a bag inspired by Kofta Studio

Crystalization
| Tools |
|---|
| Alum |
| Water |
| Jar |
| string |
| Items to crystalize |
-
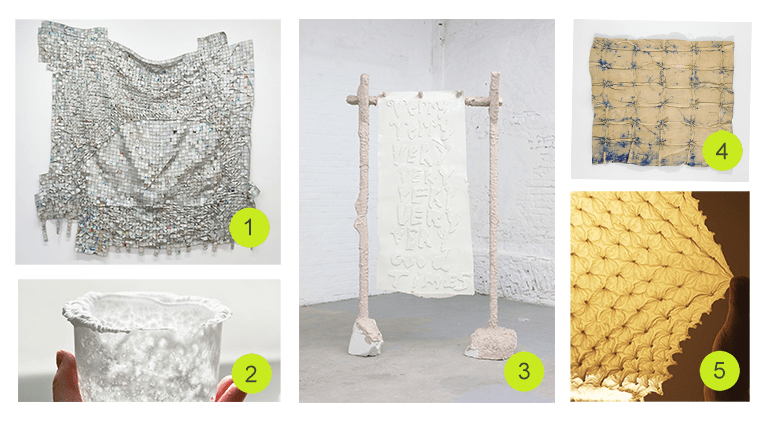
In a bath of warm water we added sppons of alum while stiring until the solution was too saturated with alum to dissolve more.
-
This solution was then poured into a jar and our things we wanted to crystalize were suspended with string. They should be fully submerged and not touching the sides or bottom of the jar for best results
-
We let these sit for about two days before removing them. I think for better crystal formation, shaking/stirring the solution helps spread the crystal formation. Our expiriments were still so the Alum formed very few, large chunks of crystals instead of covering the whole object
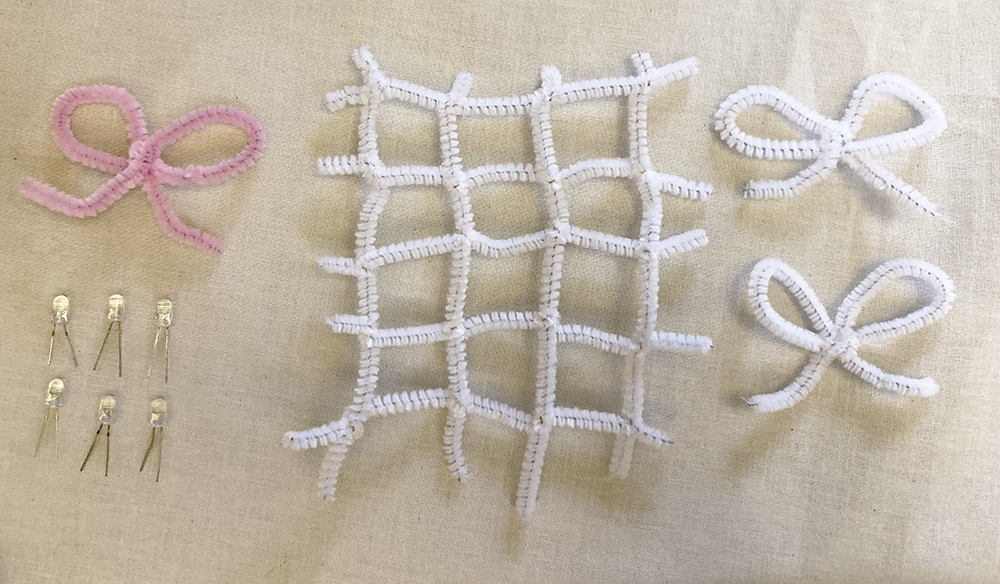
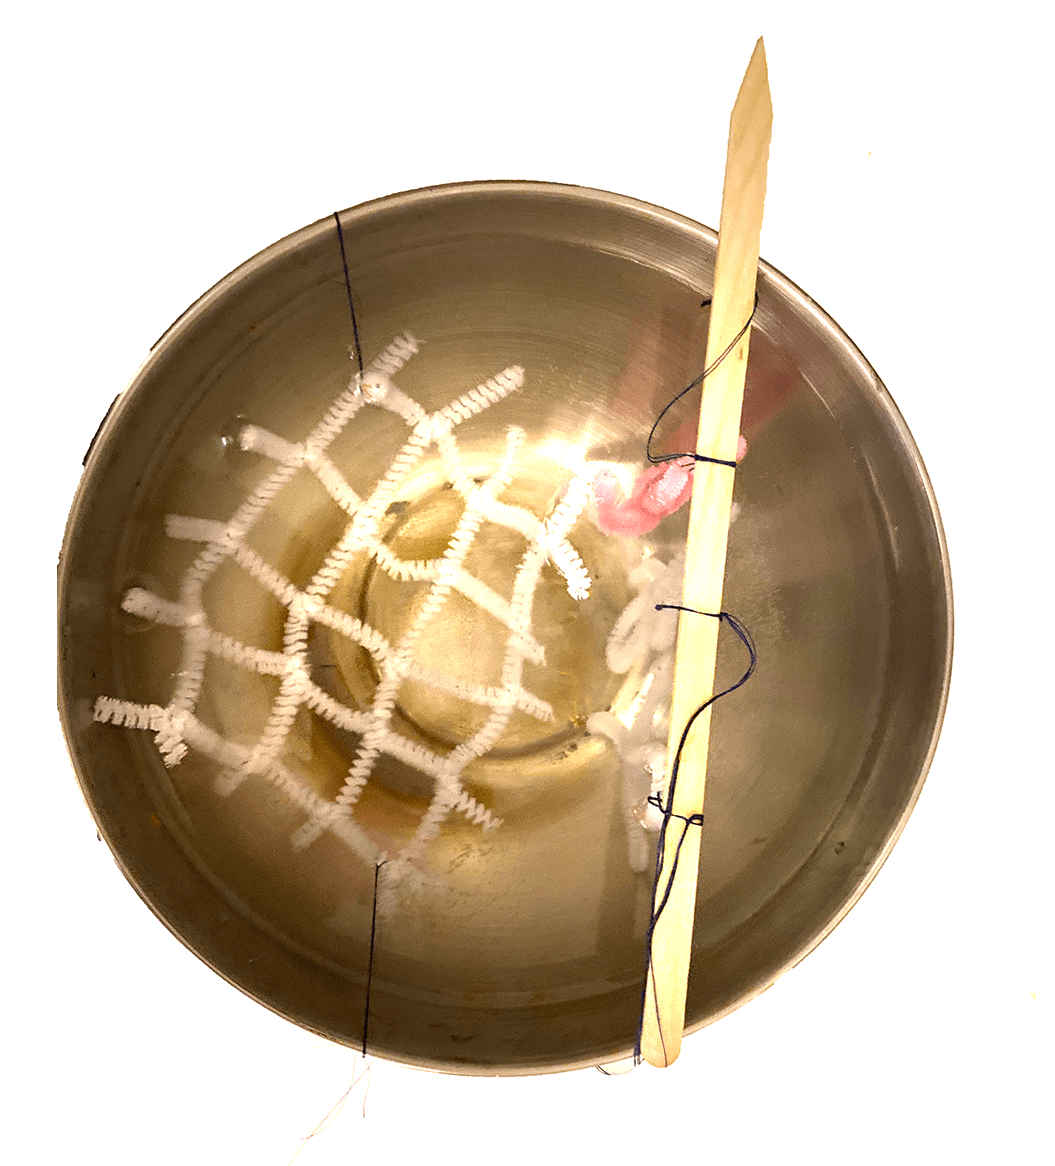
- The LEDs I tried to crystalize did not end up working. Also the legs rusted and broke off after being in the bath. The pipecleaners did get some crystals but in concentrated areas.
CNC Mold Making
This week we were using the CNC milling machine to make molds out of foam. Machteld and I collaborated a project to mill.
We worked on a model of some abstract geometric forms with some organic bubbles added to the surface. When modeling we had to make sure that there would be no undercuts that would mess up the milling process. Our model has sharp steep edges which is not the best for the CNC. The rounded milling bit fillets the edges but we were okay with this changing our design slightly.
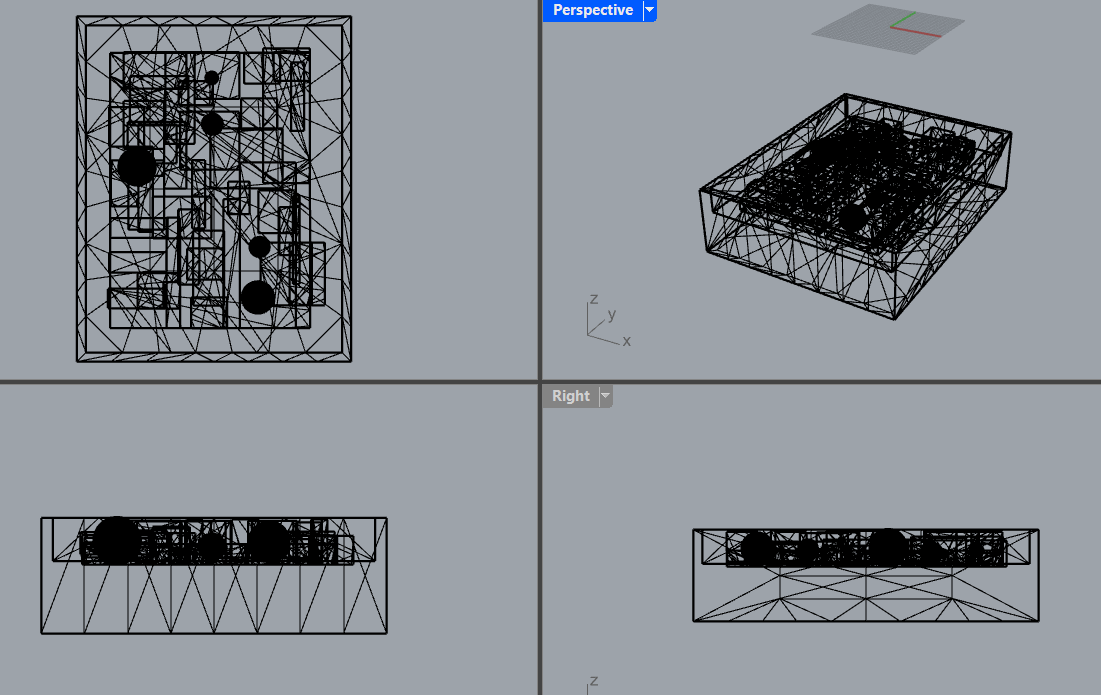
After modeling our mold we checked to make sure there was no undercuts and all paths were big enough for the drill bit to pass through.
CNC prepareation
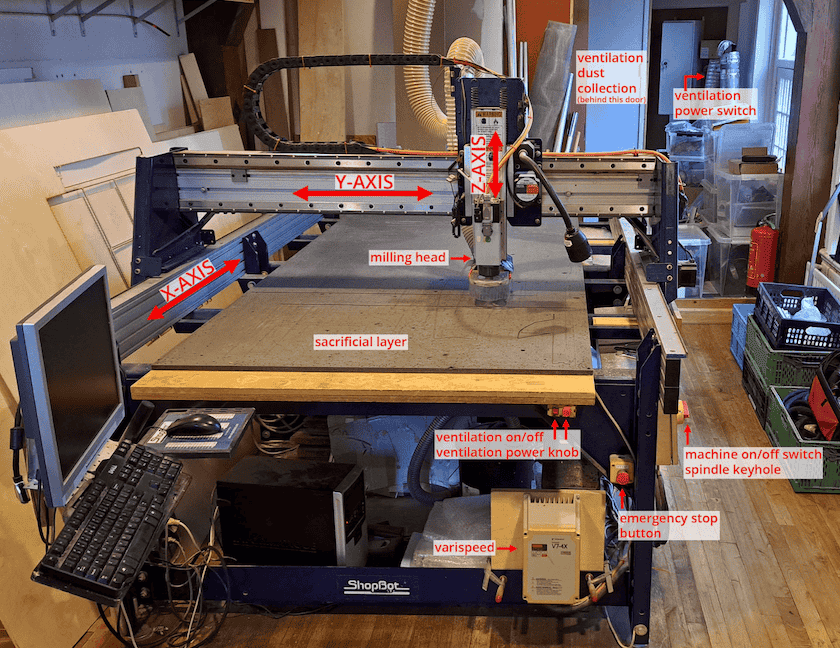
Image from Asli Notes compiled by Machteld and Jiawn
Creating the Tool paths
-
Save your 3D model as an .STL and upload it to Vcarve software
-
Fill in the the size and materials your model will be milled in
-
Material Setup —> Z position click on the left bottom corner in the diagram.
-
Toolbar click on : tool database —> choose the right tool for you or create a new one yourself. We used “foam end mill 5mm”.
-
Fot thr foam we used these settings: (spindle speed: 1000 r.p.m) (feed rate 80%) (plunge rate 20mm/sec).
-
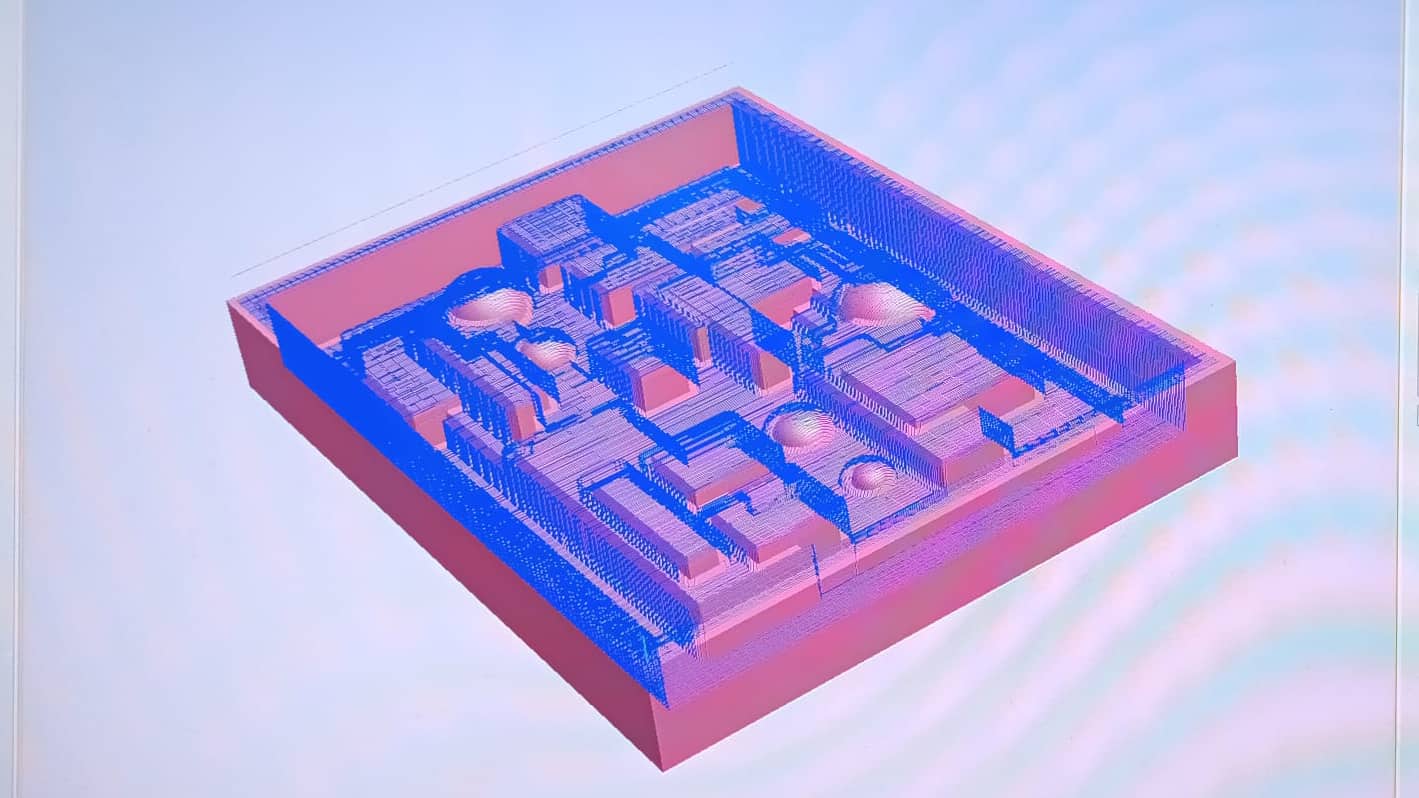
Create tool path: ROUGHING —> click on the roughing icon —> Limit Boundary “Material Boundary” —> Rough Strategy “Boundary Z level Raster X FINISHING —> click on Icon finishing under toolpath —> Limit Boundary “Model off-set 10mm” —> Area Machine Strategy “off-set/climb”
-
Save the roughing anf finsihing toolpaths separately, ready for shotbot import.
Preparation Steps:
- Open Shopbot software before turning on the machine.
- Clean sacrificial layer, secure material, and check vacuum bag.
- For foam, use double-sided tape and secure with wooden beams.
- Always run a separate toolpath for screwholes in large wooden plates.
Zeroing Axes:
- Zero X and Y axes using the Zero X/Y button.
- Capture X and Y positions as a precaution.
- Test Z-axis connection, zero on material or sacrificial layer.
- Press Zero Z button.
Starting the Job:
- Load partfile without modifications.
- Turn on dust collector power, spindle, and adjust speed if needed.
- Check milling bit for stability.
- Press start, keeping an eye on the job initially.
- Pause during travel moves if needed; stop spindle separately.
-
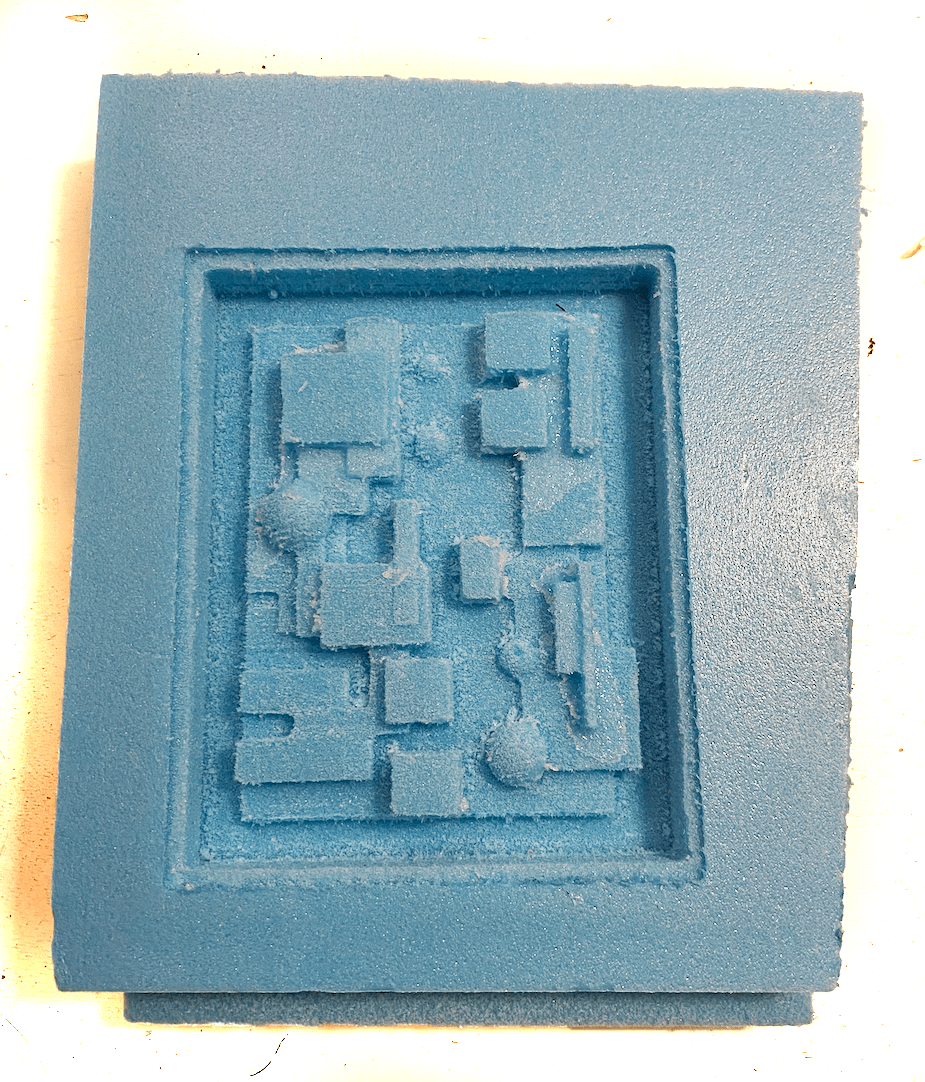
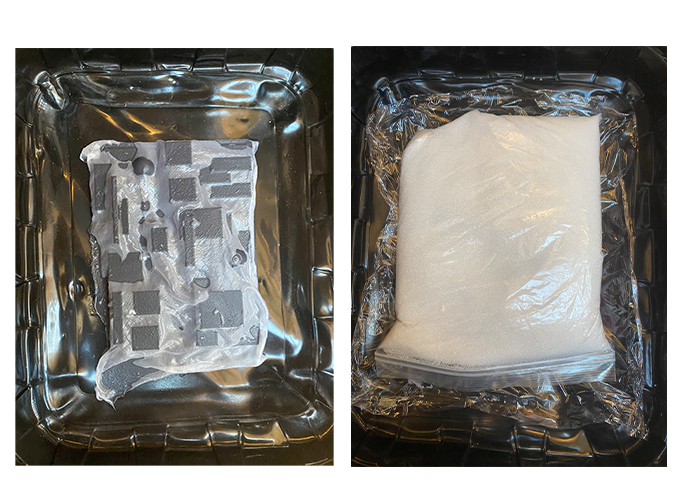
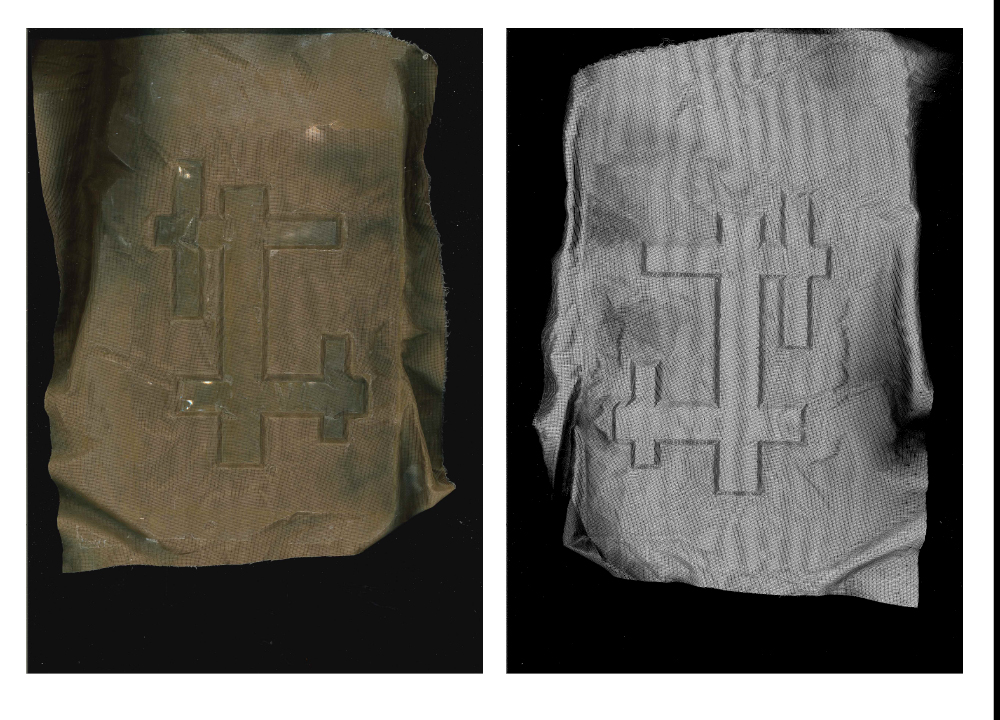
We layered 5 sheets of black tool and poured silicon over it to bind the layers
-
After leaving it to cure, we peeled it out of the mold. The milled foam gave it a fun, icy looking texture
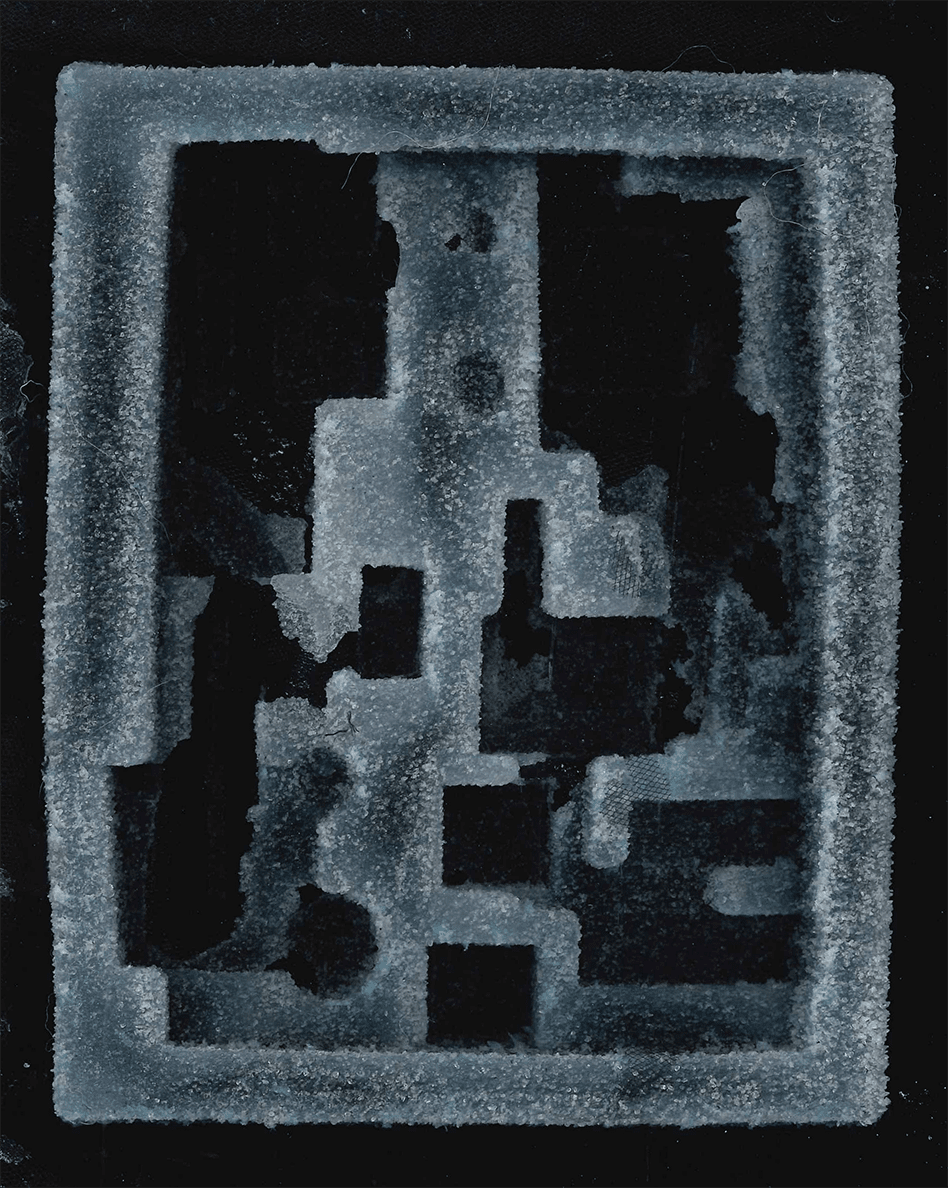
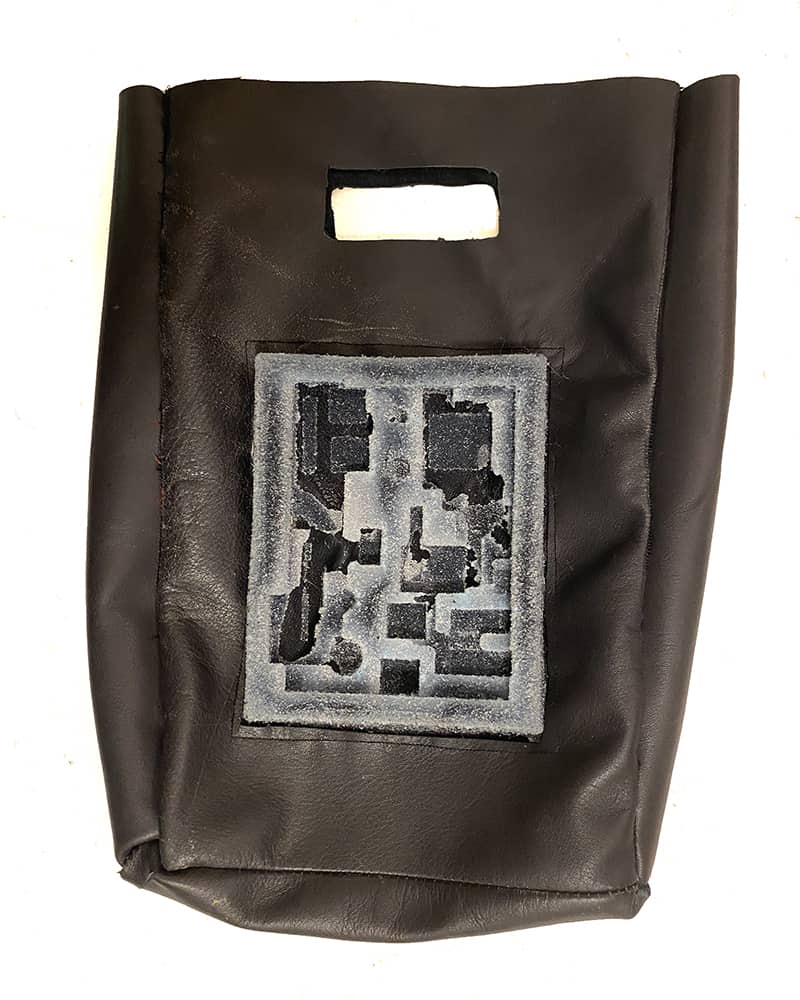
- we decided we wanted to incorporate our cast into a bag design so we made a bag out of leather and sewed the tule in


3D Printed Model
We wanted to also try to 3D print to mold fabric against our model
- We brought our model into Ultimaker Cura
- We sliced the model, and loaded the filiment into the printer.
- For a more indepth explanation on preparing a file to print you can look at my computational couture week

Once we had our print made we drapped starched fabric over it and placed a bag of sand on top as a weight. However this did not work. The mold was too detailed and the sand didn't provide enough weight.
Shibori
| Tools |
|---|
| Thin Fabric |
| Tapioca starch or glue |
| Warm water |
| Rocks, beads or other resist items |
| String or wire |
Shibori is a traditional Japanese textile technique that involves manipulating fabric to create various patterns and textures. The term "shibori" comes from the Japanese word "shiboru," which means to wring, squeeze, or press. There are numerous methods of shibori, and each produces unique and intricate designs on fabric. Fabric is folded, sewed or scrunched to create resists for dying. This can also be done without dye and by soaking the fabric in hot water or adding a stiffening agent the desired patterns will remain.
-
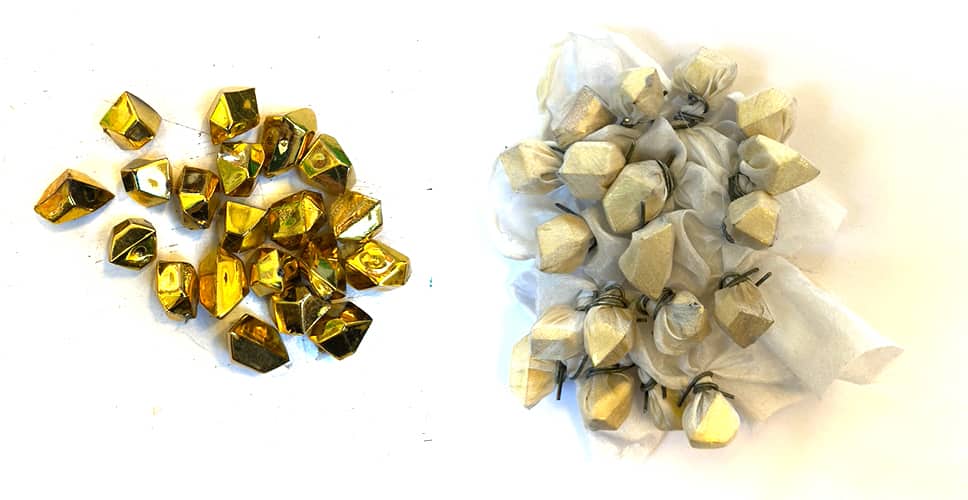
Inspired by a traditional method using stones, I took small plastic rocks and wrapped a sheet of silk over them. I used a wire to secure the wrapping but string would work as well.
-
I then added boiling water to a bowl with a tablespoon of tapioca starch
-
I stired the fabric in the mixture for about five minutes and then pulled it out to dry
-
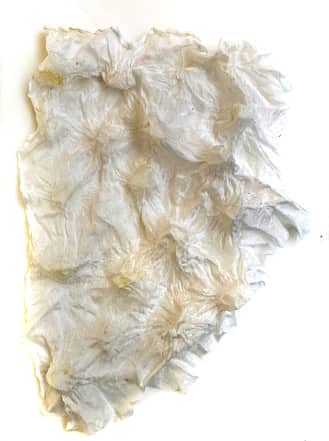
I let this sit overnight. After the fabric was fully dry I took out the wire and plastic stones and the texture stayed.
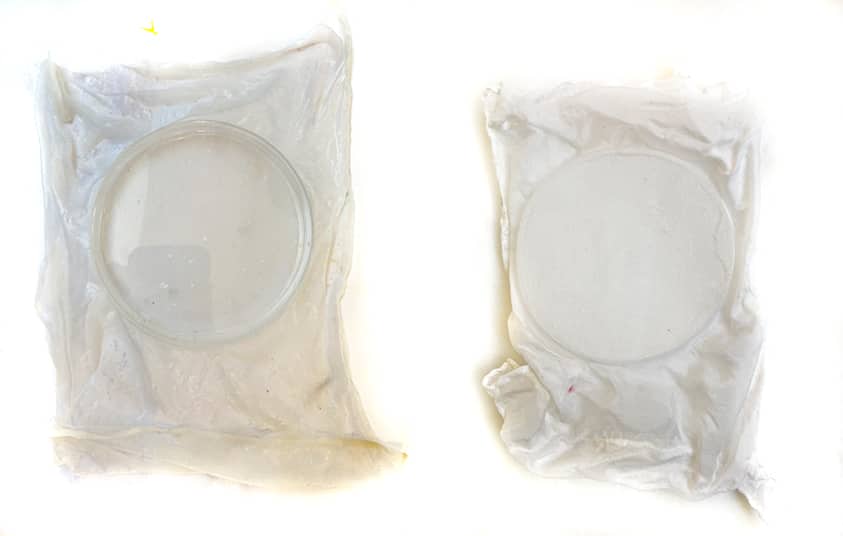
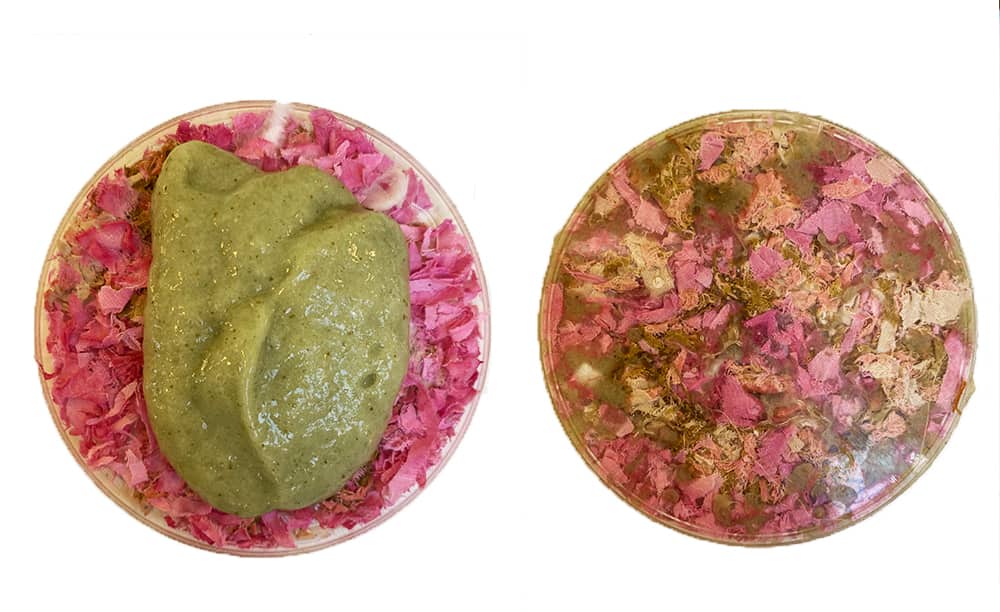
-I also did a test using a petri dish as a mold with the rest of the piece of silk I used. It also held well after drying
Laser Cut Press Molds
| Tools |
|---|
| Laser Cutter |
| Acyrlic or wood |
| Illustrator or Rhino |
| Fabric |
| Tapioca starch or glue |
| Clamps |
-
I wanted to try to make some of my own molds to form starched fabric around. Using scraps of acrylic from the fab lab I put together some quick molds to press fabric between.
-
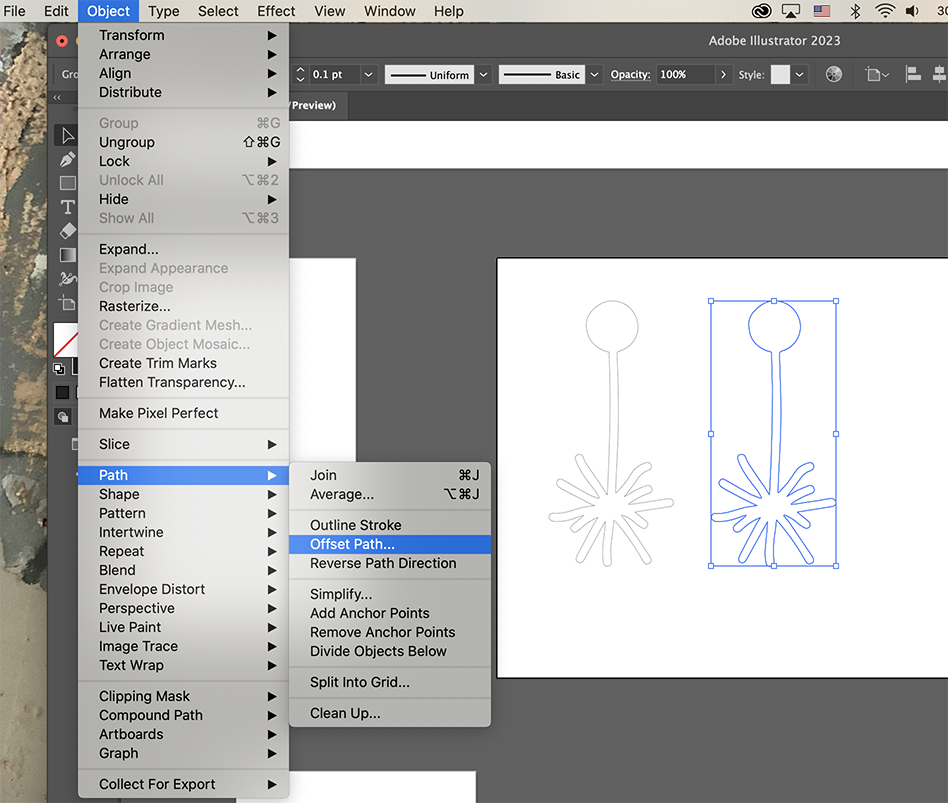
To make the file I brought a drawing into illustrator and made it into a vector file by clicking "make and expand"
-
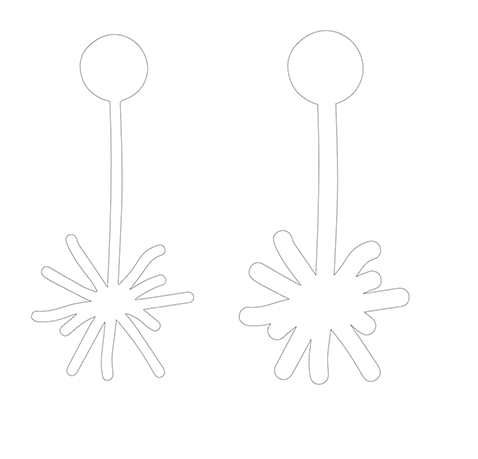
I then copied the drawing and offset the path to make a version of the drawing that would fit into the other with an allowance for the material that would be placed between
-
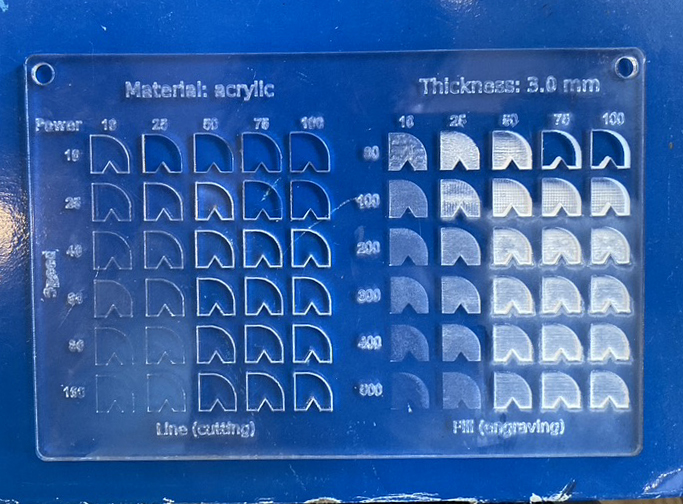
I based my laser settings on the samples posted in the lab for different acrylic thicknesses. The material I used was 3 mm thick.
-
I used a power of 80 and speed of 25. We have been having some issues with the laser in the lab cutting through thicker materials so I put in the settings to run all cut lines twice to make sure it went through.
-
After the acrylic was cut I used acryfix to glue the piece to larger scraps so they could be clamped
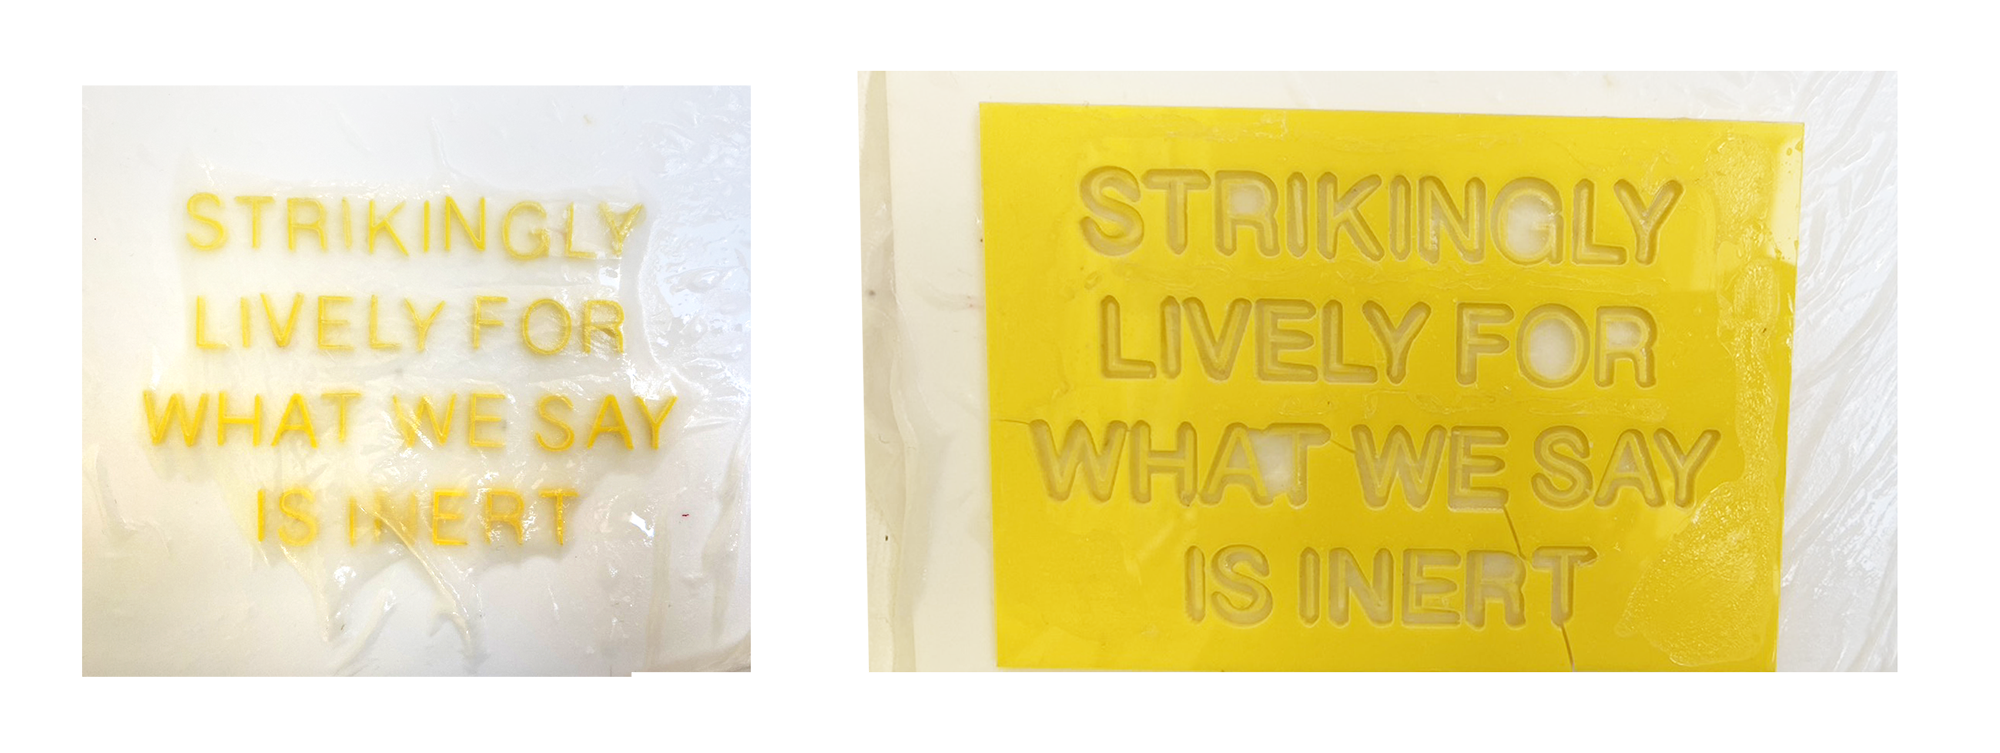
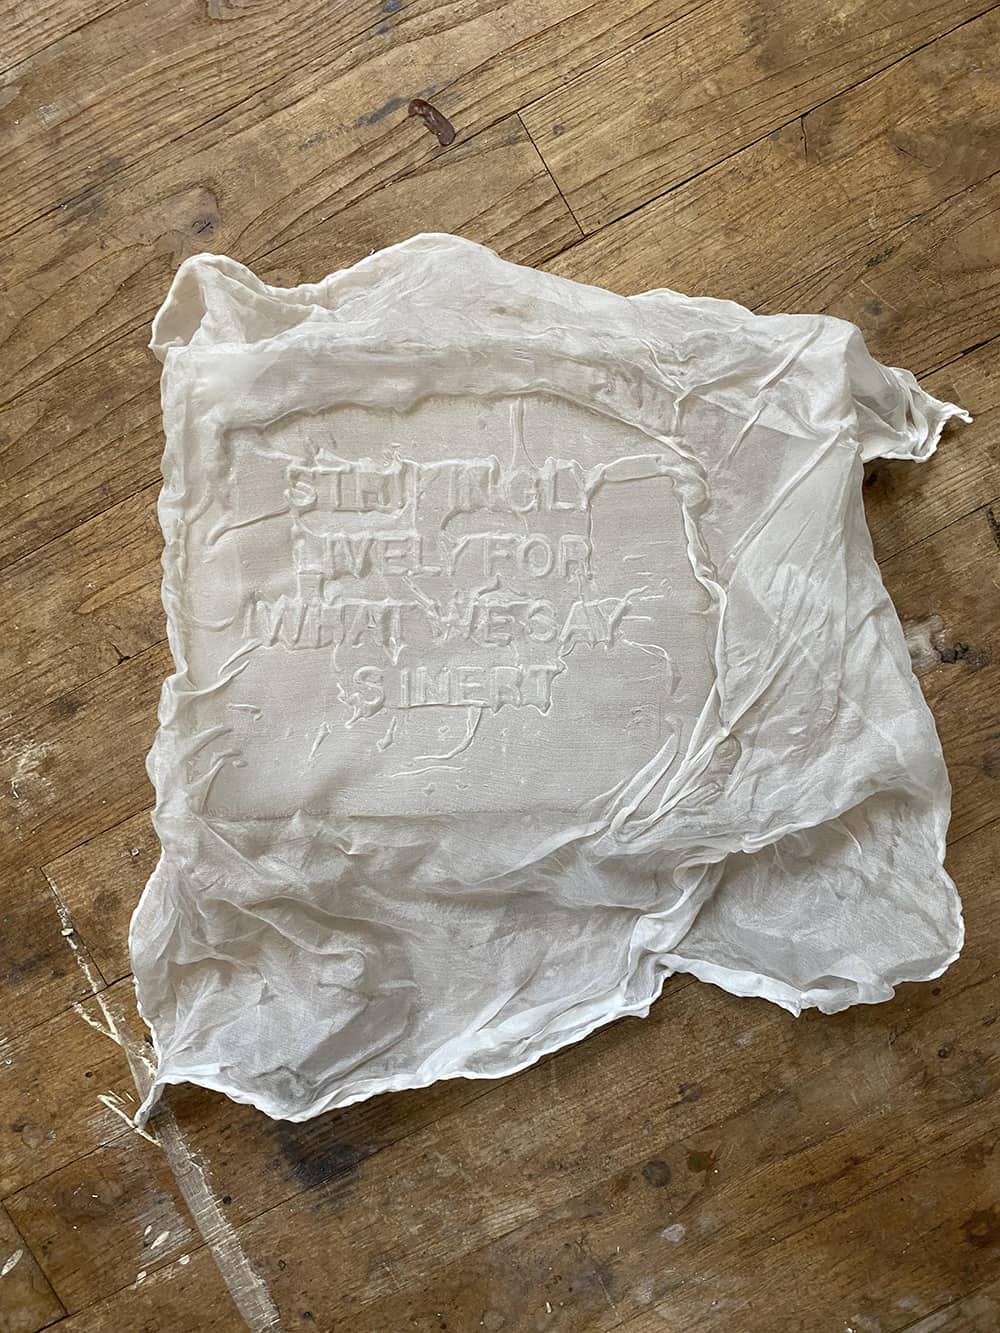
- My first trial was text using tapioca starched silk. However I think this was far too detailed to get a good result. I did like that it became a very subtle secret message though.
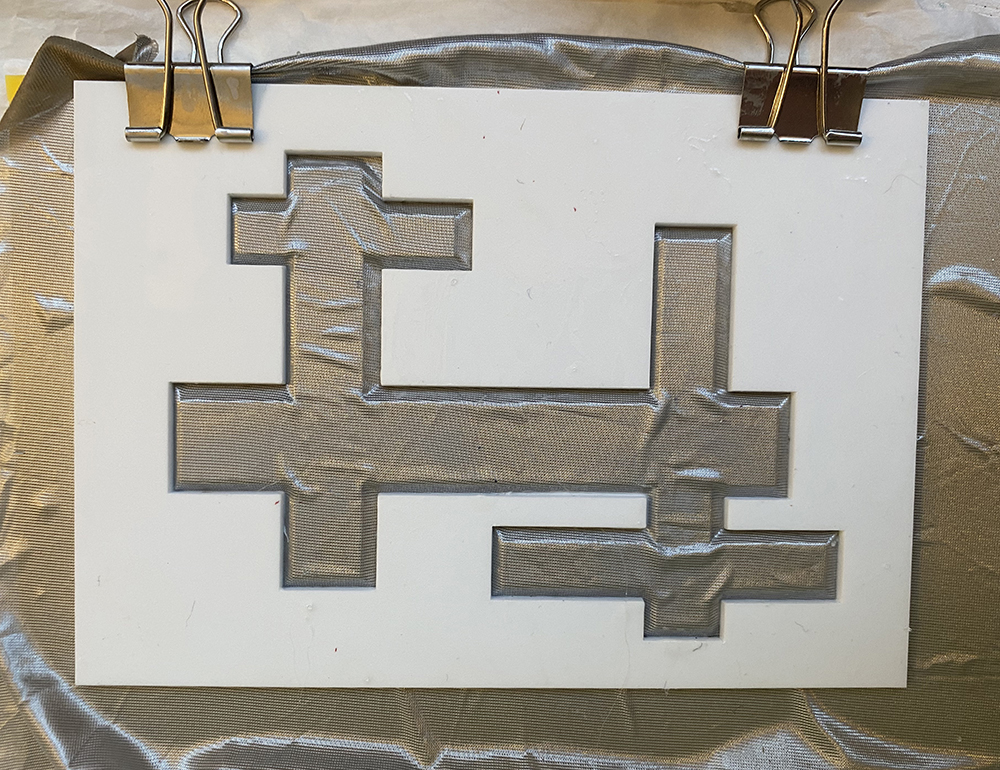
- After this I made another acrylic mold with Machteld to form fabric around. We instead used glue and water this time which I think held better than the starch
Leather Molding
Using the same steps as laid out before, I made some quick acrylic molds to test out pressing leather

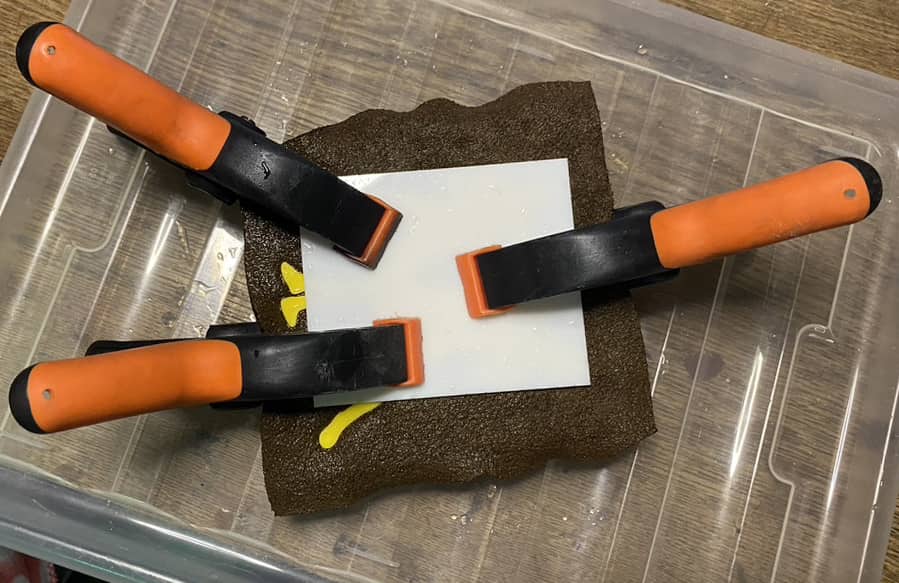
-
I massaged the leather in warm water for around 30 miniutes (tip: Do not boil the water!! I did this at first and the leather shrank up and got very hard)
-
After I pressed the leather between the two sides of the mold and clamped it down while it dried
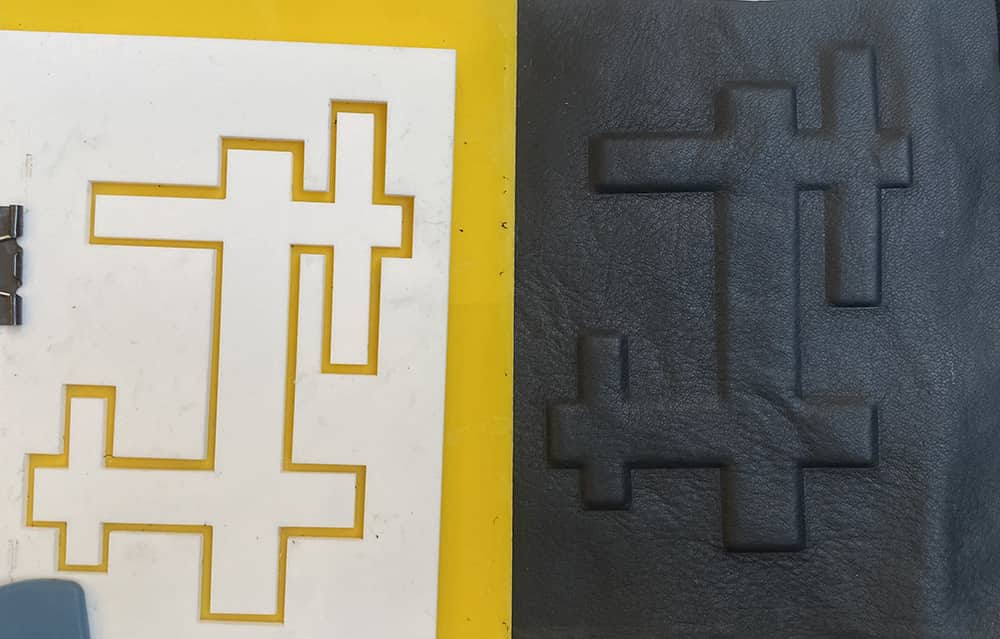
-
Machteld and I then used our mold to try leather as well. We placed it in the dehydrator after to dry while sped up the process a lot.
-
After we made another smaller bag using the embossed leather
Composit Material
| Tools |
|---|
| Fabric Scraps |
| Petri dish or mold to cast into |
| Gelatin |
| Glycerin |
| Pot |
| Stovetop |
I had a good bit of leftover fabric scraps from our natural duye week that were too small to sew much with but I loved the color too much to scrap them. I decided to shred them and add a bioplastic as a binder to give them a new life.
- After collecting all my scraps I used some of Ray's bioplastic mixture to bind them
Recipe: 1 litre of water, 100 gr glycerin, 20 gr Wheat Starch, 15 gr Tapioca Starch, 5 gr Bicarbonate Sodium, 5 gr YerbaMate powder + little cribs of wood fibres
- I then put this in the dehydrator to dry out

- Machteld also used our acrylic negative to cast some wool mixed with a gelatin bioplastic as a binder
Recipe: 96 g gelatin, 48 g glycerin, 480 ml water (This is a big batch, we only used some small leftovers for the mold)

-
Also Ray made a mixture blended paper scraps, water and tapioca starch. We pressed this into a leftover mold I had from Soft Robotics week with some hemp fibers added for structure.
-
We then put this in the dehydrator to dry
