02. Digital bodies
3-D / 2-D / 3-D
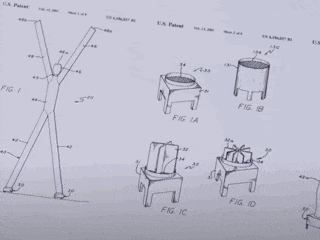
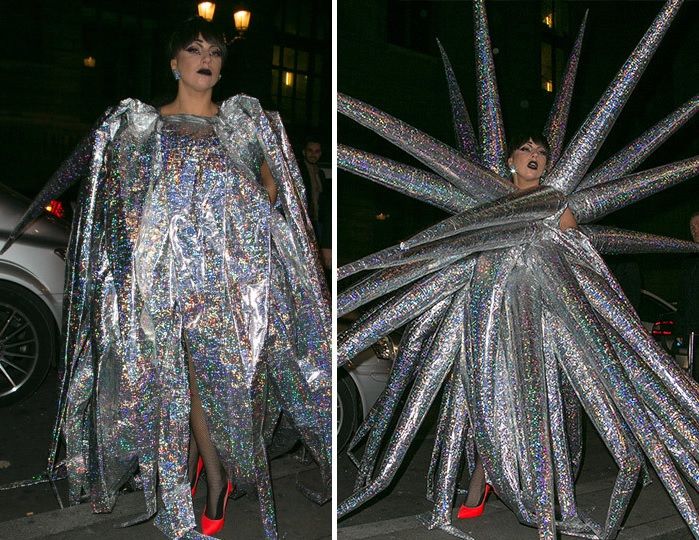
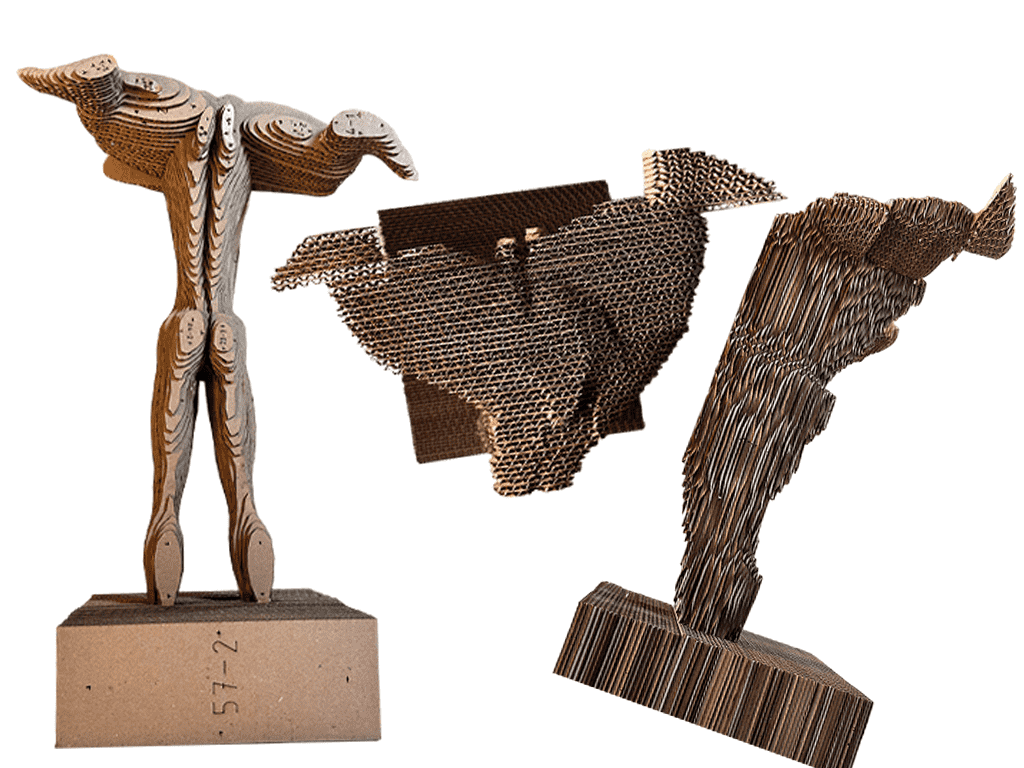
(Giff: Peter Minshal inflatable, ghandi cardboard sculpture, Arash and Kelly Studio, Ralph Pucci Mannequin)
WEEKLY SCHEME
1. Description of Assignment:
Week 2 - Anastasia Pistofidou - Digital Bodies
2. Q&A (Inspirations/Ideas):
- Q: WHAT IS A MANNEQUIN?
- A: My interpretation of a mannequin is very practical it has to hold clothes or better display them in a seamless way.
- Q: WHY DO THEY FOLLOW FASHION'S SURREAL BEAUTY STANDARDS?
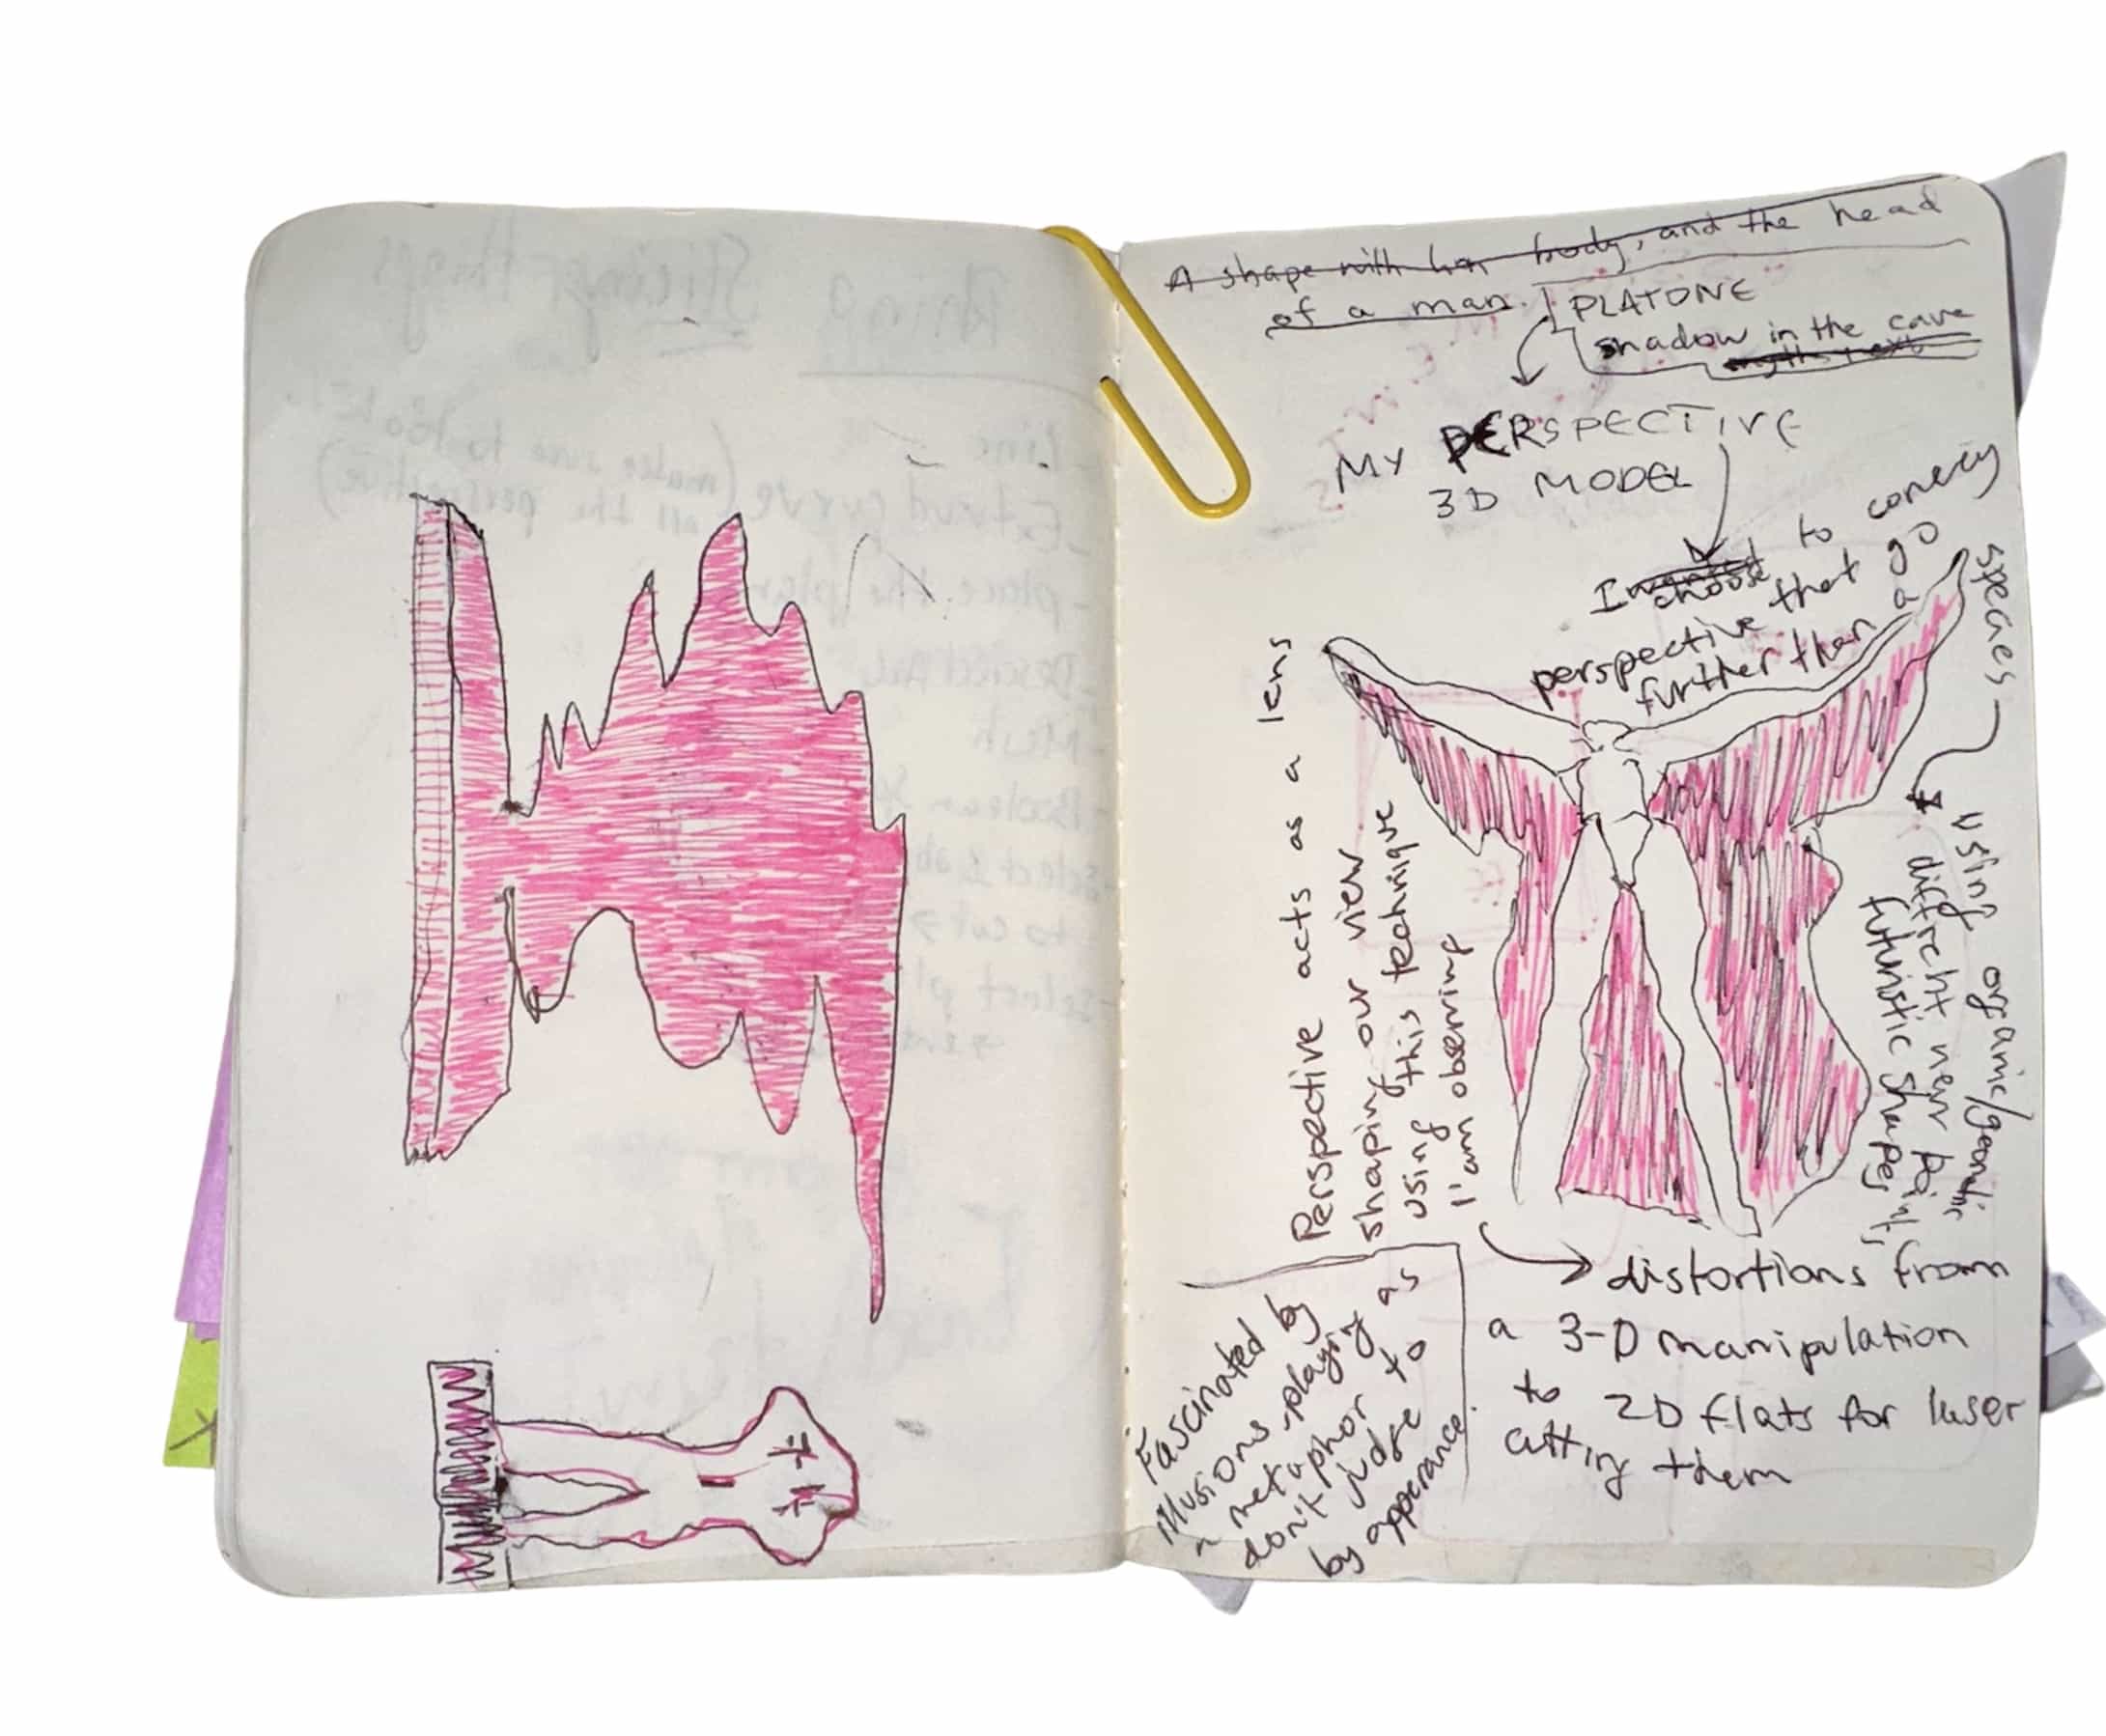
- A: Matrioska Russian doll, using a metaphor to represent power of ten as a matriosca to show different views and personal perspectives on how we look at our selves
- Q: IN WHAT WAY CAN WE CONVEY A GARMENT?
- A: Saskia Helinska flat pattern which then warps into a body form
- Q: HOW CAN WE STAY AWAY FROM BODY AND GENDER STEROTYPES?
- A: old type PC with tentacles that exti from the screen, creating a morphing sculpture conveying the uniqueness and rekoving sterotypes of human figure
- Q: WHO INVENTED THE FIRST (HUMANISH) INFLATABLE?
- A: Peter Minashall Inventor of the Inflatable Air Dancers was for the Olympics in 1996, the deisgner subsequantly sold the patent to Advertising companies and that's why there are really everywhere now.
- A: VERY FUN & COOL DESIGN WITH INFLATABLES Jack Irving Inflatable designer
Diary Entry 01
Dear diary,
the beauty of imagination is endless, after gazing through the endless possibility of creation itook a few steps back with my imagination and went back to a strange idea I had the other night… I was reflecting on the power of message that these mannequins made through history and that there was a big issue, there fore I decided to use the figurative shape of a computer as the 3d structure of my cardboard sculpture, depicting abstract tentacles reaching from within the screen. Conveying.a sense of alienation to the present world, looking towards the future looking and you only use your imagination and unique size measurements when accessing clothes with a computer alien wardrobe." 28.09.23: LET'S GET REAL...2 DAYS LEFT
xoxo
ray
Diary Entry 02
"Dear diary
Inspired by Jue Yang's approach to handling the weekly tasks, she consistently outlines her RESEARCH QUESTIONS and WEEKLY GOALS. As a result, I have chosen to incorporate these two crucial questions into my weekly plan, which I am formulating during the initial weeks. The objective is to establish a recurring and easily recognizable framework that will assist me in managing my overflowing ideas, which I aim to commence documenting. 01.10.23 TOMORROW I HAVE TO LASER CUT AND ASSEMBLE MY 3D HUMANOID!!!!
xoxo
ray
3. Documentation:
CREDITS TO JIAWEN GONG FOR HER DOCUMENTATION OF THE 3D SCANNER https://class.textile-academy.org/2024/jiawen-gong/assignments/week02/
"3D SCAN¶: We tried two types of 3D scanning, Sense Scanner and Skanect, and learned how 3D scanning works with structured light using principals of triangulation. Sense Scanner is when we hold the scanner and move it around our object, and it can get really into details. But it got really confused and crazy sometimes when we were trying to scan the hair and shoes, so I'm assuming it performs better when the object is made of simple materials with less distracting colours and details. Skanect is when you put an object in front of the scanner and do a full rotation of the object. Skanect is very steady, no matter how dramaticly you move, it still keeps scanning. Both scanner doesn't react on metal."
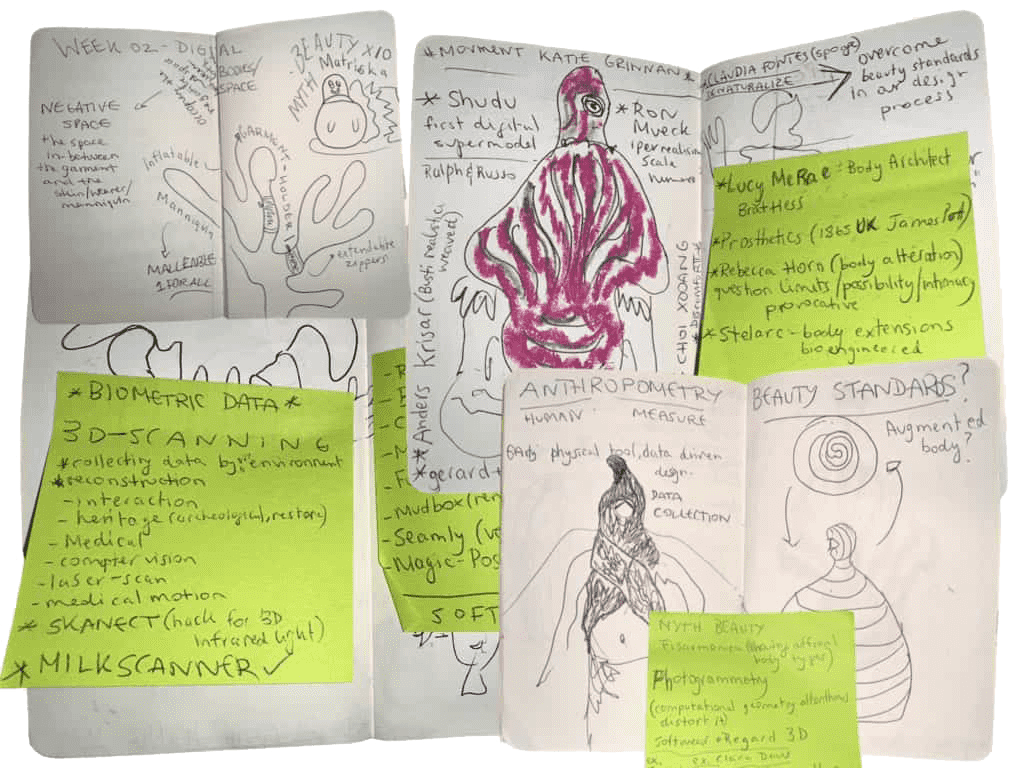
**SKETCHES AND NOTES**


**MAKEHUMAN SOFTWARE**
MakeHuman is a free and open-source 3D computer graphics software designed for the modeling of humanoid characters. It allows users to create detailed and customizable 3D human characters for use in animations, games, and other virtual environments. The software provides a wide range of parameters that users can adjust to customize the appearance of the characters, including features such as body proportions, facial features, and clothing.
**SLICER¶**
I used stacked slices for my humanoid sculpture
Slicer translates a 3D file into 2D, prepare it for laser cutting, it's a crucial component in the process of 3D printing. It takes a 3D model, typically in STL format, and converts it into a series of 2D layers that the 3D printer can then build layer by layer. The slicing software determines various printing parameters, such as layer height, print speed, and support structures, based on user-defined settings. It plays a pivotal role in translating the digital design into instructions for the 3D printer, ensuring accurate and precise fabrication of the physical object. Popular slicer software includes Cura, PrusaSlicer, and Slic3r, each offering a user-friendly interface and a range of customization options for optimizing the printing process.
**LASER CUTTING¶**
credit: JIAWEN GONG FOR HER DOCUMENTATION OF THE 3D SCANNER https://class.textile-academy.org/2024/jiawen-gong/assignments/week02/
Speed And Power
Higher speed = faster laser cutting, resulting in a lower laser exposure (may cause cuts being too shallow or smoked edges) Higher power = deeper laser cutting
Different materials require different speed and power, always do a test sample first.
Colour Mapping
Color mapping is a method of assigning different speed and power settings to different parts of an image based on colors. This works with both engravings and cuts, so you could have a single job cut through some areas with stronger settings and use weaker settings to create outlines or perforations in other areas.
If you are doing both engraving and cutting, do the engraving first because cutting may cause misalignment of the cut piece.
Important Procedures
- Delete duplicates
- Select open shapes
- Auto-join selected open shapes
- Place the jig
- Do a small sample to test speed and power
- Do a frame test
- Turn on ventilation before laser cutting
- Keep an eye on the machine when it's running
TIPS
-
Machine runs faster horizontally, so it's better to place the image in landscape
-
Check if the material lays flat, if not, use weights or tape. When using weights, do a frame test to make sure they are not in the way.
-
Keep the cover closed for a few minutes when the job is done, and let ventilation does the job to prevent heavy smoke and smell
Assembly
I engraved the numbers for the assembly and then used a glue to stick the layers of cardboard together.
**System Hacks:**
- IMAGE OPTIM AMAZING program Cecilia (my tutor) suggested me to use it's a free software to download and quick to use.
-
ASPOSE CONVERTER ONLINE file converter for 3D objects and various softwears
Favourite Outcome:
-
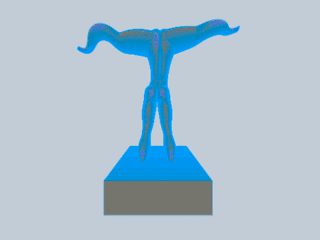
In the end I decided to go back to a human form for the sake of finishing in time...but something beautiful happend, by working in restraints i created a human / non human figure, by accident as my hight was on thw wrong axis I was totally lost ad the model was not groeing in hight but width, and created really nice perspective plays.
**Reflections:**
- Understanding how the project workflow is is forming my way of documenting my work, i learned that the best technique for me is to document my ideas, inspo, and workflow step by step, like this i don't forget my many thoughts.
- INSERT A FOOT NOTE SYNTAX (BRAKETS ENCLOSE THEM): [ ^1 ]
-
LEARNED HOW PUT CAPTION ON MY IMAGES FOR REFERENCING THEM AND THEN HYPERLINK SYNTAX
Tools/Software Used:
-
3D Scanner
- Kinect, sense3D, etc
- 3d modelling software: rhinoceros 3d
- Makehuman
-
Laser cutter
Fabrication files
- MAKE HUMAN MODEL
- LASER CUT 2D PLAN
-
** Looking Ahead:**
- ALWAYS REDUCE FILES SIZES ESPECIALLY GIFFS!
PERSPECTIVE 3-D HUMANOID
Peter Minshal Inflatable Olympics
Rhino Curves and Surfaces Tutorial
Join me on my adventure on Instagram, where I share daily updates on my research and thoughts: IG@JOINTSCIENCE