12. Skin Electronics
Concept: Skin electronics
Introduction
In week 12, the final assignment of Fabricademy, the lecture was on skin electronics by Assistant Professor Katia Vega from UC Davis.
During the online lecture she explained how beauty and technology have interacted with eachother by integrating circuits and sensors in hair, in and on skin and nails, eyelash extensions and so on. This is done through biotech and electronics in skincare, cosmetics and through applications of electronic sensors.
As she explained this is cutting edge research that can have a future impact on
-
Health: sensing health indicators such as bloodglucose, bloodpressure etc.
-
Arts: integrating electronics in performace arts and in expressions such as tattoos. The Kinisi project and video was shared here as a very interesting example. Kinisi AquaDJing
-
Safety: integrating senors in hair extensions to sound alarm in unsafe situations (I think every woman can relate to this)
-
Cosmetics: integrating sensors and biochemicals in hairextensions, make-up eg lipstick and so on. Chromoskin
-
Human-Machine Interaction: for example making a drone fly with eye or hand movement through capacity sensing.
-
Disability aid: for example turining the tv on with facial movement through capacity sensing.
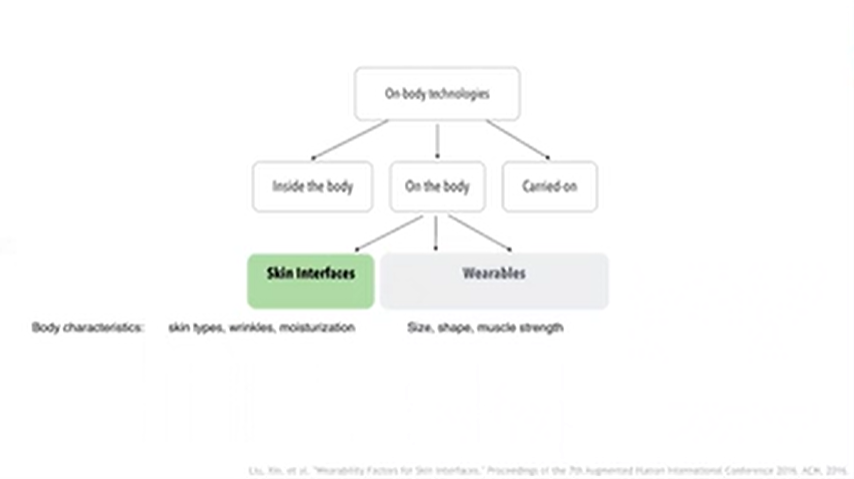
She emphasized that in creating circuits and sensors it is important to take safety measures for example: create conductive traces on adhessives and not directly on the skin and around the eyes. In addition the body is conductive so there will be no interference with the circuit if an adhesive is used as a base on the body. Some adhesives might be transparent, others might be visible. An excellent skin adhesive is sportstape which is flexible, is developed with health considerations eg. will not give a rash and withstands sweat and humidity.
The next conceptual model on skin electronics was shared during the online lecture (Screenshot)
Bling Bandaid
In my design concepts I always think about what is readily available in the local stores or what can be fabricated. So for skin electronics the same thought process started. And a material that sticks to the skin is bandaid. Especially the sportstape that sticks even if you sweat is one that I immediately wanted to try. Because we do sweat alot in this hot and humid climate.
I named this weeks assignment BLING BANDAID since I used sportstape as a skin adhesive and for special effects christalized ledlights and coppertape which are both shiny materials. In the previous assignment of scaffolding we learned how to grow christals and I wanted to apply this here as well.
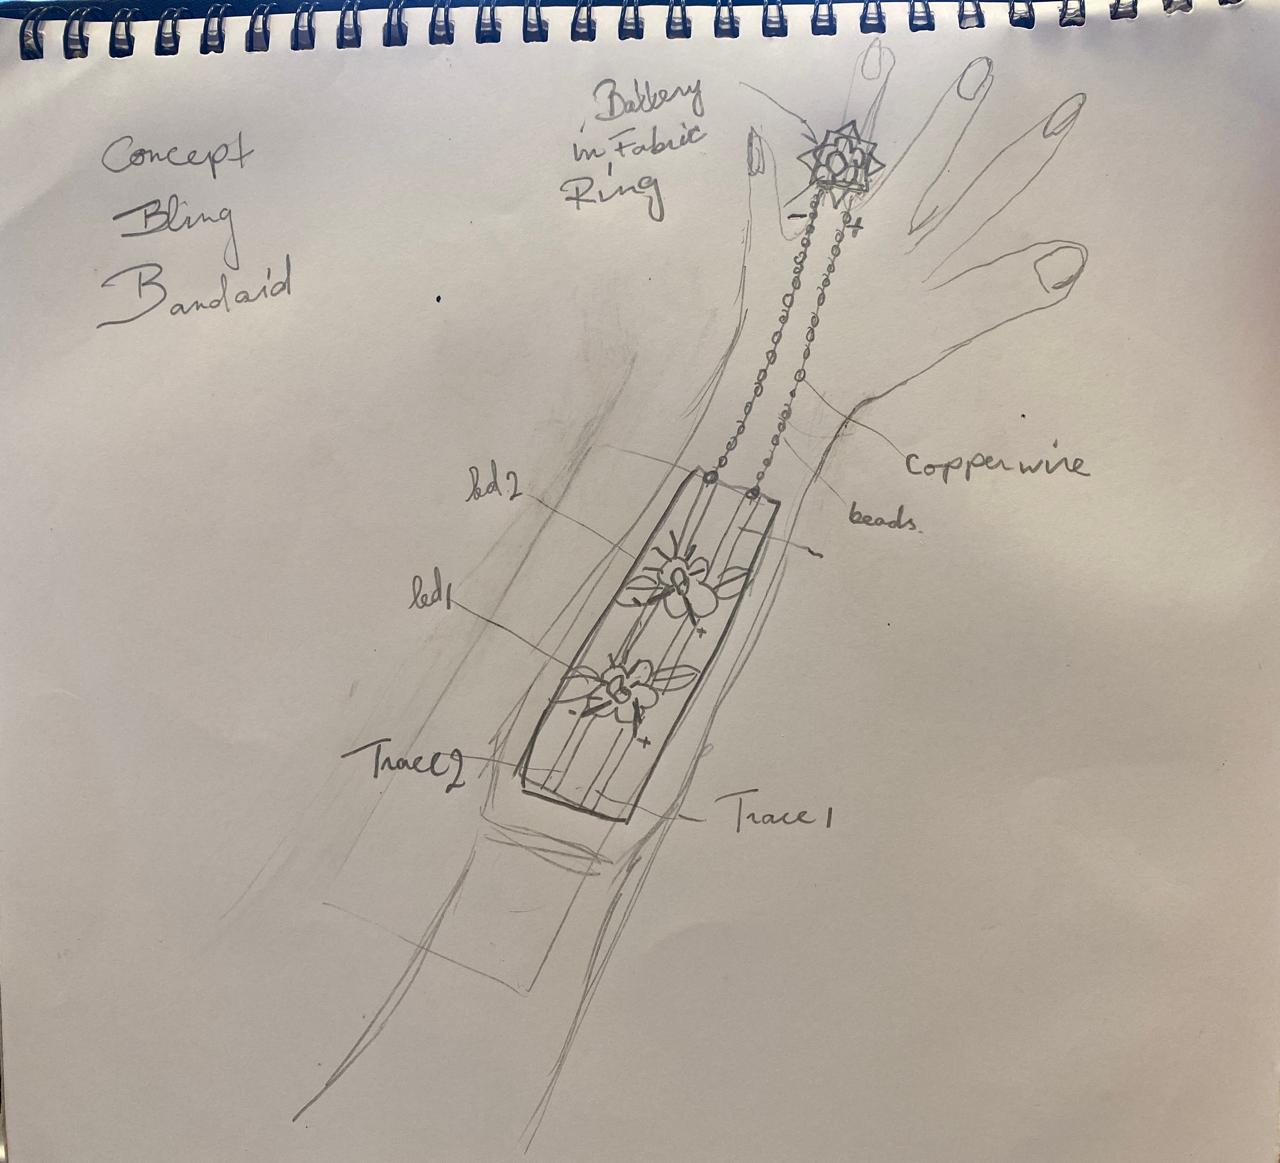
First frankenstein sketch
My first sketch is added here.
Learning outcomes
-
Research skills: the participant has acquired knowledge through references and concept development
-
Design skills: the participant learned to program a microcontroller, design circuit and schematic
-
Fabrication skills: the participant is able of integrating inputs and outputs in a microcontroller project
-
Process skills: Anyone can go through the process, understand it and reproduce it
-
Final outcome: Is the assignment is assembled, functioning or tested
-
Originality: Has the design been thought through and elaborated?
Student checklist
-
Document the concept, sketches, references also to artistic and scientific publications
-
Design a “skin-circuit”, exploring the replication of the examples below or:
-
the Skin masquerade party project
-
the Twinkle Nails project
-
interactive tattoo
-
explore how to create a new skin electronics accessory.
Document the project and included all source files and all materials used
-
Upload your design files and source code
-
Make a video with your skin electronic working
-
Make a short performance/concept of your project functioning (extra credit)
Research
Research for skin electronics start in the documentation of Fabricademy. First the tutorials. Not just the ones from skin electronics but also the earlier weeks of E-textiles and wearables where circuits, soft-hard connections and arduino for programming and automation have set a foundation to build on.
References & Inspiration
Fabricademy lecture by Professor Katia Vega
Guest lecture Professor Katia Vega MIT
Research on electronic pencil drawing tattoos
Paper on using skin electronics to monitor senior citizens in Japan
Tools
For growing christals on led: * Alum * Glass jar * Coffee filter * Water * Skewer sticks or double sided tape * Tread * Tape
For electronics:
- Multimeter
- Soldering iron (Soldering station)
- Pliers
- Scissors
- Arduino UNO
- Arduino IDE
- Tinkercad
- Inkscape
Materials
Threads resistive/conductive threads/ Copper wire Craft glue Wires jumpers, alligator clips wires Sporterstape Chrystals ( made from Alum) LED lights Fabric
Process and workflow
The process is explained in this short presentation. Afterward, it is more detailed on this page. Click on the presentation here to go from page to page!
Making a Bling Bandaid by Reina Raveles
During the process I did the next steps:
Hard-soft connections:
- Christal-Leds: I fabricated christals on the led lights
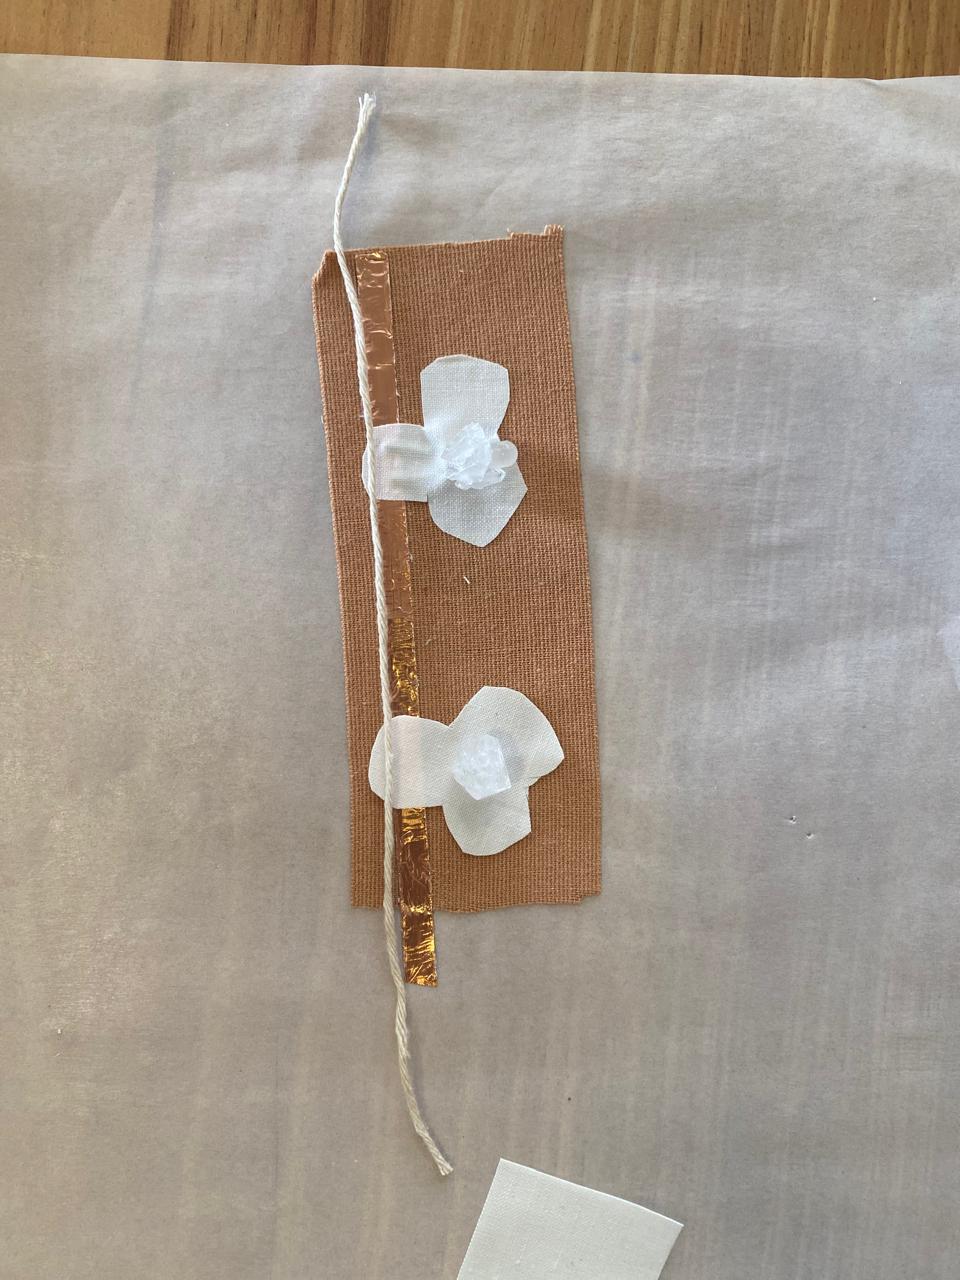
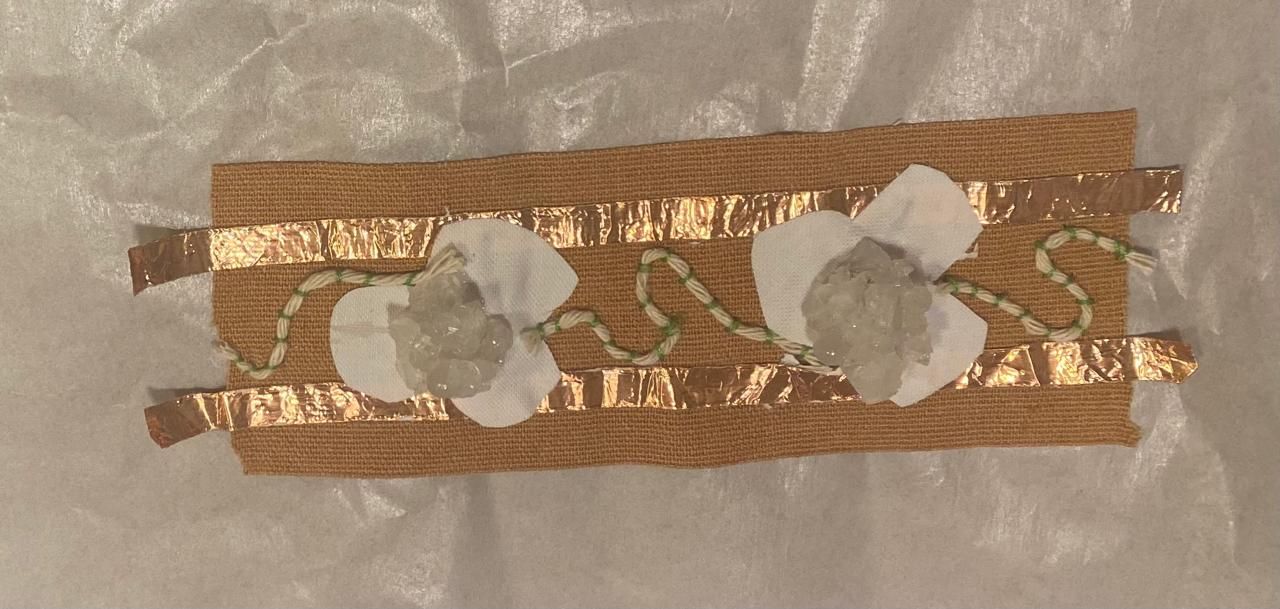
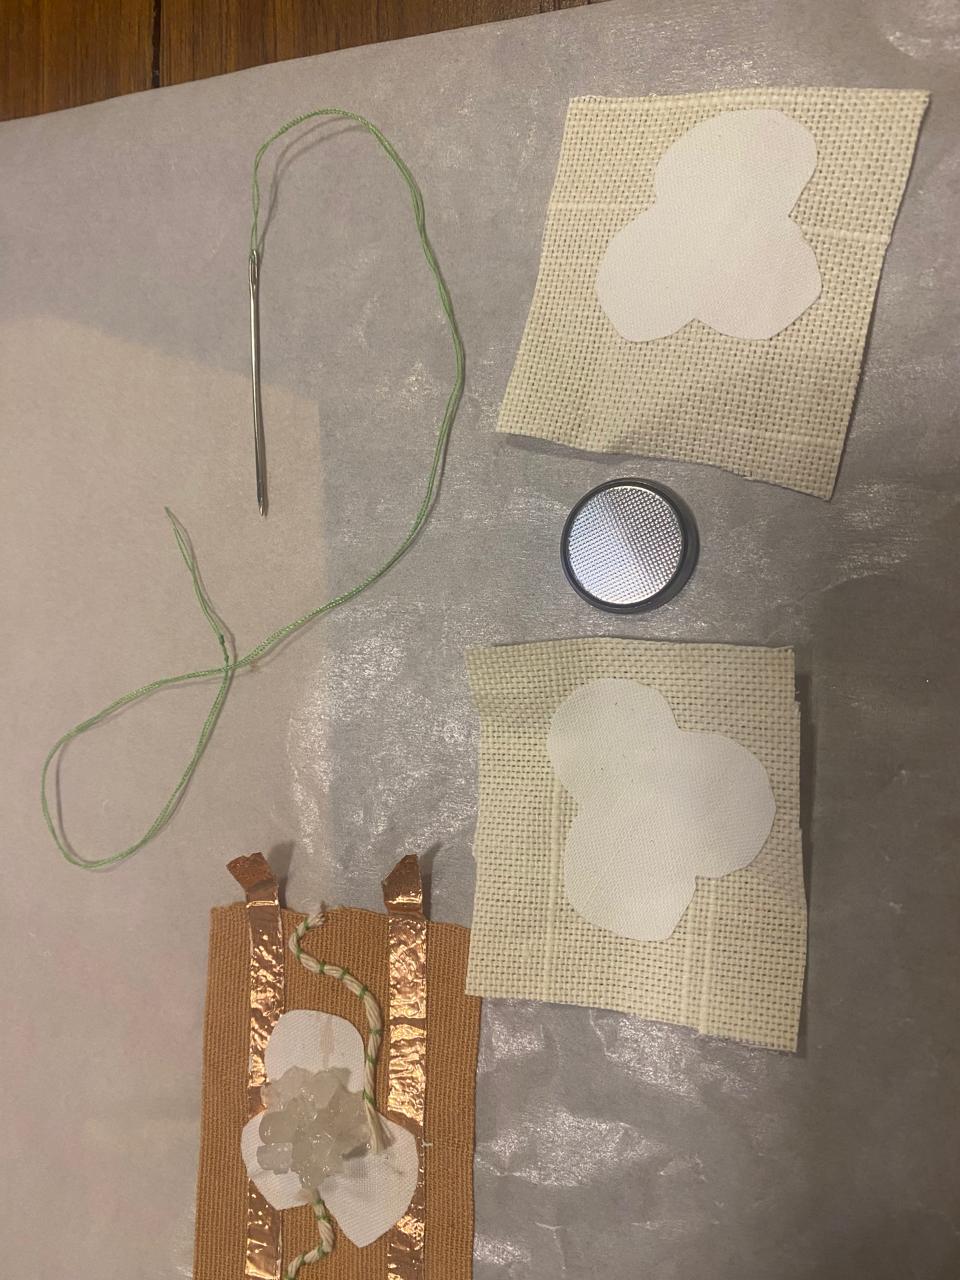
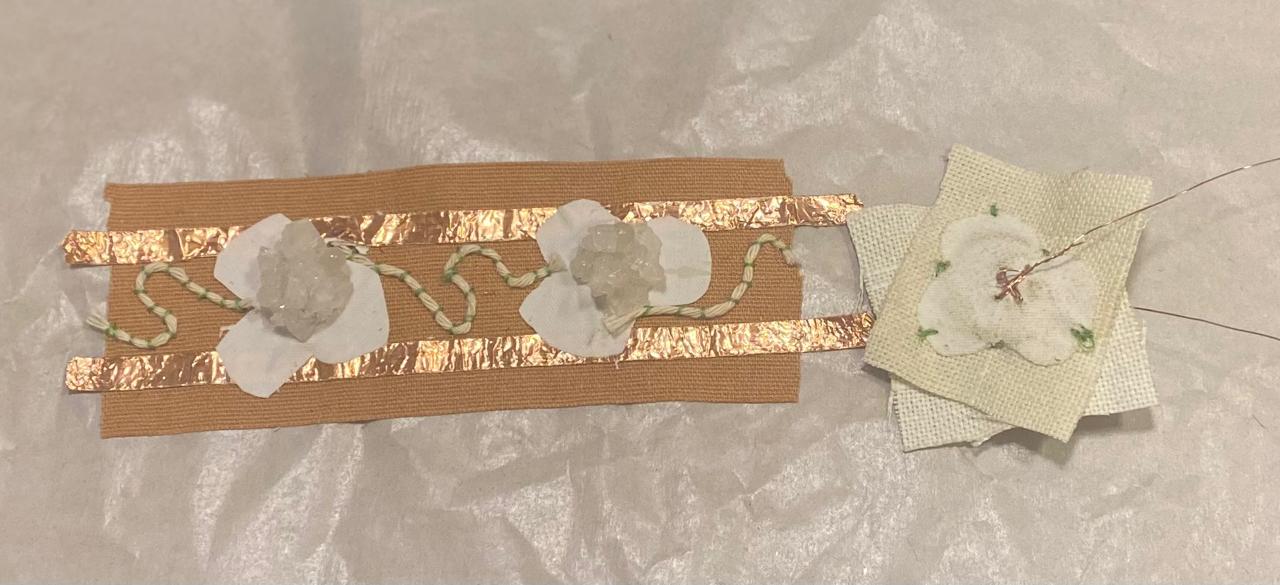
- Craft: I cut the sportstape/bandaid to size, hand crafted flowers and glued it to the sportstape. I also handstitched a piece of yarn in as a vine.
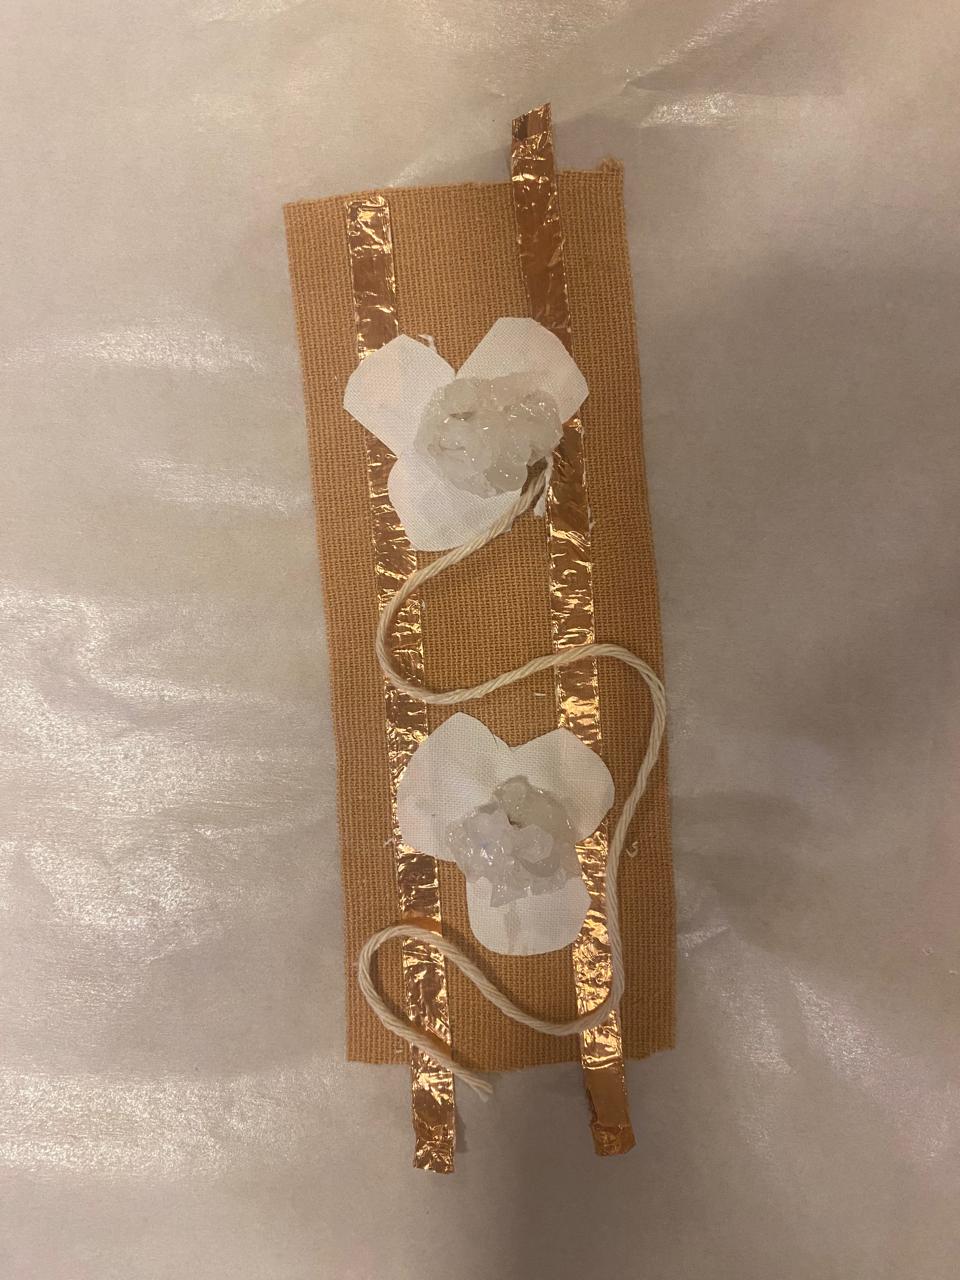
- I glued 2 traces of conductive coppertape to the bandaid in full length and made sure the + and the - connections of the led connected to each trace.
- I tested the connection with a multimeter
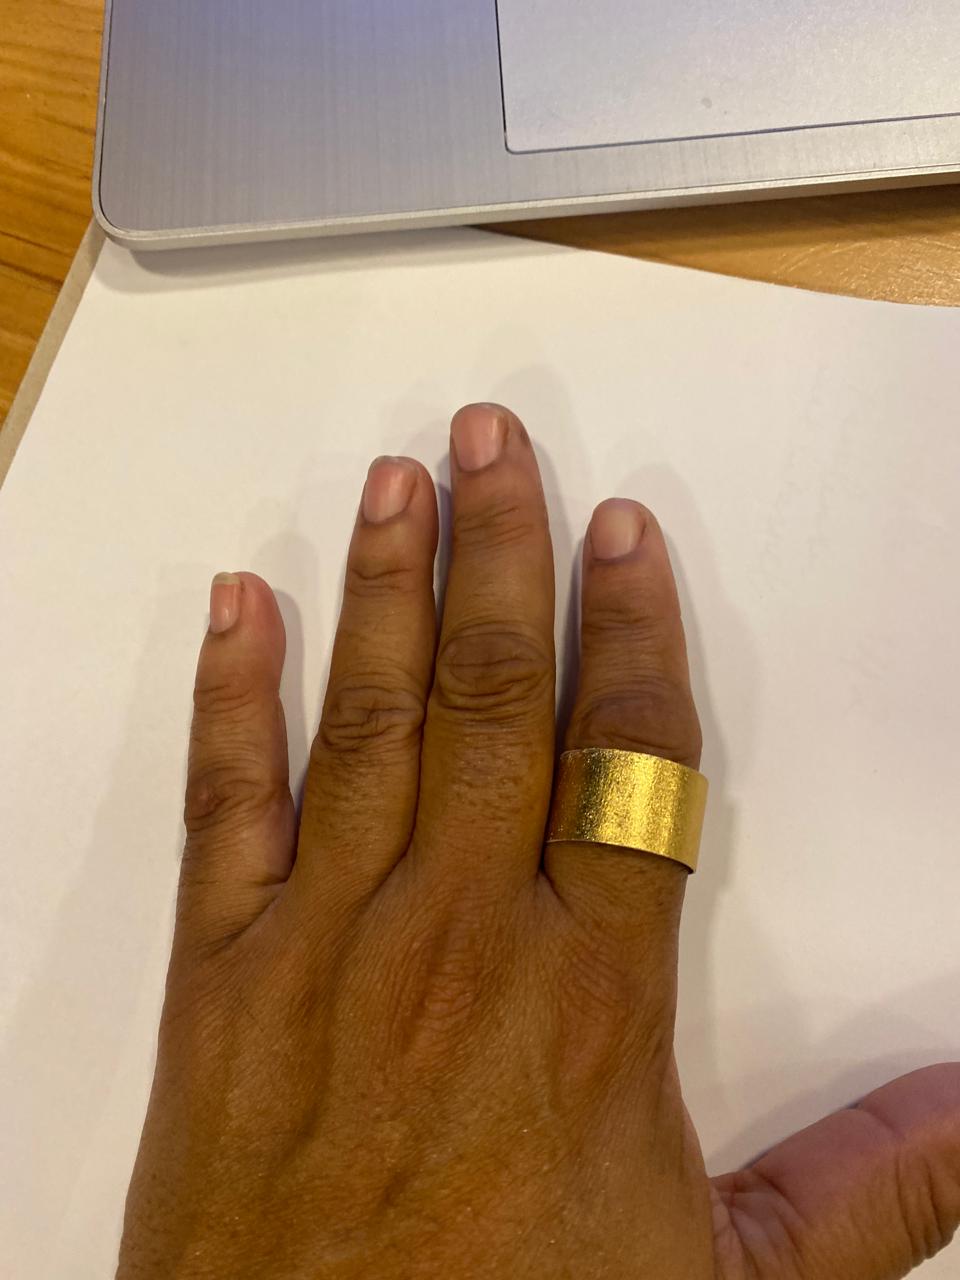
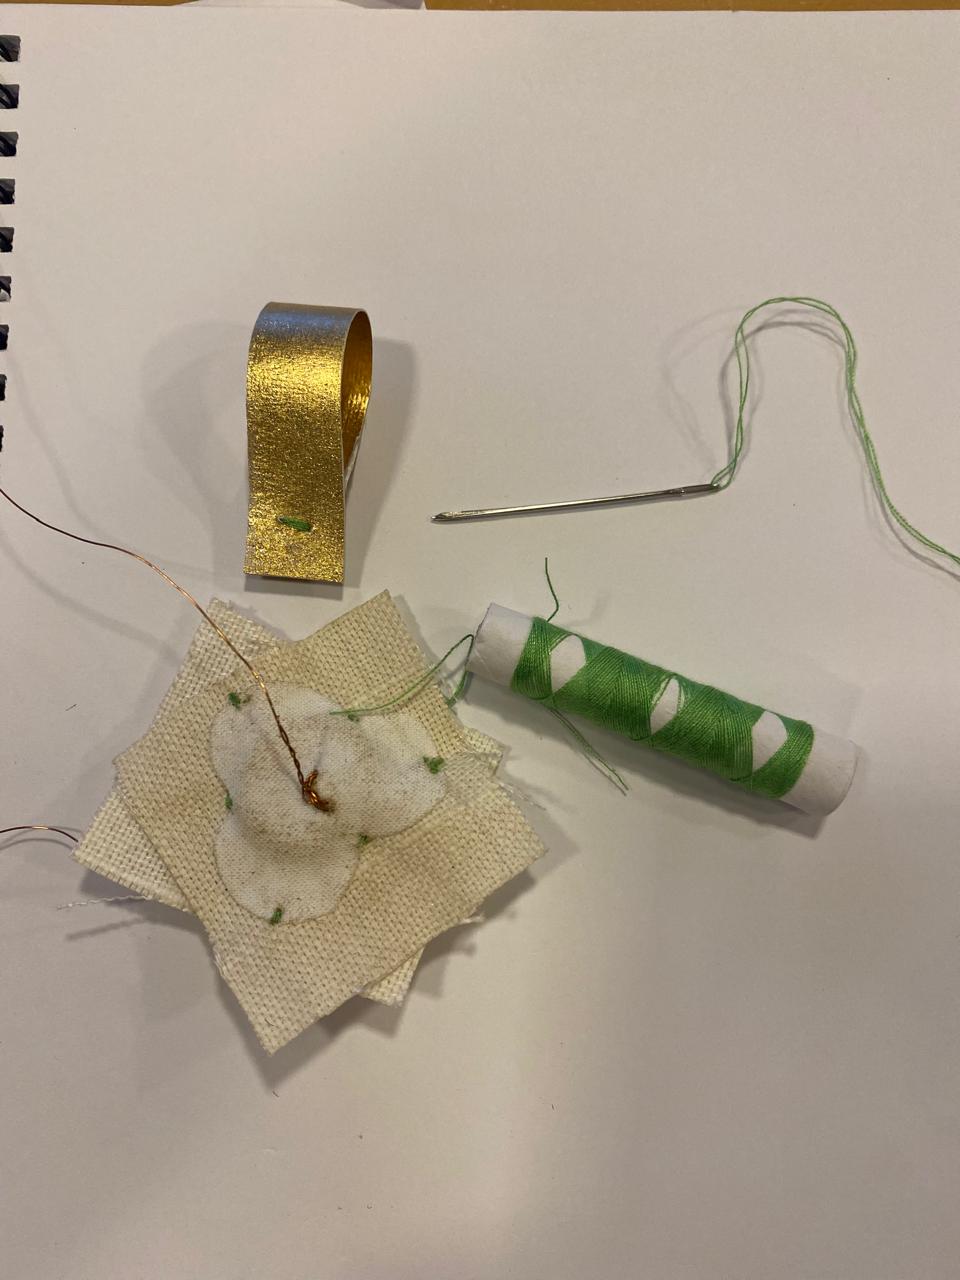
- I made a battery pouch ring to fit a 3V coin battery.
- I connected a copper wire from the battery ring to the conducctive traces on the bling bandaid
- Test the connectivity a second time
- I put beads on the copperwire
Arduino
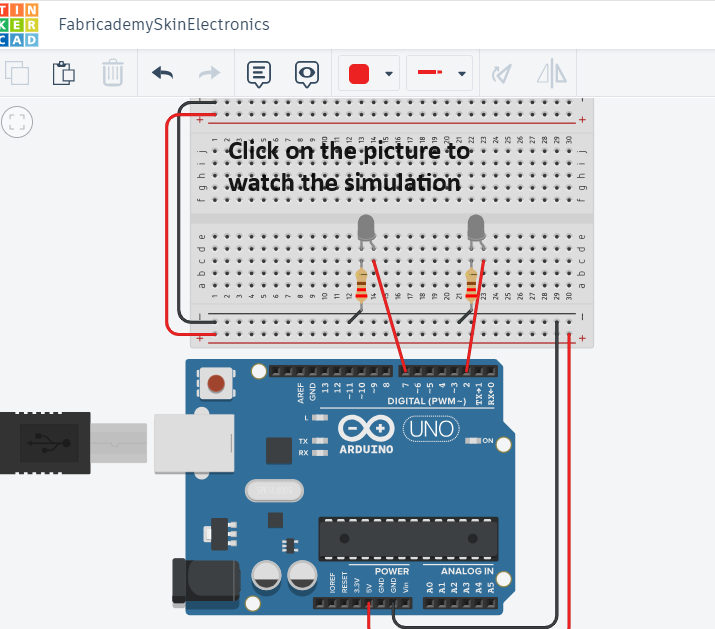
- Next I built the circuit for Arduino online in Tinkercad circuits module.
- I tested it
- I added 220 Ohm resistors to both led circuits
- Now that it works in the app, so now I adjusted the circuit integrated with the Bling bandaid
- and then connect it with Arduino Uno using the same code as in Tinkercad
- I tested it again Hopefully it works this time too!
Creating christals
I decided to use christals in the flower patterns. Here are the process steps.
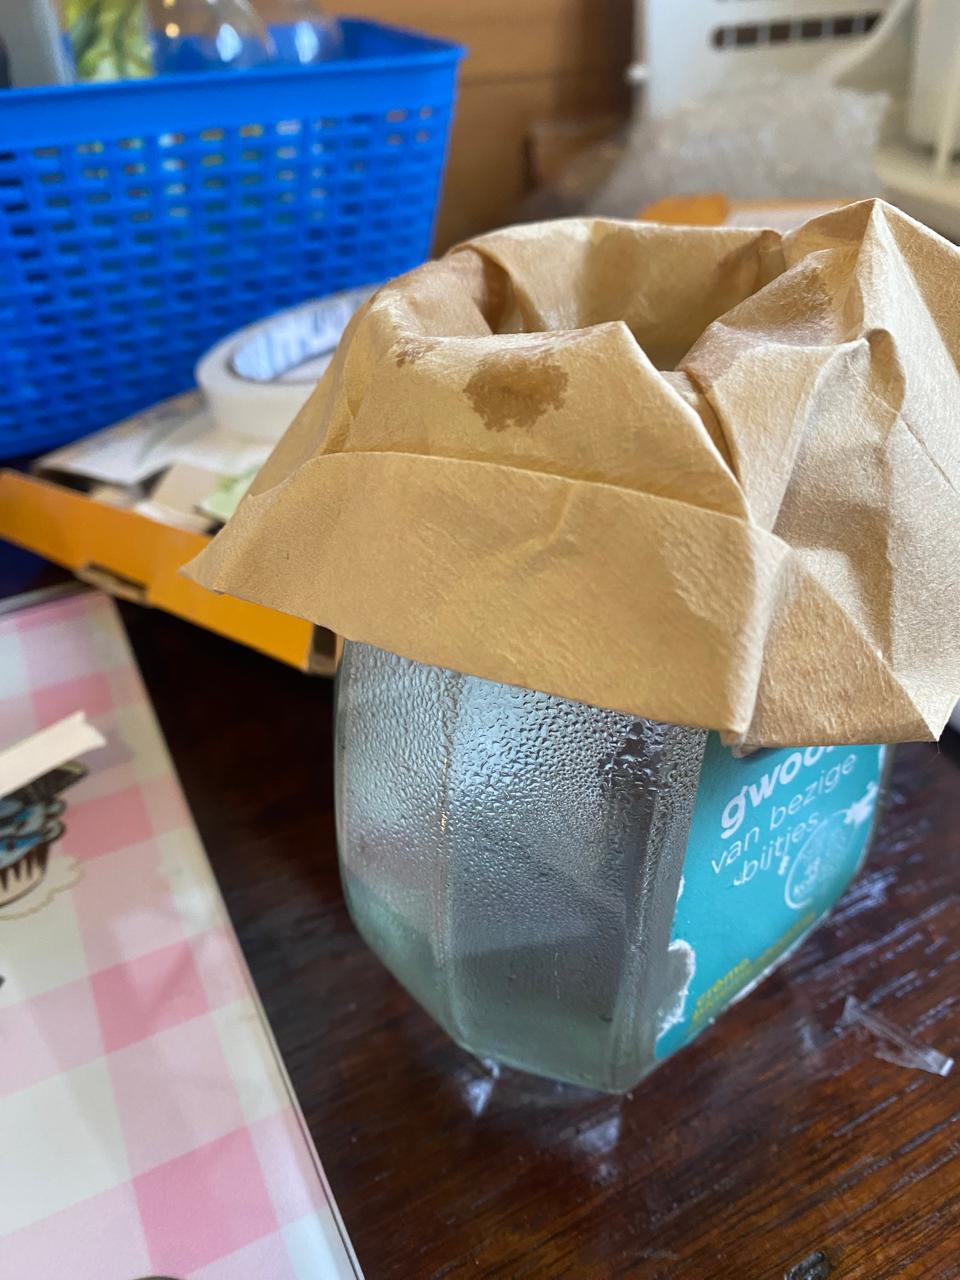
Filter the water
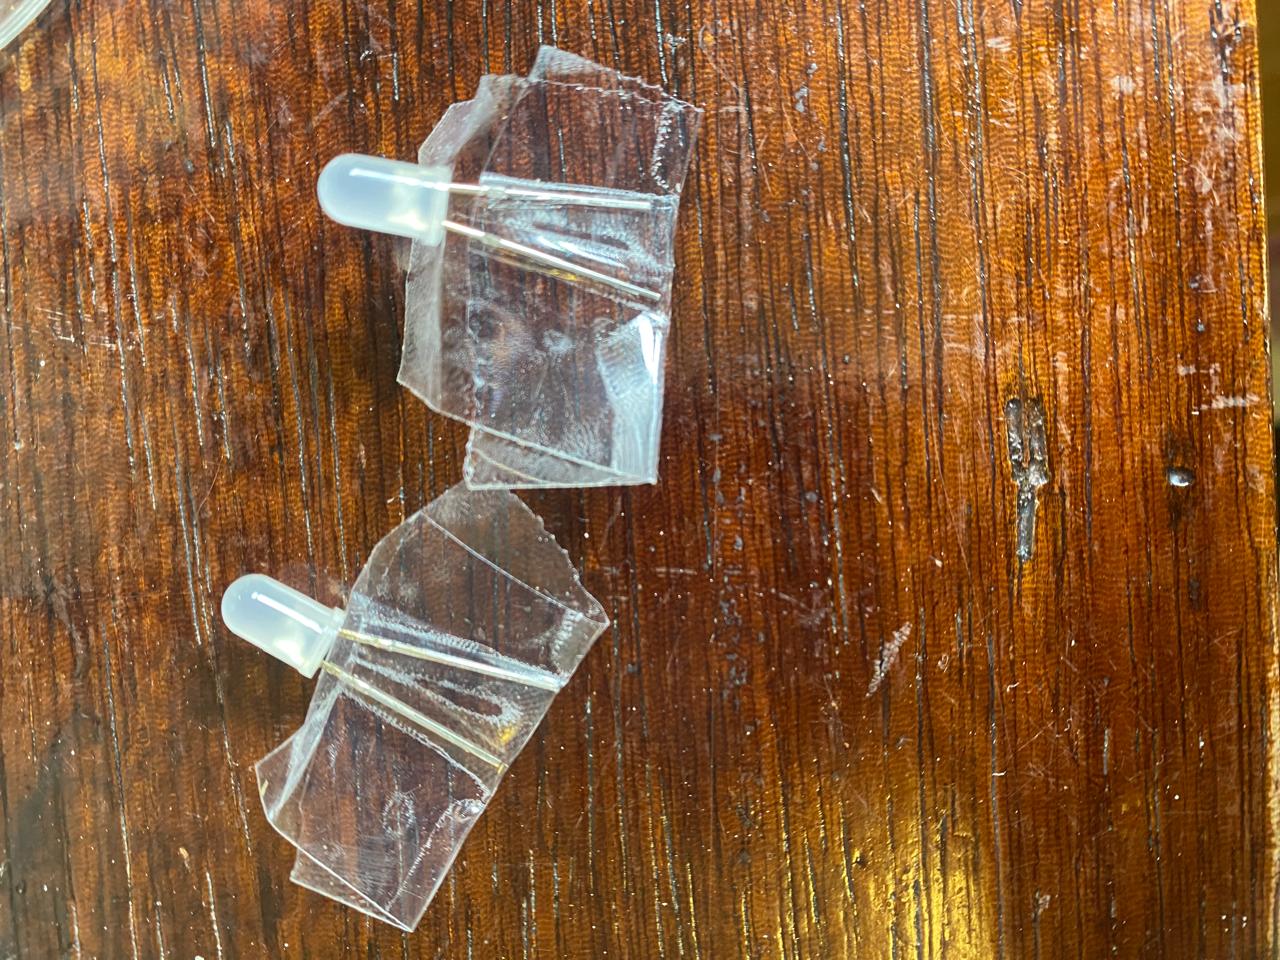
Preparing the LEDS for christalization: tape the LED legs so they dont get wet or get christalized.
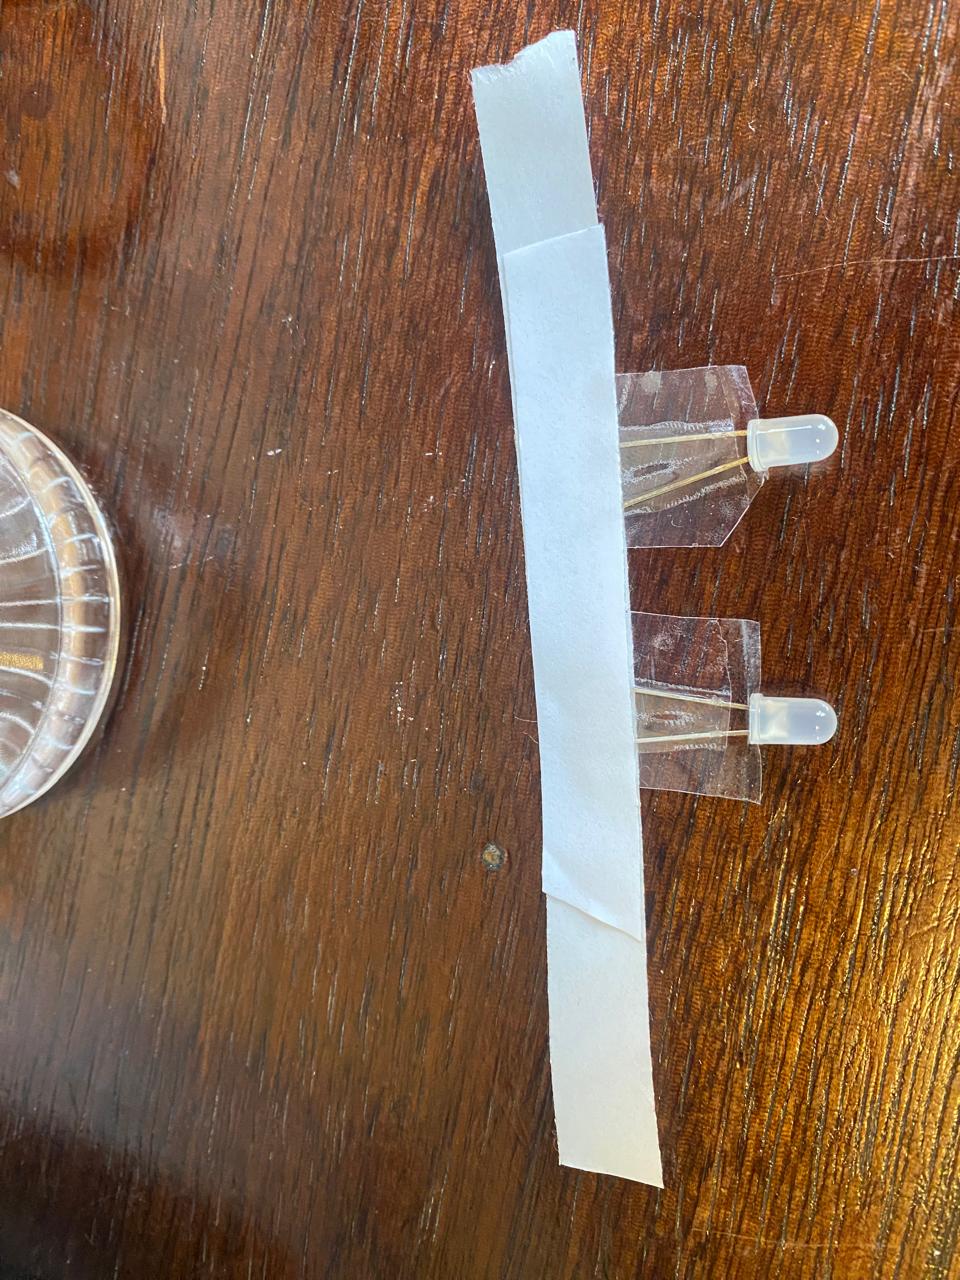
Make a structure to put LEDs in christal bath. In this case I used double sided tape
Fabricating the christal-leds
Hanging leds in christal bath
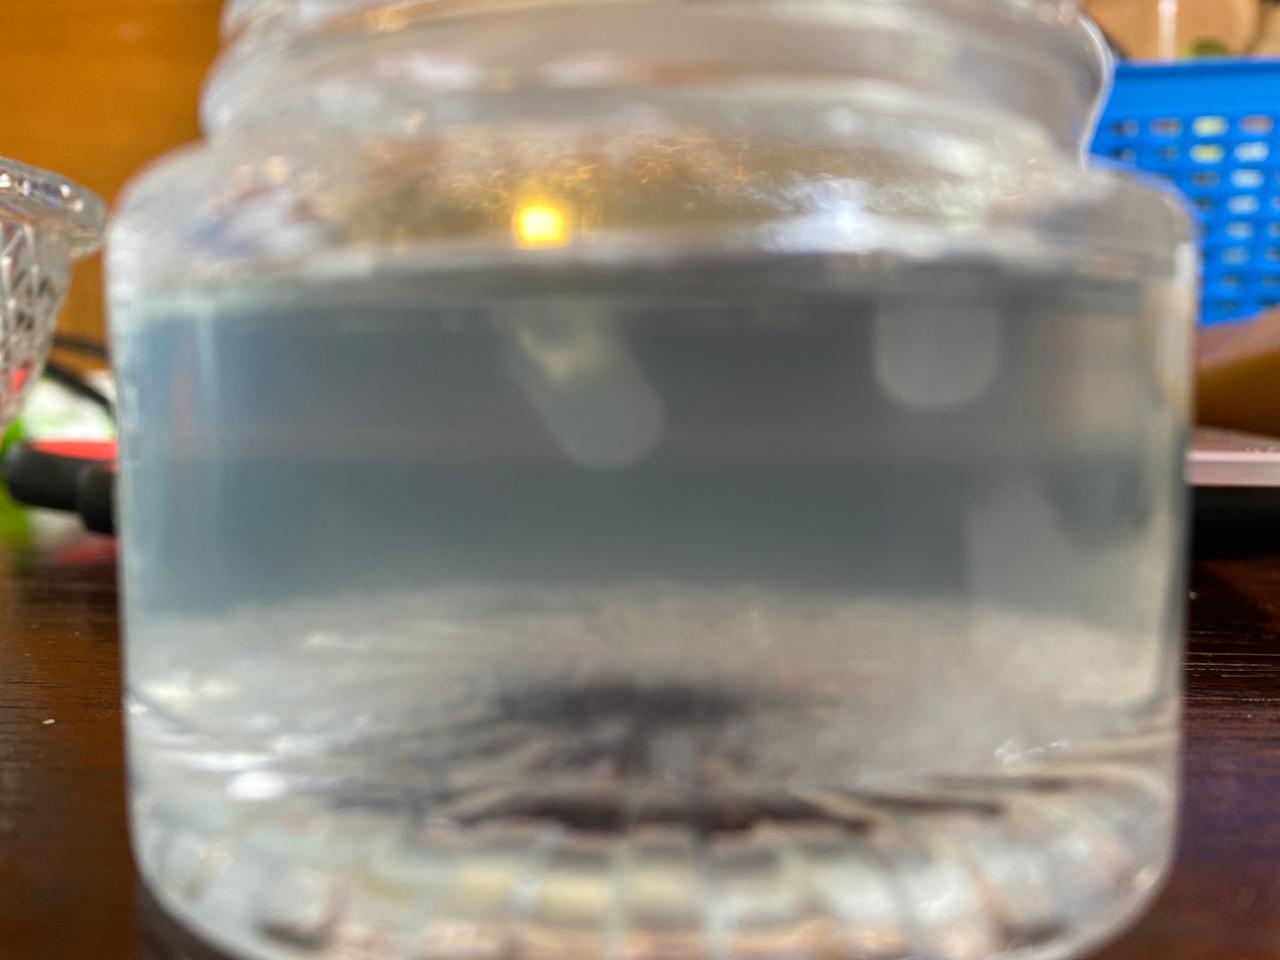
Front view
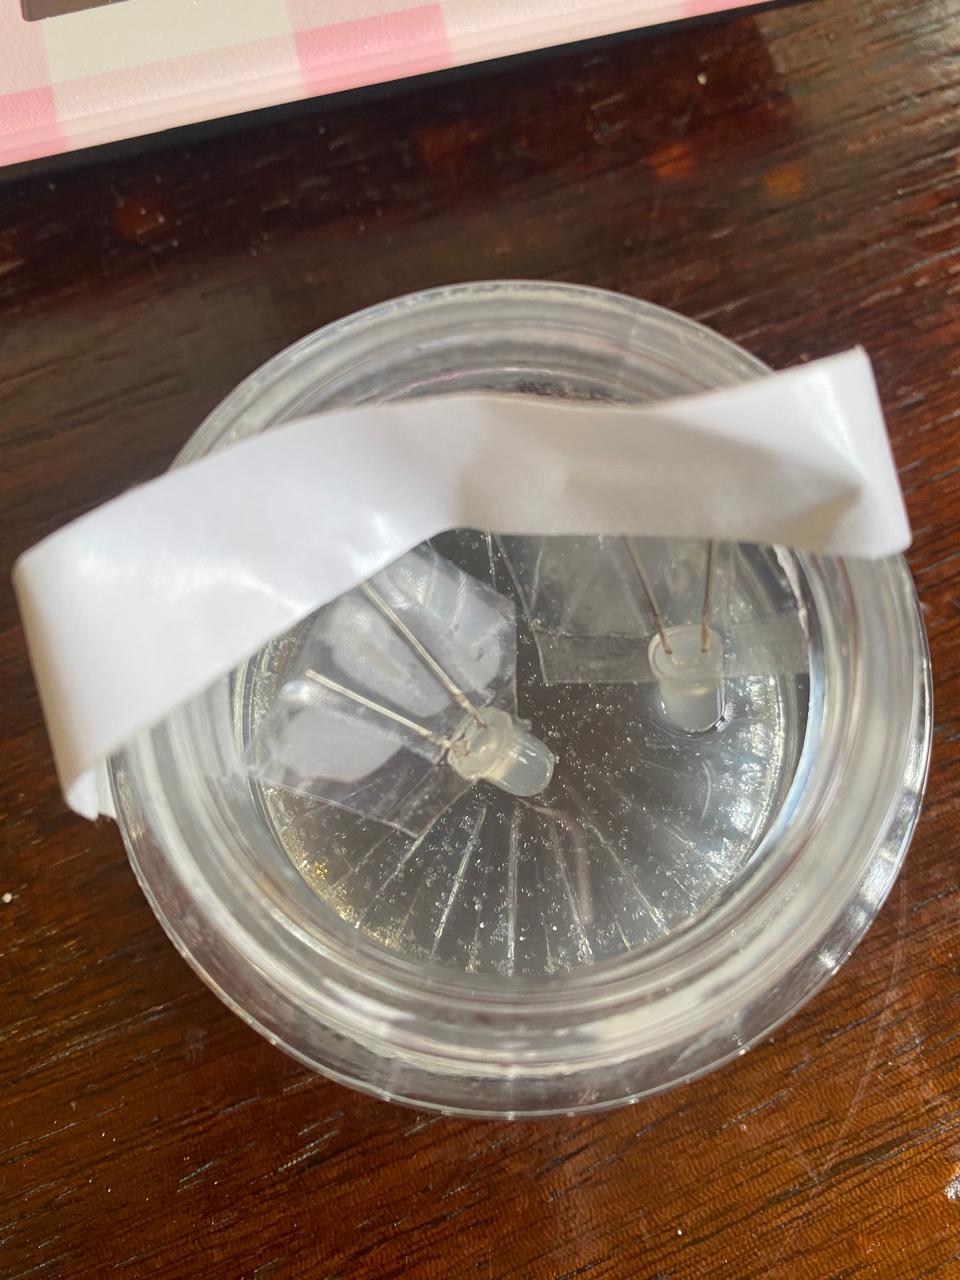
Top view
My christals tended to grow how they want or they broke while working with them, so I decided to glue them to the LEDS and the bandaid.
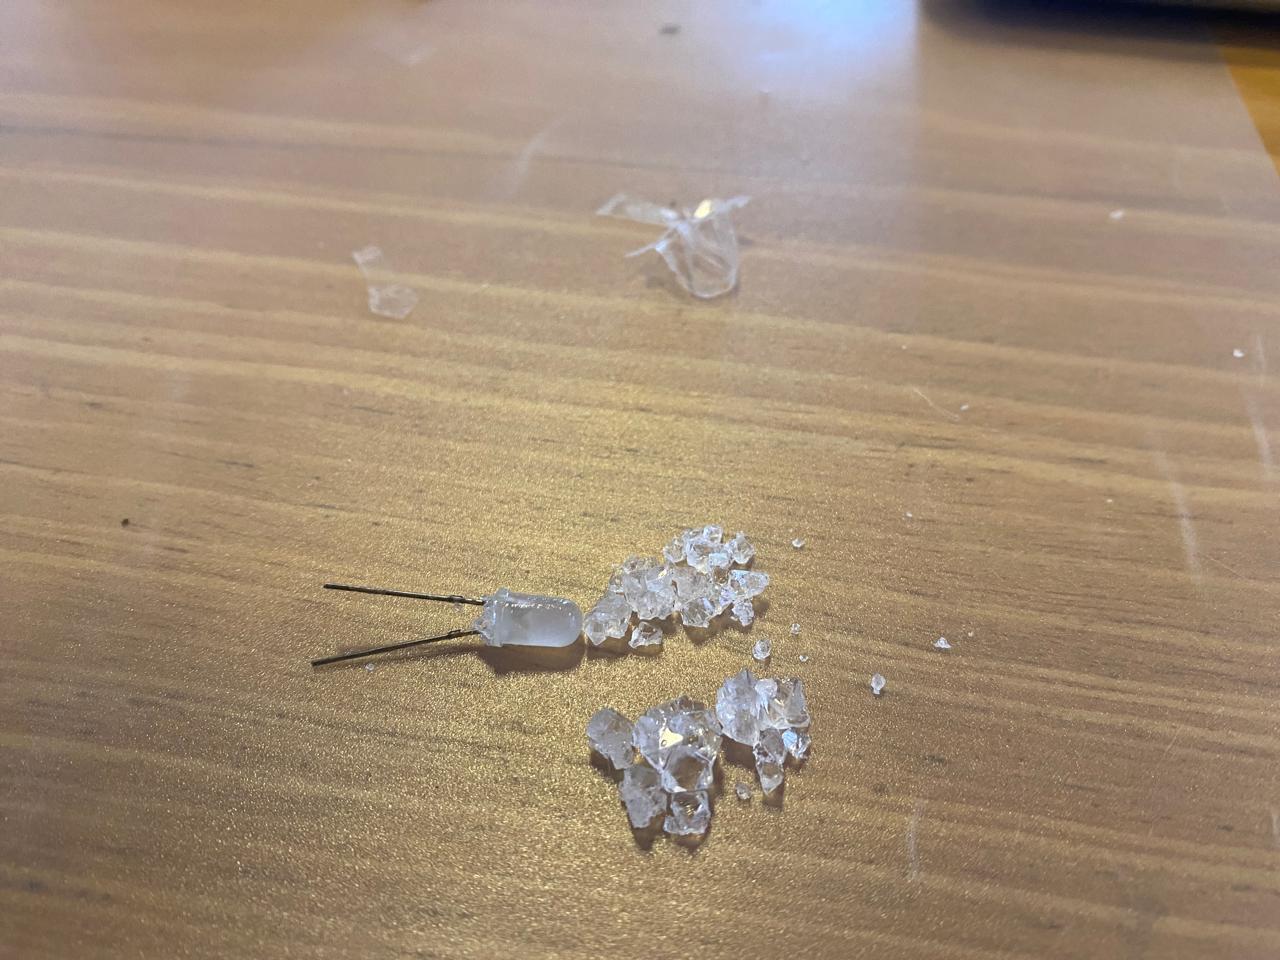
Broken christals
Not grown in a wanted form eg. Not evenly around the led.
Developing the bling bandaid
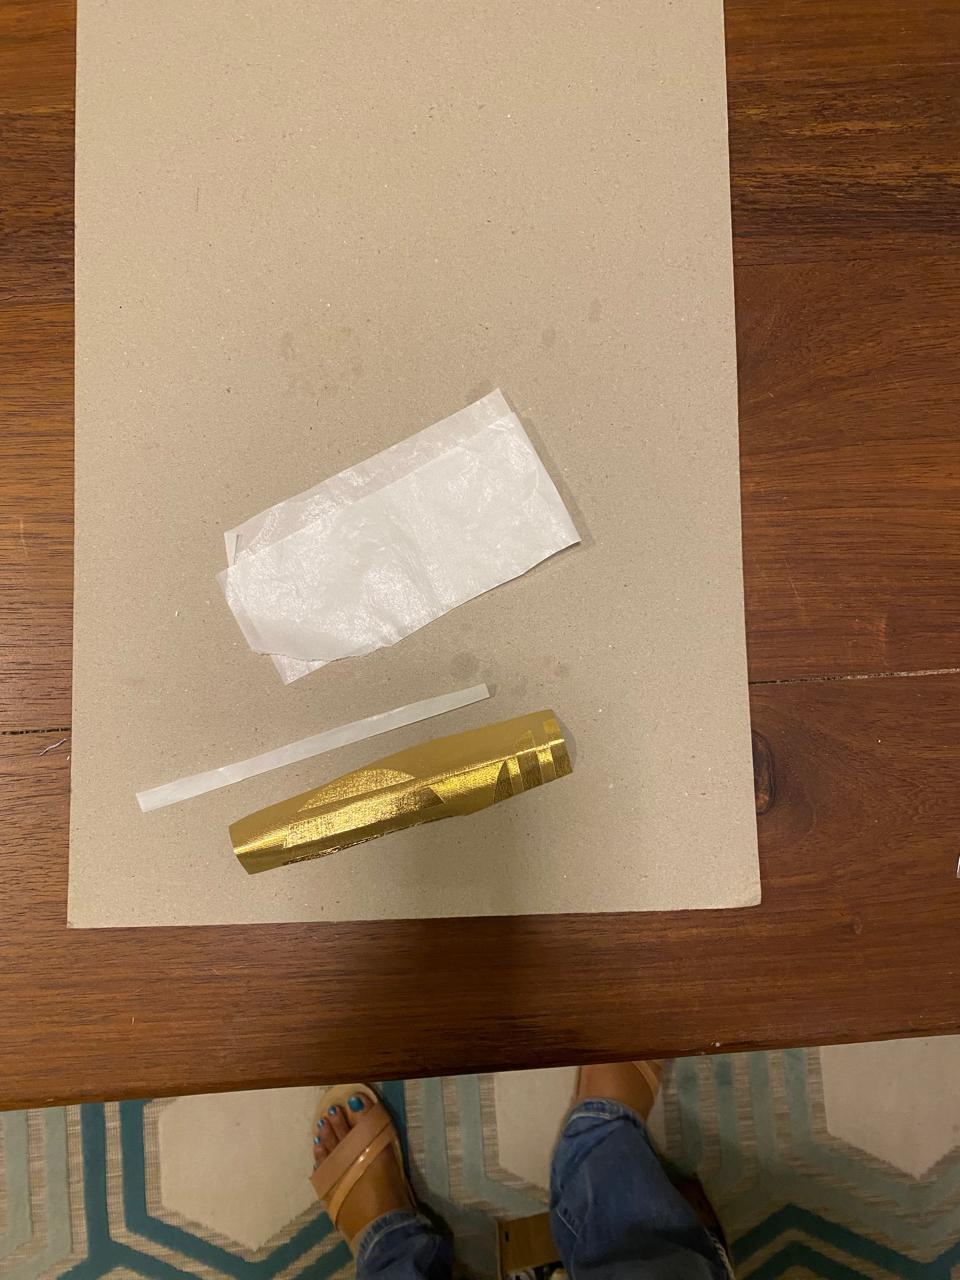
Fabricating the battery ring
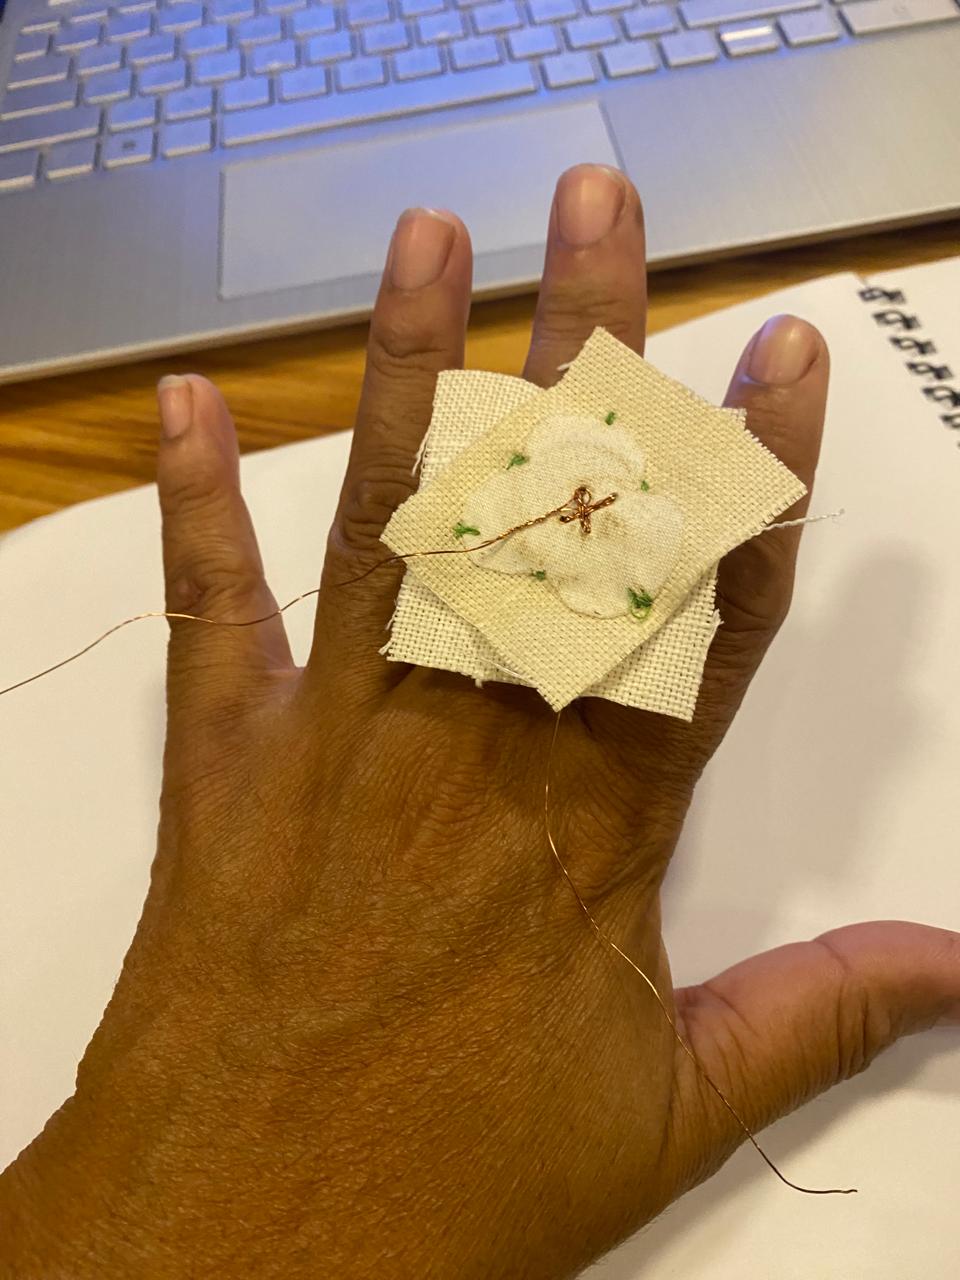
Testing the bling bandaid on the multimeter
Watch this short video to see the multimeter test:

Testing the bling bandaid on Arduino
I first tested it in Tinkercad. Watch this short video to see the TinkerCAD test:
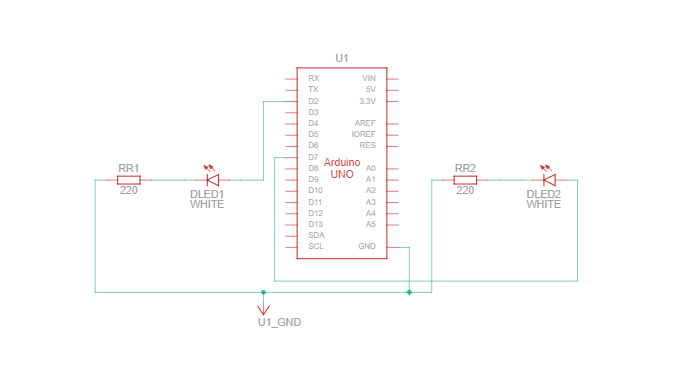
Technical Drawing
Find the technical drawing of the circuit here:
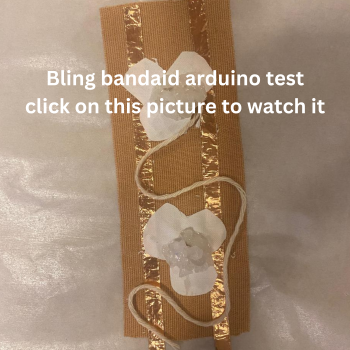
Watch this short video to see the bling bandaid circuit arduino test.
Final showing of bling bandaid on the skin
My sketches are
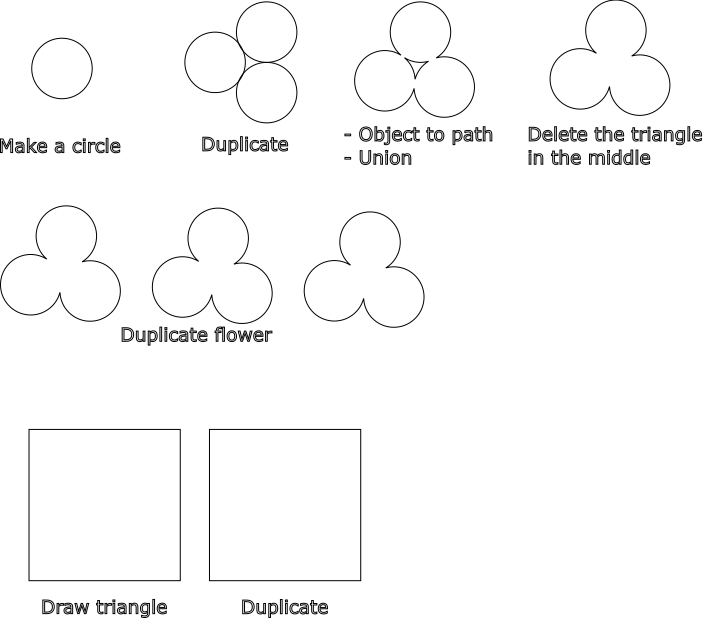
This drawing 1 was created using Inkscape
The fabrication file 2 was obtained in Lightburn
Code 2 LEDs Bling Bandaid
The code I used to test Bling Bandaid is added here. This lights the 2 LEDs on and off in sequence.
/*
  For Loop Iteration

  Demonstrates the use of a for() loop.
  Lights multiple LEDs in sequence, then in reverse.

  The circuit:
  - LEDs from pins 2 through 7 to ground

  created 2006
  by David A. Mellis
  modified 30 Aug 2011
  by Tom Igoe

  This example code is in the public domain.

  https://www.arduino.cc/en/Tutorial/BuiltInExamples/ForLoopIteration
*/

int timer = 100;  // The higher the number, the slower the timing.

void setup() {
  // use a for loop to initialize each pin as an output:
  for (int thisPin = 2; thisPin < 8; thisPin++) {
    pinMode(thisPin, OUTPUT);
  }
}

void loop() {
  // loop from the lowest pin to the highest:
  for (int thisPin = 2; thisPin < 8; thisPin++) {
    // turn the pin on:
    digitalWrite(thisPin, HIGH);
    delay(timer);
    // turn the pin off:
    digitalWrite(thisPin, LOW);
  }

  // loop from the highest pin to the lowest:
  for (int thisPin = 7; thisPin >= 2; thisPin--) {
    // turn the pin on:
    digitalWrite(thisPin, HIGH);
    delay(timer);
    // turn the pin off:
    digitalWrite(thisPin, LOW);
  }
}