11. Open Source Hardware - From Fibers to Fabric
Research & Ideation
Open-source hardware empowers distributed manufacturing, local innovation, and community-driven improvements.
Since I am to come up with a tool for this week, and it might just be a unique tool that i would want to hold the property under my name. I had to dig into patenting and intellectual right specifically in hardware.
Overview of Patents & Intellectual Property (IP) in Hardware
a) Patent
Protects a novel, useful, and non-obvious invention.
Prevents others from making, using, or selling the invention.
Types relevant to hardware:
Utility patent – mechanisms, processes, functions
Design patent – ornamental design/appearance of a device
b) Copyright
Protects your documentation, drawings, images, CAD files, manuals, and descriptions.
Does not protect mechanical ideas themselves.
c) Trademarks
Protect brand names, symbols, logos.
Not about the device itself.
d) Trade Secrets
Protect information you choose not to disclose (recipe, formula, manufacturing trick).
- How to Make Your Innovation Open Source
a) Document Everything
Open-source hardware must be replicable. Include:
-
Bill of Materials (BOM)
-
2D/3D design files (DXF, SVG, STL, Fusion, Rhino, Blender, KiCad, etc.)
-
Code (if any sensors, motors, microprocessors involved)
-
Schematics, wiring diagrams
-
Assembly instructions
-
User manual
-
Photos and videos
b) Publish the Project
References & Inspiration
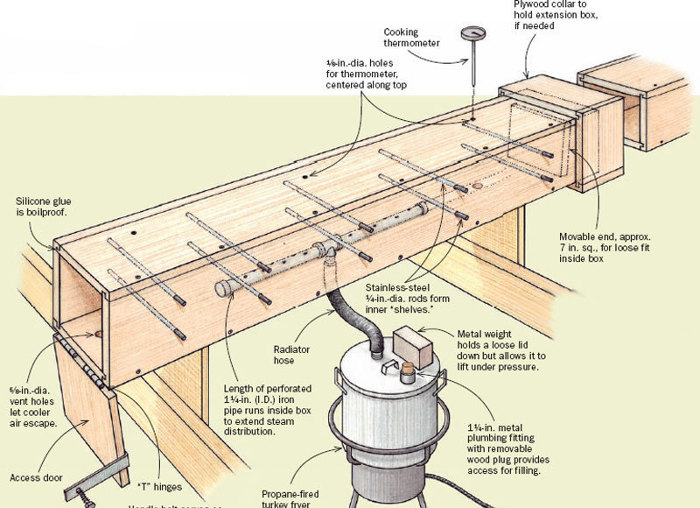
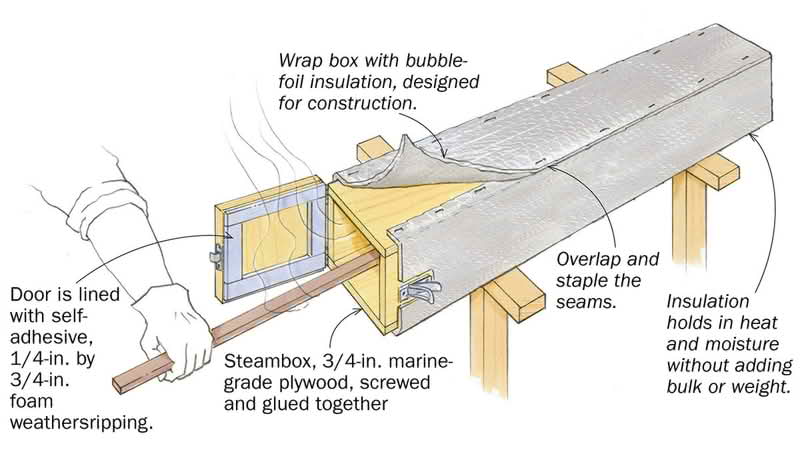
Tools
- CNC
- Drill
- Fusion 360
Process
STEAM BOX
Purpose of using steambox
From last weeks activity, I did a composite of softwood using a jig. I wanted the material to bend seamlessly. So my team and I decided to come up with a steambox that would make the wood more pliable and also be used in other activities such as:
- Treating natural fibers
- Softening fibres
- Killing pests
We first brainstormed and did hand sketch on paper:
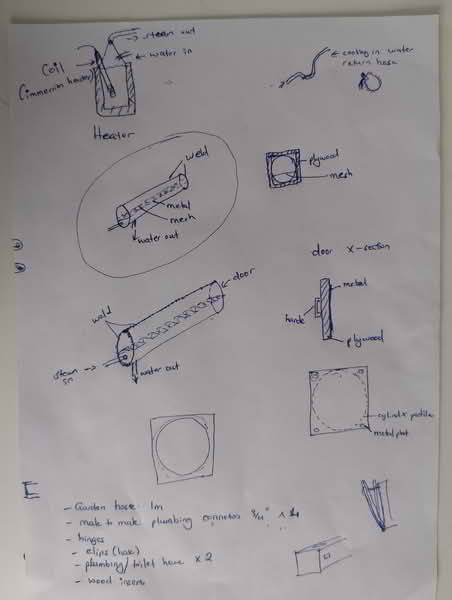
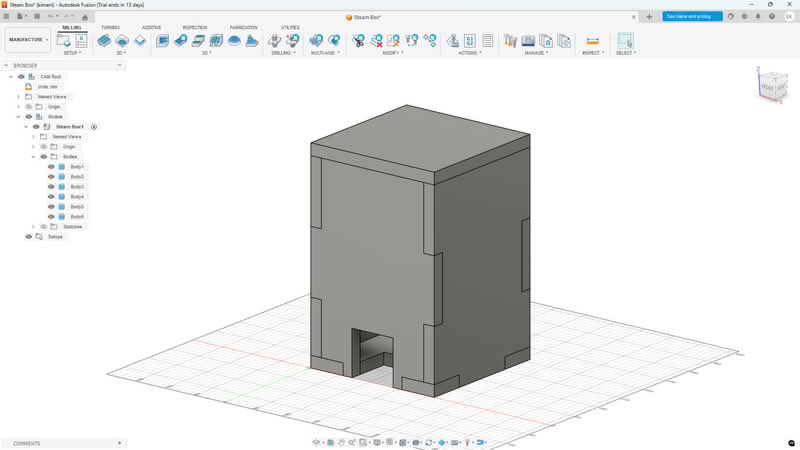
Wood inserts were designed using fusion 360 by Kimani.
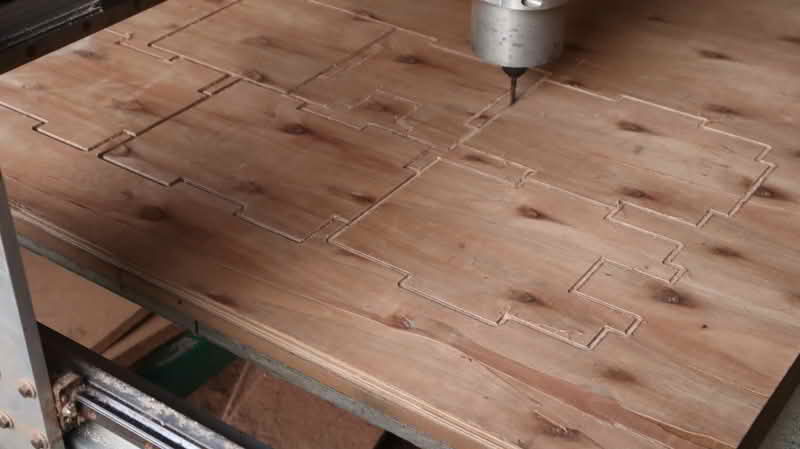
CNC Cutting
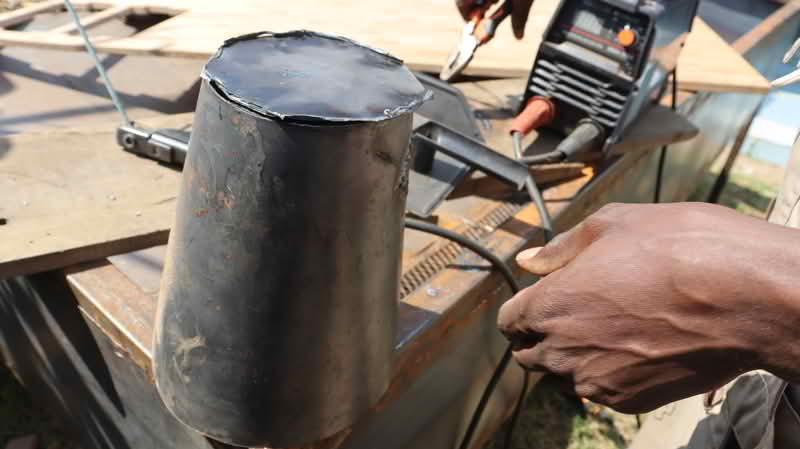
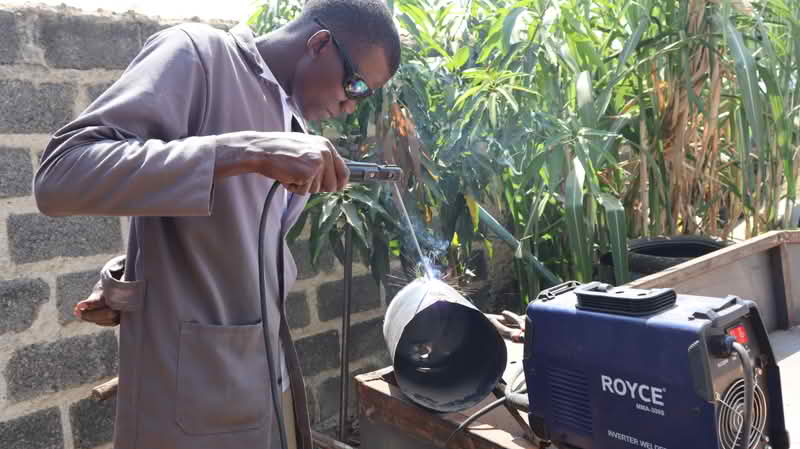
Fabrication of the boiler. Piterlis was good at fabricating the pieces and they came out nicely.
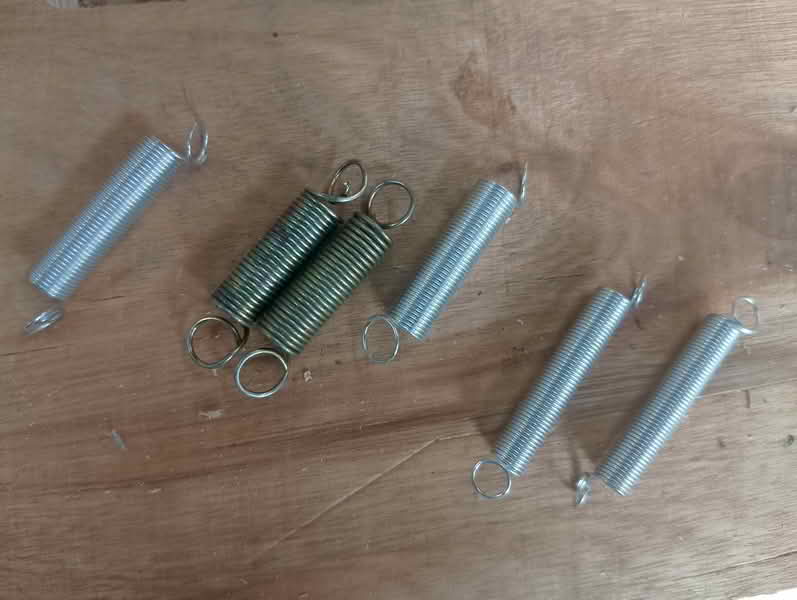
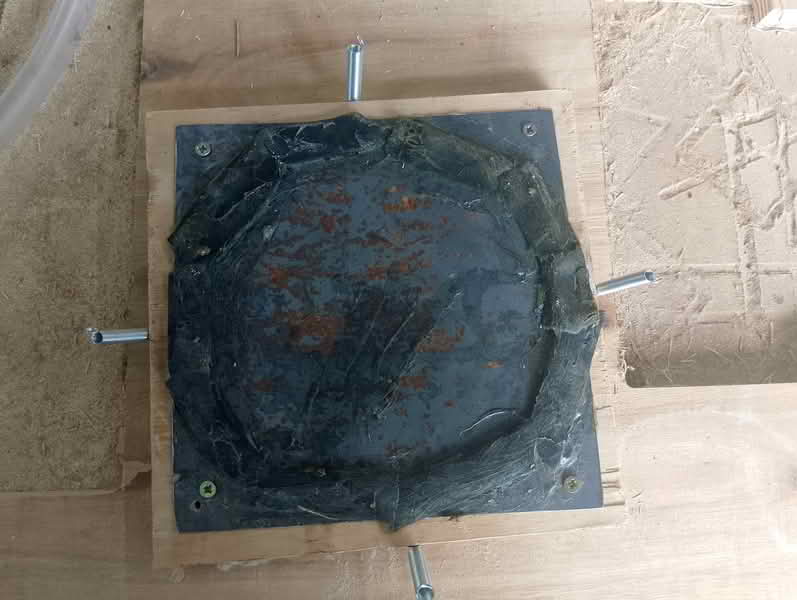
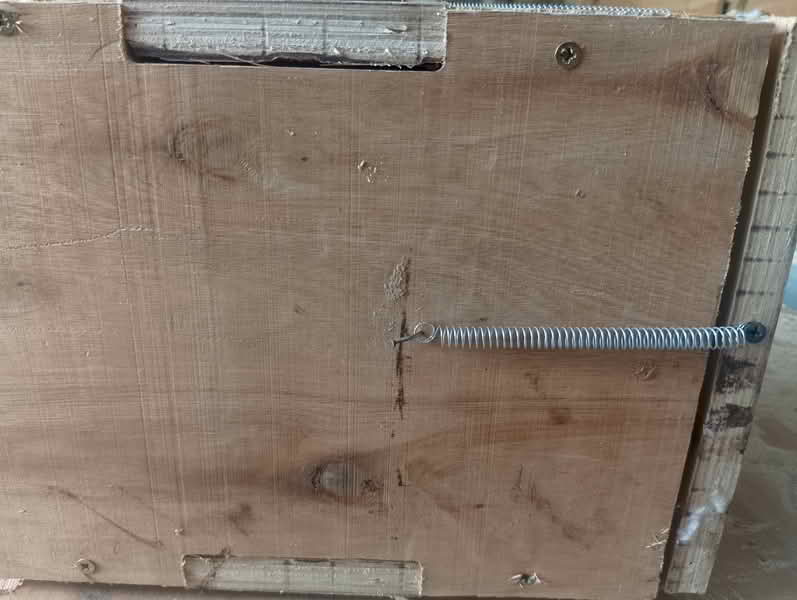
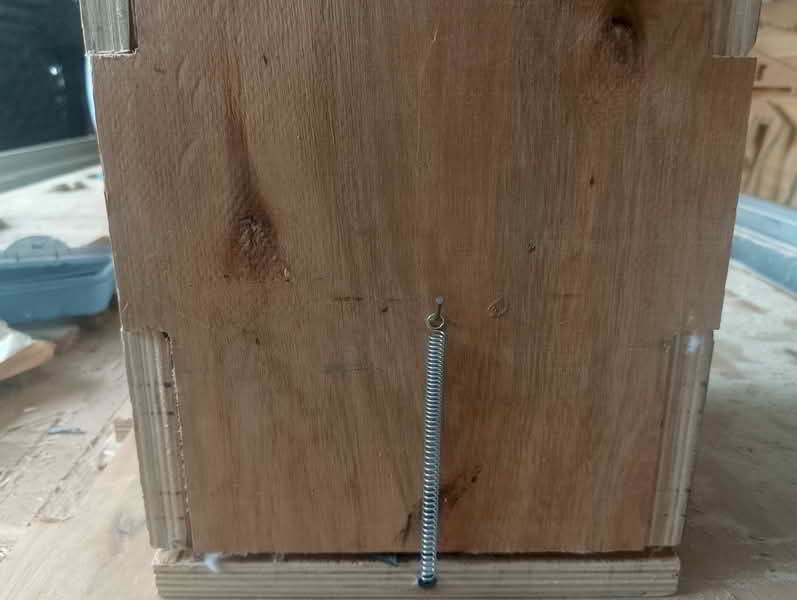
Generated door handle using springs attached to the nails
Assembly
All parts were assembled together:
The horse pipes, plumbing connections were all assembled together to the boiler.
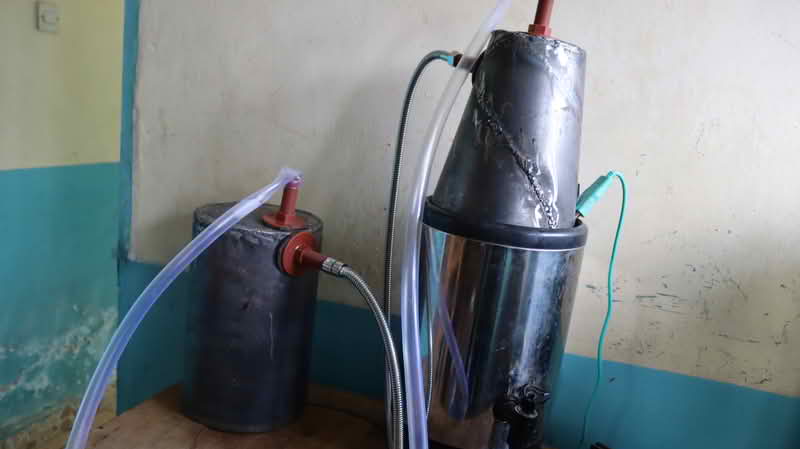
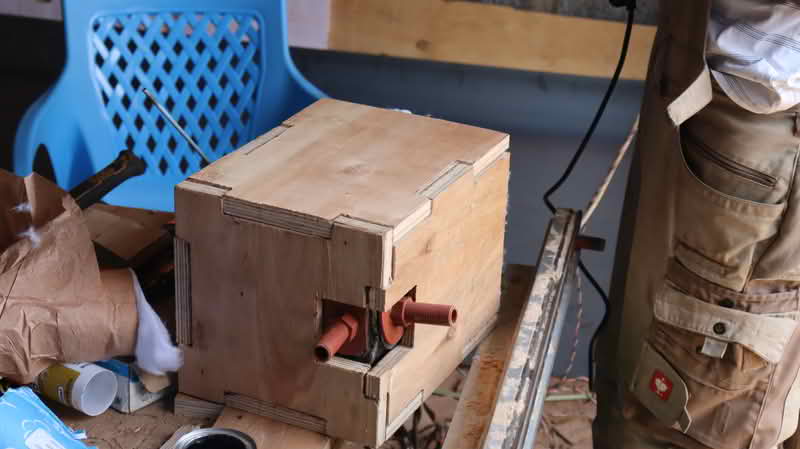
Wood inserts were assembled and the cone that was to hold the materials put in. this is where the steam will go to.
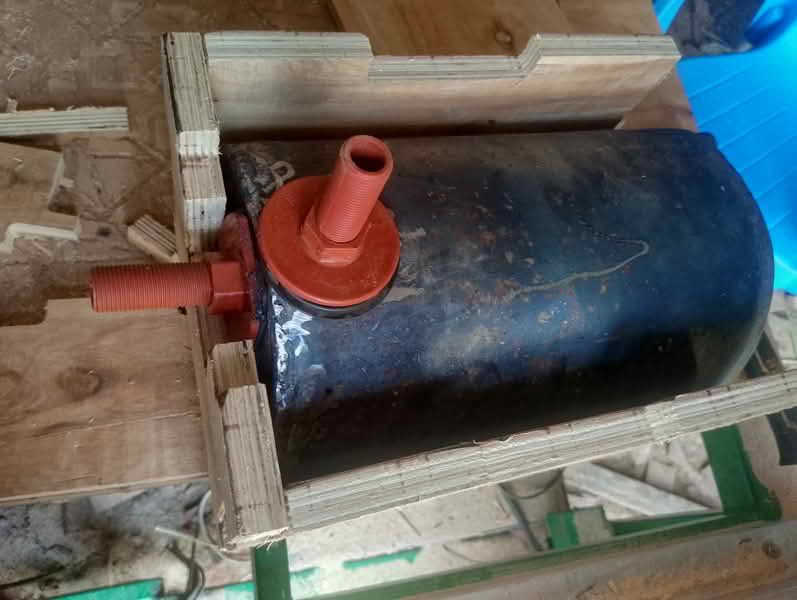 .
.
The cotton wool were added on the sides to act as insulators.
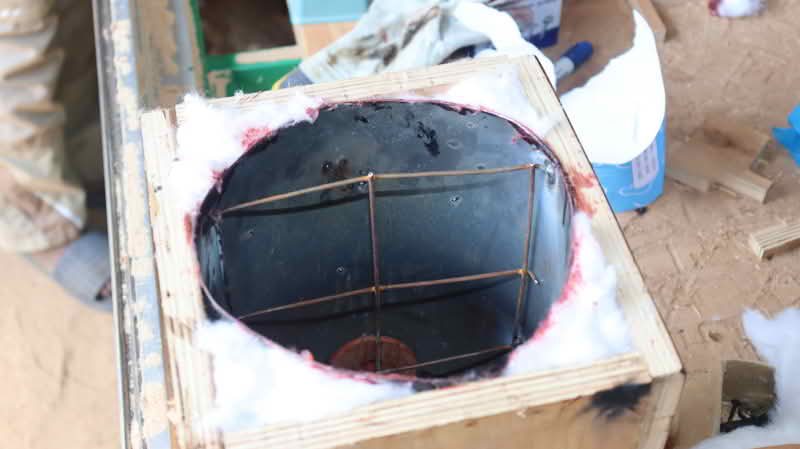
We generated the stand using waste wood that was at the workshop.
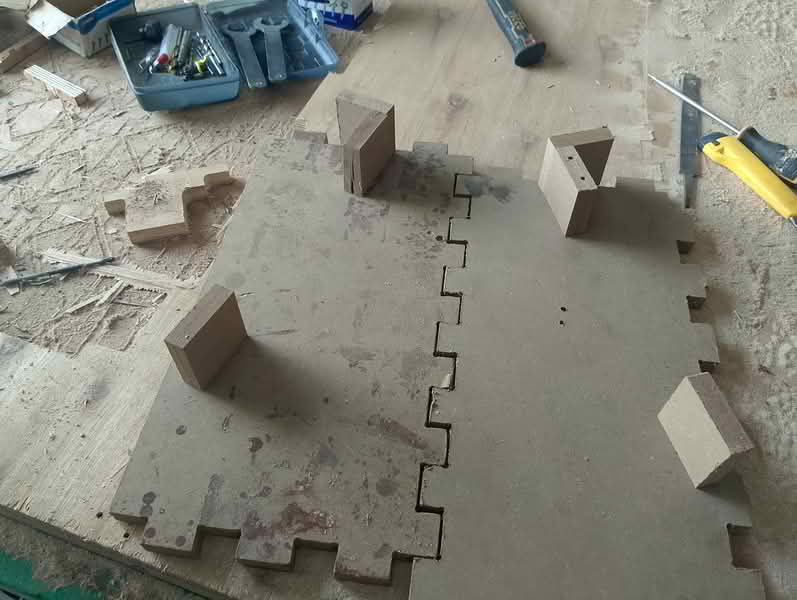
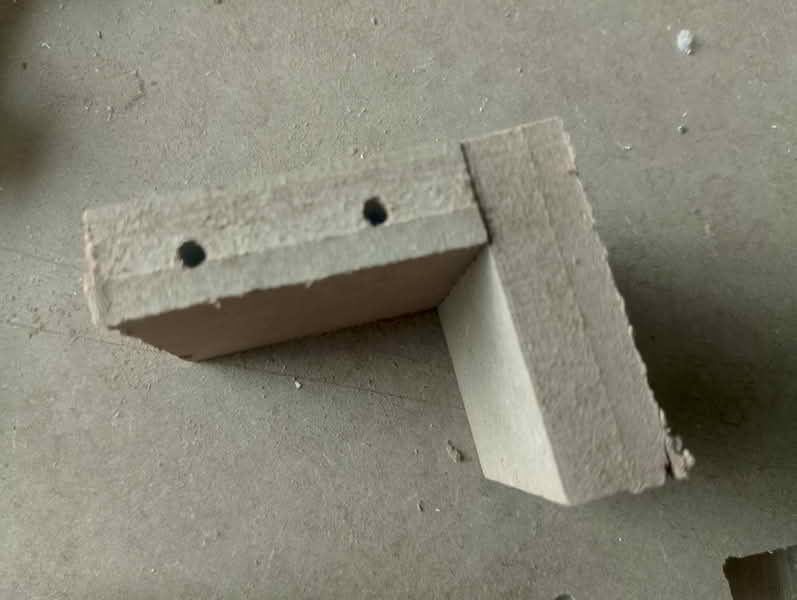
Connected the entire product to power source and let water to steam. Finally the steam was generated when we opened the box. This was only after 30 minutes.
After leaving dried pieces of bamboo for an hour, It was bending already, meaning the steambox was working. We just need more improvements such as testing the amount of steam being generated and at what temperature using sensors.
BoM
Materials
| Qty | Description | Price | Link | Notes |
|---|---|---|---|---|
| 2 MTR | Horse pipe | 20 $ | locally sourced | |
| 1 | bondex | 30.00 $ | ||
| 4 | Tank connector | 30.00 $ | ||
| clips | 15.00 $ | |||
| wood inserts | 50. 00 $ | |||
| 500g | cotton wool | 50.00 $ | ||
| 1 | Silicone | 25.00 $ | ||
| 10 | Screws | 50 $ | ||
| 8 | Nails | 5 $ |
Rope-Making tool
Here is the DIY I made for sisal rope tool. Rope-making tool
Steam Box
During the week I also collaboarated with Ernest Kimani in using black canva fabric.
Canva is a durable, heavy-duty fabric known for its strength and versatility, and it is made using a plain weave technique.
We used black canva because black materials are good absorbers and emitter of heat; According to Kirchhoff's law of thermal radiation.
Summary Comparison
| Property | Black Material | White Material |
|---|---|---|
| Heat absorption | Absorbs more heat | Absorbs less heat |
| Heating rate (sun) | Heats up faster | Heats up slower |
| Heat emission | Emits more heat | Emits less heat |
| Cooling rate | Cools down faster | Cools down slower |
STEPS
Kimani helped in designing the wooden drying box using fusion 360 and we cut it using CNC machine and assembed it together.
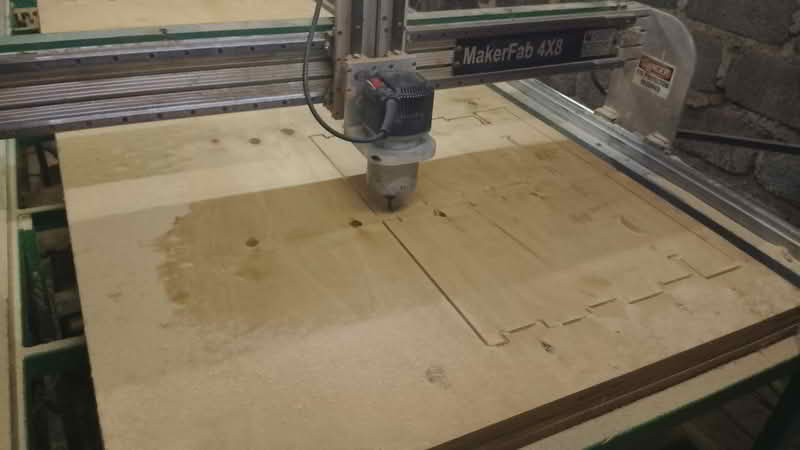
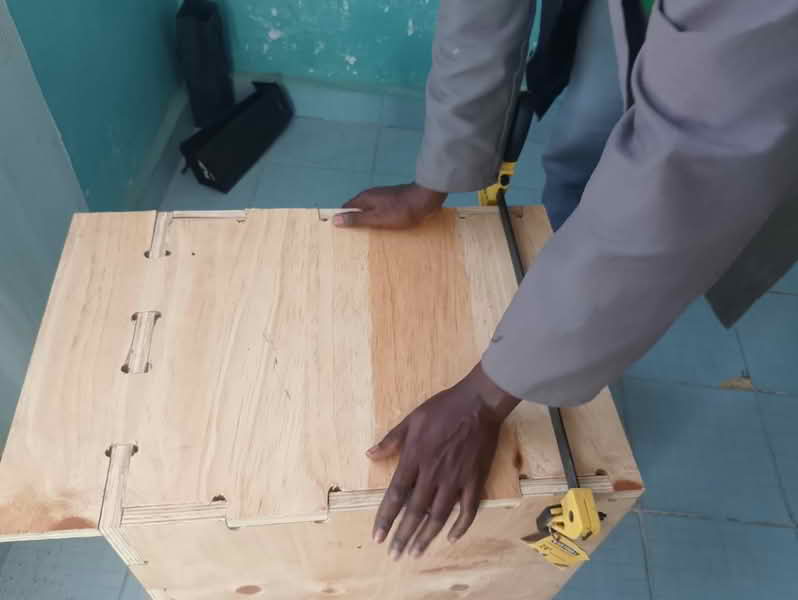
Assembly of the electronic together
I used temperature/humidity sensor. I connected the sensor on the breadboard together with the ESP 32 for wifi connection and generated the following code.
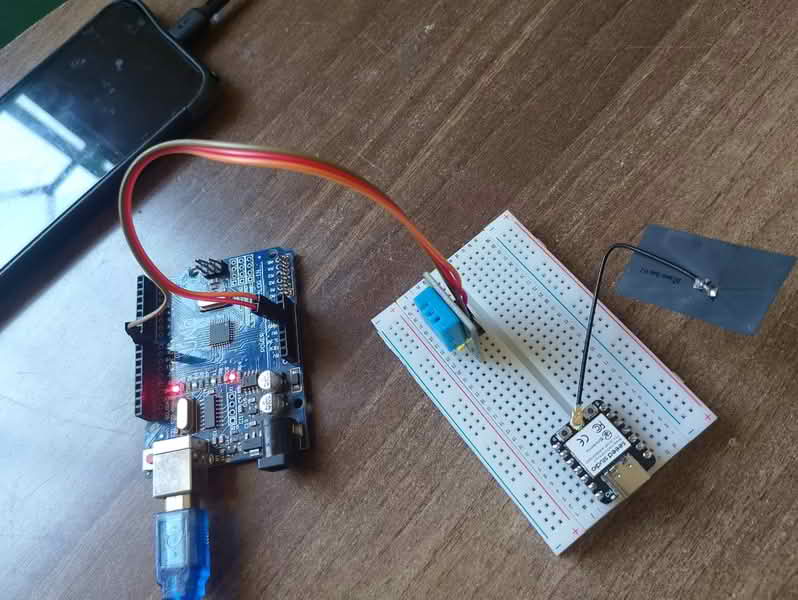
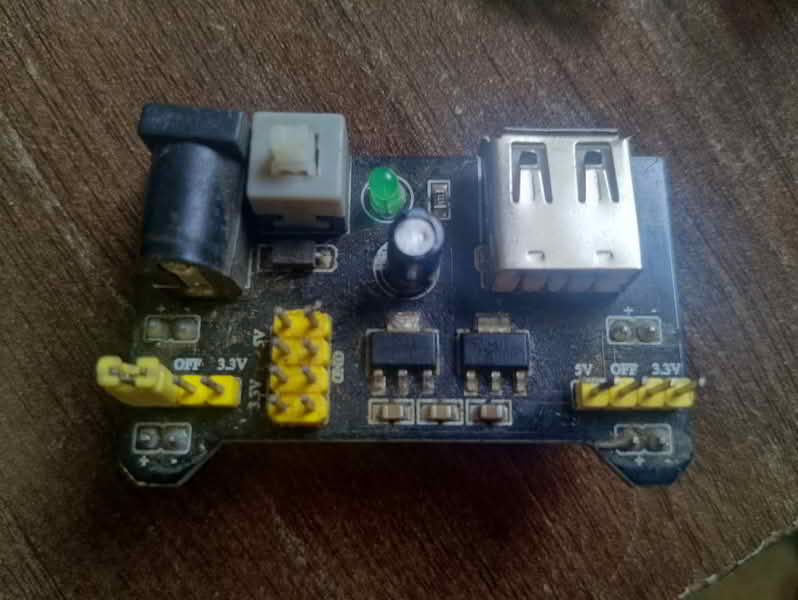
Using 9v battery as our power source but the power supply board failed us to we had to use from the main socket.
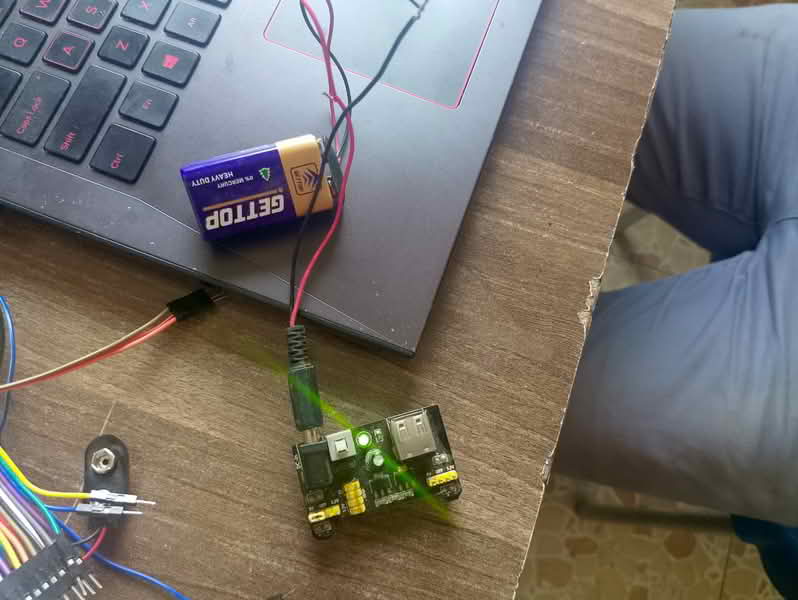
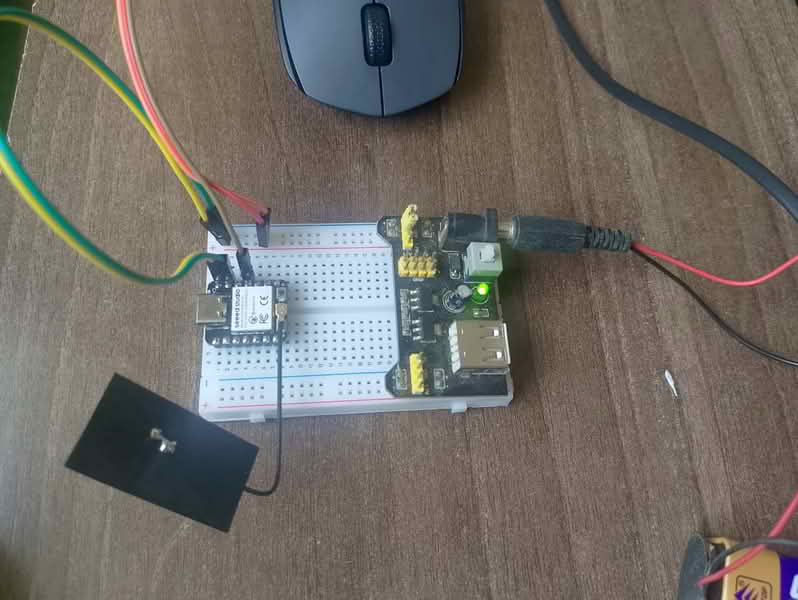
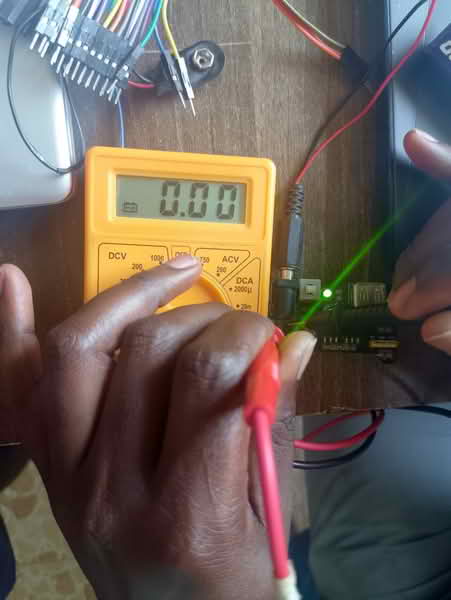
We mounted the breadboard together with ESP32 and the sensor on the box and powered it using electricity through an extension cable.
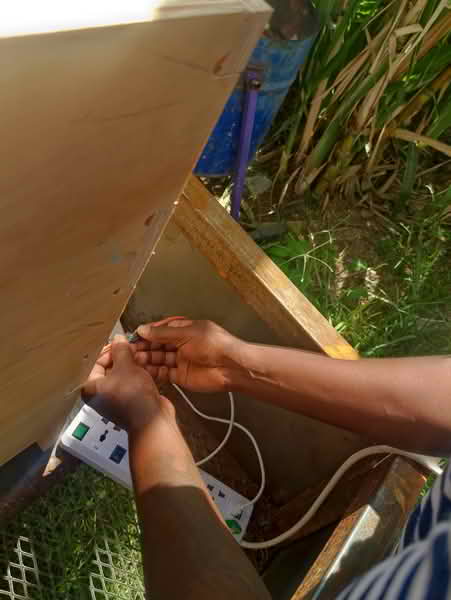
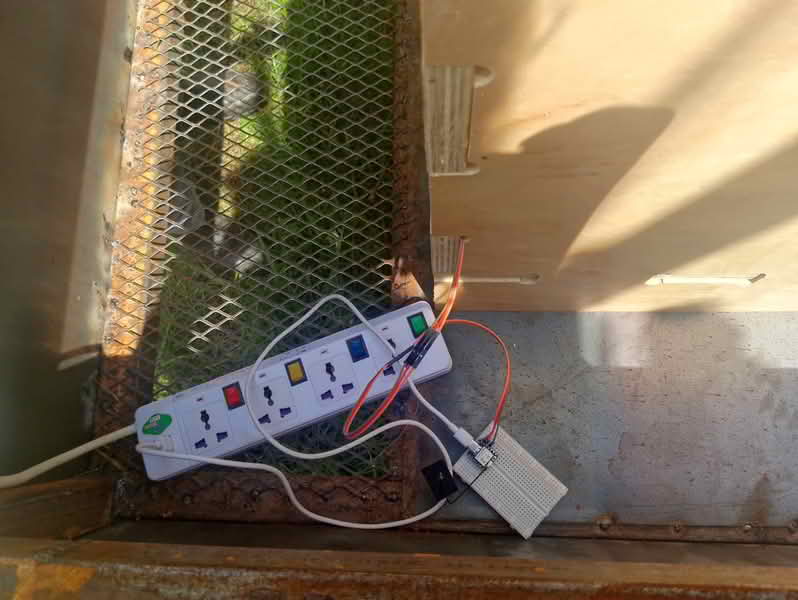
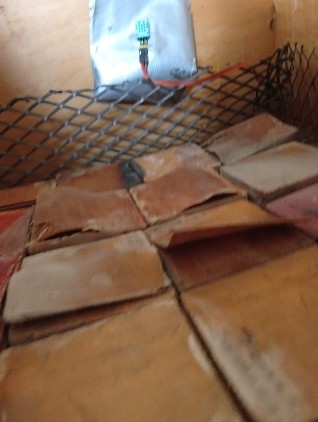
The humidity and temperature sensor were mounted in the box
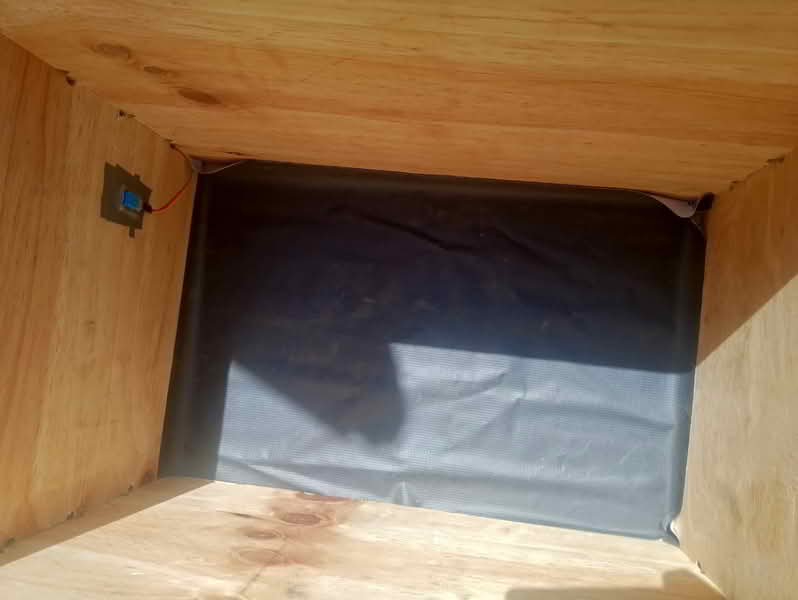
The drying box became functional. I used it to dry plywood and bamboo.