BioChromes
1. research and inspiration:
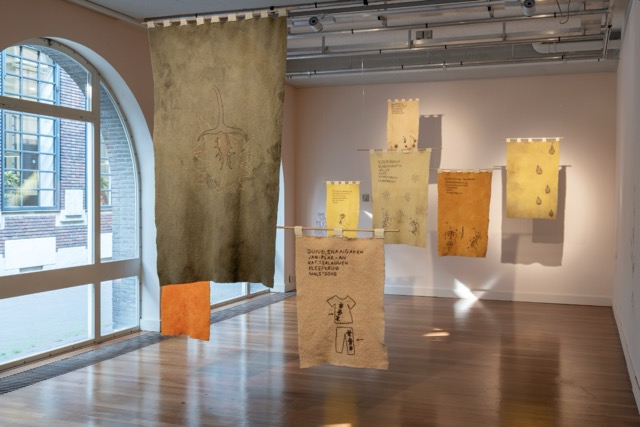
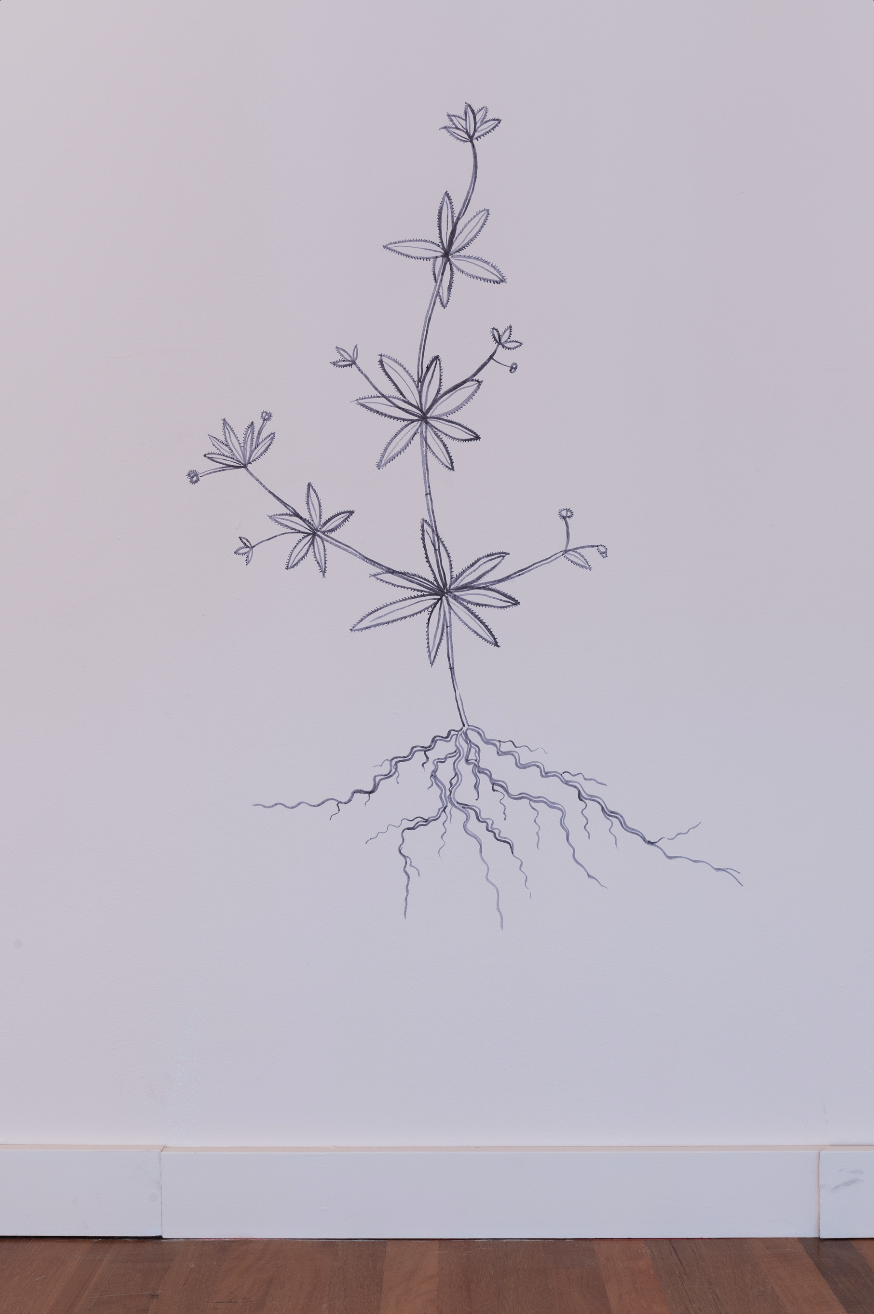
I was looking forward to enriching my knowledge this week with all things pigment dye and colour. I have quite some experience with plant dyes from previous projects such as: playgarden, patch and timegarden. For these projects I dyed a lot with wild indigenous plants found in Belgium and the Netherlands. For an expo, I also drew plants on the wall using oak gall ink.
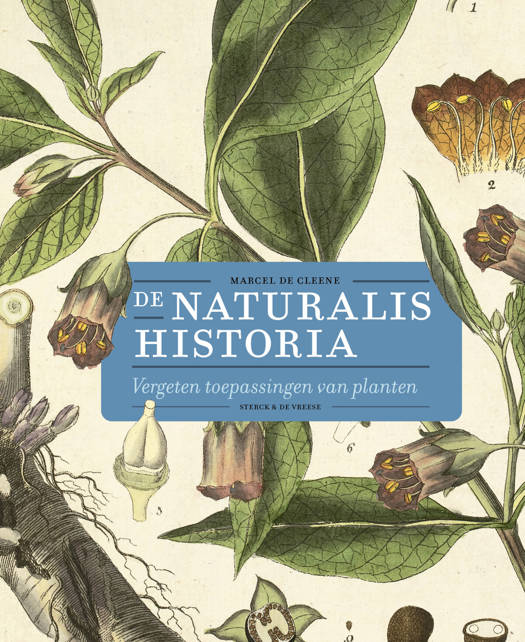
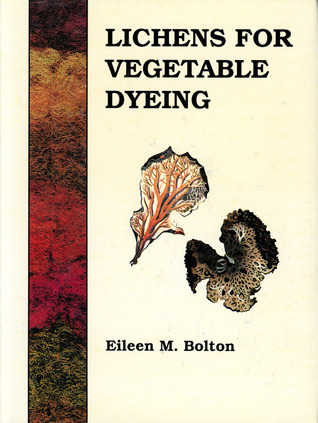
I started experimenting with plant dyes years ago using these resources:
My main interest this week was exploring how natural pigments can be transformed into different forms of colour: dyes for textiles, paints made from raw pigments, and printing pastes that react with the fabric. I wanted to understand not only how to extract and apply colour, but also how different materials and modifiers influence the final result.
Having worked with plant dyes in previous projects, I was particularly interested in expanding my practice beyond dyeing and exploring ways to use pigments as a medium for image-making and surface design.
2. dye experiments:
Exploring dye modifiers
Stephanie introduced us to plant dyes and the effect of modifiers, using pink onion skins as an example. Modifiers can change the colour produced by a dye by altering the chemical environment or reacting with compounds in the dye. The results depend on the plant material, the modifier, and the conditions in which they are combined.
After this introduction, I made a dye bath using Campeche (logwood) and experimented with different modifiers. I also revisited the pink onion-skin dye. Rather than treating the results simply as colour samples, I wanted to explore them as a form of abstract painting.
I applied the different combinations in a playful, experimental way to create visual compositions that show the range of colours that can emerge from a single dye source. This allowed me to compare the effects of the modifiers while also exploring the expressive possibilities of natural dyes.
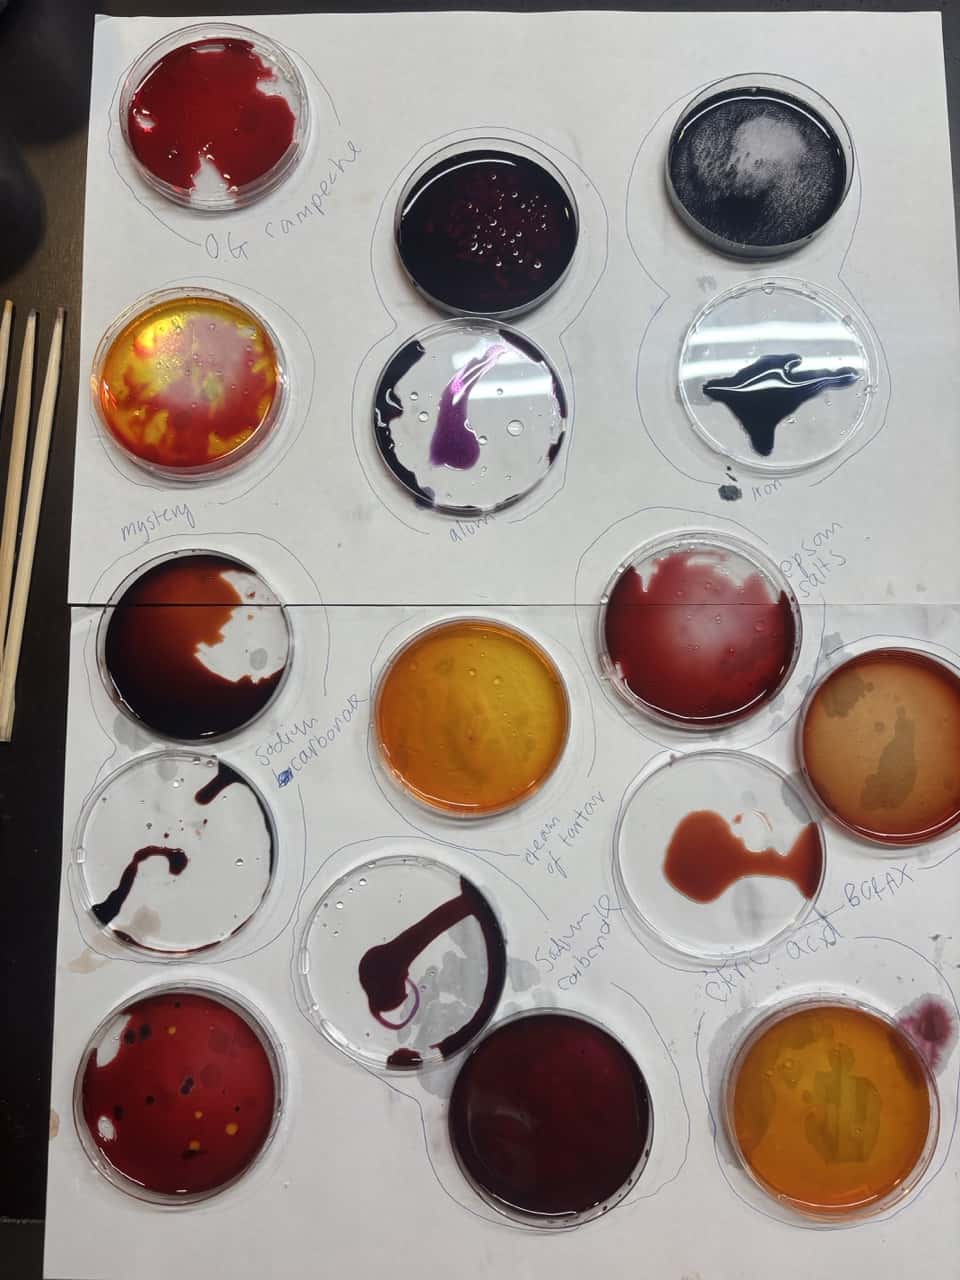
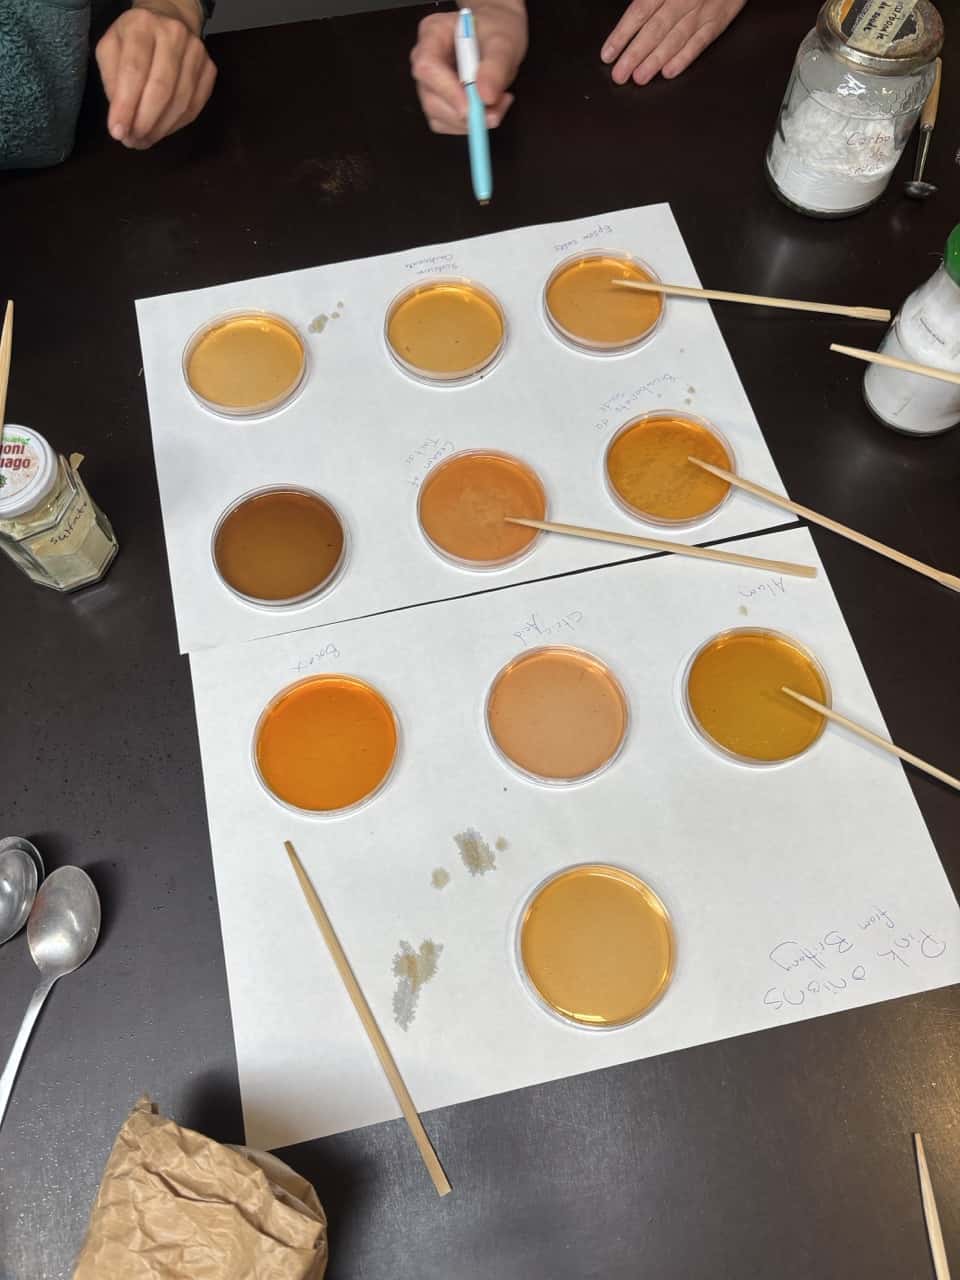
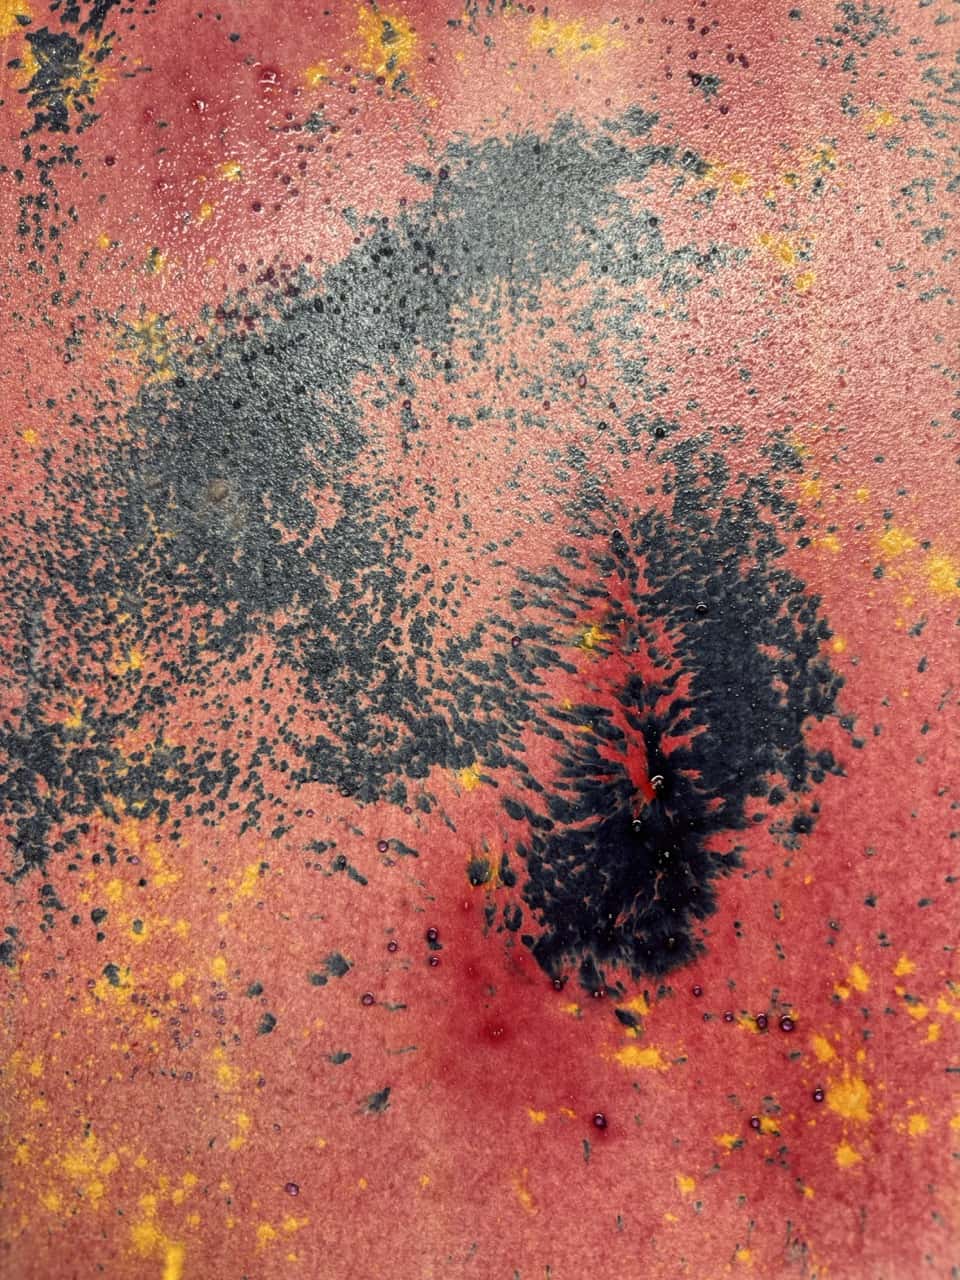
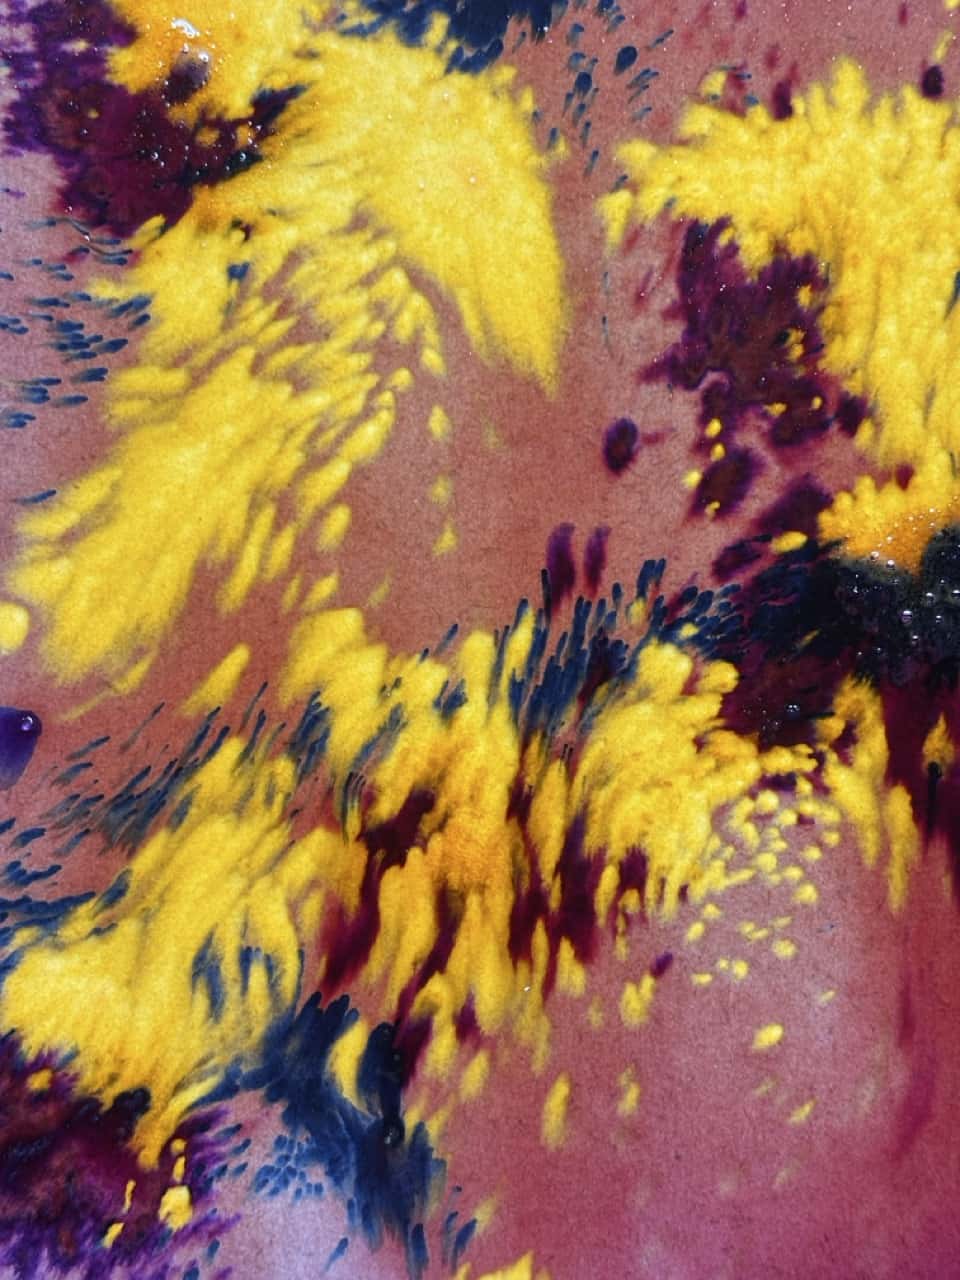
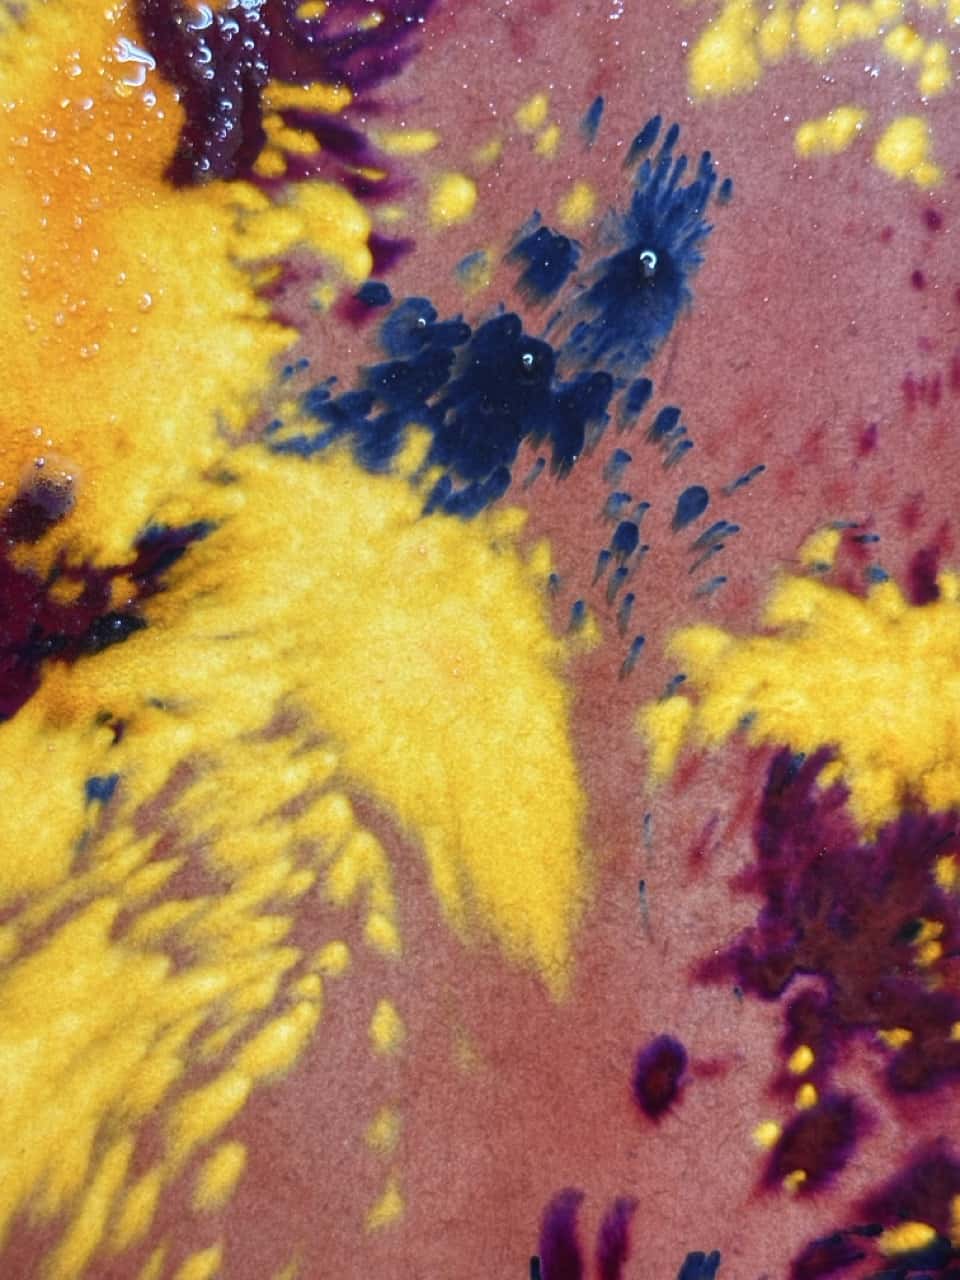
Above is a pink onion dye with iron and citric acid. Below is campeche with iron, alum and borax.
2. paints:
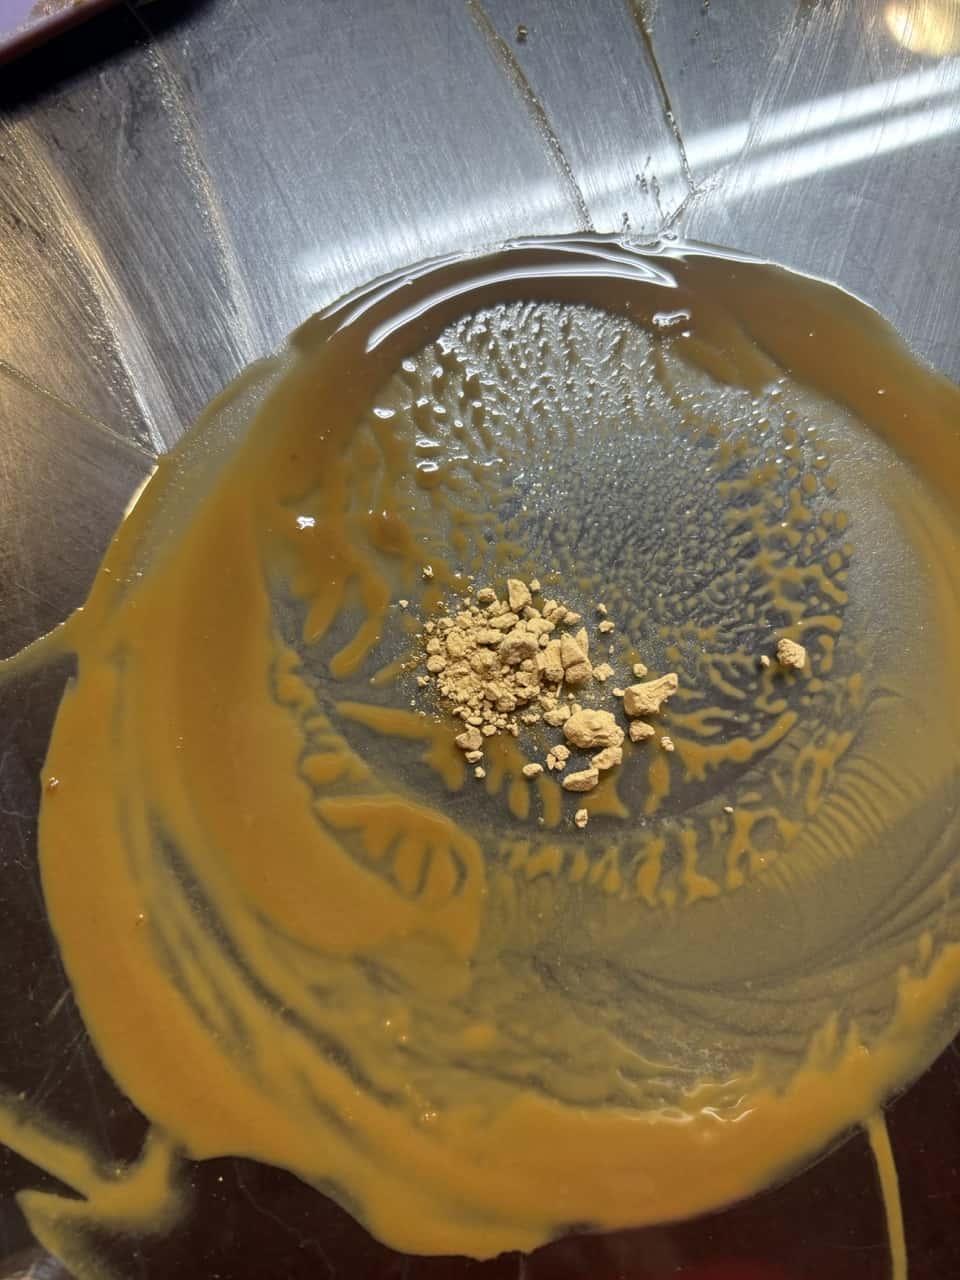
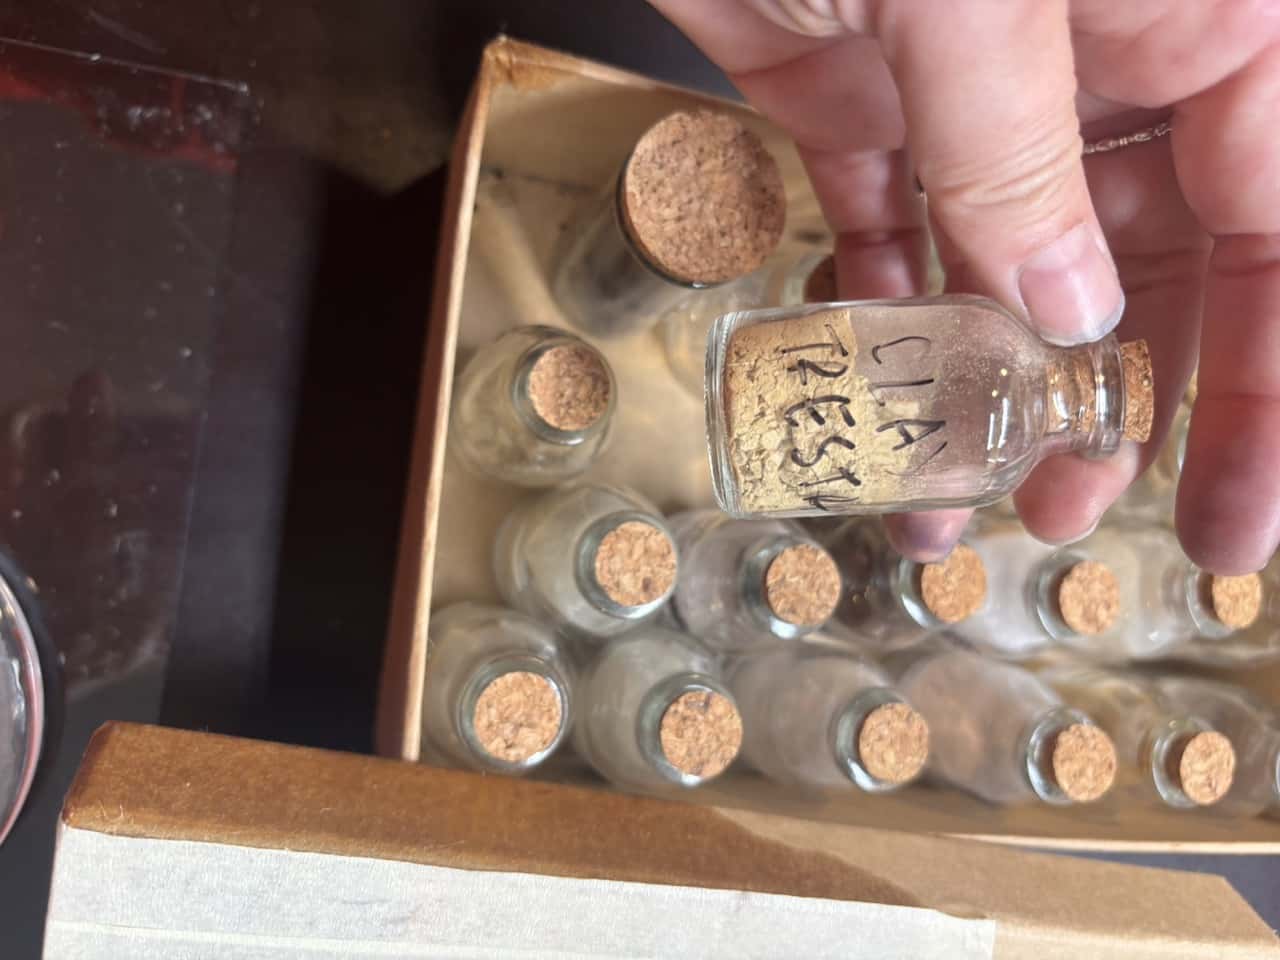
A few years ago, I collected pigments from rocks and clay in the Shetland Islands. They had been sitting on my shelf for some time, so this week I decided to revisit them and explore how they could be used as paint.
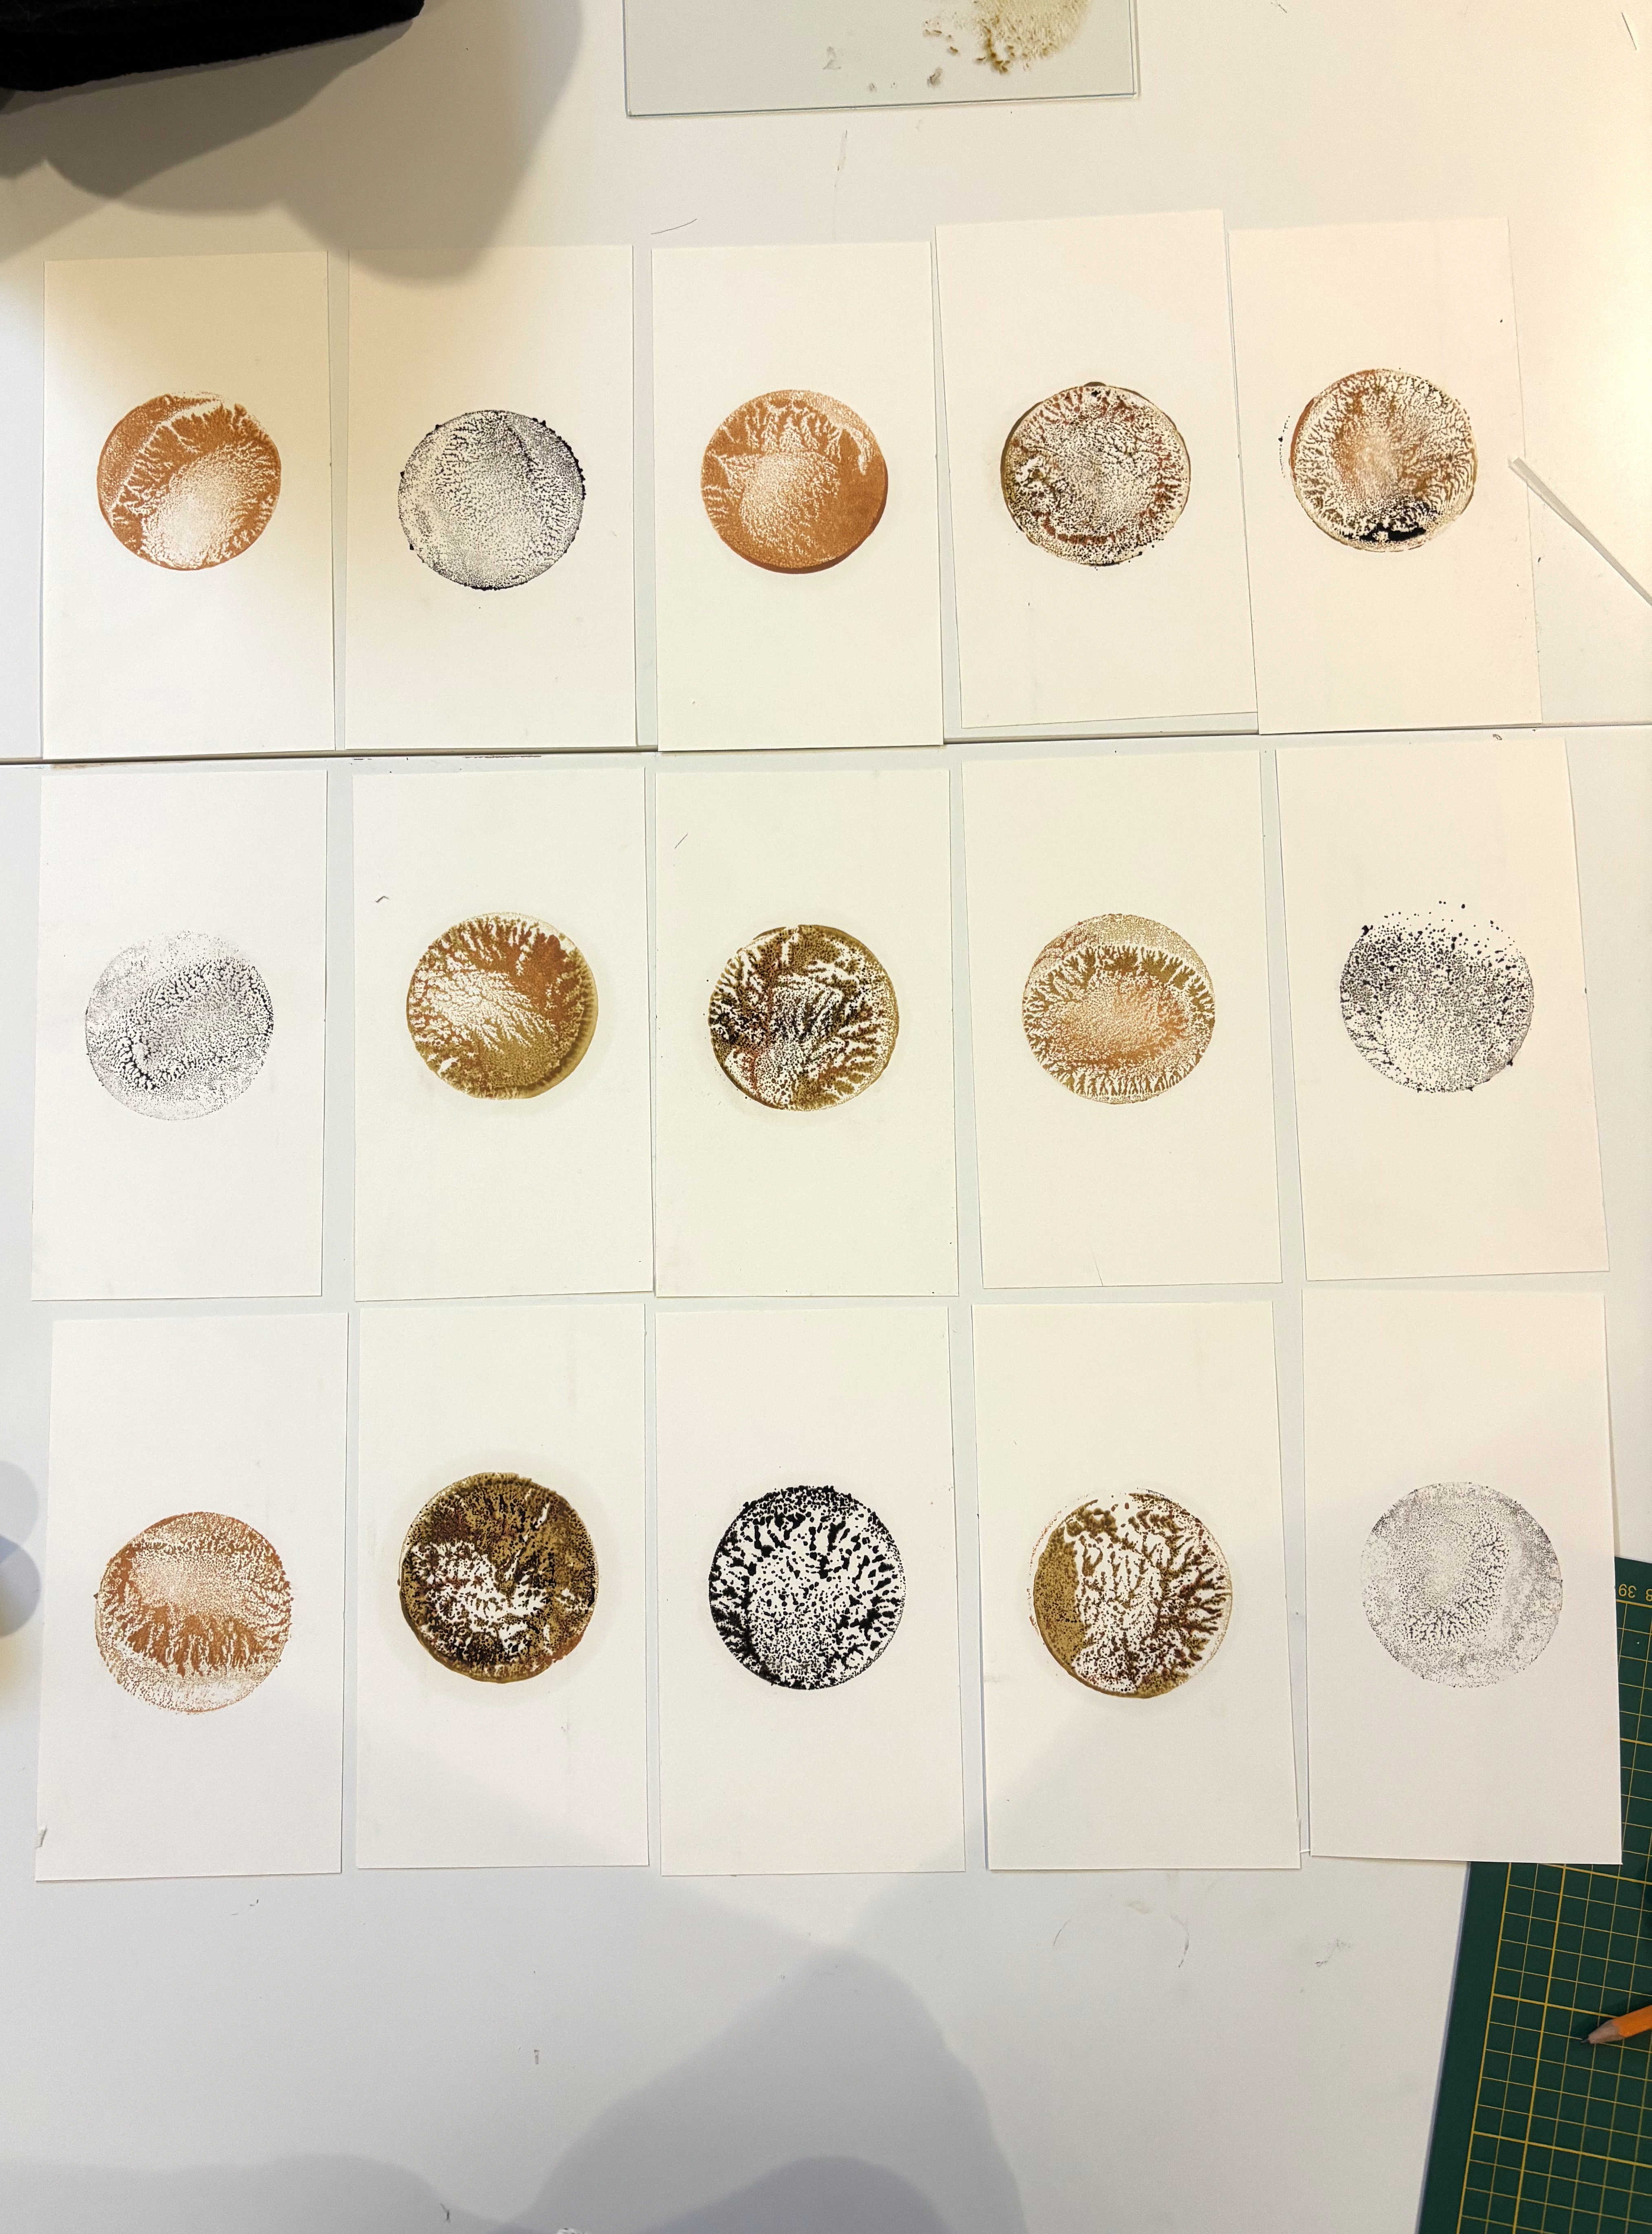
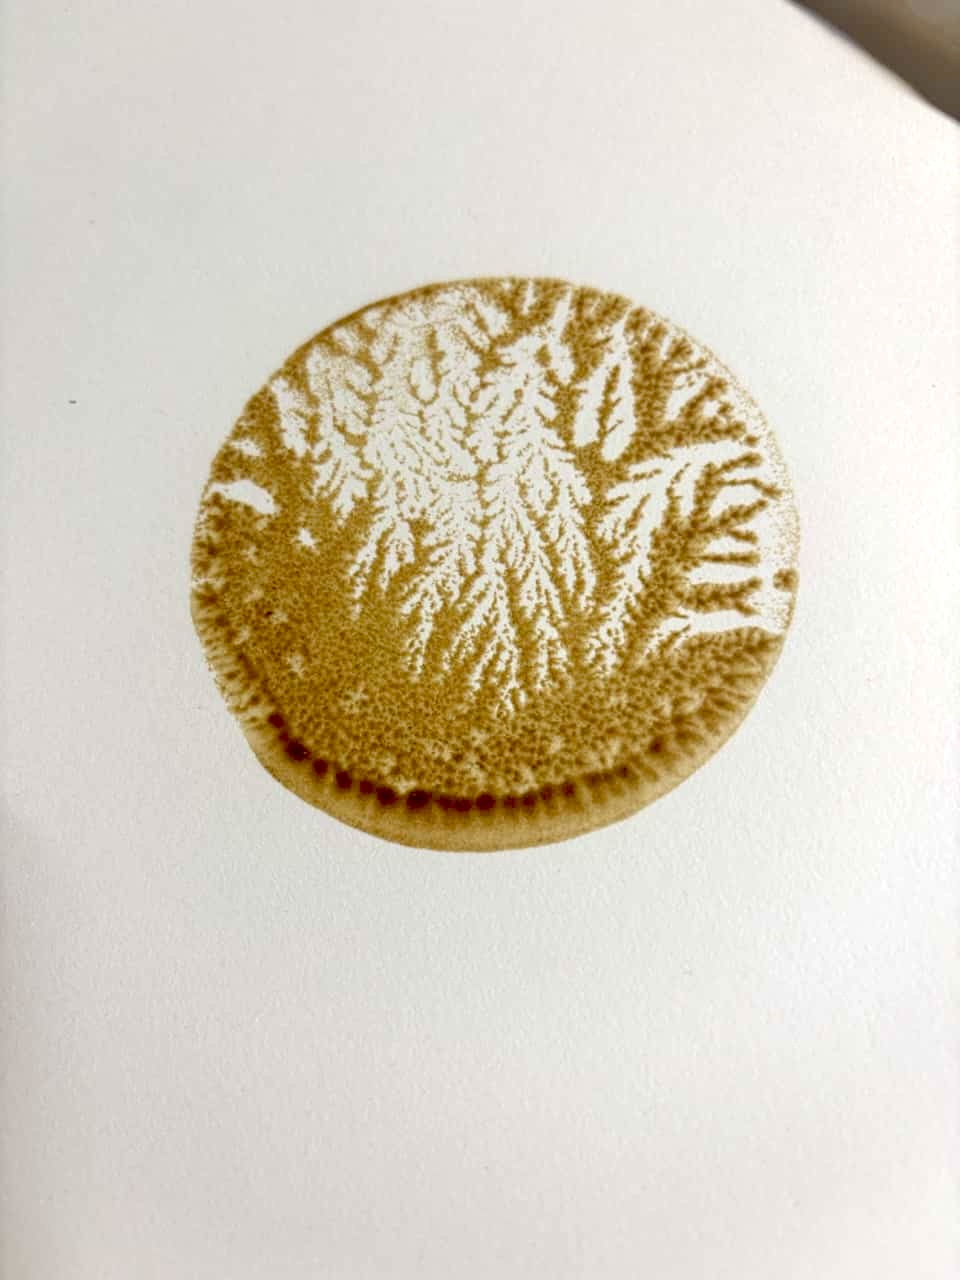
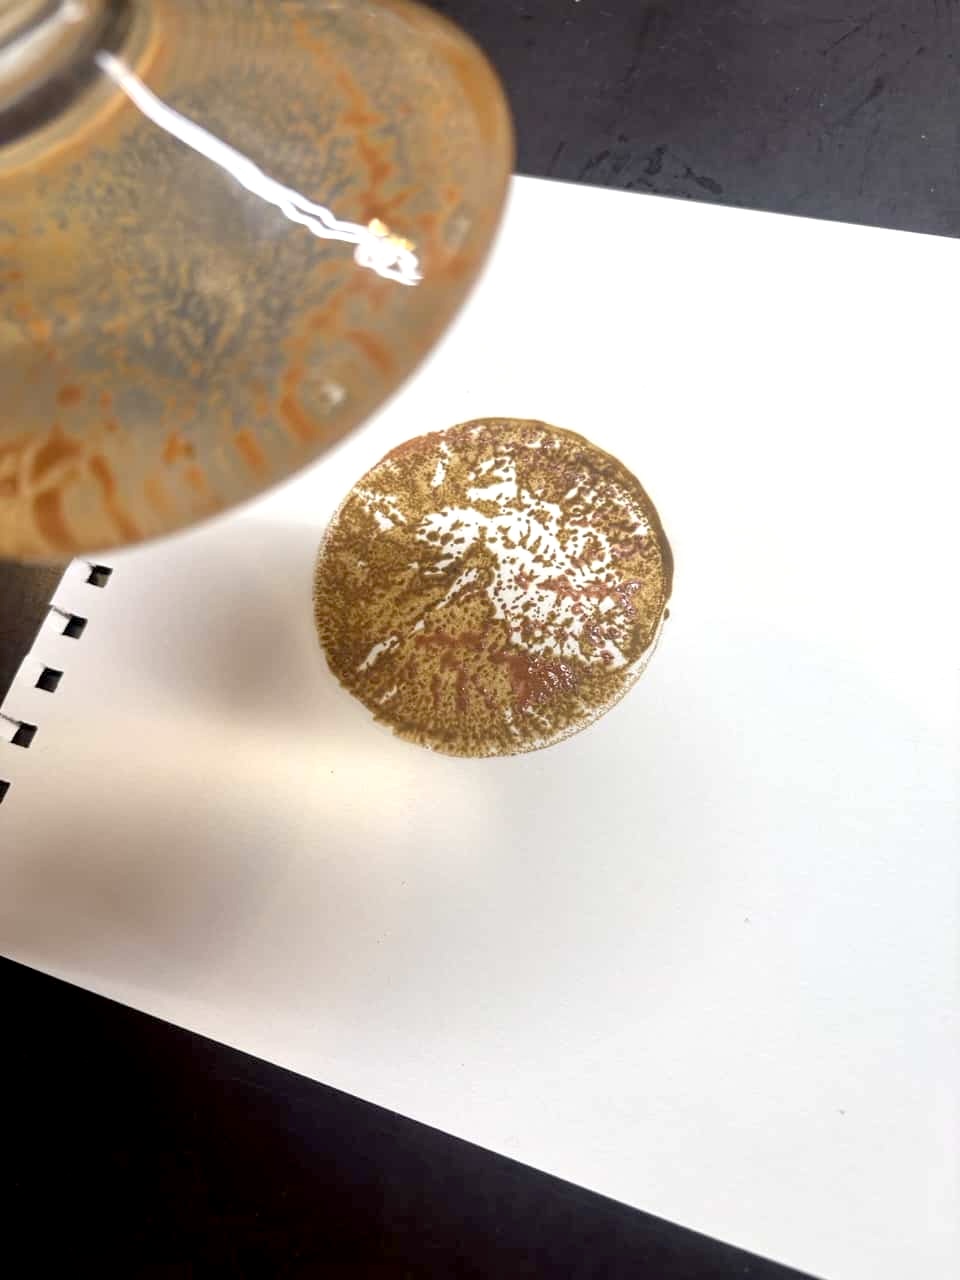
I mixed the pigments with uncooked linseed oil, gradually grinding them together with a glass muller to create a more consistent paint. During this process, I noticed that the muller left interesting traces when pressed and moved across a surface. Instead of seeing these marks as a by-product of grinding, I began to explore them as a printing technique in their own right.
By transferring the marks onto paper and layering different pigment colours, I could capture the texture and variation of the raw materials. Each print became a record of the interaction between the pigment, the oil, the glass muller and the surface. The process shifted my focus from simply making paint to using the preparation process itself as a way of producing images.
3. stamps:
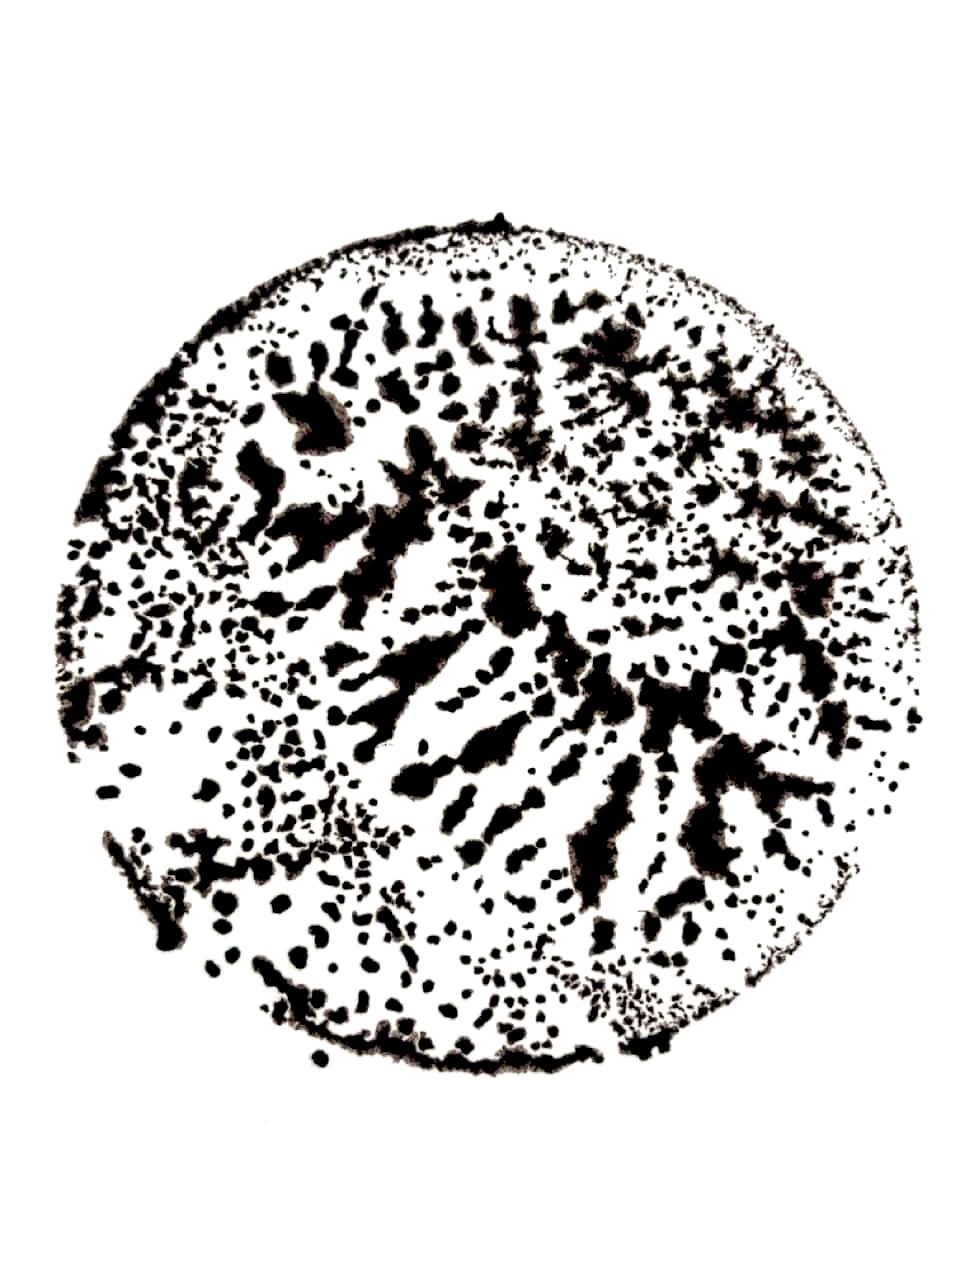
After making the pigment prints, I scanned several of them to explore whether their textures could be translated into reusable printing tools. In Affinity, I desaturated the images, increased their contrast and vectorised selected areas to create shapes suitable for laser cutting.
This process transformed the irregular marks of the pigment prints into more defined shapes while retaining some of their original character. I then cut the designs into wood using a laser cutter.
I was interested in seeing how a mark created accidentally during pigment grinding could be translated into a repeatable process. The stamps allowed me to carry the textures from one material and technique into another, from pigment and paper to textile printing. Translating the patterns into stamps also gave me more controll over the process.1
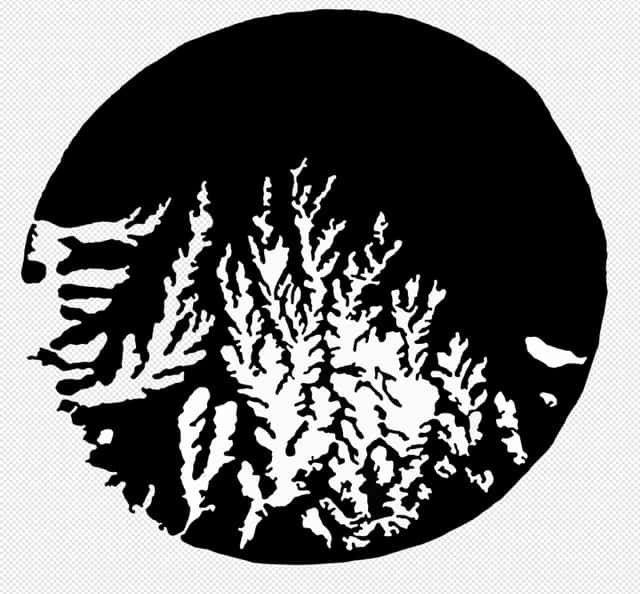
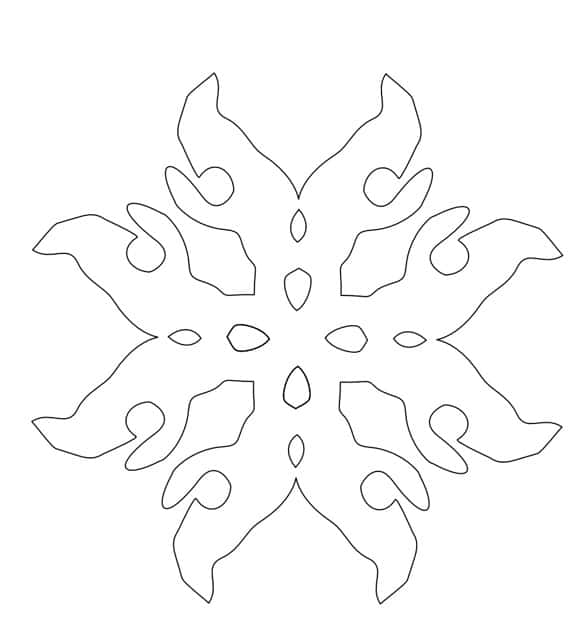
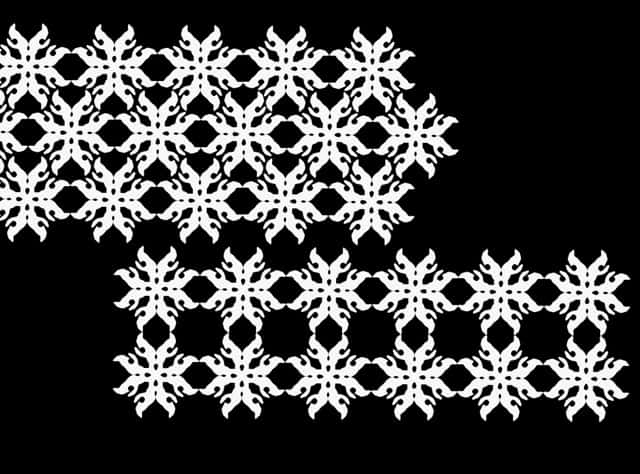
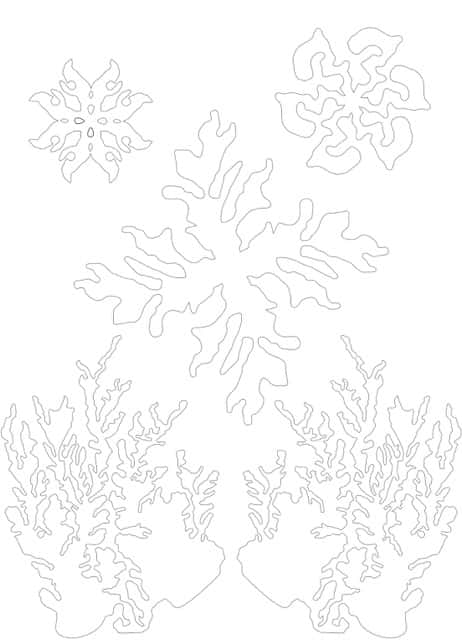
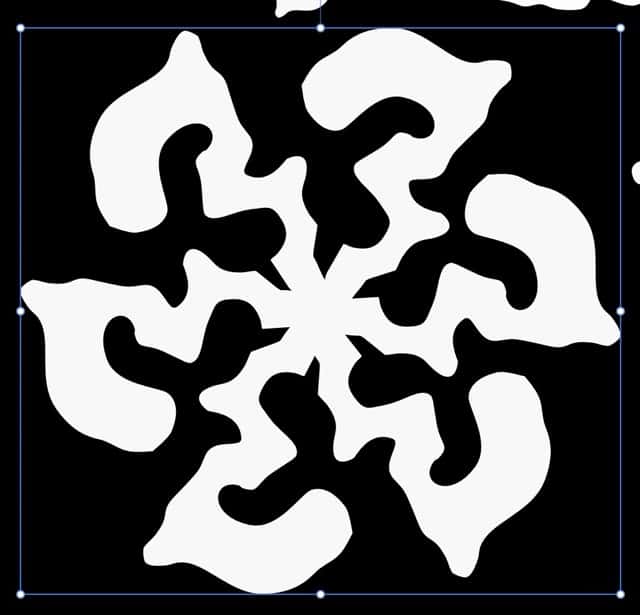
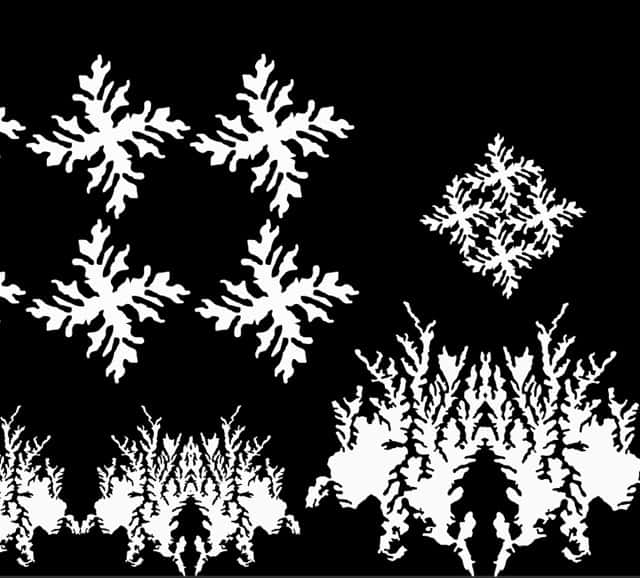
Examples of the different stamp designs.
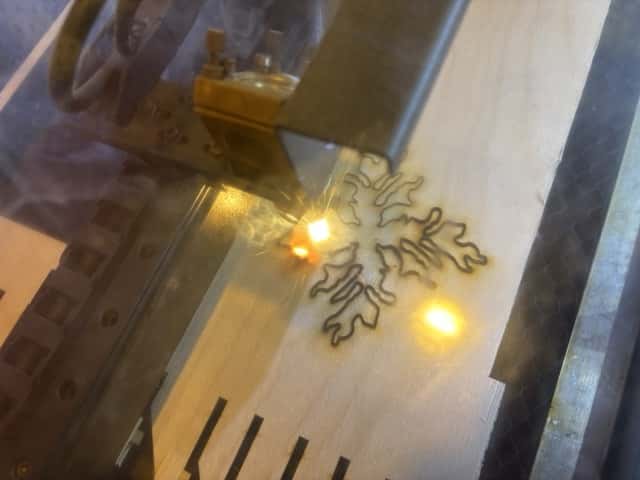
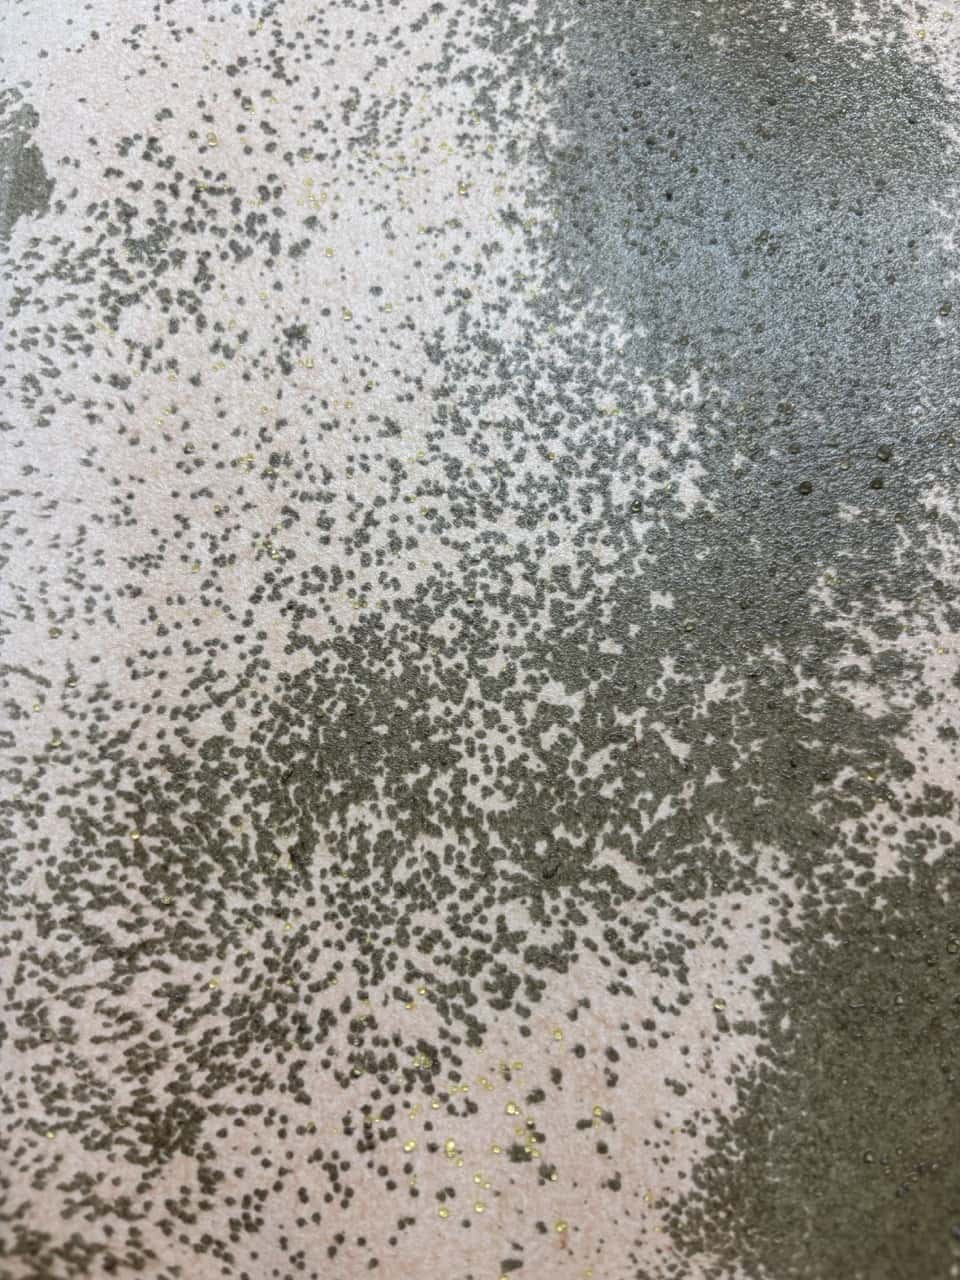
For the textile experiments, I used pre-mordanted fabric and an iron-based printing paste. The paste contains iron sulfate, which reacts with tannins in the plant material to produce dark grey to black marks.
This is related to the chemistry of traditional oak-gall ink, which also relies on the reaction between iron and tannin-rich materials. In this experiment, I used the stamps to apply the paste locally, creating a pattern that would become more visible when the fabric was exposed to a tannin-rich dye bath.
I followed a recipe for printing with plant dyes and adapted the process to my own stamps. I found a recipe for the paste here. But as I had already died my textiles with oak galls, I did the steps a little differently. Later on I also followed these steps directly (see below).
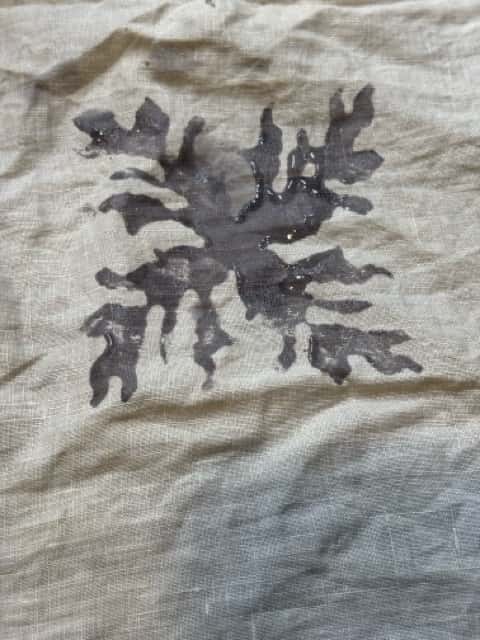
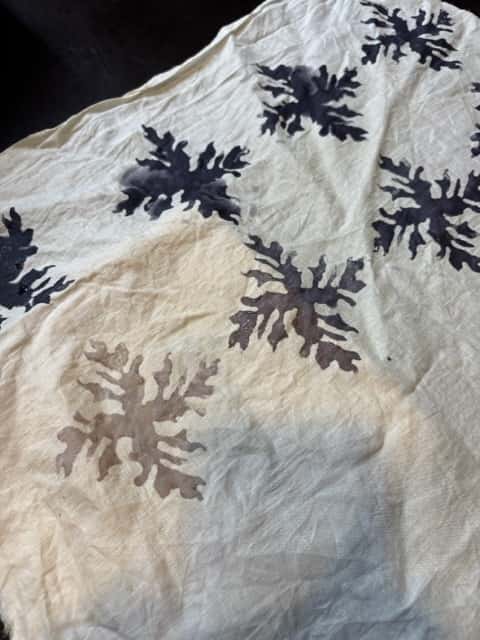
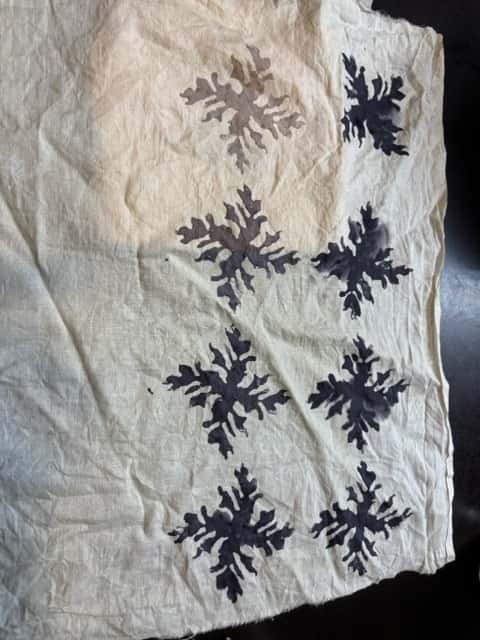
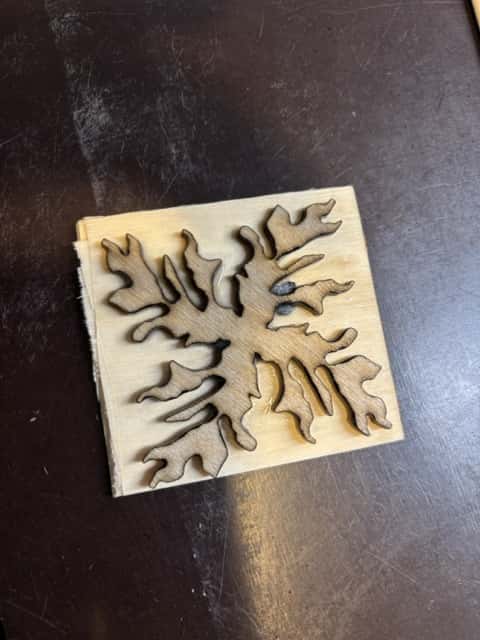
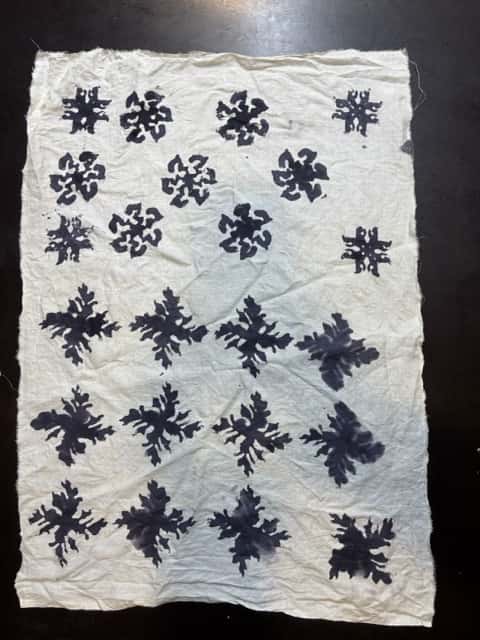
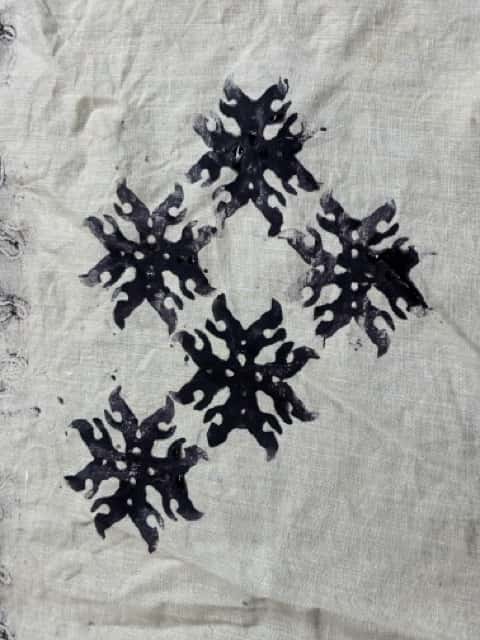
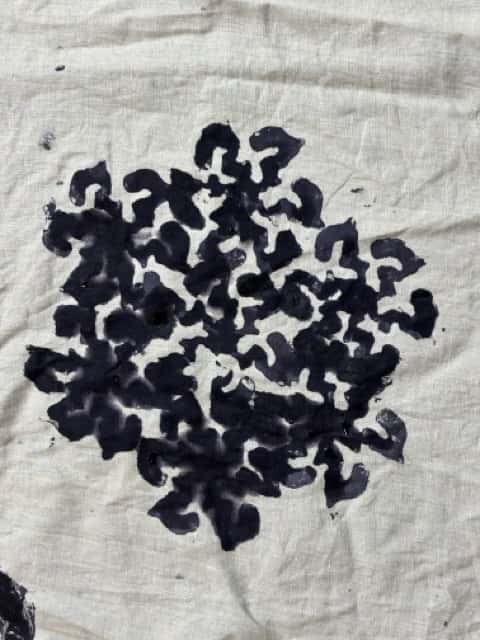
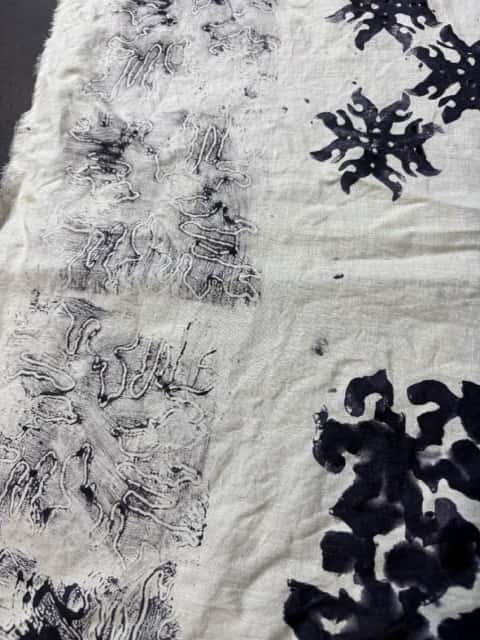
So for the above images I dyed pre-mordanted fabric in oak galls > dried the textile > made iron modifyer paste > stamped the fabric > dried the fabric > washed the fabric.
After this, I did the order that I found in the recipe as follows:
Ingredients
1. Printing Paste
- 5 g iron sulfate
- 100 ml white vinegar at 5%, or 20 ml vinegar essence at 25% diluted with 80 ml water
- 2.5 g soda ash (sodium carbonate)
- A small amount of warm water
- Thickener: approximately 1 g guar gum or 20 g gum arabic
2. Cleaning and Neutralising
- Chalk (calcium carbonate), approximately 10 g per litre of water
- Wheat bran (optional, helps remove residual gum)
- Clean water for rinsing
3. Dyeing
- Approximately 100 g tara powder, or another tannin-rich dye
- Several litres of water
- Scoured natural-fibre fabric, such as cotton or linen
- Approximately 100 ml white vinegar for the final rinse (optional)
Alternative tannin-rich dyes include oak galls, sumac, tannic acid, black tea, and cutch.
Method
1. Make the Printing Paste
- Dissolve 5 g of iron sulfate in a small amount of warm water.
- Add the white vinegar solution, then add 2.5 g of soda ash. The mixture will foam considerably, so use a large container.
- Add guar gum or gum arabic to thicken the mixture. Start with a runny paste and adjust until it is thick enough to stay in place when printed.
- Allow approximately 30 minutes for the gum to thicken.
2. Apply the Pattern
- Make sure the fabric is completely dry.
- Apply the paste using stamps, wooden blocks, a squeegee, brushes, or a screen.
- Allow the printed fabric to dry for one or two days, avoiding smudges.
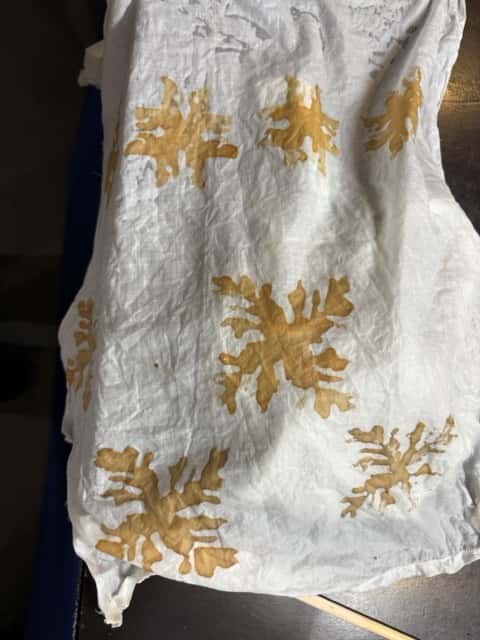
The pattern may initially appear pale and rusty beige. The iron marks will become much more visible during dyeing.
3. Rinse and Neutralise
- Rinse the fabric thoroughly to remove excess paste and loose iron.
- Prepare a solution of approximately 10 g of chalk per litre of water.
- Optionally, place some wheat bran in a muslin bag and soak it in the solution to help remove residual gum.
- Soak the fabric and work it gently for a few minutes.
- Rinse again with clean water to remove the chalk.
4. Dye the Fabric
- Simmer approximately 100 g of tara powder in a few litres of water for one hour.
- Strain the dye through muslin to remove the powder.
- Add the concentrated dye to a larger dye bath if needed.
- Immerse the fabric for approximately one hour, moving it regularly to ensure even dyeing.
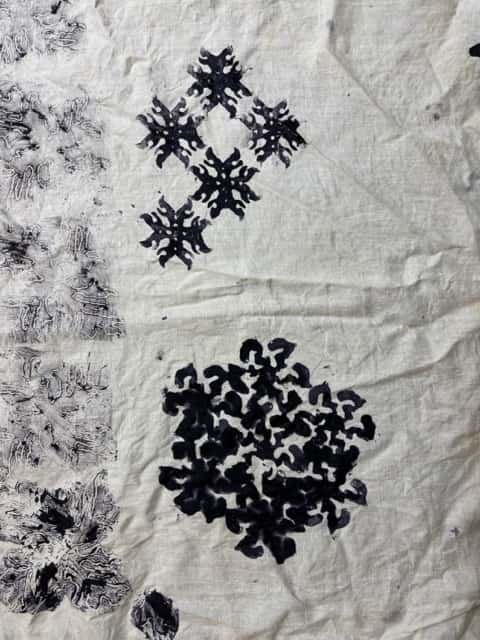
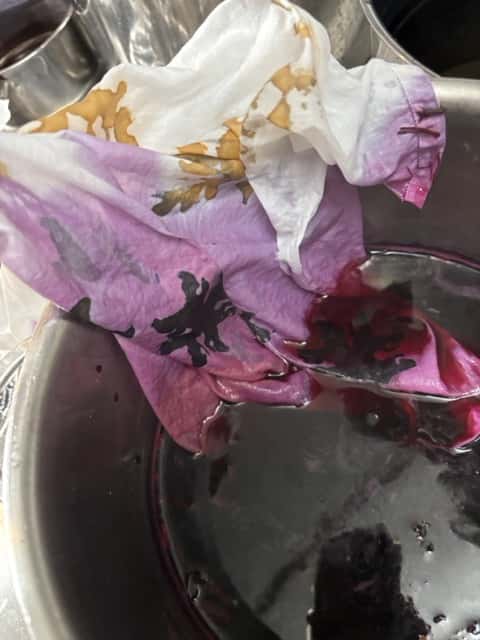
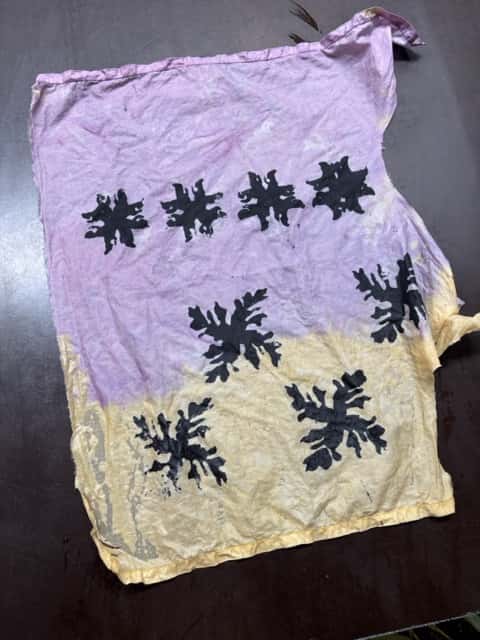
The tannins in the dye react with the iron in the printed areas, producing a dark pattern against the lighter background.
5. Rinse and Finish
- Rinse the fabric several times until the dye no longer bleeds.
- Optionally, add approximately 100 ml of white vinegar to the final rinse to shift the pattern towards grey.
- Allow the fabric to dry completely.
Important Tips
- Start with a small project to make the process easier to manage.
- Use completely dry fabric when applying the paste.
- Guar gum is stronger than gum arabic and requires a much smaller quantity.
- Choose a tannin-rich dye for strong contrast between printed and unprinted areas.
- Use a large container and allow enough time for drying, rinsing, and dyeing.
- Keep all dyeing equipment separate from utensils used for food.
Process at a glance: Print with iron paste → Dry → Rinse and neutralise → Dye with tannins → Rinse thoroughly → Finish with an optional
And the results:
4. bacterial dye
< coming soon >
5. thoughts and reflections
I was happy to do some experimenting beyond plant dyeing. I am very happy that I finally found some use for the pigments which had been hidden in my atelier for too long. I would like to experiment with screen printing medium and see if I fould print photographs with them too. I also found it very interesting to depart from abstract shapes and turn them into concrete designs.
7. files & references
-
stamps: SVG file for the stamps ↩
-
Recipe: Dye recipe pdf ↩
-
Reference: Author; Title; Source; year ↩