State of the art, project management and documentation
Inspirations
To make my research boards, I used Canva’s desktop app. I have previously used Canva very basically, and find it an incredibly intuitive tool. I created 4 different boards visualising my main topics of interest, using quotes from texts or artists that have inspired me and communicate my philosophy.
 Background Image: Oliver Leone. Text: Elizabeth Grotz
Image 1: body modifications of @hachinosu0421 Image 2: Silicone implant by Steve Haworth Image 3: play piercing by Gh0re.grl Image 4: Implants of Manel De Aguas
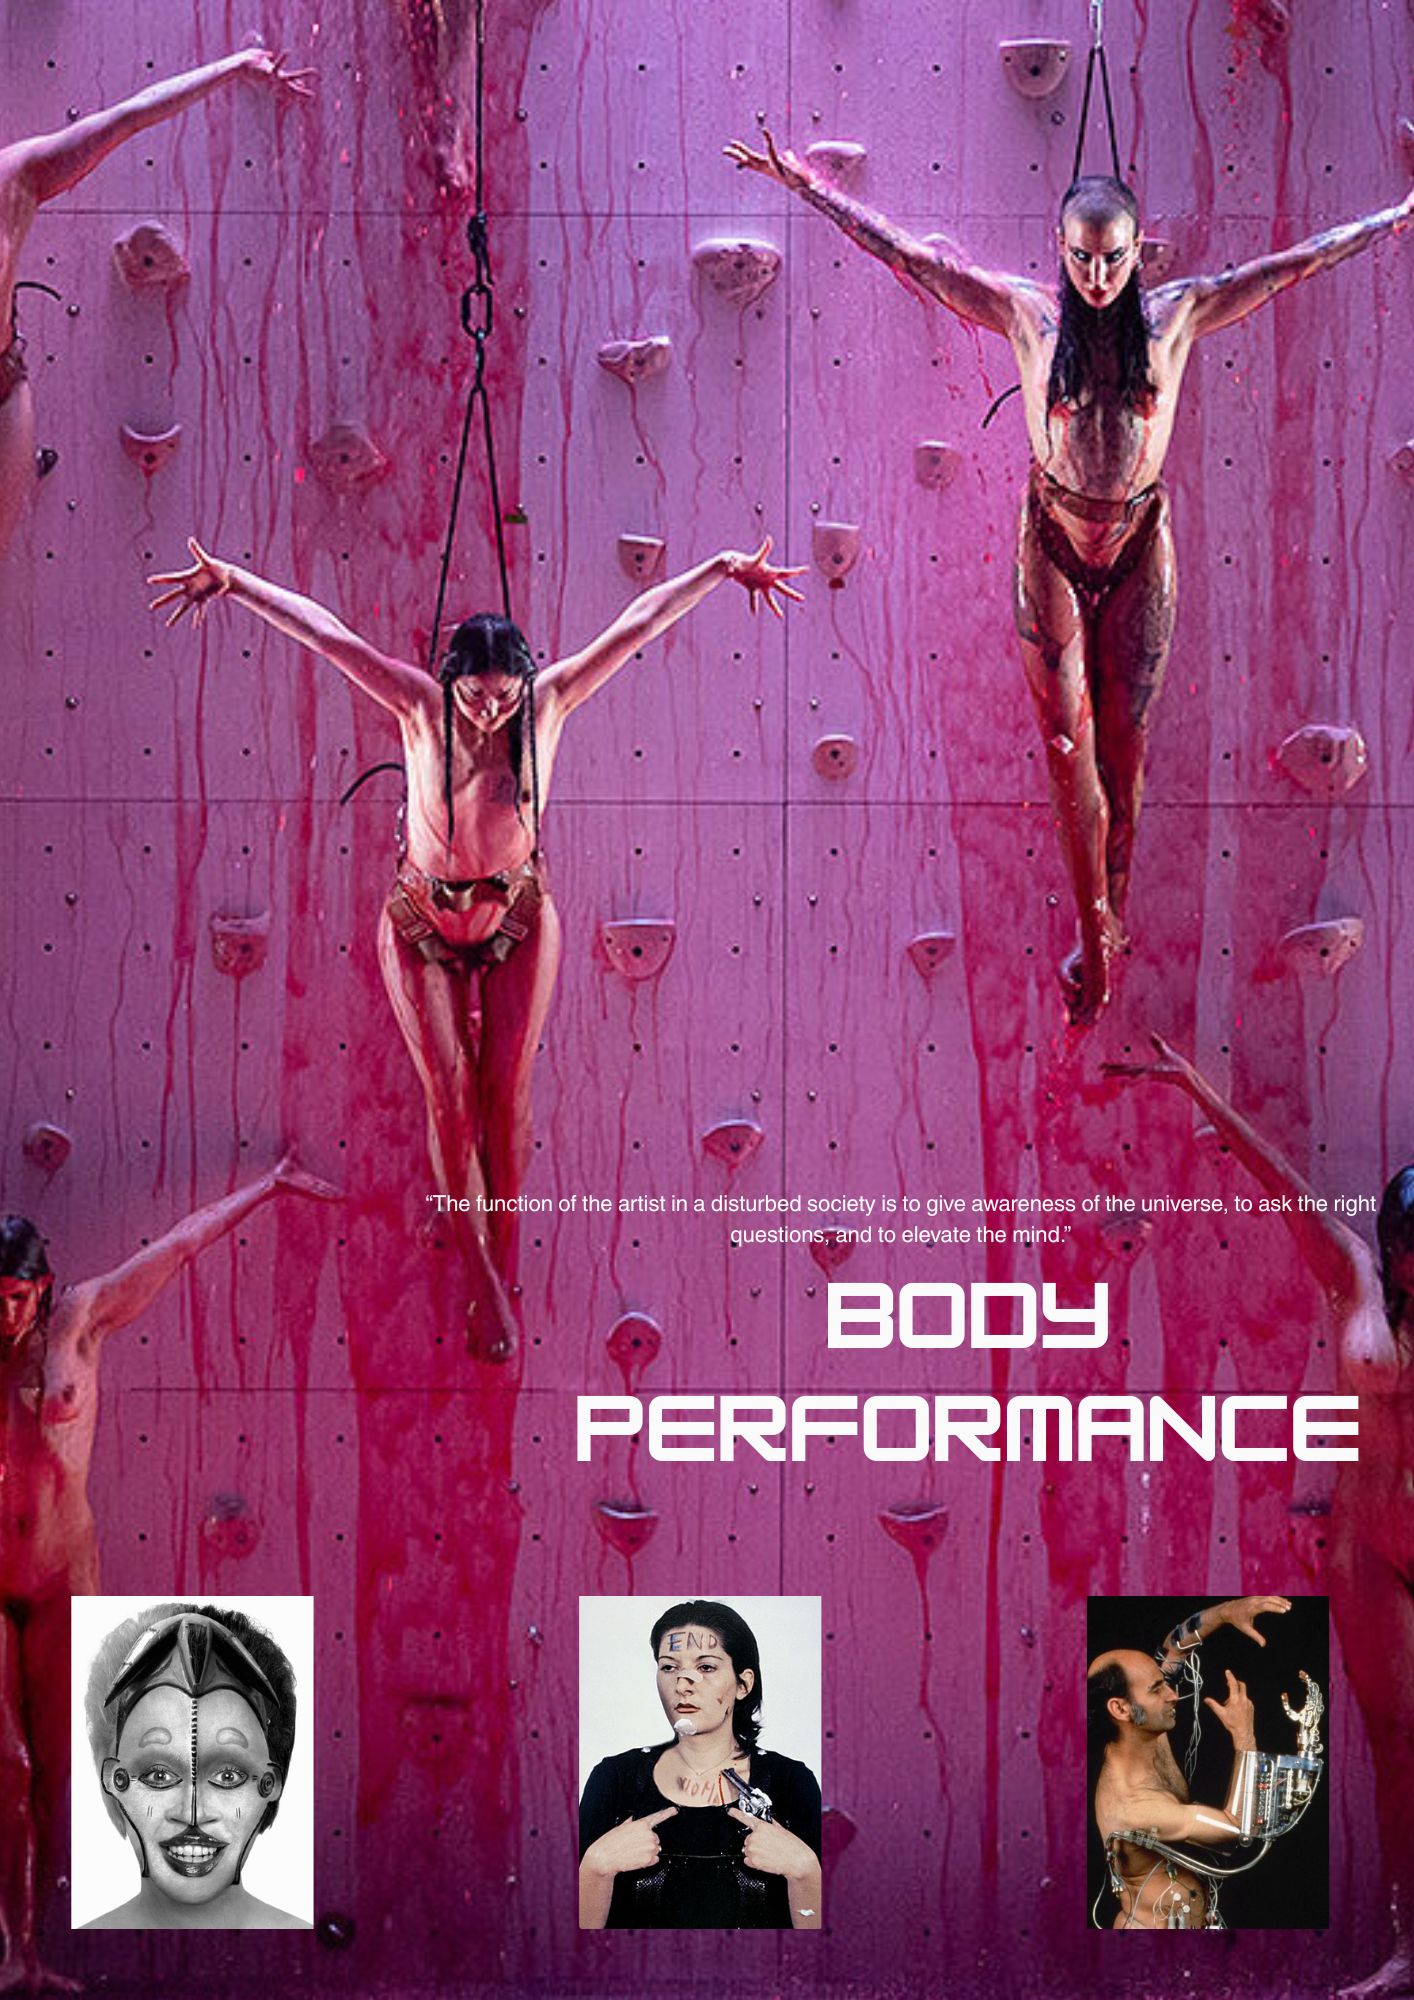 Background image: Florentina Holzinger, Sancta. Photo: Mayra Wallraff. Text: Maria Abramovic
Image 1: Orlan, Self-hybridisation, 1998 Image 2: Marina Abramovic, rhythm 0, 1974 Image 3: Stelarc, Ping Body, 1996
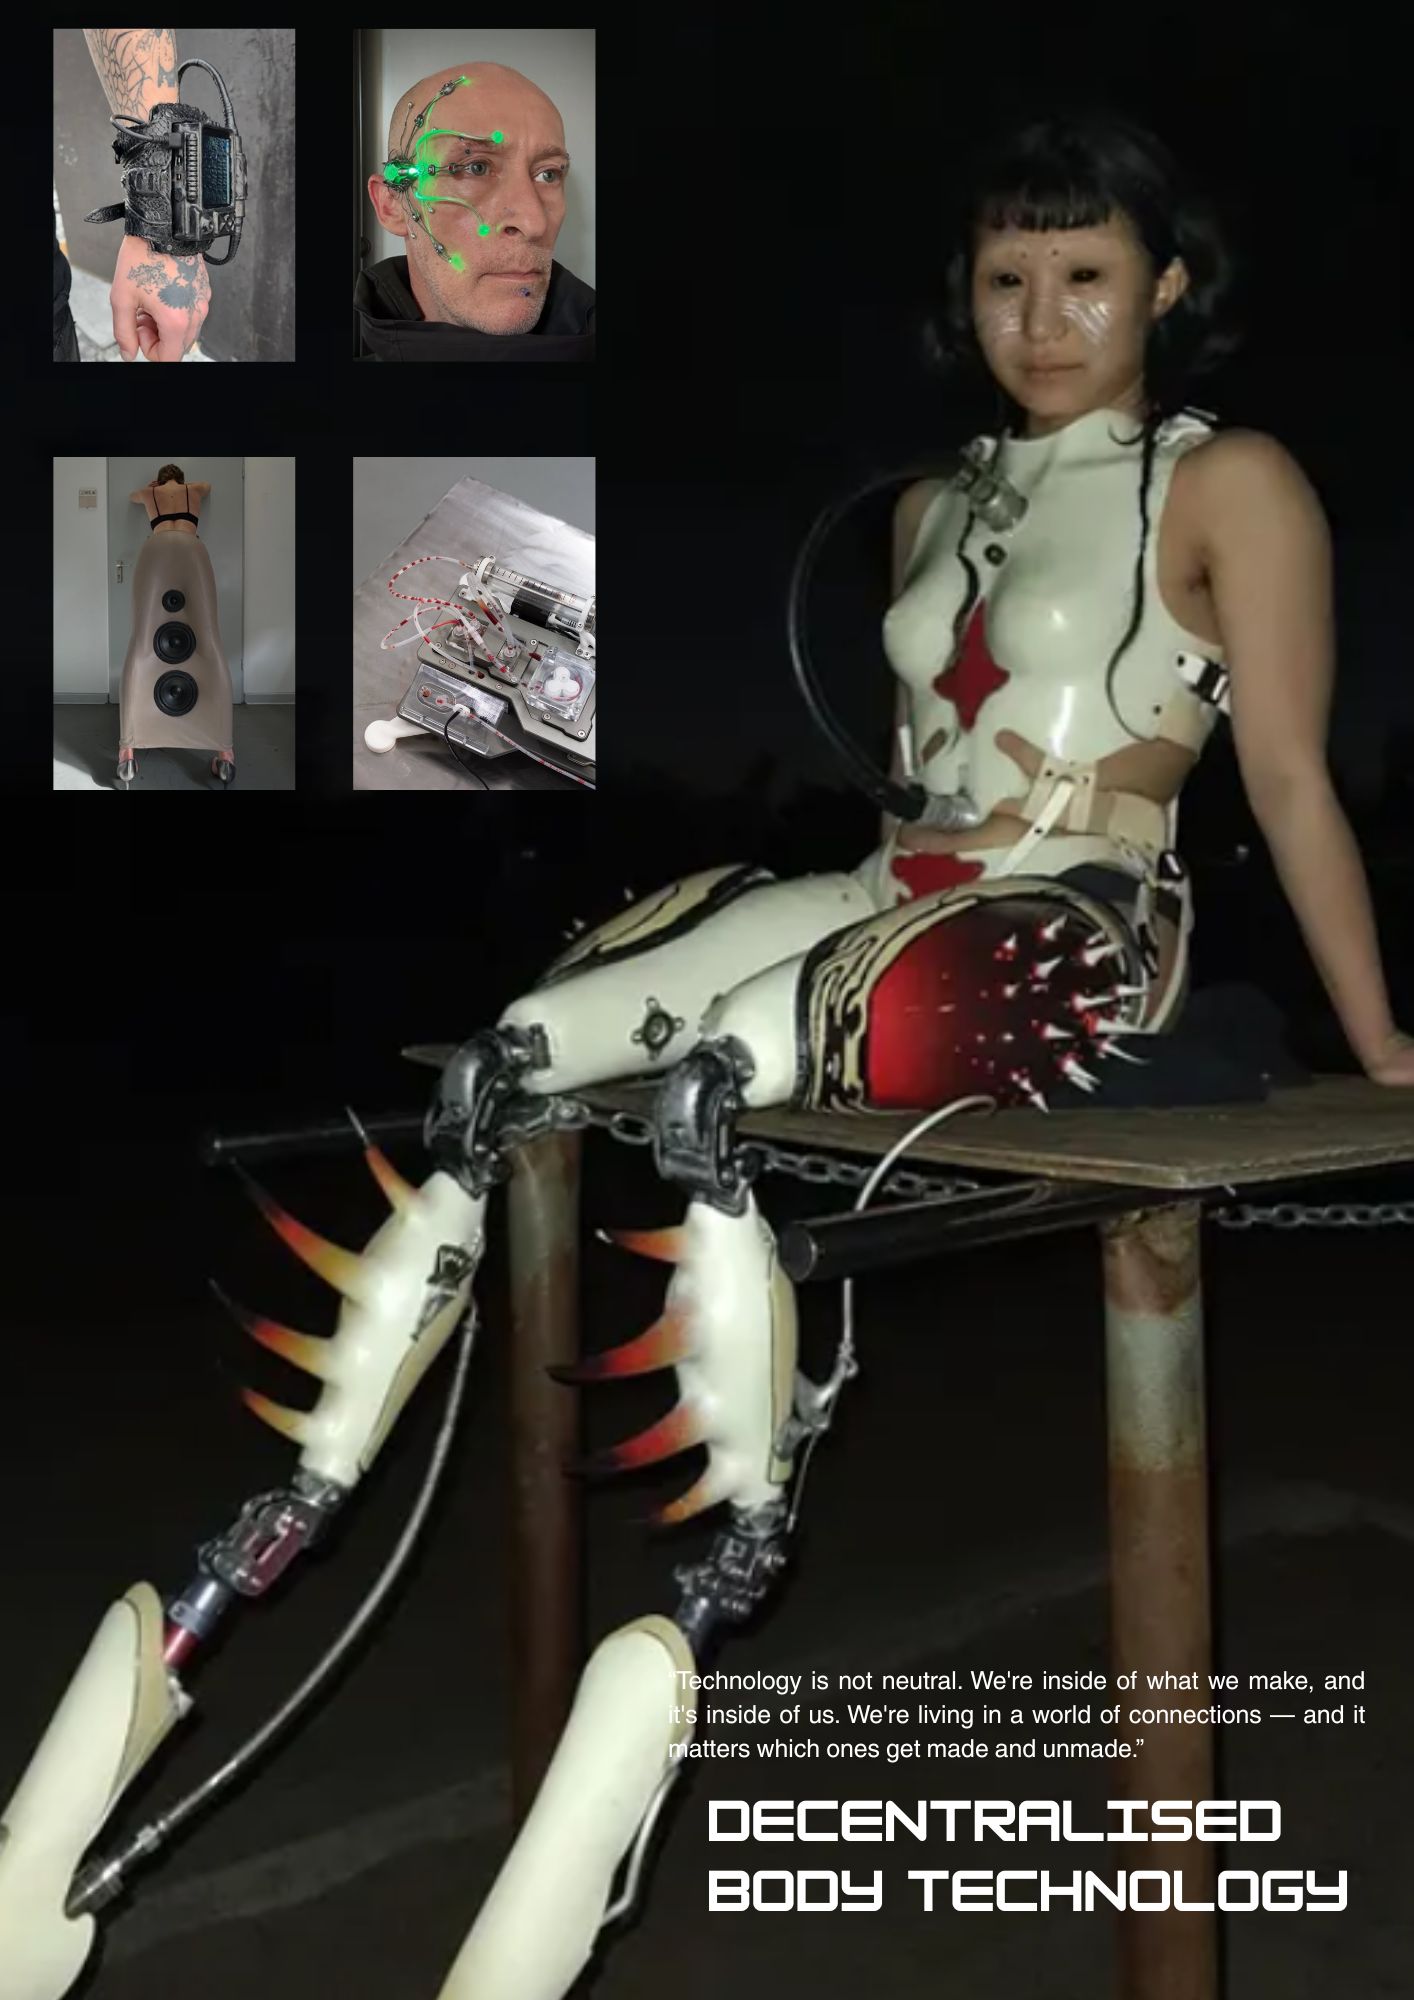
Background image: Prosthetic limbs by Mutant Birth. Text: Donna Haraway
Image 1: Joe George x End Date leather Cyberdeck Image 2: Dominic Elvin wearable Image 3: Lenni Bubi, functioning subwoofer skirt. Photo: Jaden Walker Image 4: Salvador Marino Blood Drawing Machine. Photo: Luka Naujoks
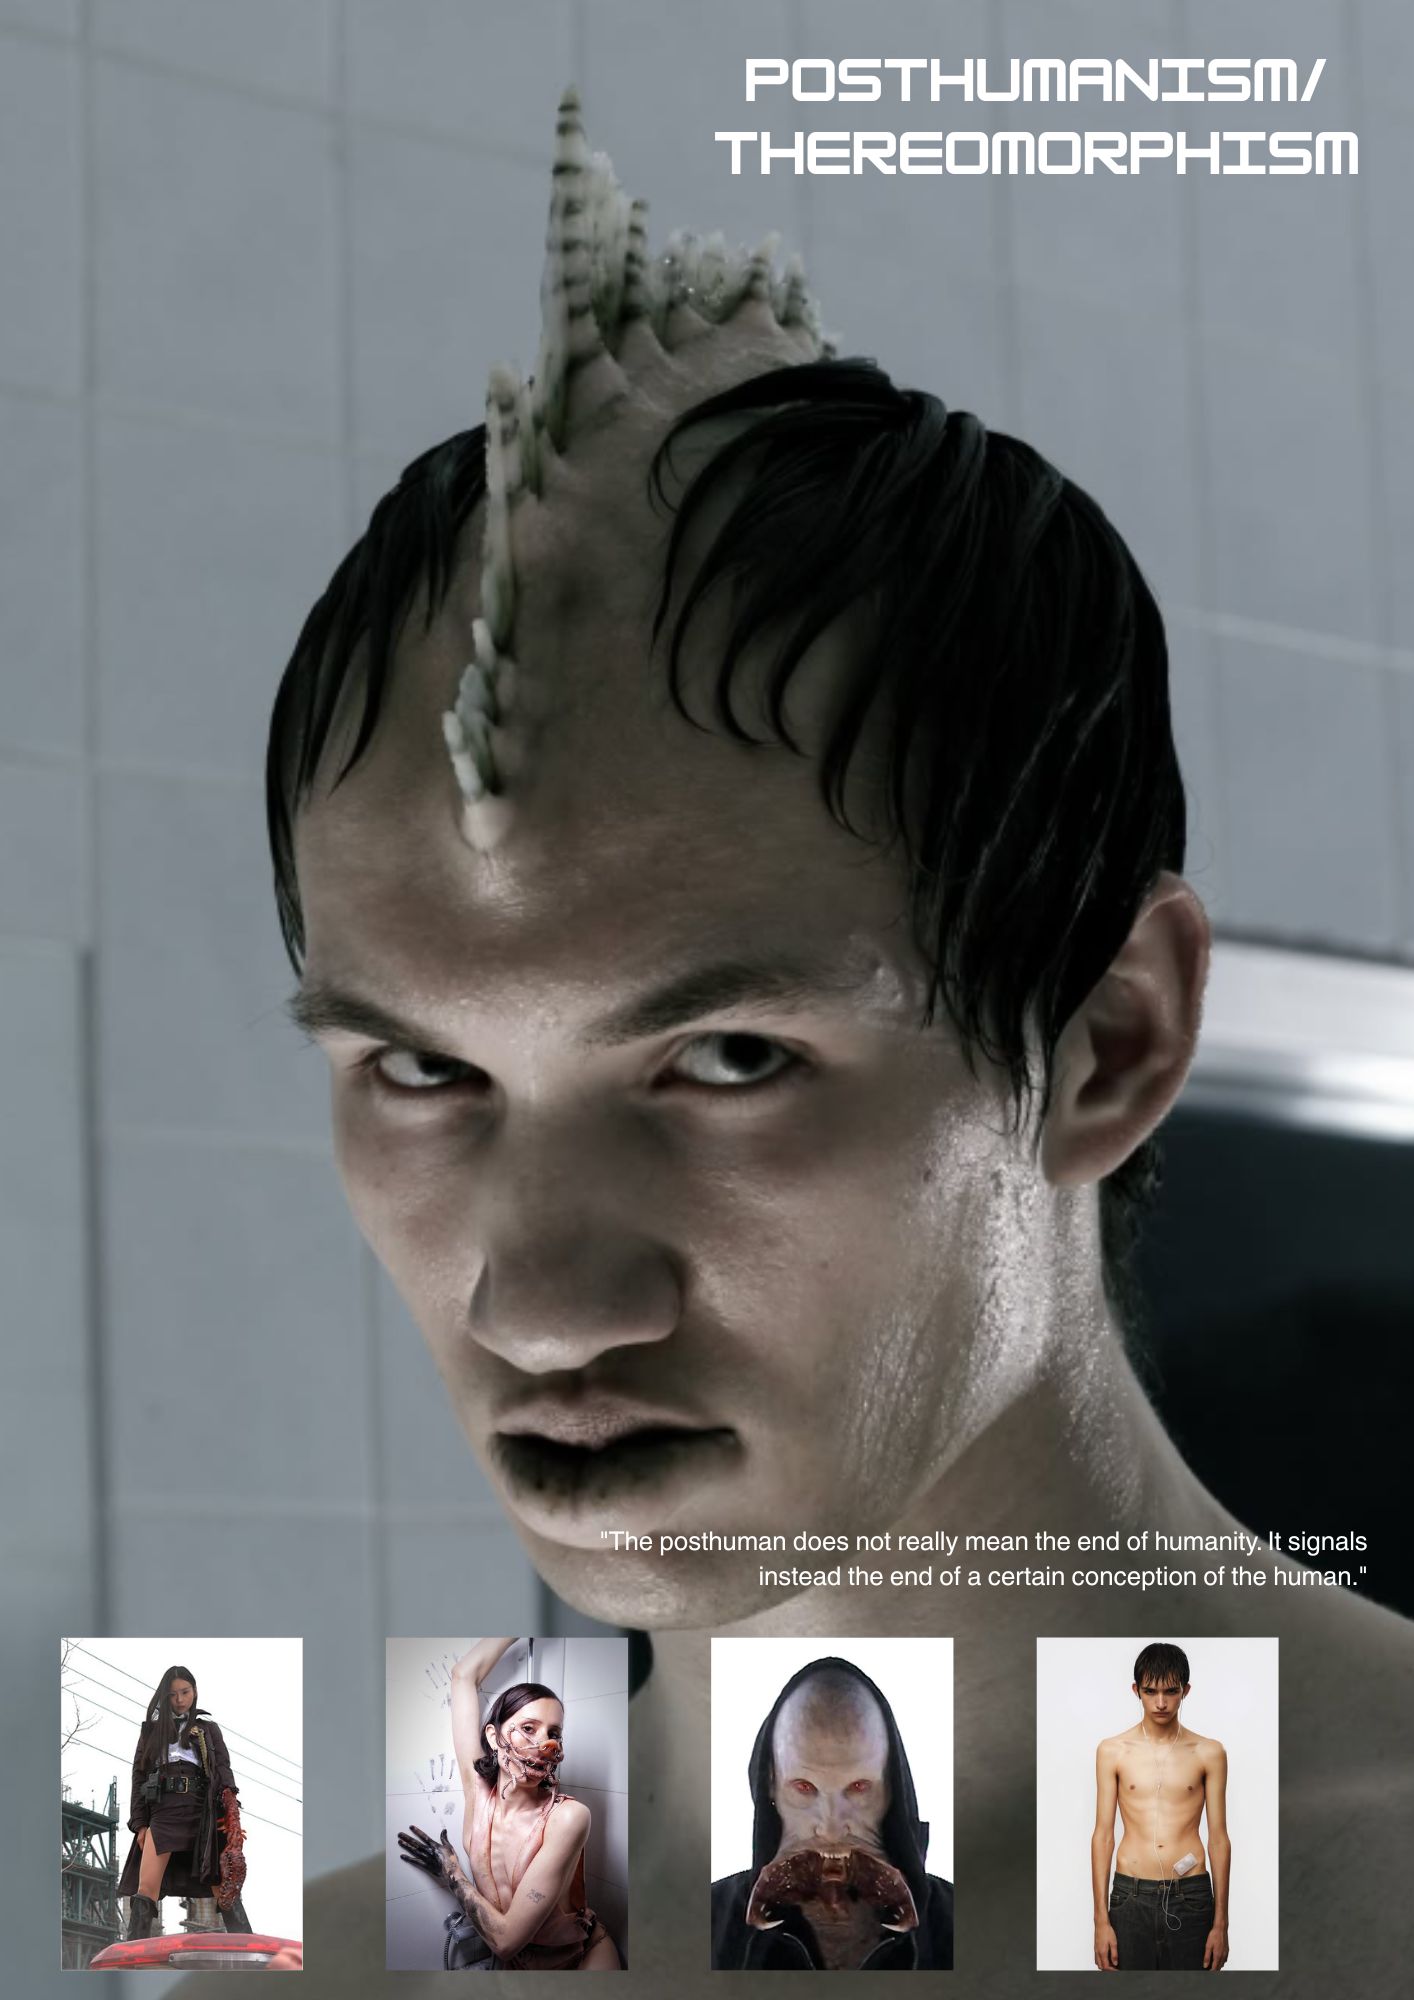
Background image: Juliette Ruetz, INTERSPLICE for Tush Magazine. Text: N. Katherine Hayles_
Image 1: Still from Tokyo Gore Police, 2008
Image 2: Vengeance: Gh0re.grl x Lyss Viscious
Image 3: Kurt Johnson x Julian Dimase for Paper Magazine
Image 4: Snap Implants, a speculative concept by Patio Studio
Process and workflow
My computer would not allow me to copy and paste into my IDE project, which seemed an unresolveable issue, so Julian suggested I run the programme offline. Together, we downloaded ‘VS code’ and the Github extension into that. The steps that differ from the online version are:
Step 1: Save, Stage and Name your Commits
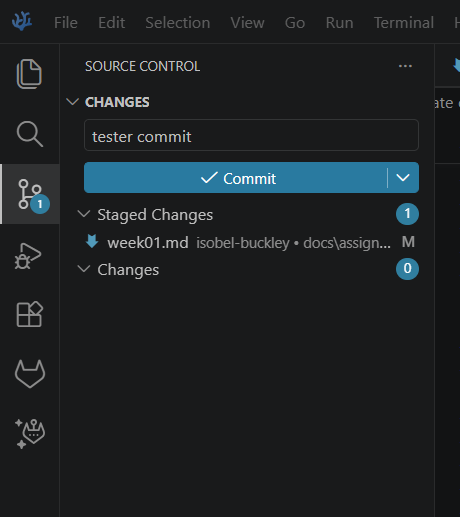
You must save changes to the file, and then ‘stage’ changes before committing. You must also name your commits in the text bar above the 'commit' bar to complete the process.
Step 2: Syncing to your Online Browser
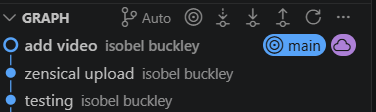
You must sync the changes with the online browser. When that has worked correctly, you will see both icons on your commit as below. You can do this easily with the 'Sync Changes' button.
Step 3: Using Zensical Offline
Every time I want to use zensical offline, I need to utilise ‘Command Prompt’ to activate the code:
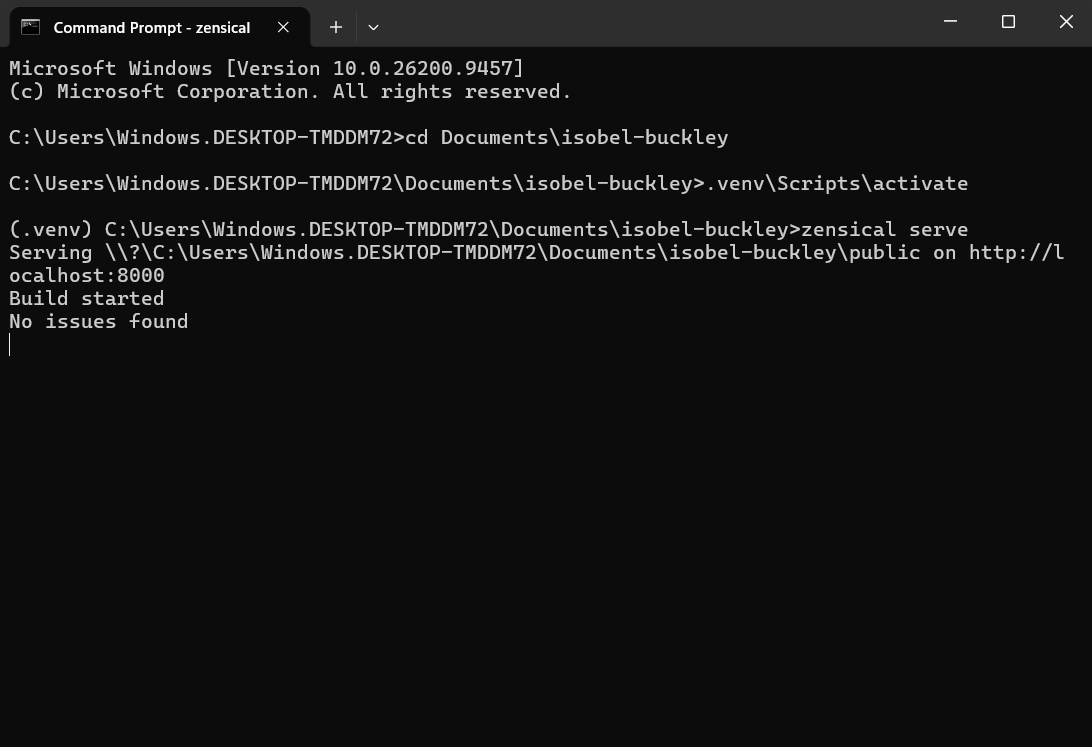
Above is the code if all runs correct. Once this code is active I can use zensical offline.
“Microsoft Windows [Version 10.0.26200.9457](c) Microsoft Corporation. All rights reserved.C:\Users\Windows.DESKTOP-TMDDM72>cd Documents\isobel-buckleyC:\Users\Windows.DESKTOP-TMDDM72\Documents\isobel-buckley>.venv\Scripts\activate (.venv) C:\Users\Windows.DESKTOP-TMDDM72\Documents\isobel-buckley>zensical serve Serving \\?\C:\Users\Windows.DESKTOP-TMDDM72\Documents\isobel-buckley\public on http://localhost:8000 Build started No issues found”
---
Tools
A list of helpful links I used this week to complete my assignments:
- [Visual Documentation Presentation](https://docs.google.com/presentation/d/1Zf-WfffSL23uFU97eRCtWkIMhBgtGXdXJf1-lHM9nHY/edit?slide=id.g1579966c187_0_0#slide=id.g1579966c187_0_0)
- [Gitlab Presentation](https://vimeo.com/1227439130/cba3d603e5?share=copy&fl=sv&fe=ci)
- [TinyPNG](https://tinypng.com/)
- [Video Converter](https://video-converter.com/)
- [Zensical Basics](https://zensical.org/docs/setup/basics/)
- [Adding content with Markdown](https://fabricademy.fabcloud.io/gitlab-documentation-tutorial/03-markdown/)