Digital bodies
Inspirations
Kyle Mcdonald - arturo castro
Anders Krisar
Choi Xooang
James gillingham -  Leather Leg
Victoria Modesta
Artlimbpro
Concept + Development
When presented with the title of ‘digital bodies’ I was instantly struck by the idea of what it means to have a body, digitally. This is a question I think about often. As someone with a public online presence, my image, work and body are reproduced and scrutinised online. Growing up in the early 2000s, I grew alongside the mainstreaming of technologies and social medias. I have been on Instagram since I was 13, and there have been many different phases and personalities. Currently my relationship to social media is quite complex. I think often about the image I have built online, which has led to a lot of parasocial behaviours, misconceptions and ideation beyond my control. It has left me cautious to show my face or personality online, and instead to create a safe, distant image to market.
This is the inspiration for my project this week, as I want to focus on the social media ‘persona’ as my digital body. I feel my experience is mirrored for many artists on Instagram, especially those who rely on it for income. I feel lucky to not be in this position and have the option of anonymity, but many - especially women - feel pressured to fall into an influencer/personal role to keep their career. As the owner of a female body, I hoped to create a small figurine of my perception of a female creator's digital body.
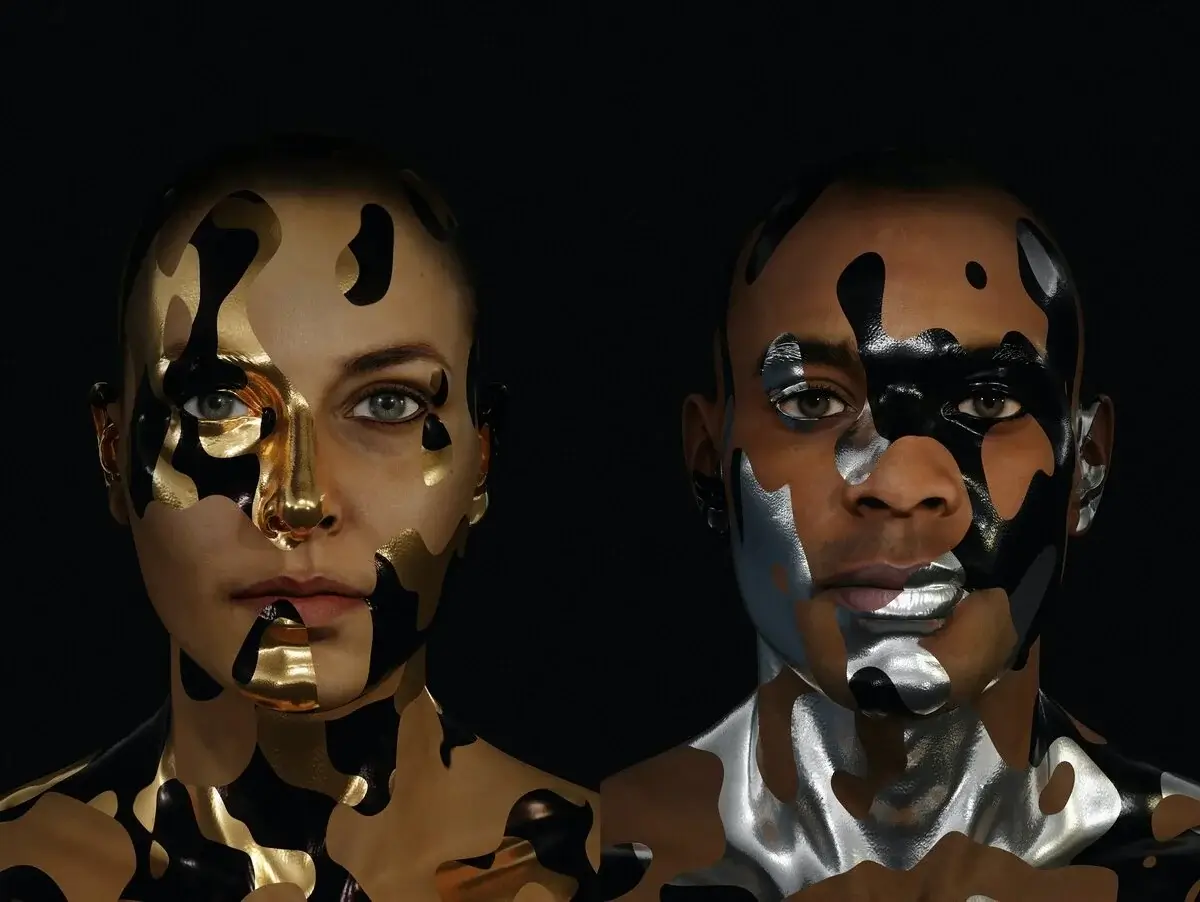
Anti-surviellence Make-up
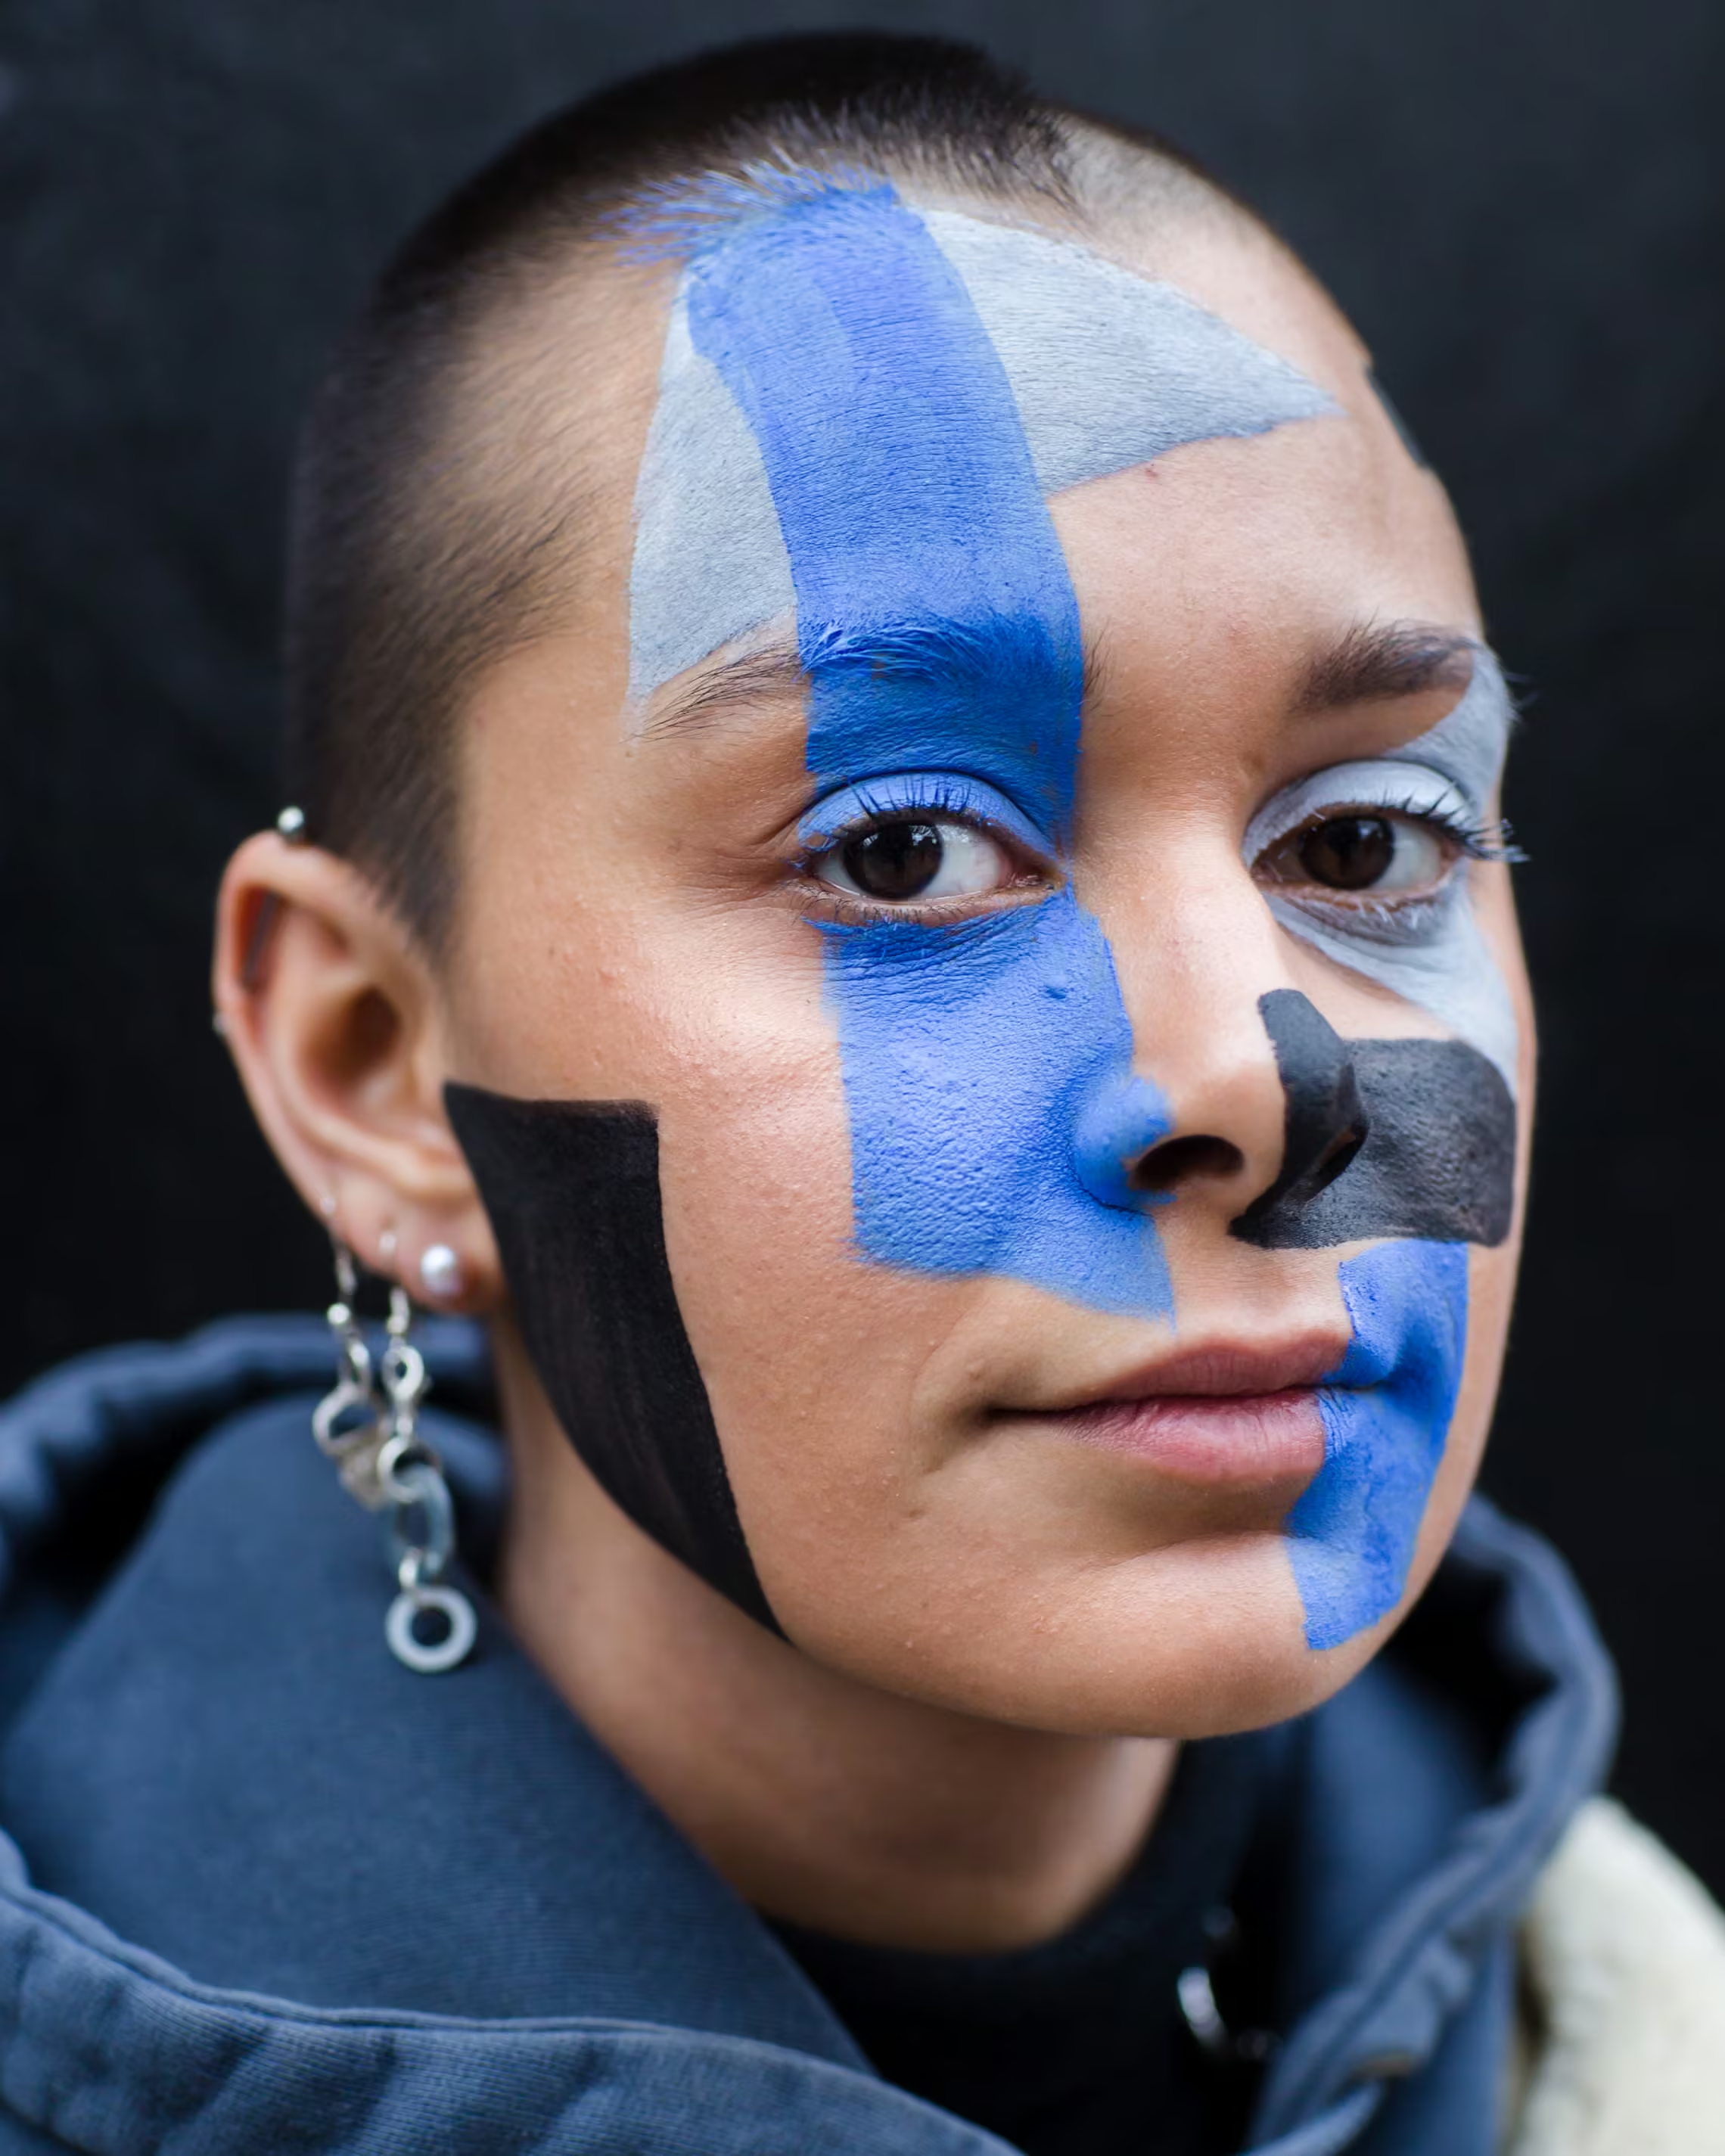
Amanda Dave of Dazzle Club. Photograph: Cocoa Laney/The Observer
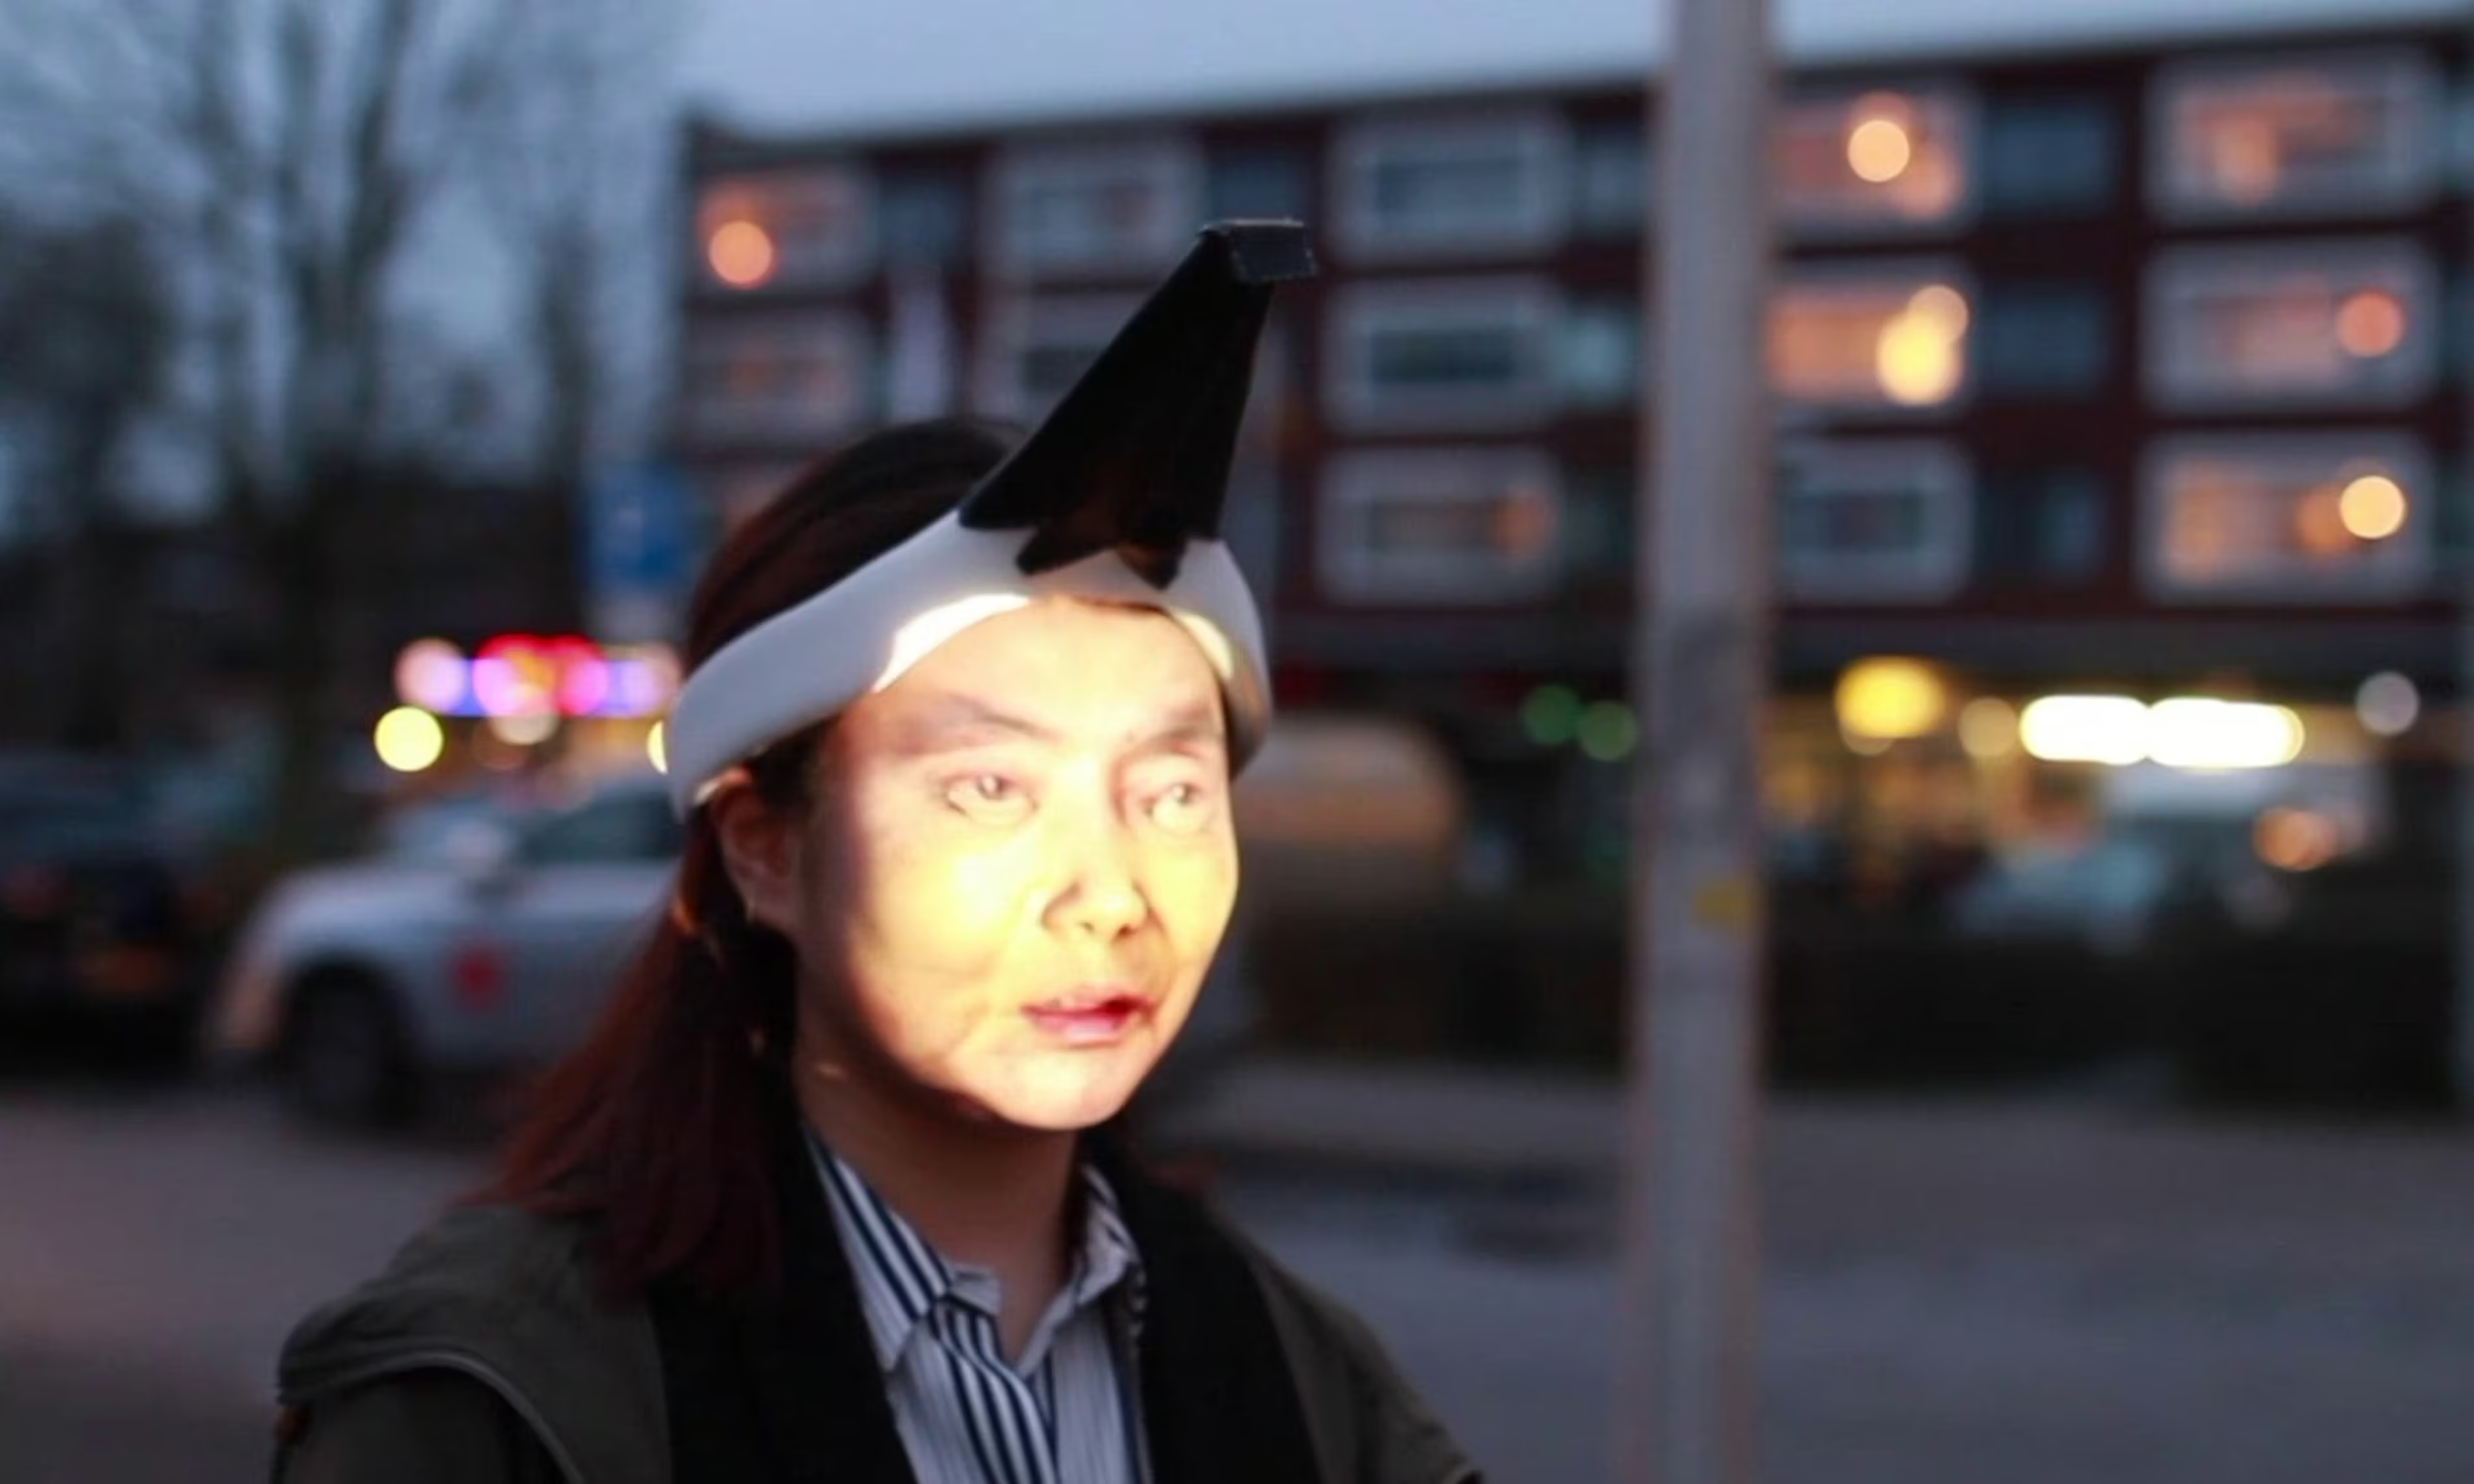
Design student Jing-cai Liu has created a wearable face projector to counter surveillance cameras. Photograph: Jing-cai Liu
“Giving too much power to the police or any security agency provides the conditions for authoritarian abuse.” - Adam Harvey1
When explaining my concept to Asli at Waag, she suggested anti-surveillance makeup as a tool for decoration, as I was not so pleased with the idea of a simple cardboard model. I found this a great suggestion as it is a topic I’d been interested in, but had not yet had time to research. I learnt about ‘CV Dazzle’ invented by Adam Harvey in 2010, and wanted to create a similar bold look on the already distorted face of my model. A Key principle of CV Dazzle is its bright and bold look, “designed to break machine vision systems while still remaining perceptible to human observers.” 2
I find anti-surveillance makeup relevant to my concept as social media is another tool for surveillance and data-farming, one which we voluntarily feed with our most personal details. As the project focuses on the personal and the digital body, makeup seemed like a fitting addition to the defiance of this objectified body. 3
Tools
A list of helpful links I used this week to complete my assignments:
- [TinyPNG](https://tinypng.com/)
- [3d scan with Skanect](https://skanect.structure.io)
- [Mesh repair with ...](http://class.textile-academy.org)
- [3d Model with MakeHuman](http://www.makehumancommunity.org/content/downloads.html)
    - [Blender Shortcuts](https://hollisbrown.github.io/blendershortcuts/)
- [KIRI Engine](https://www.kiriengine.app/)
- [Tripo3D](https://studio.tripo3d.ai/workspace?category=featured&model_type=all&page_type=1.2&recommended=recommended&use_case=all)
- [Miro Board from Asli](https://miro.com/app/board/uXjVHjcEMeE=/?share_link_id=97120669420)
- [Find AI apps](huggingface.com )
Process and workflow
I decided to try KIRI engine first as my research suggested it would offer the best files for exporting and was mostly free. I used the apps photoscan method, which uses photogrammetry. I wanted to stage a provocative pose and took 22 self portraits to upload for my tests. Distortions, provocation and facelessness were all elements I aimed for, so I was slightly lazy with the accuracy of my photography to allow for imperfections, because there were the elements that would make my concept stronger.
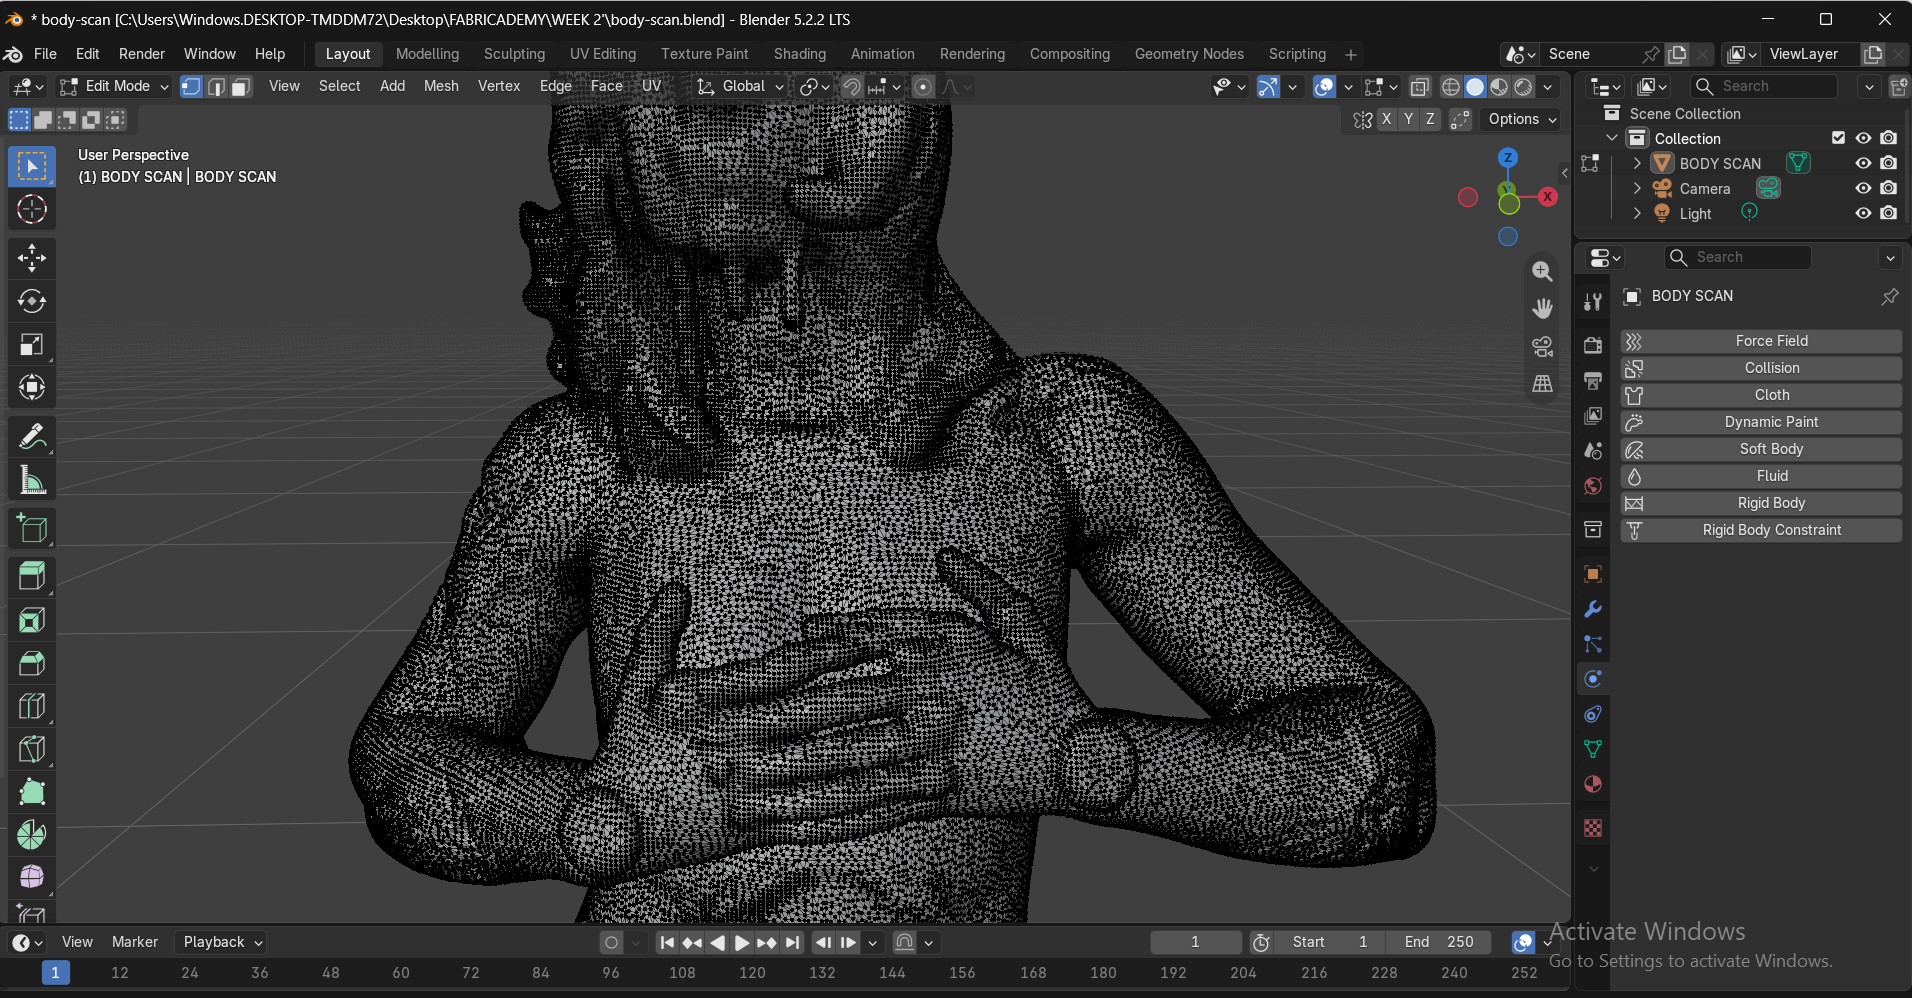
Step 1: Creating a 3D scan
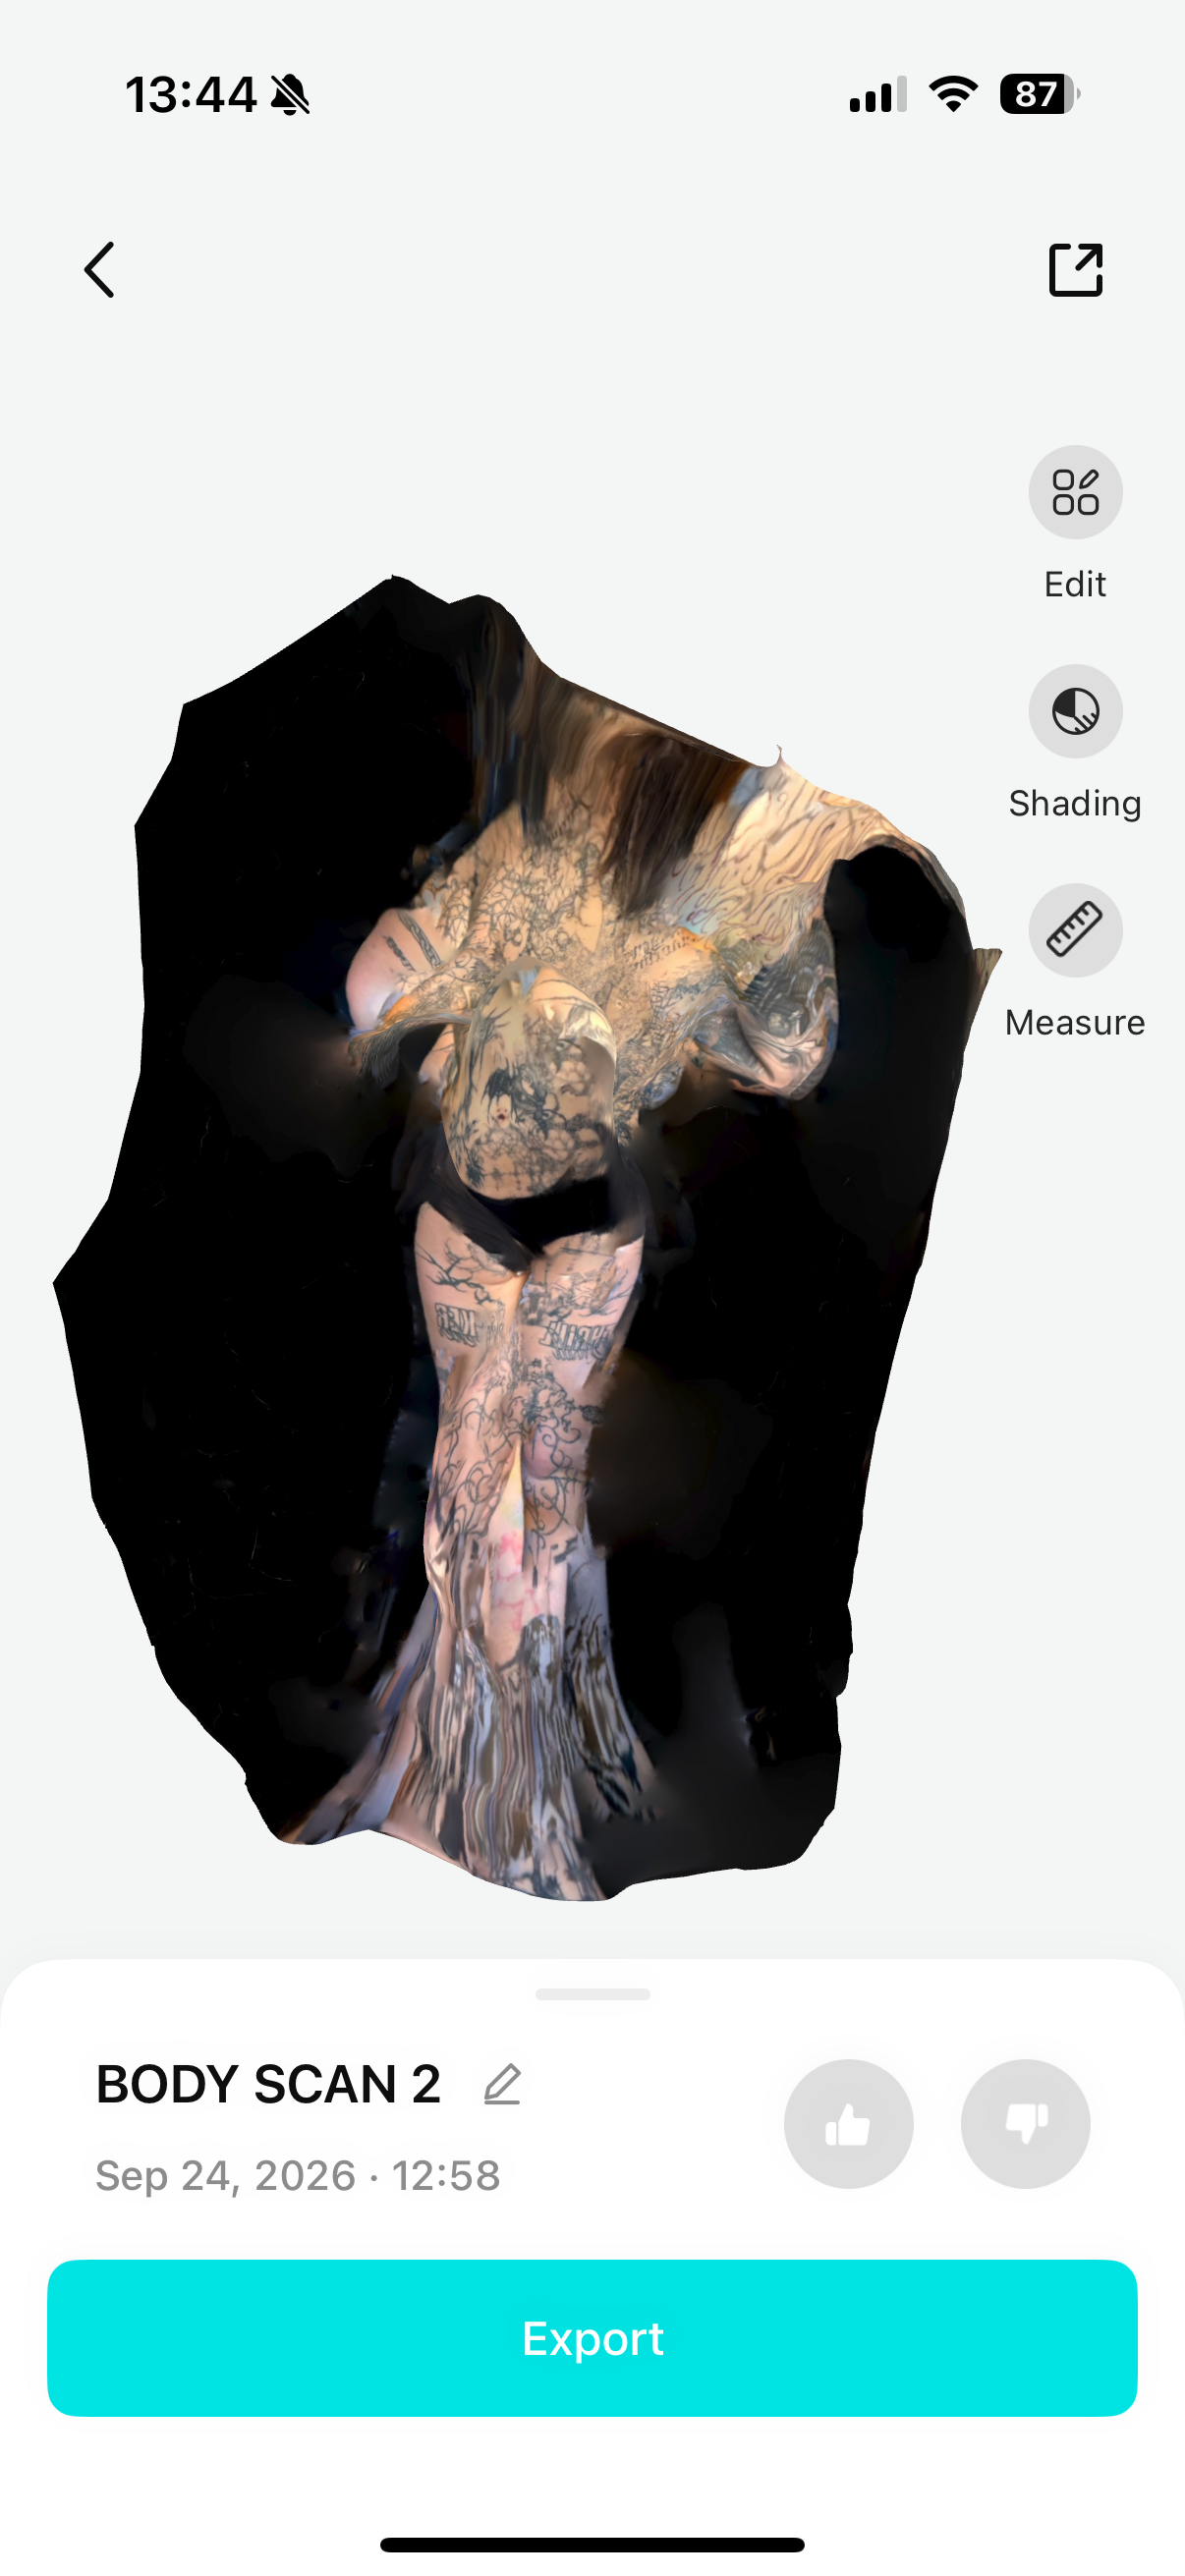
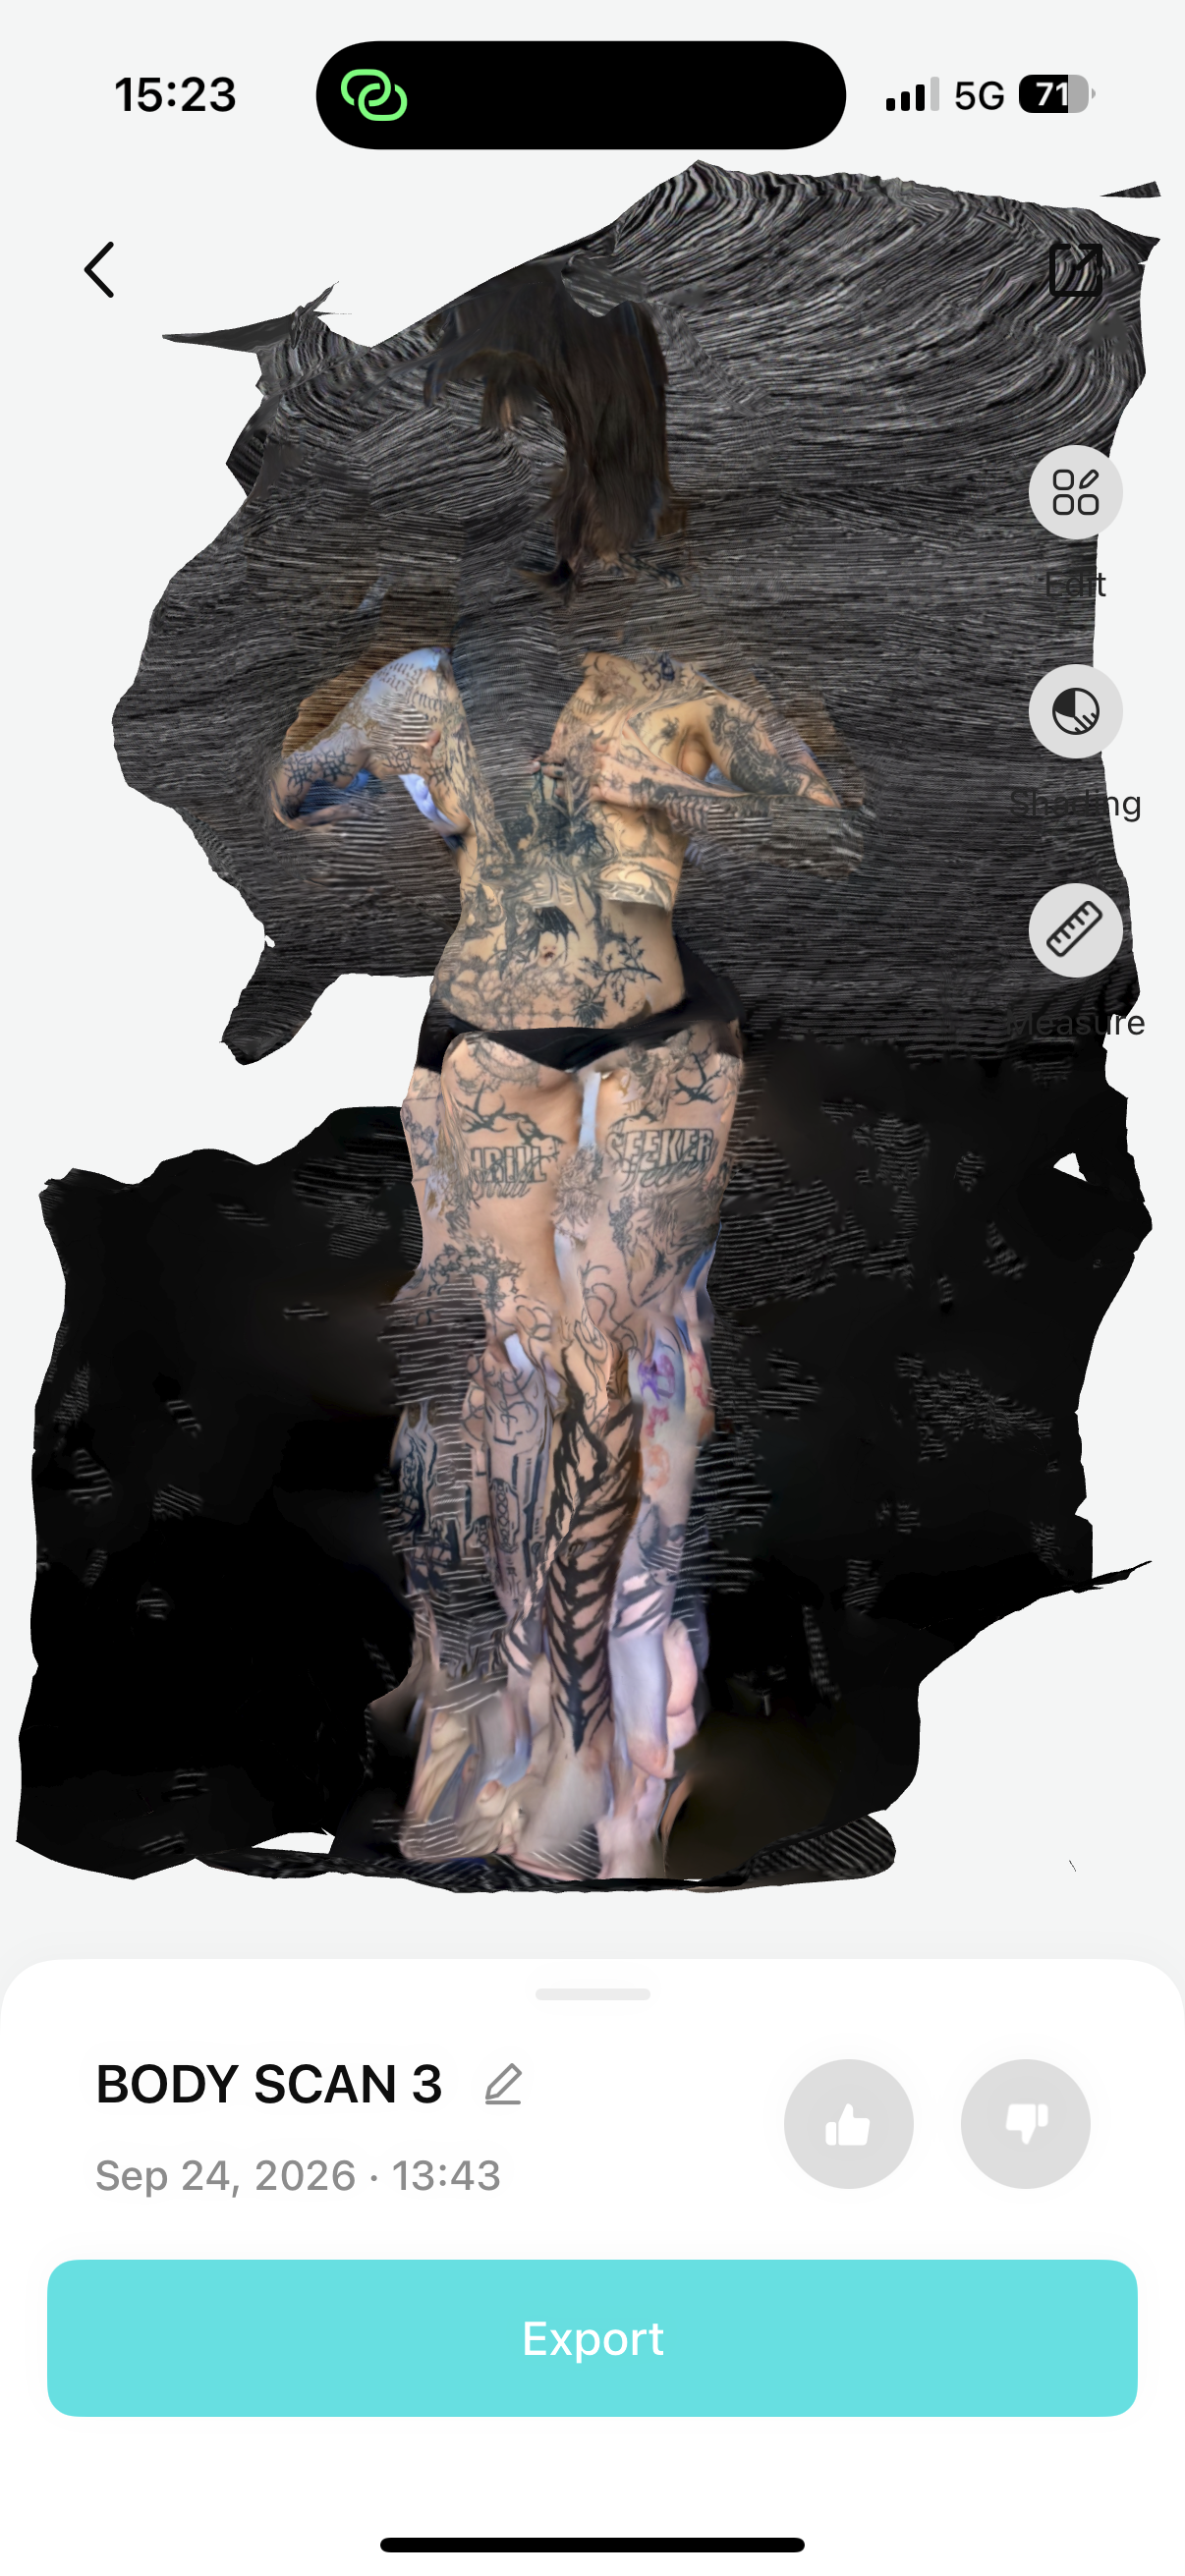
I removed the background of my images on Canva and attempted 3 scans, but all came out deeply distorted. I quite enjoy them as experiments, but none were suitable for this weeks assignment. I think I need to attempt again with a higher photo count, or use the apps live scan feature instead of pre-made photos for a more accurate result.
Step 2: Gemini and Tripo3D
Instead I fed my images into Gemini, and fed it prompts to help with image generation. I first asked it to change my textures to make me more metallic like a robot, and to distort my limbs.
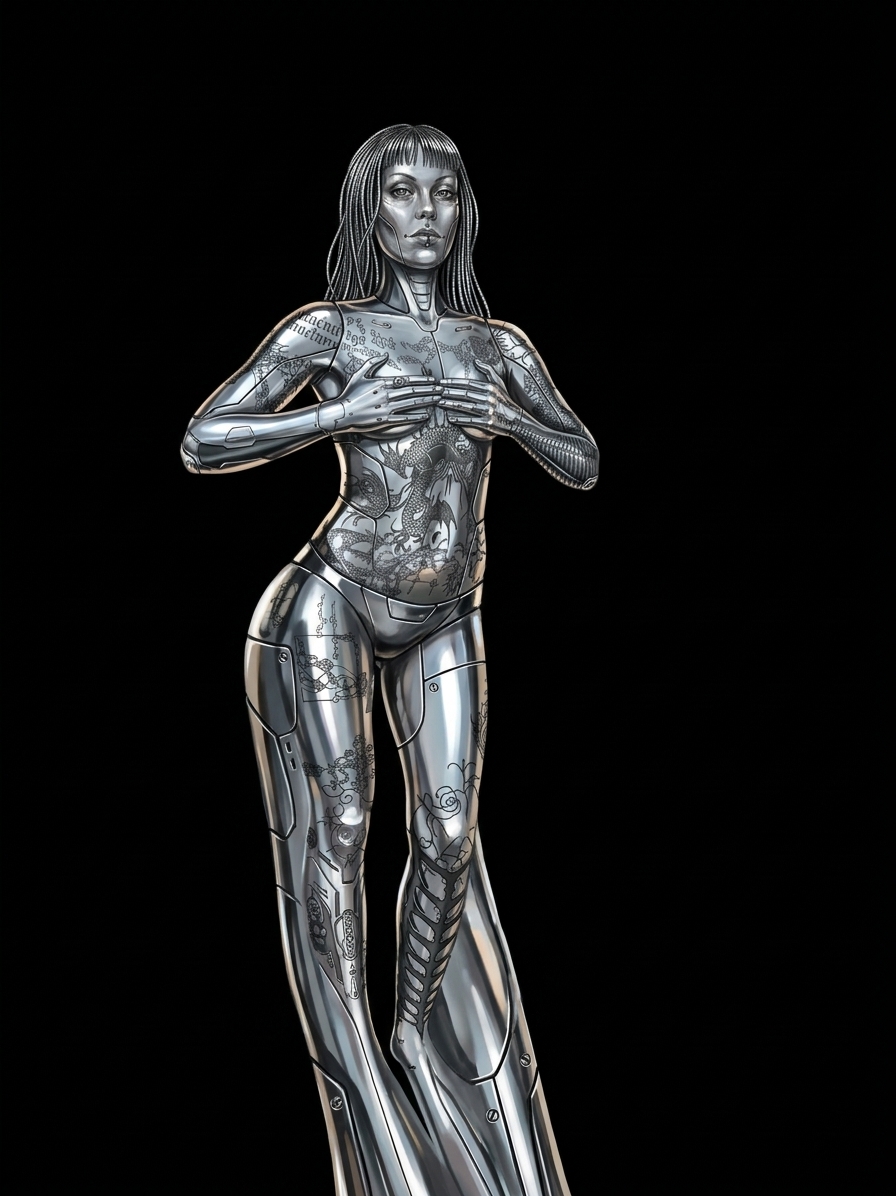
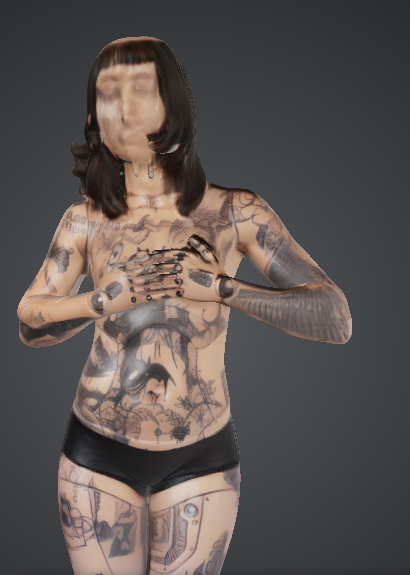
This was markedly different from my original imaginings so I asked it to keep the skin colouring whilst preserving the robotic details, and to distort my face like melting candle wax. This generated an image I really liked, as it highlighted both the digital aspect and the distortion in my concept.
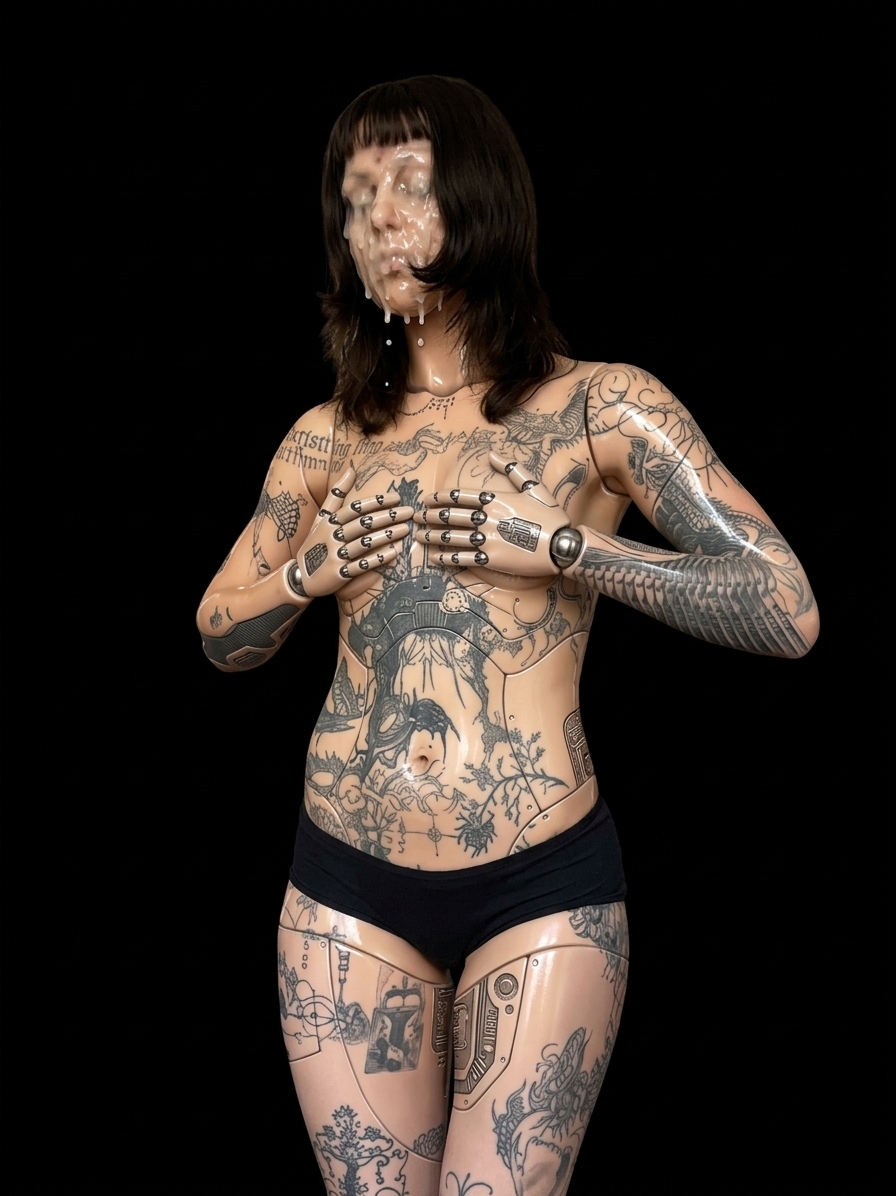
I then converted it into a Tripo3D file to create a 3D model from my 2D generated image.
Things to remember when generating in Tripo3D: Triangle mesh AI model: H2.5 - legacy STL file = exports geometry OBJ file = exports geometry and texture (material)
I experimented with different textures and some generative edits to find a model I liked. I then exported into blender and further edited the model using the sculpt tool to create more distortion. I created a very detailed version but then simplified as I realised the models we were creating this week would not be able to retain great detail
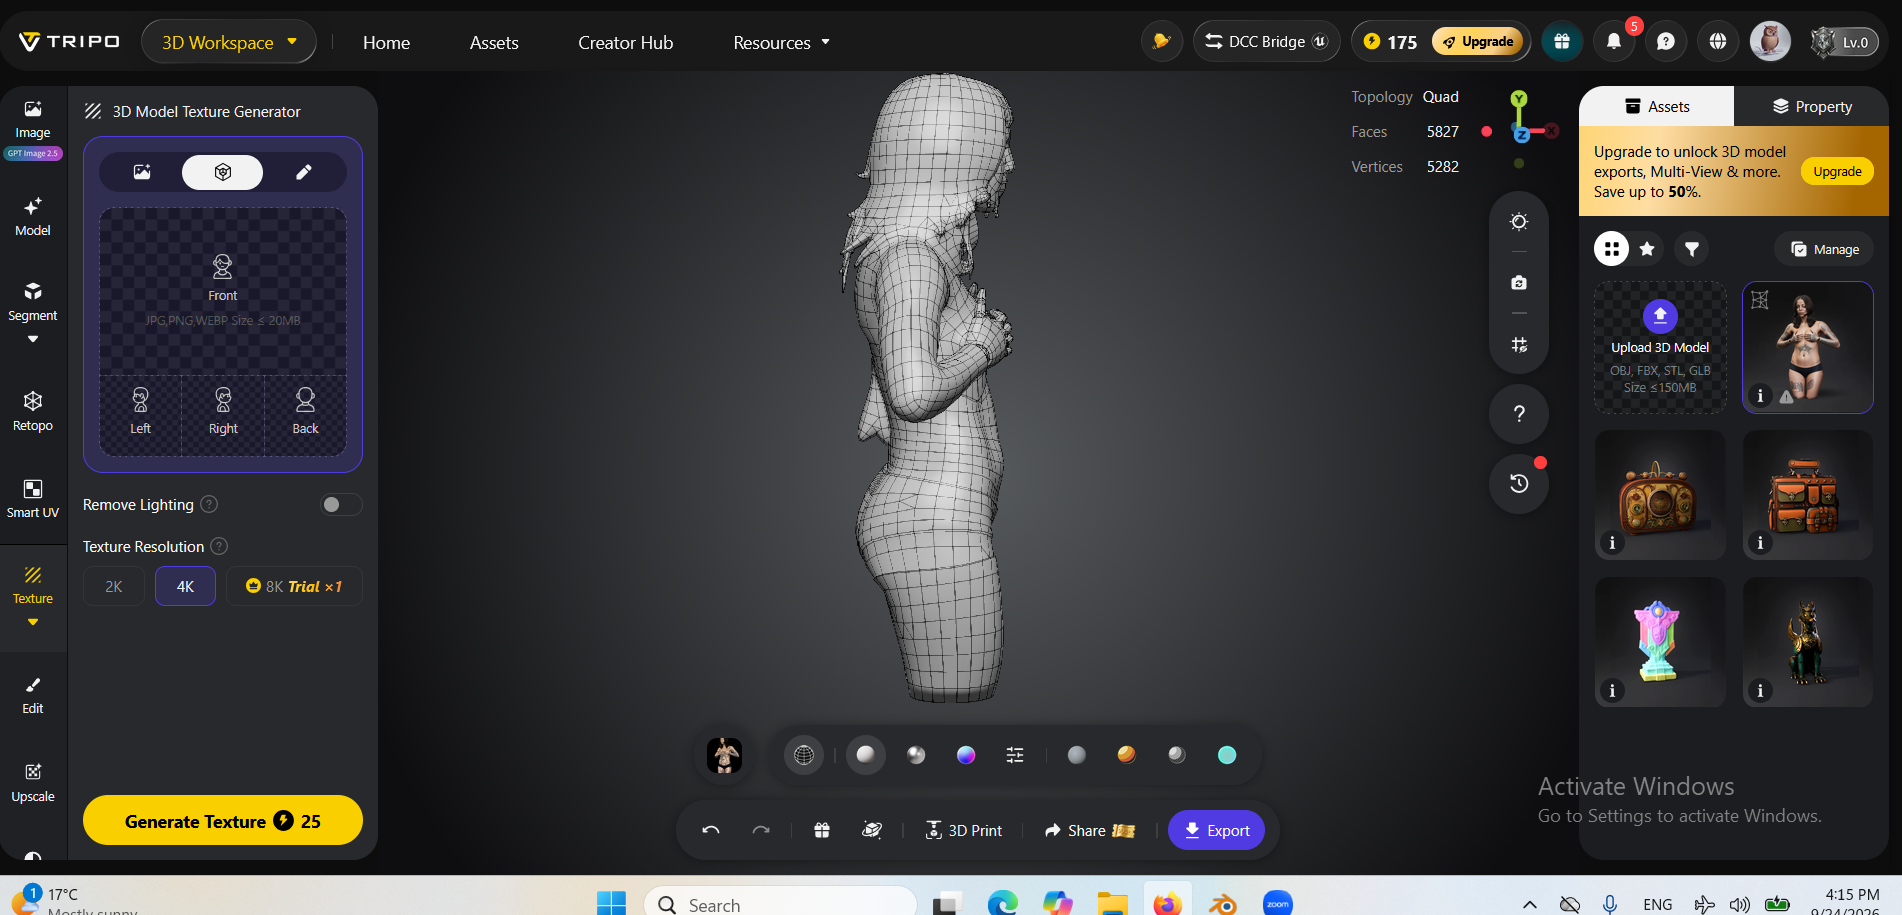
form
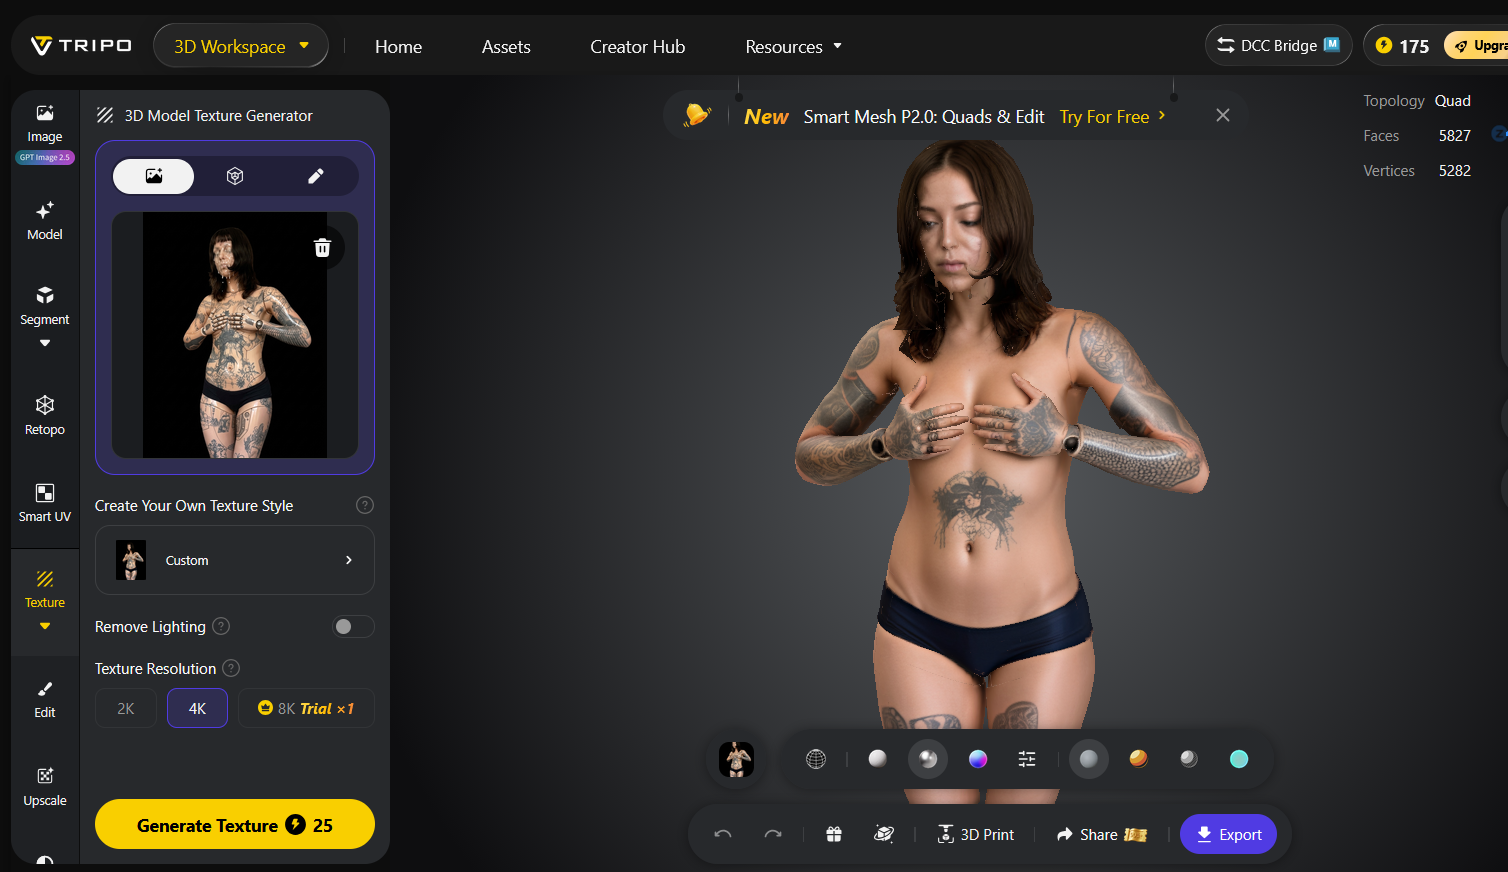
texture
I used Tripo's generative tools to create my perfect model for exporting.
Step 3: Preparing file for Slicer in Blender
Step 1: Press ‘n’ key to open properties menu + set correct dimensions. Make sure the scale is locked so that they all adjust equally. Model needs to be in mm for slicer.
Step 2: confirm the model is upright on a flat surface. Import into fusion on X axis to keep these settings.
Step 3: check model is watertight ie no holes - you can do so by selecting item and pressing ‘n’, going to 3D print tool box (an extension to install) clicking ‘clean up’ and then click ‘make manifold’ until the properties on the bottom tool bar all equal to 0.
Step 4: export as STL
Step 4: Preparation / Export in Slicer
* In fusion the manufacturing settings = the settings of the board itself, not the model.
* Everything needs to be done in MM - set uniform scale.
* 5mm margins.
* Dowels = placeholder/stands for construction.
* To export: get plans - DXF.
* Different colours in the plans represent different layers - cutting, engraving - to laser cutting software.
5. Results
Results & documentation
- Don’t forget to document the outcome including:
- Final result
- Photos from different stages
- Videos of movement or interaction, show how a material moves, something was assembled or the interactive
- Include measurements or a reference object to give a sense of size
- Describe the (material) properties or what you made
- Comparison between attempts, if you did multiple experiments or generated multiple files before fabricating / deploying. You can use a table as shown in week 4
3D Models
6. Weekly reflection & critical thinking
- What did I learn? What did I personally find interesting or surprised me?
- What would I do differently? If something "failed" do I know how else to tackle it now?"
- How does this connect to my final project or my learning trajectory?
- What are implications and possible applications, think also from the ethical or environmental aspect, how it could connect to your practice and project?
NuEval — final step
Go to NuEval and fill in the checklist, when not complete notify your instructor.
7. Fabrication files & References
-
Reference: James Tapper; Hiding in plain sight: activists don camouflage to beat Met surveillance; The Gaurdian; 2020 ↩
-
Reference: Laura Pitcher; Can anti-face make-up help you evade AI surveillance?; Dazed Digital; 2025 ↩
-
Reference: James Tapper; Hiding in plain sight: activists don camouflage to beat Met surveillance; The Gaurdian; 2020 File: Slice Working File File: Laser cut sheets ↩