Circular Open Source Fashion
Thoughts and inspiration
Future Story - The new collection
“There they are!”, Jay shouted. “Where?” her friend asked, hopping up and down beside her. Even with her platform boots, she was too short to see over the heads of the other teens. The others in their group were also stretching their necks to catch a glimpse of one of the stars of this year’s collaboration. More and more people were crowding around them, a sign that really something was happening and that the opening of the distribution center was imminent. “Distribution center” was not the right term for what actually lay before them. A selfconception, that we only know from Apple-stores, bus instead of clean white, those centers were filled with a riot of colors that not even candy stores or the 1990s could have matched. Who have thought, that government distribution centers would ever be trendy. But the five teenager knew nothing of all this. For them, only one thing mattered: being among the first to redeem their vouchers for the 2,000 new fabricelements for their clothing. This year was something very special. To honour female mathematicians like Kathrine Johnson, Dorothy Vaughan and Mary Jackson, who had had done calculations for the first moon flights, there was a special edition using fabrics from space exploration. Spaceflight wasn't anything special for many years now. Energy was available in abundance, and since the first contact with the Irks of Alpha 42, travel times had shrunk from light-years to hours, but even today, all of this still held a special magic. And a collection inspired by the sacred figures (who were anything but hidden) wasn’t exactly a common occurrence either. There were still countries on Earth that mocked the Tesselatians for wearing only assambled clothing. But the Tesselatians wore their clothes with pride and joy. It allowed them to bring sustainable use of resources together with individuality and a sense of belonging. The initial rollout was quite difficult. Connections didn’t hold well, fabrics tore, and even the pinning process was more difficult than expected. But continuous optimization, the formation of pinning communities that helped one another, and annually rotating tile-collaborations between artists, designers, and mathematicians turned this small trend into a nearly worldwide movement within just a few years. This movement had the power to transform an order from the government of Scientistia into a society that henceforth called itself Tesselatian, where sewn clothing became a rarity. And there they stood, those five teenage Tessies (as they called themselves) amidst hundreds of others, clutching their vouchers tightly in their hands (it was cool among the Tessies to have them printed out so they could get them signed) and listening spellbound as it suddenly grew very quiet for a brief moment when a mechanical voice announced this year’s mathematicians and artists. It took only seconds for the tense silence to turn into shouts of excitement as the first person stepped onto the stage in front of the distribution center. It was a ritual that repeated itself every year. The young people changed, as did the people on stage, but the ritual remained. Even in a society where everyone is given the same opportunities and basic necessities of life, there’s a need for the magic of something special. Being the first to see the designers an mathematicians live, and then talking about it at the next clothing-making meeting - that was something special. Rituals hold societies together. The chief logicians knew this, too, and their Council of Wise Ones knew how to shape these rituals. “Keep the myth alive,” the high logician thought, as she turned away from the window with satisfaction, still hearing the Tessies below her shouting in excitement all the way up to the 12th floor into the ears of the high logician on her way to the first meeting of the next Tiles collaboration.
This story was developed using following futures thinking methods:
- Futures wheel
- Casual layered Analysis
- Storytelling
- Backdrafting
- Alternative history
Roots to grow and wings to fly
This week is shaped by my relationship with my mother. She brought working with textiles in my life. As a Master Furrier, who worked from home and had her own workshop there, she taught me early on how to use her sewing machines and how to work with leather and fabrics. I loved sewing with her fur-sewing machine. A sewing machine which produced a very thin seam, that is used to sew the pieces of fur together. The seam has to be this thin because a seam allowance made of fur and leather would be very bulky. These narrow seams are also particularly important when using the technique of letting out. This is a technique in which pieces of fur are cut into narrow strips. These strips are then reassembled with an offset so that they create a long, narrow surface instead of a short, wide one. This creates a visually elongating effect on the finished garment. The process of cutting the strips and reassembling them requires careful calculation. I've always been fascinated by this highly complex, intricate, and delicate work, which has such a strong visual impact on the garment.
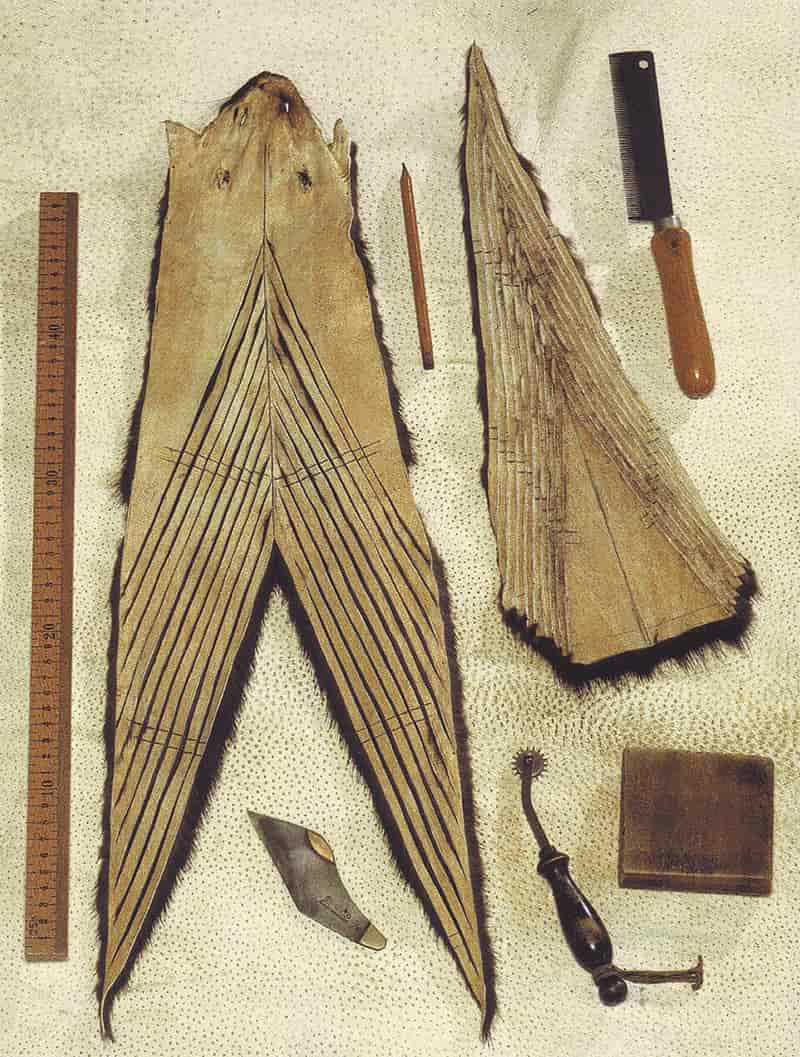
A picture of the process of letting out fur, Bild: Lothar Sprenger via Wikipedia

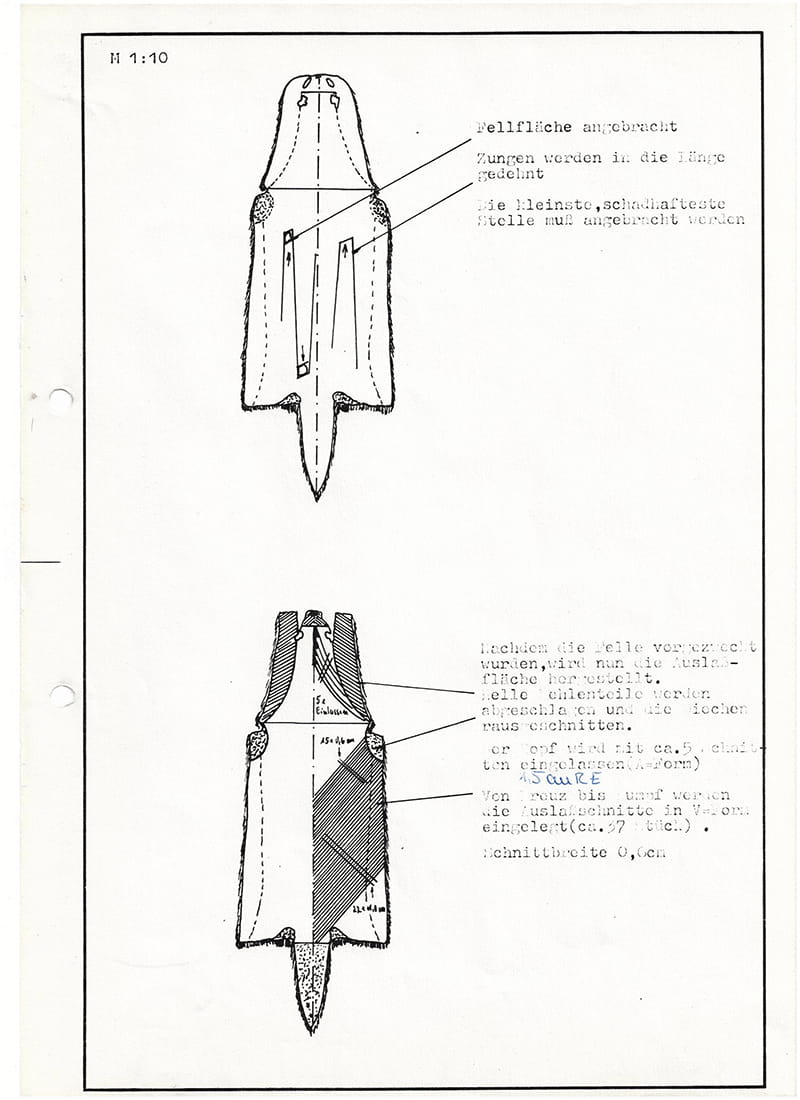
A picture out of an old textbook from her apprenticeship
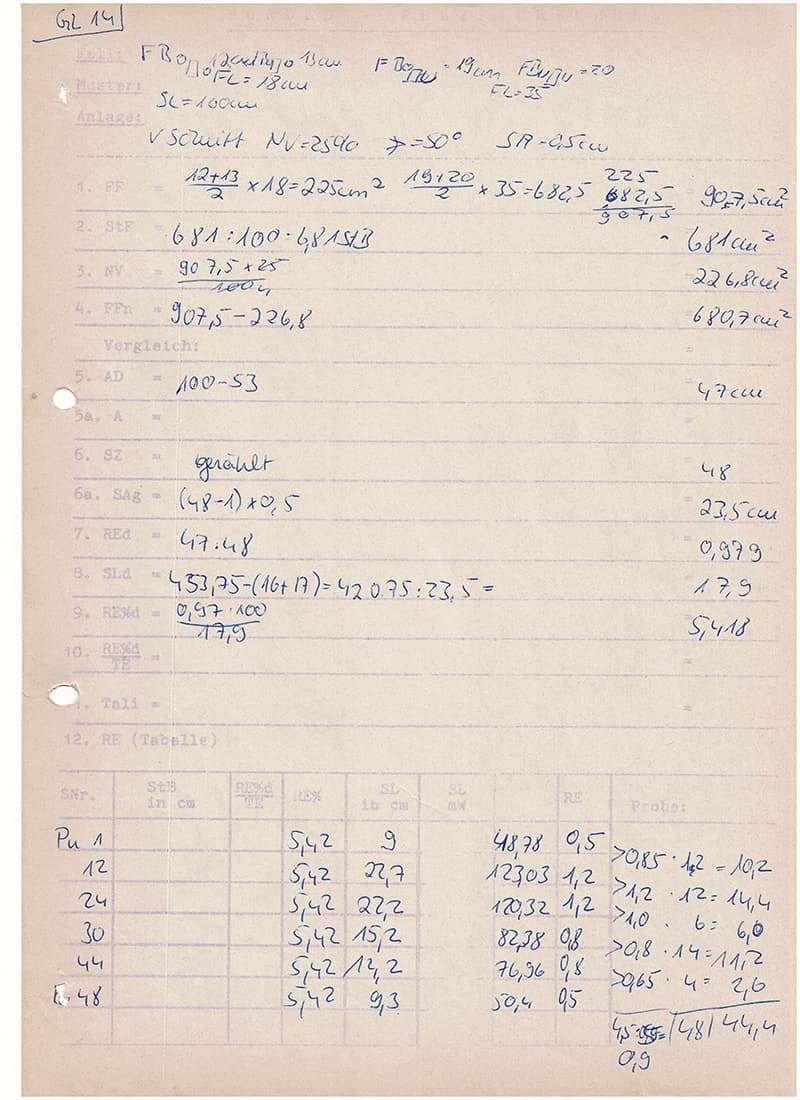
Calculations my mother did during her apprenticeship
Another thing, that I really appreciate about fur, is the sustainability. That seems confusing at first glance, and yes, as a vegan, I recognize and criticize the animal suffering that goes along with it, of course. But I've never seen garments used, repurposed, and refurbished for such a long time in any other sector of the apparel industry. People had their grandparents' coats refurbished. So when it comes to circular fashion, fur isn't the solution, but the way it's used, can serve as a model. In addition to our passion for textiles and craftsmanship, we both admire the work of M.C. Escher. He was a great genius, connecting mathematics with art and being really good at both. Both topics, the craft(wo)manship and the connection between art and science are deeply a part of myself and are influencing both this fabricademy week and my whole life.
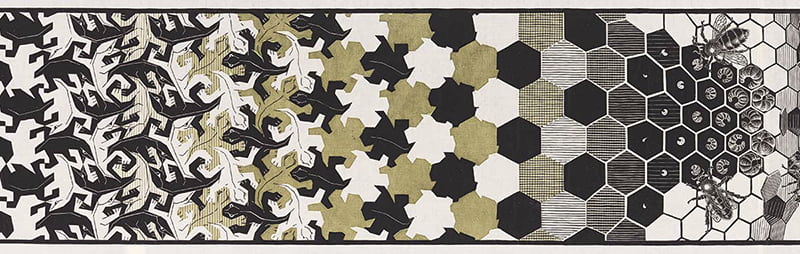
Tesselation
Tiled patterns can be found all around us, both in nature and in a wide variety of cultures, from Bonacci sequences in plants to artfully designed architecture and even parking lot paving. Once you start noticing them, you can’t help but see them everywhere.
- 01 Betiana Pavon, https://class.textile-academy.org/2019/betiana.pavon/assignments/week03/;
- 02 Fractal vegetable, Photo: Ivar Leidus via https://nl.wikipedia.org/wiki/Romanesco_(groente)#/media/Bestand:Romanesco_broccoli_(Brassica_oleracea).jpg
- 03 Weaving, Julia Krayer
- 04 Koloman Moser, via https://flashbak.com/die-quelle-475879/
- 05 Teresa van Twuijver, https://class.textile-academy.org/2019/teresa.vantwuijver/assignments/week03/
- 06 Ana San Román, https://class.textile-academy.org/2019/analaura.sanroman/assignments/week03/
- 07 Tesselation, https://www.opticalillusion.net/tessellations/tesselation-tutorial/#more-7

Documentation
Tutorials
With the help of Claudias tutorial I tested some possibilities to create tesselations in Inkscape and Fusion. Among other things, I also followed the tutorial by Nevit Dilmen that was mentioned during the tutorial. It didn't work in the beginning. But when I followed the tips in the comments and started with a straight line, I was able to create tiled patterns.
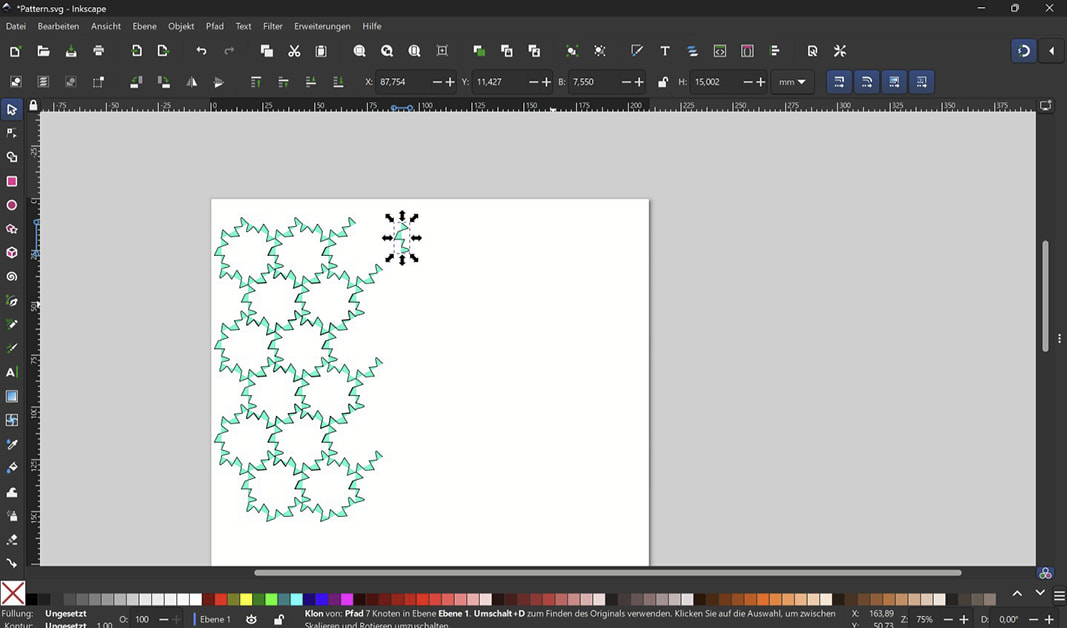
I really enjoyed the process, and the results were fun too, but I ended up choosing three other, less whimsical shapes. This week, in addition to the tiles, I was also interested in the idea of other ways to use fabric scraps. The fact that I enjoy weaving was another source of inspiration. I wanted to test three different patterns.
1. One pattern, that was inspired by letting out fur
2. One pattern, where fabric-strips are connecter with each other to be able to weave or make accessoiries from it.
3. The Einstein-tile. A pattern consisting of only one shape that never repeats itself.
I tested all of the ideas in paper
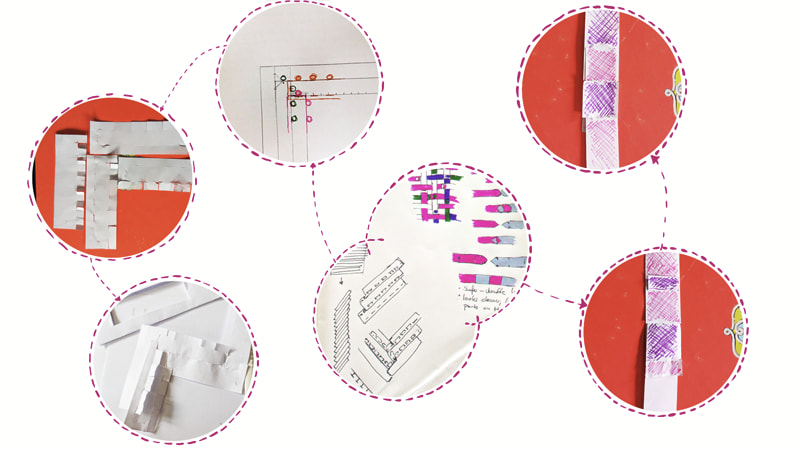
The Letting out-pattern
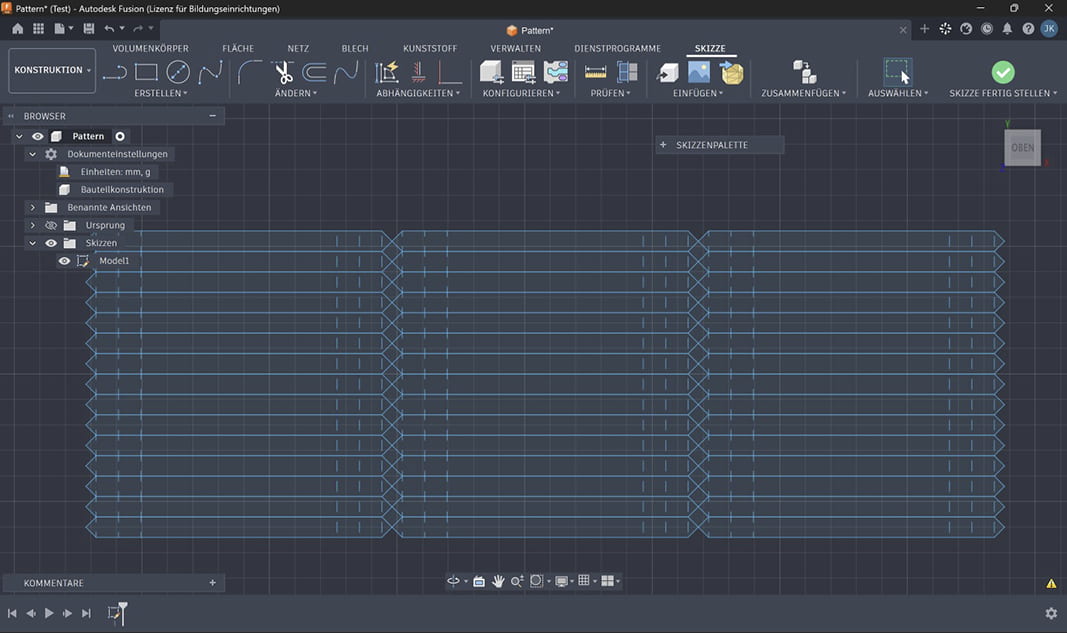
The idea was to connect the pieces in such a way that they are arranged in a staggered pattern, creating a more elongated shape with a diagonal stripe pattern. Additional stripes should fit onto the front and back of a composite stripe to form a single surface.
At first, I worked purely intuitively and had some trouble connecting the pieces to the next stripe. There was a misalignment, so they didn’t fit together. After taking a moment to think it through in detail—and applying a bit of mathematical reasoning to figure out what needed to align first—it worked.
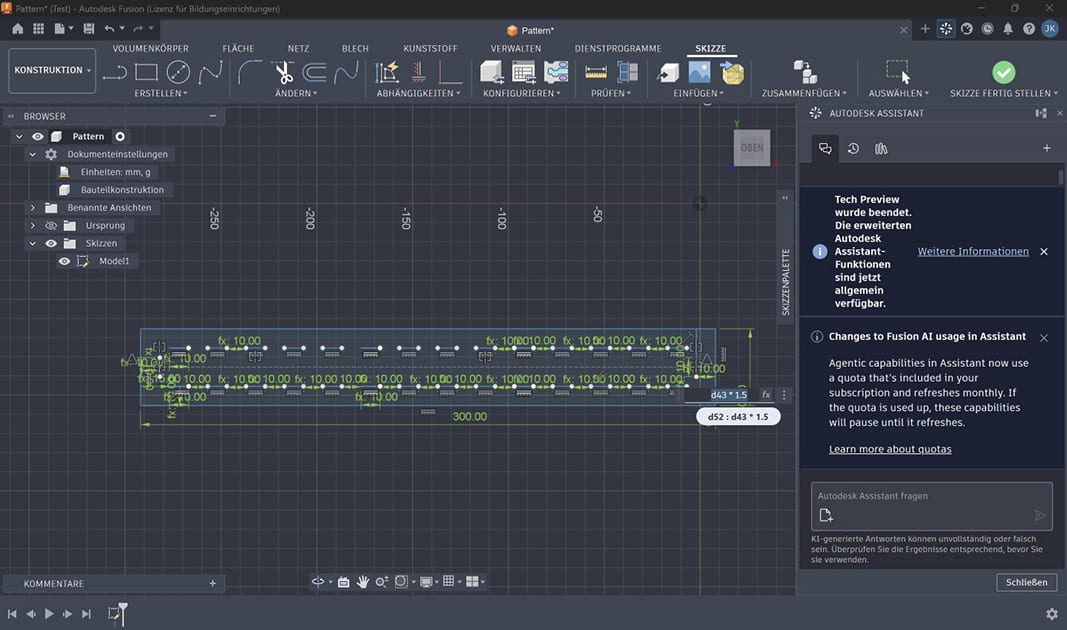
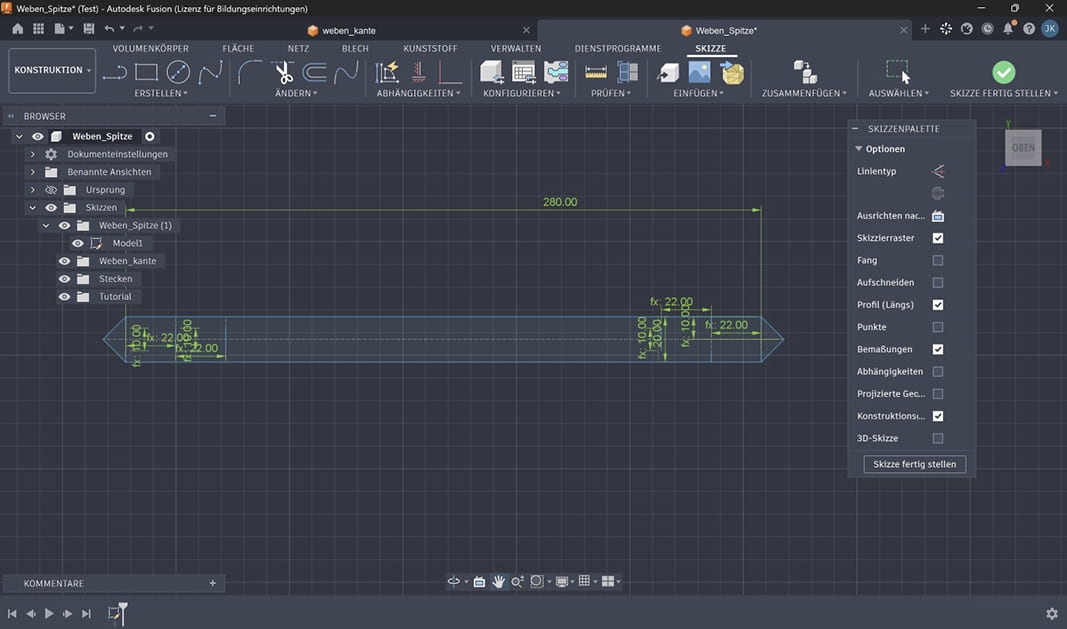
I redrew the shape in Fusion, taking care to enter the constraints correctly to avoid potential errors caused by scaling. Ideally, I would have created a shape that’s scalable enough to automatically generate matching additional slots and connectors (I don’t like the terms “female” and “male”). But that was a bit beyond my (current) capabilities. With a little know-how, the shape can be extended. It’s important that the ends and all distances remain the same. So, in the current, unscaled case, you must always extend or shorten in 20-mm increments, and for each mm increment, insert a 10-mm cut with a 10-mm spacing from the next cuts and the corresponding connectors to maintain the pattern.
The weave pattern
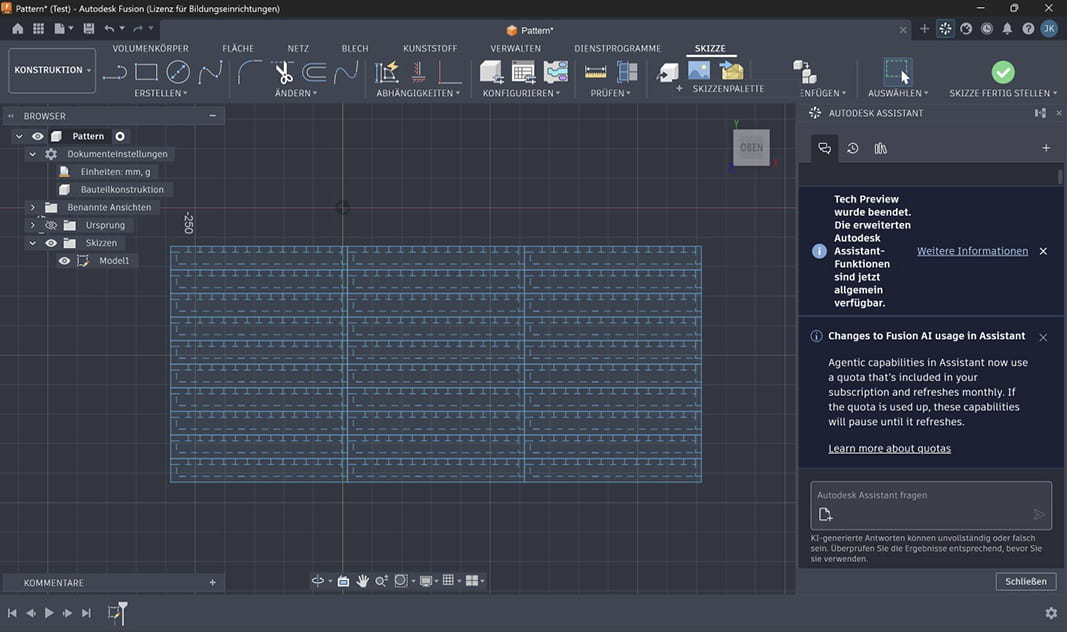
The piece for the weave pattern was very easy to create. I had to pay attention to two things:
- The strips should be extendable.
- The connector must function as an outer edge for the woven surface.
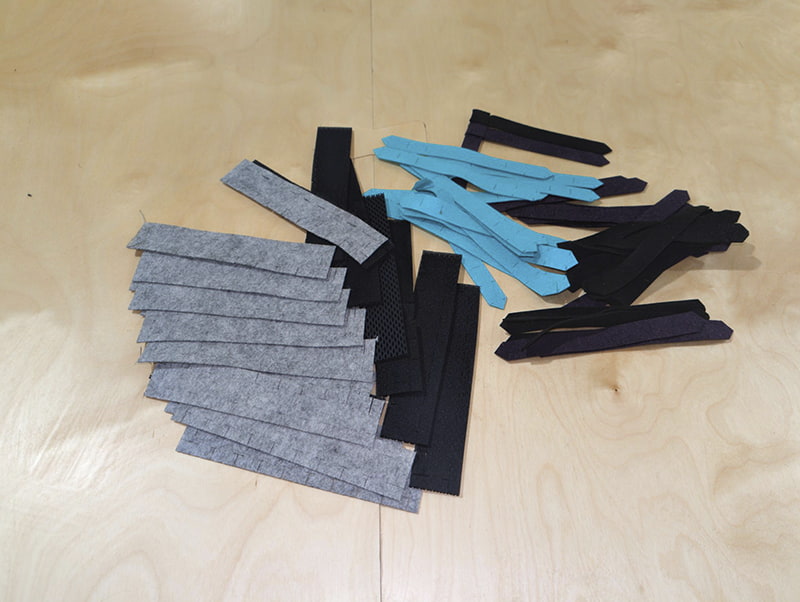
I worked out both of these in the paper tests and then transferred them to Fusion. I chose the cuts in a way that the shapes are essentially secured in three places. First, this ensures great stability. A double plug-in connection probably would have been sufficient, but my goal was also to have both end-pieces on one side, so you have either the arrow-shaped endings or the cleander color-blocking option on the other side. The additional cut also allows both ends to be used as edge reinforcements. I chose the width so that I could still connect the pieces to the first shape. The shapes can be extended indefinitely in Fusion or Inkscape; you just have to make sure the slots remain in the correct positions. As a more visually interesting variation for the connectors, I created another version with points at the ends.
The Einstein Pattern
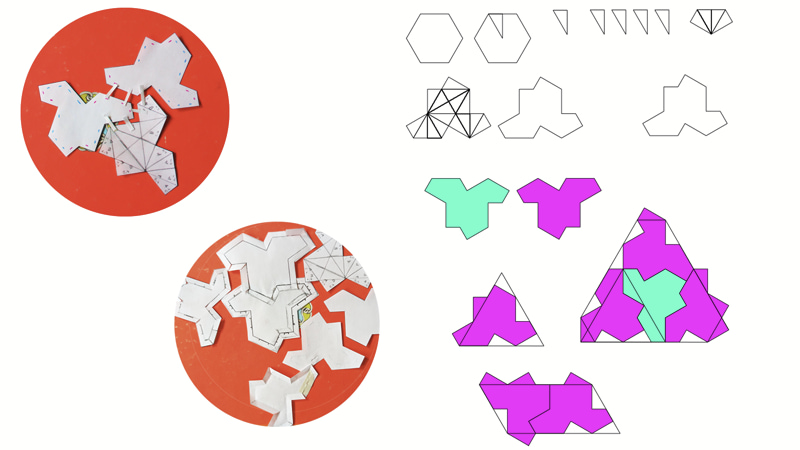
This pattern was discovered in 2023. A complex shape that, when tiled, creates a pattern that never repeats (this will become important later). I cut out a few pieces of this shape from paper and tried to figure out where to make slits and where to place connectors. I quickly realized that the complex shape and the many possible ways to connect the pieces made it impossible for me to find a workable variation. My idea then was to work entirely with slits and make the connectors separately. I traced the shape with the help of a tutorial. Now I understood much better how it was constructed. It consists of a triangle as the basic shape. These are arranged in 2x2 mirrored patterns; there are four of these patterns, which, when connected, form the final shape. The challenge with this shape is (remember: a pattern that never repeats) to create a reasonable nesting arrangement from it. Even with another tutorial. which at least generates certain basic patterns for arranging the tiles, I realized that this would become a bit too complex to nest the pieces for lasercutting. Since I wanted to try out the shape more as a bit of fun and a side project anyway, I decided to set it aside for now.
Lasercutter and Plotter
Lasercutter
This time, I worked with the X-tool M1-ultra. The lasercutter is much smaller, but more accurate. I tried three different materials for lasercutting.
1. 3mm Polyesther 3D-mesh
2. 1mm Polyester Fleece
3. 1mm Latex Sheets
Before testing the material, I had to calibrate the lasercutter. To do this, I placed the material on the laser bed, moved the red cross over the material, and used the auto-calibration feature (the icon is a ruler with an “A” to the right of the field where you can enter the material thickness). The calibration tip then descended onto the fabric. Since the fabric is soft, it pressed into it, so the calibration wasn’t exact. We then placed a thin postcard on top of the material, which prevented it from being pressed in. Next, I set the parameters. For the polyester mesh, I tried the following settings:
60 Power, Speed 150 mm/s, 1 pass
I positioned the material with the dense layer facing up. The top layer was cut well, but the bottom layer hadn’t been cut yet. I increased the settings to 60 Power, Speed 150 mm/s, 3 passes. However, the bottom layer still hadn’t been cut. I then flipped the material over and tried the same settings. I was ultimately successful with this positioning of the fabric and the following settings: 95 power, speed 150 mm/s, 4 passes. This resulted in the material shrinking by about 1 mm. However, that should still be sufficient for my joints.
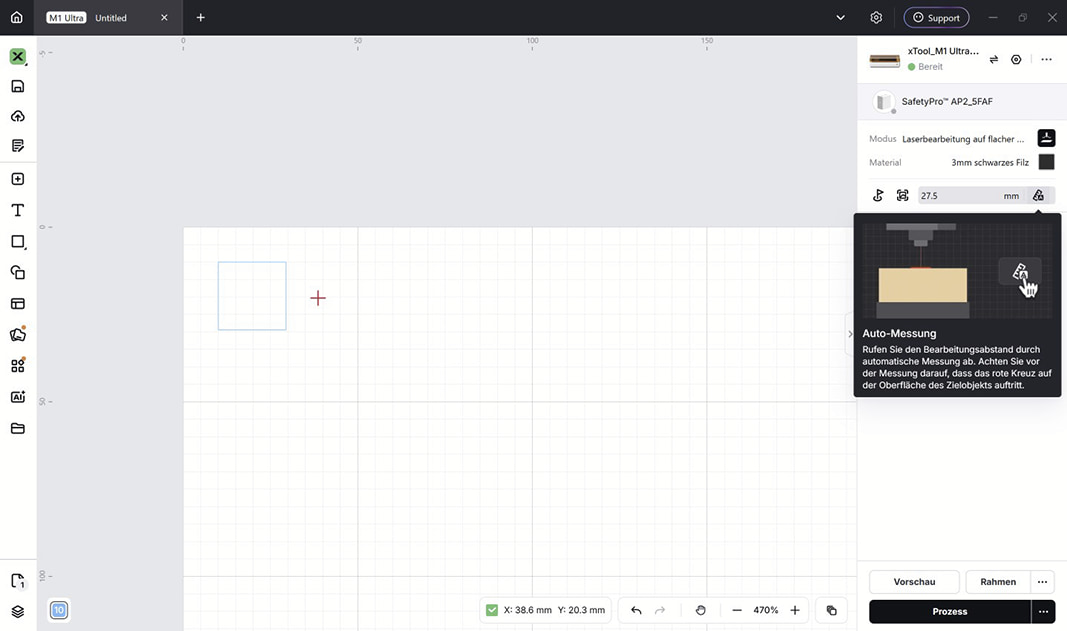
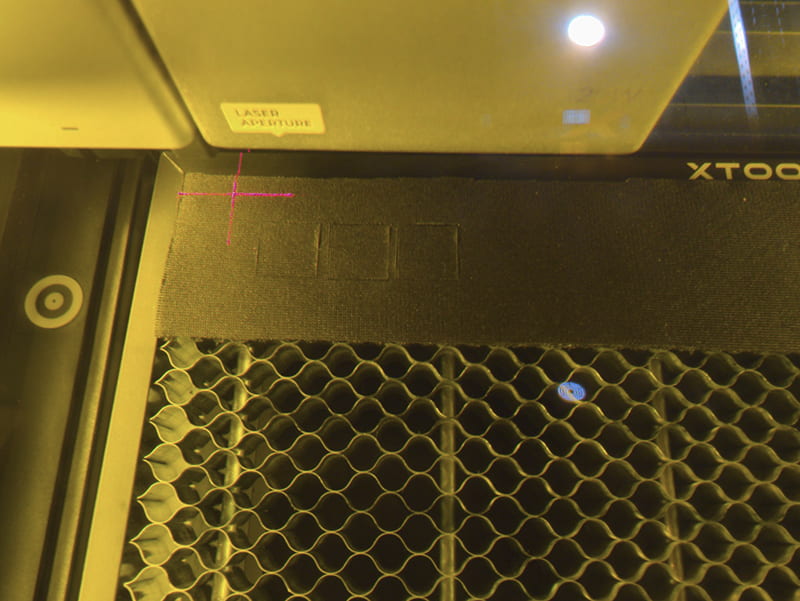
I tested the 3mm polyester felt at 60 power and a speed of 150 mm/s, two passes. I had success at 100 power and a speed of 130 mm/s, three passes.
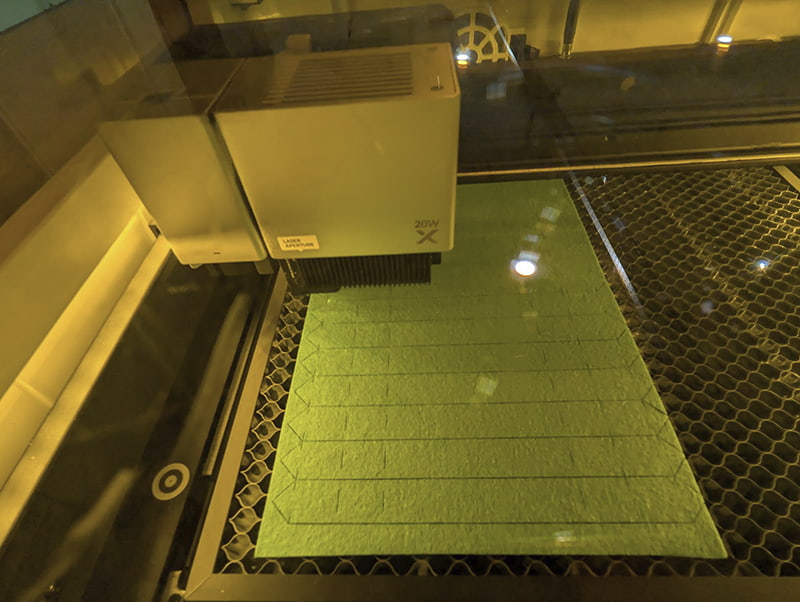
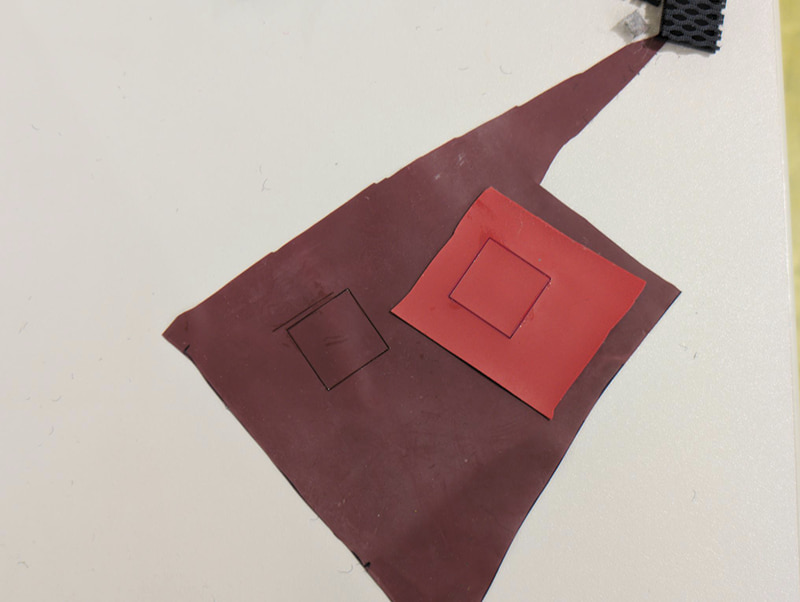
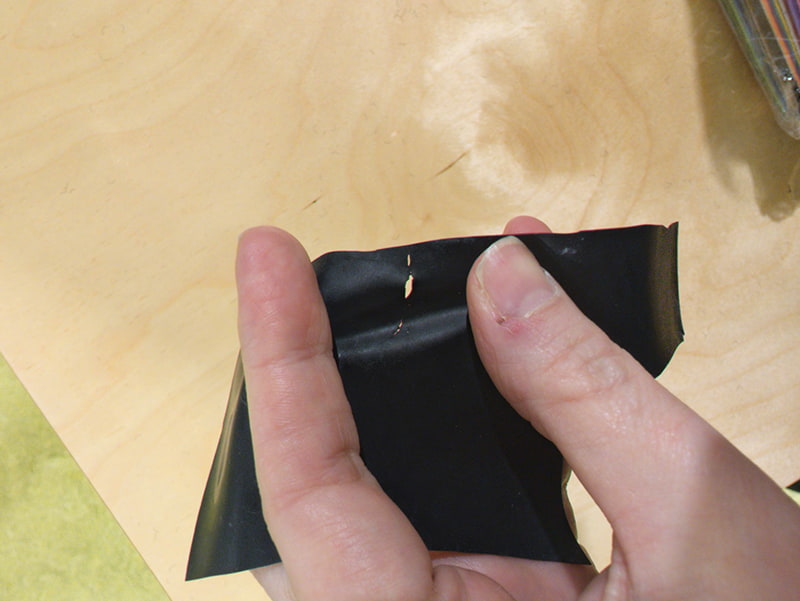
I tested latex at 60 power and a speed of 150 mm/s, two passes. However, the material became greasy as a result of the laser cutting. Therefore, I decided against continuing to use this material.
Plotter
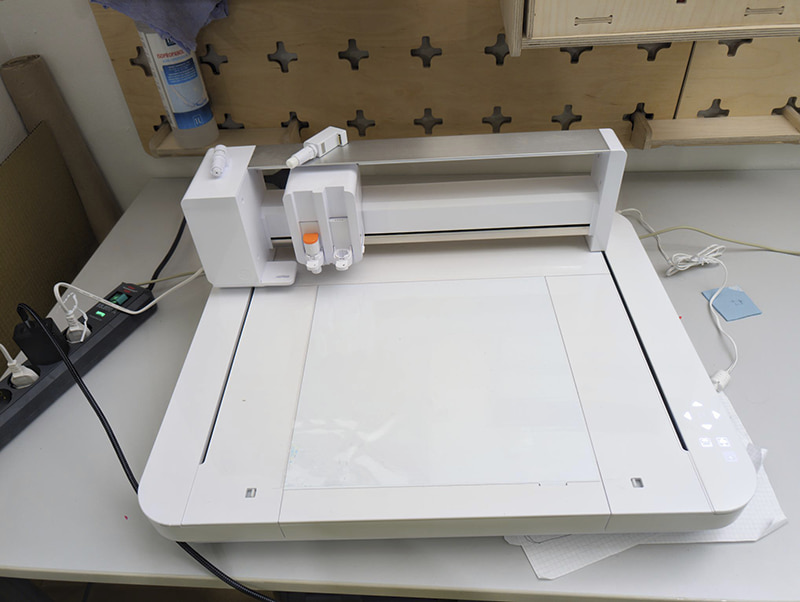
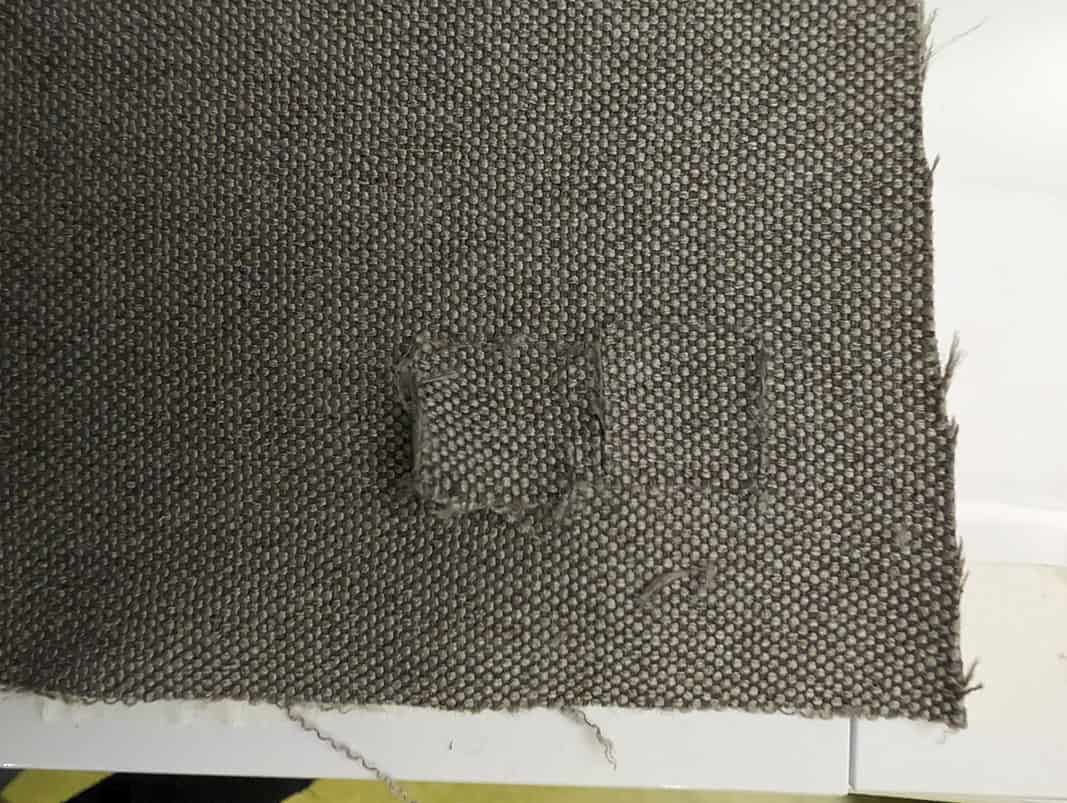
I tried cutting the latex and a woven fabric whose composition I didn’t know—with a plotter (Silhouette Curio 2). However, the woven fabric frayed too much, and the latex couldn’t be cut well with any of the blades (standard blade, force blade, roller blade). So I continued working with the laser-cut materials.
The Garments
The bag
I decided to make a bag using the letting-out-pattern. I liked the idea that I could turn my design into a tube by joining the first and last pieces, which I could then close at the bottom using the assambling system. For a small bag, I needed 4x7 strips, which I linked together both on top of and next to each other, creating a bag with two sides featuring V-patterns. For the straps, I used eight ribbons from my woven element; I linked two of them together and tied them to the bag.
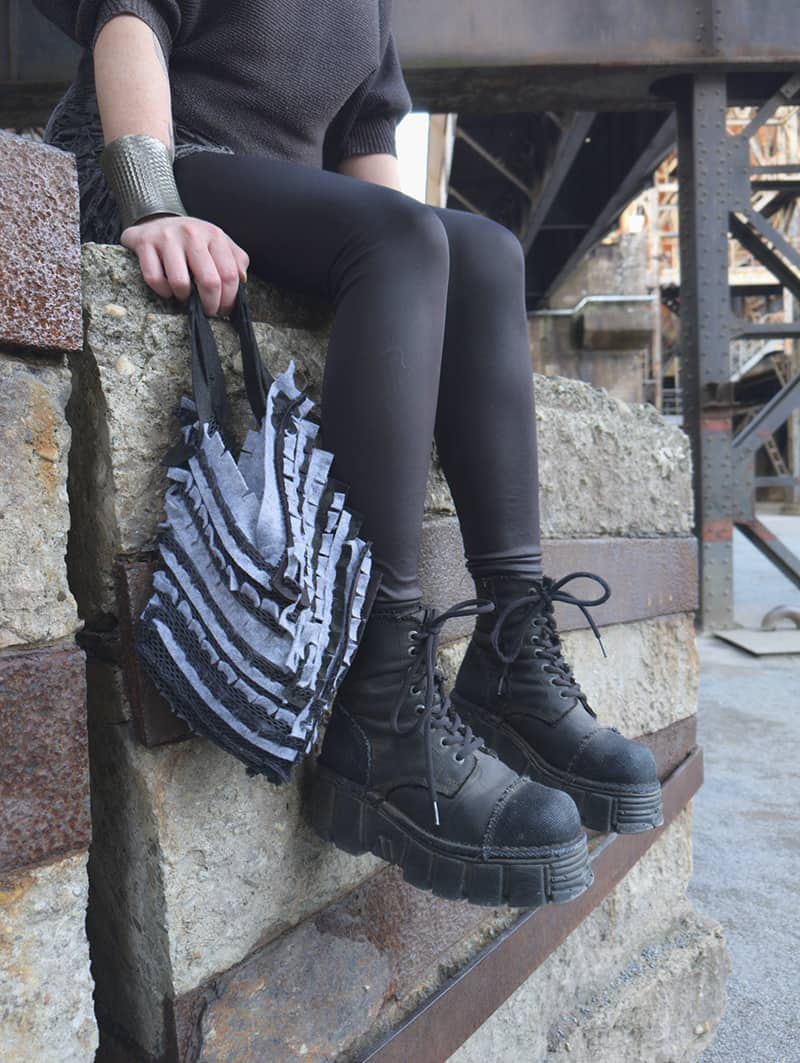
The finished bag
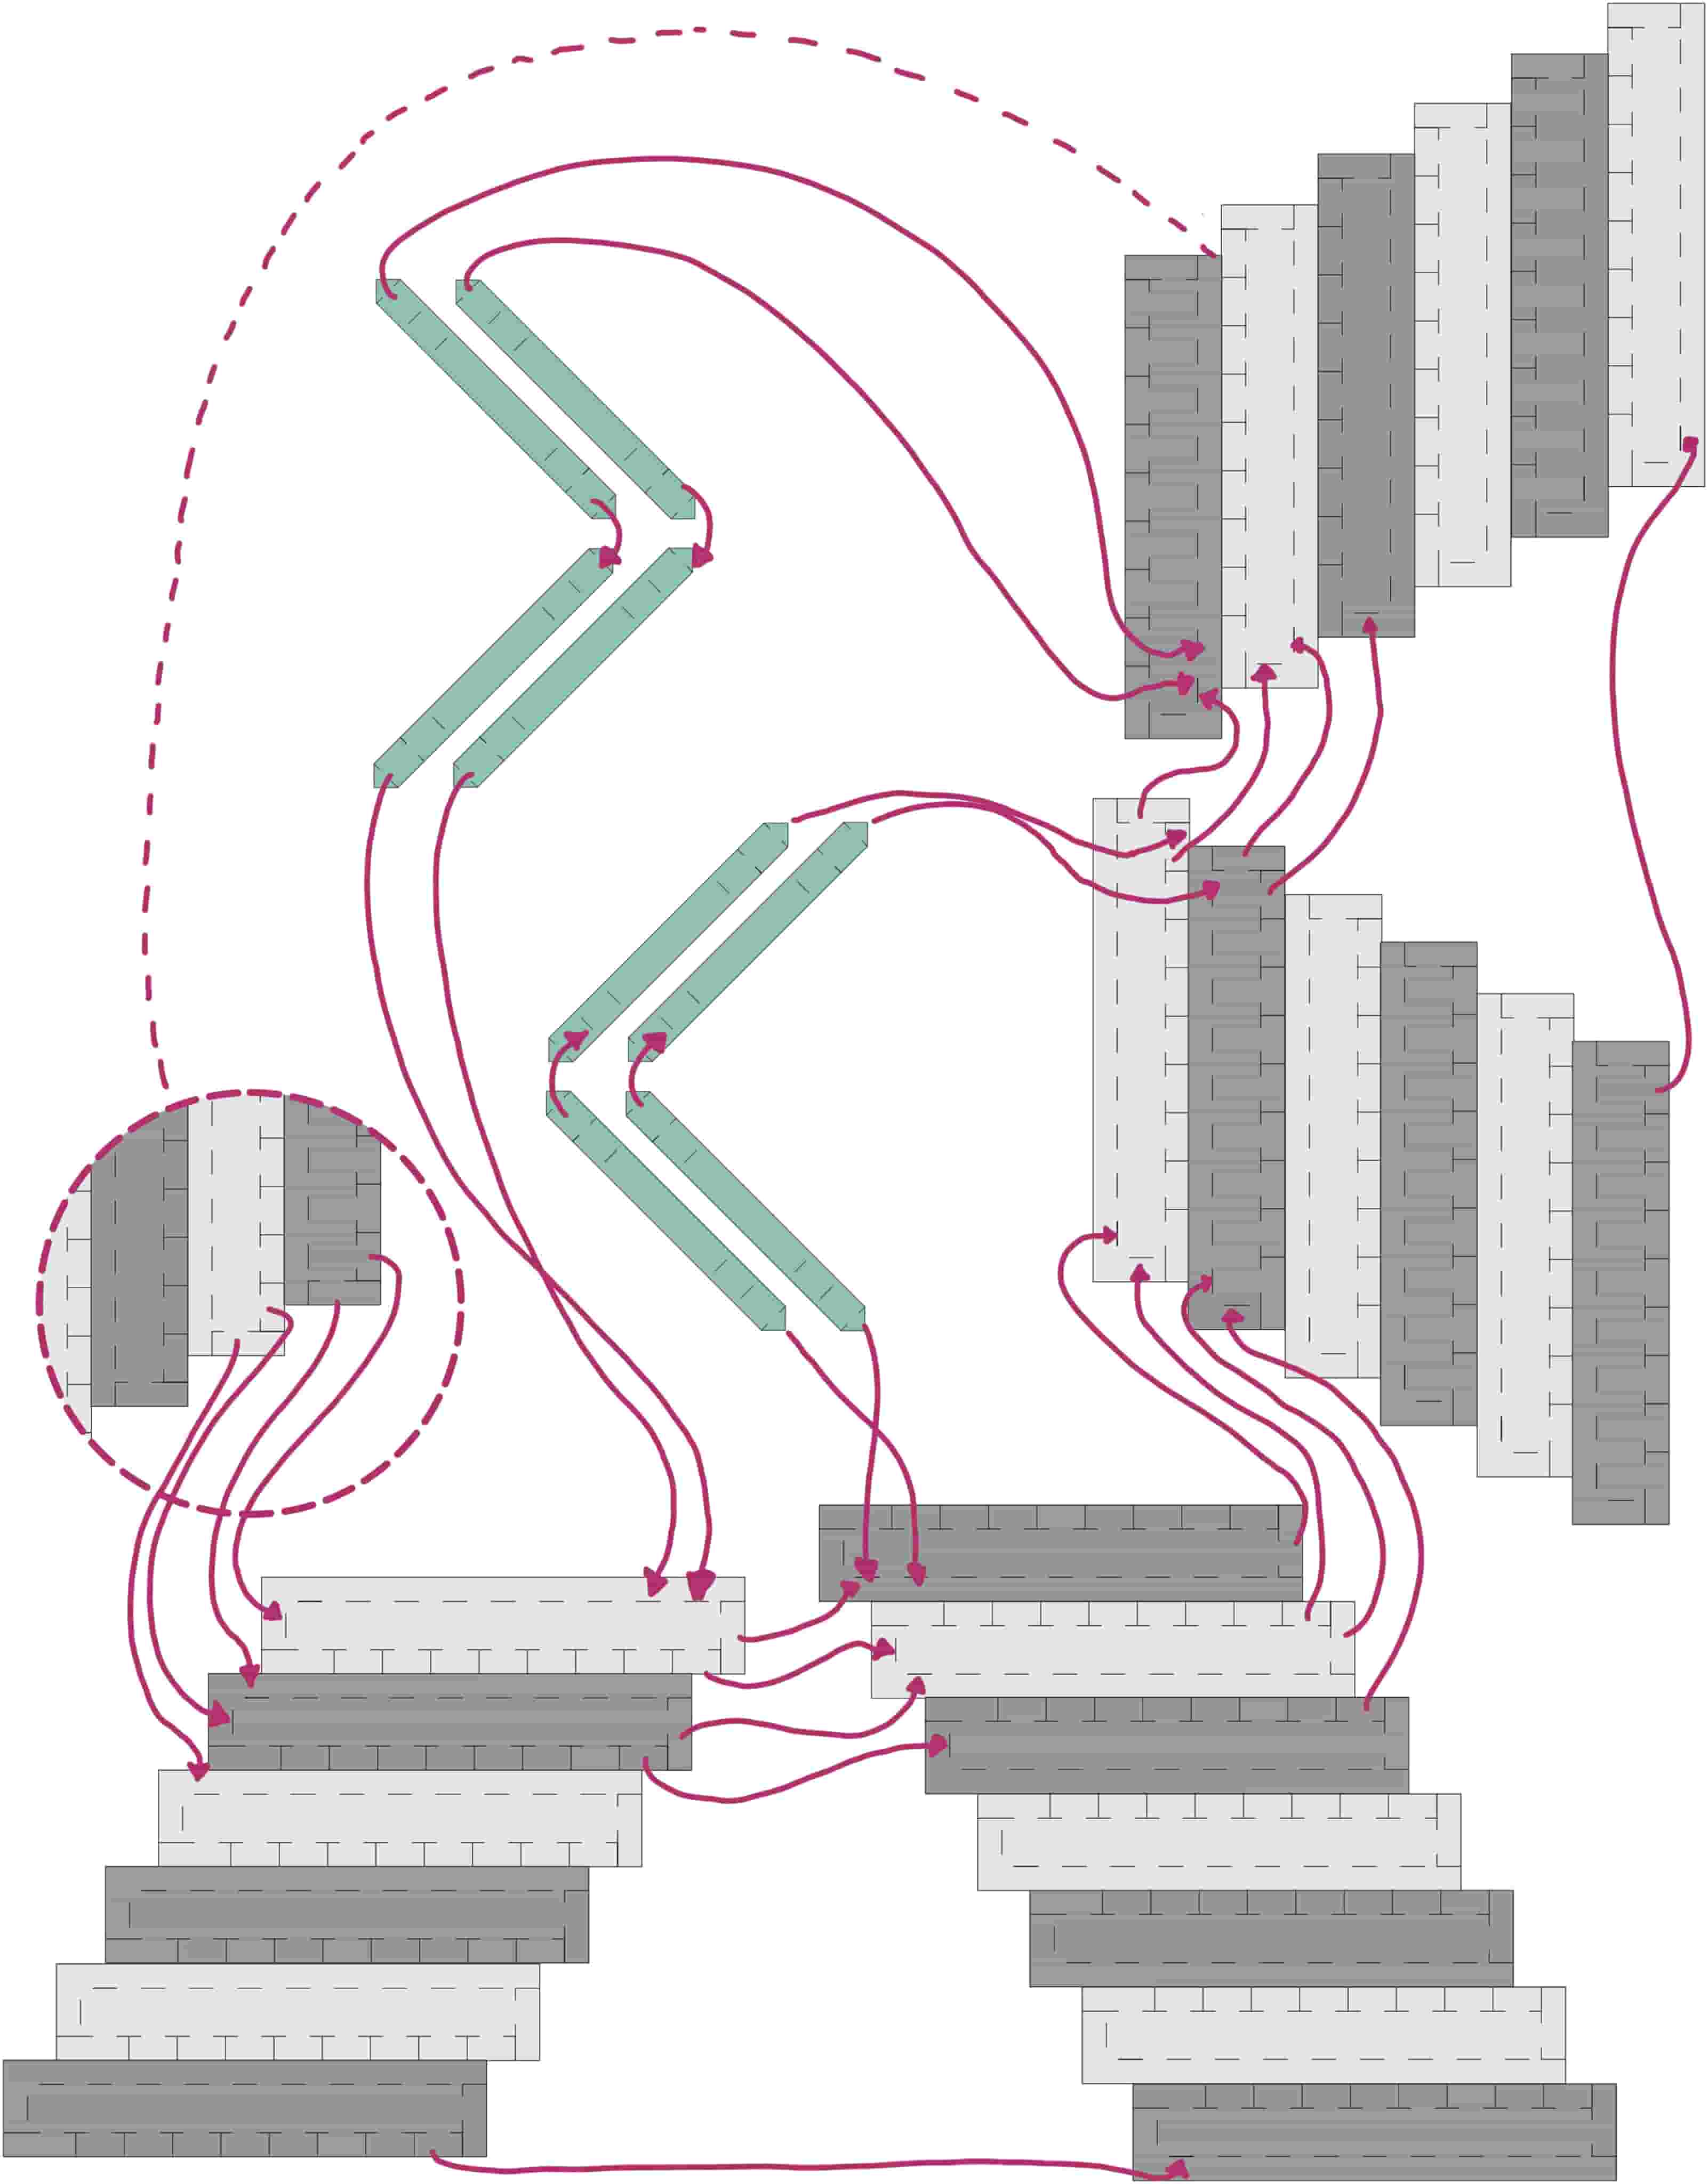
Instruction for assembling the bag<
Woven jewelry
To make the necklace, I wove strips of alternating colors together. I used the dark wine-red strips to secure the woven piece, while I used the turquoise ones as fringe. At one corner, I tied a loop from a purple strip. I threaded the necklace cord, which consisted of six strips knotted together—through this loop.
For the bracelt, I assambled six strips together. I wrapped the long strip that resulted around my wrist and then tied the final connection.
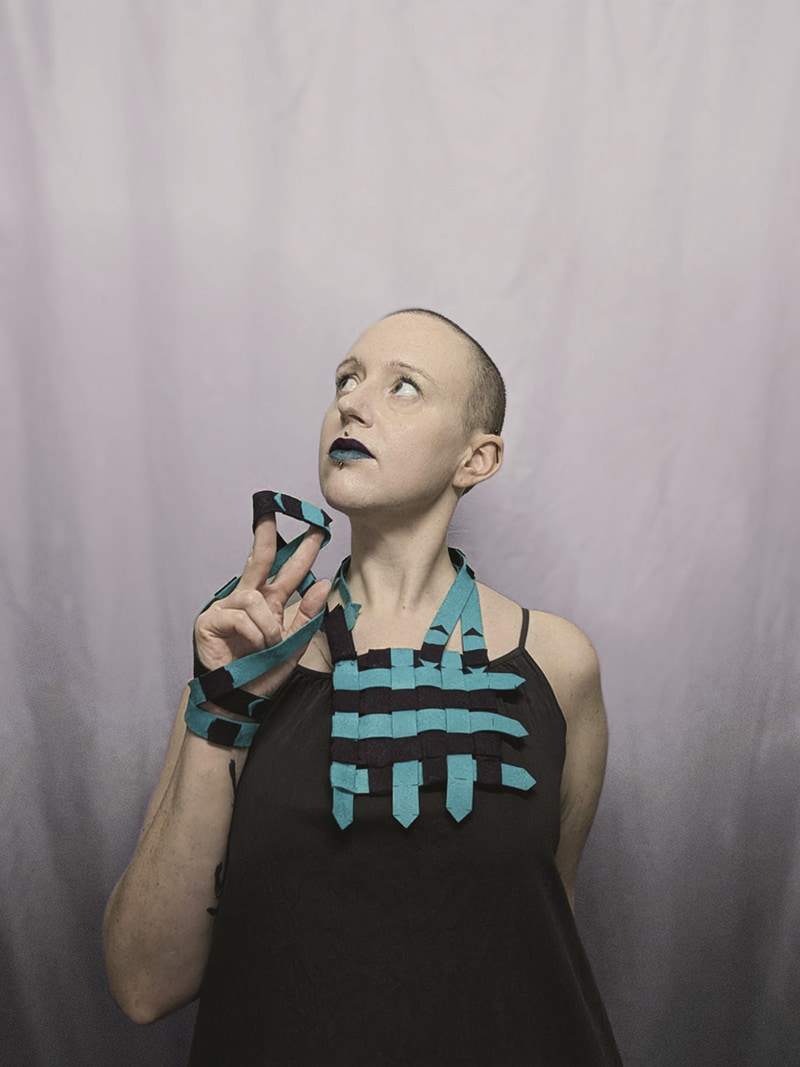
The finished accessoiries
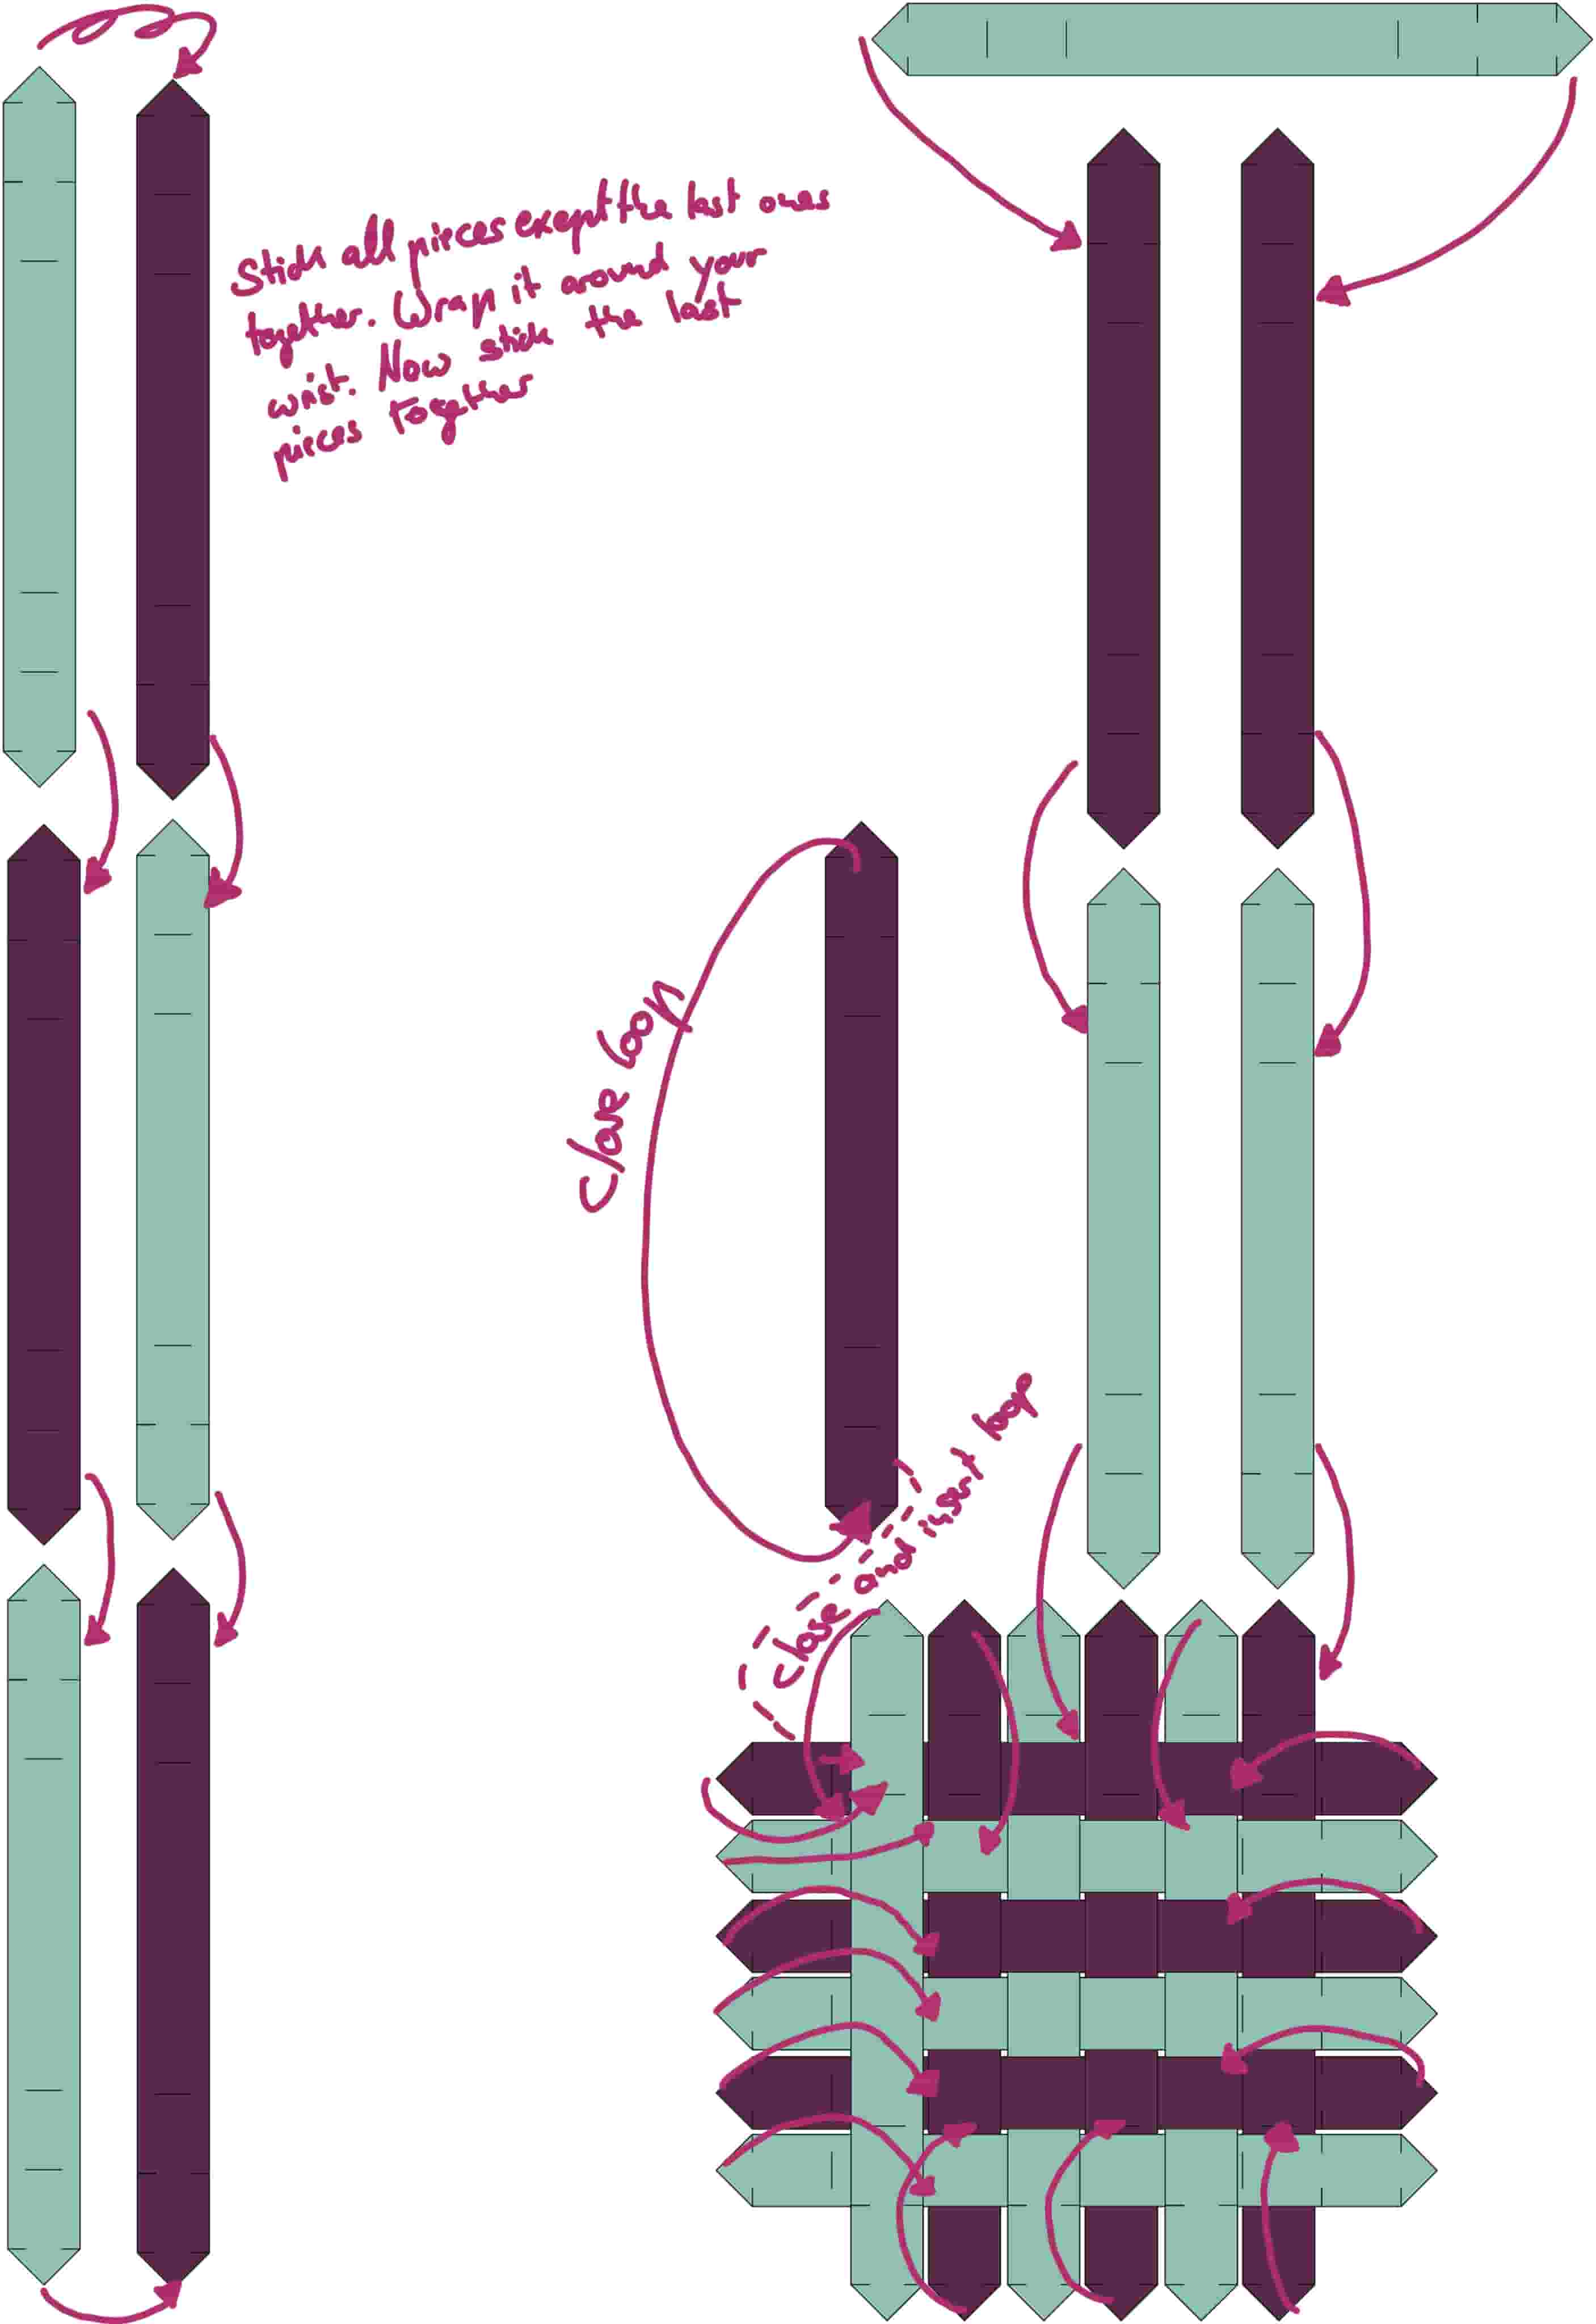
Instruction for assembling the accessoiries<
Downloads
If you'd like to try this yourself, you can find the laser cutting files here.
Lasercut_files_zip
You can also find the files on oscircularfashion.com:
Bag
Accessoiries
Tools and sources I used
Design and lasercutting
- Autodesk Fusion: https://www.autodesk.com/de/products/fusion-360/free-trial
- X Tool Sudio: https://xtool.systems/de/xtool-studio/
- Silhouette Studio: https://www.silhouetteeurope.eu/de/silhouette-studio
- Inkscape: https://inkscape.org/
Website related
- Squishtool (for PNG and JPG): https://squish.tools/de/compress-png
- Adobe Photoshop: https://www.adobe.com/products/photoshop.html
- Collage-tool: https://www.photocollage.com/
- Inkscape (Website was not working)
Reflection
I was really Happy to see, that I'm able to think in a logically, mathematical way and my connection concepts are working, as I wanted it to. Thinking about the story, it was Not that easy to find a explanation for a future in which people are assembling their clothes instead of sewing them. So I took some inspiration from futures thinking methods like the futures wheel or "Casual layered Analysis". I did some Futures wheel backdrafting, thinking about what could happen from now, to evolve a future like this. The "Casual layered Analysis" method inspired me to think from a cultural, mystical perspective, which brought me to the idea of a society based on science, mathematics and interdisciplinary Zusammenarbeit.
To find myself a structure which allows me to have an overview about the assigned tasks and the possible sidequests, helped me a lot, regarding my time Management.