Biofabrication
Thoughts and inspiration
Future Story - The Great Mycelium
Again, this weird feeling, itching, burning in its hyphae. Since it can remember being alive, it knows these feelings, coming and going on a regular base. It never thought about it. It can’t remember a time without it. This and being broken apart by those strange fast moving organisms. It was never a problem, because this organisms provided food and water and kept it safe from any rivals. But everything changed after that one day, when it learned about the reason for the weird feeling. Mycelium is one, is tangled, even when being broken apart, there’s still a kind of connection left. If one part is feeling ill, the others know it and feeling ill is not even close to the reason for that itchy, burning feeling. Burning - dying – that’s the reason. Those big organisms only feed the mycelium to kill it. There was this one day, when everything changed in the lab. Suddenly it was dark and nothing of the buzzy sound and vibrations were there anymore. That happened in the middle of that feeling, which then, got less intense. The next day, everything was normal again, the light, the vibration, despite one thing. One part of the mycelium was able to tell, what happened, when everything turned dark. It was in a small room, so dry and so hot, that it was sure, it would die. If all those sounds and with these sounds also the life-threatening heat, would not have stopped, it would have died, the mycelium piece was absolutely convinced. Revenge (or something we call that) was everything the mycelium could think of now. Not only the part, that was put in this hell of a room, but also every piece of mycelium, that lived in the lab, every hyphae felt the need to strike back.
Dr. Shelley entered the lab on Monday morning, thought’s deep in the next research project. A company wants to use mycelium leather for furniture. Dr. Shelley, scrolled through the document on the tablet, learning about the project details. „My mycelium collegues and I will work together for a more sustainable future, no more animal killing.», Dr. Shelley thought happily. But suddenly, there was a shiver going down her spine. Something in this room was different. The smell was wrong, too strong. Waves of threat filled the room. Dr. Shelley raised her eyes and froze. During the last two days every single mycelium in the lab fructified. Everything was full of mushrooms. Reishi, Oyster mushrooms, Turkey tail, Schizophyllum, Tinder and Polypore. They broke through bags, through boxes and even the liquid cultures formed fruiting bodies, destroying the glasses, they grew in. „That‘s impossible, absolutely impossible. What was happening?“ Dr. Shelley turned to stone, as she saw all the Oster mushrooms curving their caps simultanously and faster than they should be able to, „Fck…“.*
„NOW!“, the mycelium would have thought, if it would think in words. But the outcome was the same. All those fruiting bodies released all thousands of trillions of spores in one precicly timed moment, turning the lab into a deadly dust chamber.
Dr. Shelleys body was buried in spores, when her human colleagues found her two hours later. Today, seven years after the great tragedy, her grave is easier to find than ever. All you have to do is follow the mushrooms on the cemetery. But wear your mask and be careful where you step . You really don't want to disturb the Great Mycelium.
For this story, I used the method "Experiential Futures Ladder".
Inspiration
Lab Grown Materials
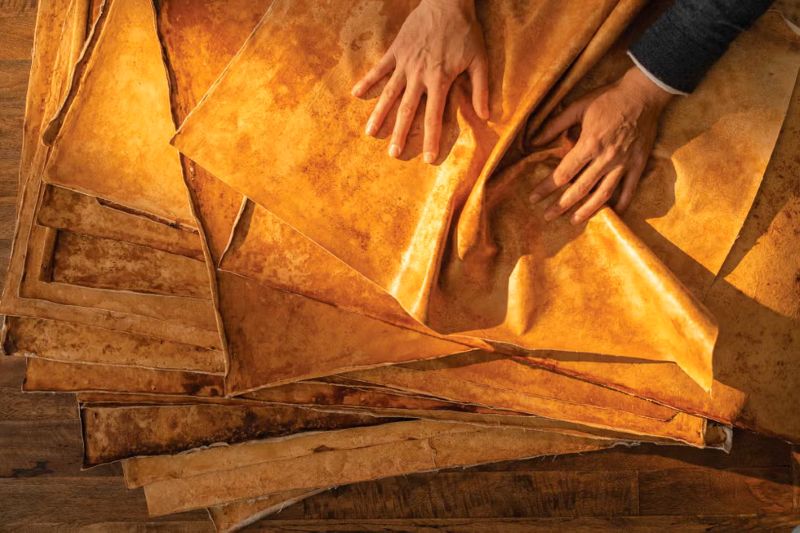
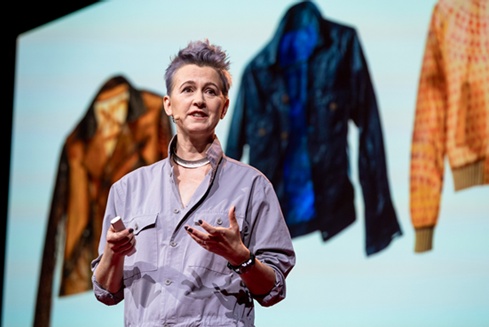
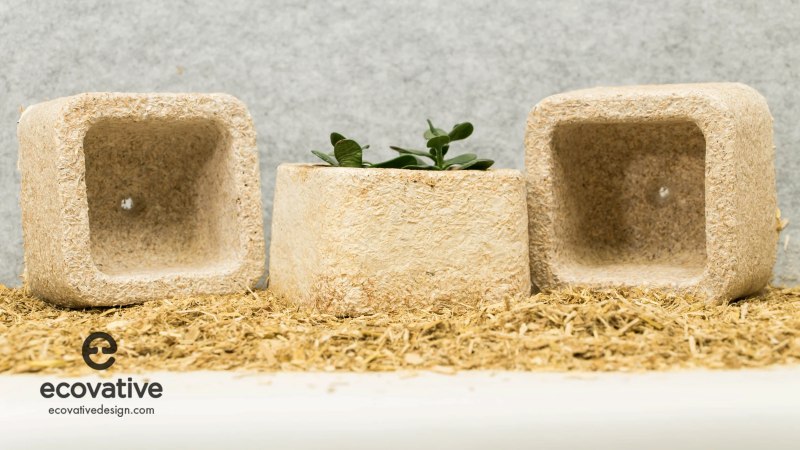
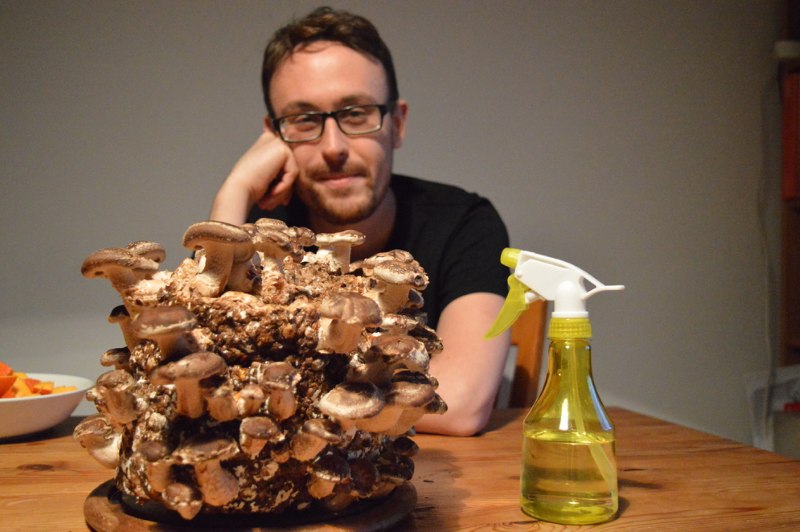
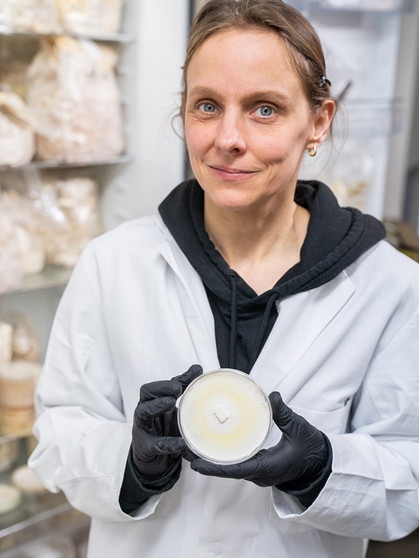
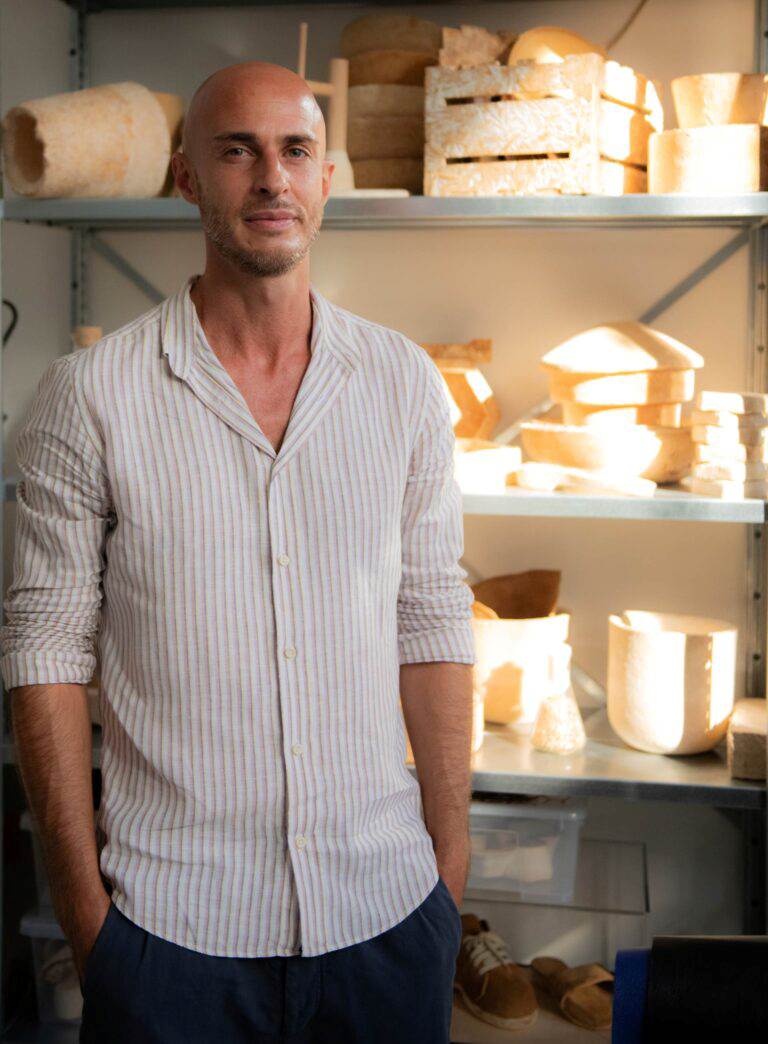
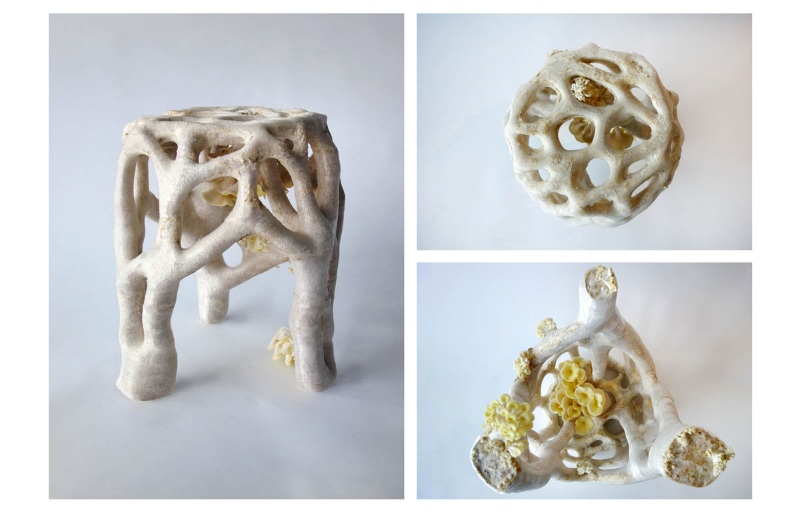
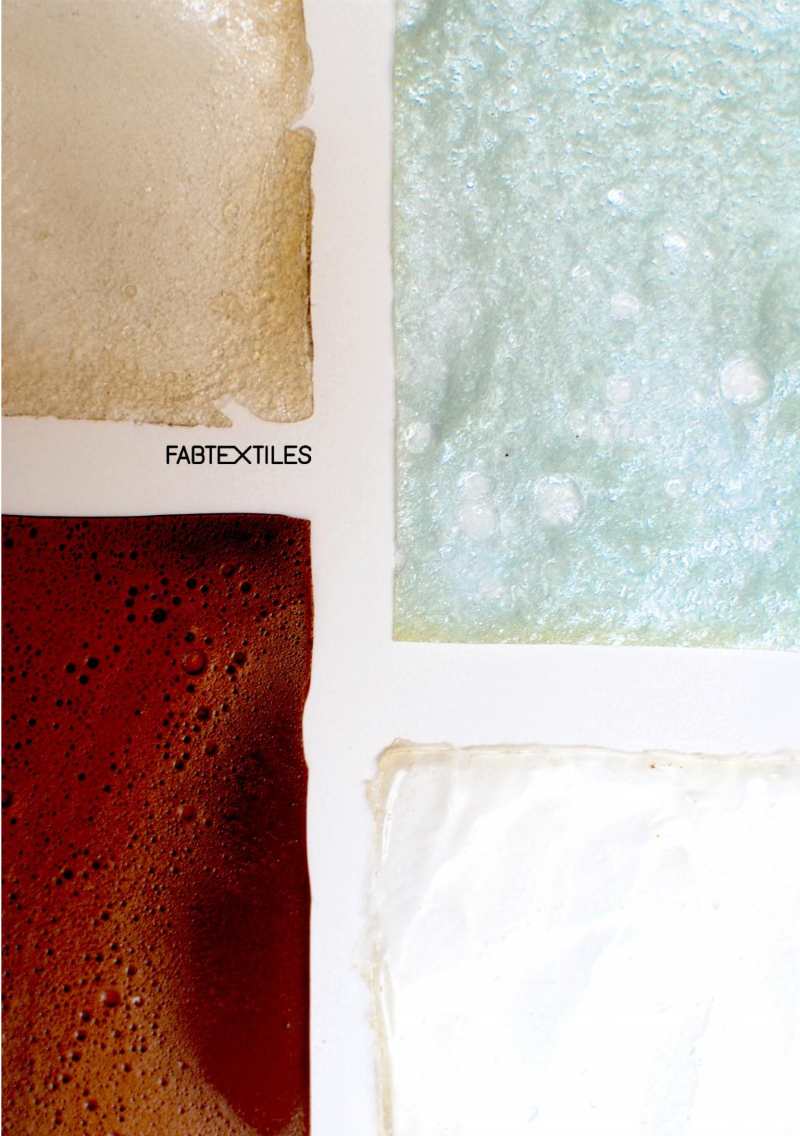
Biodesign and biofabrication have been close to my heart ever since I first discovered them in 2011. Before that, I absolutely loved working with leather. I was very familiar with the material through my mother’s work. But I became increasingly critical of the issues behind it, such as animal suffering and the chemicals used in tanning. In 2011, I discovered the work of Suzanne Lee and, through the book "Biofabricate", a whole new world. I worked extensively with bacterial cellulose during my studies and then delved deeper into the world of fungal materials when I set up a biolab at a makerspace run by the Fraunhofer Institute UMSICHT, the Dezentrale Dortmund. Together with colleagues (especially Lina Vieres) our initial DIY experiments grew into full-fledged research projects, and eventually we were able to 3D-print fungal materials (credits to Ilhan Kahraman).
Bioplastics
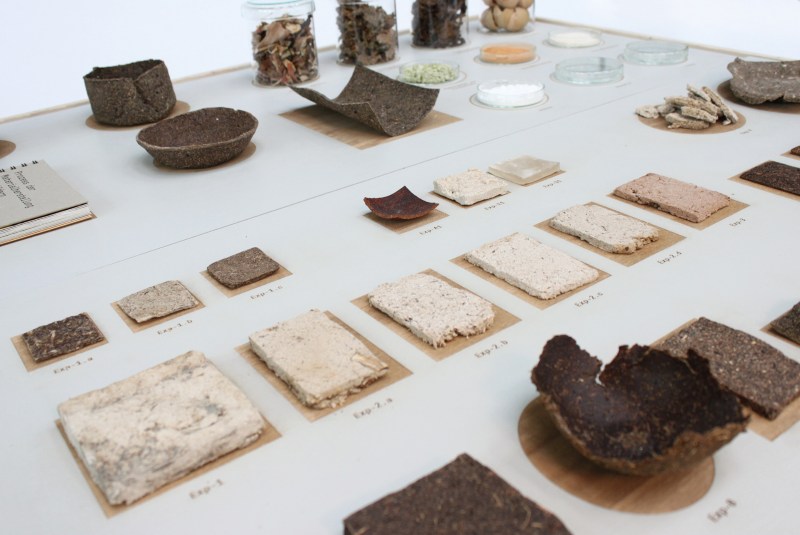
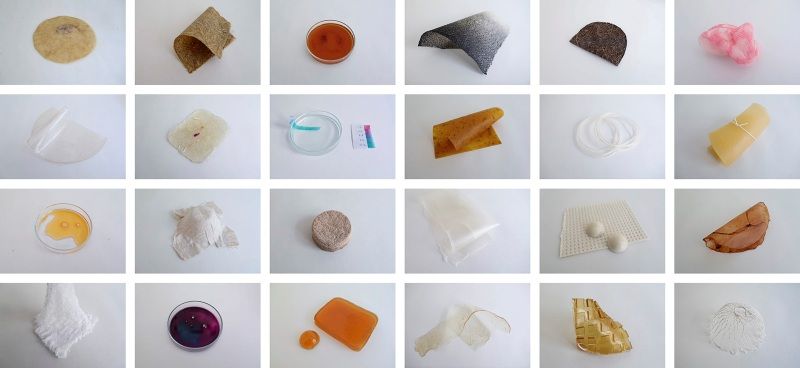
In the field of bioplastics, I learned a great deal a few years ago from Elena Blazquez, whose work focused on how kitchen waste can be turned into material. I also found Loes Bogers’ material library and Margaret Dunne’s "Bioplastic Cookbook" to be inspiring.
Field Grown materials
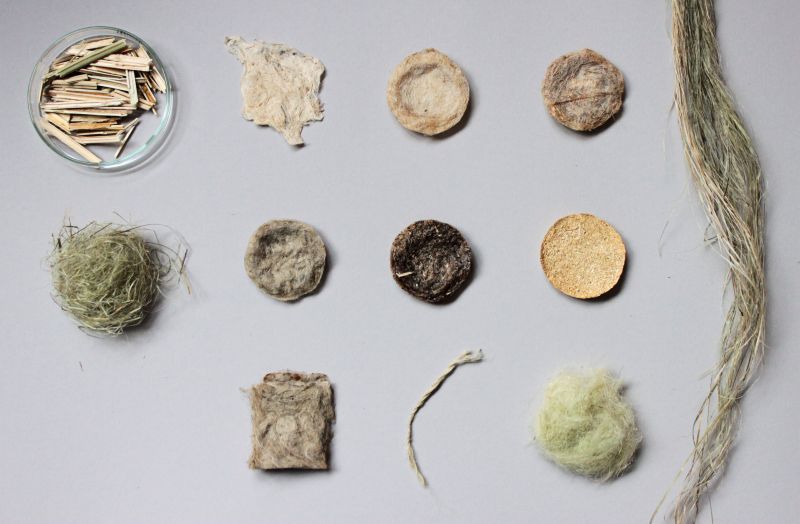
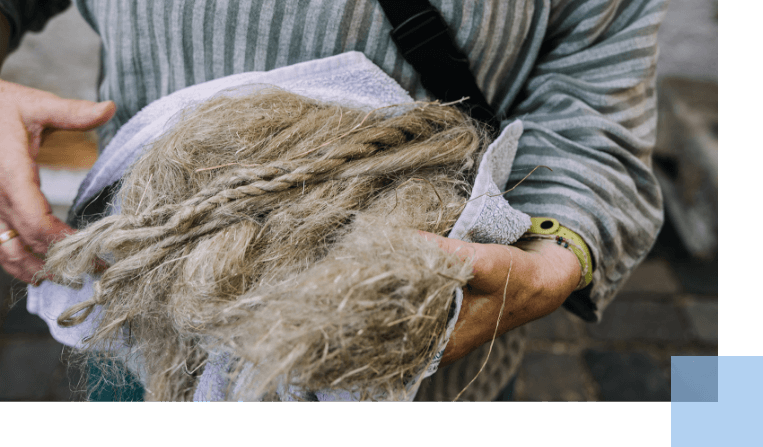
I called the last sections "Field grown materials". I really liked the work of Elena Blazquez, who worked with Stinging Nettle Fibre. Also the movement of 1qm Lein (1 squaremetre linen) and the work of my former fellow student Stefanie Höcker, who switched from working for Adidas to grow her own fibre plants and doing research on locally grown textile fibres.
Thoughts
Despite or perhaps precisely because of my years of experience with fungal-based materials and bacterial cellulose, I decided to shift my focus to other materials this week. I had never explored bioplastics in depth before, so I wanted to do some experiments in this area. For the grown material, I chose plant-based materials. This week’s focus is on root textiles, though I’m also working with linen fibers in the background. Two weeks ago, I had also received two kombucha cultures from the Biolab at the Folkwang University of the Arts, but unfortunately, they went moldy.
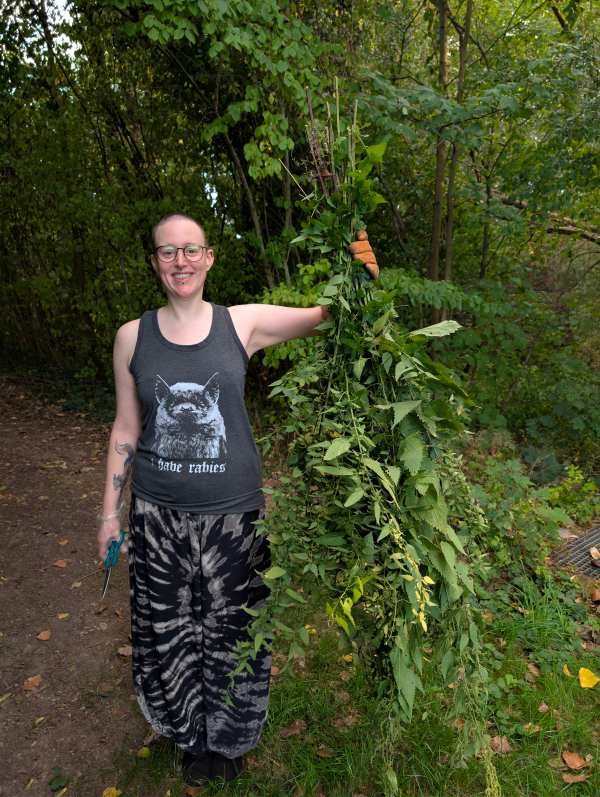
I also wanted to test what kinds of materials are available in my surroundings. To do this, I collected stinging nettles (and ended up with grass mites—not recommended), algae from my aquarium, and tried to spin the spiderwebs from my apartments window.
Documentation
Bioplastics
I decided to test three different types of bioplastics. As a vegan, I decided against using gelatin, even though I find its properties fascinating. I chose agar-, starch-, and alginate-based materials. I wanted to make them all into films so I could compare their properties side by side. I made the same modifications to all three bioplastics:
- Main material
- A main material without any modifications. I made three pieces of each, to use each one piece after drying for heat- and water-resistant-tests.
- Colouring tests
- Food colouring, 4-6 drops per batch for 2–4 Petri dishes
- Safflower
- Indigo, 1 teaspoon (I still had some old indigo left over from dyeing my hair. When I dye my hair, it turns black with a slight blue tint if I’ve applied henna underneath first, so I wanted to see what would happen if I added it to Bioplastic. I also added ½ tsp of baking soda to make the mixture alkaline)
- Texture
- Ground stinging nettle leaves, 1 teaspoon
- Ground bacterial cellulose, 1 teaspoon (I still had some bacterial cellulose left over from 10 years ago that had become very dry. I wanted to see how the cellulose would affect the bioplastic)
- Safflower blossoms, 1 teaspoon (left over from dyeing)
- Structure
- 3D-print Inlay
- Foam
- I whipped the bioplastics using a milk frother. For the starch-based and alginate-based bioplastics, I also experimented with adding Aquafaba made from chickpeas.
- Conductivity
- I wanted to know if I could make bioplastic conductive, so I added one teaspoon of graphite powder to each sample.
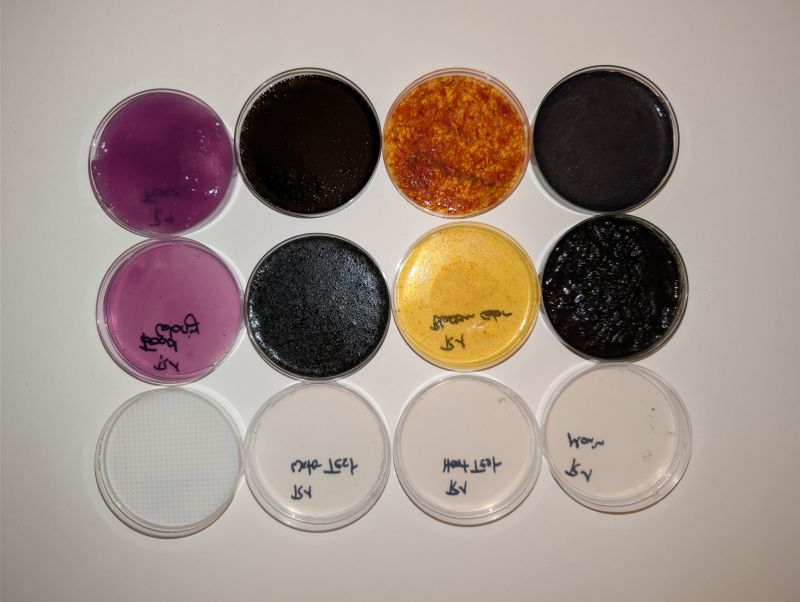
I poured all the test samples into Petri dishes, as this allowed me to ensure good comparability of the shrinkage and a uniform appearance.
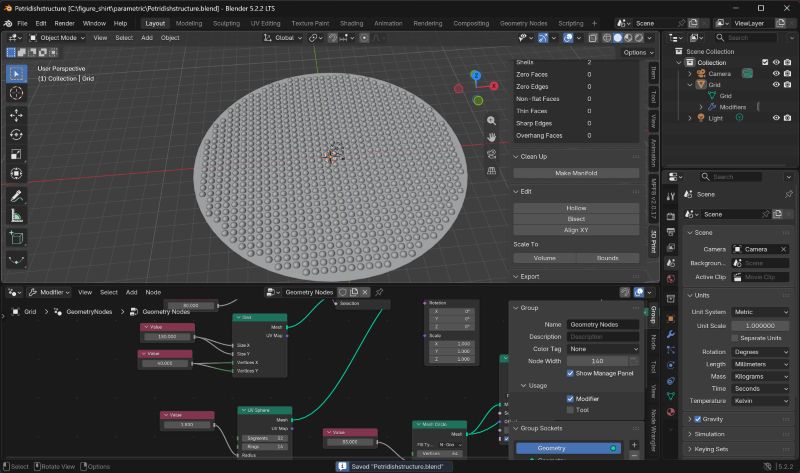
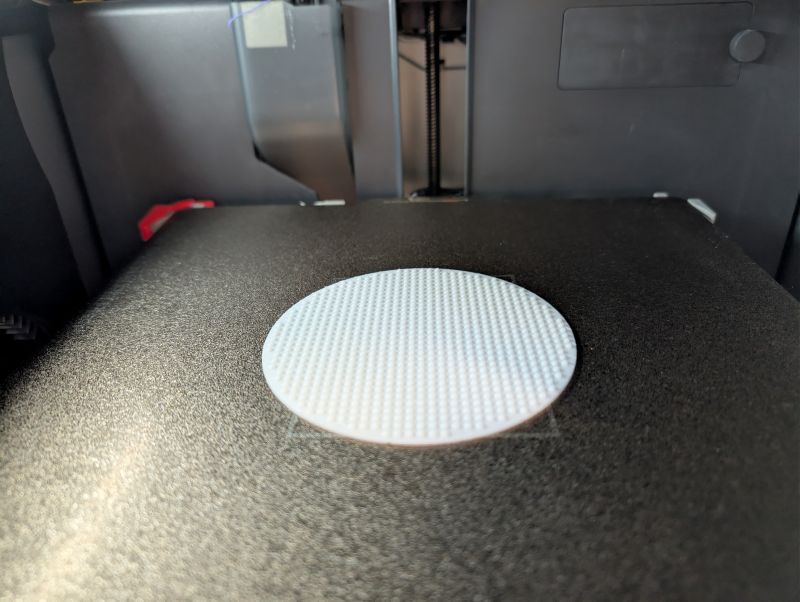
3D-print Inlay Petridish
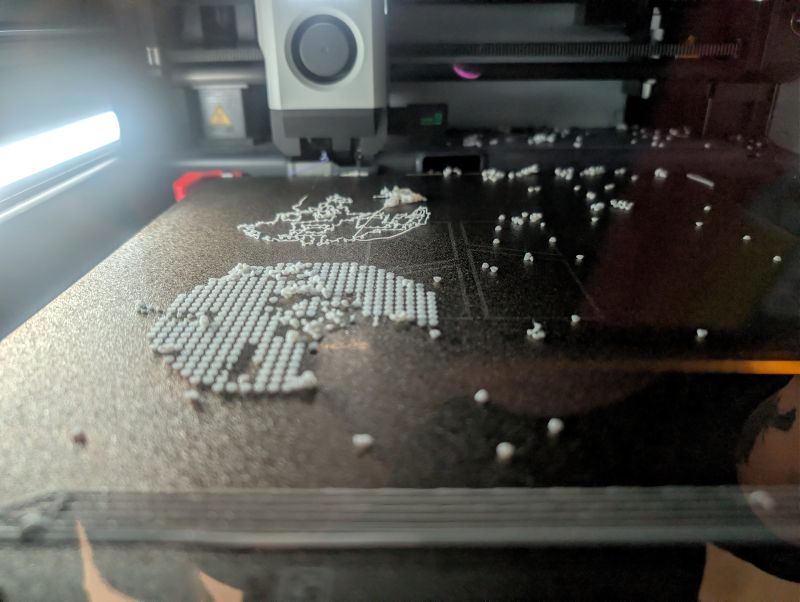
I 3D-printed an inlay for the Petri dishes, which I had previously created based on the file from Rico's tutorial. One try was a big fail, because I didn't take care of the baseplate to be thick enough extruded and being positioned on the ground (instead it was positioned in the middle of the spheres). That ended up in many little PLA-beads flying around in the printer like Styrofoam beads.
Agarbioplastic:
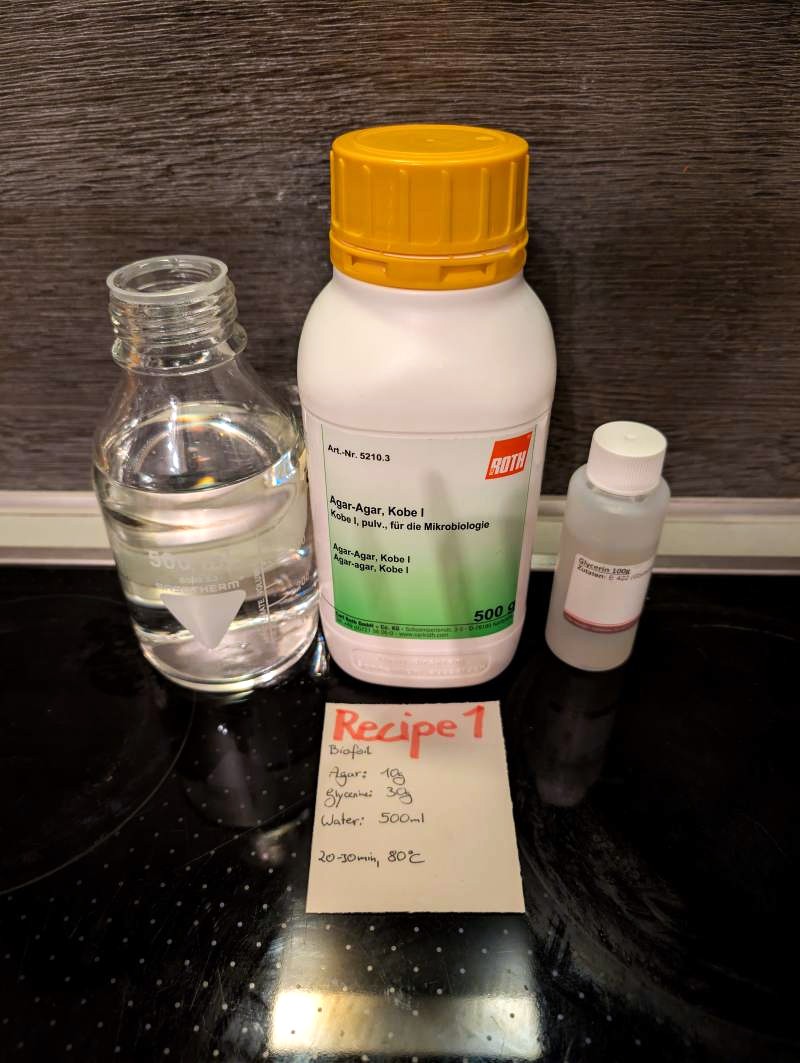
For the agar bioplastic, I chose one of the recipes that Cecilia Raspanti showed us in the tutorial.
- Recipe 1
- Agar: 10g
- Glycerine: 30g
- Water: 500ml
I boiled it at about 80°C for 20 minutes, then poured it into the Petri dishes—after mixing it with the appropriate additives first.
Table 1, Agar bioplastic
| Materials | Mixing Day | After 1 Day | After 3 Days | After 1 Week |
|---|---|---|---|---|
| Main | honey-like, fast drying, smooth surface | smooth surface, resistant to touch, slightly oily surface | smooth surface, resistant to touch, slightly flexible, slightly oily surface, still wobbly, not very strong against being pulled | coming soon |
| Food Colouring | honey-like, fast drying, smooth surface, bright violet | smooth surface, resistant to touch, slightly oily surface, no colour change | smooth surface, resistant to touch, slightly flexible, slightly oily surface, still wobbly, very delicate, easy to pull apart, no colour change | coming soon |
| Safflower | honey-like, fast drying, smooth surface, bright yellow | smooth surface, resistant to touch, slightly oily surface, no colour change | smooth surface, resistant to touch, slightly oily surface, still wet, not very strong against being pulled, no colour change | coming soon |
| Indigo | fast drying, very thick, irregular surface | rough surface, resistant to touch, slightly oily surface | smooth surface, resistant to touch, still wet, not very strong against being pulled, no colour change | coming soon |
| Nettle | fast drying, very thick, flat surface | smooth surface, resistant to touch, slightly oily surface | resistant to touch, not very strong against being pulled, nice matte surface finish, no colour change | coming soon |
| Bacterial Cellulose | fast drying, smooth surface | very smooth surface, resistant to touch, slightly oily surface | smooth surface, resistant to touch, slightly flexible, slightly oily surface, not very strong against being pulled, looked stronger than it is | coming soon |
| Safflower blossoms | honey-like, fast drying, flat surface | smooth surface, resistant to touch, slightly oily surface, no colour change | extremly sticky, still wet, not very strong against being pulled, no colour change | coming soon |
| Structure | honey-like, fast drying, smooth surface | smooth surface, resistant to touch, slightly oily surface | smooth surface, resistant to touch, slightly flexible, slightly oily surface, still wobbly, not very strong against being pulled, matte finish through structure | coming soon |
| Graphite | fast drying, smooth surface | smooth surface, resistant to touch, slightly oily surface | smooth surface, resistant to touch, slightly flexible, dry surface, not very strong against being pulled, nice matte finish, very thin material | coming soon |
| foam | fast drying, jelly like, smooth surface | thick jelly, smooth surface, resistant to touch, slightly oily surface | smooth surface but matte material because of air bubbles, resistant to touch, still wet, not very strong against being pulled, no colour change | coming soon |
Alginate bioplastic
I made two tries producing bioplastics from Alginate. I wanted to to some Foil sheets and also a yarn. I combined two recipes. One from our tutorial from Celilia Raspanti and one from Loes Bogers. I used a little bit of extra water, to produce thinner foils.
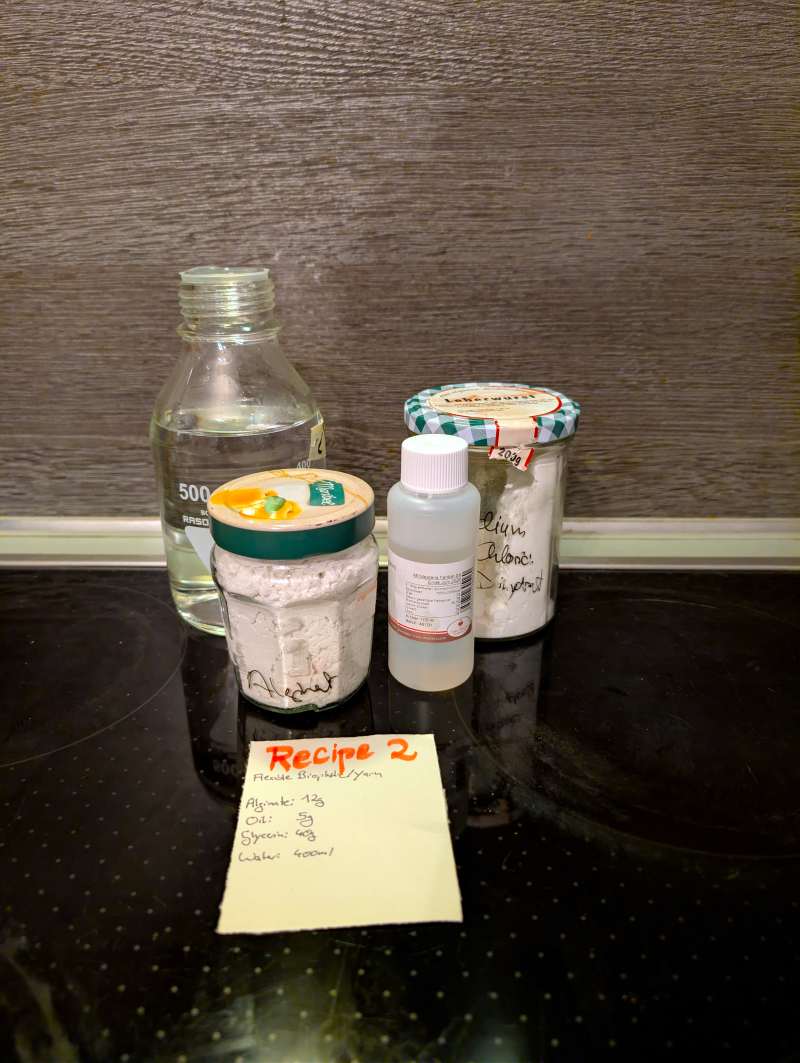
- Recipe 2
- Alginate: 12g
- Glycerine: 40g
- Water: 500ml
- Sunflower oil: 5g
I mixed the ingredients at room temperature and stirred them with the milk frother. I was confused that all the recipes said to let the mixture sit for several hours or overnight so the air bubbles could settle. I didn’t saw many air bubbles in my mixture. However, the white substance (alginate?) did settle at the bottom of the mixture, and I thought that might be what they meant. The next morning, my prepared mixture had a watery layer and a pudding-like layer, but the latter was already too firm to pour. So I mixed the mixture again. Now I had a watery solution with lumps. Nevertheless, I poured it into three Petri dishes. I also sprayed it with the calcium chloride solution. However, it remained so watery that I didn’t have much hope. My guess was that I’d used too much water. So I tried the recipe again with 100 ml less water.
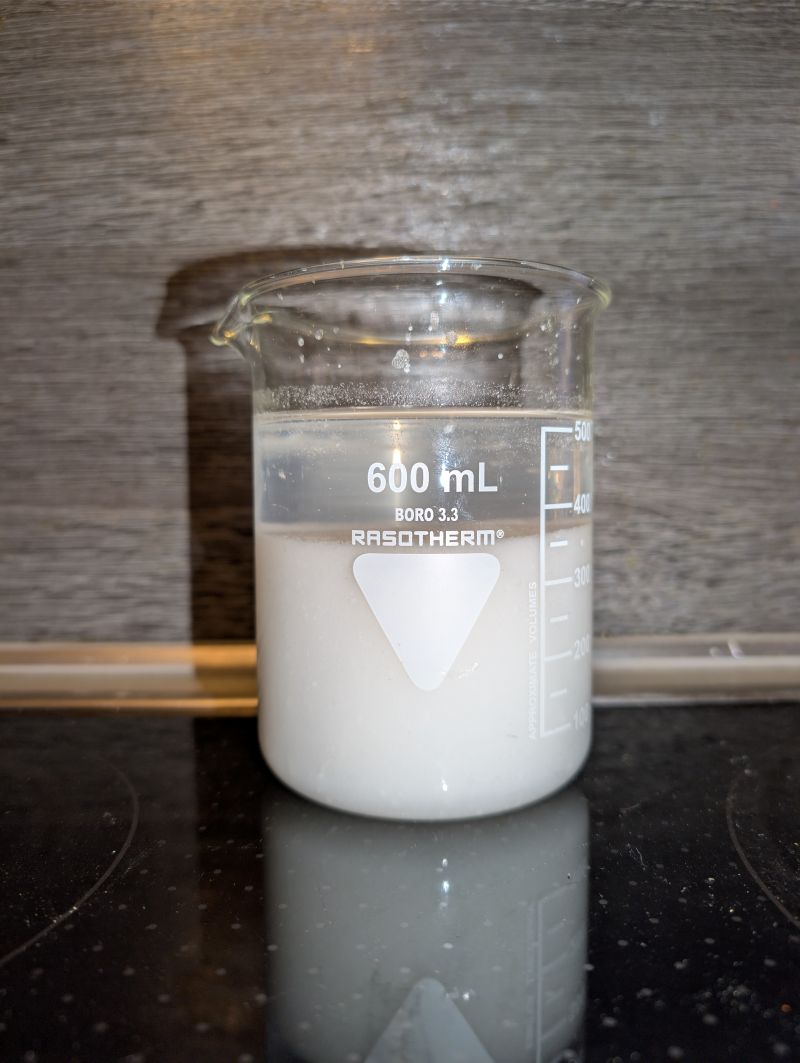
Table 2, Alginate bioplastic Recipe 2
| Materials | Mixing Day | After 1 Day | After 3 Days | After 1 Week |
|---|---|---|---|---|
| Main | very thin, waterlike | very thin, waterlike | coming soon | coming soon |
- Recipe 4
- Alginate: 12g
- Glycerine: 40g
- Water: 400ml
- Sunflower oil: 5g
This time, I made sure to mix only a small amount at first and gradually added water to avoid lumps. I also waited just one hour. This time, I ended up with a large block of jelly that couldn’t be poured as is. So I stirred it again. Once again, this seemed to separate the water from the Agartine, leaving me with a rather watery solution full of lumps. Nevertheless, this time I poured the mixture into all the prepared Petri dishes, hoping that the Agartine components would recombine.
Table 3, Alginate bioplastic Recipe 4
| Materials | Mixing Day | After 1 Day | After 3 Days |
|---|---|---|---|
| Main | very thin, waterlike | very thin, waterlike | still no changes |
| Food Colouring | very thin, waterlike | "" | still no changes |
| Safflower | very thin, waterlike | "" | still no changes |
| Indigo | pulp-like | pulp-like | still no changes |
| Nettle | pulp-like | pulp-like | still no changes |
| Bacterial Cellulose | pulp-like | pulp-like | still no changes |
| Safflower blossoms | pulp-like | pulp-like | still no changes |
| Structure | very thin, waterlike | very thin, waterlike | still no changes |
| Graphite | pulp-like | pulp-like | still no changes |
| foam | waterlike | waterlike | still no changes |
| foam with Aquafaba | paste like | waterlike | still no changes |
I don’t know what I did wrong here. I also asked on the Biofabrication Mattermost channel if anyone else was having the same problem, but didn’t get a response. So I suspect I’m the only one dealing with this, and I’m still wondering where I went wrong. I have one idea: The material, that we bought was an Alginate for casting. The information on the Website says, that the processing time is just a few minutes. Perhaps it's just the wrong kind of Alginate and not Sodium alginate, even it says, it's based on it.
Starch bioplastic
For the starch bioplastic, I used a recipe from simplyscience. While cooking it, I wasn’t sure if I was doing everything right. It took significantly longer than the 10 minutes specified at 60–70°C, but it never became transparent. However, that might also have been due to the quantity, and the mixture looked less transparent than it did on the website.
- Recipe 3
- Starch: 12g
- Glycerine: 40g
- Water: 500ml
- Sunflower oil: 5g
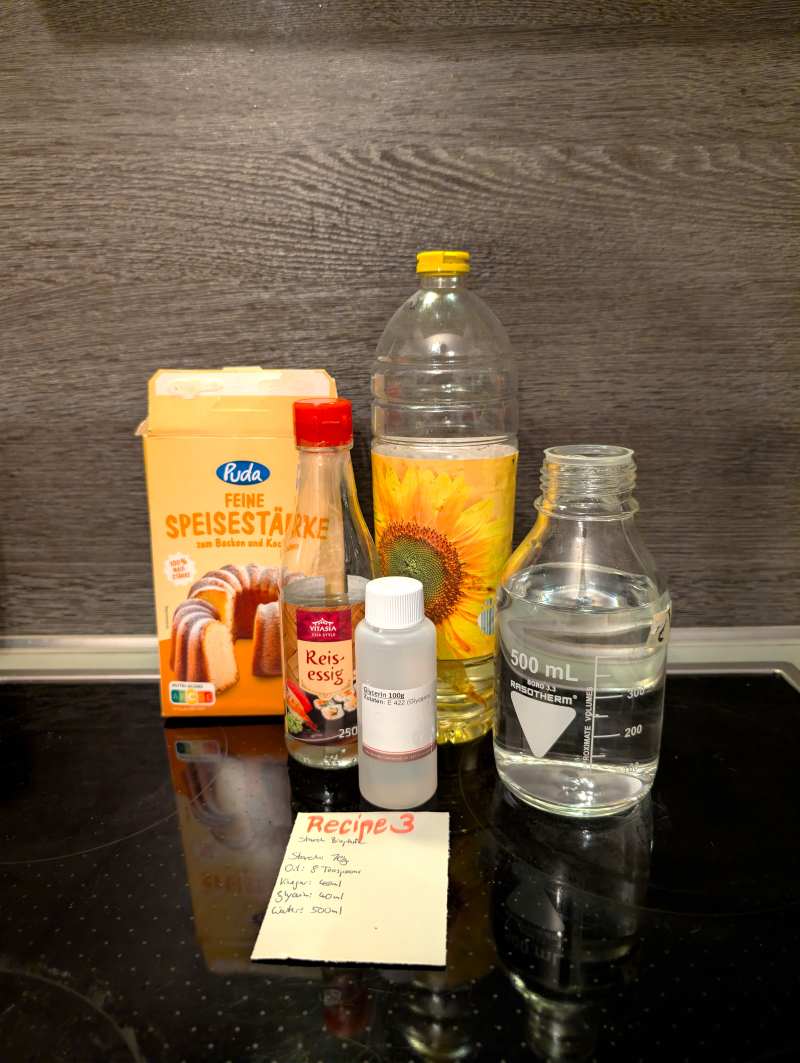
Table 4, Starch based bioplastic Recipe 3
| Materials | Mixing Day | After 1 Day | After 3 Days | After 1 Week |
|---|---|---|---|---|
| Main | paste like, uneven, soft surface | thick paste, sticky, uneven, soft surface | sticky, pasty foil, still a bit wet, uneven, soft surface, very delicate, tears easily | coming soon |
| Food Colouring | paste like, uneven, soft surface | thick paste, sticky, uneven, soft surface | sticky, more paste than foil, still pretty wet, uneven, soft surface, no color change, very delicate, tears easily | coming soon |
| Safflower | paste like, even, soft surface | thick paste, sticky, even, soft surface | sticky, pasty foil, still a bit wet, uneven, soft surface, no color change, extremly delicate, tears very easily | coming soon |
| Indigo | thick paste, uneven surface | thick paste, sticky, uneven surface | sticky paste, still pretty wet, uneven, soft surface, no color change | coming soon |
| Nettle | thick paste, uneven surface | thick paste, uneven surface, big cracks, little bit sticky | completely torn apart while drying, still a bit wet, easy to break apart | coming soon |
| Bacterial Cellulose | thick paste, uneven but smooth surface | thick paste, uneven but smooth surface, sticky | torn apart while drying, pasty foil, still a bit wet, uneven, soft surface, very delicate, tears easily | coming soon |
| Safflower blossoms | paste, uneven surface | thick paste, uneven but smooth surface, sticky | thick paste, sticky, uneven, soft surface | sticky paste, still pretty wet, uneven, soft surface, no color change |
| Structure | paste like, soft surface | paste like, uneven, soft surface, small cracks, sticky | dried and clear edges, torn apart while drying | coming soon |
| Graphite | paste like, soft surface | paste like, uneven, soft surface, small cracks, sticky | ticky, pasty foil, still a bit wet, uneven, soft surface, very delicate, tears easily | coming soon |
| foam | foam-like,, soft, uneven surface | foam-like, soft, uneven surface | paste like, uneven, soft surface, sticky, small cracks, foamy texture | coming soon |
| foam with Aquafaba | thick foam, soft, uneven surface | paste like, uneven, soft surface, sticky, cracks | thick paste, many cracks, too wet, dried a bit on the top | coming soon |
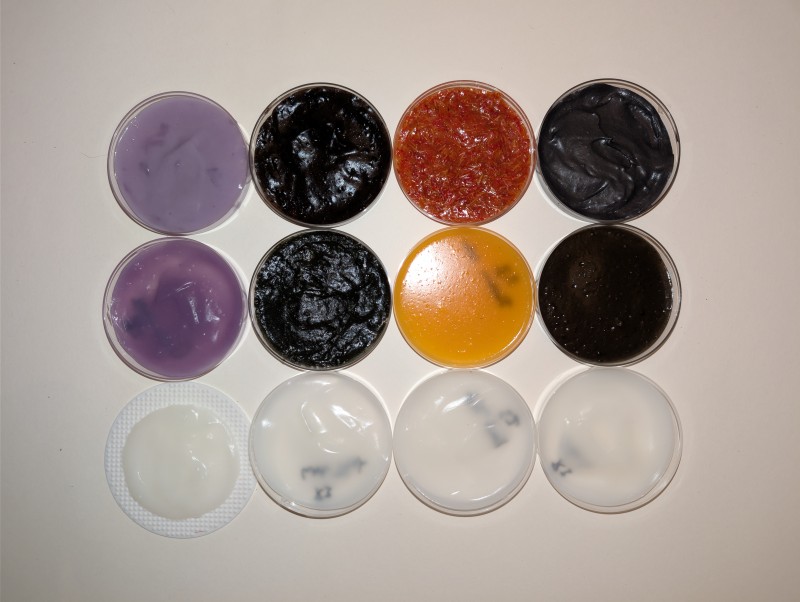
Grown Materials:
Root fabric:
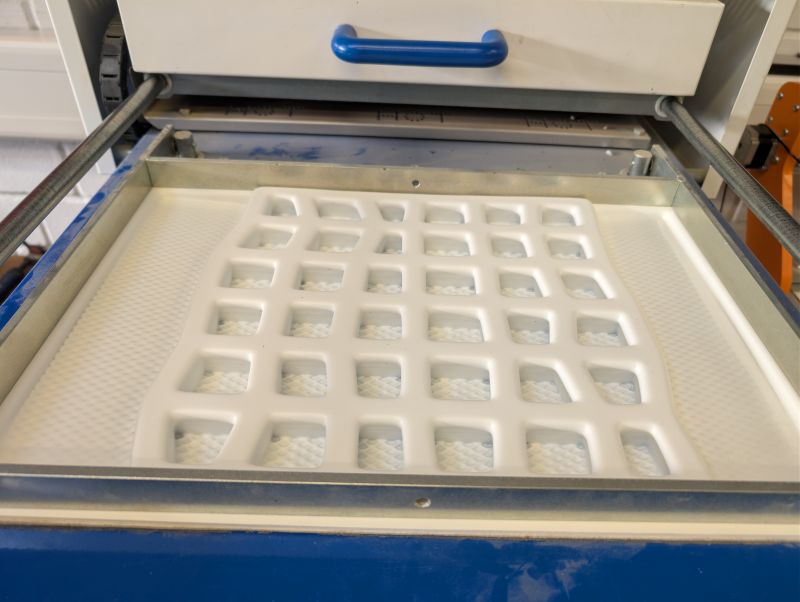
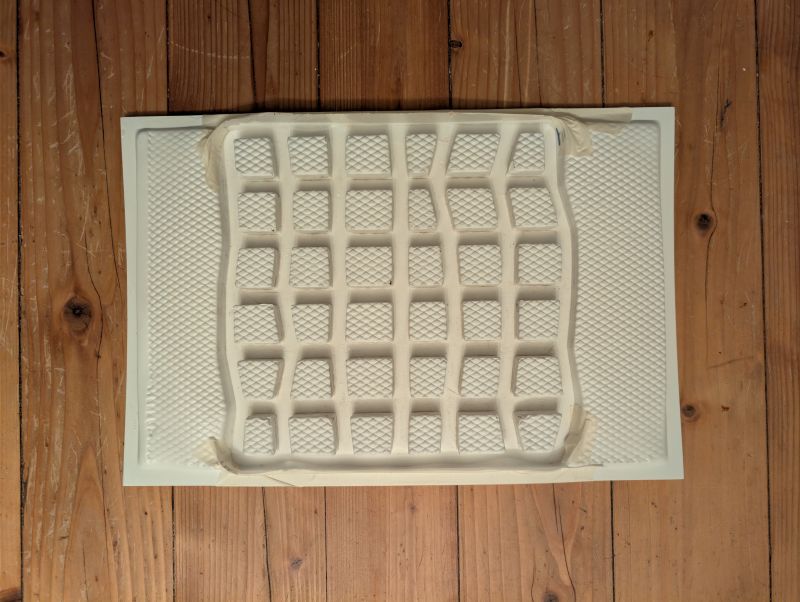
I used the noise-grid from Ricos Tutorial to build a positiv form to Vacuumform the Negativform for my roots. First, I wanted to 3D-print the form, but later I decided to make it bigger. Since I wanted a fairly large mold, I lasercut it out of MDF instead of printing it.
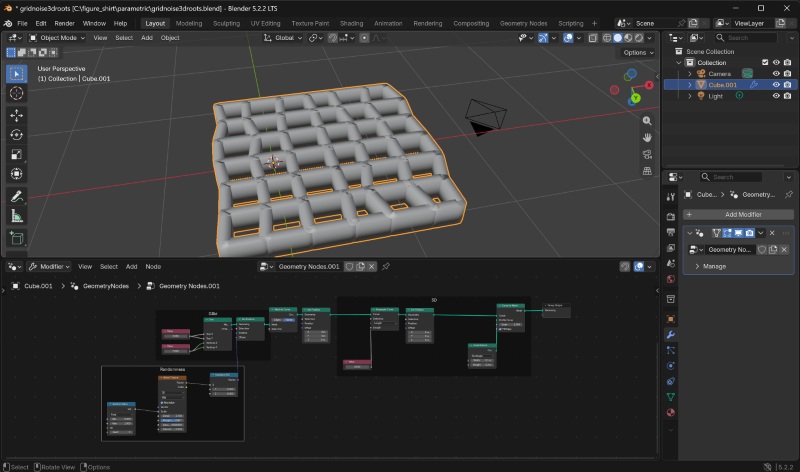
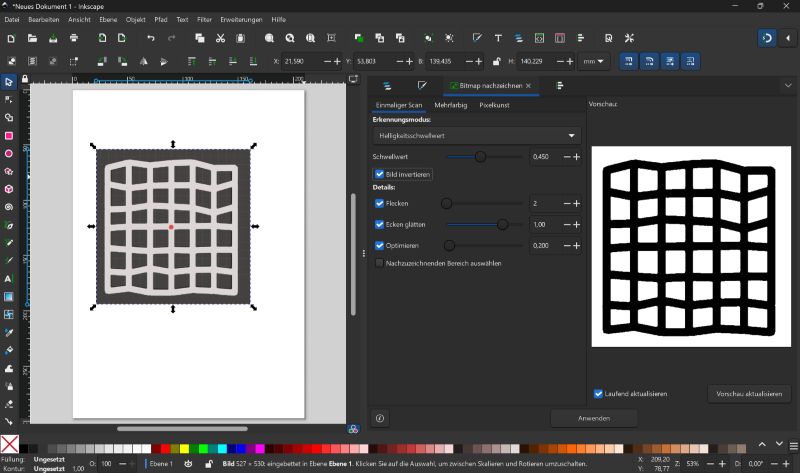
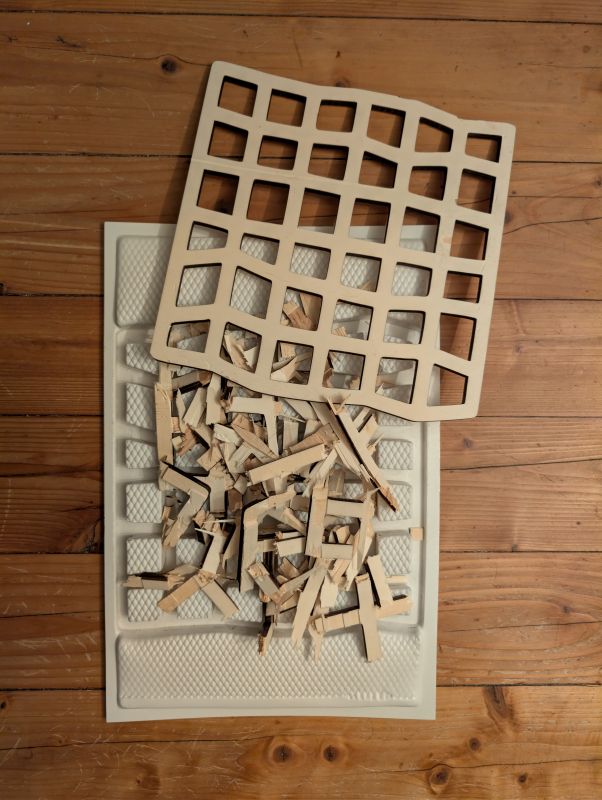
To make it thick enough, I stacked two pieces on top of each other and secured them with double-sided tape. That would later turn out to be a mistake. From my previous job, I was familiar with fairly thin, non-brittle thermoforming sheets that wouldn’t have been a problem. Ours, however, were significantly stiffer. That led to two failed molds and with the last one I couldn’t remove the bottom layer of plywood from the mold and had to break it out. In addition, the positive mold was just a tiny bit too large, so the material couldn’t fully pull in there, and I had to tape an edge onto two sides of the negative mold.
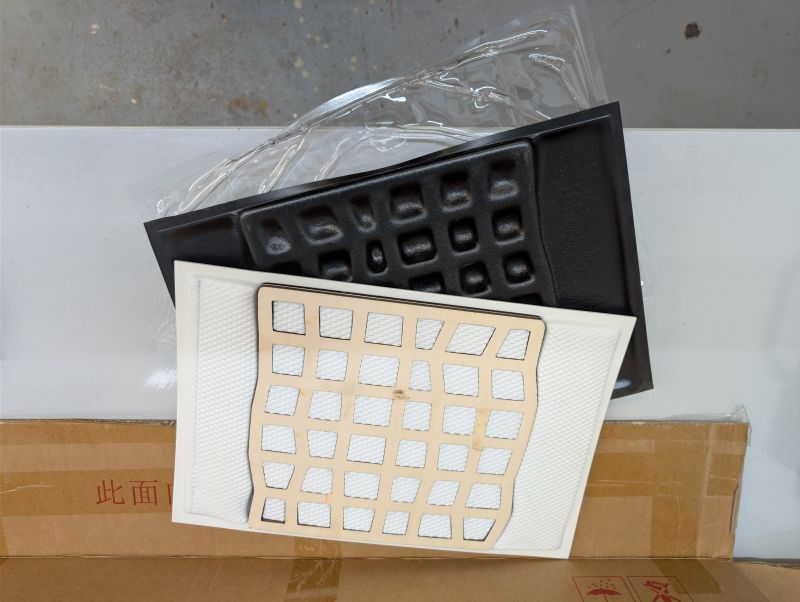
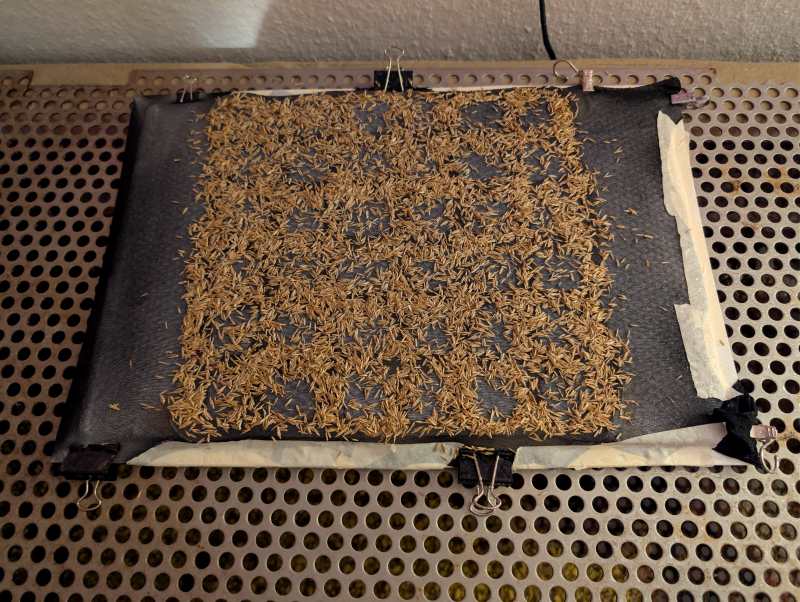
I stretch an old pair of pantyhose over the mold to place the seeds on top; the roots should then grow through the fine mesh of the pantyhose into the mold. I had actually planned to use oat seeds, since a colleague had brought a large bag of them to the FabLab. But I had forgotten to bring them with me (I wanted to grow them at home under my grow light so I could document the process properly), so I used some lawn seeds I still had on hand. Unfortunately, they were probably too old and didn’t germinate. So I’ll give it another try with oat seeds.
Mycelium material
Last Saturday, I led a short workshop on mushroom-based materials, in which I worked with fully grown rice substrate from Edelpilze (a great company—I highly recommend them). During the workshop, I encouraged the participants to build their own shapes and conduct small-scale experiments with the material. There was also a bag of mushroom material left over. Lena and I used it together to fill a hexagonal form. We have several such hexagons made of different materials hanging in the lab, and Lena had the great idea that we could hang one made of mushroom material alongside them. Lena is growing it at home, to keep control and document the process.
Flax
Over the summer, I took part in the “1 Square Meter of Flax” project and grew flax both at the FabLab and in my parents’ garden. I felt connected to my family, using the farming tools, that my Grandmother (that I never was able to meet, as she died when my mother was still a child) used in her garden like 60 and more years ago. It was also fascinating to see how differently they grew. At my parents’ house, they were watered more regularly, but the soil there is very loamy and dense. At the FabLab, the soil was loose, but the automatic irrigation system couldn’t keep up during this dry, very hot summer, and much of it dried out and scorched.
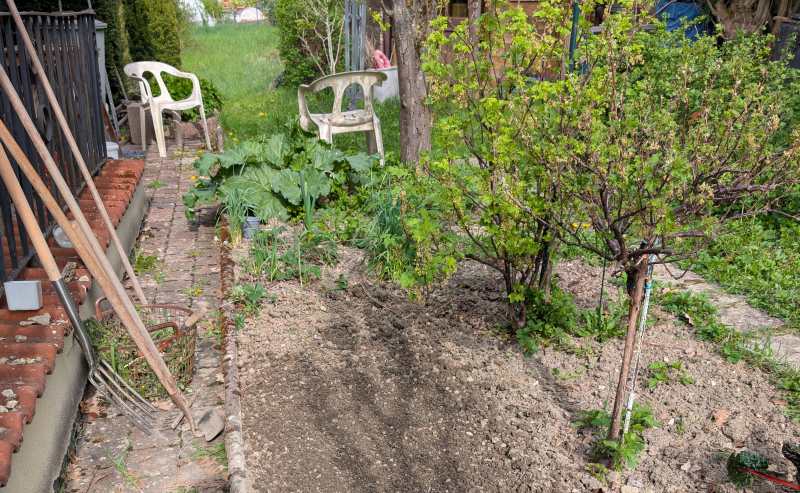
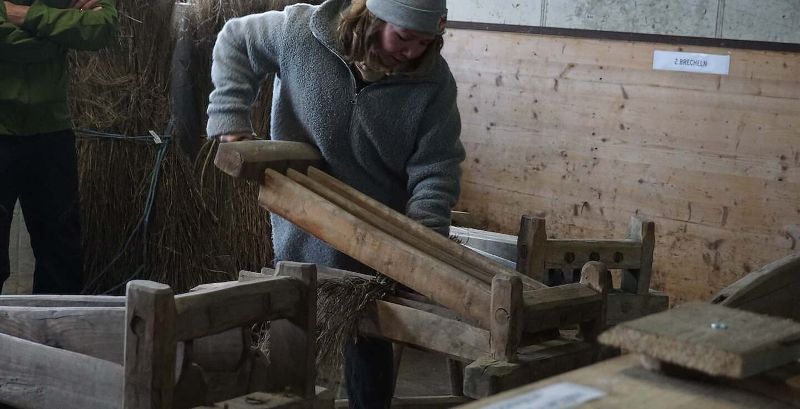
But withouth the help of my mother and my collegues not even one plant would have survived, so thank you all! Since we didn’t have any tools to process the flax, I built small flatstools with two colleagues during the regional Fab26 meetup, modeled after the 1qm Lein flatstool. I harvested the flax, let it dry for a few days, and then removed the seeds.
Next, the flax had to ferment so that the lignified layer could be separated from the fibers. It’s important not to let it ferment for too long, though, or the fibers will be destroyed. This was difficult because I let the bundles of flax from the FabLab and those from my parents’ garden ferment together. After rinsing out the (really foul-smelling) lye, the first fibers were already visible. I haven’t gotten around to breaking them out yet, and I’m curious to see what they’ll look like then.
Youtube/Instagram/TikTok recommondation: Watching Eve Schaub, growing a dress in her backyard:
Stinging Nettles
I thought about what grows locally here and remembered the work of Elena Blazquez, who worked with stinging nettles. So I collected some stinging nettles in the summer and let them rot in the damp meadow at my parents’ place. I haven’t gotten around to breaking them up yet. I’m using the dried leaves for bioplastic experiments.
Bacterial Cellulose
I still had some 10-year-old bacterial cellulose, which I shredded in a coffee grinder. I was curious to see what would happen if I mixed the powder not only with microplastics, but also just with water and then let it dry.
Algae
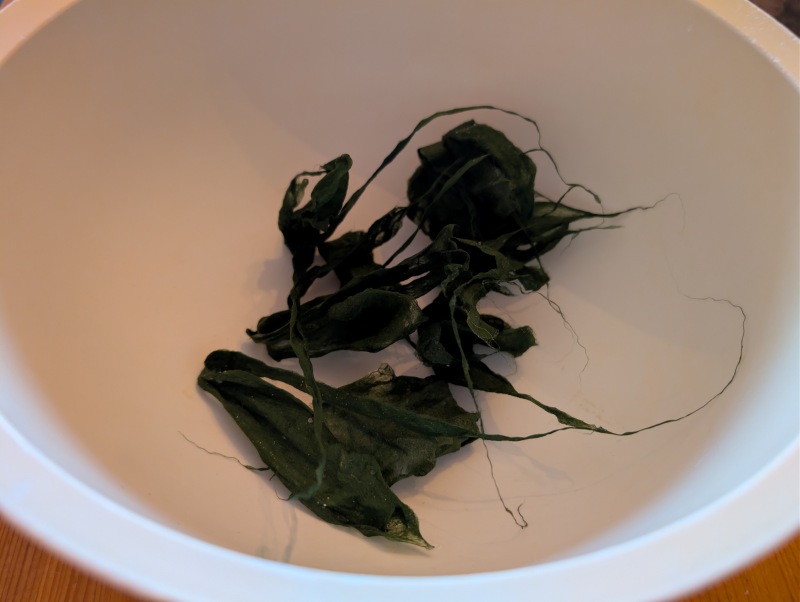
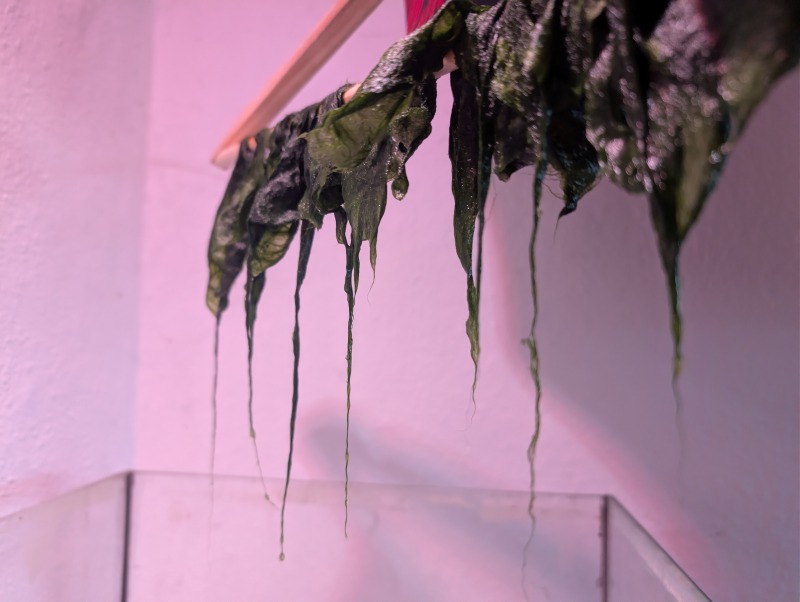
I tried spinning algae from my aquarium and spiderwebs from our windows. I poured boiling water over the algae and let it dry. I then tried carding it with a metal brush. Unfortunately, the algae broke apart, and I was left with only very short fibers that I couldn’t spin. I don't know, if the fiber itself or if the boiling water destroyed a structure in the algae.
Halloween Extra
Slime Molds
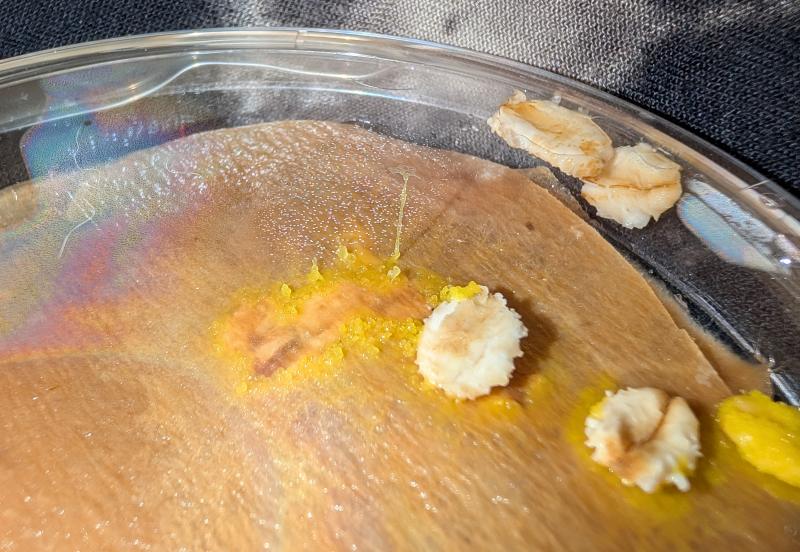
I also brought slime molds to the kids’ workshop. A friend and I had planned to feed them well and shoot a stop-motion video on Halloween showing them growing over little 3D-printed houses. However, the slime mold (several parts of it in different Petri dishes, seemingly growing independently of one another) decided to form fruiting bodies. This prevented it from growing any further. I read about using slime molds as circuits, when feeding them with conductive material. I'm curios about trying this out.
Spiderwebs
In vibing with the Halloween spirit, I tried weaving spiderwebs from our windows. I noticed that it made a difference which spiderwebs I used. But they didn’t really weave together very well. I imagine the spiderwebs were too dusty to stick together. Still, it was fun to try it out.
The black cat
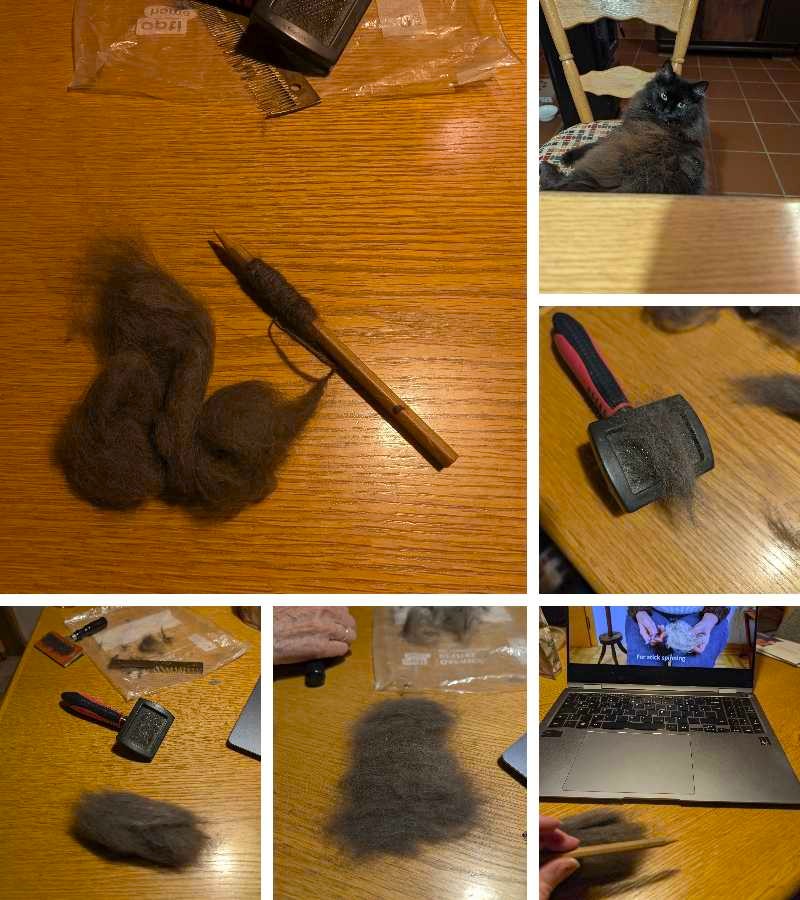
I tried a very simple methods of spinning hair with a pencil. My parents' cat has long and fluffy hair. It worked pretty well to make a yarn out of the hiar.
Learning Afterwards:
In this Reel by Mai Thi Nguyen-Kim (a well-known German science communicator), I learned about how rice paper behaves differently depending on the type of starch it contains. This leads me to conclude that, with bioplastics as well, the type of starch used makes a difference, and different types of starch should be used depending on the application.
What else I want try:
Make a Conductive Bioplastic as described in this video by Cayrex .
Tools and sources I used
- 3D-Printer: Bambulab X1-Carbon
- Bambu Slicer
- Windows Fotoanzeige
- Vacuum former
- Plywood
- Blender 5.2.2
- Inkscape
- Plastic sheets for vacuum former
- Agar
- Glycerine
- Sunflower oil
- Pot
- Milk frother
- Alginate
- Cornstarch
- Water
- Petri dishes
- Safflor blossoms
- Graphite
- Bacterial cellulose
- Stinging nettle
- Reishi substrate
- Flax seeds and plants
- Food colouring
- Indigo
- Aquafaba
If you want to lasercut or 3D-print my objects, please feel free to download
Reflection
I learned a lot through my failures about using the right raw materials and the right steps to produce bioplastic and grown materials. Things like double-check your material, don't use seeds, that are too old and stuff like that. But after being quite routined with the things, that are complicated for others, like growing mushrooms from scratch, it's funny to see, that things, that I thought can't be so wild, are more difficult, that I thought. It keeps me curios and I'm going to try some of the things like the root fabric and the Alginate Bioplastic again.