6. Computational Couture
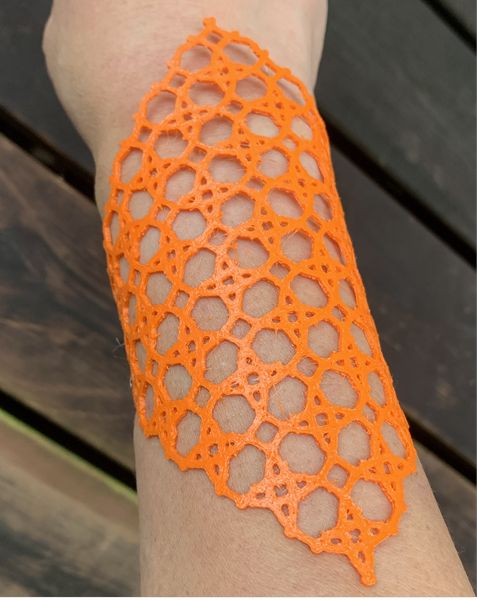
Objective
weekly assignment
- Research skills: the participant has acquired knowledge through references and Concept development
- Design skills: the participant has acquired 3D modeling skills and explored parametric skills
- Fabrication skills: the participant is capable of executing from file to production workflow, from 3D modelling to 3D printing
- Process skills: Anyone can go through the process, understand it and reproduce it
- Final outcome: Create samples/swatches of 3D printing as fabric or on fabrics and a 3D/parametric model
- Originality: Has the design been thought through and elaborated?
Student Checklist
- Document the concept, sketches, references also to artistic or scientific articles on 3D printing and parametric modeling
- Design a parametric model using Grasshopper3D or Blender (or alternative parametric software) and upload the 3Ddesign file + required parametric files
- Learn how to use a 3D printer and document the step-by-step process and settings
- Document the workflow for exporting your file and preparing the machine, Gcode and settings to be 3D printed
- Print your file and document the outcomes
- Upload your stl file
References, research & inspiration
What is Parametric design?
First I look up the definition of "parametric design" and also asked chatGPT.
It is said that Parametric design is a design method in which shapes and patterns are created and controlled using parameters(variables), such as size, angle, distance, and number of objects. So I looked and searched "parametric design".
When I saw Julia Koerner's page(This week's instructor), I was surprised and amazed by her designs and expansion for many field, not only fashion, but architecture and even small objects. Even each pattern is not so complicated but when they are gathered (sometimes changed the size), it becomes powerful design.
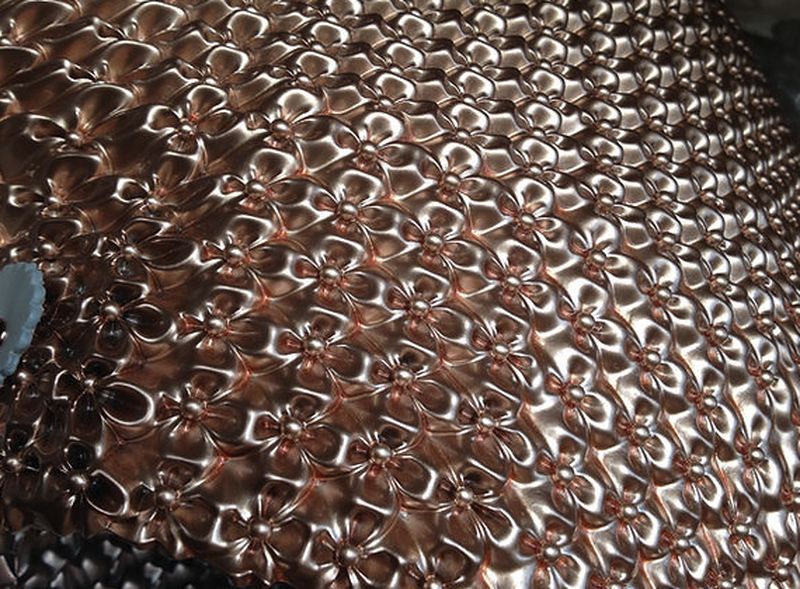
From Julia's HP
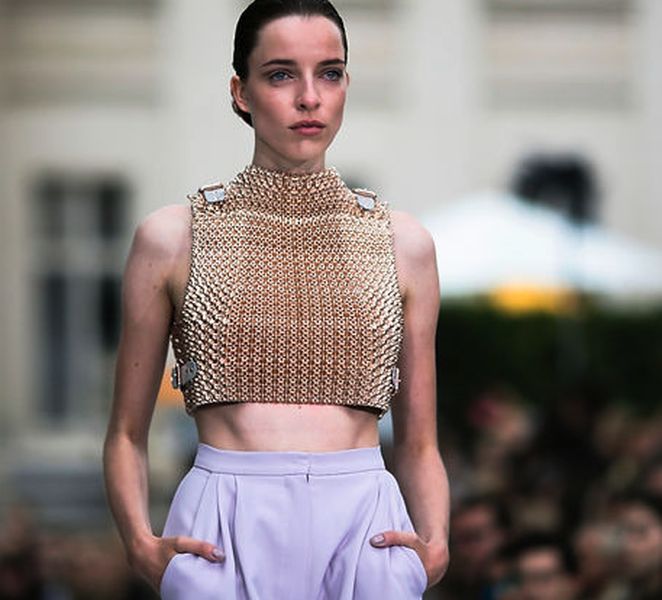
From Julia's HP
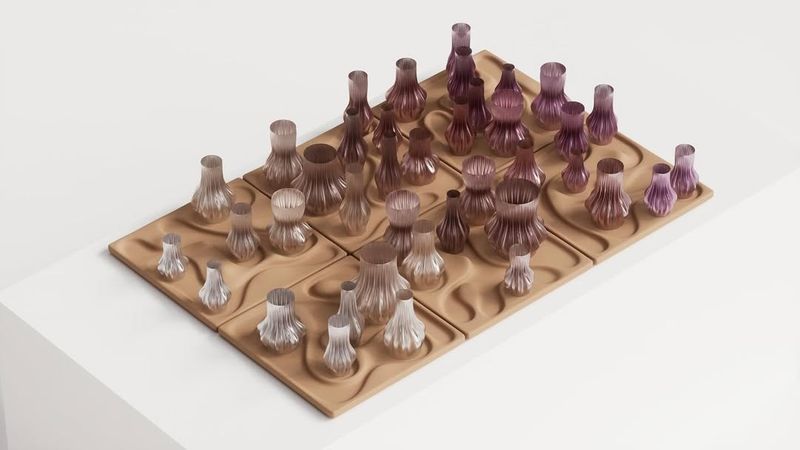
From Julia's HP
Next, I tried looking something "parametric design" around me. I could feel many things seem becoming "parametric"... I think there are many "parametric design" in the nature.
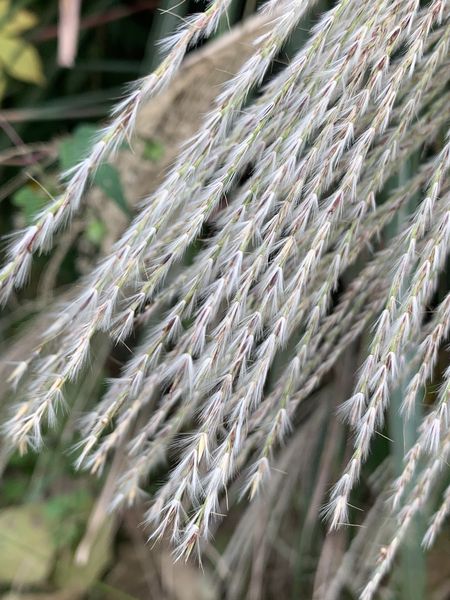
Silver grass head<
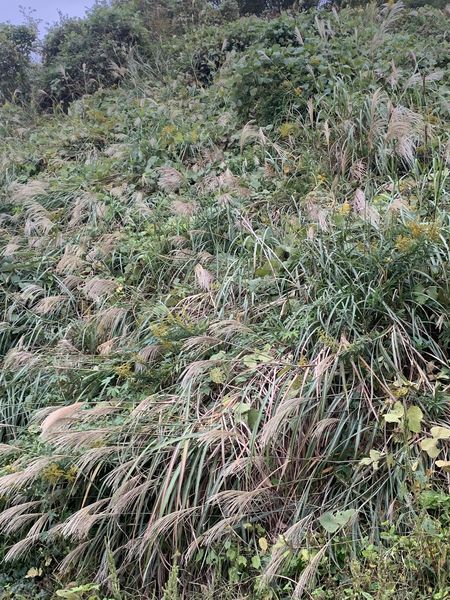
Silver grass

Flowers
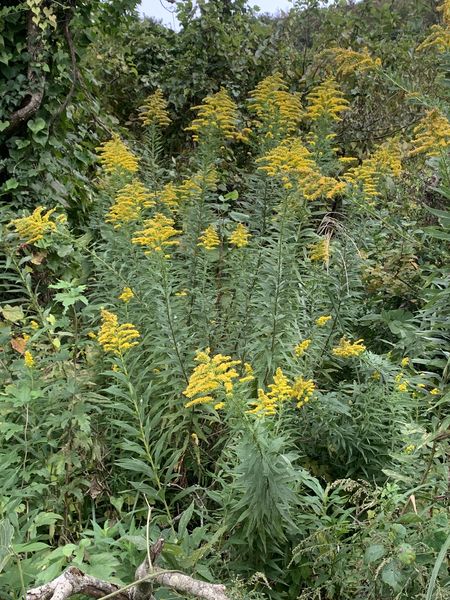
Clusters of lowers
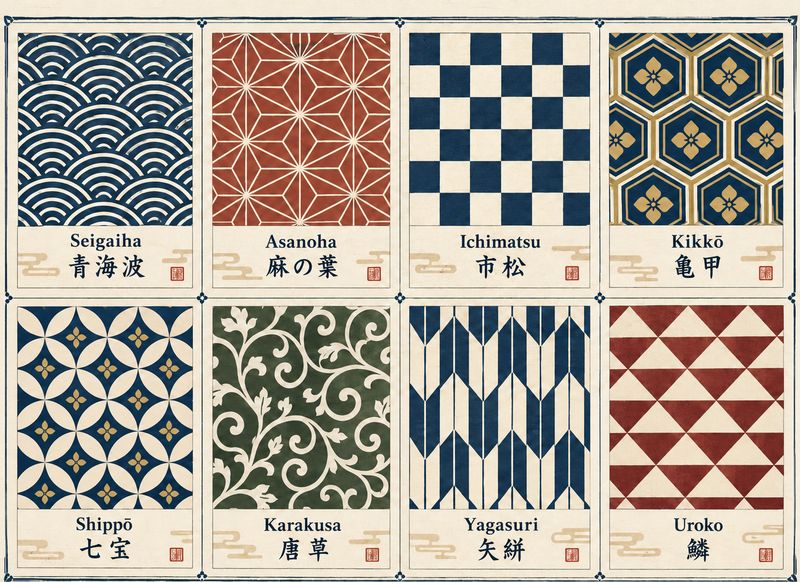
Japan has many traditional patterns which are used for clothing(kimono), crafts, tableware and so on. They are also simple design but it becomes another design when they are gathered. Each pattern has it's own meaning too.
Tools
- Blender
- P5js
- Bambu Studio
- Prusa Slicer
Process & Workflow
Blender Geometry Nodes lecture
I learnt Blender geometry node by following Rico's lecture and documentation. Before starting it, we needed to add "Node Wrangler" add on.
Select the Edit menu → Preference and select Add on.
Search "Node Wrangler" and check the box.
If you don't find it, we have to add from "Get Extensions" menu.
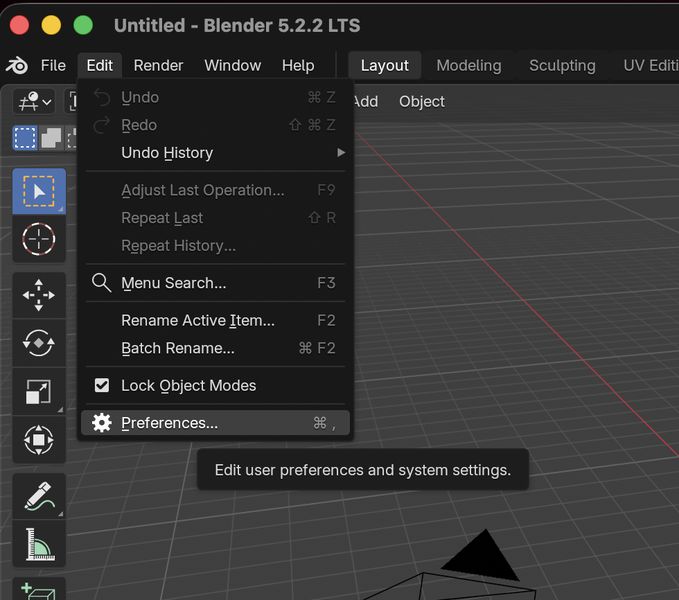
Select Edit → Preference
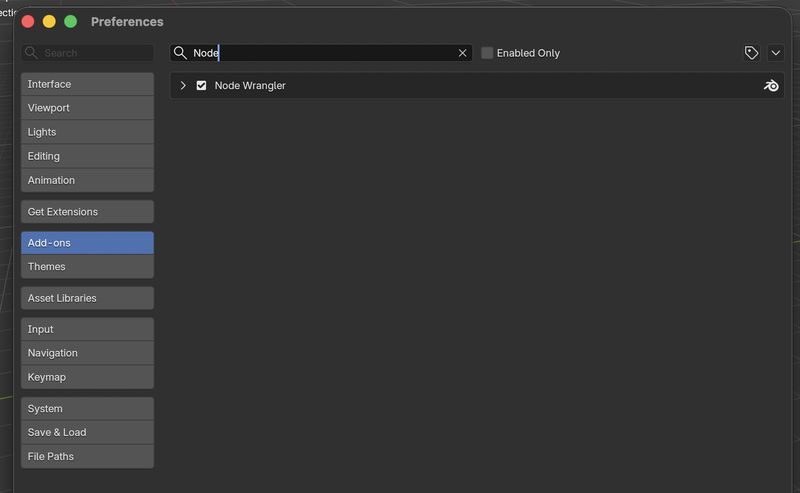
Check Node Wrangler
Then I followed the lecture and learnt the basic of operation until "Geometry Transformation" and "Frames & Boolean".
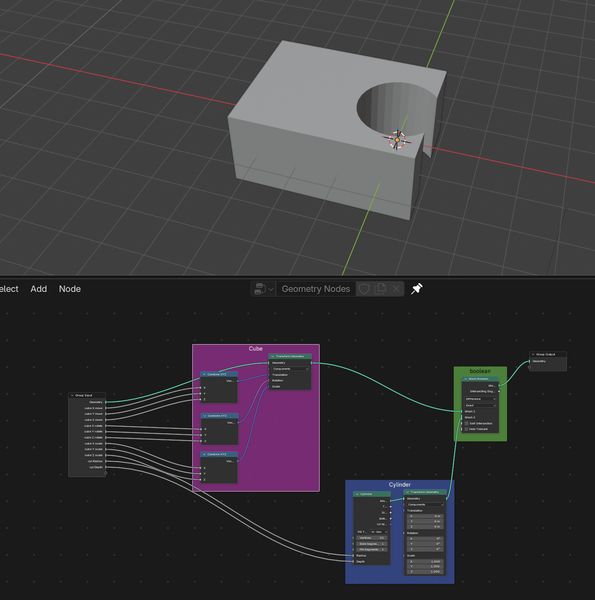
Grid Instancing
Then I moved to "Grid Instancing". From this part, we need to construct the feature by ourselves.
So I tried to put a mesh sphere node.
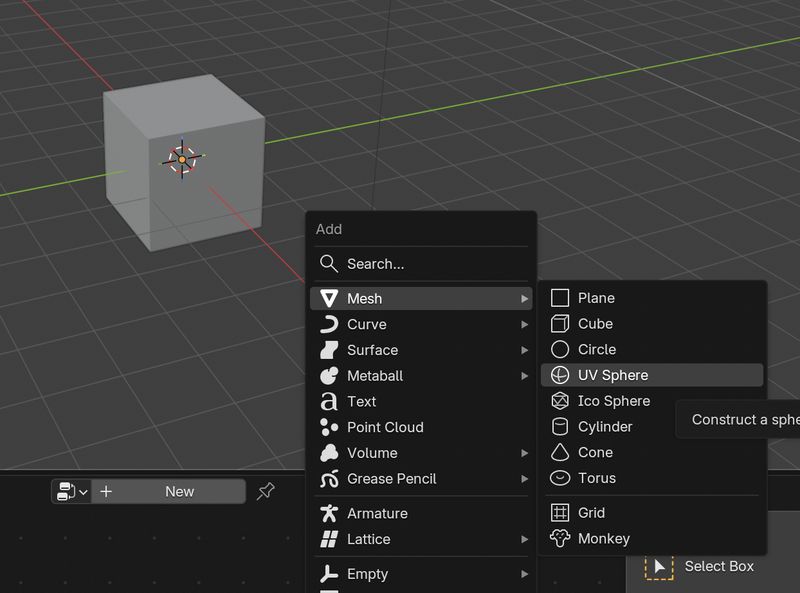
Select mesh→UV sphere
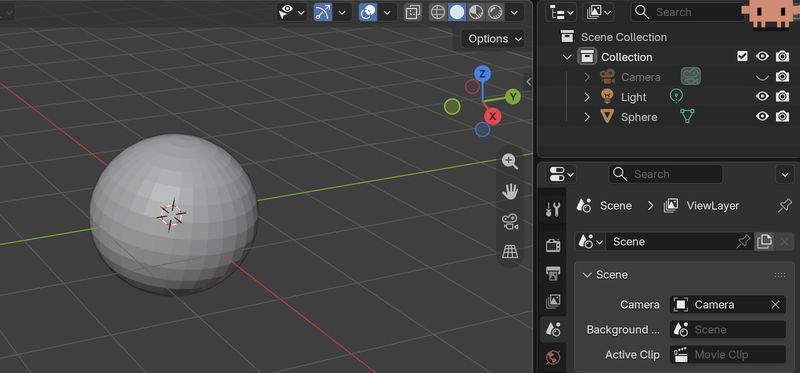
Put sphere node
Then Open the geometry node editor and push "new" button at center.
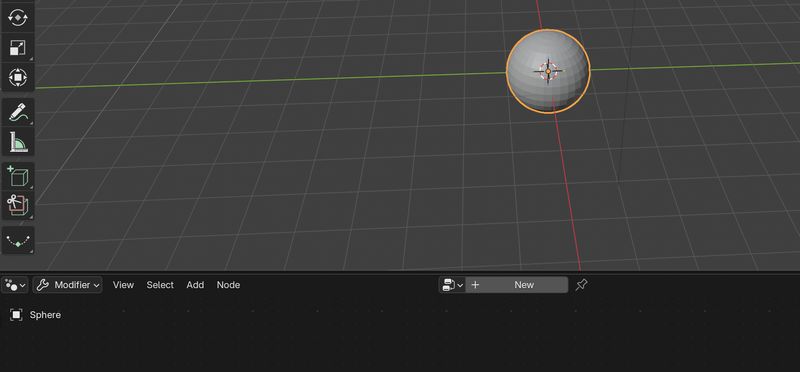
Select mesh→UV sphere
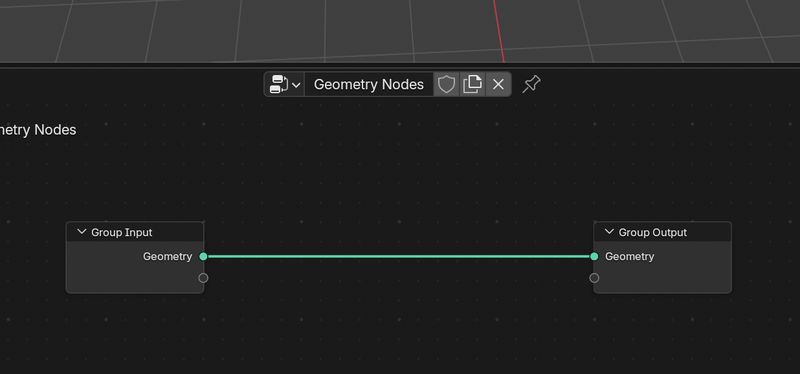
Put sphere node
Then adding each geometry node by "Shift + A" and put the nodes same as model.
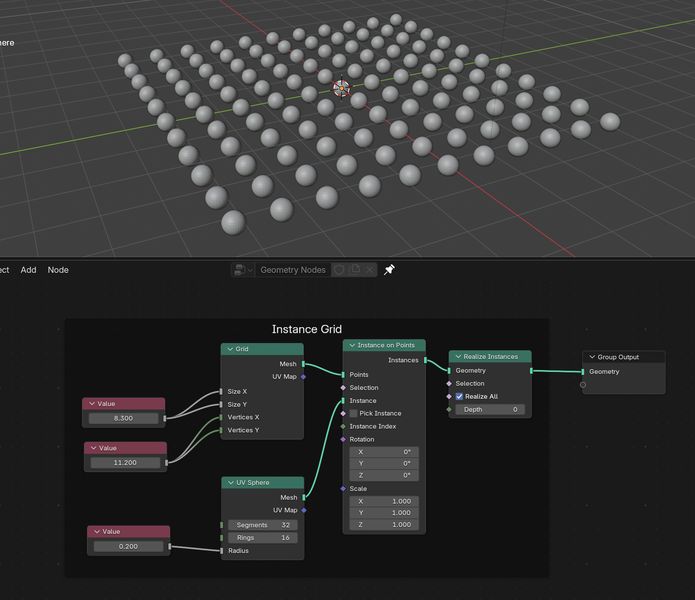
Grid Repulsor
I could follow relatively good so far until this part began.
However, I stop and stuck this part.
The sphere grids disappeared after adding Repulsor part and a big sphere didn't always appear.
So first, I tried to fix asking chatGPT to make it same as the model. I could understand each "value" correspond the feature but couldn't still show a "big ball" which affects the grid spheres.
Thanks to my team mate Leki suggested some ideas and tried them, I found that there should be 2 spheres, one for grid and one for "a big ball". So I added one more UV sphere and changed the name repulsor. Then it was linked at the "object info".
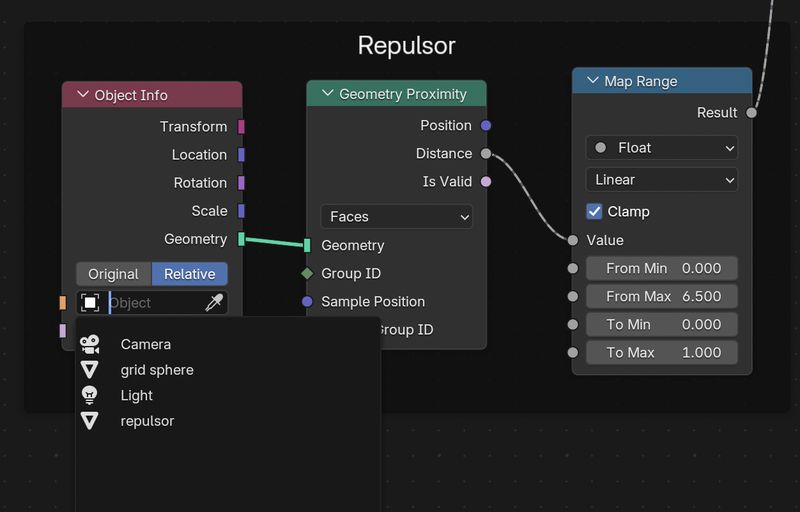
Select node from select bar
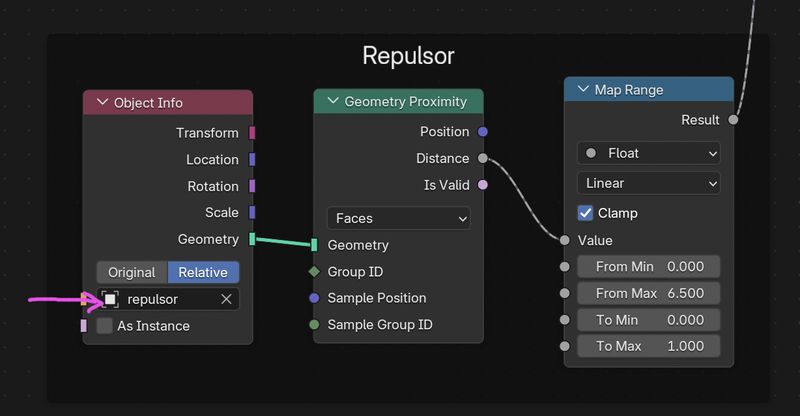
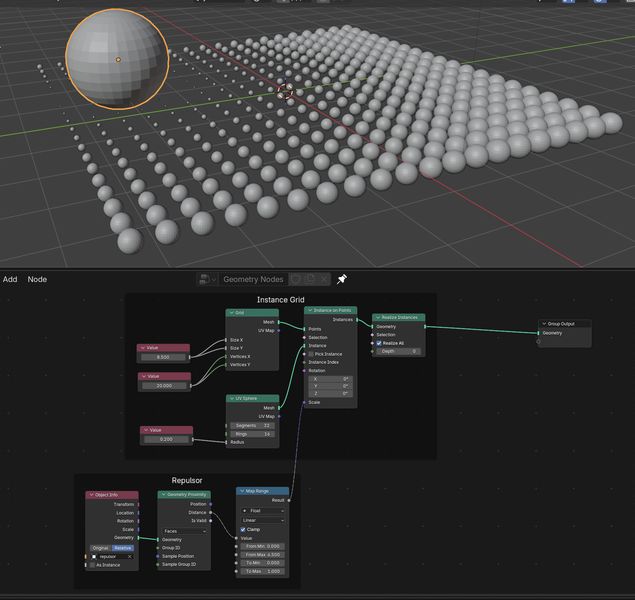
G-code
As I've already learnt how to use 3D printer at Fab Academy, my instructor suggested us to learn G-code to print and print something. I think it's great opportunity to understand and learn how to write it.
G-code is a machine control language, such as CNC and 3D printer. It tells the nozzle position, operation of filament and setting the temperature.
It is usually generated from the certain software from the shape data, such as Bambu studio, and Prusa slicer, when you put the data.
First I got the g-code data from the 3D printer slicer and study how it worked.
So I made a simple shape(simple square) by InkScape and saved it .svg.
Then it is put into the slicer software and get the g-code file.
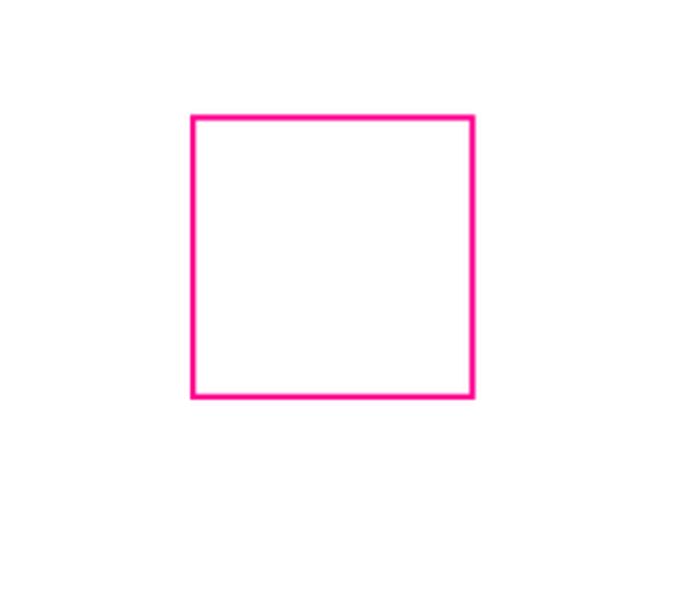
simple circle in Inkscape
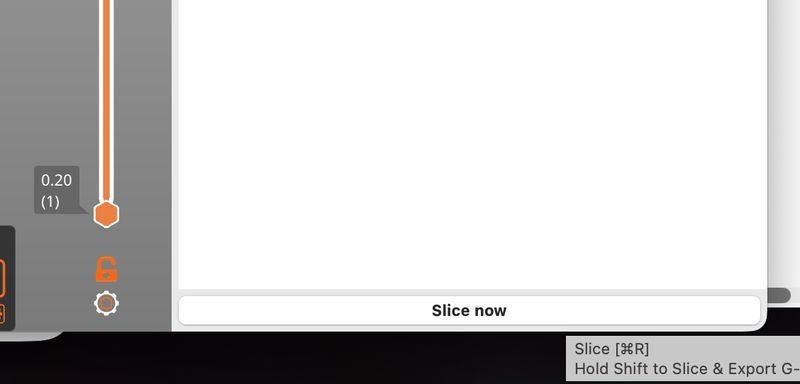
Slice in Prusa slicer
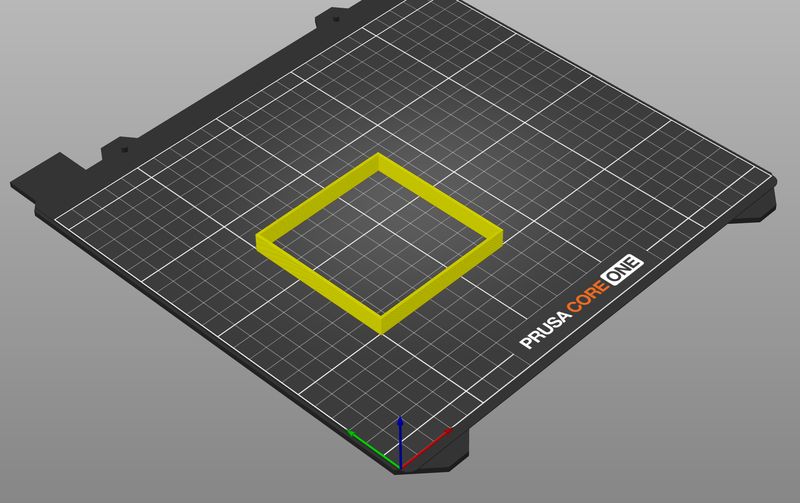
Export g-code file
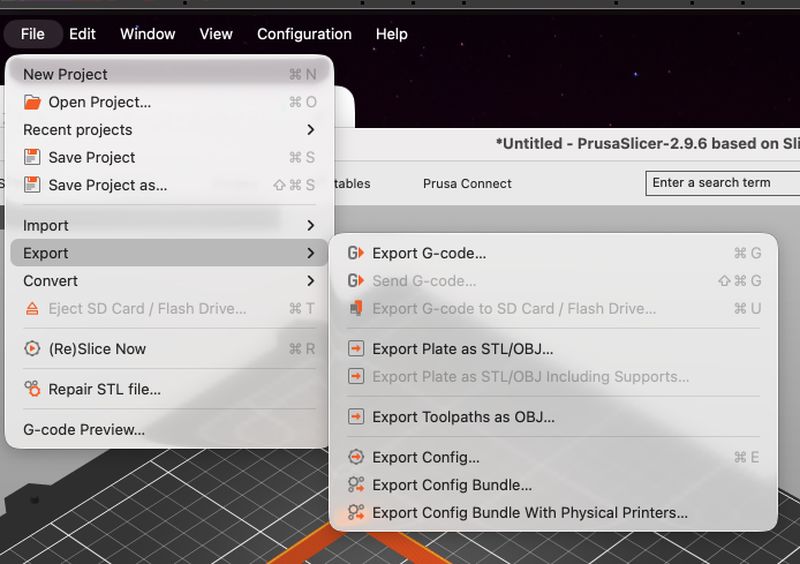
Export g-code file
Each 3D printer has it's own heder and footer data in the g-code file. So I had to find exact place where the shape is written.
First, I tried to do it with the Bambu studio.
Because Bambu X1 is used in the lab, open the Bambu studio and put the file.
I got a g-code file and check it. The Bambu's original data was too huge and complicated for me, and I couldn't find the drawing part. Therefore I changed the printer to Prusa mini.
I did the same thing to Prusa slicer and get the Prusa's g-code data.
This time, I could find it with the help of chatGPT.
Next, I studied how it was written for drawing the square from that file with chatGPT. I also checked basic g-code procedures. Basic procedures are ;
| Code | Function | Example |
|---|---|---|
G28 |
Home all axes | G28 |
G90 |
Use absolute XYZ coordinates | G90 |
M83 |
Use relative extrusion | M83 |
G1 |
Move the nozzle and extrude filament | G1 X125 Y100 E1 F1200 |
M104 |
Set nozzle temperature | M104 S210 |
M107 |
Turn off the cooling fan | M107 |
M109 |
Set nozzle temperature and wait | M109 S210 |
| [by chatGPT] |
Then I tried to write my own "square" by g-code and put it into the Prusa's g-code file.
M107            // Turn off the cooling fan for the first layer (add by chatGPT)
G90         // Use absolute XYZ coordinates
M83         // Use relative extrusion
M204 P600     // Set printing acceleration at 600mm/s²
G1 Z3 F720  // Move the nozzle 3mm of Z axis at 720mm/min(=12mm/s)
G1 X100 Y100 F3000  // Move the nozzle to X=100 and Y=100 at 3000mm/min(=50mm/s)
G1 Z0.2 F720        // Move the nozzle Z=0.2
G1 X125 Y100 E0.935 F1200
G1 X125 Y125 E0.935
G1 X100 Y125 E0.935
G1 X100 Y100 E0.935
then I put this file to the 3D printer and printed. The square was successfully made!
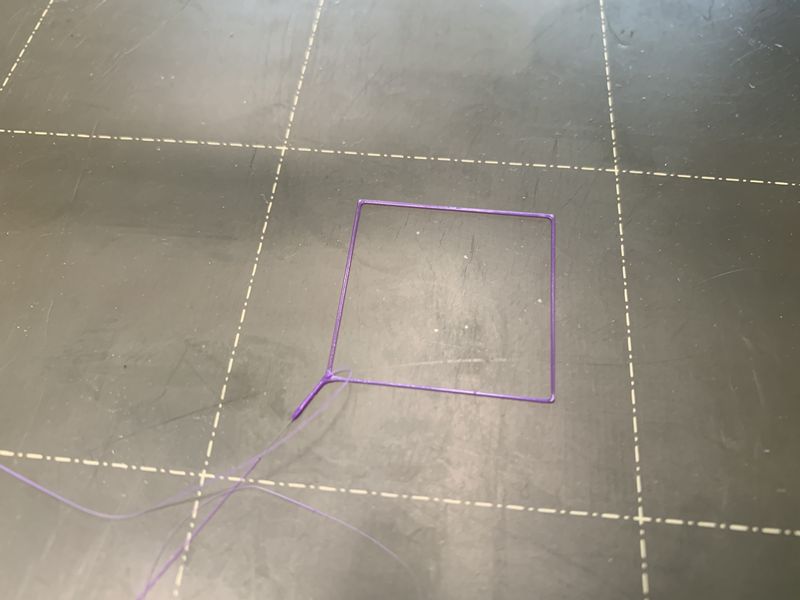
Then I asked chatGPT to add several lines in the square and sine curves.
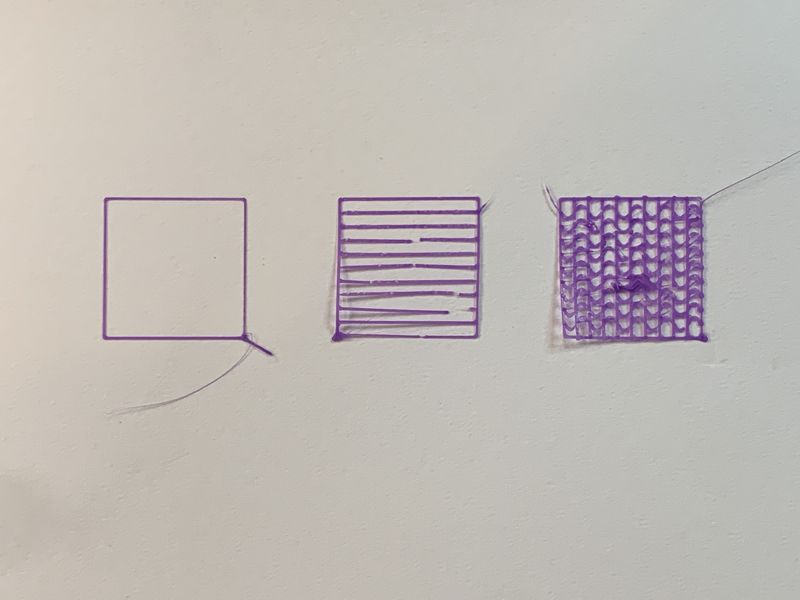
3 patterns of g-code design
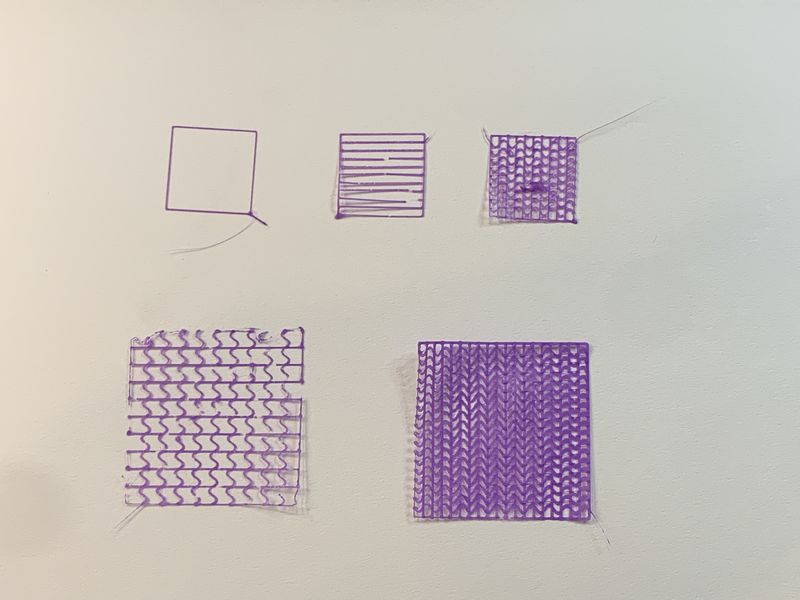
Size change version
Parametric Design
Test Design
As I succeeded g-code drawing, I continued to make test design with g-code writing for the parametric design by the materials.
I made small pieces of parametric design and printed by PLA and TPU.
After that, printed several layers(1~3) by PLA.
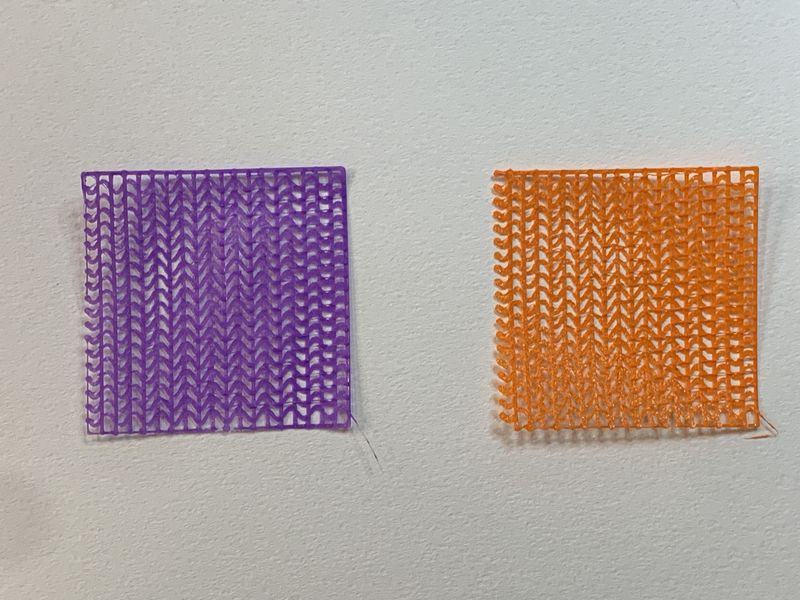
PLA and TPU
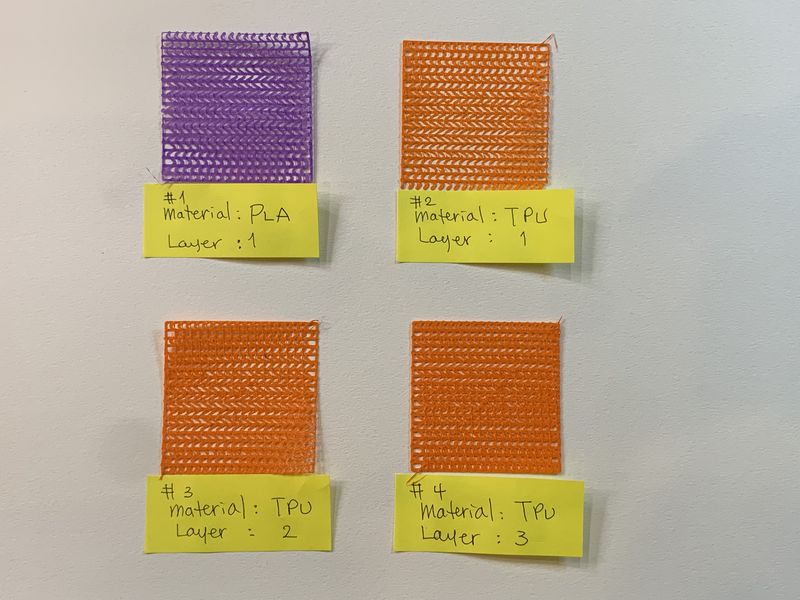
PLA and TPU 1~3 layers
PLA is clearly too hard for textile to use and 2nd layers of TPU seems the most flexible among them.
Parametric Design
As I said before, Japanese traditional patterns can be parametric design. So I asked chatGPT to make P5.js program about the parametric design using one of the Japanese traditional design. As there are so many traditional designs, I started with simple pattern, "Shippo(七宝)".

These patterns are easy to make parametric because those patterns are made combinable. So I asked chatGPT to make the parametric design program by P5js.
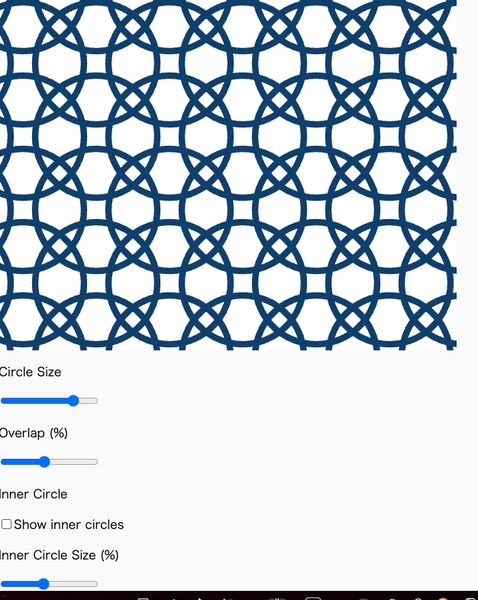
Basic Shippo design
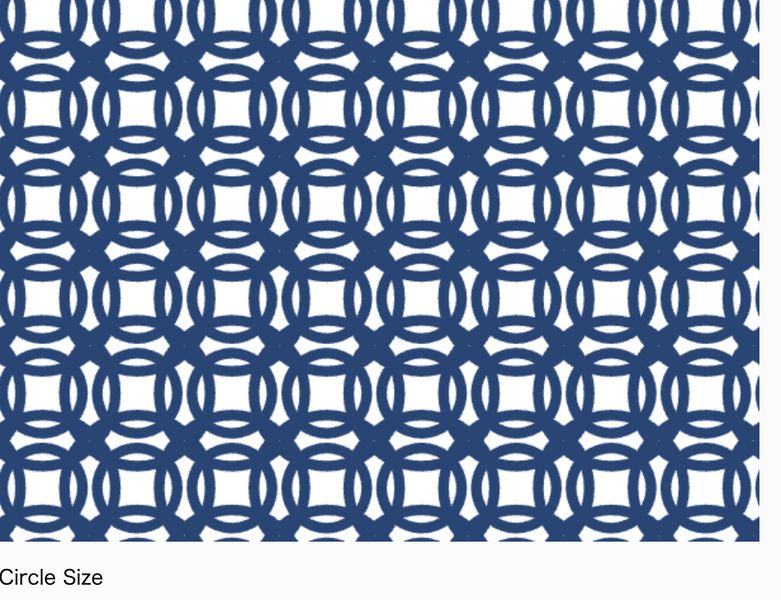
Another design
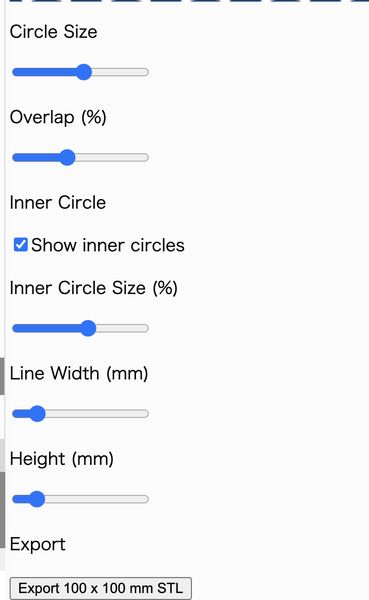
Menu for changing the shape
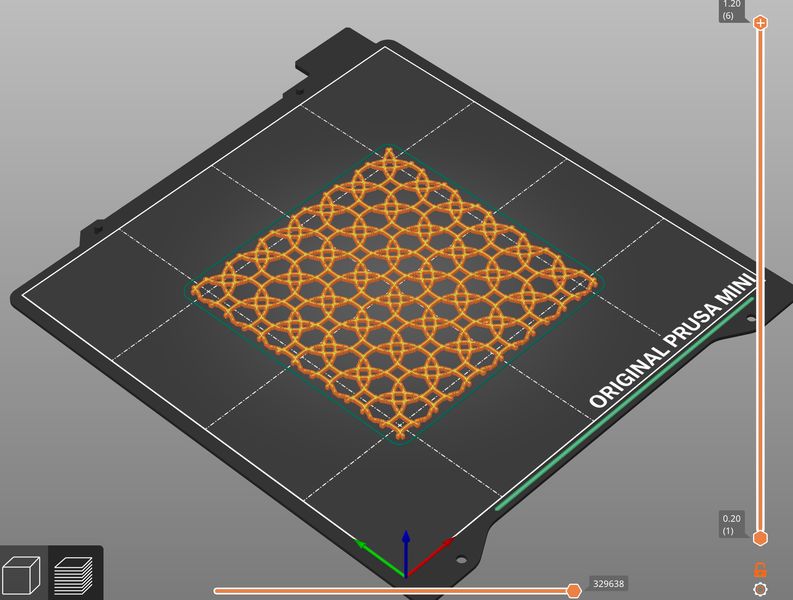
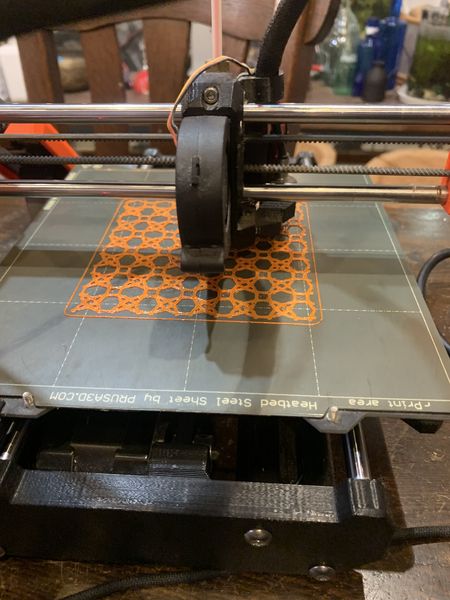
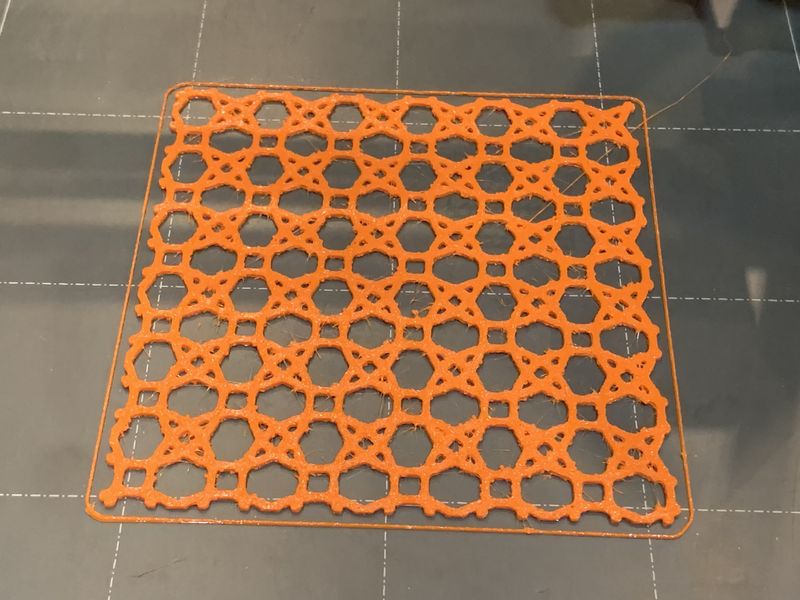
It is also added button to export STL file and made STL file from the design. I put that STL file into the 3D printer and print it TPU 95 filament.
3 patterns of g-code design
Size change version
TPU Filament
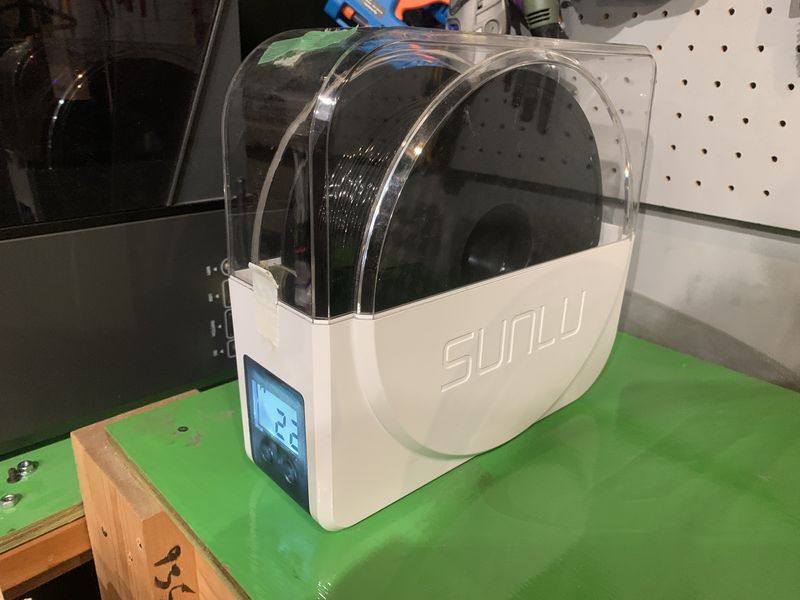
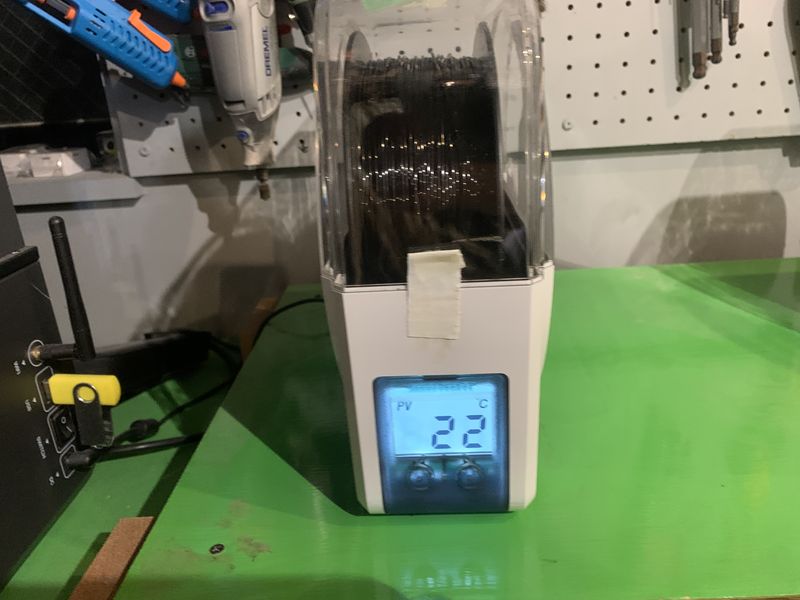
As TPU filament is really friendly with humid, it should be handled in a dry environment. If it's difficult to make such a environment, we should keep in a dry environment just after using. For example, my lab(Skylab) has several filament dryer to keep them.
3
Result
I could successfully print the TPU parametric design "textile-ish" one.
3 patterns of g-code design
Size change version
Weekly reflection & critical thinking
Code
This is the parametric design code by P5.js that I asked to make chatGPT;
let sizeSlider, overlapSlider;
let innerCheck, innerSizeSlider;
let lineWidthSlider, heightSlider;
let exportButton;

const MODEL_MM = 100;
const SAMPLE_PX = 2;

function setup() {
  createCanvas(600, 600);

  createP("Circle Size");
  sizeSlider = createSlider(20, 200, 100, 5);

  createP("Overlap (%)");
  overlapSlider = createSlider(0, 90, 50, 5);

  createP("Inner Circle");
  innerCheck = createCheckbox("Show inner circles", false);

  createP("Inner Circle Size (%)");
  innerSizeSlider = createSlider(10, 90, 40, 5);

  createP("Line Width (mm)");
  lineWidthSlider = createSlider(0.8, 5, 1.6, 0.2);

  createP("Height (mm)");
  heightSlider = createSlider(0.6, 5, 1.2, 0.2);

  createP("Export");
  exportButton = createButton("Export 100 x 100 mm STL");
  exportButton.mousePressed(exportSTL);
}

function settings() {
  return {
    diameter: sizeSlider.value(),
    spacing: sizeSlider.value() *
      (1 - overlapSlider.value() / 100),
    ratio: innerSizeSlider.value() / 100,
    inner: innerCheck.checked(),
    linePx: lineWidthSlider.value() * width / MODEL_MM,
    thickness: heightSlider.value()
  };
}

function draw() {
  background(255);

  const s = settings();

  stroke(30, 70, 120);
  strokeWeight(s.linePx);
  noFill();

  for (let x = -s.diameter;
       x <= width + s.diameter;
       x += s.spacing) {

    for (let y = -s.diameter;
         y <= height + s.diameter;
         y += s.spacing) {

      circle(x, y, s.diameter);

      if (s.inner) {
        circle(x, y, s.diameter * s.ratio);
      }
    }
  }
}

// Check whether a point belongs to any circle line
function isPattern(px, py, s) {
  const r = s.diameter / 2;
  const half = s.linePx / 2;
  const reach = r + half;

  const maxIndex = Math.floor(
    (width + 2 * s.diameter) / s.spacing + 1e-8
  );

  const minX = Math.max(0, Math.ceil(
    (px - reach + s.diameter) / s.spacing
  ));
  const maxX = Math.min(maxIndex, Math.floor(
    (px + reach + s.diameter) / s.spacing
  ));

  const minY = Math.max(0, Math.ceil(
    (py - reach + s.diameter) / s.spacing
  ));
  const maxY = Math.min(maxIndex, Math.floor(
    (py + reach + s.diameter) / s.spacing
  ));

  for (let ix = minX; ix <= maxX; ix++) {
    const cx = -s.diameter + ix * s.spacing;

    for (let iy = minY; iy <= maxY; iy++) {
      const cy = -s.diameter + iy * s.spacing;
      const d = Math.hypot(px - cx, py - cy);

      if (Math.abs(d - r) <= half) return true;

      if (s.inner &&
          Math.abs(d - r * s.ratio) <= half) {
        return true;
      }
    }
  }

  return false;
}

function exportSTL() {
  const s = settings();

  const nx = Math.ceil(width / SAMPLE_PX);
  const ny = Math.ceil(height / SAMPLE_PX);

  const grid = new Uint8Array(nx * ny);

  for (let j = 0; j < ny; j++) {
    for (let i = 0; i < nx; i++) {
      const px = (i + 0.5) * width / nx;
      const py = (j + 0.5) * height / ny;

      if (isPattern(px, py, s)) {
        grid[j * nx + i] = 1;
      }
    }
  }

  const dx = MODEL_MM / nx;
  const dy = MODEL_MM / ny;
  const h = s.thickness;

  const triangles = [];

  function filled(x, y) {
    return x >= 0 && y >= 0 &&
      x < nx && y < ny &&
      grid[y * nx + x] === 1;
  }

  function tri(a, b, c) {
    triangles.push([a, b, c]);
  }

  function quad(a, b, c, d) {
    tri(a, b, c);
    tri(a, c, d);
  }

  // Top and bottom surfaces
  for (let y = 0; y < ny; y++) {
    let x = 0;

    while (x < nx) {
      if (!filled(x, y)) {
        x++;
        continue;
      }

      const start = x;

      while (x < nx && filled(x, y)) x++;

      const x0 = start * dx;
      const x1 = x * dx;
      const y0 = y * dy;
      const y1 = (y + 1) * dy;

      // Top
      quad(
        [x0,y0,h], [x1,y0,h],
        [x1,y1,h], [x0,y1,h]
      );

      // Bottom
      quad(
        [x0,y1,0], [x1,y1,0],
        [x1,y0,0], [x0,y0,0]
      );
    }
  }

  // Side walls
  for (let y = 0; y < ny; y++) {
    for (let x = 0; x < nx; x++) {
      if (!filled(x,y)) continue;

      const x0 = x * dx;
      const x1 = (x+1) * dx;
      const y0 = y * dy;
      const y1 = (y+1) * dy;

      if (!filled(x-1,y)) {
        quad(
          [x0,y0,0], [x0,y0,h],
          [x0,y1,h], [x0,y1,0]
        );
      }

      if (!filled(x+1,y)) {
        quad(
          [x1,y0,0], [x1,y1,0],
          [x1,y1,h], [x1,y0,h]
        );
      }

      if (!filled(x,y-1)) {
        quad(
          [x0,y0,0], [x1,y0,0],
          [x1,y0,h], [x0,y0,h]
        );
      }

      if (!filled(x,y+1)) {
        quad(
          [x0,y1,0], [x0,y1,h],
          [x1,y1,h], [x1,y1,0]
        );
      }
    }
  }

  if (!triangles.length) {
    alert("No geometry to export.");
    return;
  }

  saveSTL(triangles);
}

function saveSTL(triangles) {
  const buffer = new ArrayBuffer(
    84 + triangles.length * 50
  );

  const view = new DataView(buffer);
  view.setUint32(80, triangles.length, true);

  let offset = 84;

  function writeFloat(n) {
    view.setFloat32(offset, n, true);
    offset += 4;
  }

  for (const t of triangles) {
    const [a,b,c] = t;

    const u = b.map((v,i) => v-a[i]);
    const v = c.map((n,i) => n-a[i]);

    let normal = [
      u[1]*v[2]-u[2]*v[1],
      u[2]*v[0]-u[0]*v[2],
      u[0]*v[1]-u[1]*v[0]
    ];

    const len = Math.hypot(...normal) || 1;
    normal = normal.map(n => n/len);

    normal.forEach(writeFloat);

    for (const p of t) {
      p.forEach(writeFloat);
    }

    view.setUint16(offset,0,true);
    offset += 2;
  }

  const blob = new Blob(
    [buffer],
    {type:"application/octet-stream"}
  );

  const url = URL.createObjectURL(blob);
  const a = document.createElement("a");

  a.href = url;
  a.download = "circle_pattern_100x100mm.stl";
  document.body.appendChild(a);
  a.click();
  a.remove();

  setTimeout(() => URL.revokeObjectURL(url),1000);
}