8. Soft robotics
Objective
Learning Outcome
- Research skills: the participant has acquired knowledge through references and Concept development
- Design skills: the participant has learnt through sketches, 2D and 3D modeling, simulations and (paper) prototypes
- Fabrication skills: the participant is able of executing from file to production workflow, molding and casting, vinylcutting, laser cutting
- Documentation: Anyone can go through the process, understand it and reproduce it
- Final outcome: Is the project assembled, functioning and complete
- Originality: Has the design been thought through and elaborated?
Student Checklist
- Document the concept, sketches, references (also to artistic and scientific articles)
- Make a soft robotic sample, develop the pattern for the Inflatable and draw a sketch of the air flow:
- build a pneumatic wrist brace (basic level) or
- build a Soft Gripper (intermediate level) or
- build and document a Pneumatic, digitally controlled system, electronics schematic, electronic control and code (advanced level)
- design your own version of an inflatable / soft robot
- Experiment with different materials, such as silicone, 3d printing, parchment paper, thermoadesive vynil, TPU fabrics, bioplastic, document your achievements and unexpected outcomes
- Make a small video of your inflatable/soft robot working
- Upload your digital design files (if any)
Research, Ideation & Inspiration
Origami
When I think of inflatable things, it reminds me origami.
Origami is a one of the traditional children's play, and we make something(almost anything!) with folding many ways from a paper.
It is still/always popular in Japan, and not only kids but also older people.
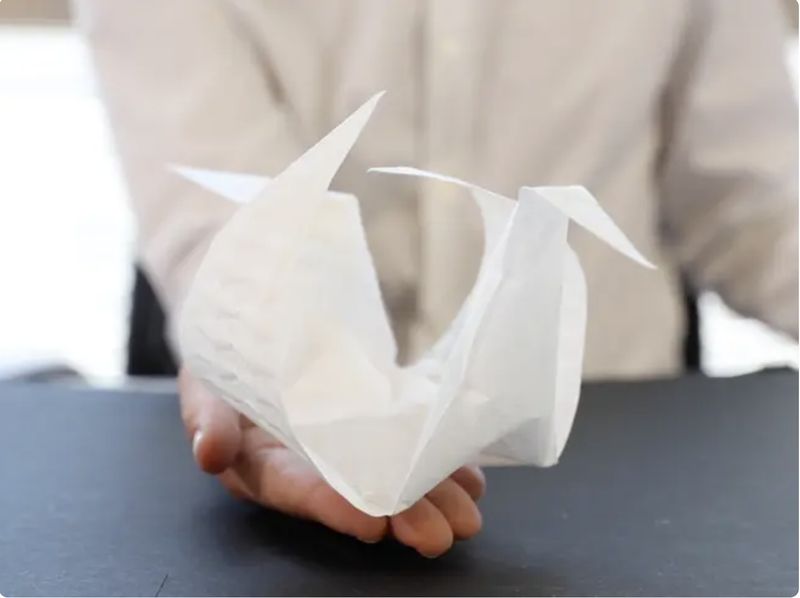
Soft robotics image from Material District
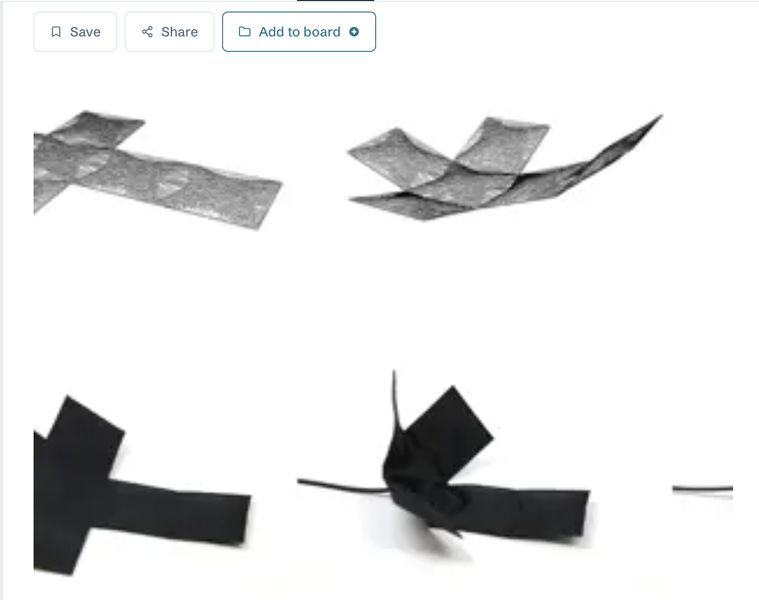
Technology of folding spreads into many fields, not only art field but many technologies. Origami technics make things folded into small piece or 3D object from 2D.
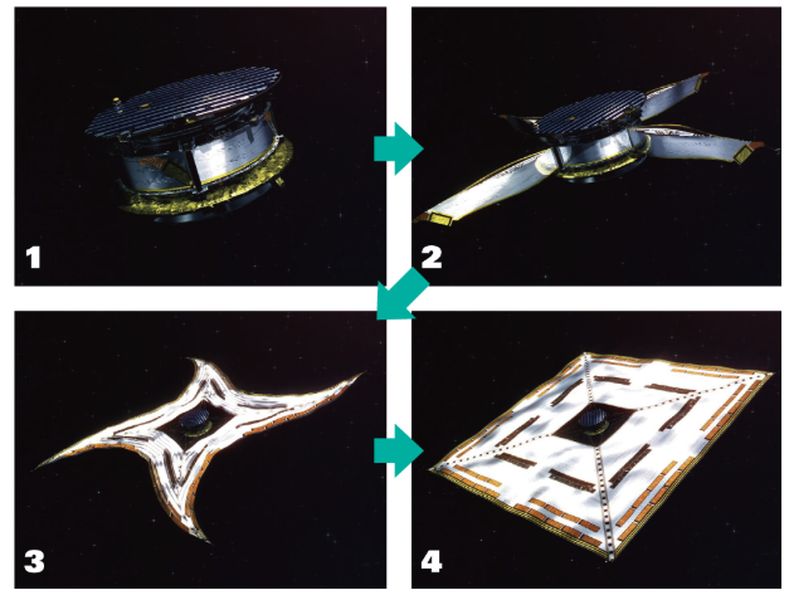
Soft robotics image from Material District
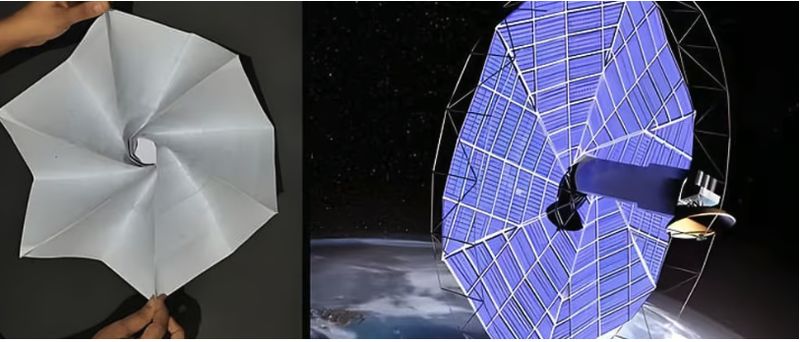
Vinyl Inflatable
Tool
- Vinyl sheet
- Cooking sheet
- tube
Process & Workflow
Step
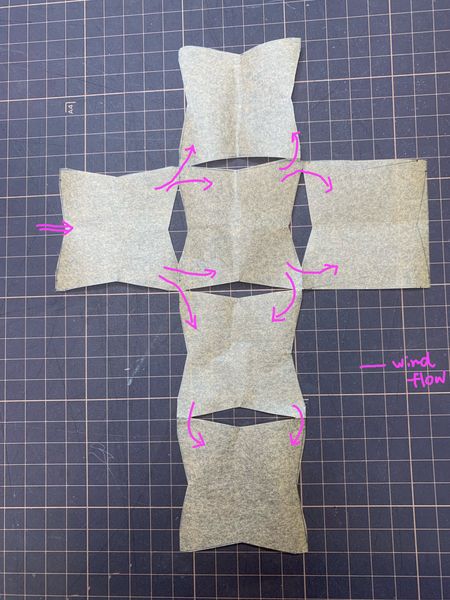
- Design and check the airflow
- Cut cooking sheet into the pattern with scissors
- Put the cooking sheet pattern into the vinyl sheet and cut 2 pieces a bit bigger than pattern
- Put the cooking sheet into 2 vinyl sheets and attached them(by heat)
Shape pattern
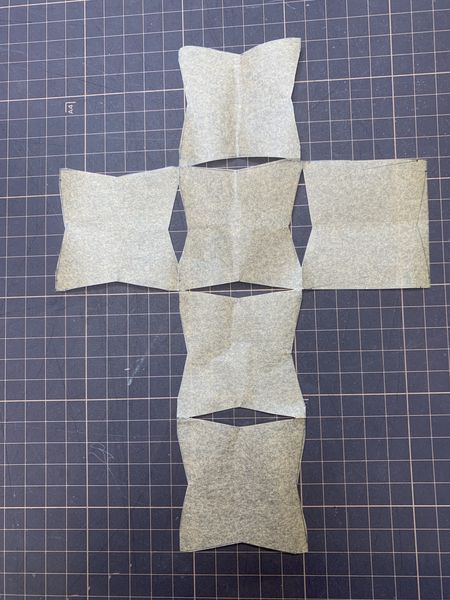
Estimated air flow
Result
First I used kitchen paper instead using cooking sheet and make inflatable sheet. I didn't work well because attached parts were too thin to keep while inflating.
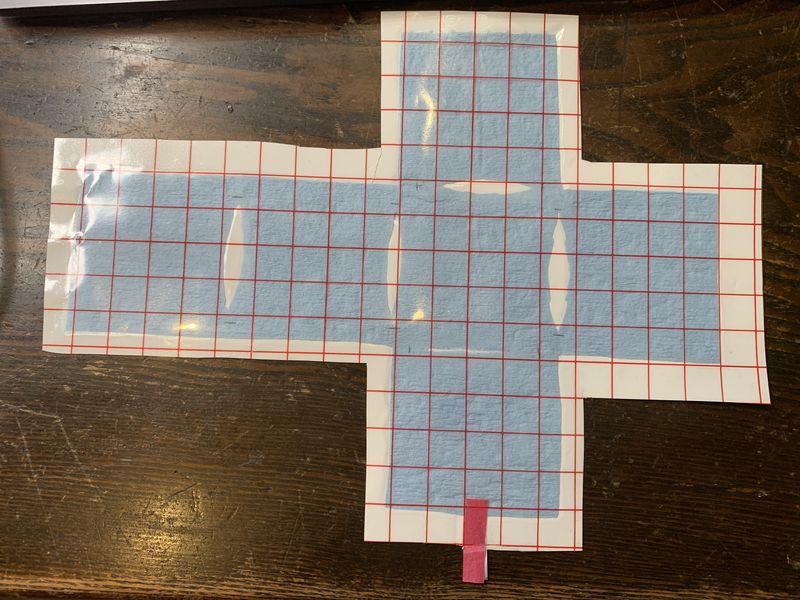
Then I changed the material to cooking sheet(more smooth surface) and cut attached part wider.
Silicone Inflatable
Process & Workflow
Last time I made silicone inflatable with Eco-flex 00-30, but this time I bought and used new silicone, Siraya Tech Difiant 25. It wasn't completely hard but As it is much firmer than I expected(hopefully I'd like to get similler stiffness as 00-30). So maybe I should buy Difiant 10, because it would be softer than 25. Anyway, I had experiment with this silicone difiant 25.
Tools
- Silicone mold: Siraya Tech
- Shape pattern mold
- 3D printer
- scaler, cup, vinyl gloves, stir stick
- Tooth pick
- tube
- (Air bulb, pump, buttery)
- Wendy mold
Step
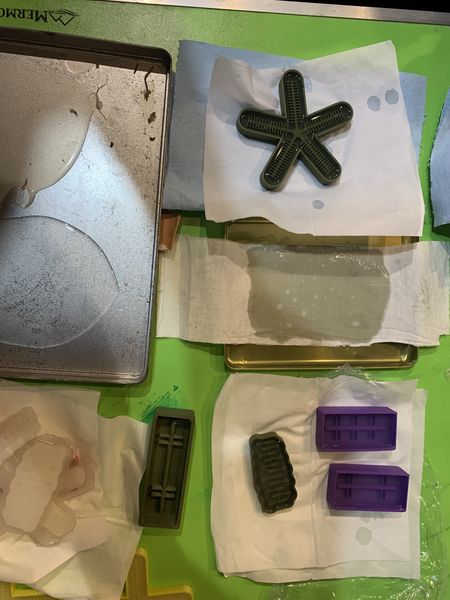
- Design and make mold I designed mold by Thinkercad and 3D printed
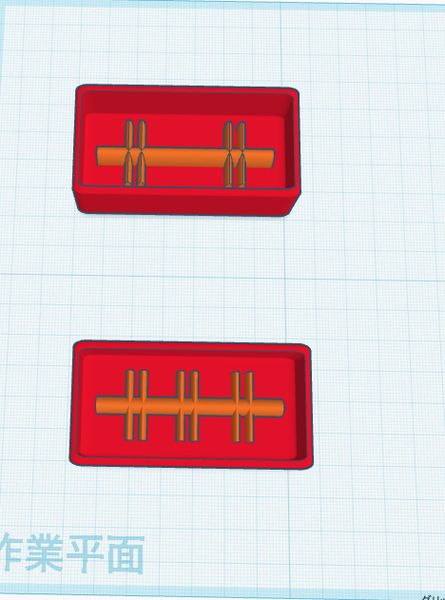
Design mold in ThinkerCad
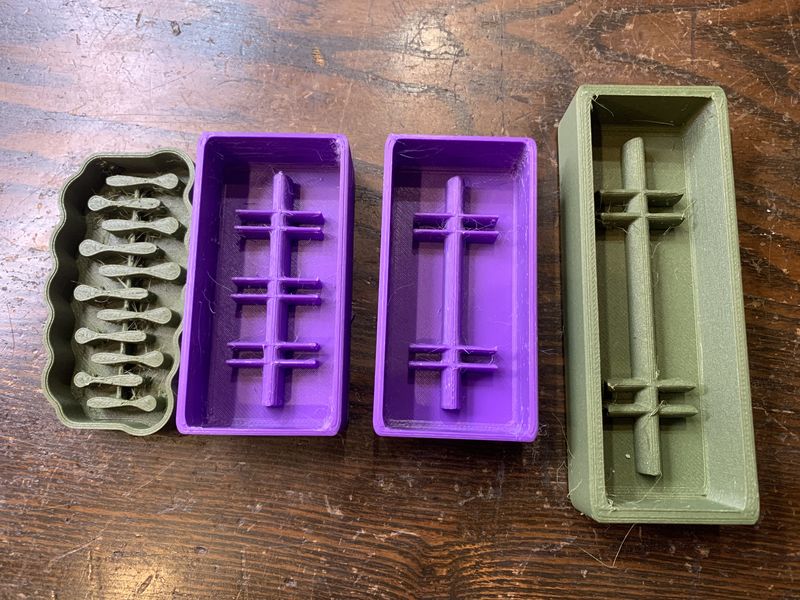
3D printed molds
-
Get Wendy mold data from alumni and star shaped mold from my Fab Academy page
-
Scale silicone liquids and put them together and mix well
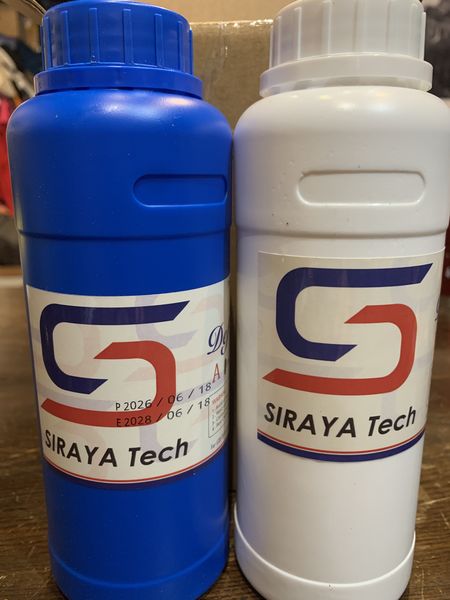
Soft robotics image from Material District
- Pour silicone into mold and stay 1 day(Instruction said 4~6 hours)
Soft robotics image from Material District
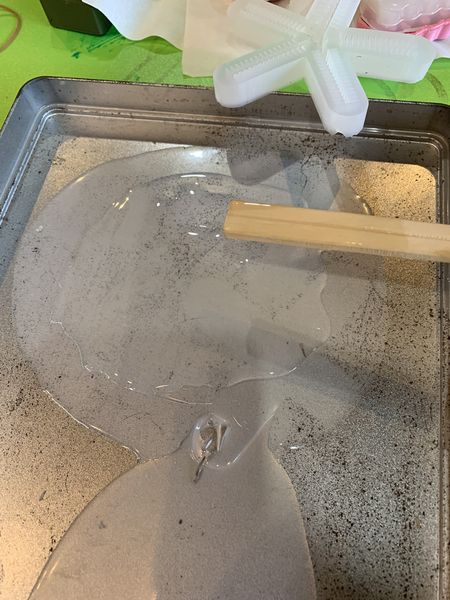
- Take out the silicone from the mold and put together with lid part
- Check how it works with putting it
Uploading images
-
Remember to credit/reference all your images to their authors. Open source helps us create change faster together, but we all deserve recognition for what we make, design, think, develop. Use the caption and reference system examples you see in the template.
-
Resize and optimize all your images. Images are optimised in size with resolution 72dpi, a good max width for full screen is 800px and passed through tinypng for final optimisation.
-
Remove tips when you don't need them anymore!
How-to use footnotes for references or fabrication files
-
Fabrication files are a necessary element for evaluation. You can add the fabrication files at the bottom of the page and link them as a footnote. This was your work stays organised and files will be all together at the bottom of the page. Footnotes are created using 1 (without spaces, as shown in Step 1 & 2, and referenced as you see at the bottom of this page) You can reference the fabrication files to multiple places on your page.
-
Referenced footnotes are important for crediting work of others, within your documentation.
-
If you are using footnotes for both, make sure to not mix them up, work with the numbering to keep things organised
How-to compress a PDF BEFORE uploading it:
Use a compressor when uploading a PDF, you can use online tools such as ilovepdf or smallpdf
How-to encode a VIDEO BEFORE uploading it:
Use a video encoder when uploading a video it needs to be well compressed, you can download tools such as Handbrake or online tools such as this Video Converter
How-to ZIP/compress a large Fabrication file:
To zip a file on Windows, right-click the file or folder, select "Show more options," choose "Send to," then "Compressed (zipped) folder." watch On a Mac, select the file or folder and choose "Compress" from the context menu. watch
get inspired!
Check out and research alumni pages to betetr understand how to document and get inspired
-
materials comparison - Julija Karas - FabLab Bcn
-
Artistic intervention - Riley Cox - TextileLab Amsterdam
Add your fav alumni's pages as references

"Lorem ipsum dolor sit amet, consectetur adipiscing elit, sed do eiusmod tempor incididunt ut labore et dolore magna aliqua. Ut enim ad minim veniam, quis nostrud exercitation ullamco laboris nisi ut aliquip ex ea commodo consequat. Duis aute irure dolor in reprehenderit in voluptate velit esse cillum dolore eu fugiat nulla pariatur. Excepteur sint occaecat cupidatat non proident, sunt in culpa qui officia deserunt mollit anim id est laborum. Lorem ipsum dolor sit amet, consectetur adipiscing elit, sed do eiusmod tempor incididunt ut labore et dolore magna aliqua."
Caption for the left image
Caption for the right image
-
Download references Links to online reference files, PDF, booklets
-
or embed your own PDF as:
- Video references: Vimeo (only when not yours)
Sound Waves from George Gally (Radarboy) on Vimeo.
- Video references: Youtube (only when not yours)
3. Tools
4. Process and workflow
"Lorem ipsum dolor sit amet, consectetur adipiscing elit, sed do eiusmod tempor incididunt ut labore et dolore magna aliqua. "
How-to use footnotes for fabrication files
Fabrication files are a necessary element for evaluation. You can add the fabrication files at the bottom of the page and link them as a footnote. This was your work stays organised and files will be all together at the bottom of the page. Footnotes are created using 1 (without spaces, as shown in Step 1 & 2, and referenced as you see at the bottom of this page) You can reference the fabrication files to multiple places on your page.
4.1 Step 1
This model 3 was obtained by.. Lorem ipsum dolor sit amet, consectetur adipiscing elit, sed do eiusmod tempor incididunt ut labore et dolore magna aliqua.
4.2 Step 2
The laser cut nesting 2 was created using.. Lorem ipsum dolor sit amet, consectetur adipiscing elit, sed do eiusmod tempor incididunt ut labore et dolore magna aliqua.
4.3 Step 3
...
5. Results
Results & documentation
- Don’t forget to document the outcome including:
- Final result
- Photos from different stages
- Videos of movement or interaction, show how a material moves, something was assembled or the interactive
- Include measurements or a reference object to give a sense of size
- Describe the (material) properties or what you made
- Comparison between attempts, if you did multiple experiments or generated multiple files before fabricating / deploying. You can use a table as shown in week 4
5.1 Code
Use the three backticks to separate code.
// the setup function runs once when you press reset or power the board
void setup() {
  // initialize digital pin LED_BUILTIN as an output.
  pinMode(LED_BUILTIN, OUTPUT);
}

// the loop function runs over and over again forever
void loop() {
  digitalWrite(LED_BUILTIN, HIGH);   // turn the LED on (HIGH is the voltage level)
  delay(1000);                       // wait for a second
  digitalWrite(LED_BUILTIN, LOW);    // turn the LED off by making the voltage LOW
  delay(1000);                       // wait for a second
}

// the setup function runs once when you press reset or power the board
void setup() {
  // initialize digital pin LED_BUILTIN as an output.
  pinMode(LED_BUILTIN, OUTPUT);
}

// the loop function runs over and over again forever
void loop() {
  digitalWrite(LED_BUILTIN, HIGH);   // turn the LED on (HIGH is the voltage level)
  delay(1000);                       // wait for a second
  digitalWrite(LED_BUILTIN, LOW);    // turn the LED off by making the voltage LOW
  delay(1000);                       // wait for a second
}
6. Weekly reflection & critical thinking
- What did I learn? What did I personally find interesting or surprised me?
- What would I do differently? If something "failed" do I know how else to tackle it now?"
- How does this connect to my final project or my learning trajectory?
- What are implications and possible applications, think also from the ethical or environmental aspect, how it could connect to your practice and project?
NuEval — final step
Go to NuEval and fill in the checklist, when not complete notify your instructor.
7. Fabrication files & References
haneen-jaafreh(Alumni in 2022)
Origami Robotics Public relation office in Japan Origami tech for 3D object Battery-free robots