Computational Couture
1. Objective
weekly assignment
- Document the concept, sketches, references also to artistic or scientific articles on 3D printing and parametric modeling
- Design a parametric model using Grasshopper3D or Blender (or alternative parametric software) and upload the 3Ddesign file + required parametric files
- Learn how to use a 3D printer and document the step-by-step process and settings
- Document the workflow for exporting your file and preparing the machine, Gcode and settings to be 3D printed
- Print your file and document the outcomes
- Upload your stl file
2. References, research & inspiration
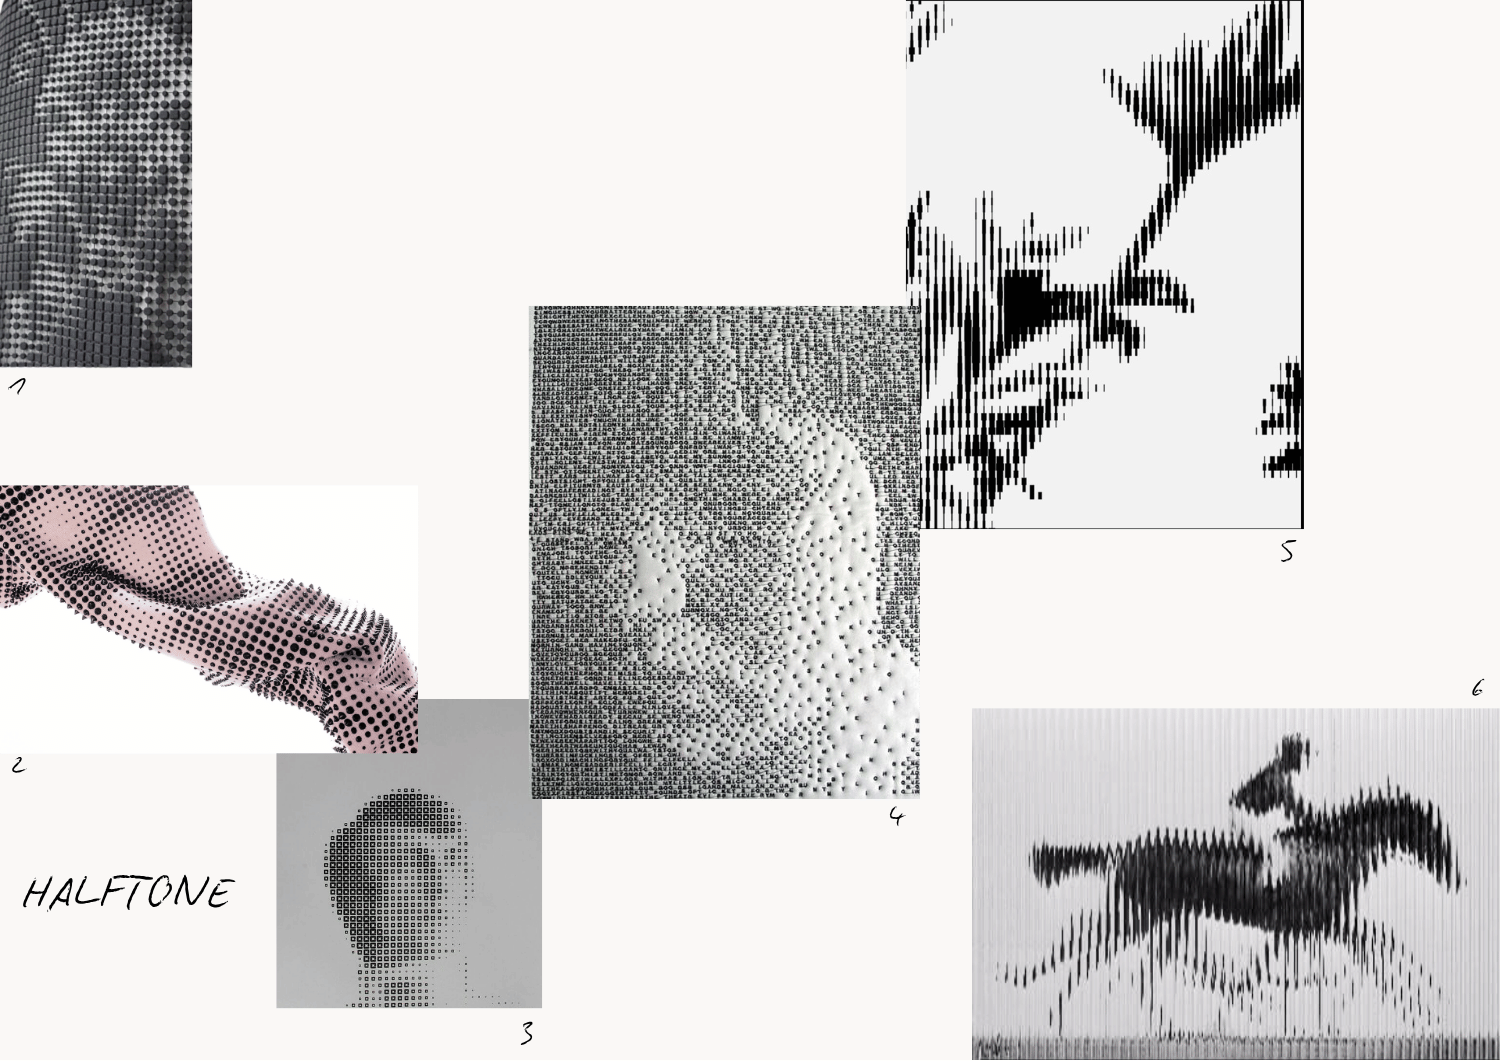
My first inspiration this week will be to work on halftones. I discovered this effect while preparing my screen-printing frames. Halftoning is necessary for this; it’s created using Photoshop. I’ve also discovered apps that create this effect. I really enjoy playing with the effects: the shape of the halftone, its scale, its density... I’m really eager to see if it’s possible to do this on fabric.
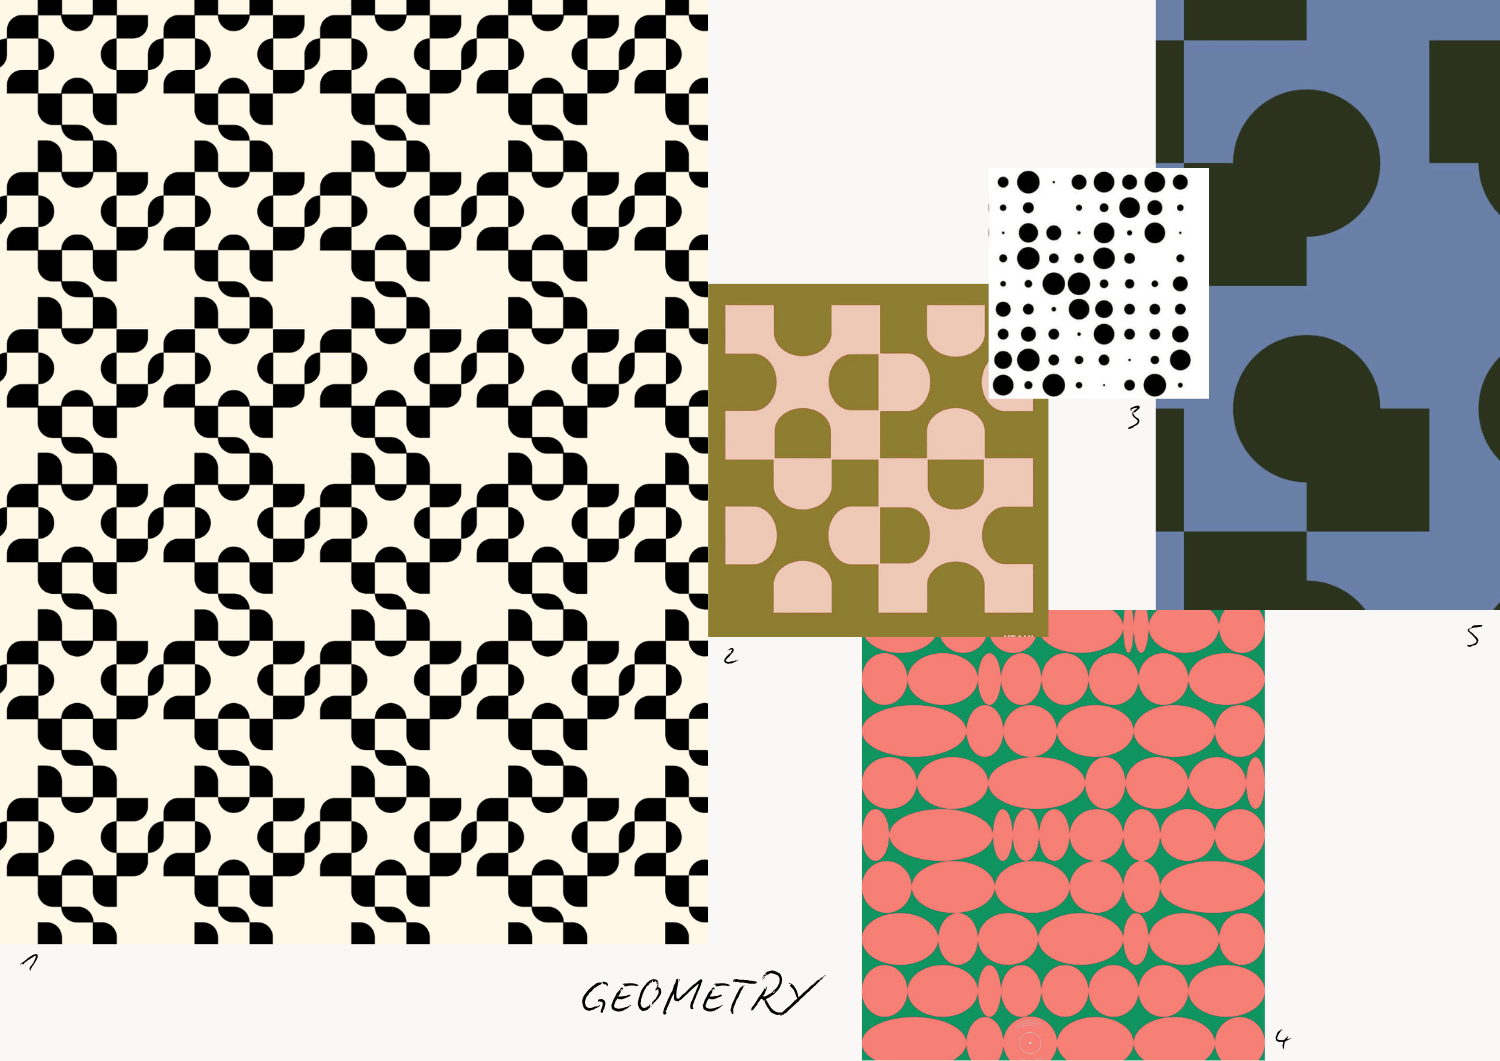
To create a second 3D-printed fabric using parametric design, I'll start with a geometric shape that I'll repeat. Here are a few patterns I found on Pinterest that inspire me.
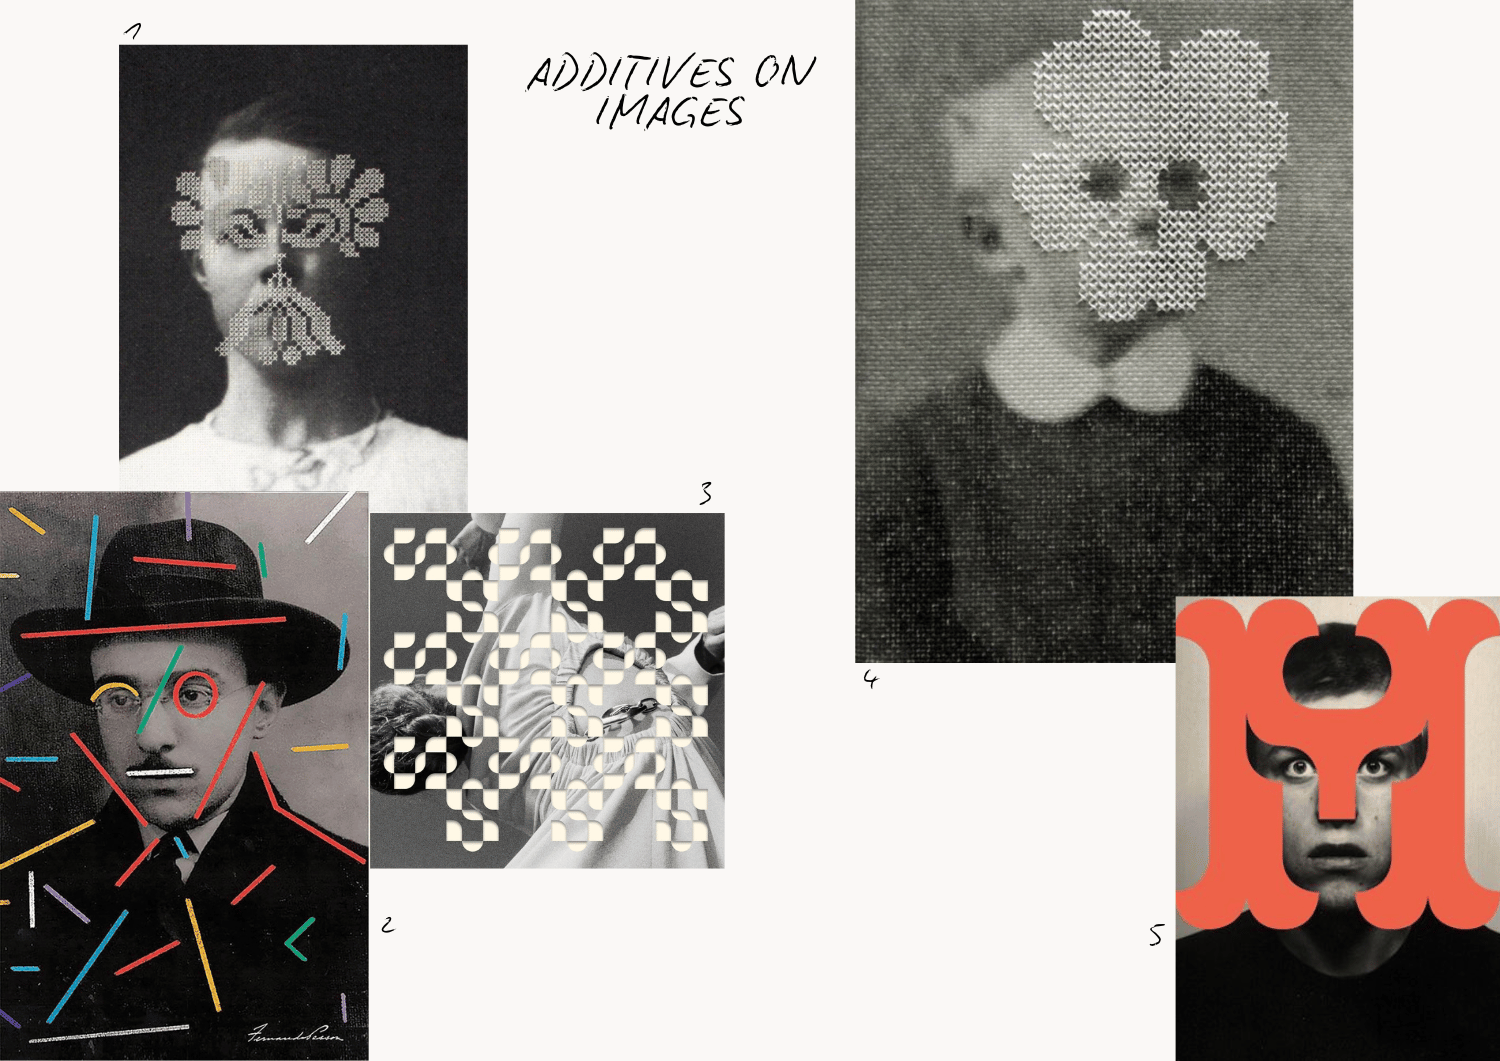
Finally, a third thing that inspires me is adding texture (perhaps through 3D printing) to a photo or portrait. Unfortunately, I don’t think I’ll have time to do that this week because it requires preparing or gathering fabrics with photos on them. I think it might be possible through printing or sublimation. I’ll keep this idea in mind for later.
Here are some of my explorations of geometric patterns.
3. Tools
4. 3D print
In the first, more theoretical section, I’ll begin by explaining the principles of 3D printing and detailing the various existing technologies. Next, we’ll take a closer look at textile manufacturing using 3D printing technology.
In the final section, I’ll move on to the practical side by implementing one or two of these techniques.
4.1 3D Print - General principles
3D printing is a manufacturing technique known as additive manufacturing: it involves creating a three-dimensional object with a complex shape by adding material in successive layers.
Depending on the printing technique used, a wide variety of materials can be processed, including plastic, resin, wax, metal, plaster, ceramics, glass, and even concrete.
There are three types of 3D printing technologies:
| Name | Principle | Examples |
|---|---|---|
| Fused Deposition Modeling (FDM) | A plastic filament is melted and deposited onto a print bed, building the object layer by layer | |
| Photopolymerization (SLA, DLP, LCD) | A laser or light source cures a liquid, photosensitive resin, point by point (laser SLA) or layer by layer (DLP, LCD) | |
| Powder fusion (SLS, SLM, DMLS) | A laser fuses powder particles point by point |
Here you'll find a video explaining these different 3D printing technologies:
In a fablab, we mainly use the first two techniques, which are easy to use and relatively inexpensive.
4.2 3D print - Make a fabric
People often think that 3D printing is only used to make small objects, but in fact, it’s also used to make fabrics!
This video explains it very well:
Here is a summary of the capabilities of an SLA printer:
| Name | Principle | Material | Examples |
|---|---|---|---|
| Chainmail | Print interconnected but separate links in a single pass to create a moving structure | Rigid (ex: PLA) | 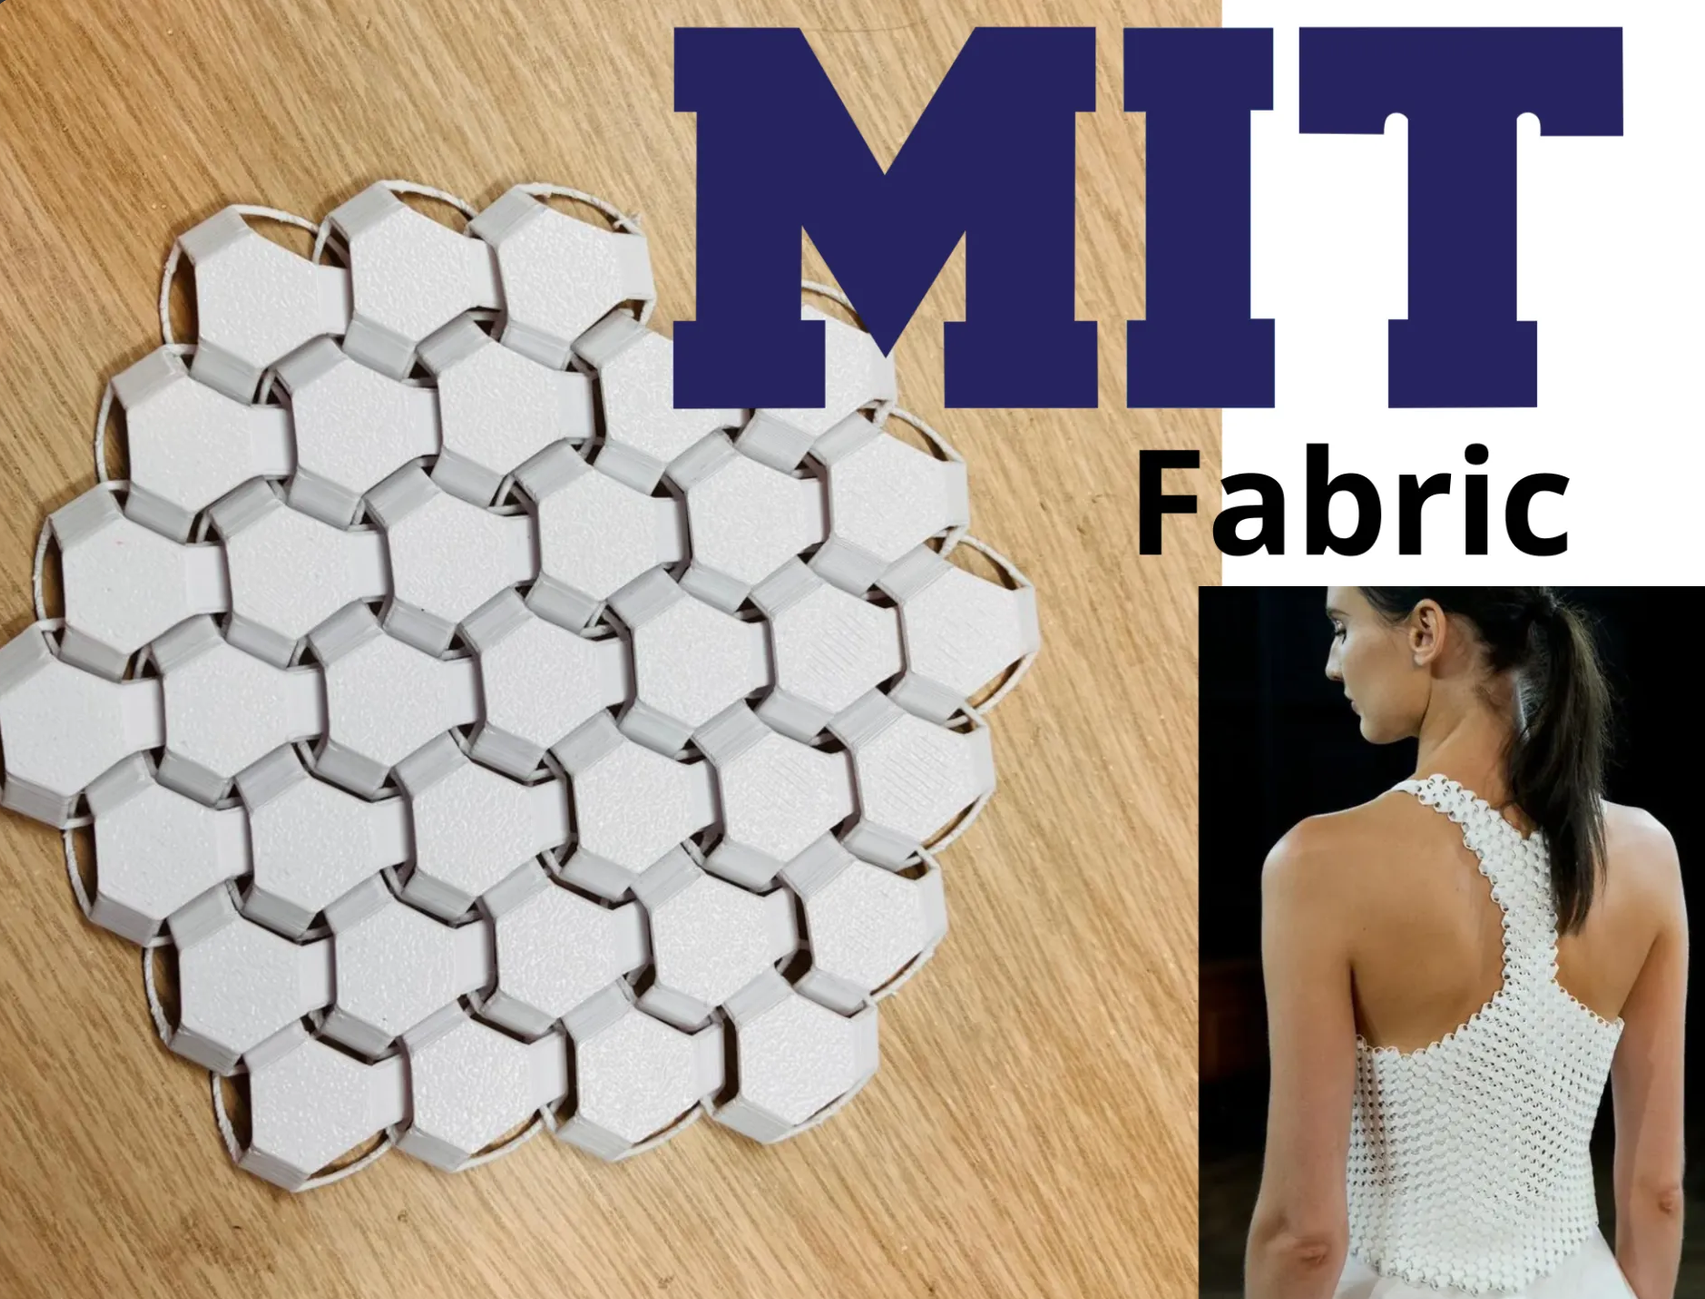 reference: Nasa MIT |
| Infill method | Remove the outer walls in the slicer to expose the internal grid pattern | Flexible (ex: TPU) | 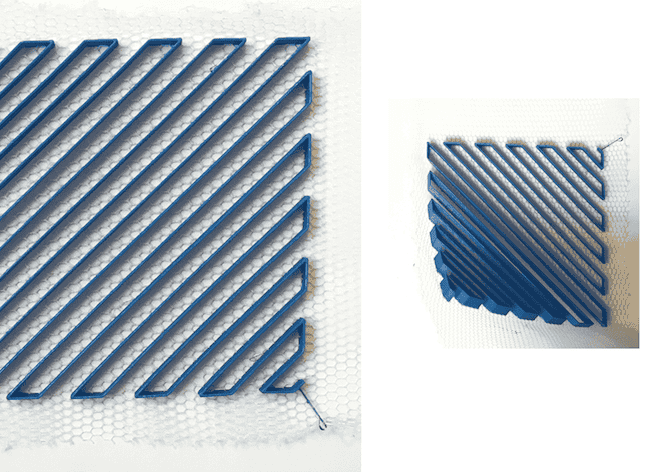 reference: Stéphanie Johnson |
| Modelize your own pattern | Design a custom, thin geometric mesh in CAD | Flexible (ex: TPU) | 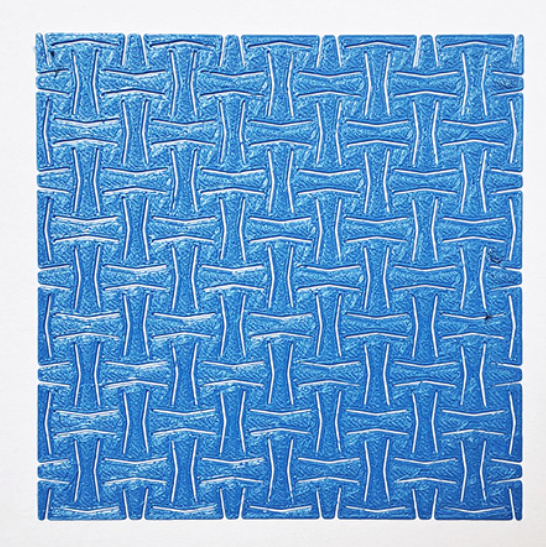 reference: Asli Aksan |
| Print on fabric | Pause the print mid-way to insert a opened fabric (like tulle) | Flexible (ex: TPU) or Rigid (ex: PLA) - Note: PLA works if the designs are separated by a small gap to allow the fabric to bend | 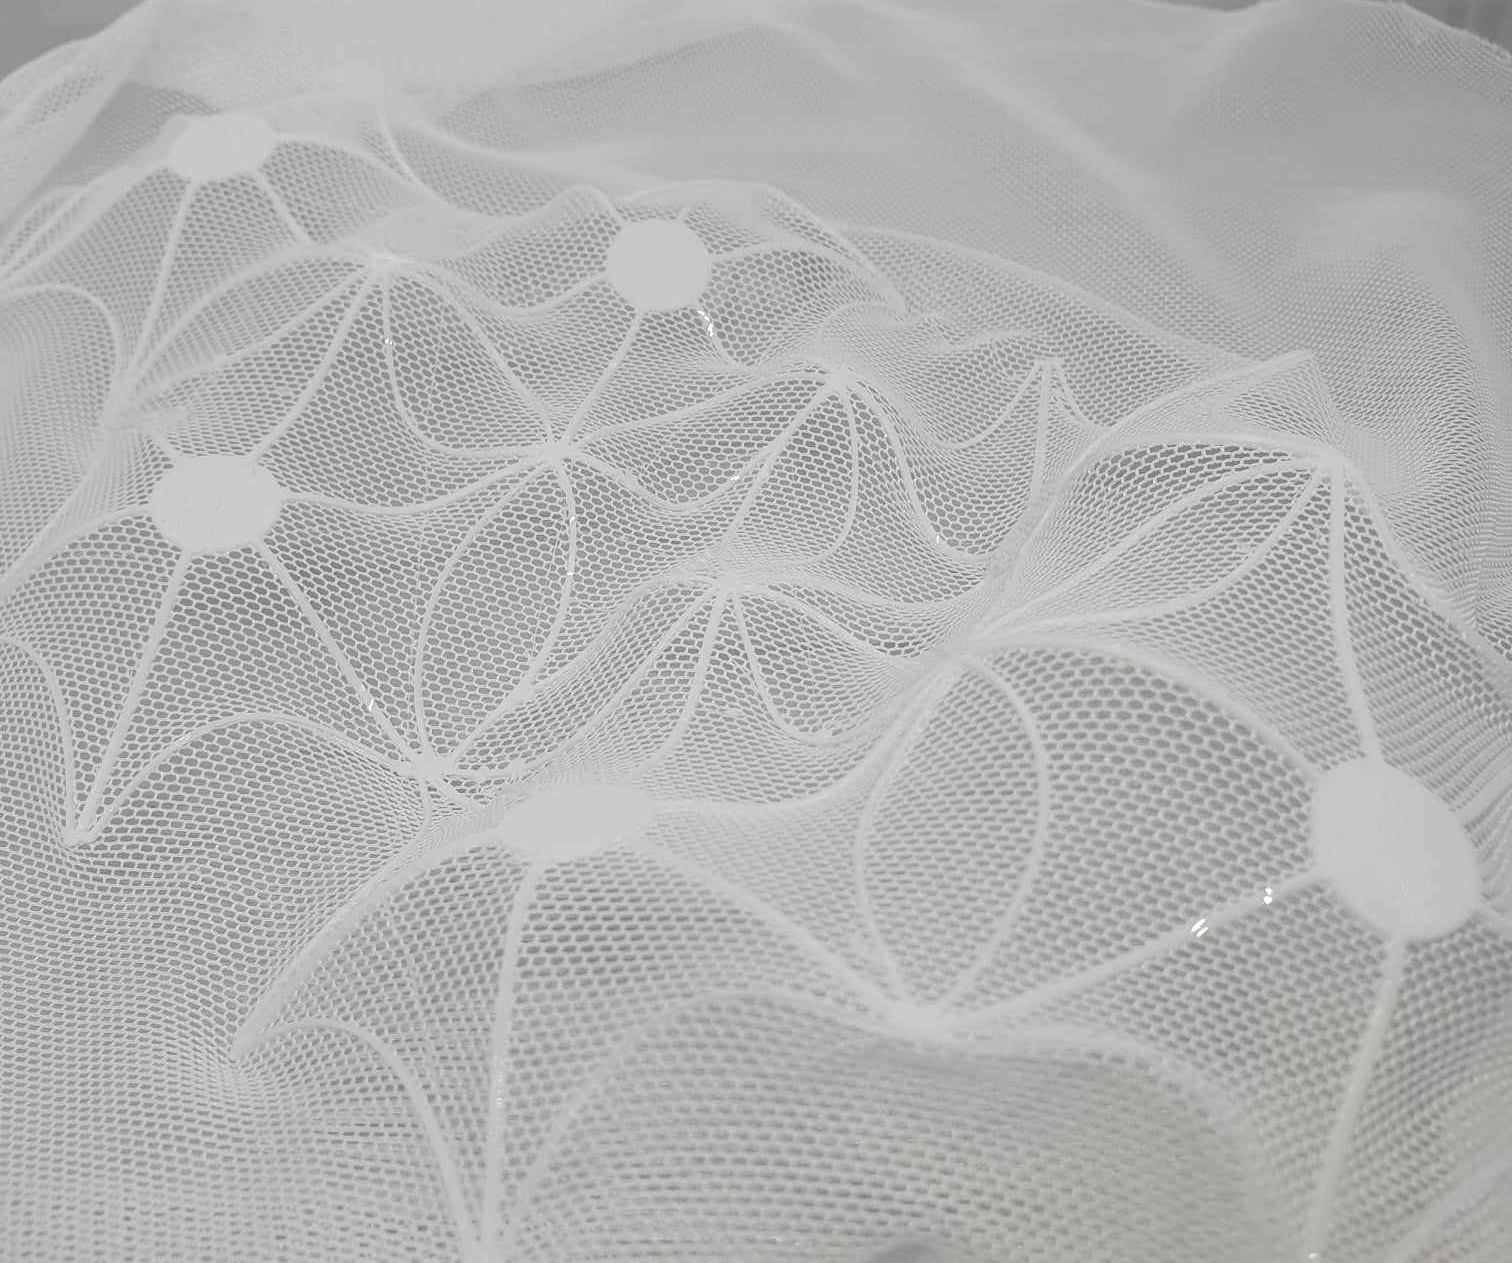 reference: Zahia Albakri |
4.3 3D print - Make a gardment
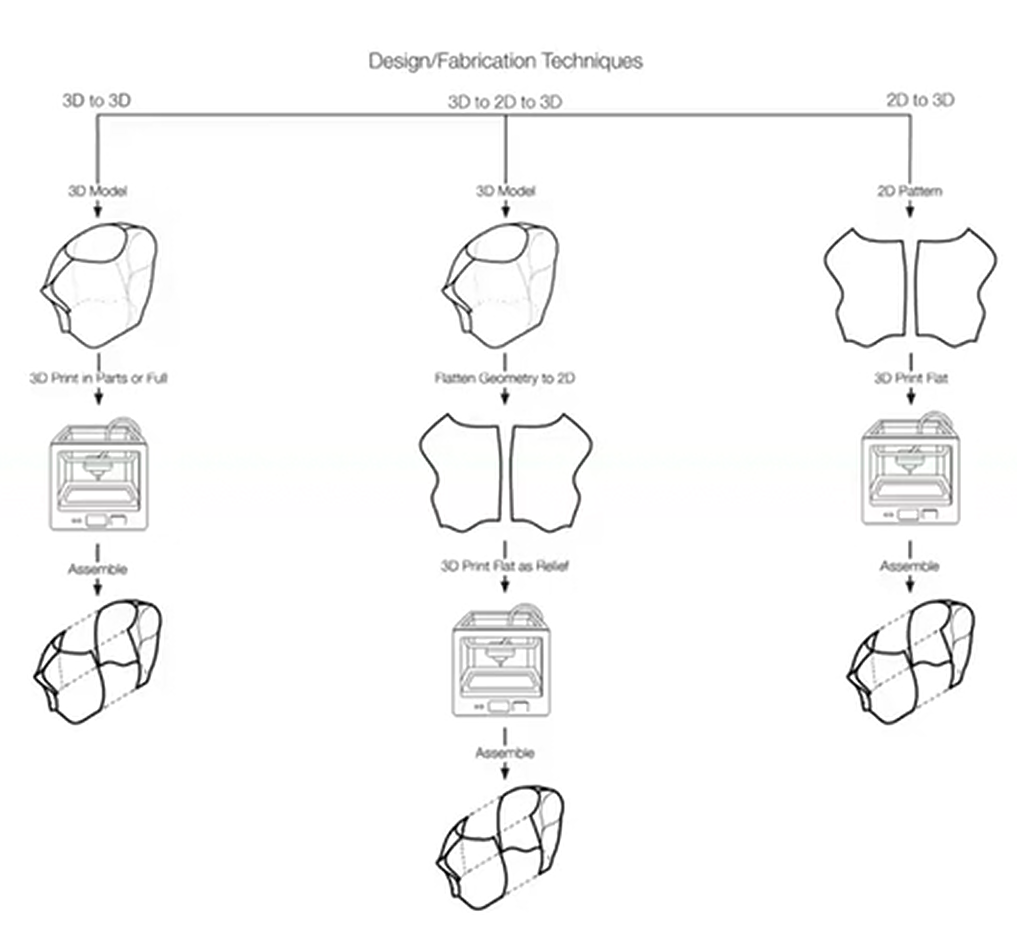
As Julia Korner explained during her presentation, there are three ways to design a garment:
- Work directly in 3D
- Go through a flat-pattern stage (2D)
- Work like traditional tailoring, starting out in 2D from the very beginning
...
5. Process and workflow
I worked on two different projects: halftone portrait
4.3 Halftone
I followed the following steps:

5. Results
Results & documentation
- Don’t forget to document the outcome including:
- Upload the photos & files on oscircularfashion
- Final result
- Photos from different stages
- Videos of movement or interaction, show how a material moves, something was assembled or the interactive
- Include measurements or a reference object to give a sense of size
- Describe the (material) properties or what you made
- Comparison between attempts, if you did multiple experiments or generated multiple files before fabricating / deploying. You can use a table as shown in week 4
6. Weekly reflection & critical thinking
- What did I learn? What did I personally find interesting or surprised me?
- What would I do differently? If something "failed" do I know how else to tackle it now?"
- How does this connect to my final project or my learning trajectory?
- What are implications and possible applications, think also from the ethical or environmental aspect, how it could connect to your practice and project?
NuEval — final step
Go to NuEval and fill in the checklist, when not complete notify your instructor.
7. Fabrication files & References
-
File: Grasshopper definition.. ↩
-
Reference: FAblab ULB tutorials; 3D printers; 2024 ↩