BioChromes
1. Objective
weekly assignment
- Include some inspiration: research on artists or projects that on natural/bacterial dyeing, local ingedients and resources
- Produce at least 1 natural dye with modifiers on fabric or yarn
- Produce 1 ink (not just dye on a paper) OR 1 pigment (recycling the dye bath leftover or creating one from scratch
- Document your recipes, the ingredients and process and if there have been changes from what was provided, document your unexpected discoveries
- Submit some of your swatches or a catalogue of them to the analog material library of your lab (20cm x 20cm approx)
2. References, research & inspiration
2.1 Inspiration
Sophie Morille
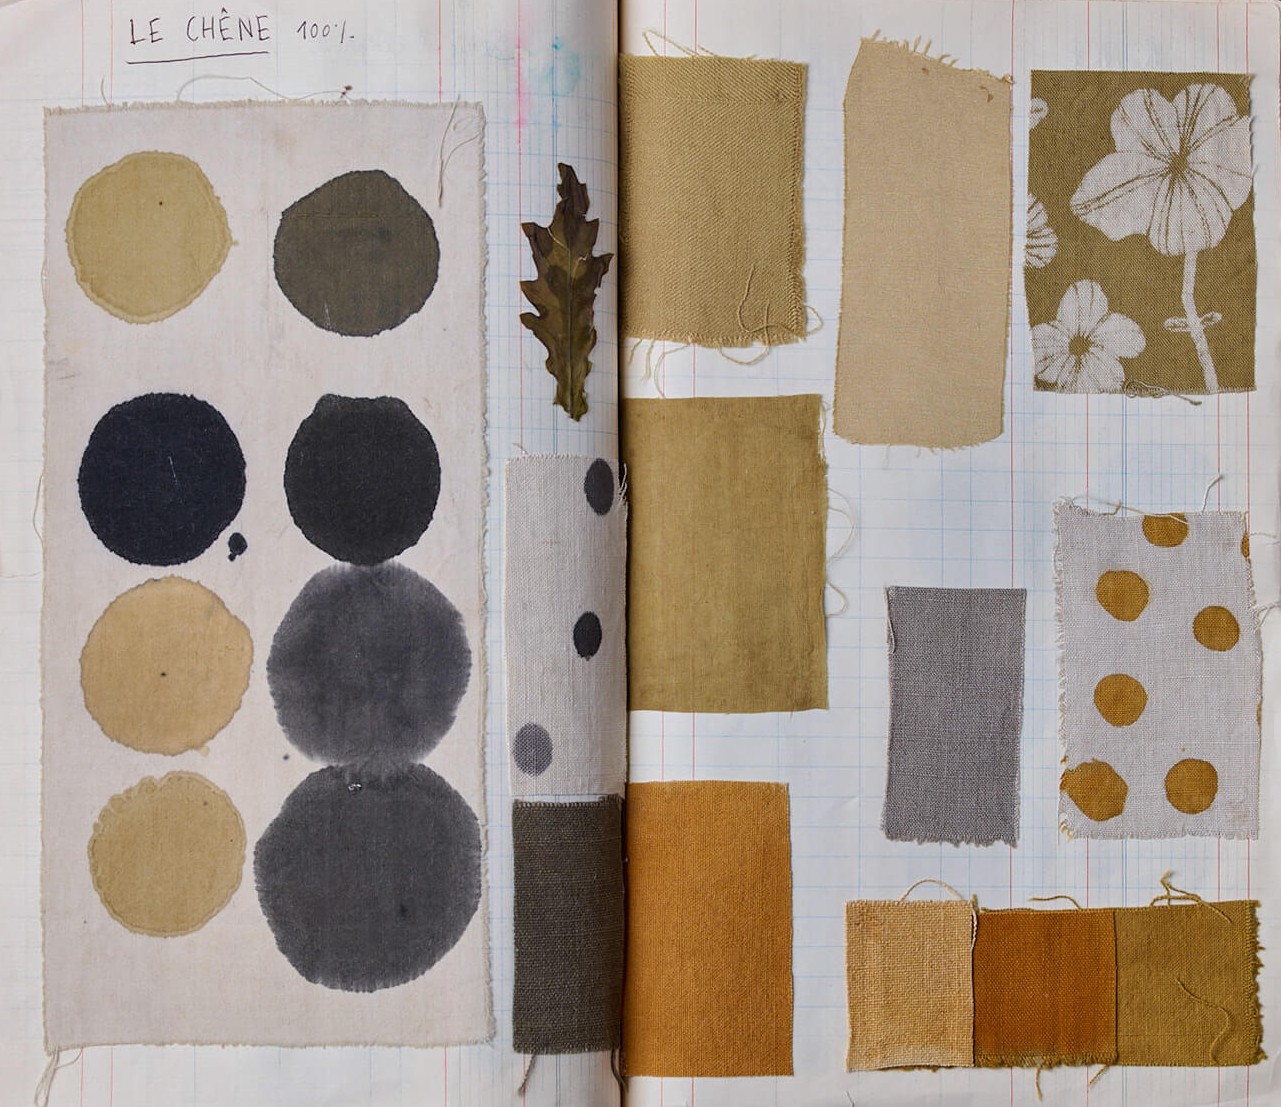
I am really found of natural colors for a long time. I discovered them with an artist called Sophie Morille. Initially, she was more into drawings and etching. But when she discovered natural color, It was love at first sight. Dyes and plant-based inks have become her medium of choice.
For nearly 20 years now, she has been deepening her knowledge of natural colors and how this medium can be transformed into art.
Her dyeing journals inspire me greatly, and perhaps one day I’ll go to study with her in Nantes, France.
Here's a photo of one of her research notebooks.
With Fabricademy, I might just uncover her secrets. I hope so!
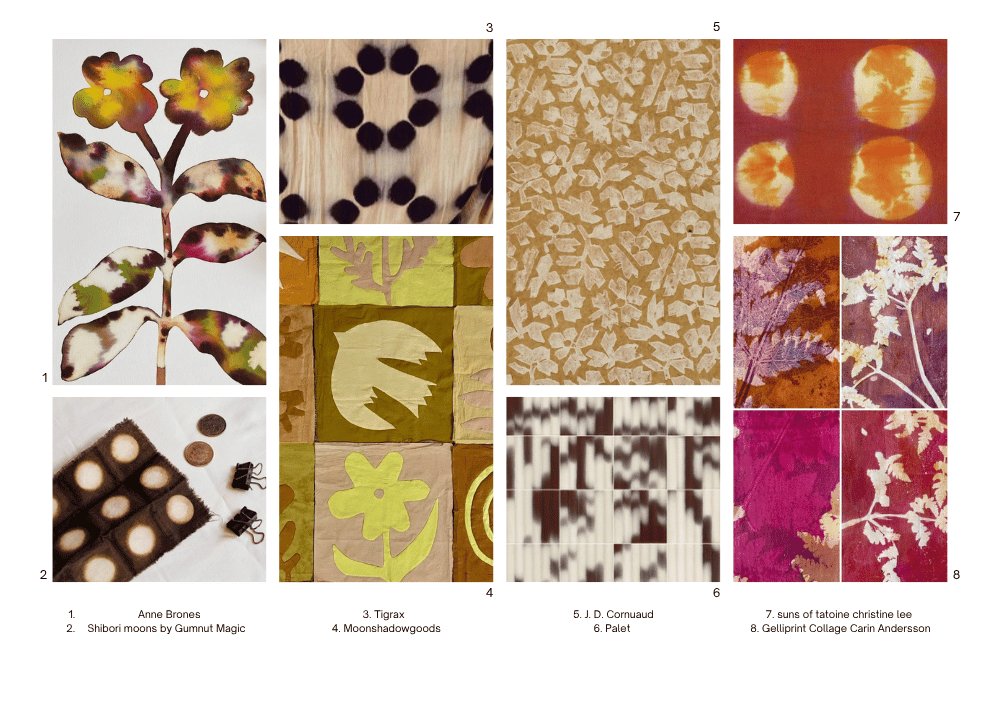
Of course, other artists and artisans inspire me as well. For the past few years, I’ve been keeping track in the back of my mind of their techniques and the things I’d like to try myself: shibori, resist dyeing, and mordant pastes.
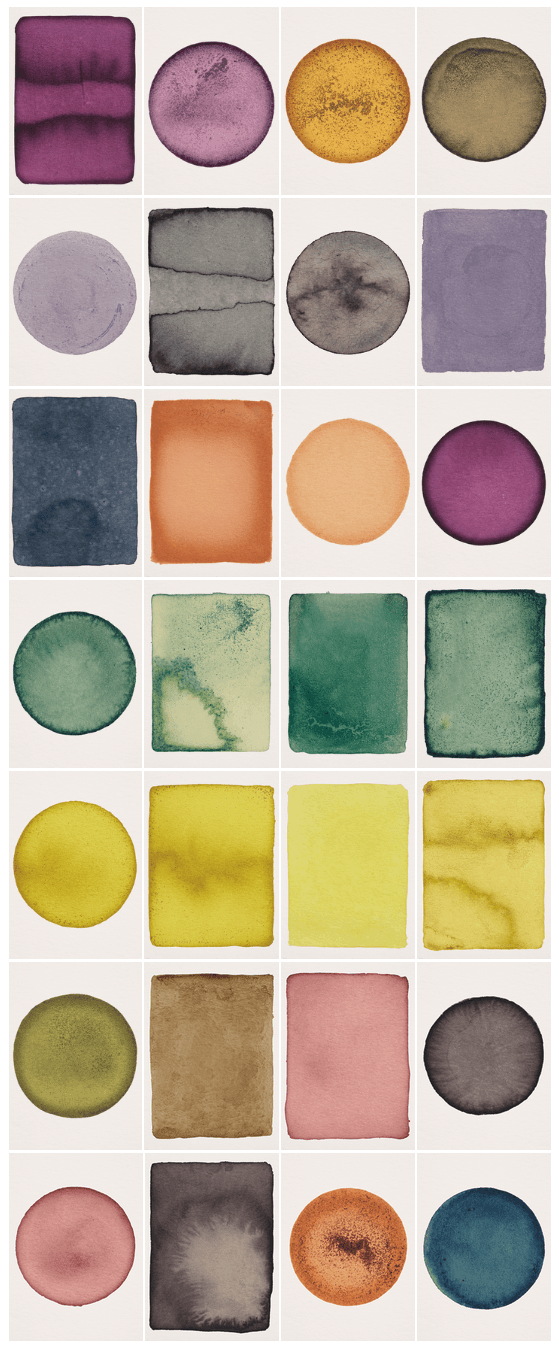
I also find that natural dye colors are always harmonious. No matter what colors are produced, they go well together.
Below is a mix of things—sometimes naturally dyed fabrics, other times different mediums (inks, gel inks, ceramic tiles)—but they all remind me of the colors and effects that can be achieved with natural dyes.
Annabel Fournier
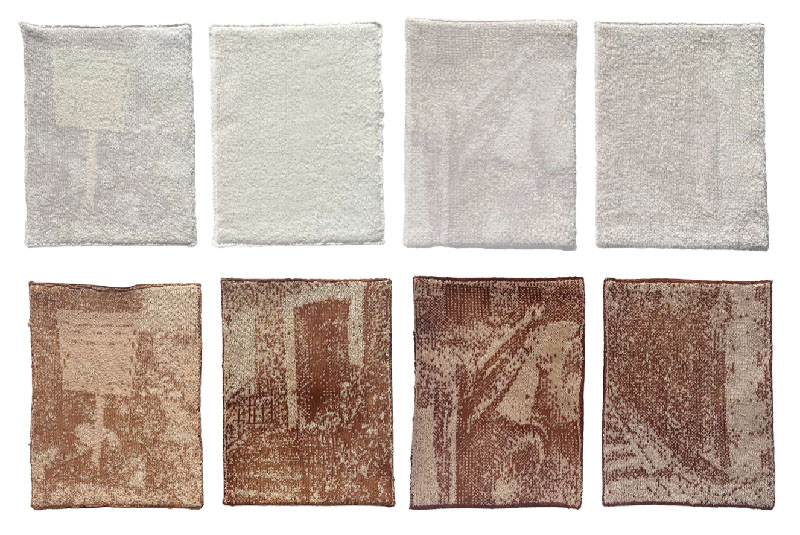
During this week, Stephanie showed us the work of a student from last year: Annabel Fournier.
In particular, her dyeing work on a piece of jacquard-knitted fabric using different types of white yarn (wool, cotton, synthetic, or a blend).
Before the dye bath, the fabric is white and shows no pattern.
When the fabric is dyed, each yarn—depending on its type—will absorb the dye differently, which brings out the jacquard pattern!
Cut-out figures
If I have time, I'd like to experiment with this kind of design using the dyes and/or inks I've made:
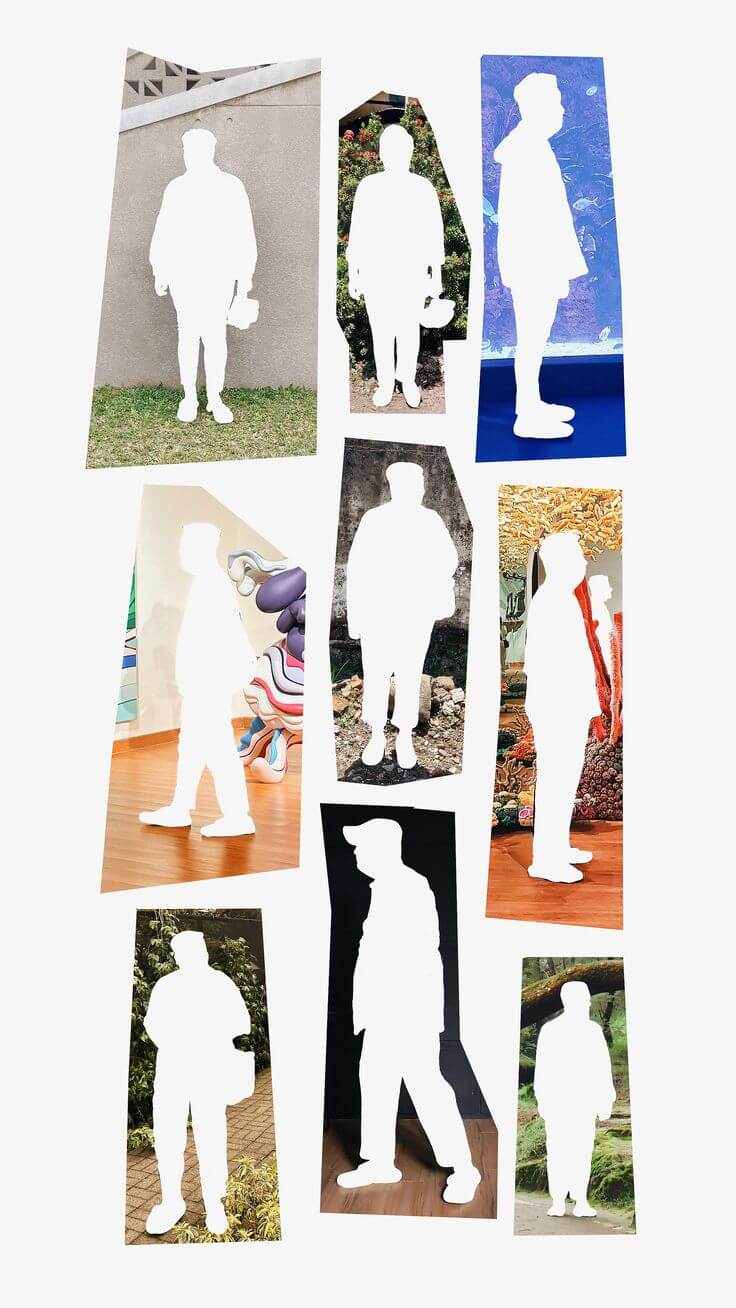
Ben Giles
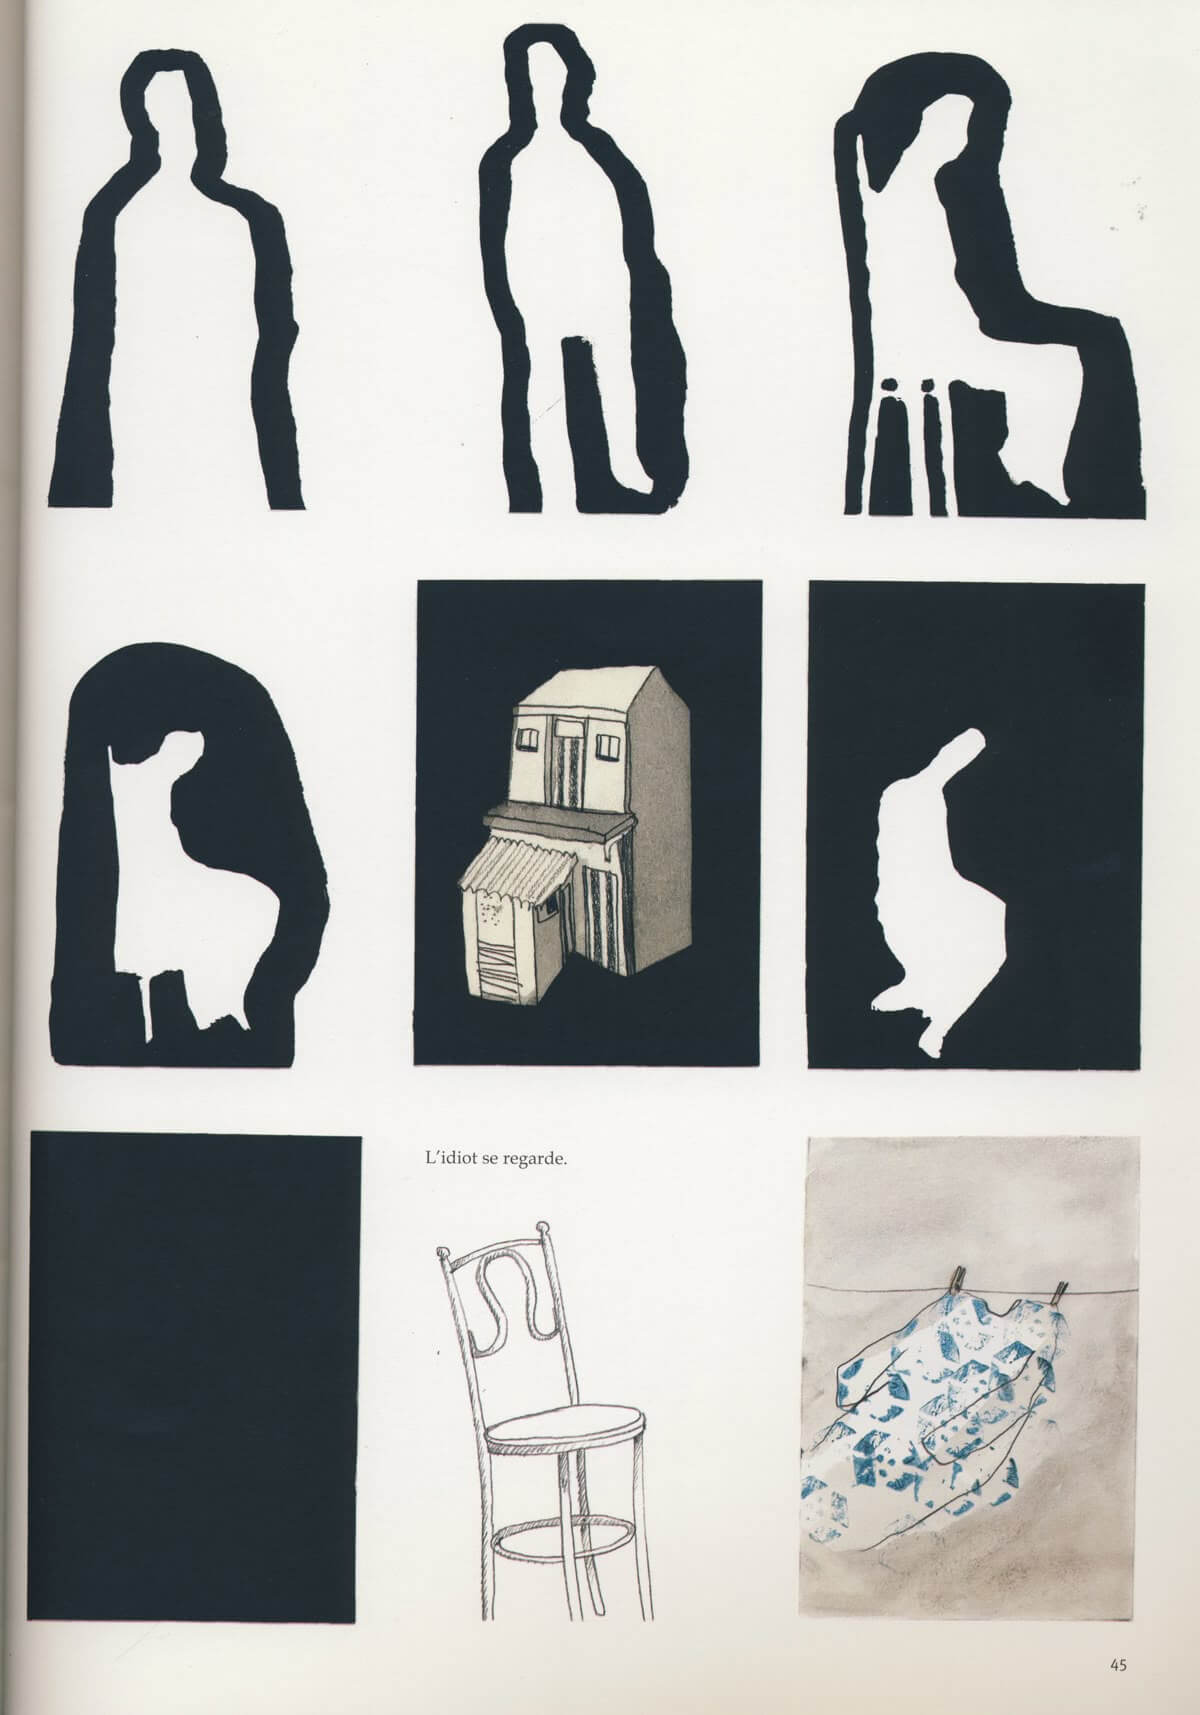
Anne herbauts
3. Tools
- Tutorial from Cecilia Raspanti
- Stéphanie Vilayphiou website
- Eileen Schreyers website
- hot plates, pans, pots, jars, spoon, etc from GreenFabric
- Indigo cuve from Amandine Brun-sauvant
4. Process and workflow
Natural dyes actually encompass a variety of processes: dyeing fibers or fabrics, making inks, producing pigments, and more...
It’s even possible to use waste materials to make bioplastics!
Below is a summary of the different possibilities, as explained by Cecilia.
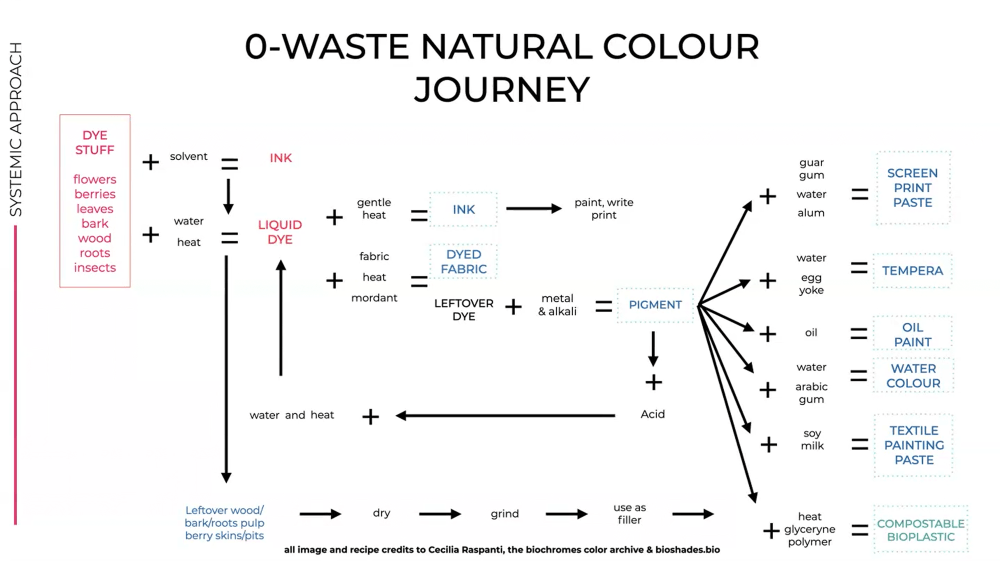
I found a nice description of the steps involved in the natural dyeing process for fibers, yarn, or fabric in a French book 4. On one side, we prepare the dye bath; on the other, we prepare the fibers, yarn, or fabric.
- Depending on the plant chosen for dyeing, a preliminary maceration step may be necessary.
- Preparing the fibers involves cleaning them and then mordanting them. The mordanting process varies depending on the type of fiber (animal or plant-based), as Cécilia explained.
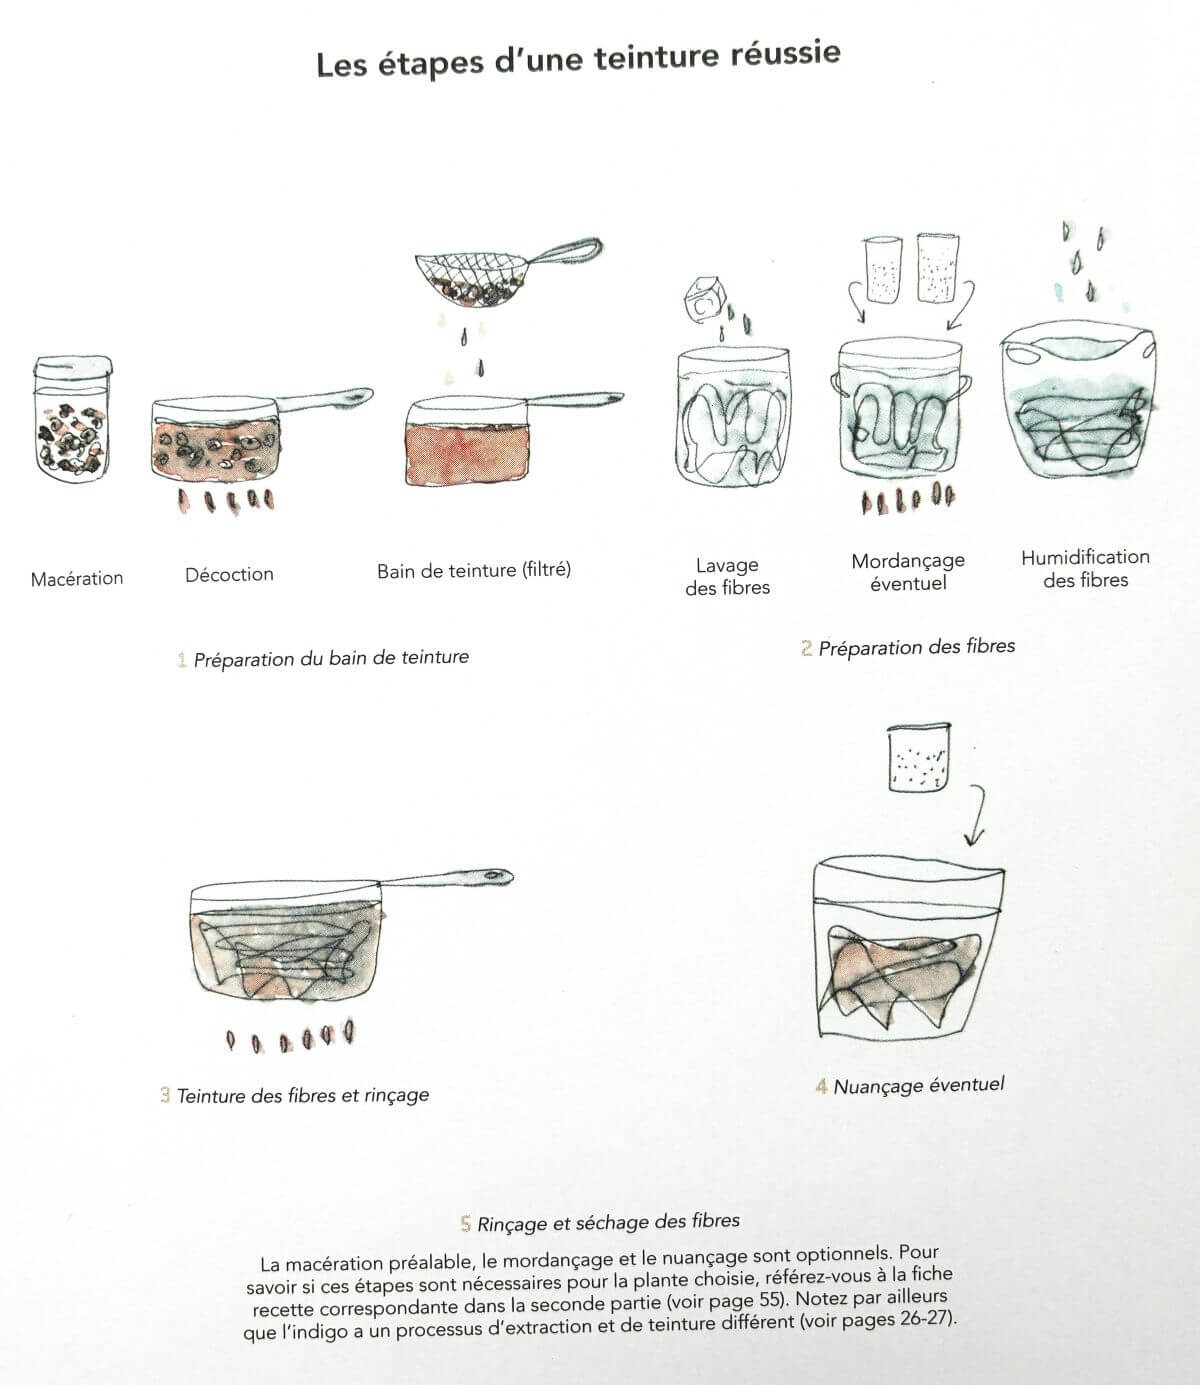
The third step involves dyeing the fiber, yarn, or fabric in the dye bath.
For each plant, there is an optimal temperature, duration, and amount of plant material. This is often documented in the literature, particularly in the books by Dominique Cardon 5 and Marie Marquet 6.
There is one final step you can take to achieve even more colors: put the fabric in a bath saturated with a modifier.
Modifiers can be alkalizing or acidifying products, or metals.
4.1 Mordancing
Mordanting helps the dye bind more effectively to the fiber.
It’s an almost essential step for achieving beautiful colors, especially for cellulose fibers, which don’t take dye as well.
Steps are:
- Moisten the fibers/fabrics.
- Place them in the hot mordant bath for 1 hour.
- Remove the fibers/fabrics, rinse them, and dry them if dyeing will take place later.
Here are the mordanting recipes based on the type of fiber
Mordant recipe for Coton & linen
- 1l vinegar
- 100 gr alum (20% of the weight of fabric)
- 50 gr soda
- First dissolve the alum in the vinegar. Then add the soda little by little.
Mordant recipe for woll
- water
- 84 gr woolen fibre
- 16,8 gr alum (20% of the weight of the fibres)
- 5,0 gr cream of tartar (6% of the weight of the fibres)
4.2 Dying
4.2.1 Standard dying
Prepare a decoction: Heat the plants in water for about 1 hour over low heat.
The plant quantity is generally 50 to 400%, depending on the plant and its condition—fresh or dry—see the literature 4, 5 or 6.
Place the mordanted, wet fabric in the warm dye bath (gentle simmer) for about 1 hour.
I tested cotton in different dye baths: avocado skins, onion skins, and logwood.
Here are the colors I obtained:
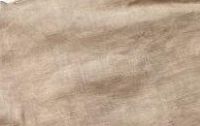
Avocado
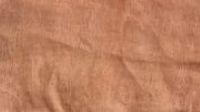
yellow_onions
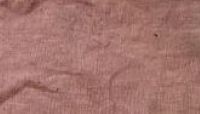
red_onions
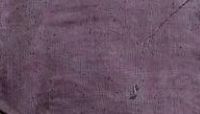
logwood
4.2.2. Dying with modifiers
I tested 9 modifiers: citric acid, borax, sodium carbonate, alum, iron sulfate, ethanol, cream of tartar, baking soda, and Epsom salts.
I dissolved them in water.
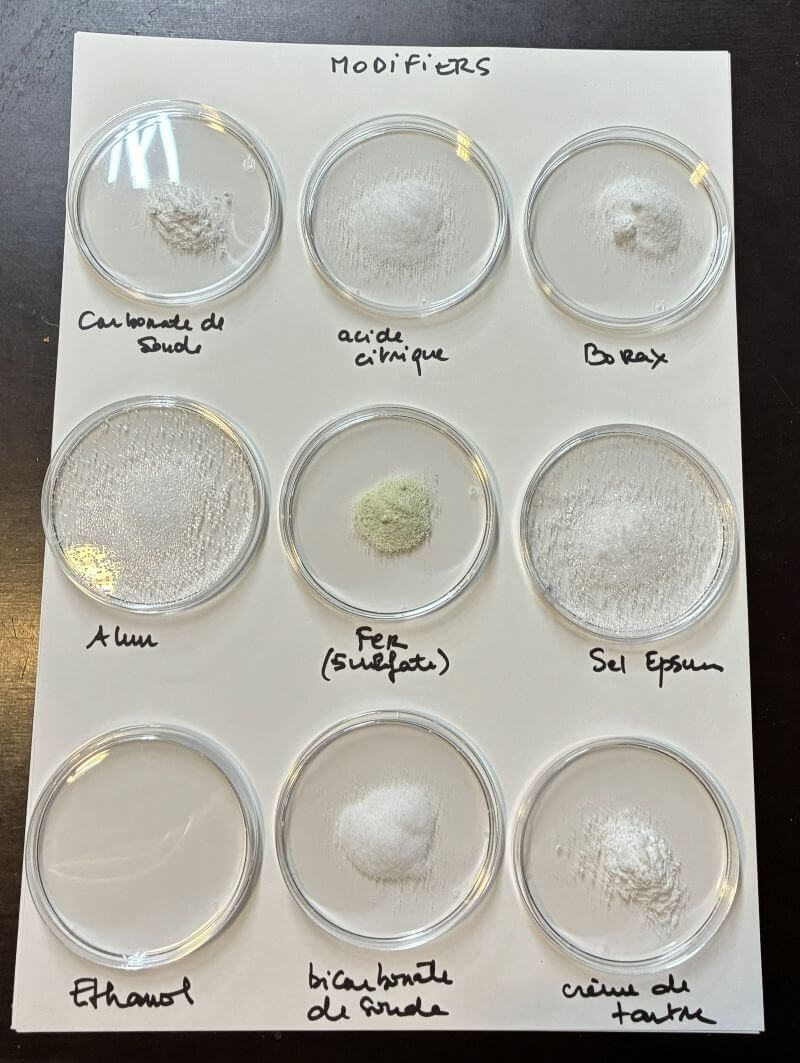
I placed a square of fabric—previously dyed in a plant dye bath—into the dissolved modifier for a few seconds.
Depending on the dye plant and the modifier, I observed a change in color or not.
The most dramatic effects were seen primarily with iron and citric acid (acidic) and sodium carbonate (basic).
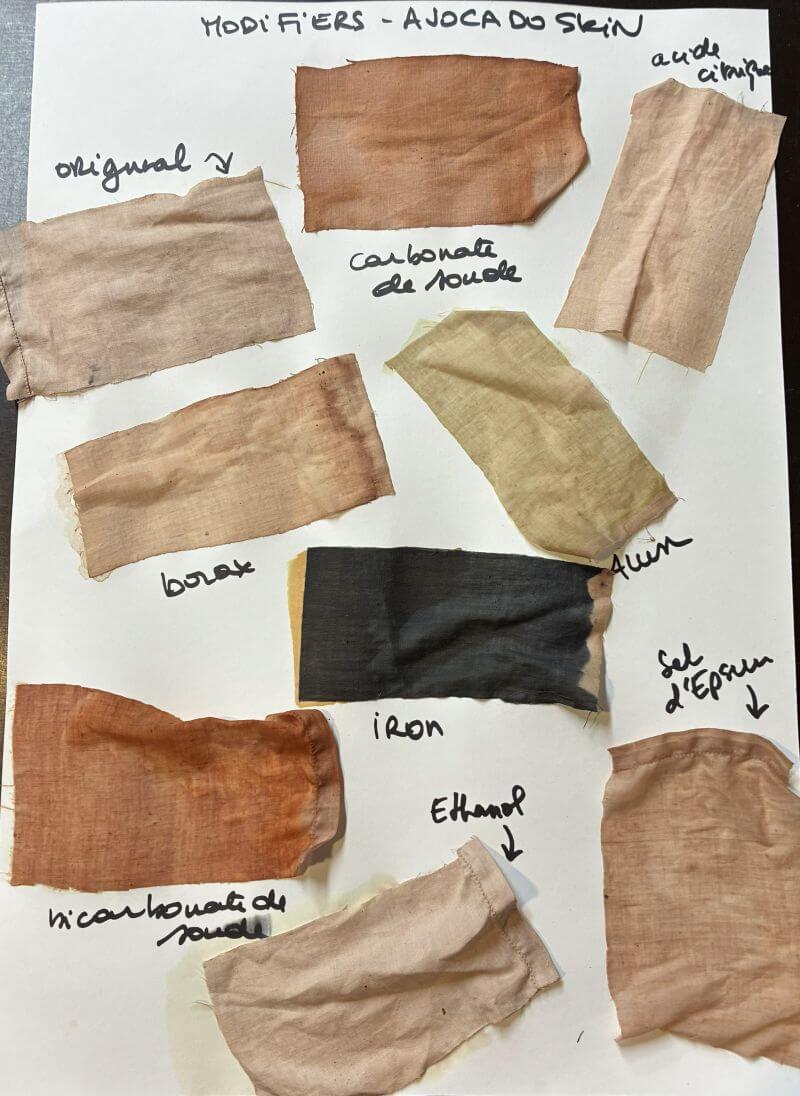
Avocado
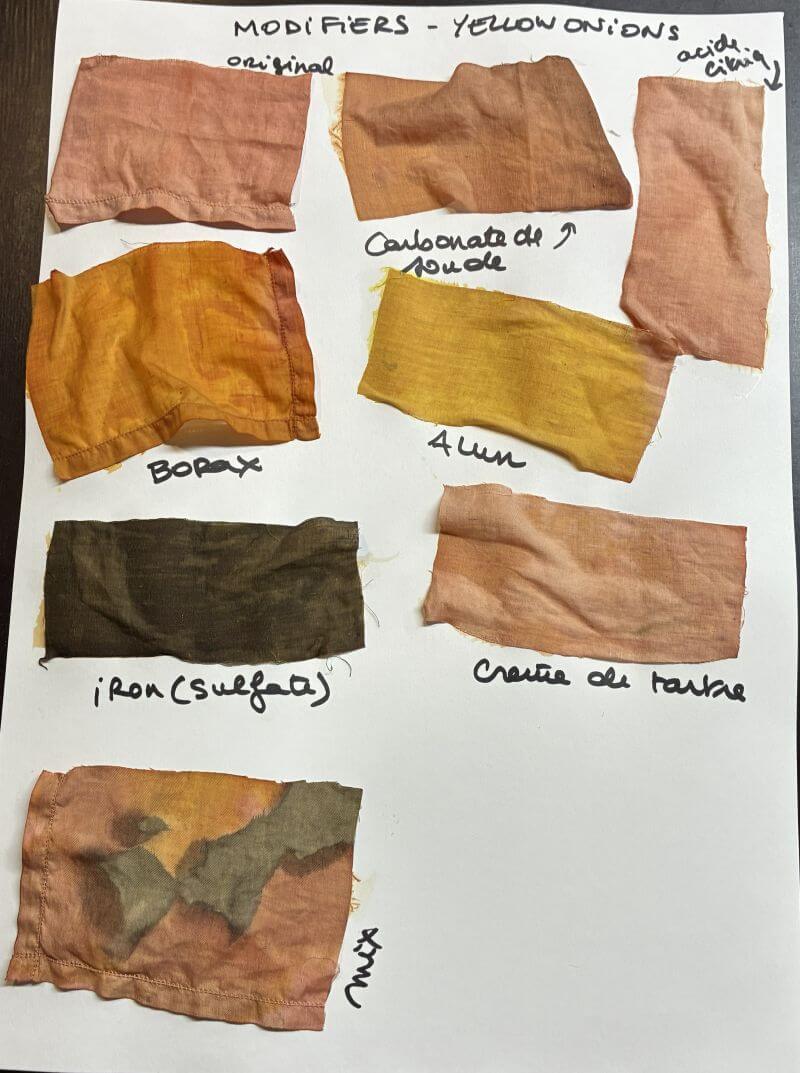
Yellow onions skins
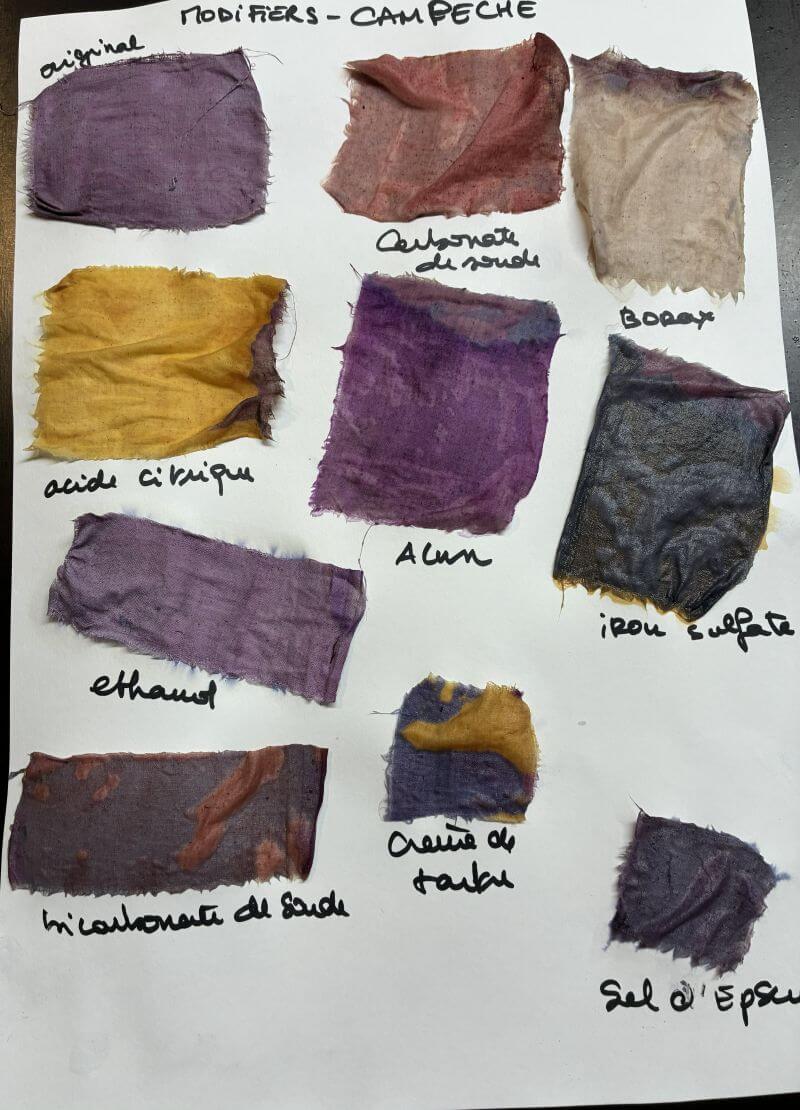
logwood
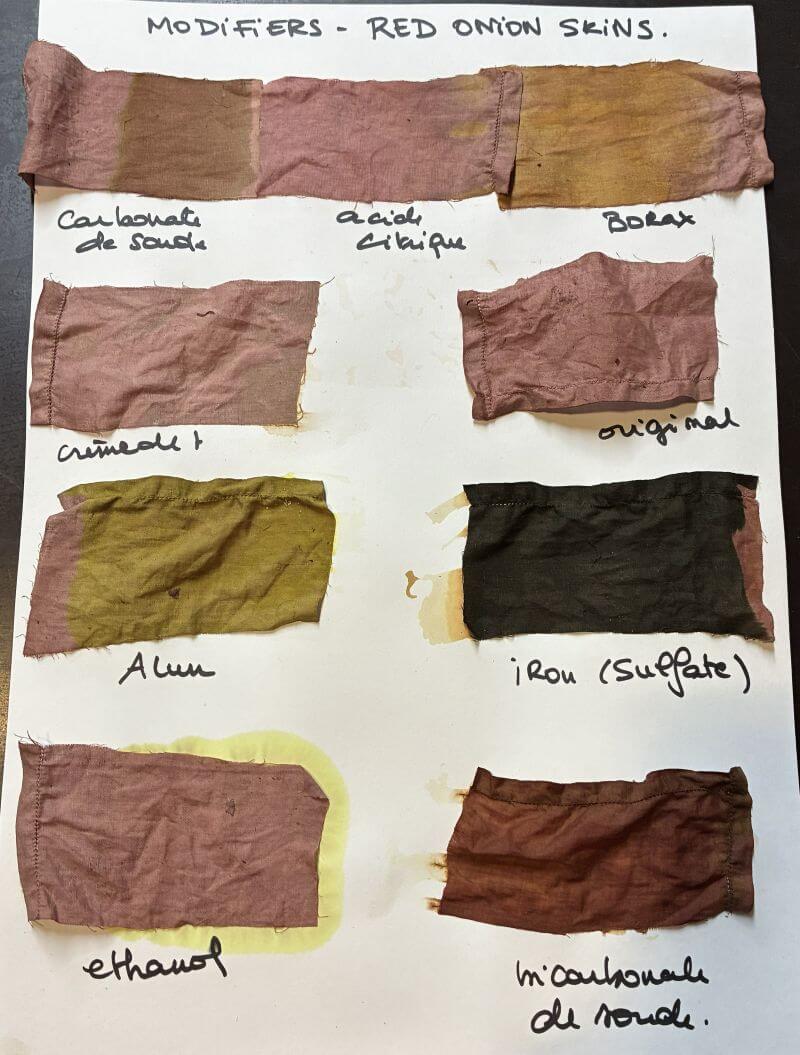
red onions skins
4.2.3. Tataki Zome
Tataki-zomé (or apasomé) is a traditional Japanese plant-printing technique that involves dyeing fabric or paper by pounding fresh plants.
In Japanese, tataki means “to pound” and zomé means “to dye.” Pounding the leaves and flowers releases their juices and sap, which are absorbed directly into the fibers.
I collected plants (flowers and leaves) around my workplace and home.
I tried to pick leaves known for their dyeing properties.
I arranged the flowers and leaves on a damp, mordanted piece of fabric.
I pounded them with a mallet until the plant's pattern began to appear. I let them dry out of direct sunlight without rinsing them.
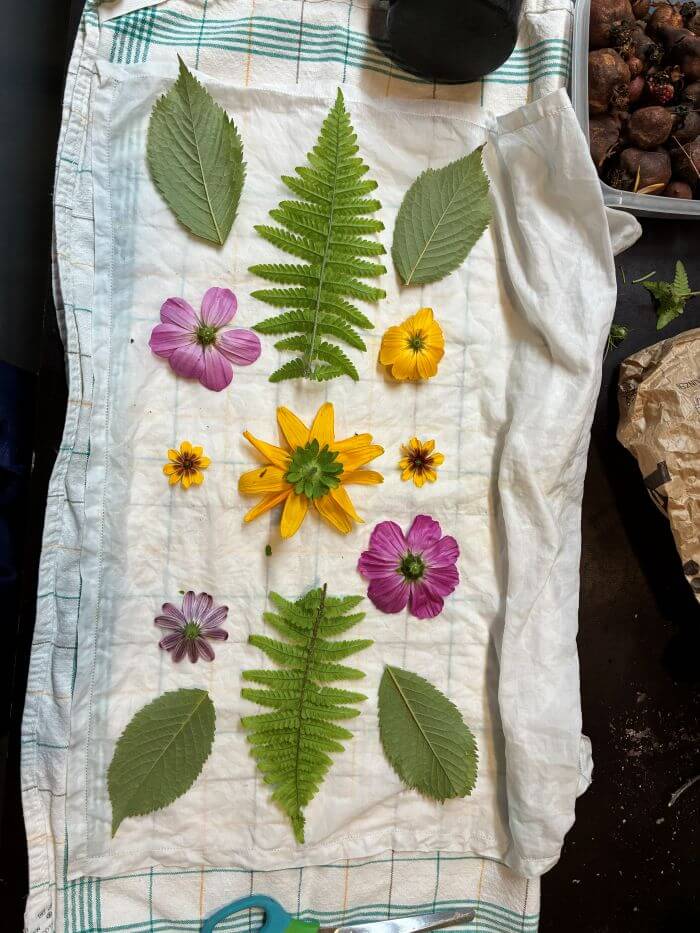
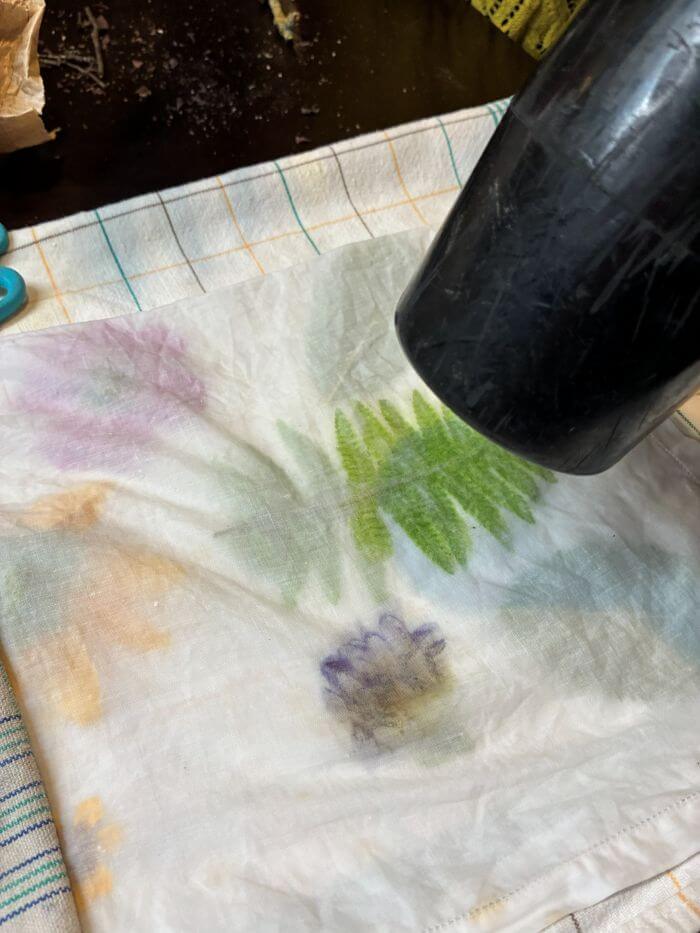
Here is the result (the fabric is still wet):
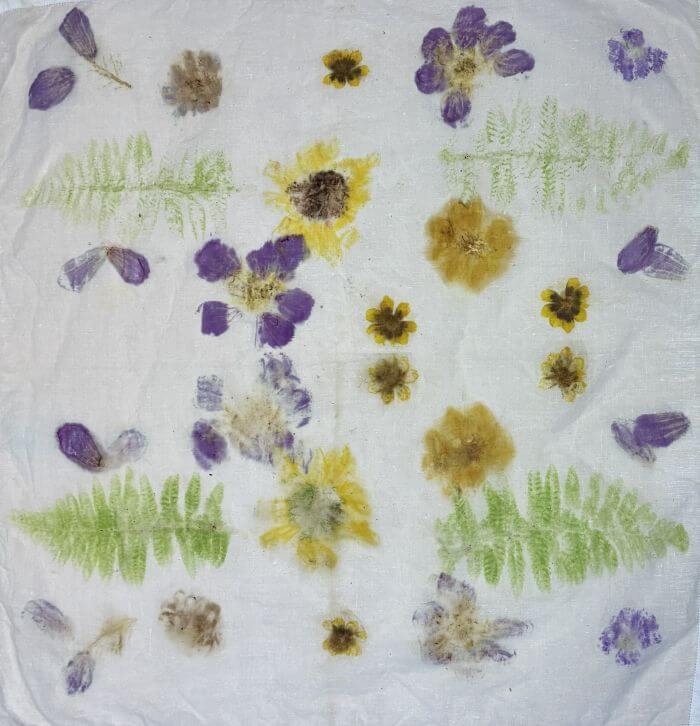
Unfortunately, I find that the result is less impressive once the fabric is dry (less contrast).
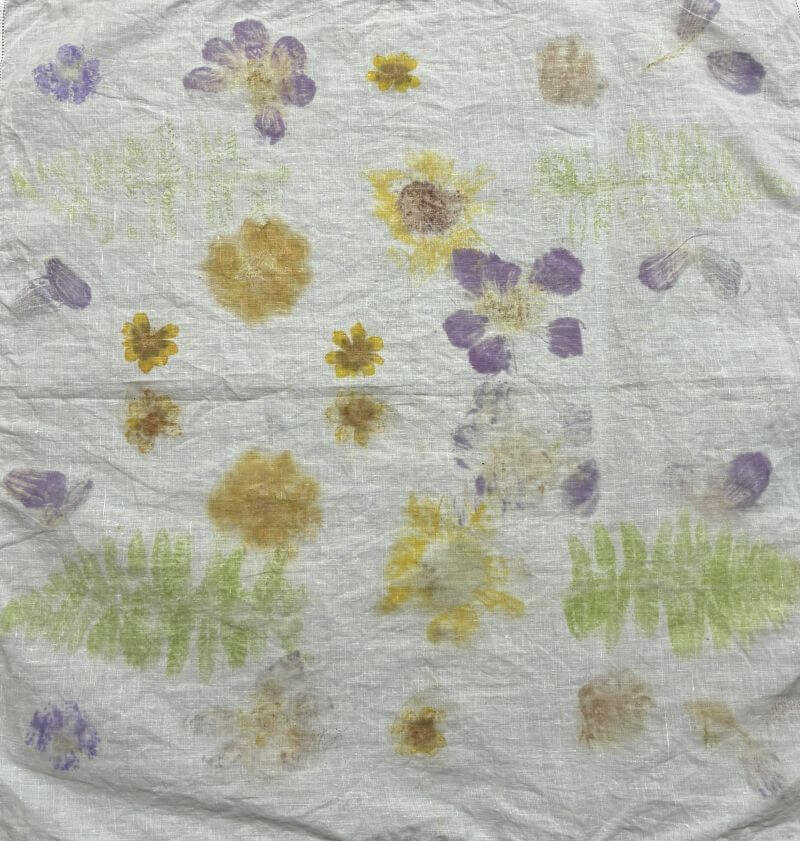
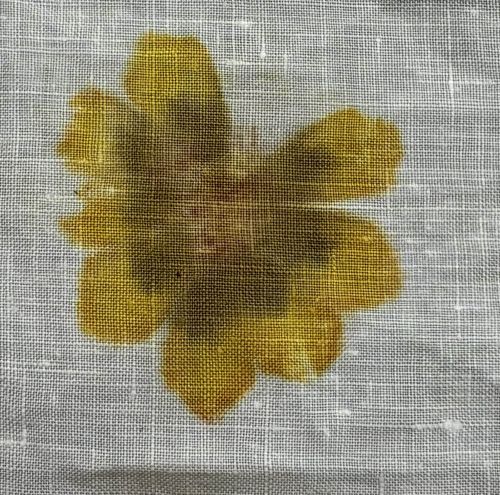
However, one of the flowers turned out incredibly well:
4.2.4. Ecoprints
Ecoprinting involves placing a damp, mordanted fabric in very close contact with a dye plant in steam for 1 or 2 hours.
The dye plant can be in its natural form, crushed, or in powder form.
I arranged eucalyptus leaves, onion skins, panda leaves, and logwood on half of my fabric.
I fold the fabric and then roll it up as tightly as possible.
I tie it into a very tight roll with string.
I steam the roll for about 2 hours.
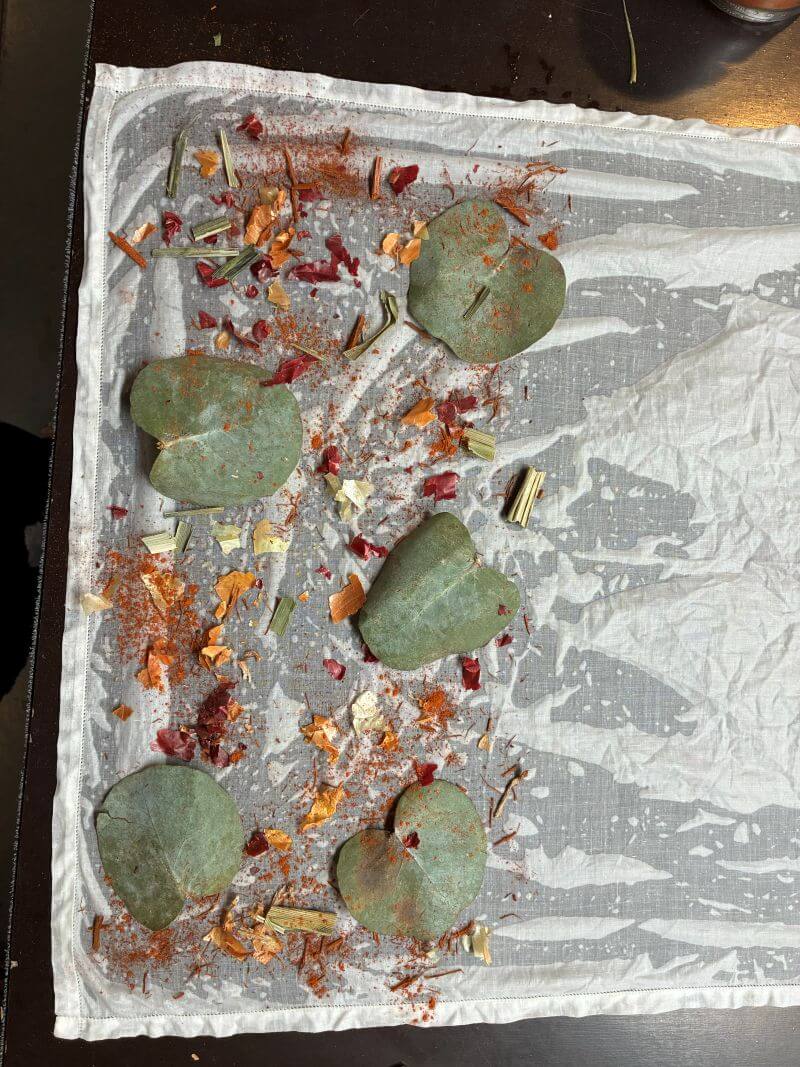
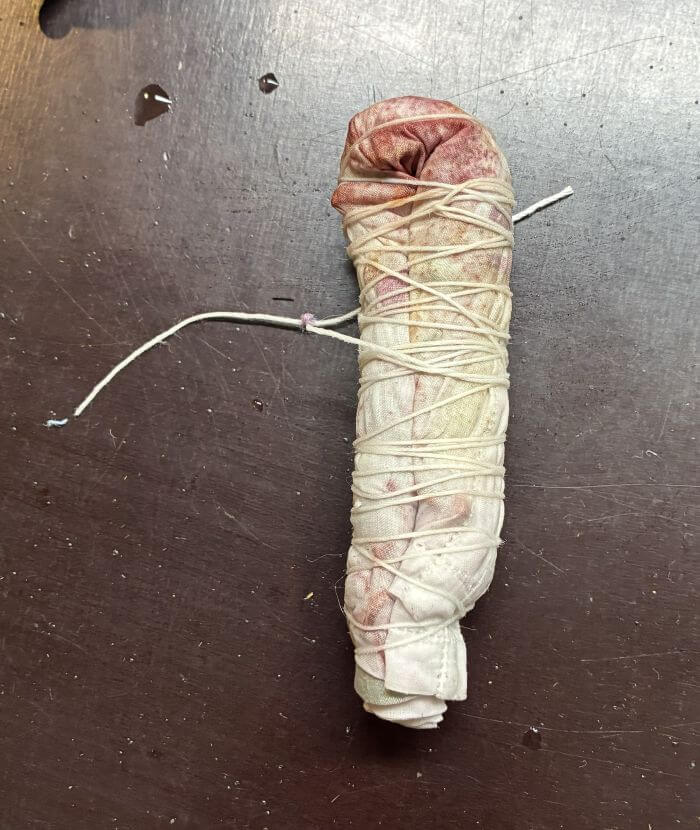
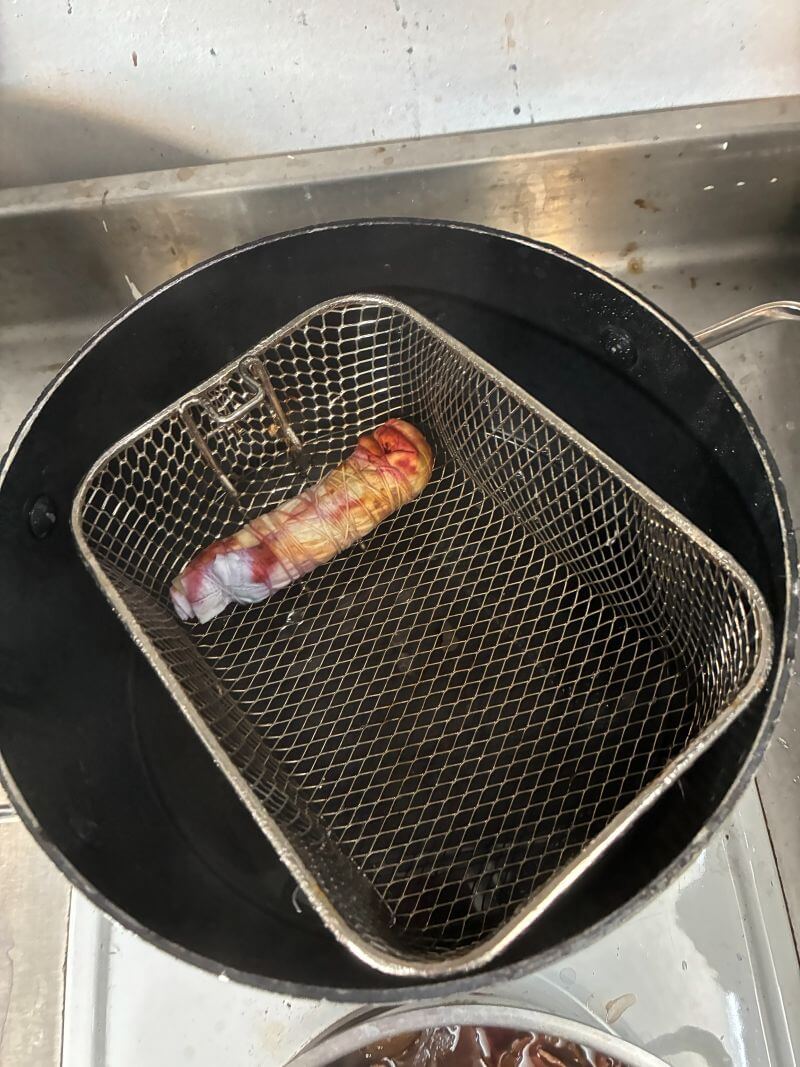
I find the results a little disappointing.
You can't clearly see the color differences; everything blended together a bit during the steaming process.
I think maybe I put too many plants on the fabric and/or didn't pack them tightly enough.
Next time, I'll wrap the fabric around a cylinder.
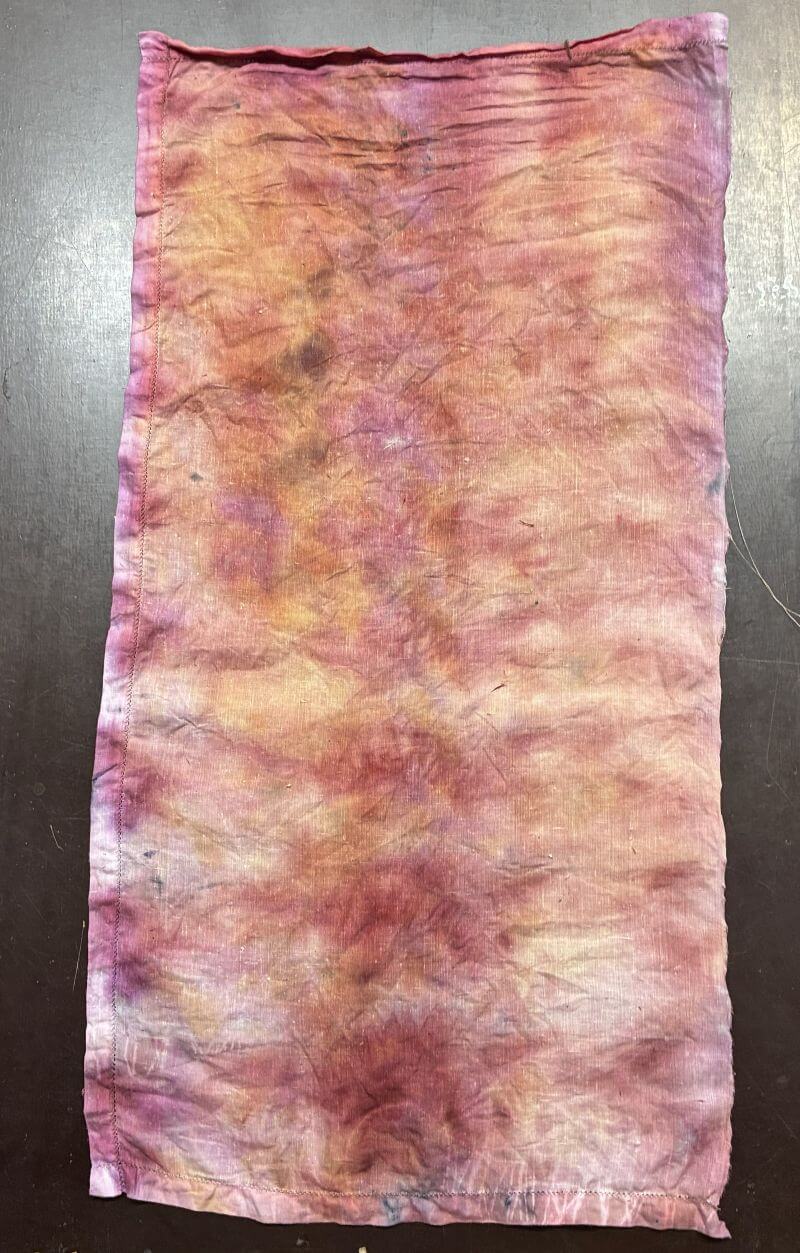
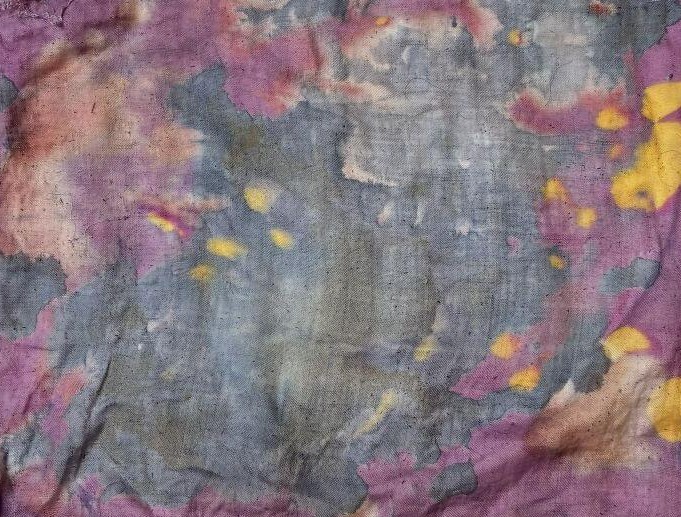
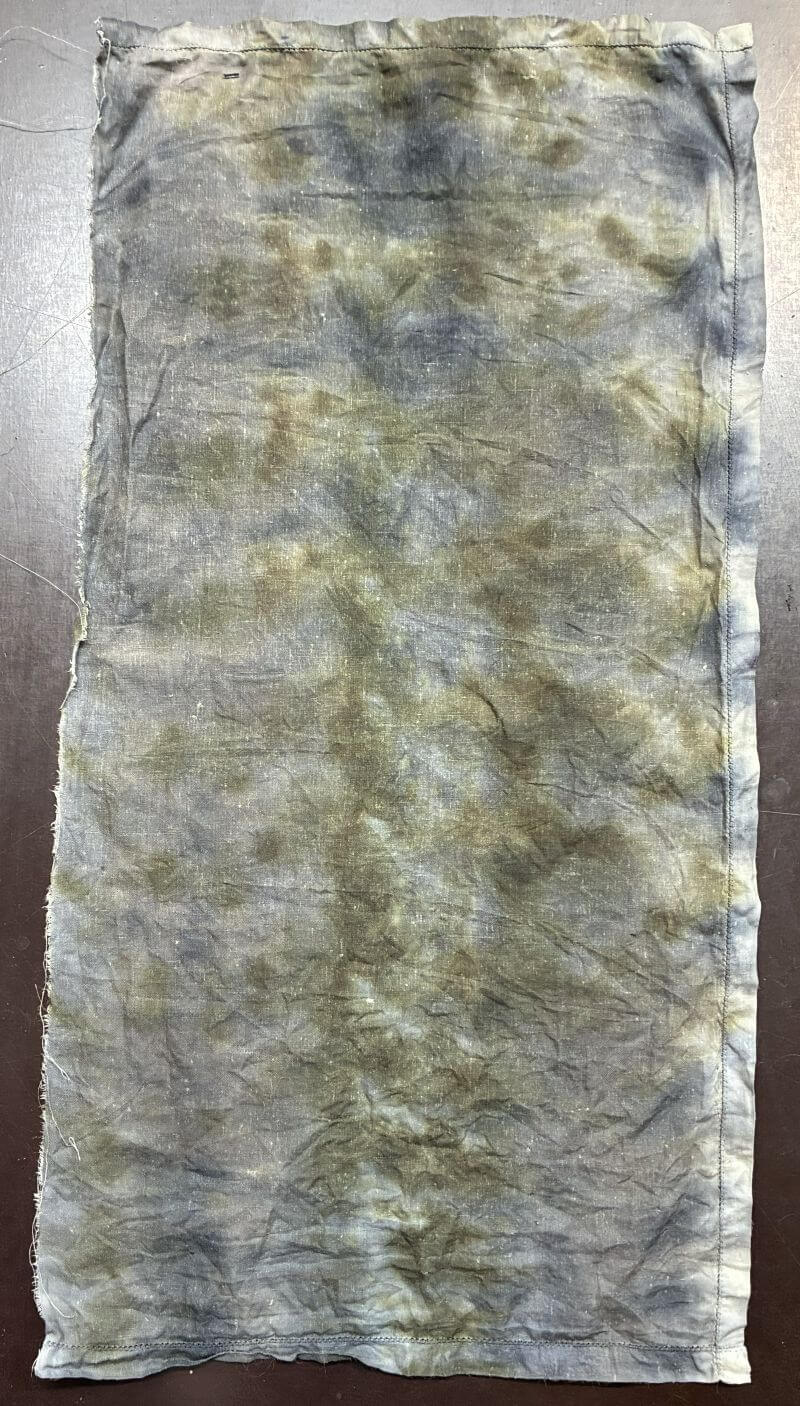
Since I didn't really like the result, I cut the fabric in half and soaked one half in iron sulfate. Here's the result:
4.2.5. Shibori
Shibori is a Japanese technique that involves folding or crumpling the fabric to be dyed BEFORE immersing it in the dye bath so that the dye takes only in certain areas. This creates dye patterns.
I wanted to try making a multicolored shibori like this artist
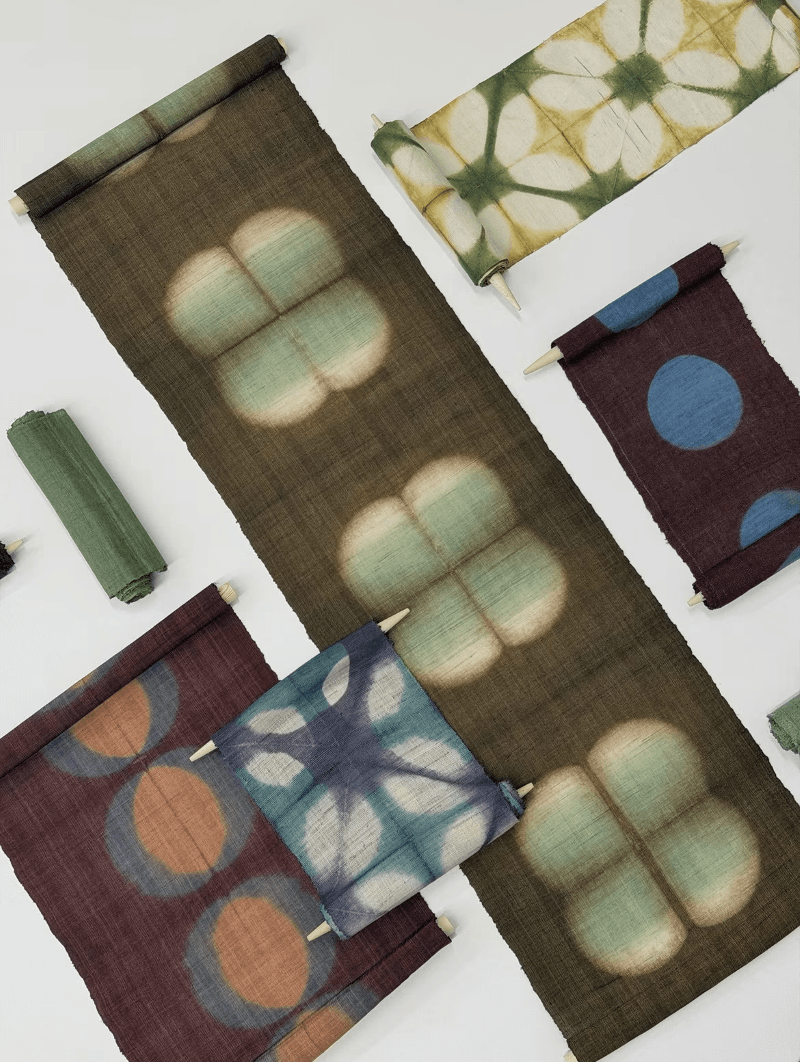
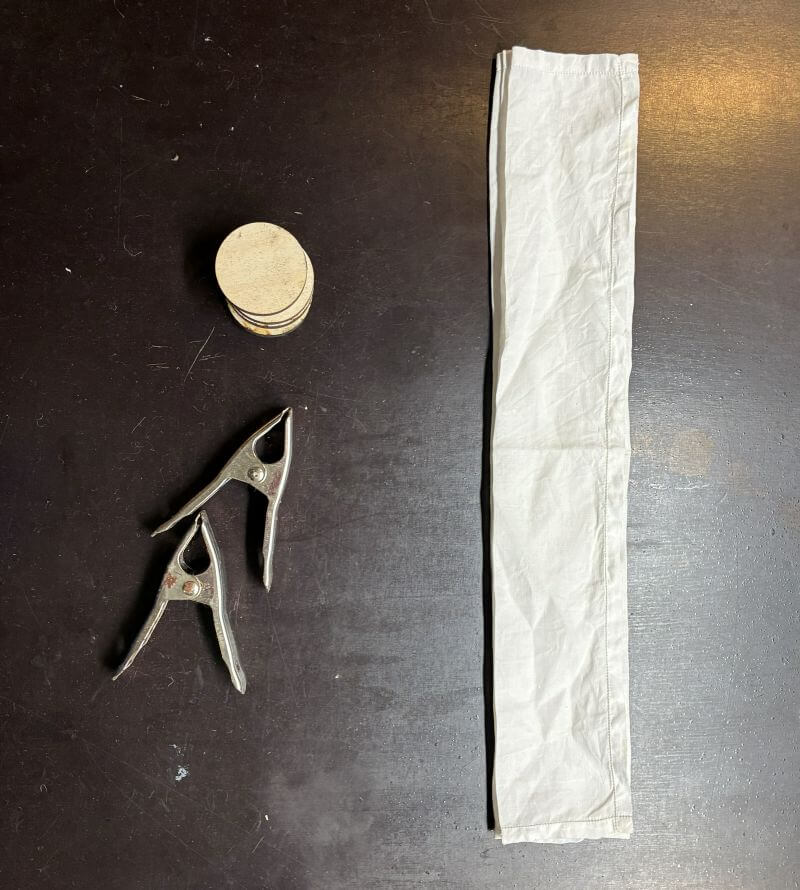
I folded my mordanted cotton several times lengthwise and then widthwise.
Above and below this square, I placed round wooden shapes (laser-cut).
I used metal clips to hold everything tightly in place.
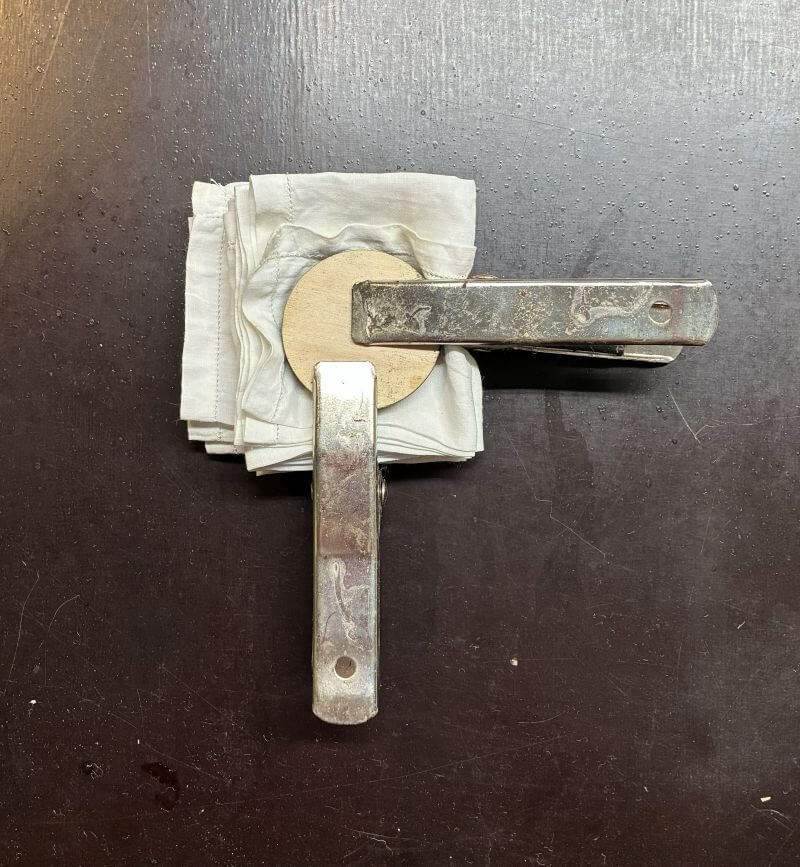
I simmered everything for an hour in a bath of avocado skins over low heat.
After that, I dipped one side in iron sulfate and the other side in sodium carbonate to try to get three different colors (four, including white).
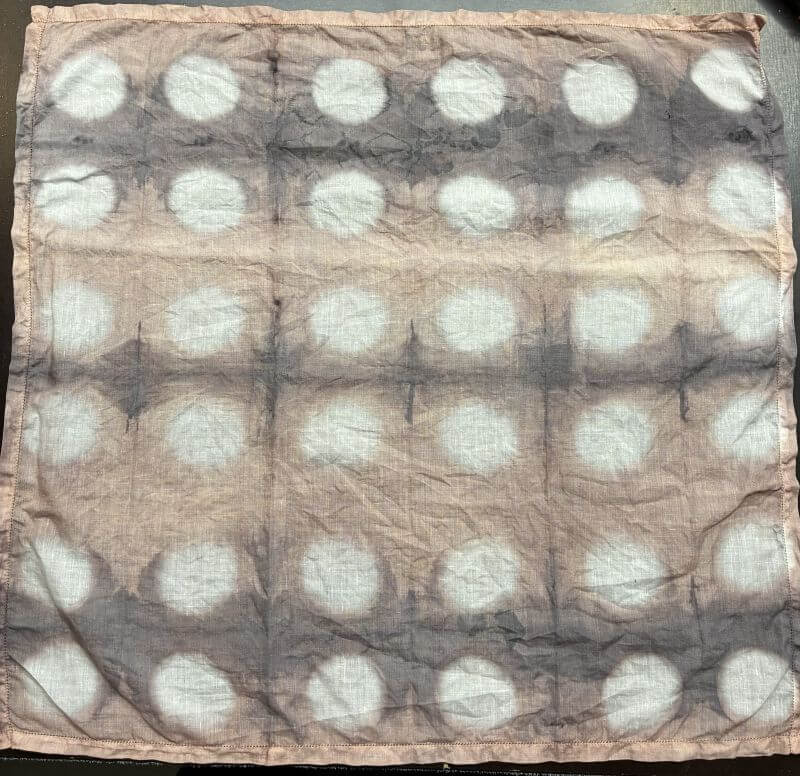
I like the result, even though I can't tell the difference between the color of the avocado and that of the avocado treated with baking soda.
4.2.6. Inks
I tried out an easy ink recipe: a reduced dye bath with gum arabic.
Note: Gum arabic doesn't dissolve very well, so don't hesitate to heat it and stir it thoroughly.
Since I had already prepared several dye baths and tested the modifiers, I was able to create a fairly diverse range of colors for my inks.
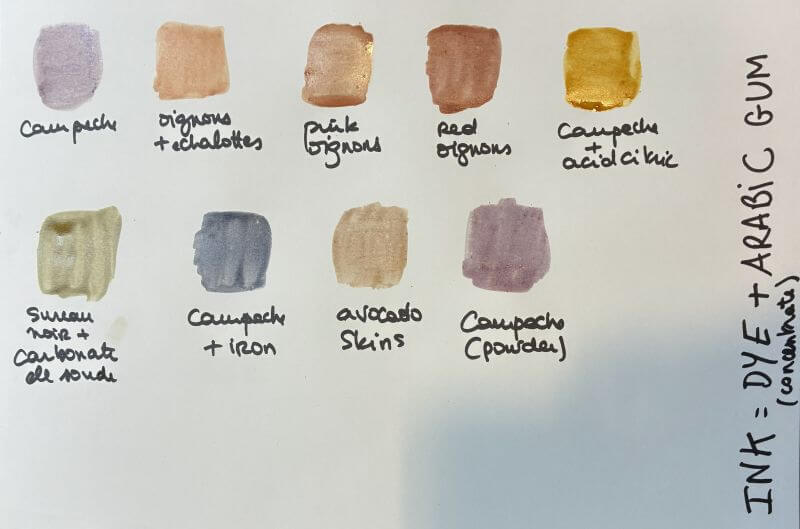
I did a few initial sketches. They're not bad, but I don't really like the glossy finish of the gum arabic.
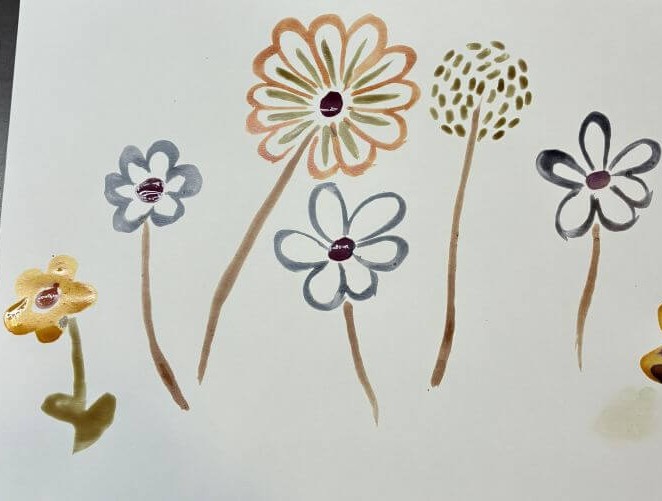
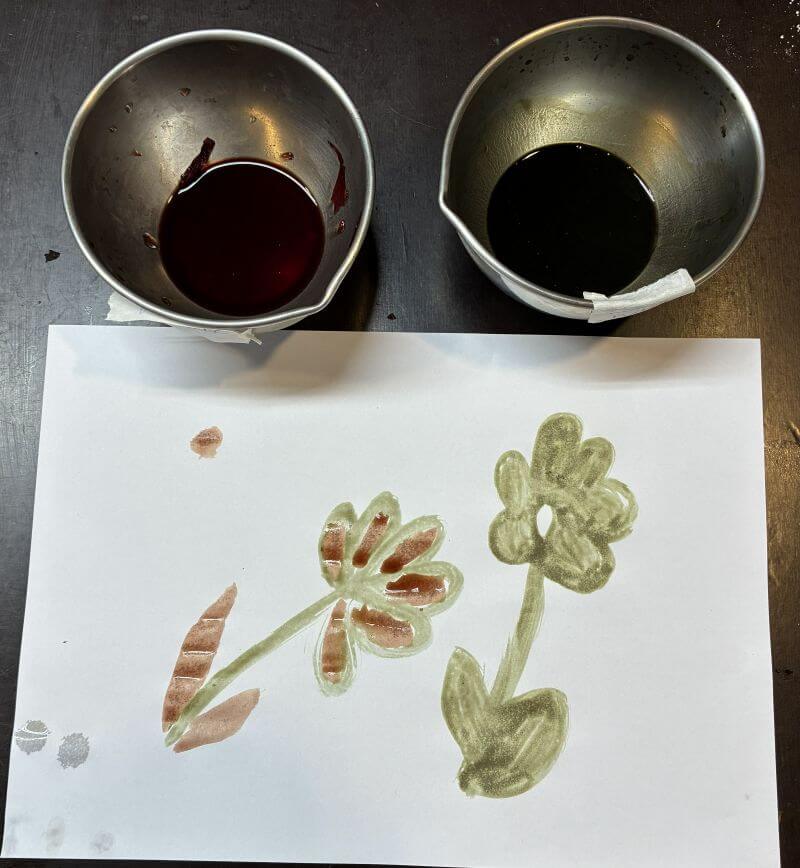
So I decided to work with a lot of water, like Anne Bronnes, one of my inspirations.
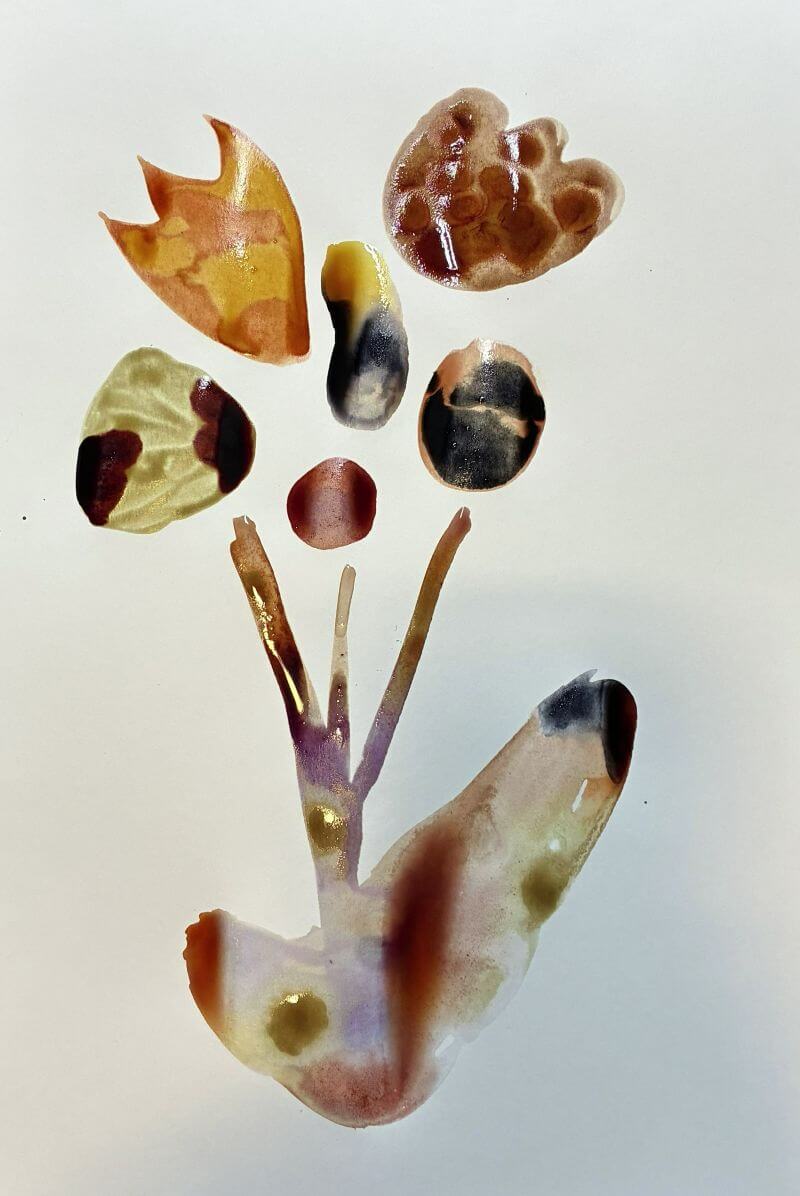
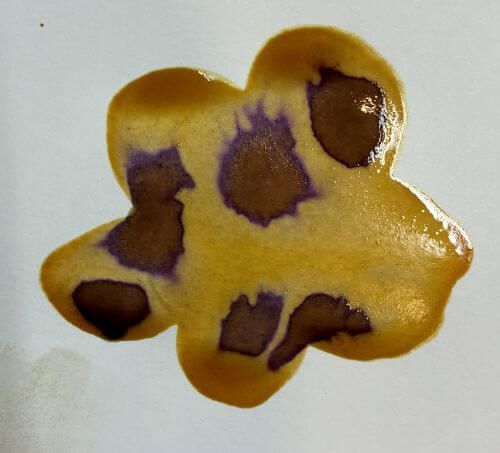
It's just a first attempt, but I already like the result.
4.2.7.Indigo
STILL TO BE TESTED
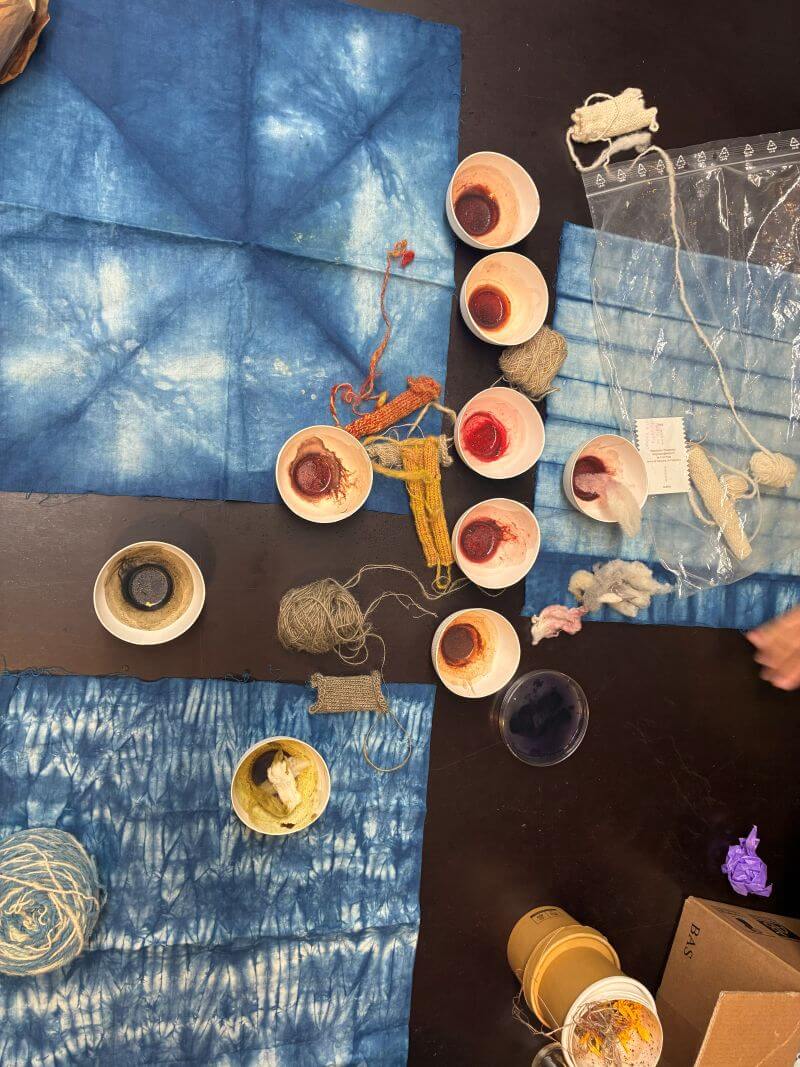
Indigo dyeing is truly unique. It does not require a mordant or a dye bath like other natural dyes.
I found some very useful information on a professional dyer’s website 2 that explains that indigo is an insoluble pigment that becomes soluble in an alkaline, low-oxygen vat.
The indigo pigment can be found in various plants: Isatis tinctoria, Persicaria tinctoria, and Indigofera tinctoria.
The indigo vat is a living system and must be kept alive between uses by controlling the temperature, the amount of oxygen, and the pH, and by regularly providing food for the bacteria.
The recipes are described on the Fabricademy website by Stéphanie Vilayphiou, our instructor 3.
6. Weekly reflection & critical thinking
- I really enjoyed this week, which was full of new discoveries.
- Aside from the mordant stage, I didn’t work with weights. I understand (and accept) that I might not be able to reproduce the exact colors I achieved this week if I want to try them again.
- I loved making inks and drawing with them. It was easy and very satisfying. Now I need to find out how to preserve these inks over time.
-
Unfortunately, I didn't have time to work on the shadows. If I do, I'll try out two new techniques:
- reserve dyeing with rice flour applied through a stamp
- Michel Garcia mordant recipe: can be applied with a brush
7. Recipe files & References
-
Recipe: download my recipe booklet here ↩
-
What is indigo VAT?: Teinturessauvage website (FR) ↩
-
Indigo VAT recipe: Stéphanie Vilayphiou website ↩
-
French book: Teintures Végétales - Aurélia Wolff (FR) ↩↩
-
French book: Le monde des teintures naturelles - Dominique Cardon (FR) ↩↩
-
French book: Guide des teintures naturelles: Plantes à fleurs - Marie Marquet (FR) ↩↩