Soft robotics
1. Objective
weekly assignment
- Document the concept, sketches, references (also to artistic and scientific articles)
- Make a soft robotic sample, develop the pattern for the Inflatable and draw a sketch of the air flow:
- build a pneumatic wrist brace (basic level) or
- build a Soft Gripper (intermediate level) or
- build and document a Pneumatic, digitally controlled system, electronics schematic, electronic control and code (advanced level)
- design your own version of an inflatable / soft robot
- Experiment with different materials, such as silicone, 3d printing, parchment paper, thermoadesive vynil, TPU fabrics, bioplastic, document your achievements and unexpected outcomes
- Make a small video of your inflatable/soft robot working
- Upload your digital design files (if any)
2. A bit of theory
2.1 What is a soft robot?
I knew absolutely nothing about the field of soft robotics. So I carefully followed the lecture from Lily Chambers and Adriana Cabrera2, which you can find here. Here are the key points I took away from it:
- Soft robotics is a subfield of robotics
- It involves working with flexible materials such as plastic, silicone, rubber, and polymers
- A soft robot moves in response to a signal. The signal can be physical (pressure, vibration, movement), thermal (hot, cold), chemical, light-based, or sound-based
- The process of setting a soft robot in motion is called soft actuation
- Actuation can serve various purposes:
- moving the robot
- grab an object
- Fields of application: industry, medicine, agriculture, architecture, the arts,
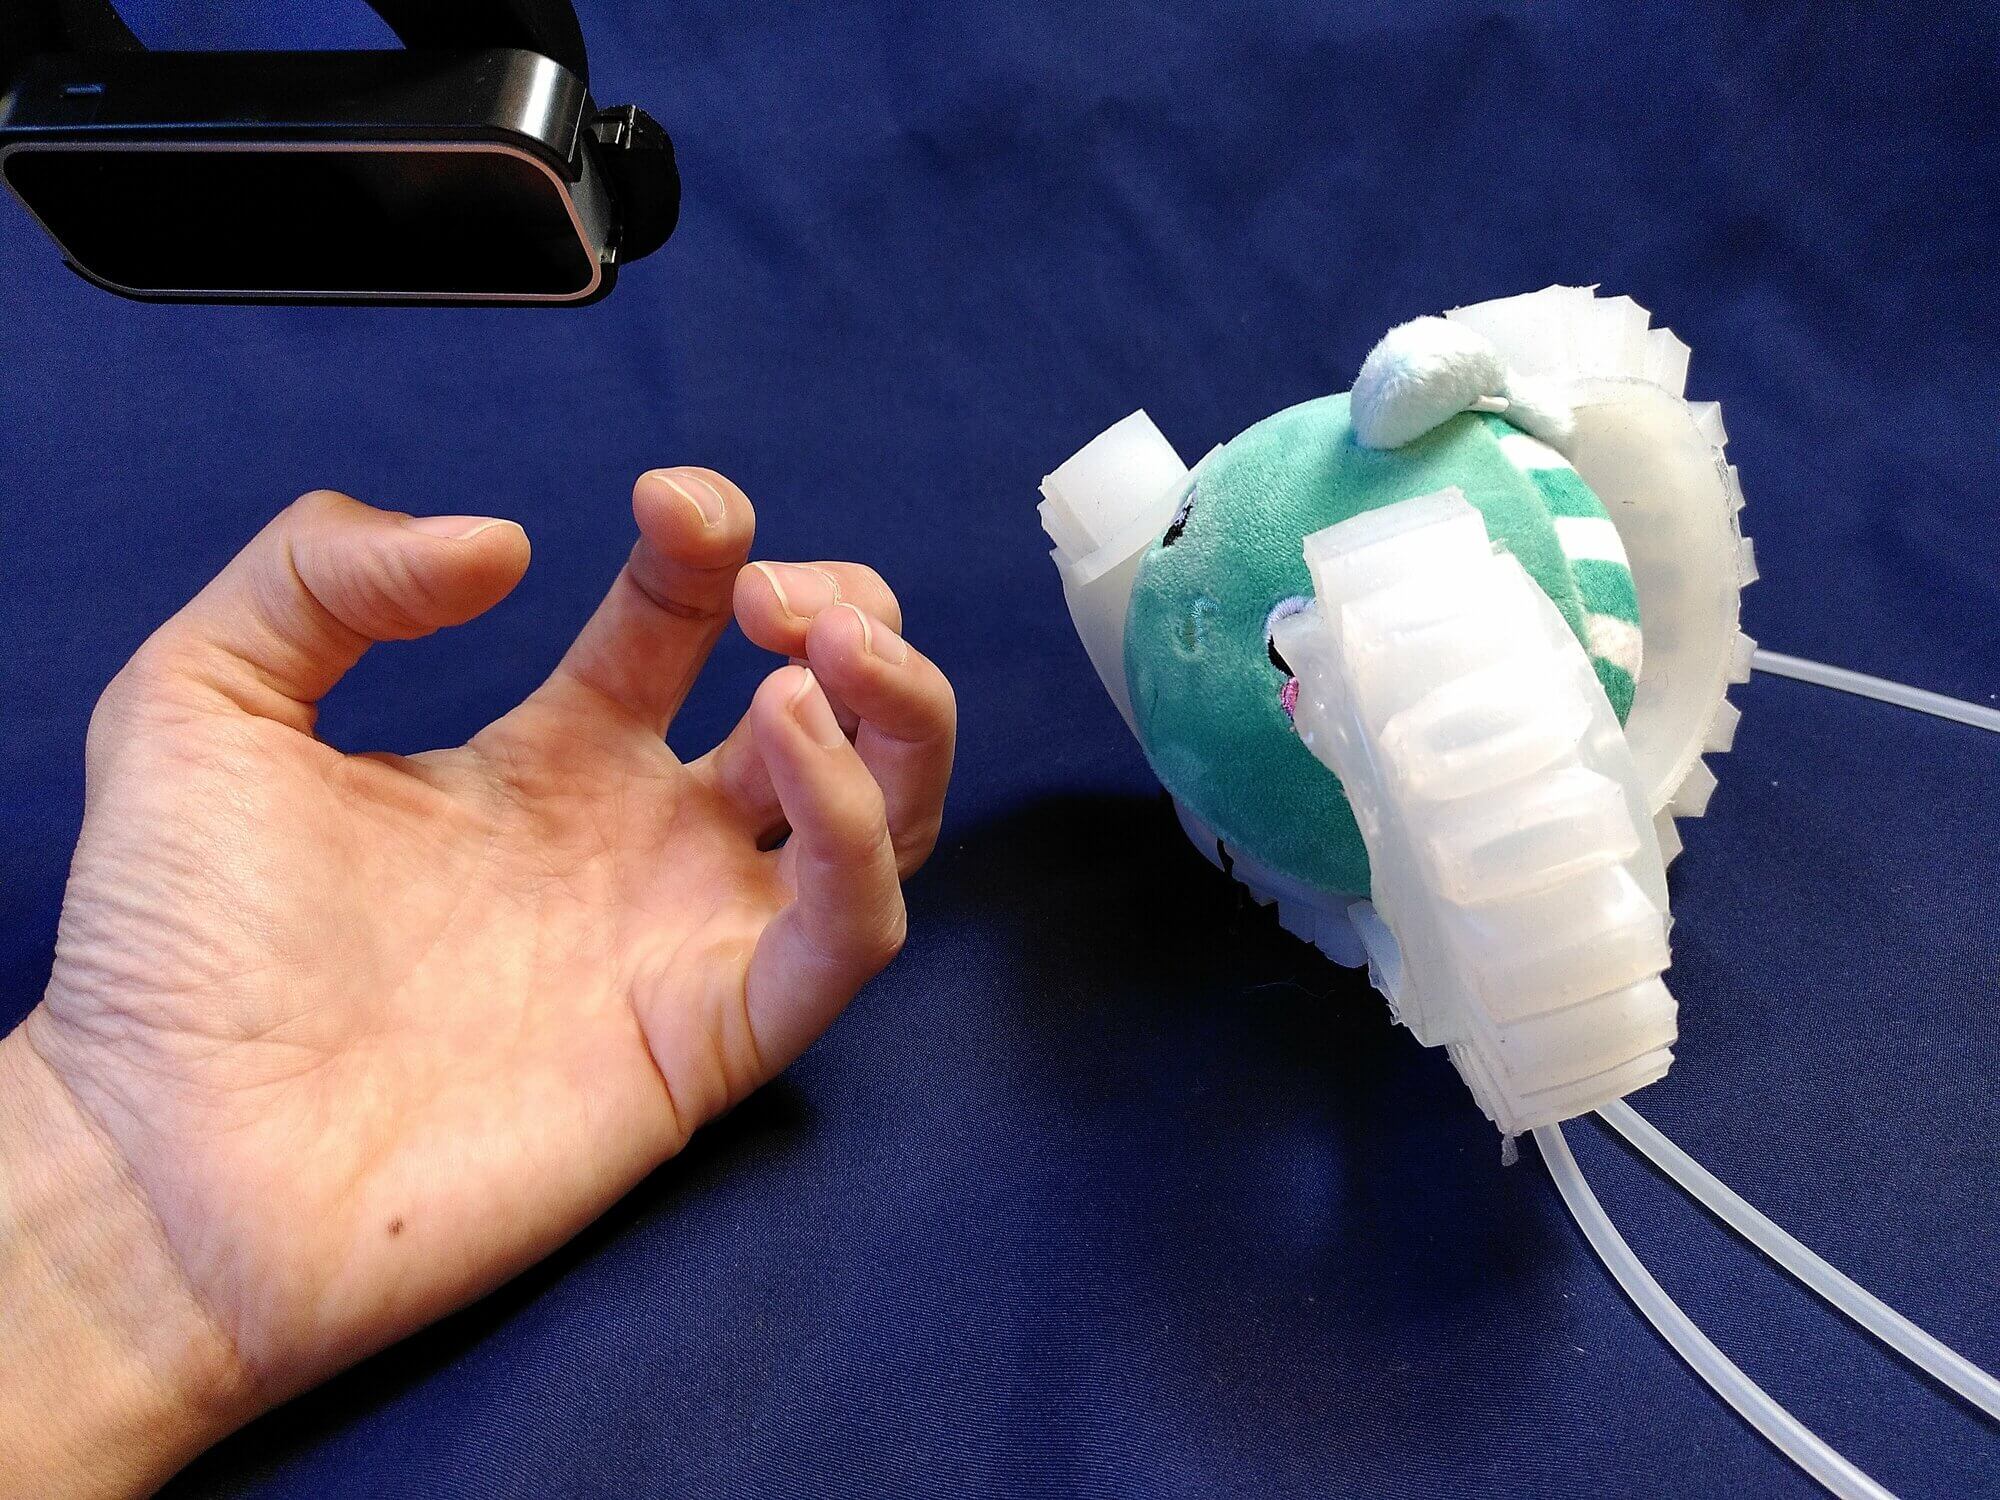
2.1 Soft Robotics in a FabLab
Adriana Cabrera's presentation2 features several tutorials that can easily be completed in a few days at a fablab.
Actuation with air
The idea is to create a funnel that allows air to pass through. Depending on the funnel's design and the object's design, a certain movement will be created. Thus, by modifying these two designs, we can alter the resulting movement.
Air actuation can be achieved in various ways:
- heat sealing with the vinyl cutter
- TPU sheet welded with laser cutter
- 3D print mold and silicone casting
- laser cut mold and silicone casting
- Folding with origami
In addition to the presentation, I found several very interesting tutorials.
Here is a tutorial that explains, step by step, how to make a silicone gripper.
Actuation with magnet - Origami
2. Inspirations
Ying Gao
The project In Camera by Ying Gao is an interactive garment that reacts when it is photographed. Inspired by the aperture mechanism of a camera lens, the textile opens and contracts in response to the viewer's gaze. Through movement, the garment appears almost alive, transforming from a passive object into an active participant in the interaction. The project demonstrates how soft robotics can give textiles responsive and expressive behaviors.
In Camera - Ynig Gao
I really love this project, as well as all of Ying Gao’s work. She manages to make us completely forget about the technology behind her work. All we see is delicacy and poetry. What’s more, her creations invite us to reflect on our clothing consumption.
Saskia Helinski
Here we see Saskia Helinska’s final project from the 2021–2022 Fabricademy. She explored inflatables as visual and haptic actuators. To do so, she used two techniques: silicone molding and casting, and heat welding.
Alumni pages
Here are some works by several former students that I find particularly inspiring. They give you an idea of how to move from a tutorial to a more artistic and personal project.
2. Personnal ideas
I really like puffy shapes and balloons. I also like the shape of the body.
Here are a few ideas I found on Pinterest.
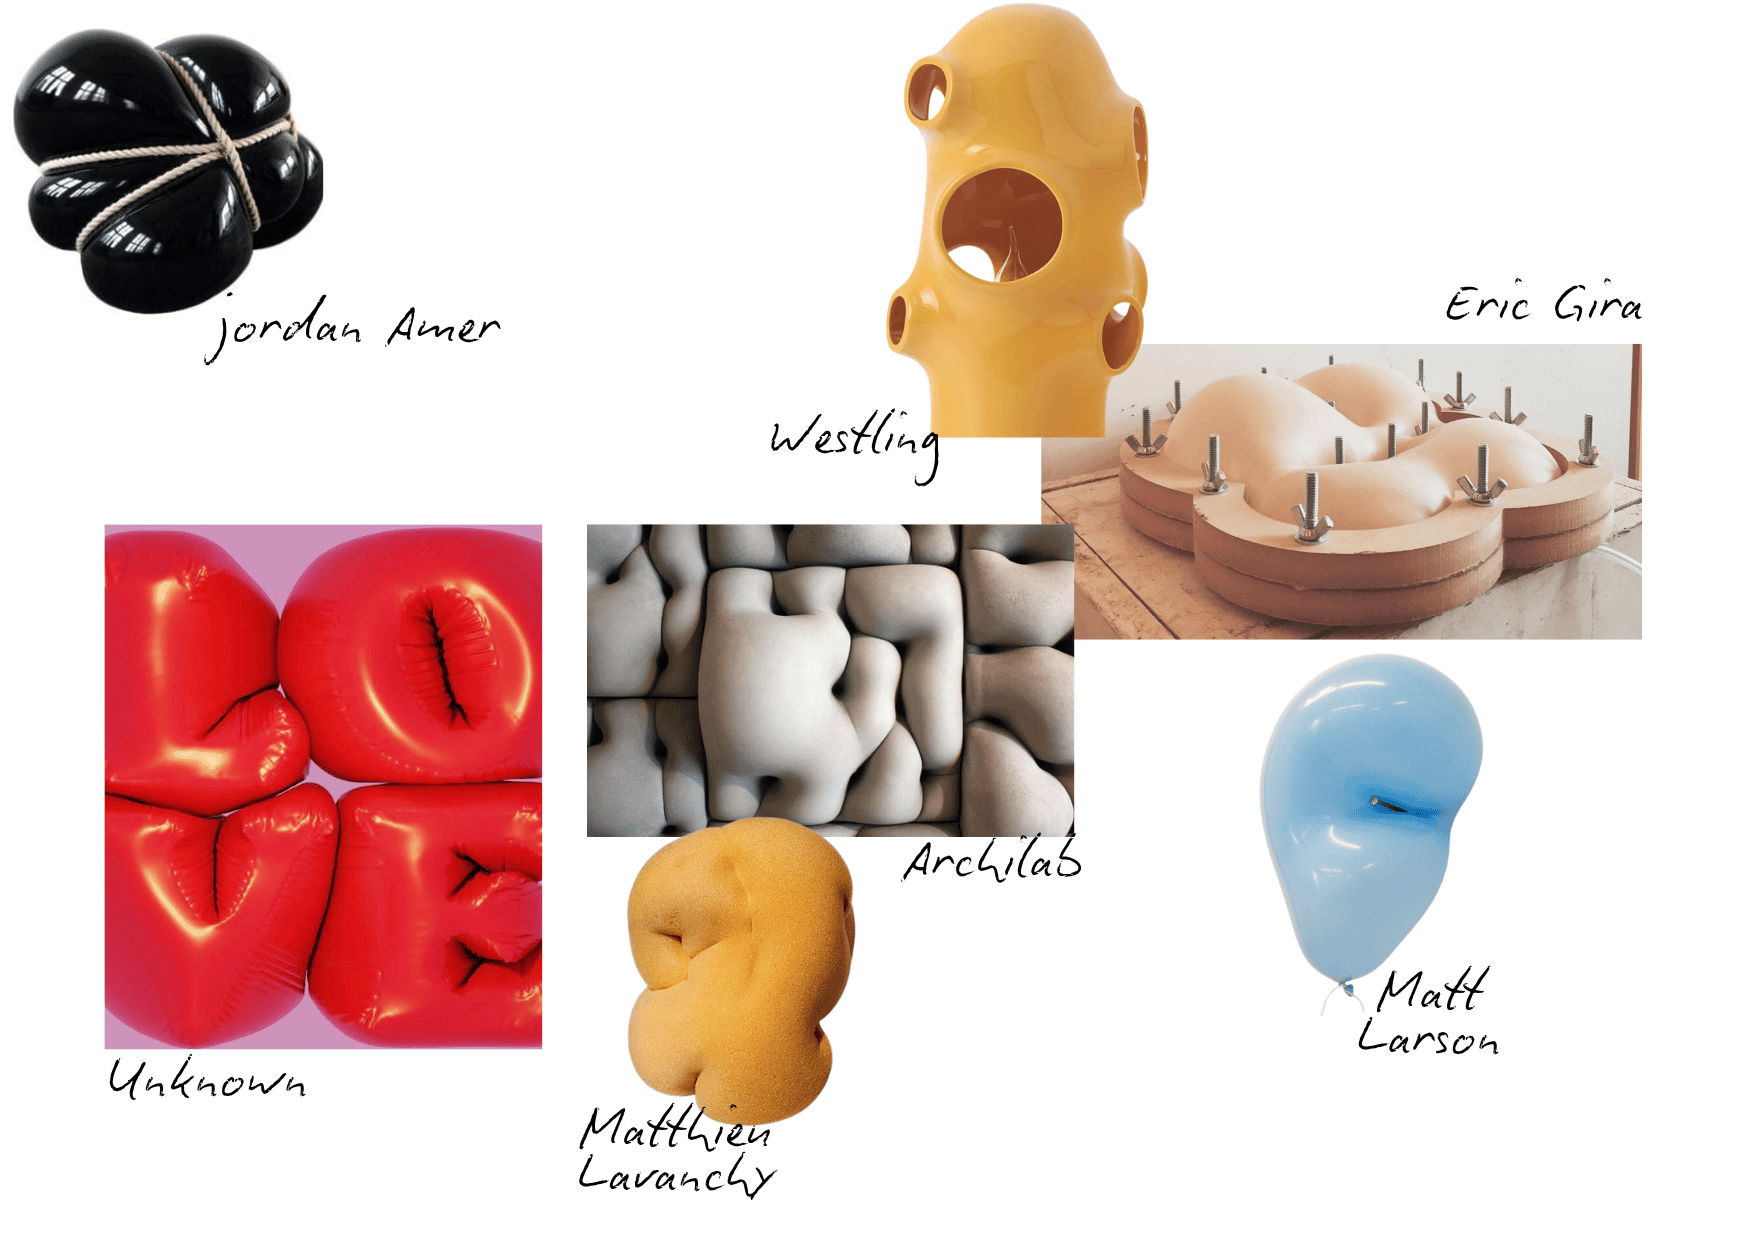
I also sketched out several ideas that came to me during the presentation and my research. I'm looking forward to a week full of fun and laughter. So I'm really inspired by smiley faces and Westling's bubble lamp.
3. Tools
- scissors, jars, sauce bottle, syringe, needle
- Cricut EasyPress 3, Secabo heat press
- glue gun
- BRM PRO 1300 laser cutter
- Vacuum system
4. Process and workflow
"Lorem ipsum dolor sit amet, consectetur adipiscing elit, sed do eiusmod tempor incididunt ut labore et dolore magna aliqua. "

How-to use footnotes for fabrication files
Fabrication files are a necessary element for evaluation. You can add the fabrication files at the bottom of the page and link them as a footnote. This was your work stays organised and files will be all together at the bottom of the page. Footnotes are created using 1 (without spaces, as shown in Step 1 & 2, and referenced as you see at the bottom of this page) You can reference the fabrication files to multiple places on your page.
4.1 Step 1
This model 3 was obtained by.. Lorem ipsum dolor sit amet, consectetur adipiscing elit, sed do eiusmod tempor incididunt ut labore et dolore magna aliqua.
4.2 Step 2
The laser cut nesting 2 was created using.. Lorem ipsum dolor sit amet, consectetur adipiscing elit, sed do eiusmod tempor incididunt ut labore et dolore magna aliqua.
4.3 Step 3
...
5. Results
Results & documentation
- Don’t forget to document the outcome including:
- Final result
- Photos from different stages
- Videos of movement or interaction, show how a material moves, something was assembled or the interactive
- Include measurements or a reference object to give a sense of size
- Describe the (material) properties or what you made
- Comparison between attempts, if you did multiple experiments or generated multiple files before fabricating / deploying. You can use a table as shown in week 4
5.1 Code
Use the three backticks to separate code.
// the setup function runs once when you press reset or power the board
void setup() {
  // initialize digital pin LED_BUILTIN as an output.
  pinMode(LED_BUILTIN, OUTPUT);
}

// the loop function runs over and over again forever
void loop() {
  digitalWrite(LED_BUILTIN, HIGH);   // turn the LED on (HIGH is the voltage level)
  delay(1000);                       // wait for a second
  digitalWrite(LED_BUILTIN, LOW);    // turn the LED off by making the voltage LOW
  delay(1000);                       // wait for a second
}

// the setup function runs once when you press reset or power the board
void setup() {
  // initialize digital pin LED_BUILTIN as an output.
  pinMode(LED_BUILTIN, OUTPUT);
}

// the loop function runs over and over again forever
void loop() {
  digitalWrite(LED_BUILTIN, HIGH);   // turn the LED on (HIGH is the voltage level)
  delay(1000);                       // wait for a second
  digitalWrite(LED_BUILTIN, LOW);    // turn the LED off by making the voltage LOW
  delay(1000);                       // wait for a second
}
6. Weekly reflection & critical thinking
- What did I learn? What did I personally find interesting or surprised me?
- What would I do differently? If something "failed" do I know how else to tackle it now?"
- How does this connect to my final project or my learning trajectory?
- What are implications and possible applications, think also from the ethical or environmental aspect, how it could connect to your practice and project?
NuEval — final step
Go to NuEval and fill in the checklist, when not complete notify your instructor.