E-textiles: Felt Circuits
1. Objective
- One soft switch
- sensor
- Upload sample code
- Control a switch or a sensor
Personal Objective
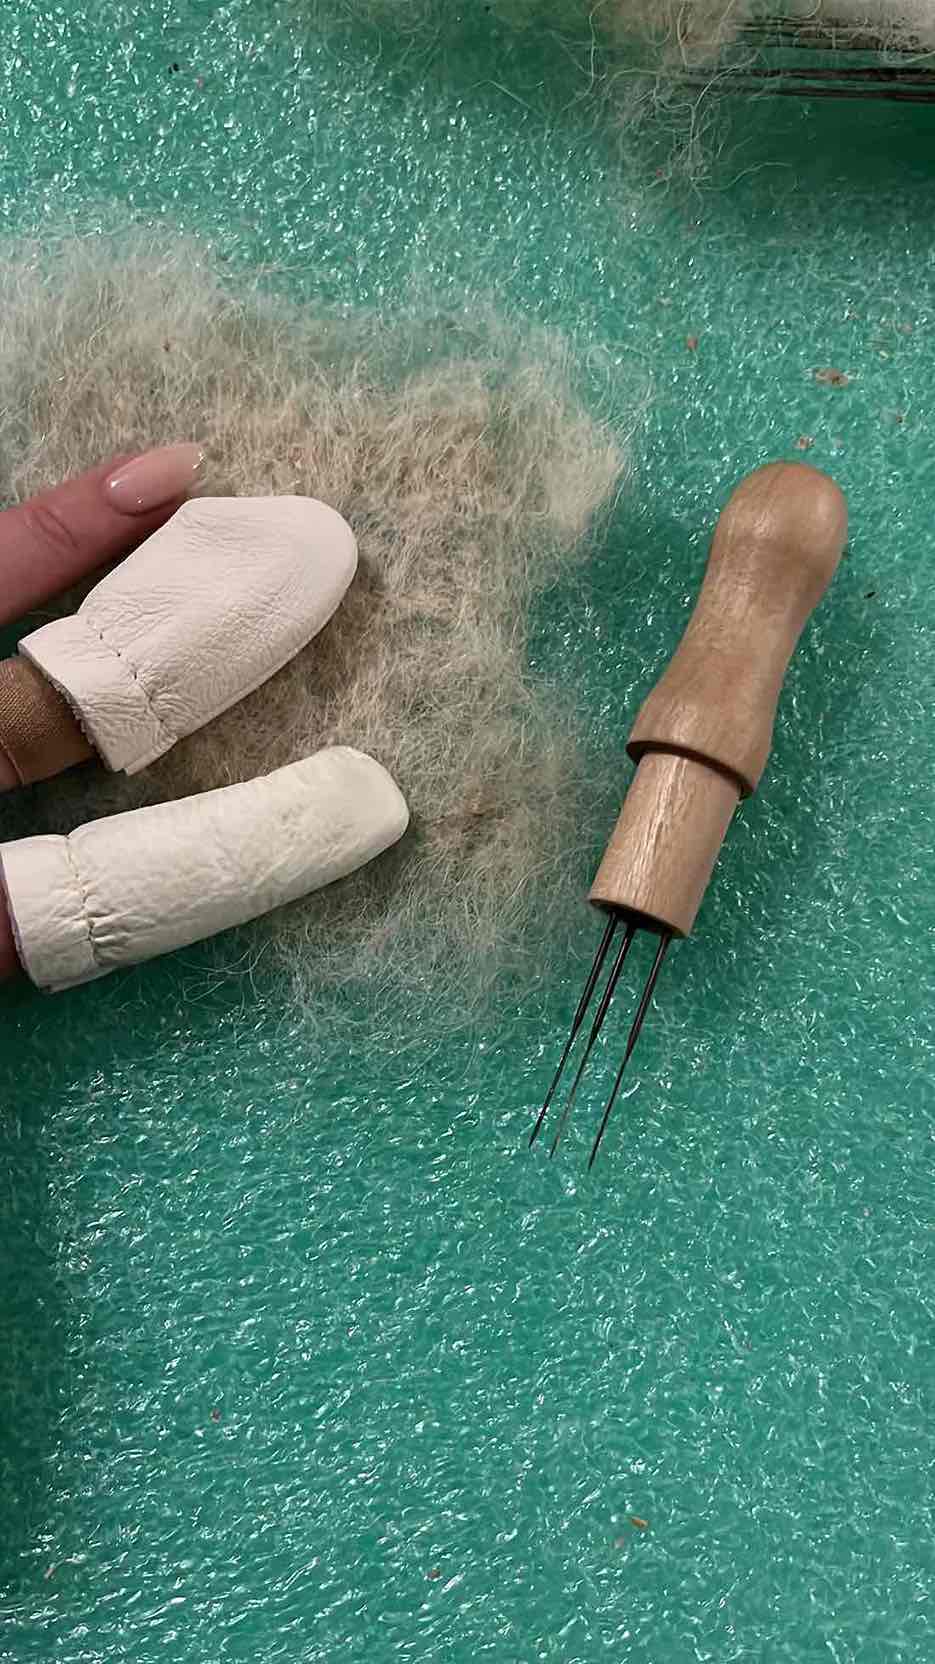
- Learn how to needle felt
- Experiment with touch/pressure sensors
2. References, research & inspiration
Brief history of E-Textiles
I was under the impression that the concept of e-textiles is a relatively new one. A quick wikipedia search shows that the idea has been around since the late 19th century at least. I decided to dig a little bit deeper about the Electric Girl Lighting Company, which turns out was a spoof according to this article. None the less, it is mentioned in the same article that there was a ballet performance 'La Farandole' where the ballet dancers had lights in their hair, powered by 'Skrivanow Batteries' concealed in their clothing.
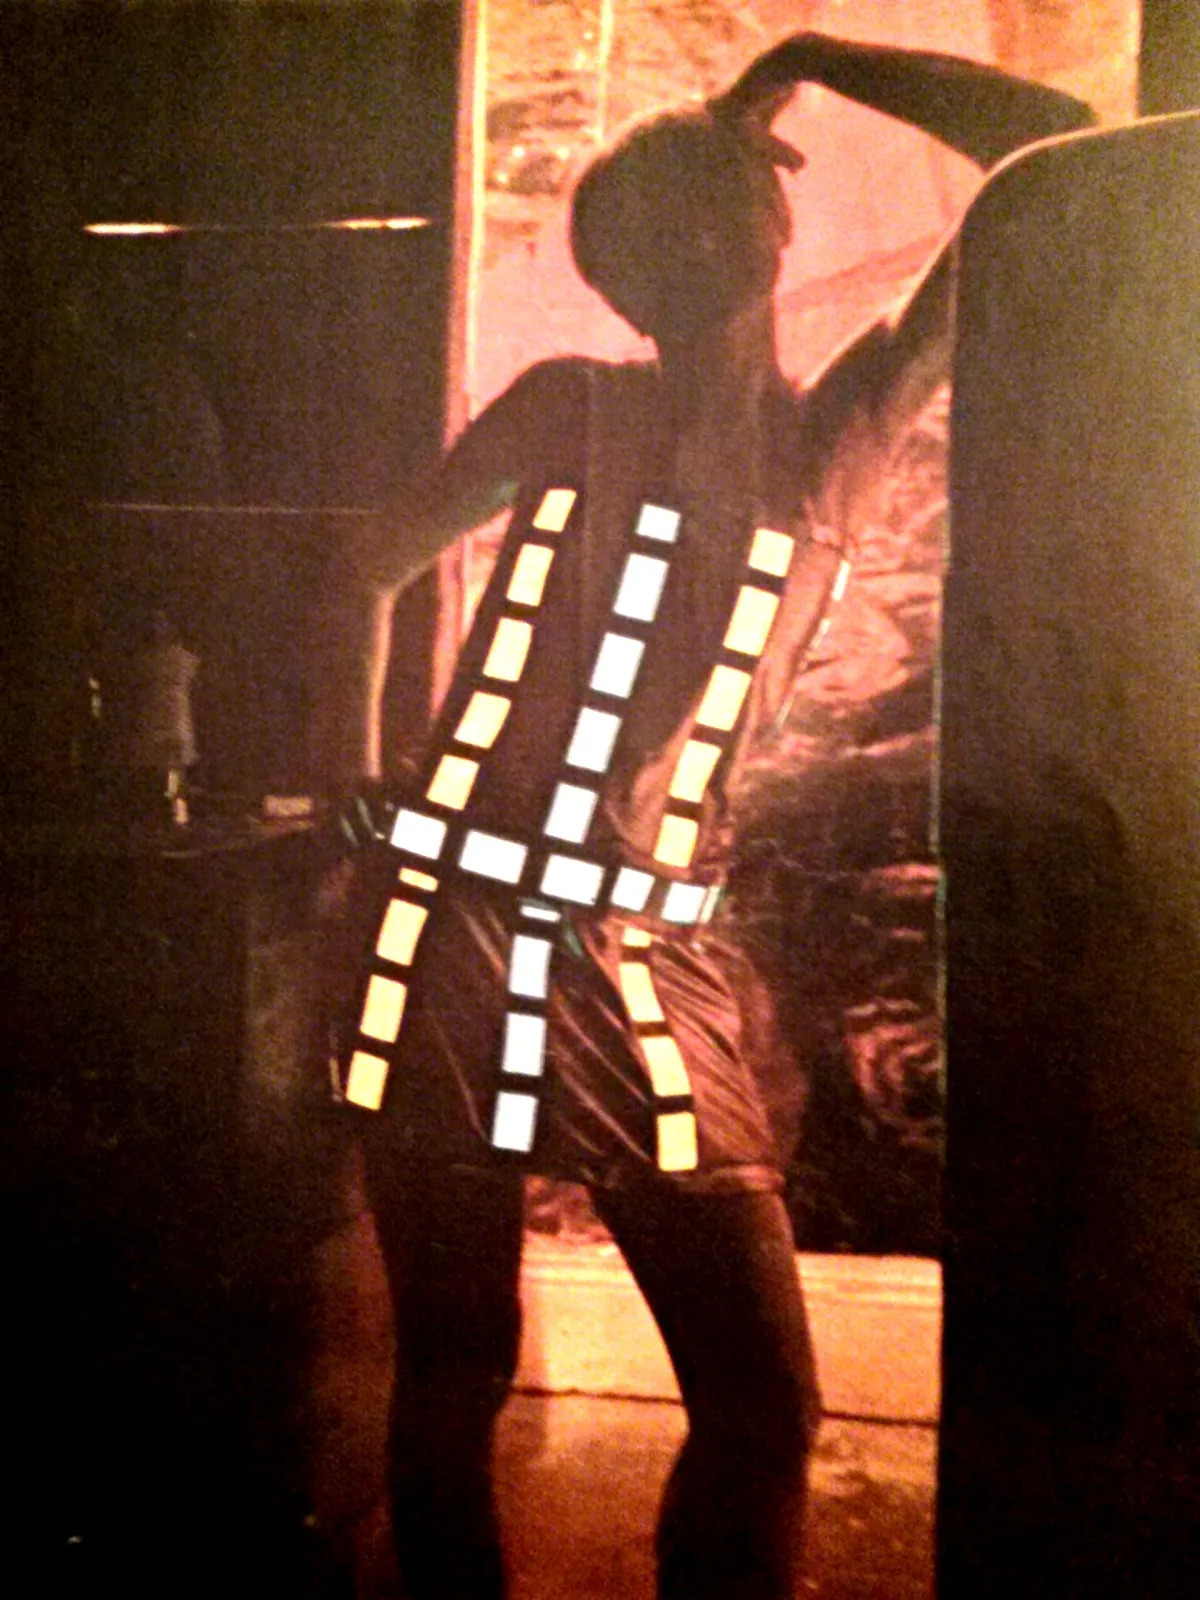

It seems to me that the first iteration of E-textiles was used for a spectacle. Moving about a century later, that was still the case, at least based on my understanding. In the late 60s of the last century, the Museum of Contemporary Crafts in New York held an exhibition called Body Covering that included experiments with integrating technology with fabric. mMost interesting to me is the work of Diana Dew, who designed clothing embedded with lights. One of her garments was a dress with electroluminescent plastic sewed onto it. These lights were attached to a power pack (nickel-cadamium batteries) and were controllable with a knob (a poteniometer). The lights were adjustable in order to follow musical rythm. While Dew designed for musicians, this particular dress was meant to be available for sale and worn by regular people to parties. Dew's electronic dress was inspired by hallucinogenic effects.
In mid-eighties and nineties, a lot of innovation took place with regards to fiber optics embedding into fabrics, this was mainly used for entertainment purposes with some applications in physiological sensing.
Inspiration: E-Textiles and Touch
I am most interested in touch sensors. I looked up a few projects and how they work.

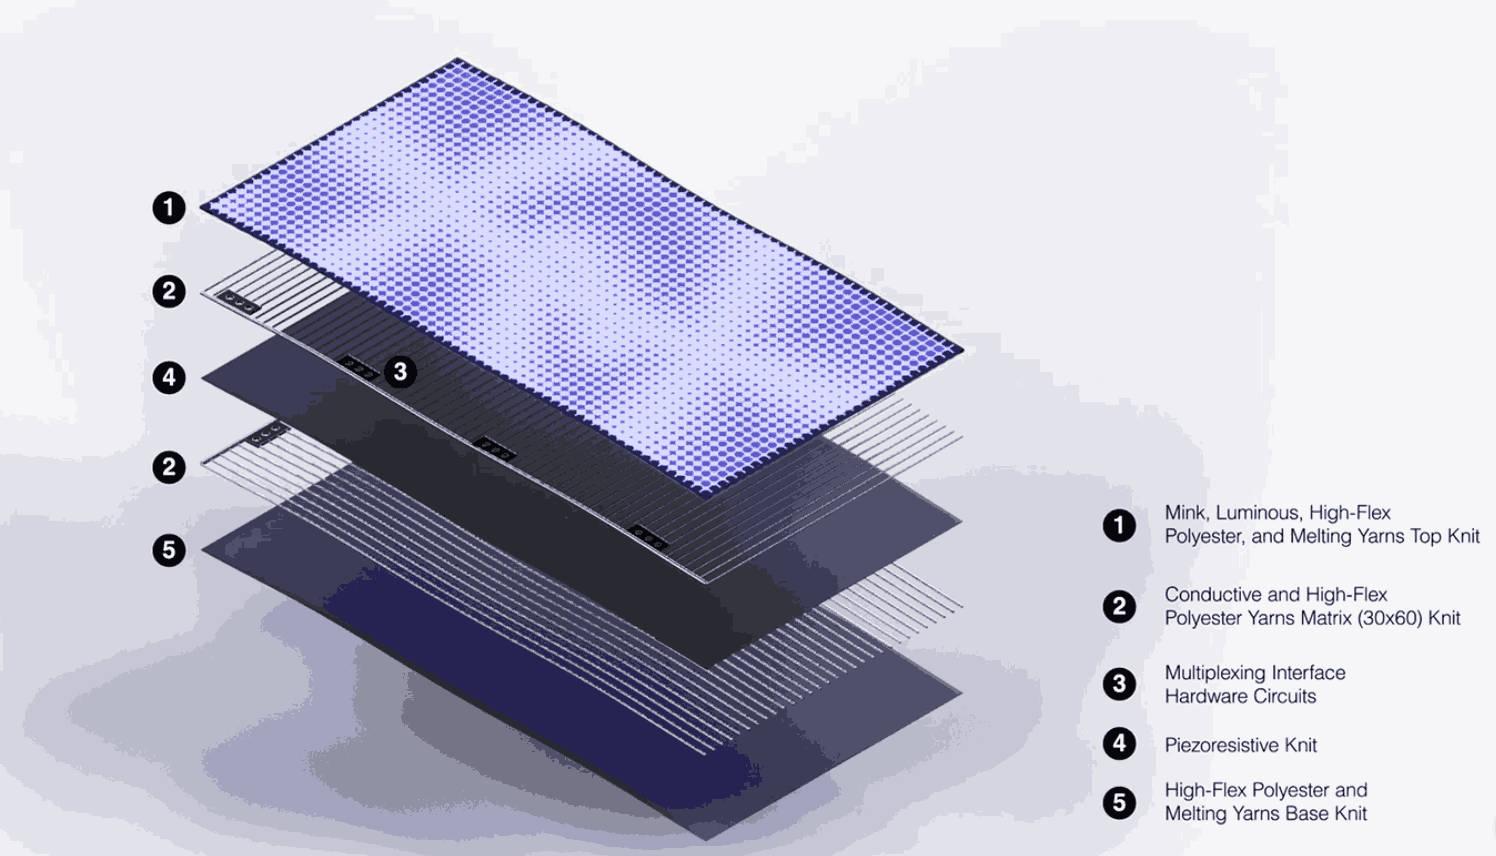
There is Tapis Maqigue. I appreciated this project because it integrates craftsmanship with contemporary technology. The carpet is pressure sensitive and reads movements and gestures to generate sound. This ties pressure sensors with performance art and tradition. The design relies on conductive knitted yarns and other advanced materials, but the basic concept is rather simple. There is a pressure sensor layer between two layers of conductive fabric, with more pressure and less resistence, there is a stronger current and vice versa. The electronics read these changes in current and interpret them as sounds.
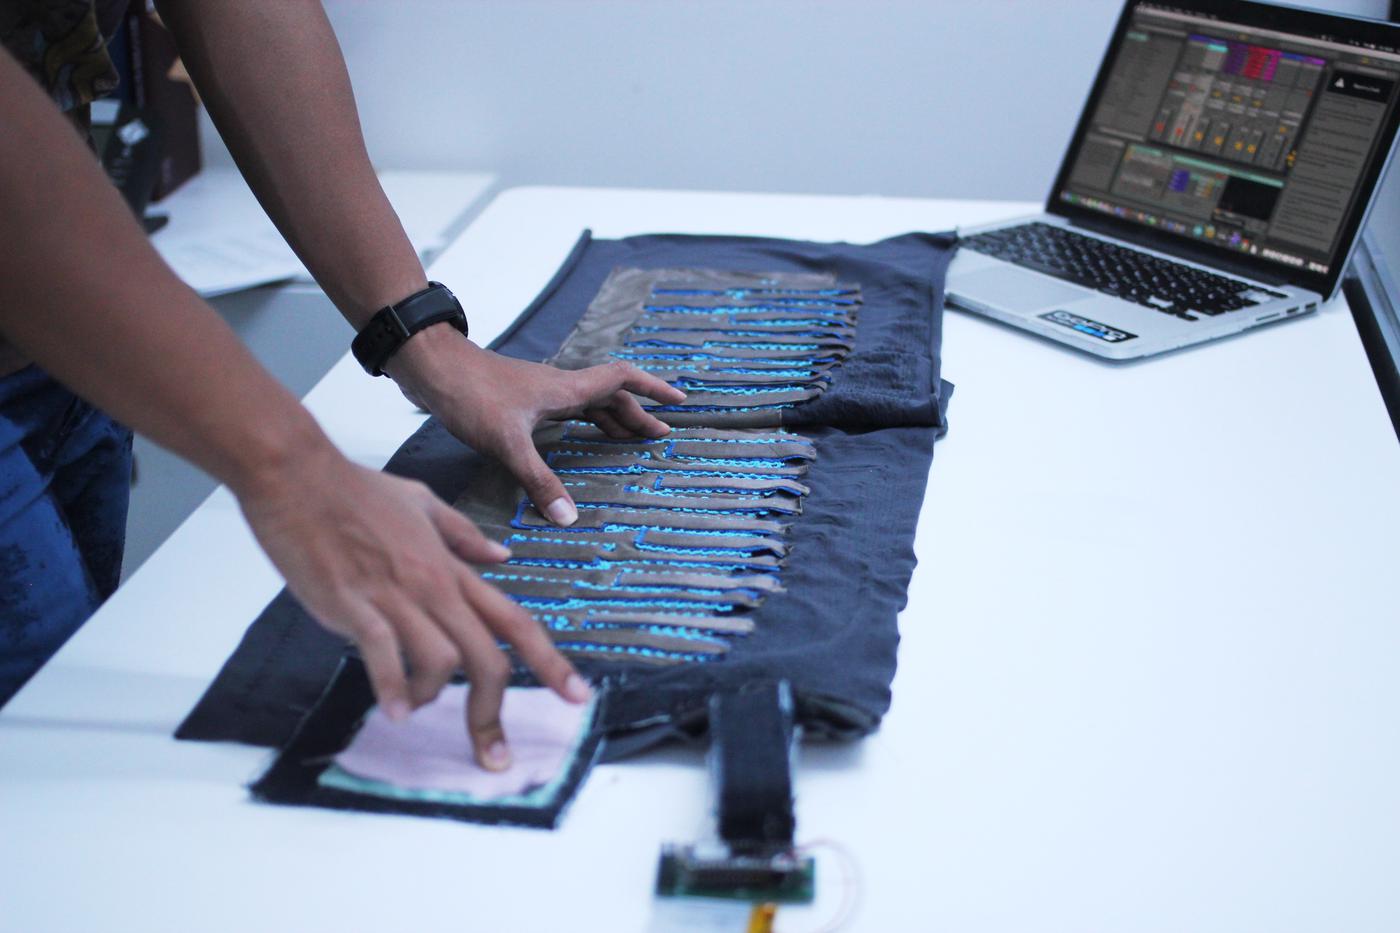
The FabricKeyboard expands on pressure sensors but aso adding stretch and proximity, allowing even non-physical interaction to create sounds.
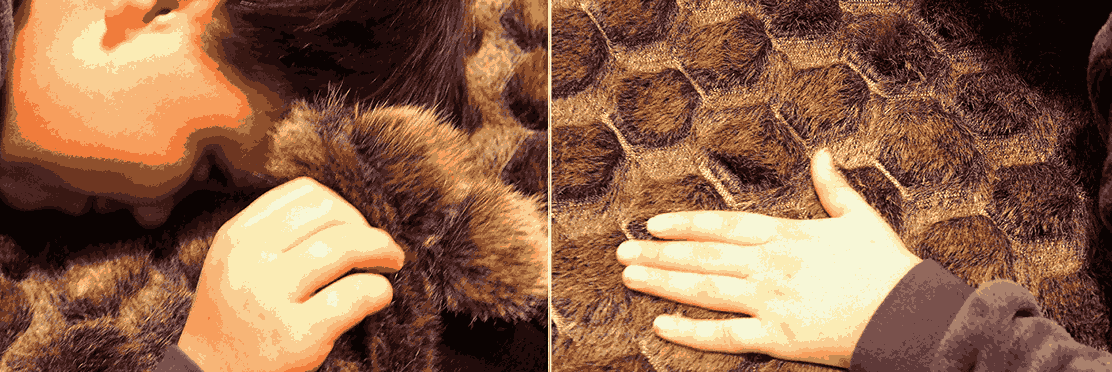
I was also a interested in Touch Accoustics. This project is also based on touch sensors and produces sounds based on touch and movement. The project has potential therapeutic applications which makes it interesting.
Wool and its measures
The softness of wool is measured in fiber diameter in microns. Finer wools have a lower micron number which coarser wools tend to have a higher micron measure. Jordanian sheep wool reads around 40+ microns. I still haven't learned how to separate the undercoat from the courser outer layer for the camel wool, but the undercoat of the dromedary camle can be as soft as 16 microns.
I want to build a small scale prototype of a camel wool felt embeded with touch sensors to engage the user with touching the wool and getting more familiar with it.
3. Tutorial
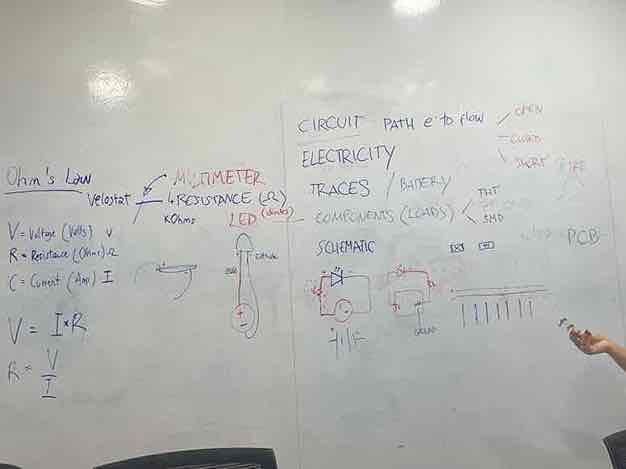
Whar stood out to me from the lecture is the idea of circuits as paths for power, the difference between series and parallel circuits, and the idea of using velostat as a resistor.
E-Textile Continuity Tester
I followed the tutoria with Jessica to create a tester using:
- felt as the base ,
- copper tape as a conducitve material to test,
- safety pins can be used to complete the current over the battery or as electrodes
- coin battery
- silver thread as conductive traces
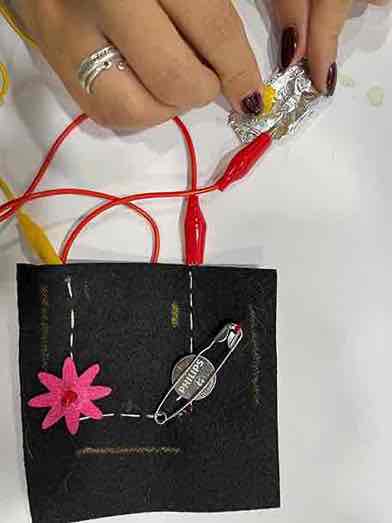
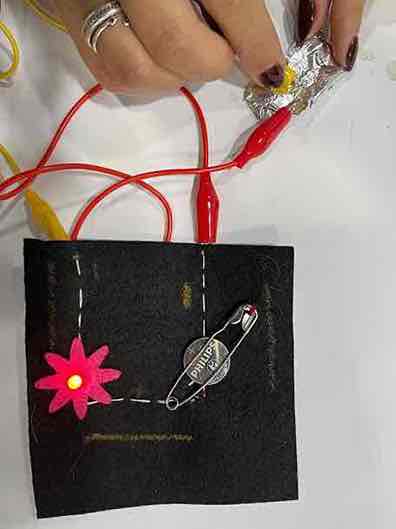
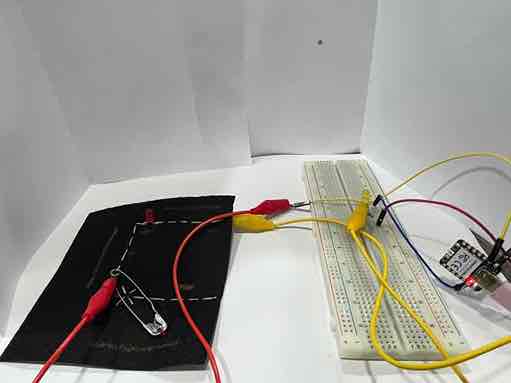
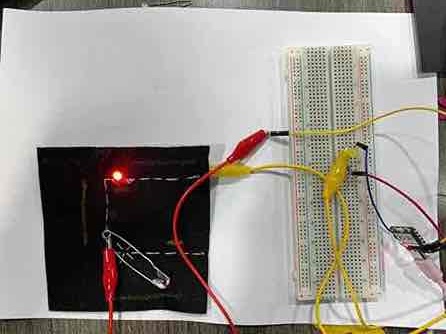
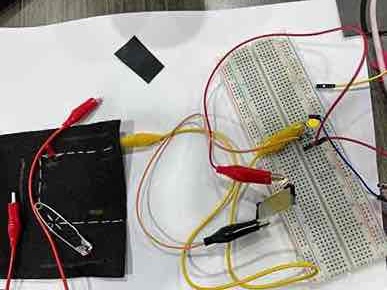
I used the Example Blink code built in the Arduino IDE to test the parallel circuit connected to the fabric multimeter, but I adjusted the pinmode to reflect the number of LEDs I used and the pins they are connected to on the Xiao:
// the setup function runs once when you press reset or power the board
void setup() {
  // initialize digital pin LED_BUILTIN as an output.
  pinMode(D0, OUTPUT);
  pinMode(D1, OUTPUT);
}

// the loop function runs over and over again forever
void loop() {
  digitalWrite(D0, HIGH);  // change state of the LED by setting the pin to the HIGH voltage level
  delay(1000);                      // wait for a second
  digitalWrite(D0, LOW);   // change state of the LED by setting the pin to the LOW voltage level
  delay(1000);

  digitalWrite(D1, HIGH);  // change state of the LED by setting the pin to the HIGH voltage level
  delay(1000);                      // wait for a second
  digitalWrite(D1, LOW);   // change state of the LED by setting the pin to the LOW voltage level
  delay(2000);   // wait for a second
}
One sensor experiment
Two sensor experiment
Notes
Basic terms:
- Power supply (Battery)
- Circuit: path for electrons to flow (can be open, closed, short/fire)
- Electricity
- Traces: the path
- Components (Loads)
- Schematic: the diagram
Arduino board?
Bread board: prototyping circuits
AC: Alt current, DC: Direct current
Micro controlers run between 3v-5v due to risk o higher voltage:
all have 1. port 2. connector for battery
Lily boards are made for wearbales with holes for sewing
Requirments for circuits
- Bread board incudes traces, power supply strips and component connector strips
- Traces: paths of electrons eg. silver tape, alligator cables, jumping wires, Conductive thread (coated with silver powder), copper tape, copper fabric
- Battery: this week coin-style, flat/smooth is positive, it's 3V
- Components: There are two types (tht: through holes technology , smd: surface-mounted all the ones that are soldered to the boards). LEDs which includes diodes
PCB: Printed circuit boards (silk screen and silver powder for traces )
Switch: A break in the current Open Circuit means there could be a switch and that switch can be used to cut off the currrent
Find data sheets which is a technical sheet for every electronic component with all the date needed.
- resistence (R): regulate the flow of electrons (in textiles it is called Velostat), measured in ohms, ohms law: V = I * R
- voltage (V): power (poential difference between the points in the circuit)
- current (I): Ampere (I: Intemsity of current)
Tools
- Multimeter: A measuring tools which measure
- Coin Battery
- Alligator cables
- Velostat fabric
- Bread Board
- Conductive thread
- XIAO microprocessor
- FabriXIAO
- LEDs
- Conductive Wool
- Wires
- Copper tape
- USBC Data Cables
4. Process and workflow
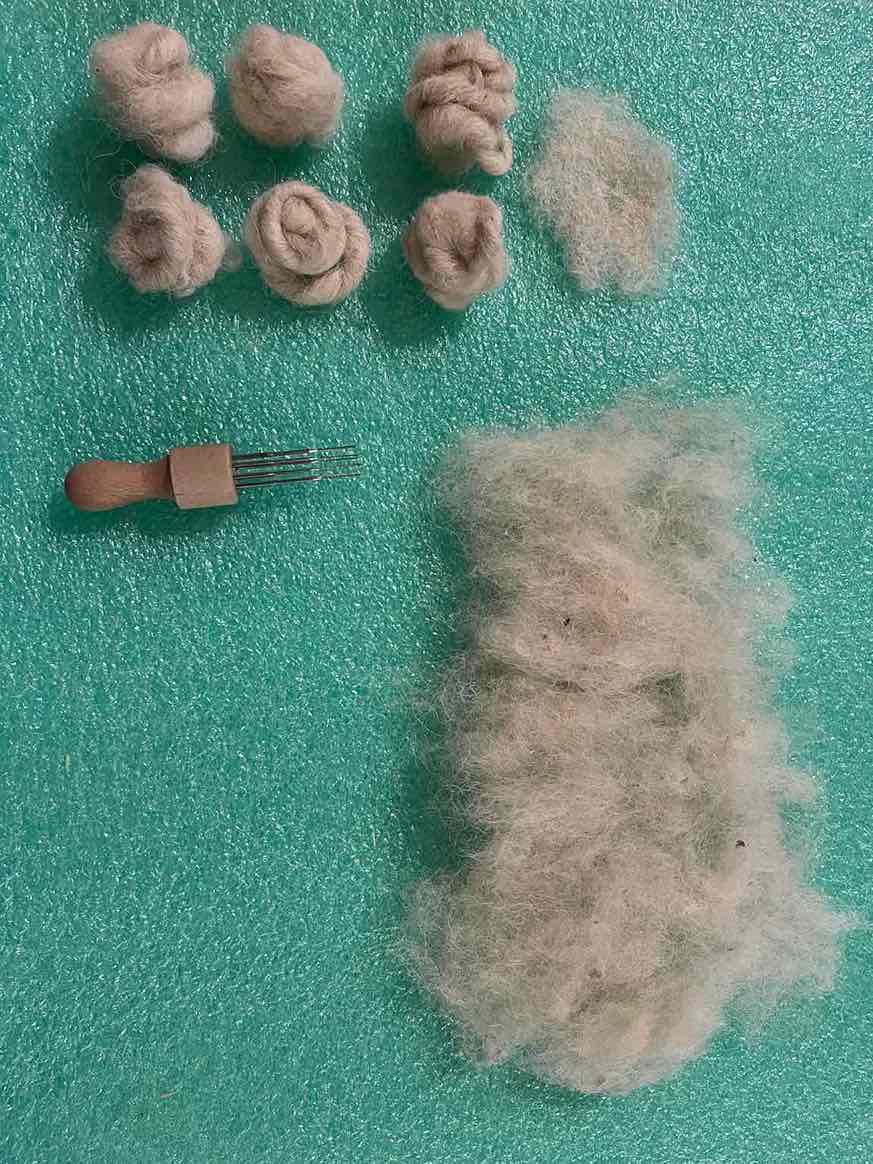
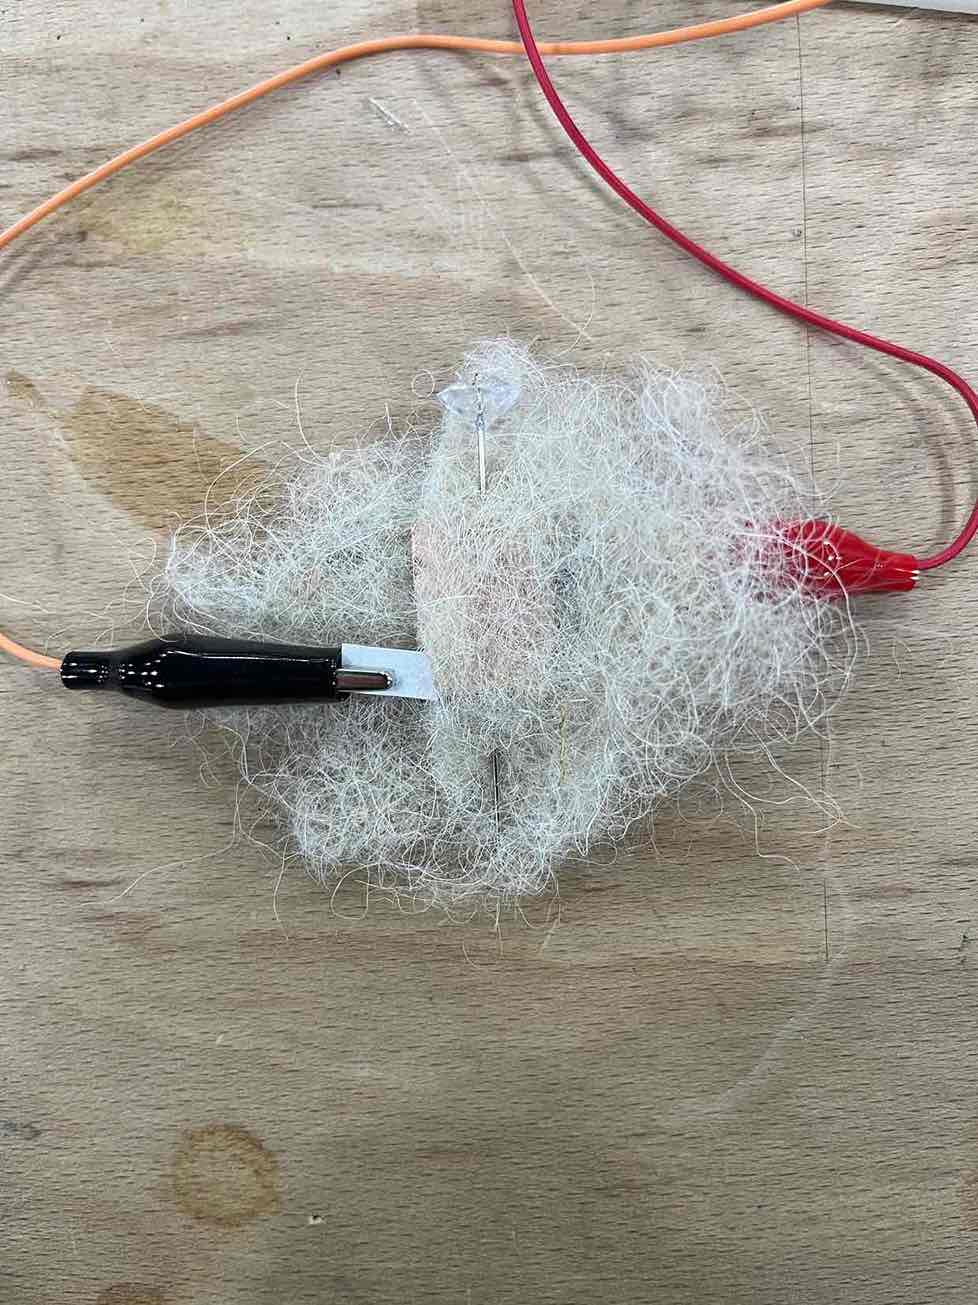
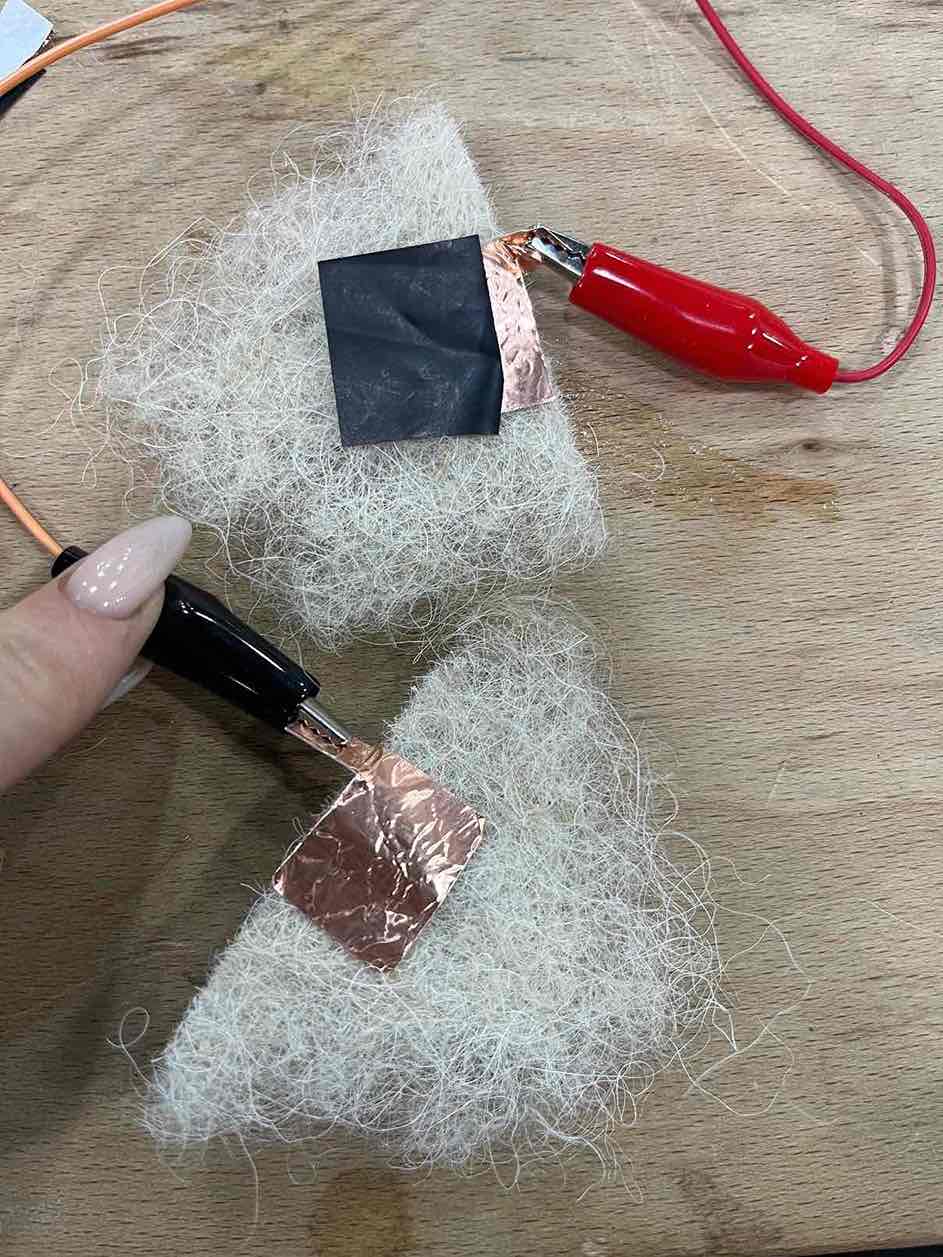
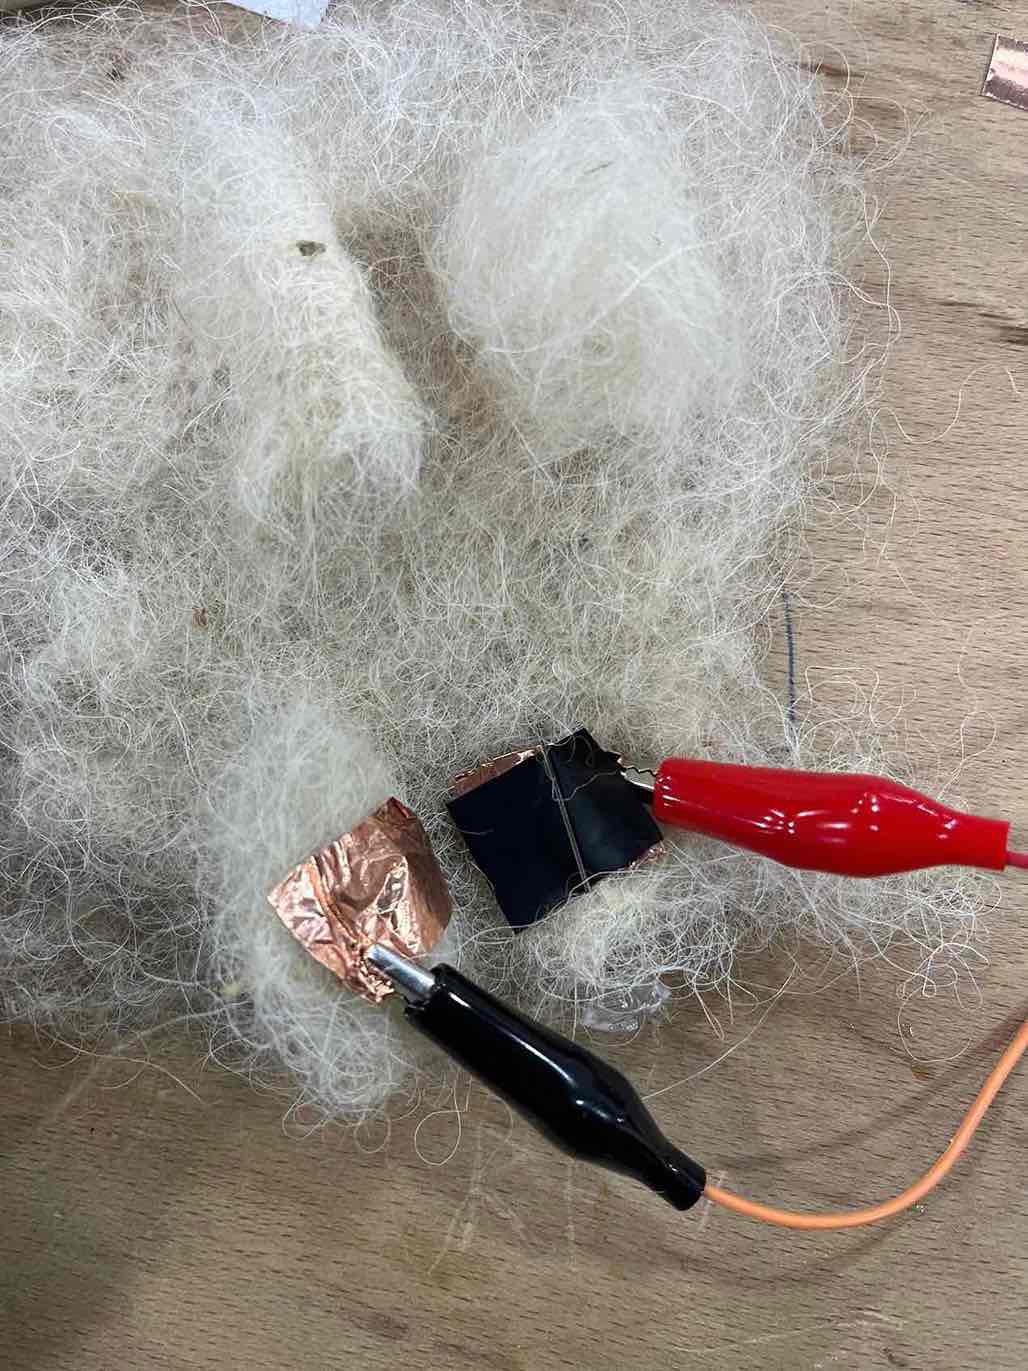
Felting
Wool sensors
One Wool Sensor
Light behind wool
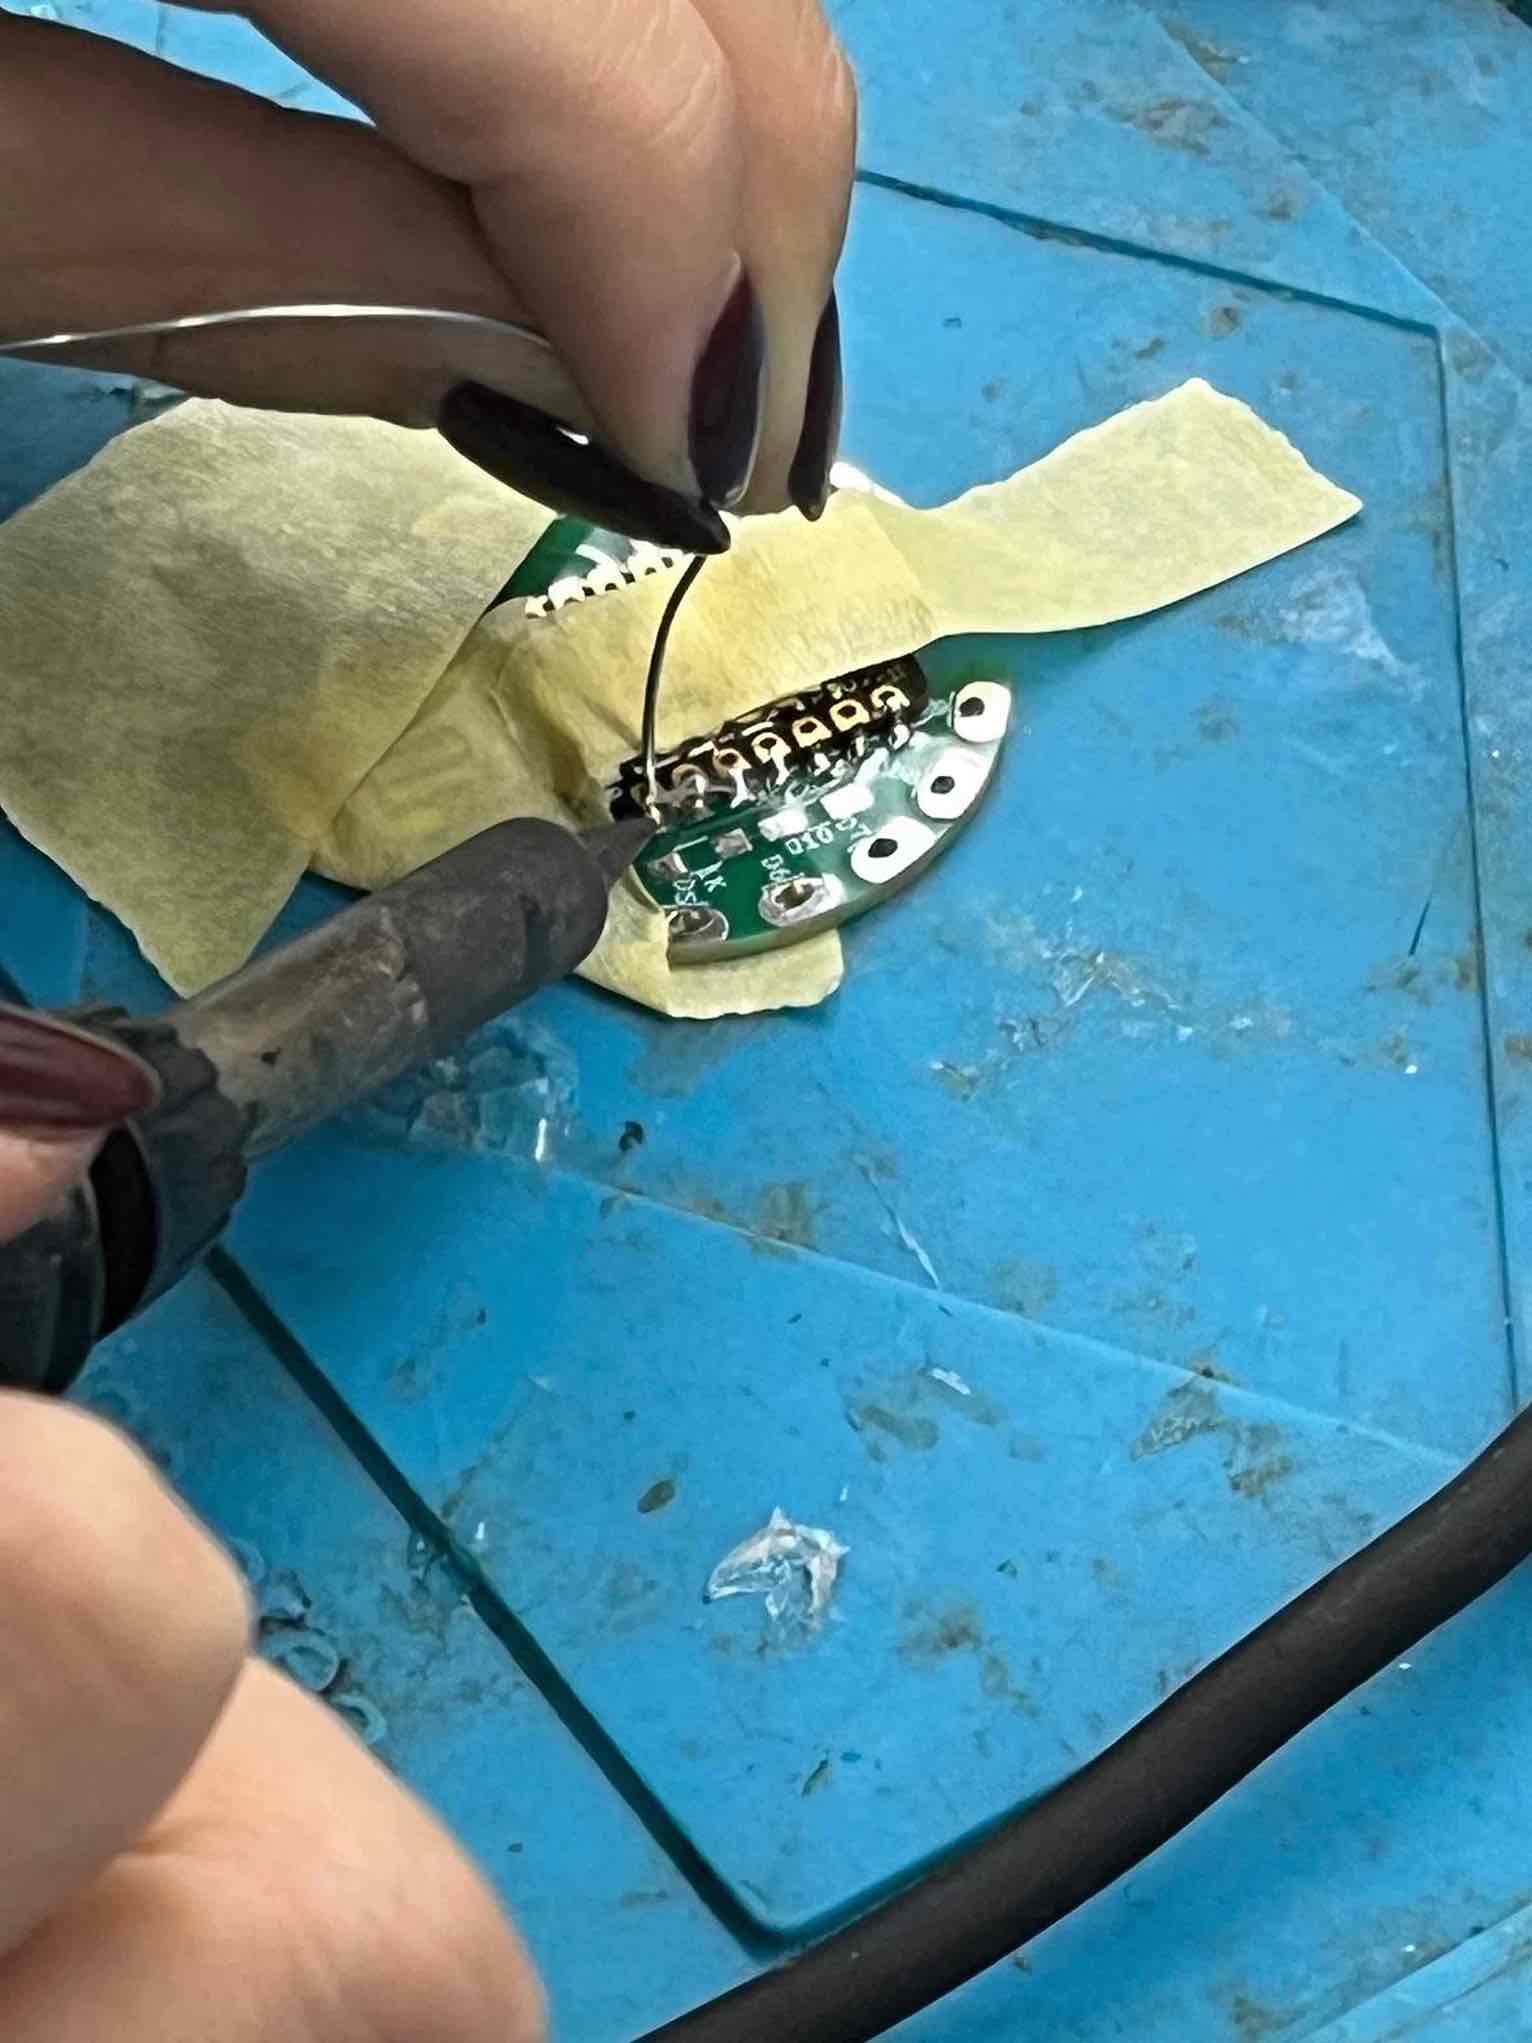
Felting Circuits
5. Results
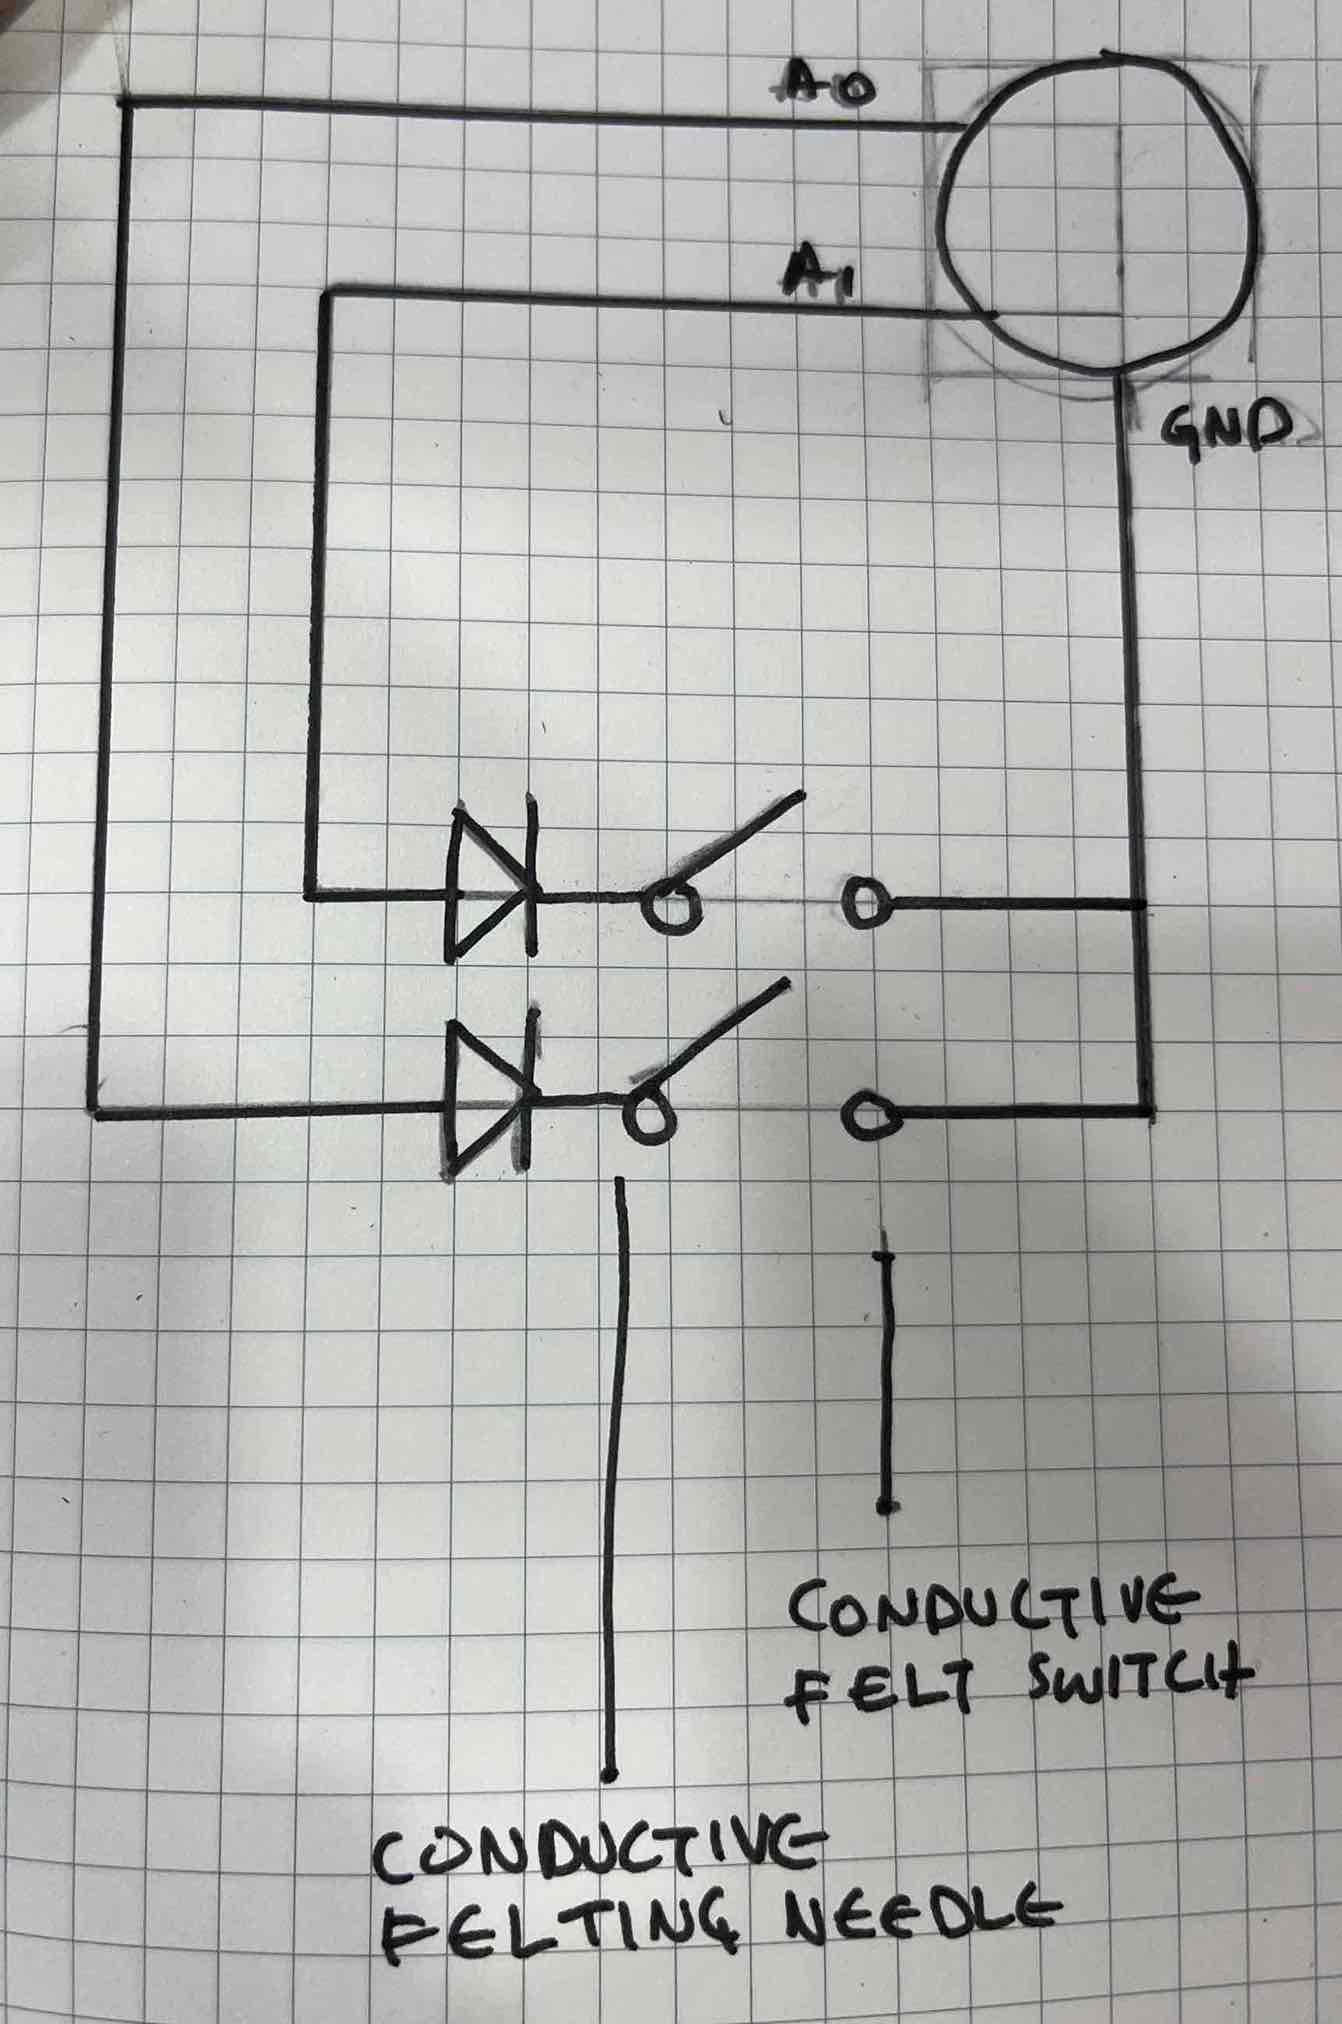
5.1 Digital: Felt Bread Board
For the Digital part of the circuit,
The final felt circuit
Code
I wanted to count the number of felting stabs in each of the conductive felting switches. The code is as follows"
5.2 Analog: Felt Circuit
Wool Sensors - Parallel Circuit
Code
The code for the sensors and the parallel network is as follows:
int sensorPin = A0;
int led1 = D1;
int led2 = D2;
int led3 = D3;
int sensorValue = 0;

void setup() {
  pinMode(led1, OUTPUT);
  pinMode(led2, OUTPUT);
  pinMode(led3, OUTPUT);
  Serial.begin(9600);
}

void loop() {
  sensorValue = analogRead(sensorPin);

  if (sensorValue > 250) {
    digitalWrite(led1, HIGH);
    digitalWrite(led2, HIGH);
    digitalWrite(led3, HIGH);
  } else {
    digitalWrite(led1, LOW);
    digitalWrite(led2, LOW);
    digitalWrite(led3, HIGH);
  }
}
THe LEDs are connected to different pins on the XIAO, so this needs to be reflected in the code when setting up the integers at the very beginning. Using this code, I experimented with the intensity of the sensor value; 100 was too low but 300 was too high. I decided to use 250 as the sensor value which produced the effect I wanted.
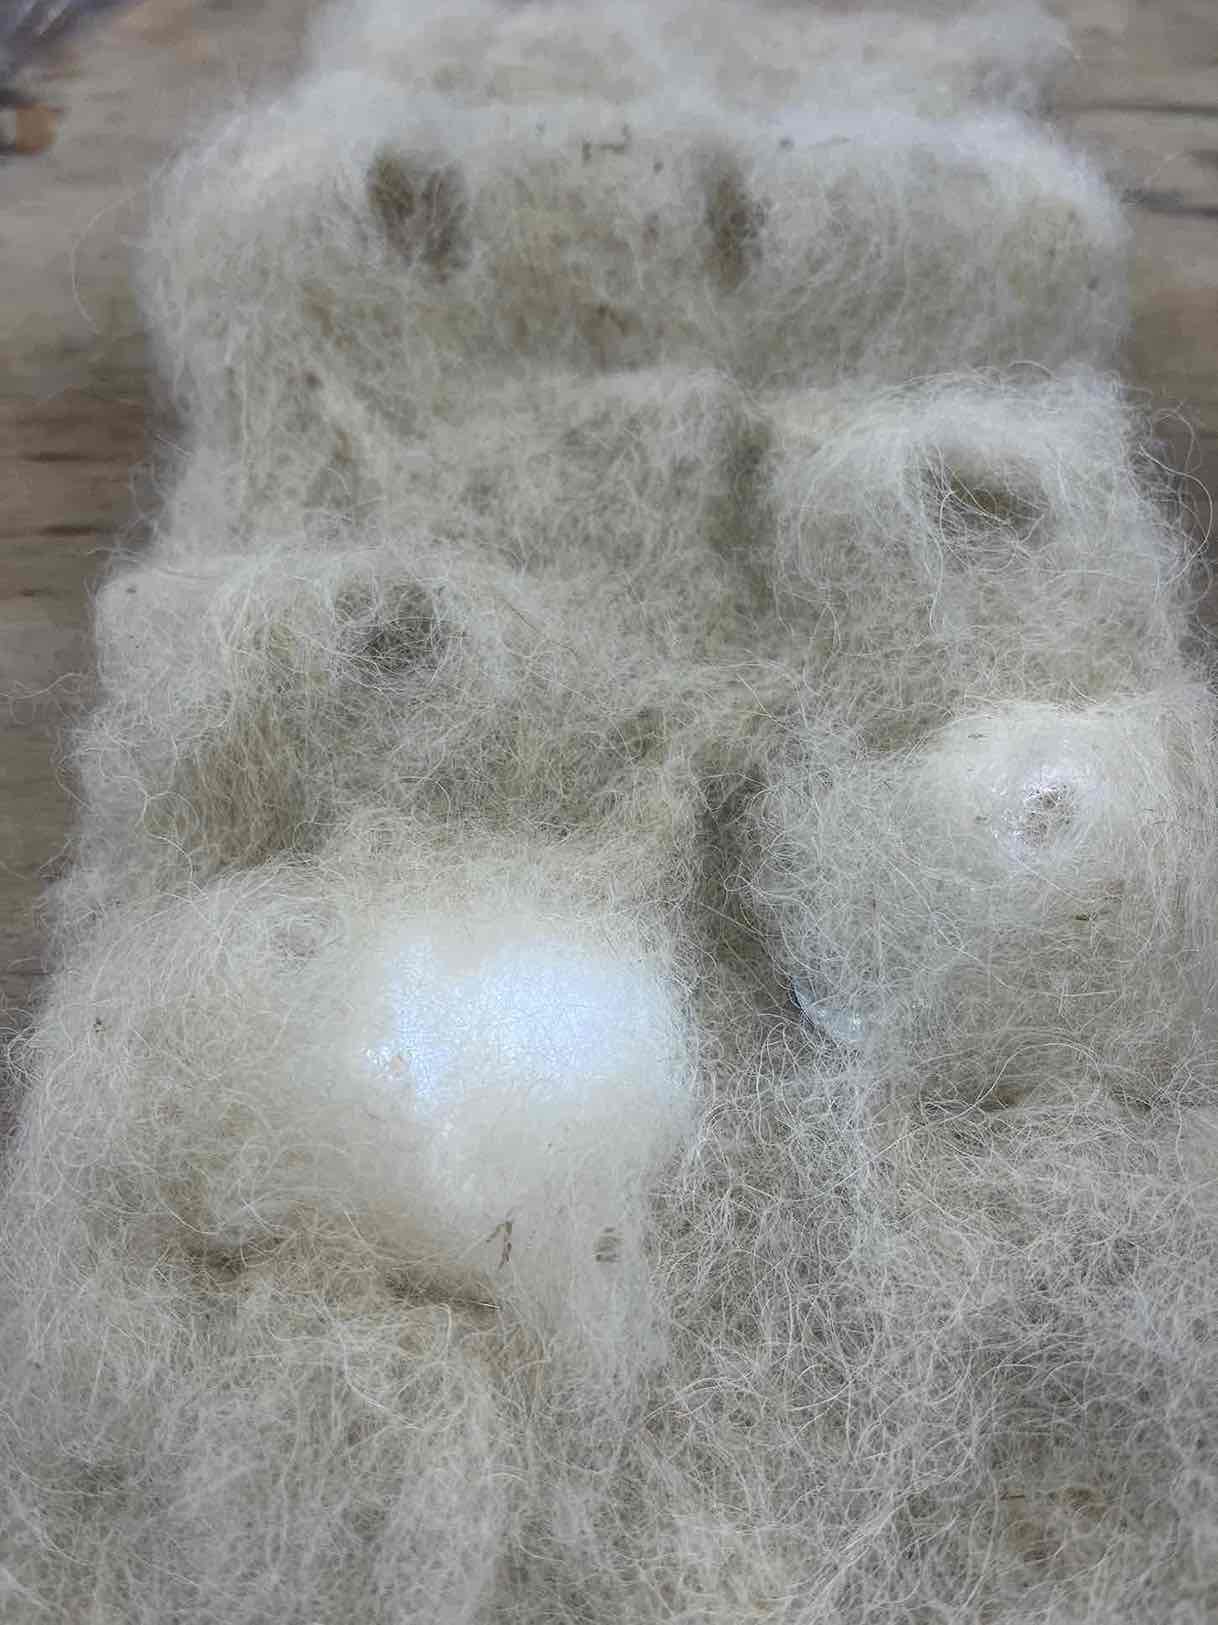
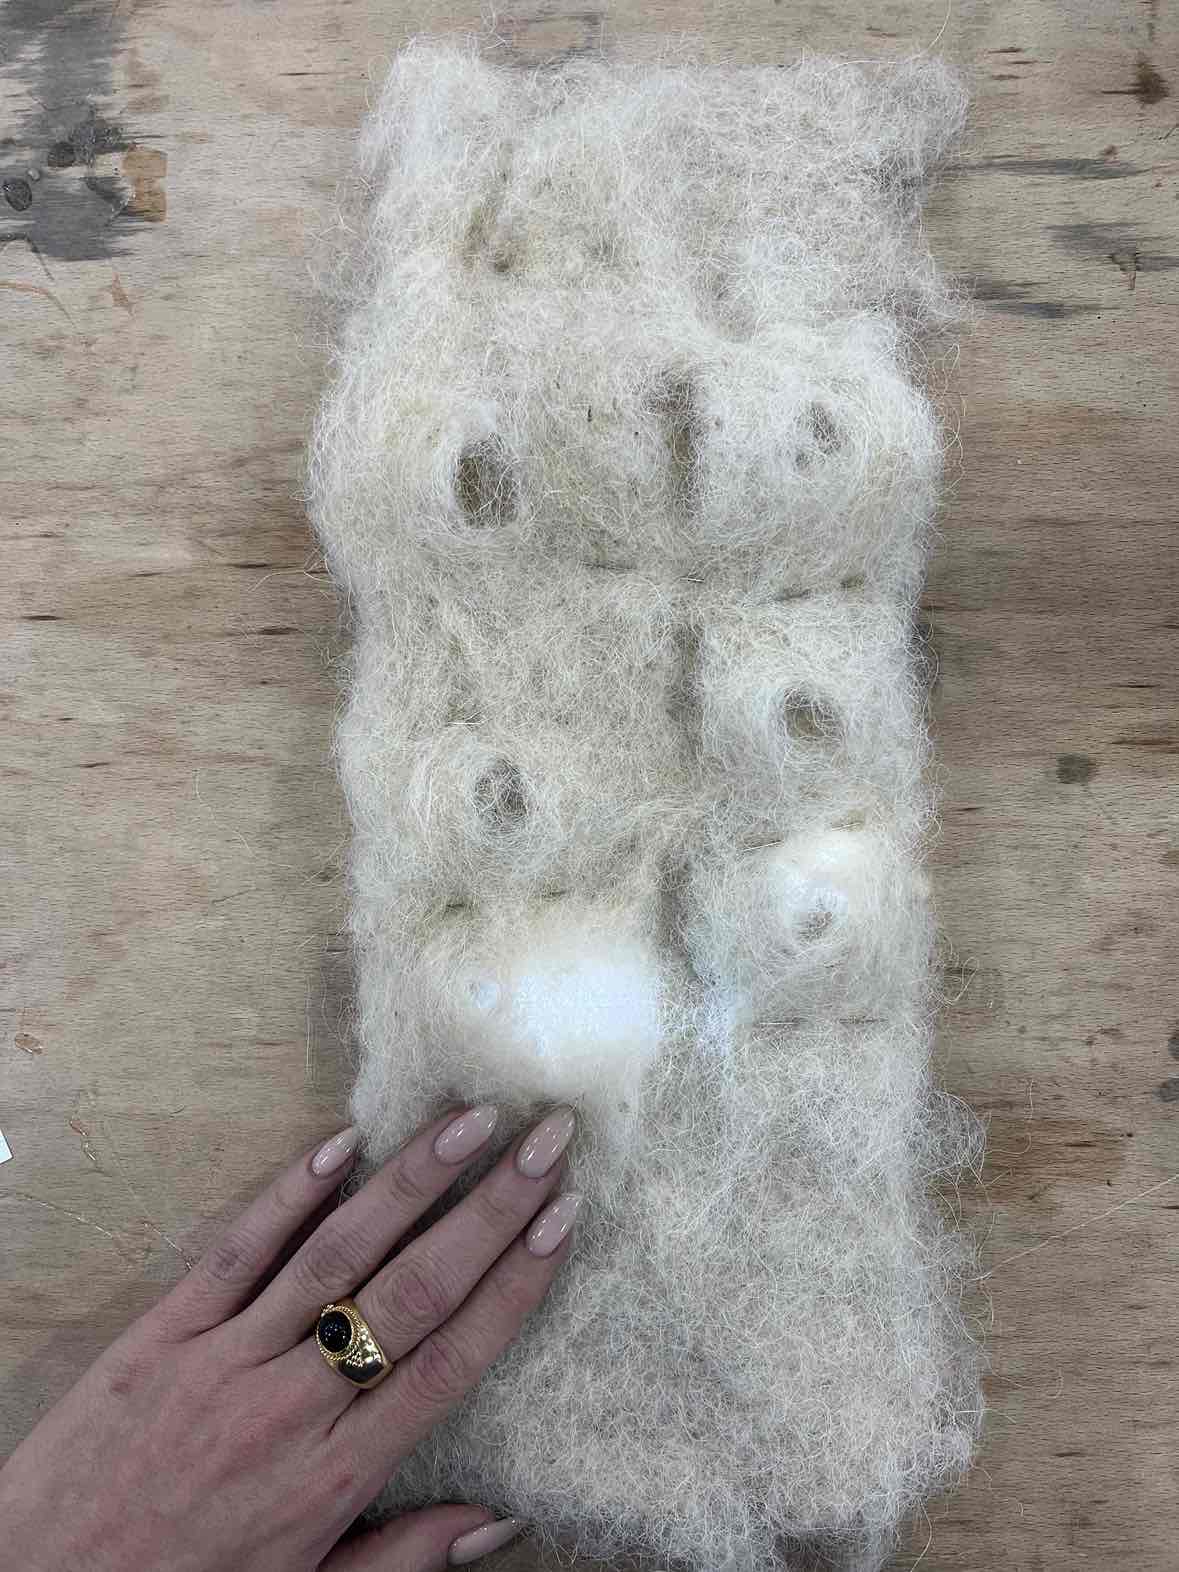
Woek in Progress
6. Weekly reflection & critical thinking
Circuits require a lot of debugging (special thanks to Khaled Shobaki). A multimeter is your best friend in this process. Experimentation is key. Happy accidents and following trains of thought could lead to interesting results.