BioFabricating Materials
1. Objective
- Learning how to grow and craft personalized materials
- Create a material chart
-
Produce at least samples from one crafted and one grown material:
- Crafted material - explore the different recipes and understand how to adjust them based on the ingredients (bioplastics/resins/extruded yarns/gathered&twisted fibers/non-woven matrix)
- Grown material - explore the different recipes and understand how to adjust them based on the ingredients (bnc / mycelium / molds / etc)
Personal objectives:
- Explore bio-waste that is abundant in Amman
- Incorporate the Camel wool
2. References, research & inspiration
Notes from Tutorial
Bio-polymer + solvent + plasticizer + additives
e.g. for today
Gelatin + water + Glycerine + egg shells(stiffening agent)
- the more gelatin, the stiffer
- bio-silicon more glycerine
- bio-resin less glycerine so it's stiffer
- the biopolymer without a base
- when the glycerine dissolves in water, you add the gelatin
- Bio-materials from food waste.
- First, water and then dissolve the glycerine and last you add the biopolymer (in this case it is gelatin)
- To print a mould, print it with ABS plastic if we want to cast something flexible
- Moulding and casting basics:
- rigid for casting soft biomaterials and soft (biosilicon) for bioresin and other hard substances
- when it starts to thicken it's time to cast the material, starting from the middle
- don't touch the material in the first two hours!
- Evaluate the material for flexibility, shrinkage by measuring against the original dimensions of the mould
- agar agar is porous and fragile and shrinks a lot
The basic ingredients for a bioplastic is: - gelatine 48g - glycerine 12g - water 240
Chanigng the amount of the plasticizer changes the recipe and its flexibility, and also changing the additive also changes the material.
BioComposites
This is probably womething I want to experiment with this week. But they seem to require compression.
BeesWax makes the material more water proof.
Calcium chloride is needed with sodium algae; 10% with hot water.
Microbial Leather
References, research, and inspiration
Inspiration
What stuck with me from this week's lecture, is the part about the use of fish leather being a material used originally by indigenous communities [add link here]. I started to reflect on the original purpose of biofabrication. Before the exitence of fuel-based plastics and resins, people looked around their local fauna and flora, they experimented with agricultural products, bio-waste, and animal products. This was a thoughtful process for the most part before indsutrialization because mass production on the scale we are used to today didn't exist.
So I decided that for this week, I will look around me for materials that are under-used and overlooked. I work with camel wool, so I want to incorporate that of course. I also started to ask around for materials available in excess that will be discarded. In my community, friends and family members pointed me towards biowaste from restaurants. Based on word of mouth, the waste that is produced from restaurants the most is bread and leafy greens. We have a local informal system for collecting and using discarded bread. So I turned my attention to leafy greens.
I was leaving a contemporary dance show and I ran into a lettuce farmer from Ramtha. He grasciously agreed to give me the waste of the lettuce after he finished his deliveries to restaruants along Prince Mohamad Street. Sure enought, at 1 in the morning, I received this delivery. I decided to do some research into the use of lettuce as part of biofabrication.
Research & References
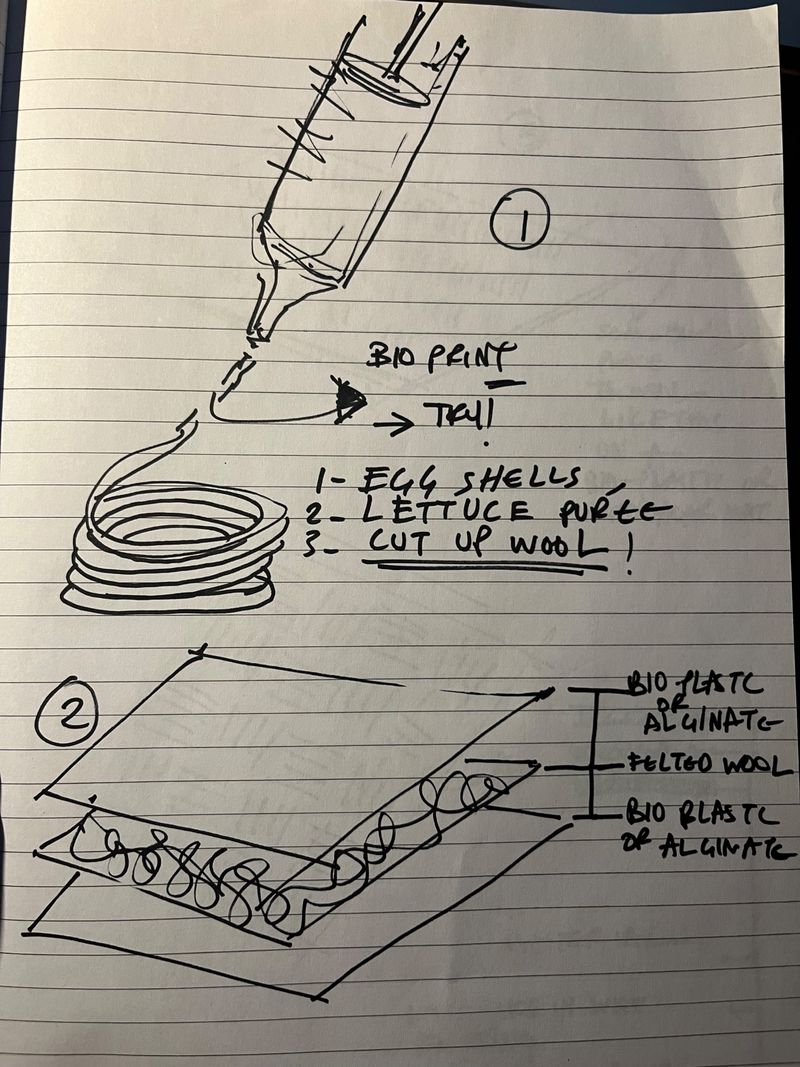
I looked around the Fabricademy archive and found the work of Carolina Beirao. She worked with integrating wool with bioresin, biosilicone, and biofuel. Her process includes preparing the biomaterial and adding the wool to each petri dishes after pouring the biomaterial. She mentions that she added the wool to add structure. She also made Alginate yarn which seems interesting to me.
Claudia also showed us Eduardo Loreto's work. I really enjoyed his project. It is vibrant and the final project doesn't deviate from the source material. It kept the color of carrot, and stayed authentic to it.
I also looked around in the Bioplastic Cookbook for inspiration and recipes.
3. Tools & Ingredients, Process and workflow, Results
Lab experiments
Tools & ingredients
This a gelatin-based bio plastic. Gelatine, is an animal-based plasticizer. This means that it is adds flexibility to the bio-material we are trying to work on. The ratio of Gelatine (Polymer) : Glycerine (Plasticizer): Water (Solvent) is 4:1:20. So for 500 grams of water:
- Gelatin (100g)
- Glycerin (25g)
Process & workflow
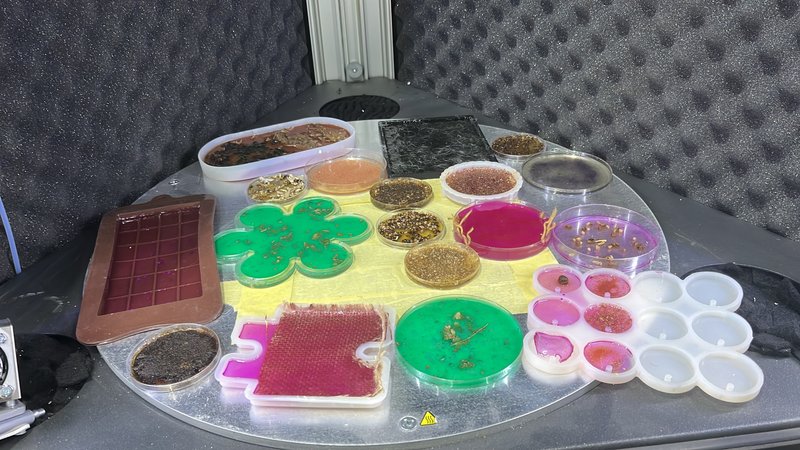
| Photo | Additive | Role | Flexibility | Tear resistance |
|---|---|---|---|---|
 |
Coffee grounds | Filler, texture | — | — |
 |
Coffee bean shells | Filler, texture | — | — |
 |
Guava leaves | Inclusion, colour, texture | — | — |
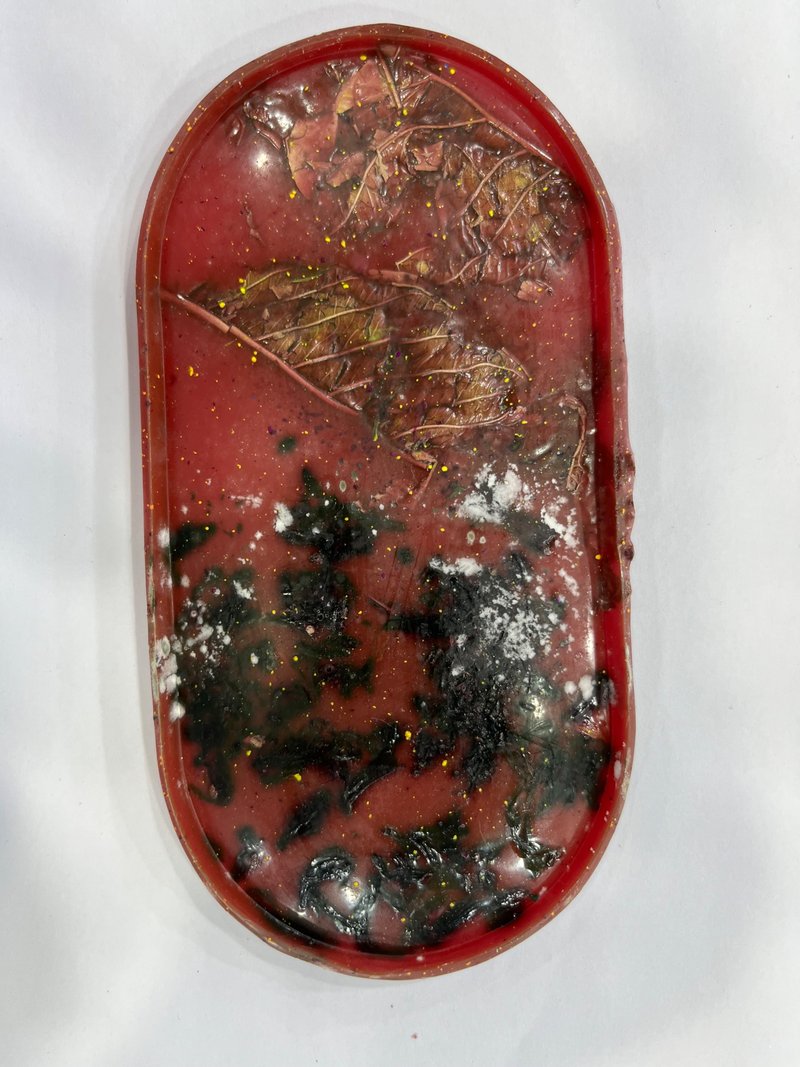 |
Dried hibiscus | Inclusion, natural colourant | Medium Flexibility | Good |
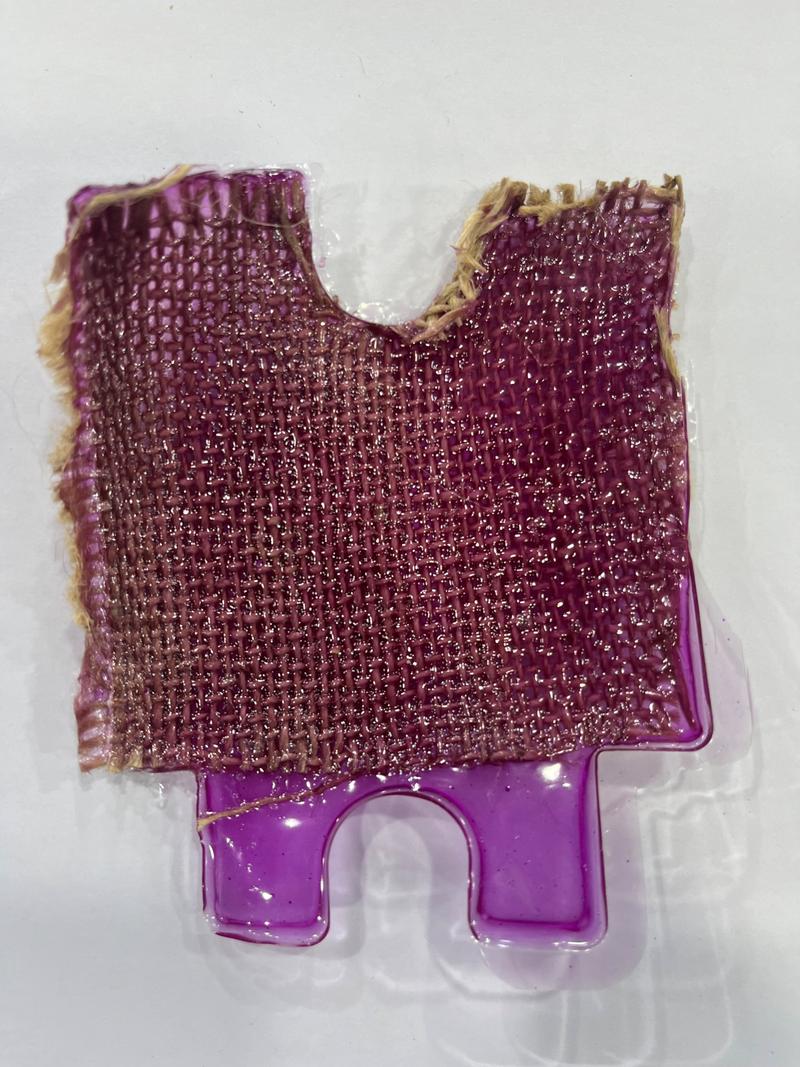 |
Jute fabric | Woven reinforcing layer (both directions) | Minimal Flexibility | High |
Results
Tools & ingredients
Ingredients
- Water
- Granulated sugar
- Vinegar
- Black tea bags
Tools
- Container with depth, glass or stainless steel or silicon
- Heating plates
- Scale
- Measuring jug
Process & workflow
- Measure the volume of the container in cubic cm, convert them to litres
- Measure that amount of water in litres
- Bring this water to a boil
- Add 100g of sugar to each litre of water, pour them in the boiling water and stir
- Take the boiling pots off the heating plates
- Add 1 tea bag per litre of water (This is based on preference or color)
- Wait until the mixture cools down to room temperature
- Sanitize the container well, first with boiling water and next with ethanol
- Pour the mixture into the container
- check the ph of the mixture and add apple cider vinegar accordingly
- add the scoby to the glass container
- Cober and clamp the container to prevent impurities
- place in a dry and cool place
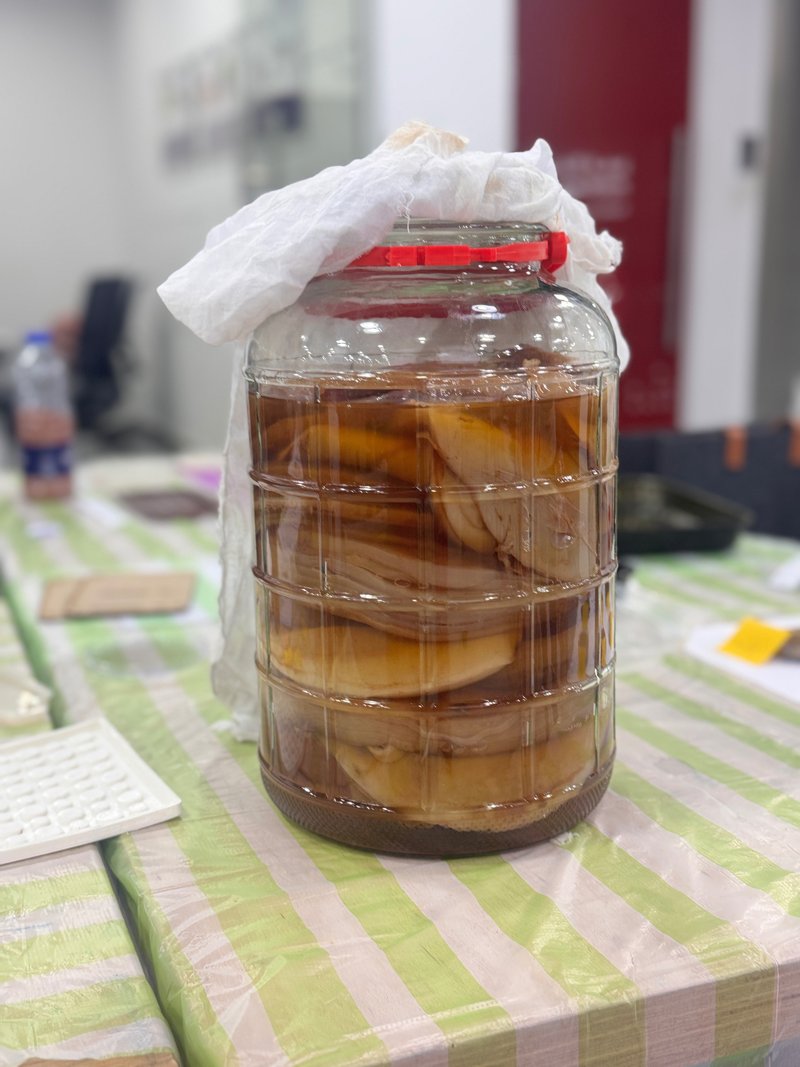
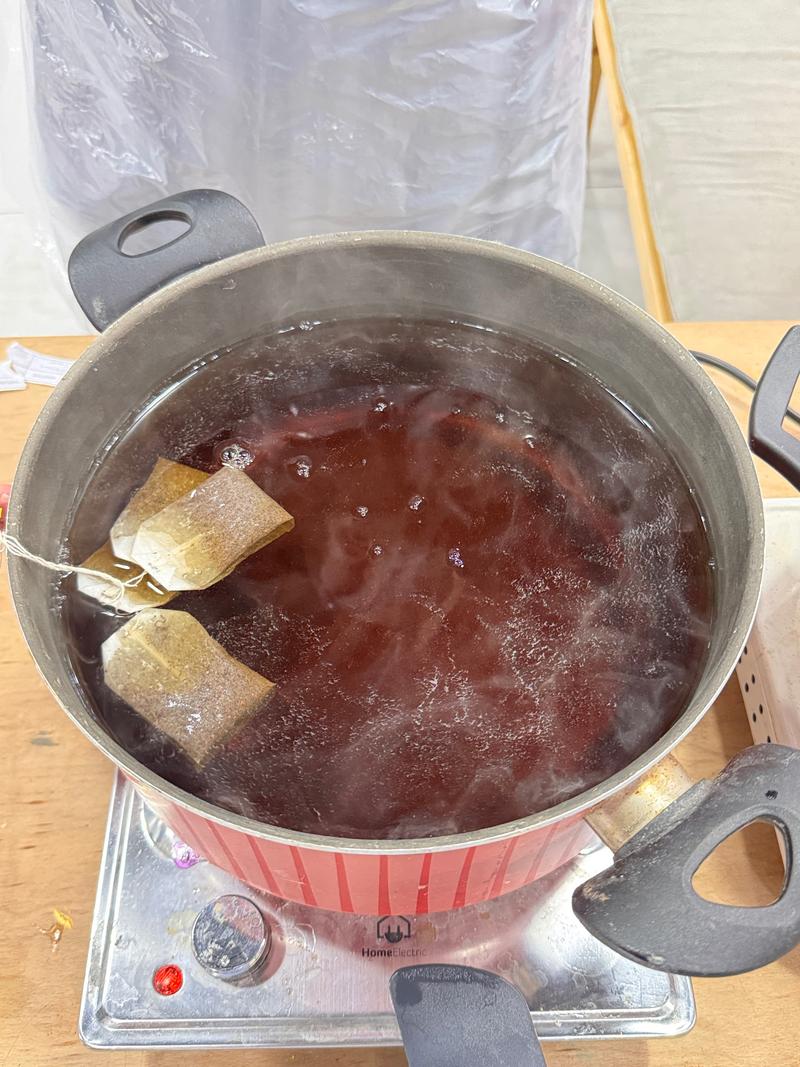
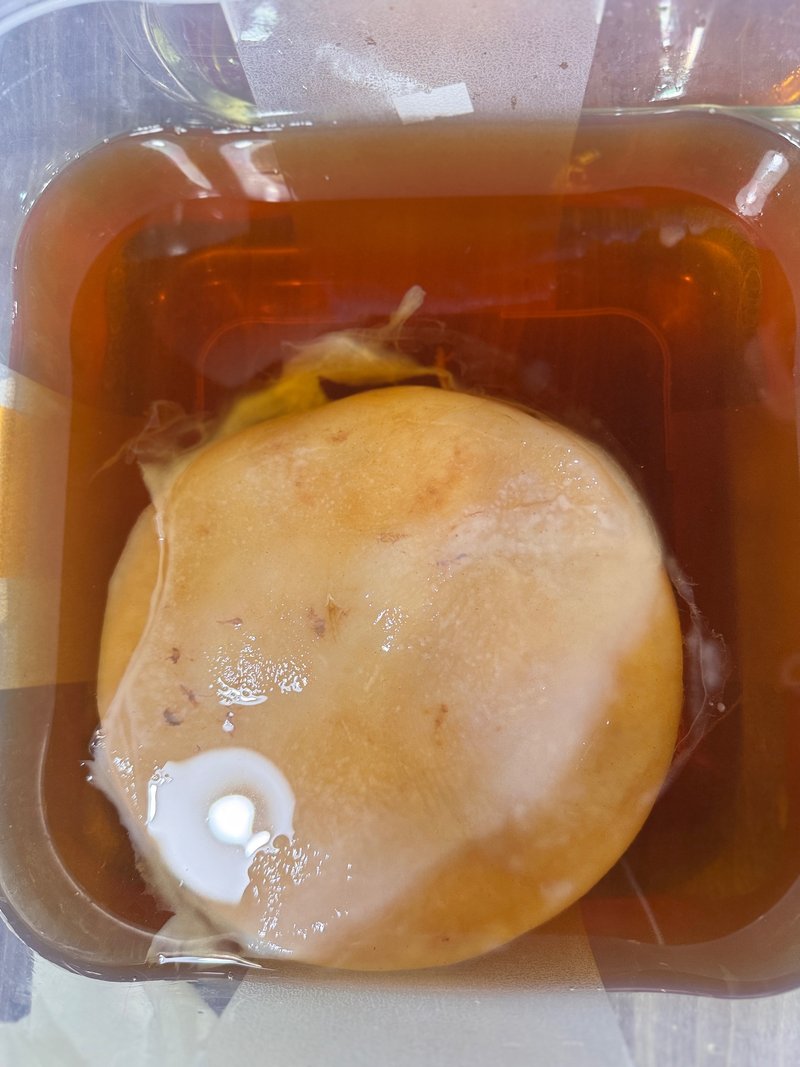
Results
Tools & ingredients
Ingredients
- Sodium Alginate (Polymer) : 27g
- Glycerin (Plasticiser): 50g
- Water (Solvent): 500ml, 125ml
- Clacium Chloride dihydrate (Curing Agent): 12ml
Tools
- Scale
- Blender
- Syringes of different sizes or experimentation
- Make-shift drying apparatus
- Large container for curing solution
Process & workflow
Alginate yarn is made in cold water and doesn't require heating
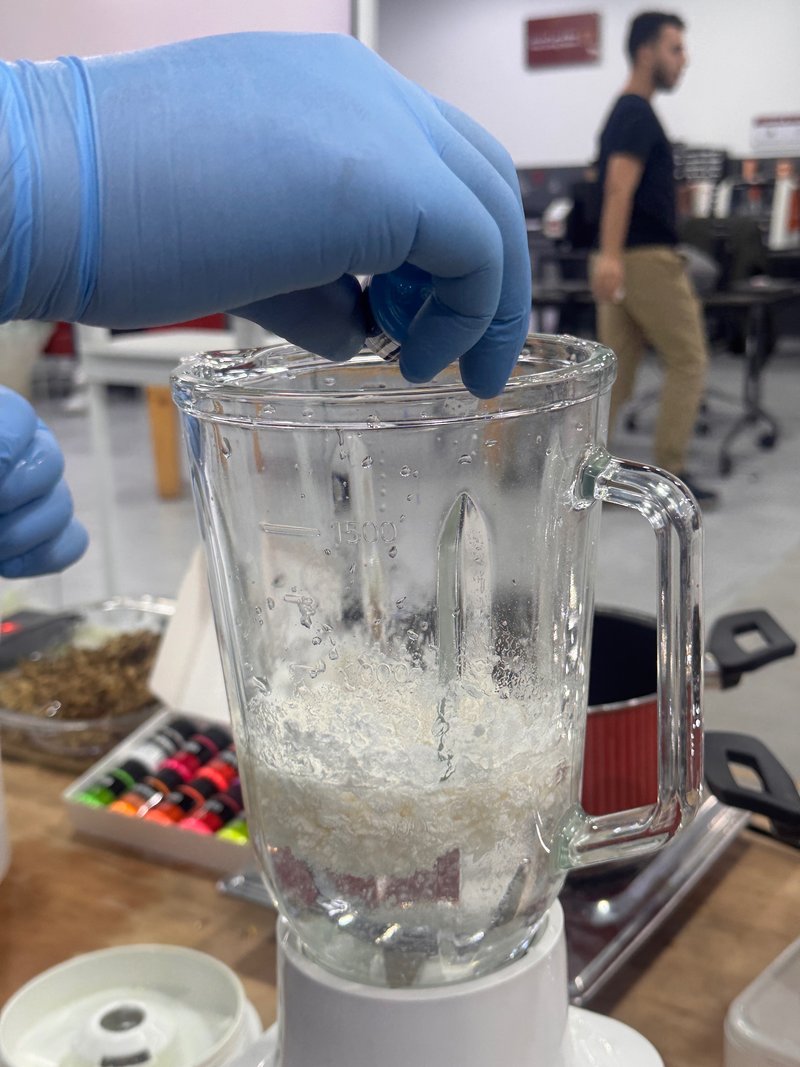
- Put the water and glycerin in the blender
- Add the alginate slowly
- Blend until the mixture is smooth
For the curing solution:
- Dissolve the sodium chloride hydrate in the water
- the curing agent has to make up 10% of the mixture
Making alginate yarn:
- Leave the alginate mixture over night to settle and for the bubbles to leave the mixture.
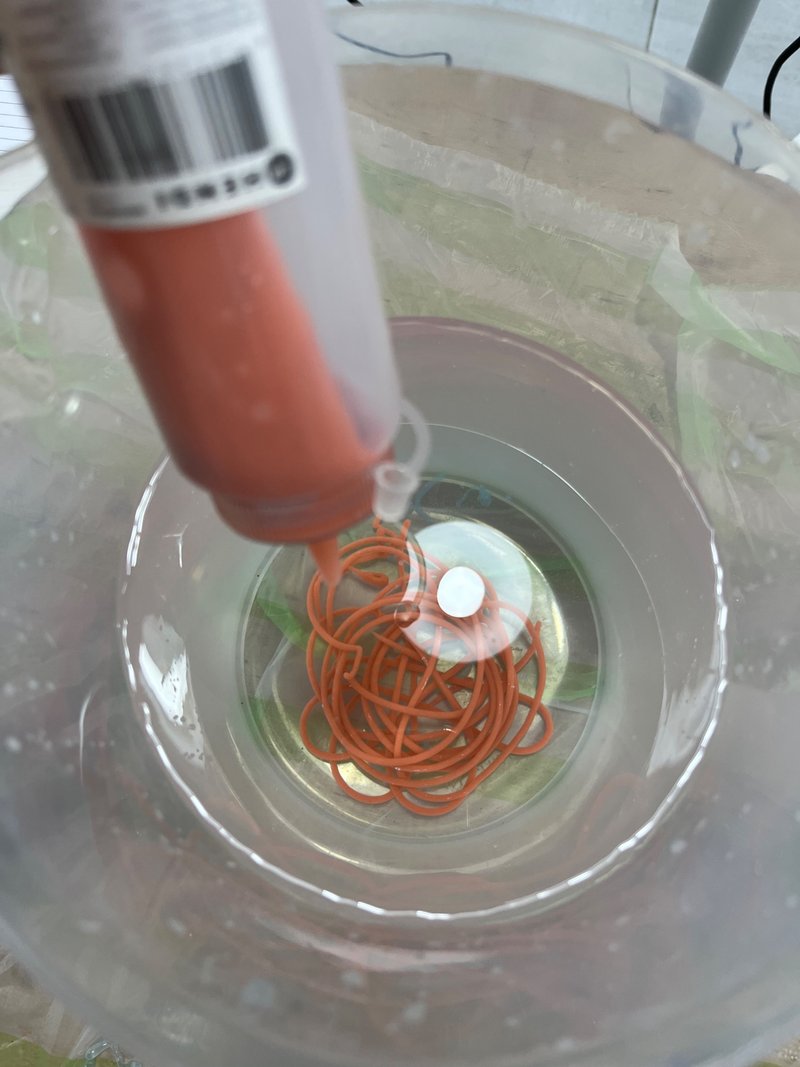
- After 24 hours in a cool area, place some of the mixture in your choice of syringe.
- Place the curing agent in the container.
- Push the alginate mixutre through the syringe(s) into the curing mixture.
- Try to be as consistent as possibly to make the 'yarn' strings as long as possible
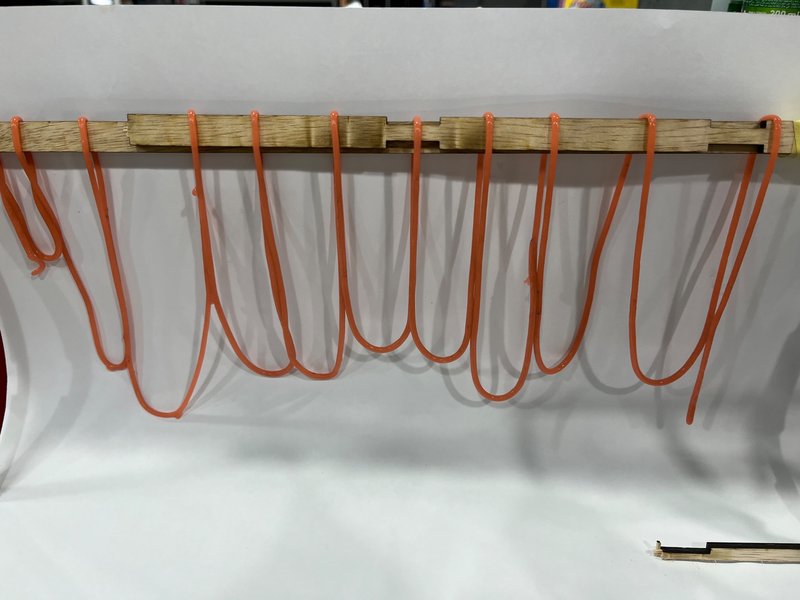
- Once you are satisfied with the length of the yarn, use a wooden spatula to take the yarn out.
- Place the yarn carefully over th hanging apparatus and leave it in cool dry place for 24 hours.
- In this case we used food colouring which we added to the original alginate mixture. It was blue, I corrected the color with yellow and orange to give a more mature color. Natural dyes are preffered.
Results
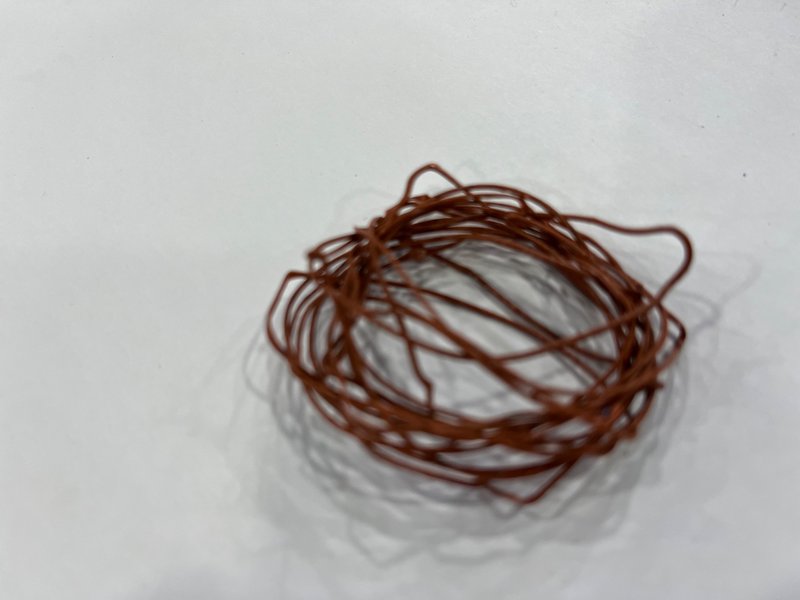
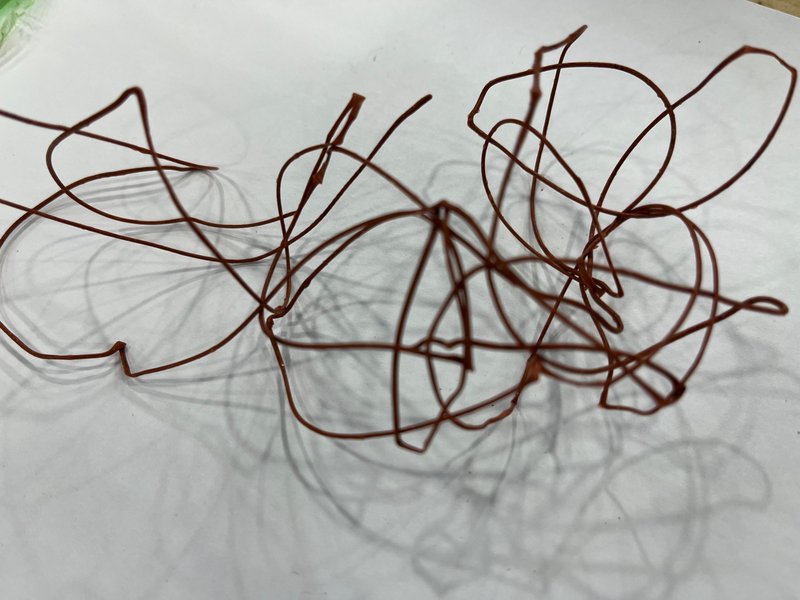
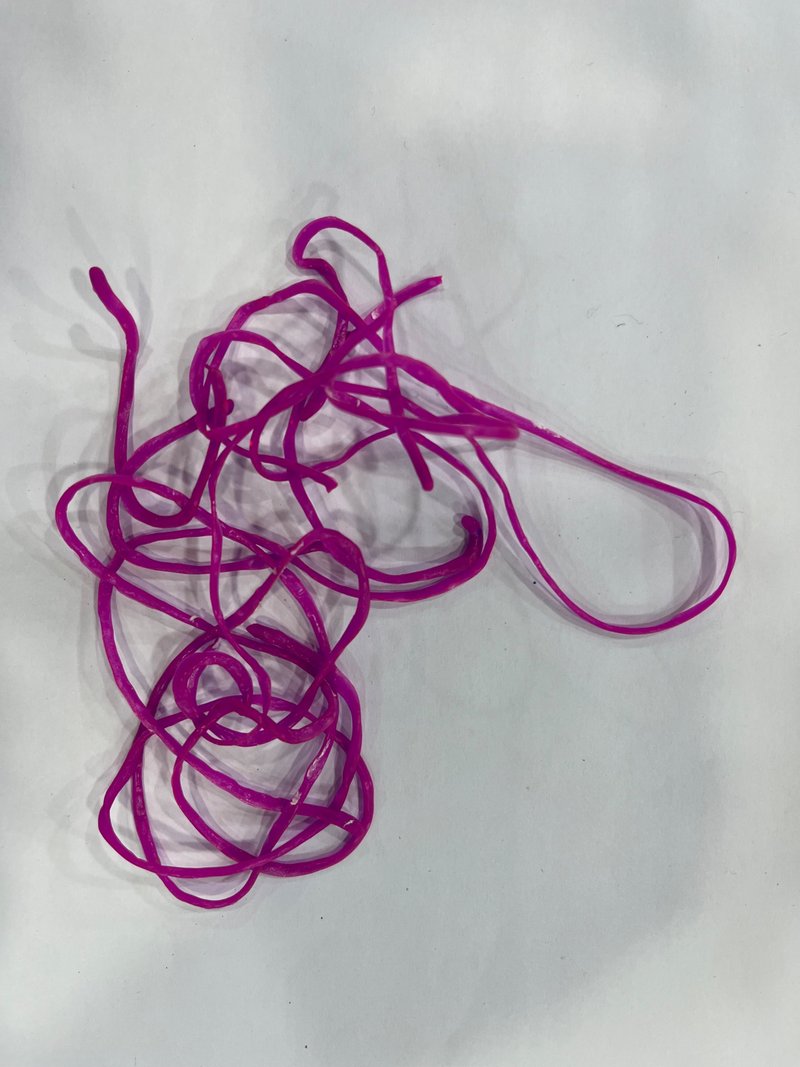
The results were not what I' had hoped for. The yarn shrung significantly. The reason for this is apparently not adding oil to the alginate mixture. This helped me understand that alginate-based mixtures shrink a lot, and also that they have a matte finish if oil is not added. This made it an interesting option for the lettuce leather experiment.
Wool experiments
Tools & ingredients
Ingredients:
- Water (solvent): 240 ml
- Geltine (Polymer): 48g
- Glycerine (Plasticizer): 8g
Process & workflow
- Bring water to 60 degress celcius about in a pot.
- Add the gelatine powder and stir slowly to avoid bubbles.
- Add the glycerin and dissolve it
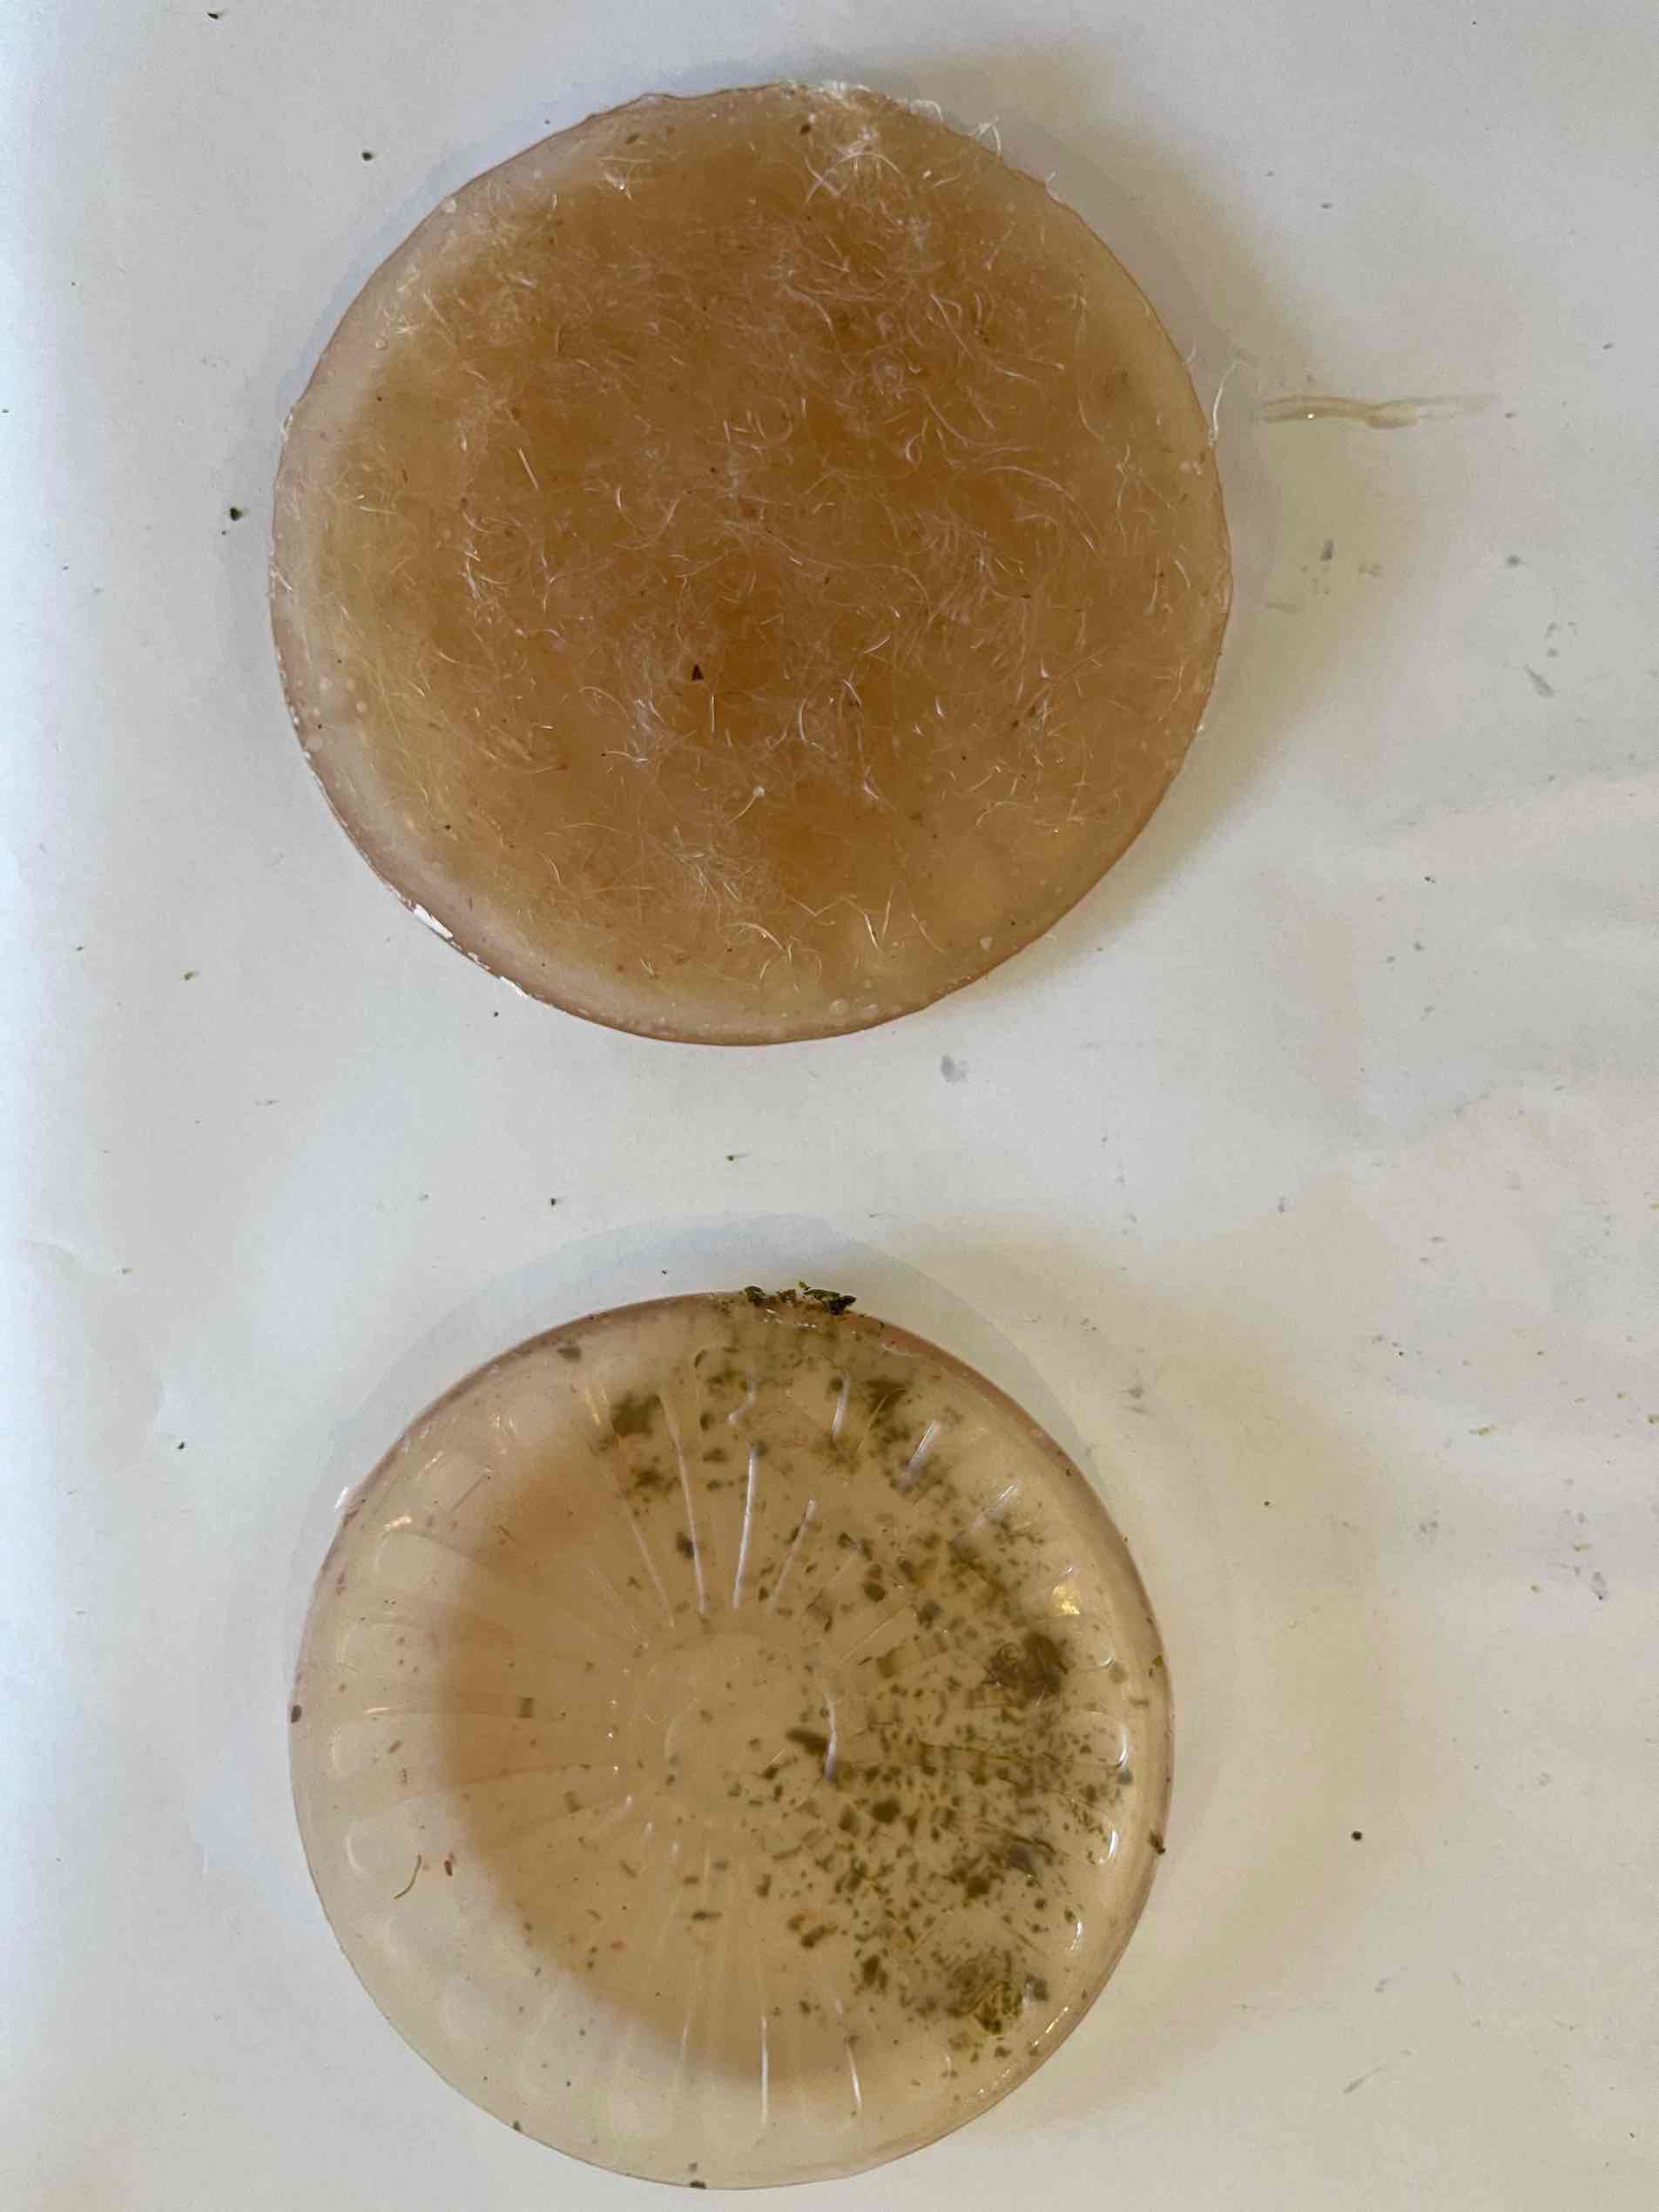
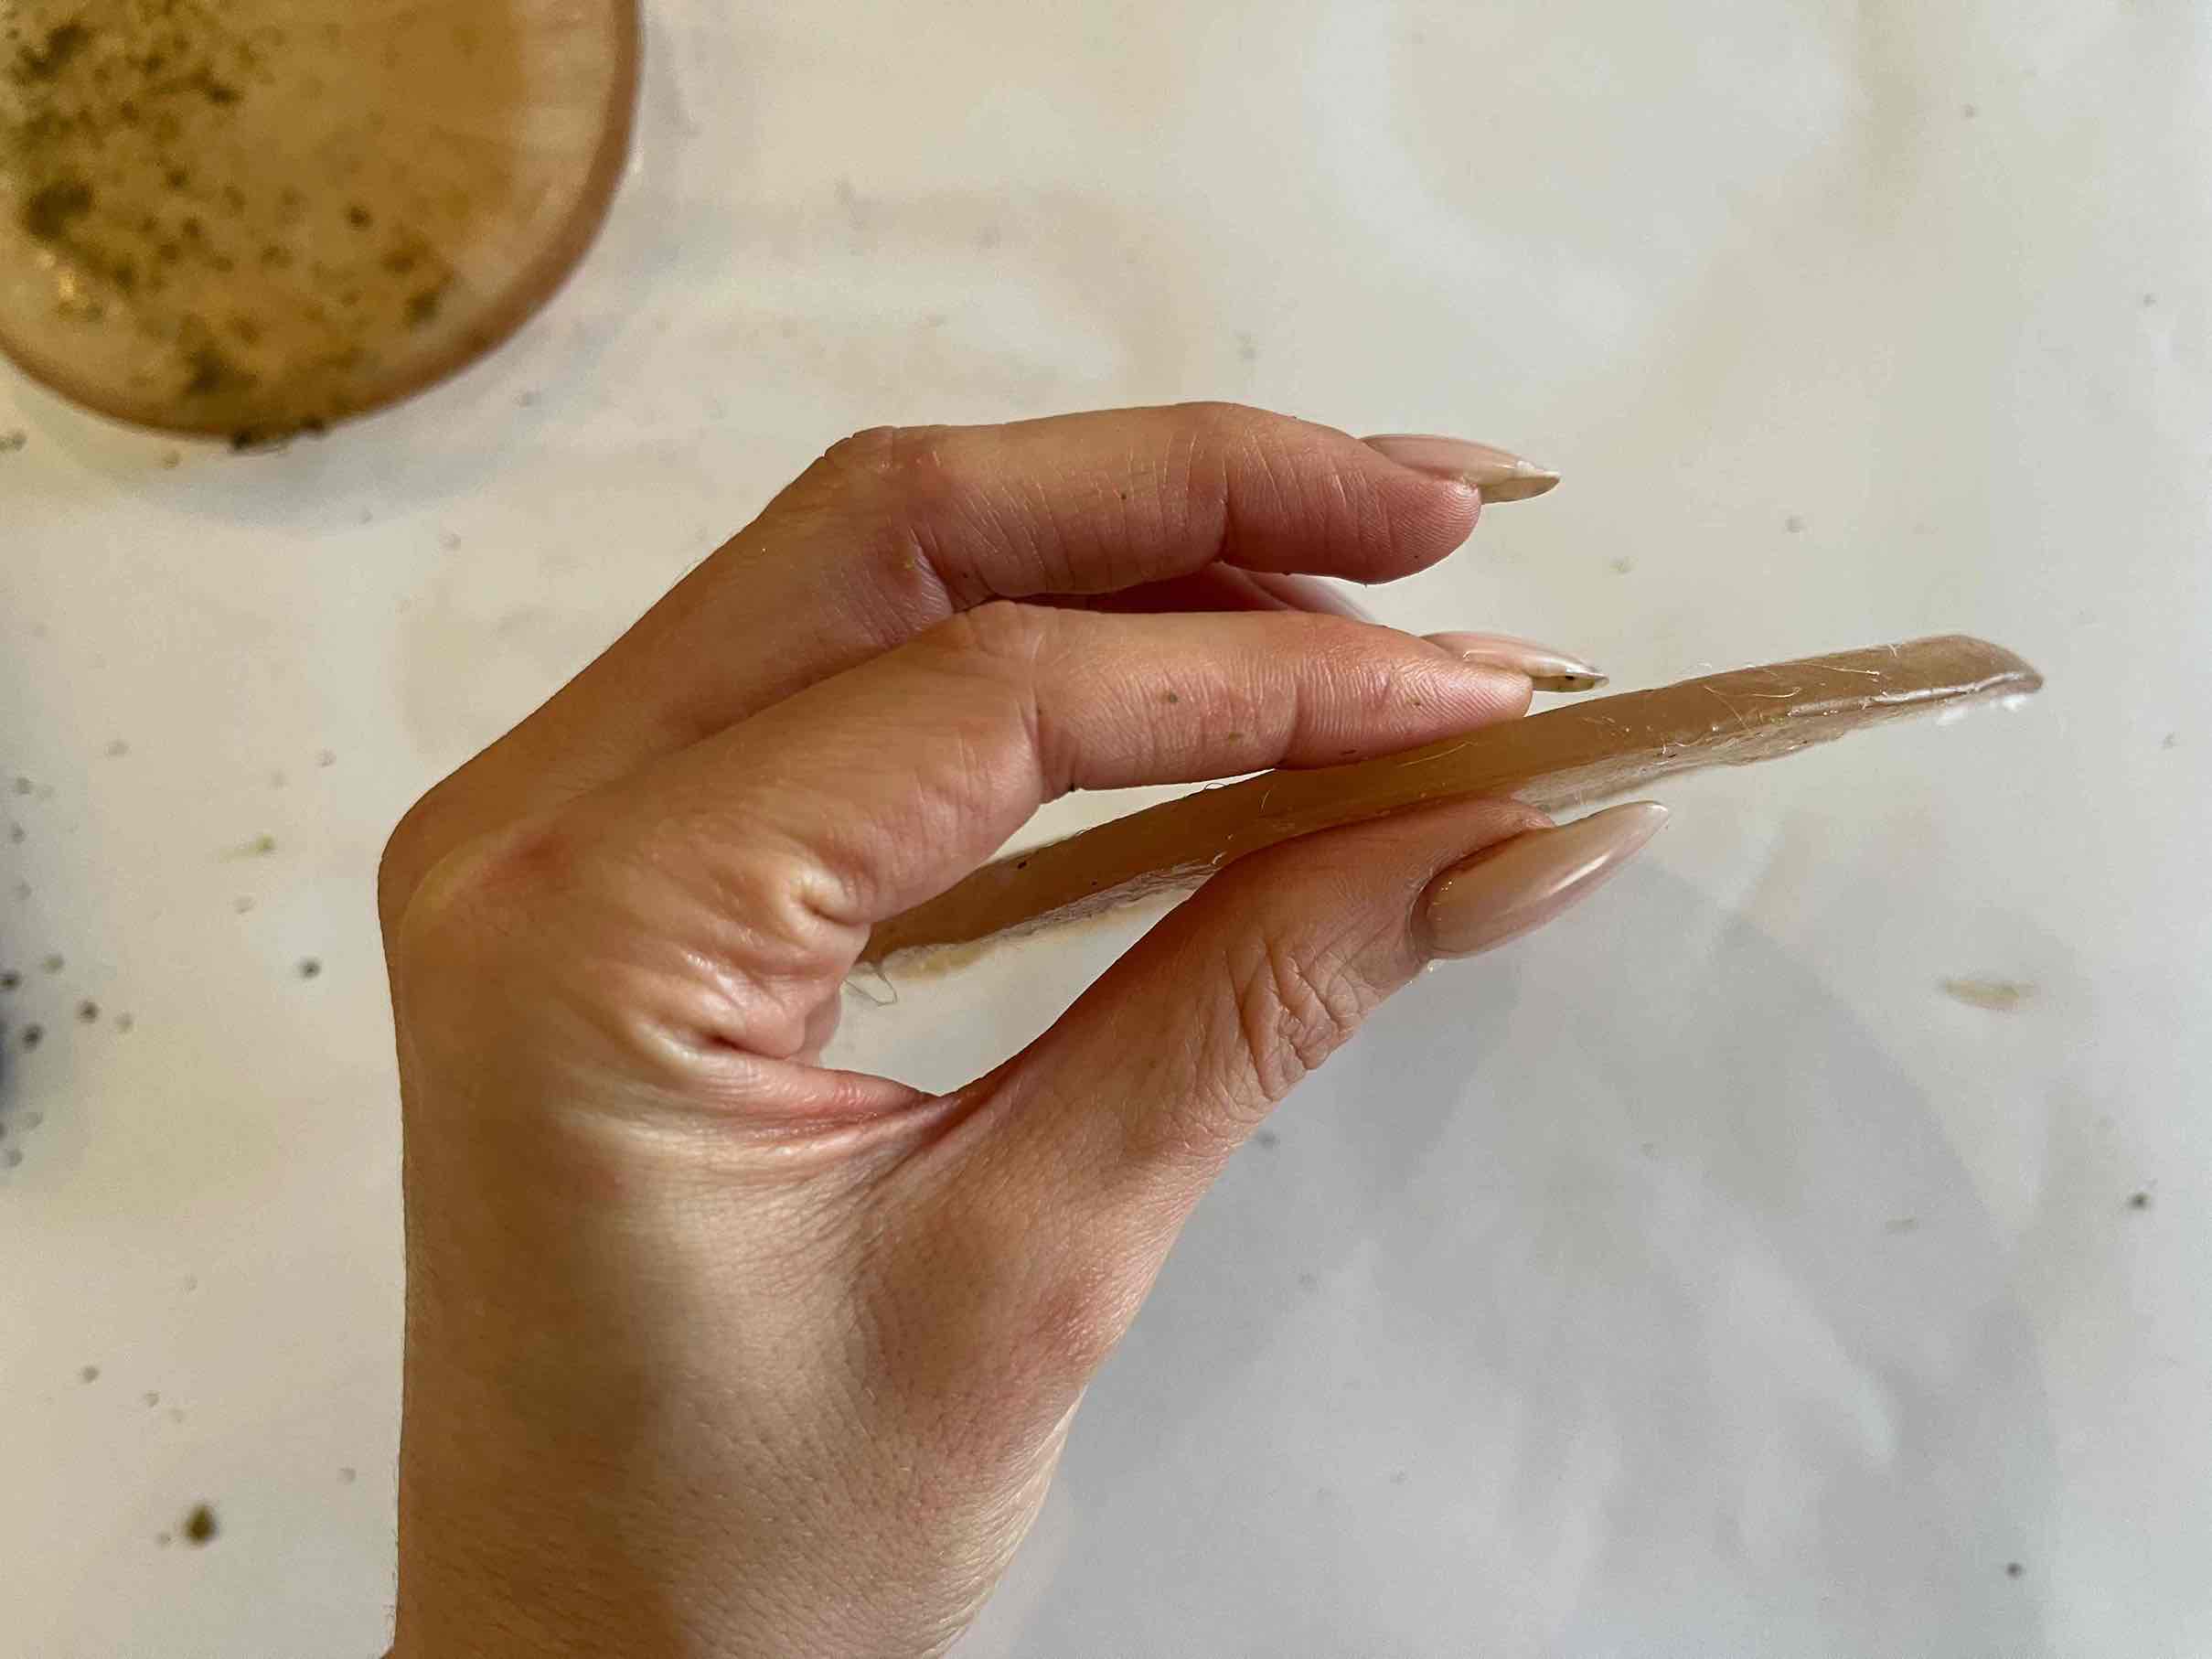
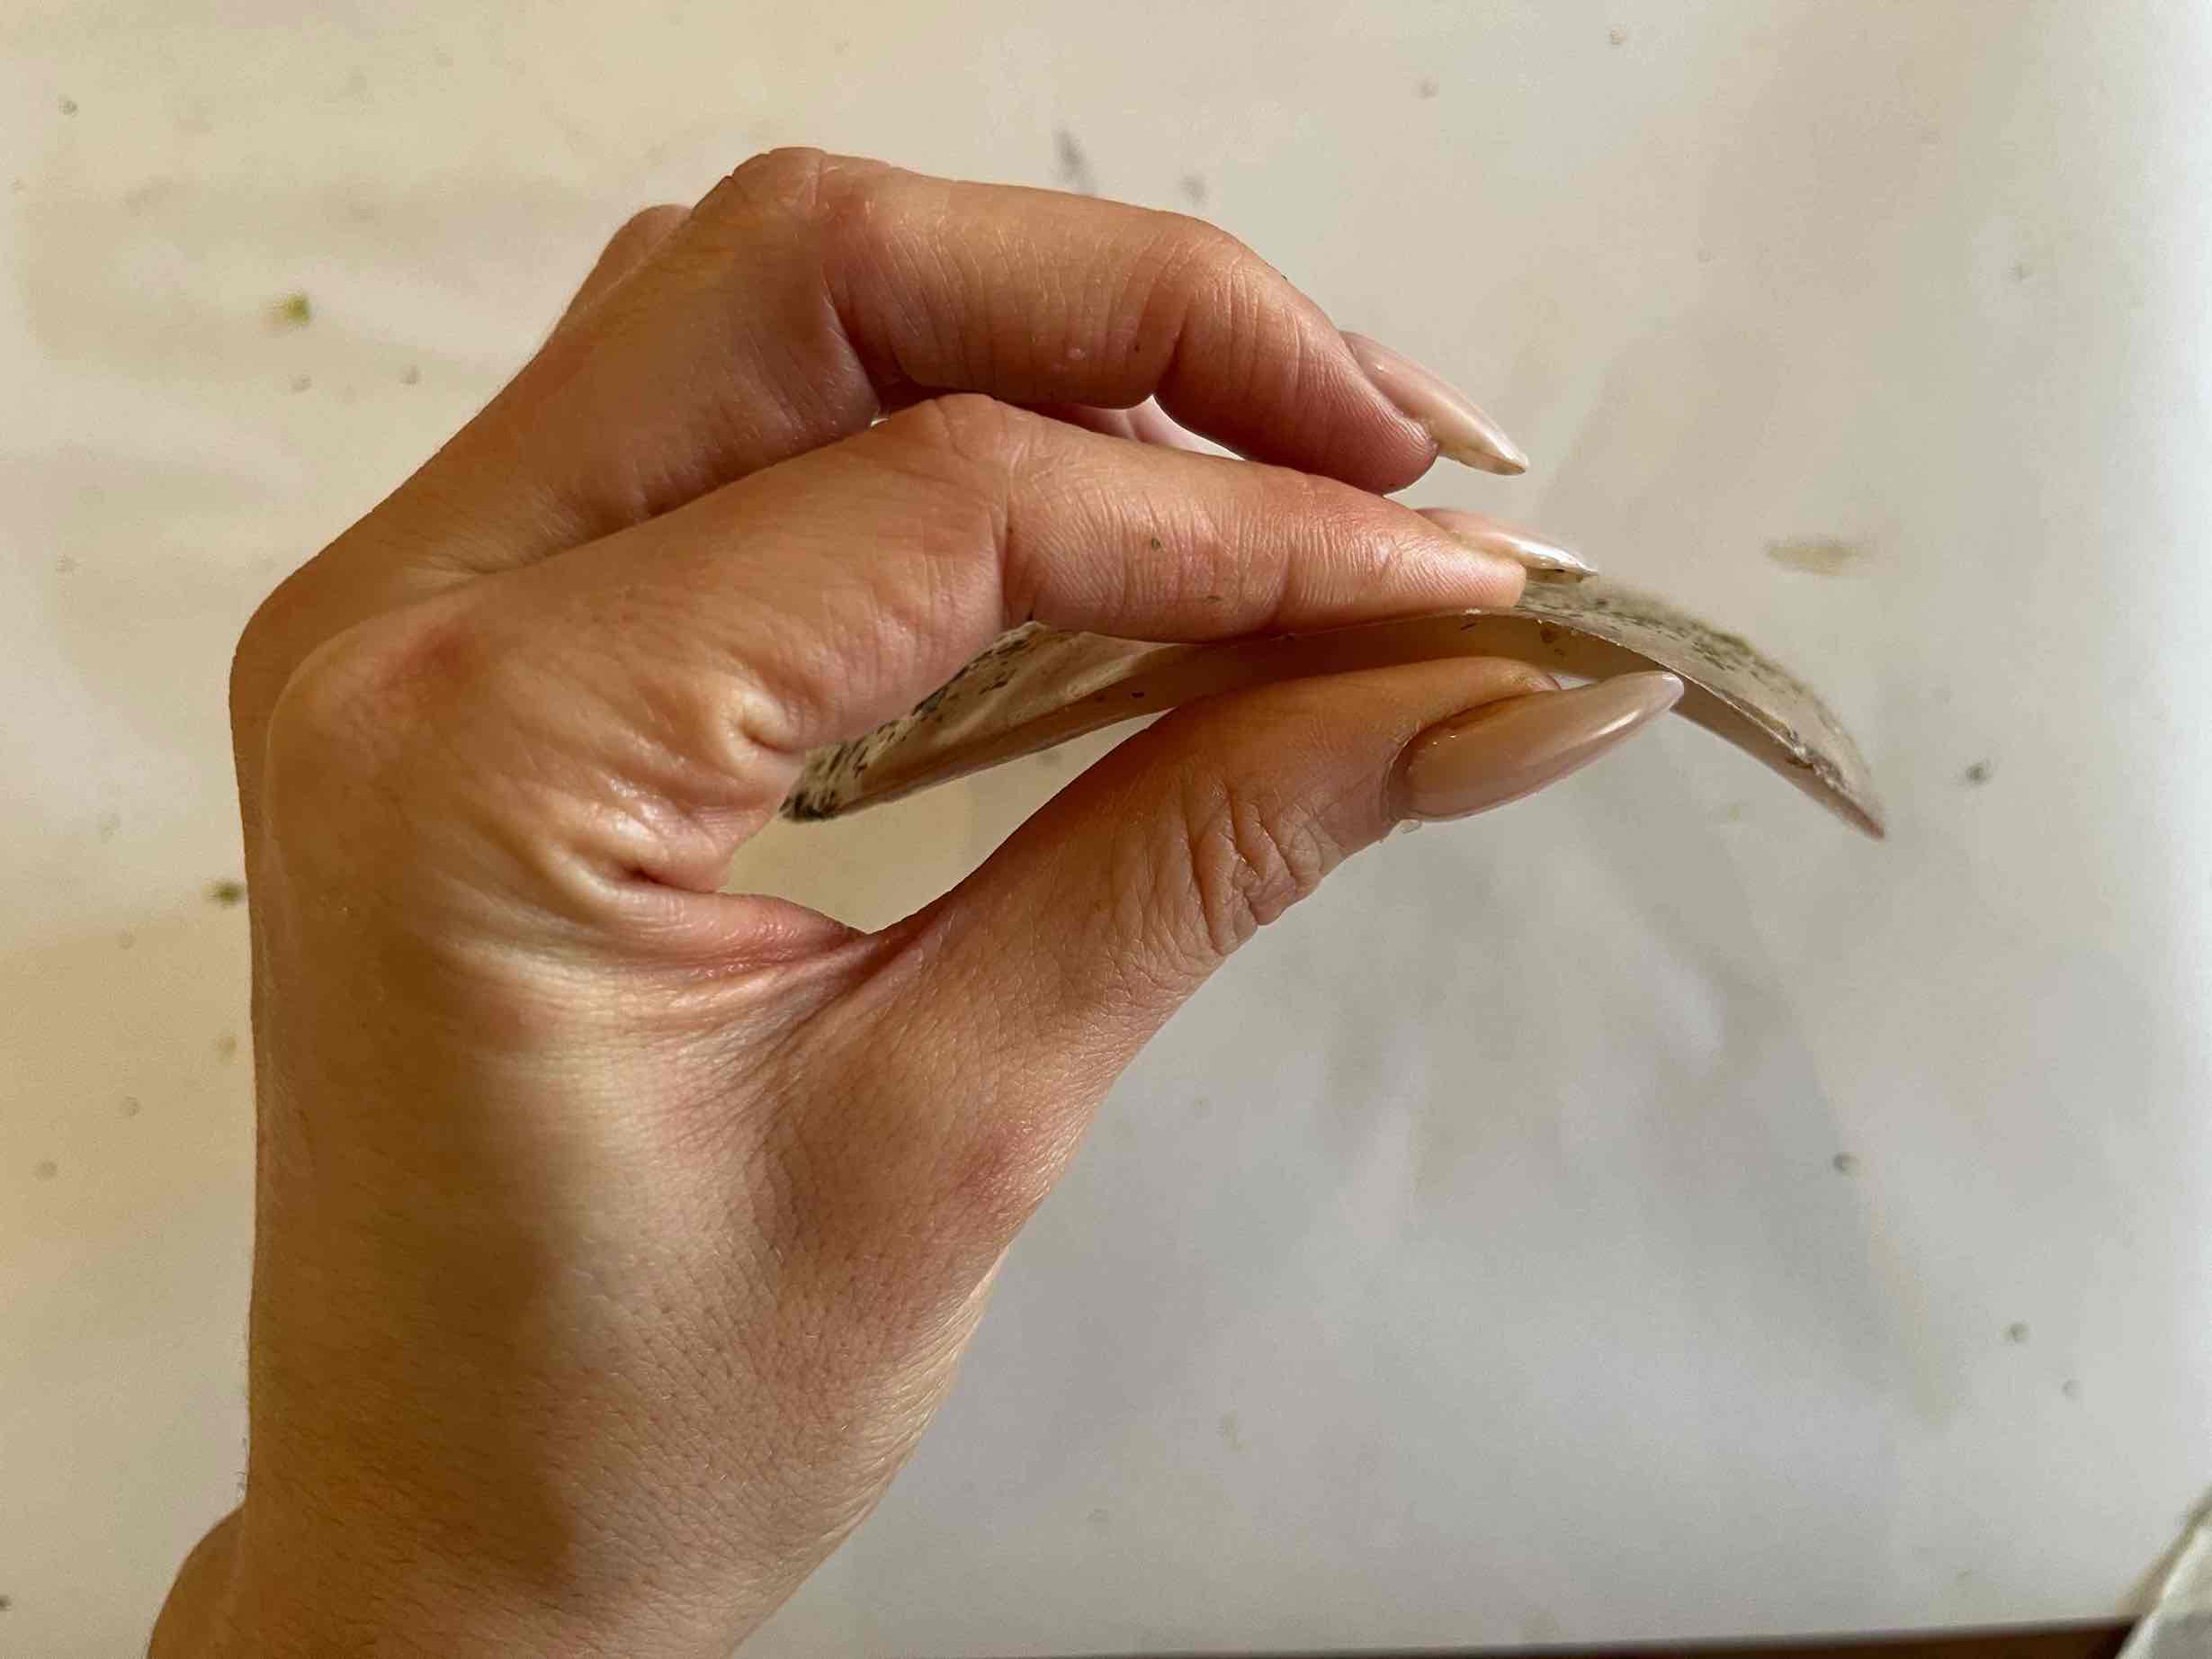
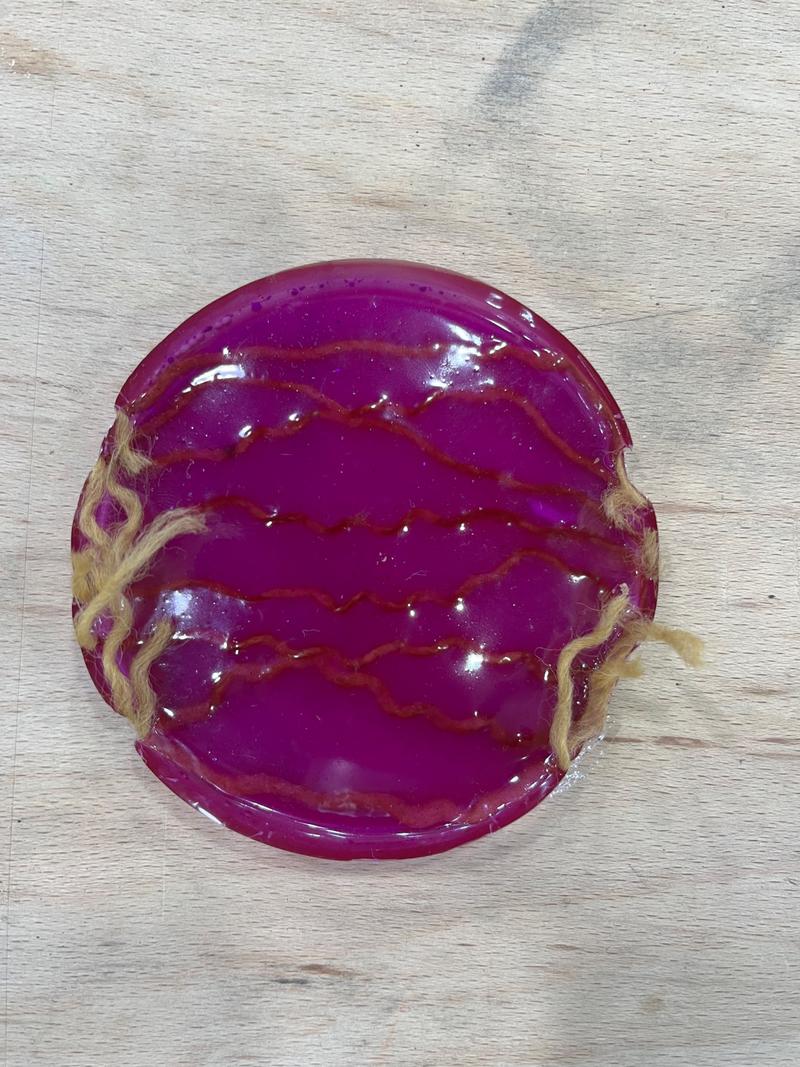
- I added the camel wool in the pot and stirred it in
- I added 1 tsp of sumac cold soak water
- I sprinkled dehydrated lettuce into the mould after pouring to add texture
- I didn't have moulds, so I rubbed a layer of coconut oil on a plastic plate
- I want to try it on bubble wrap.
Results
Tools & ingredients
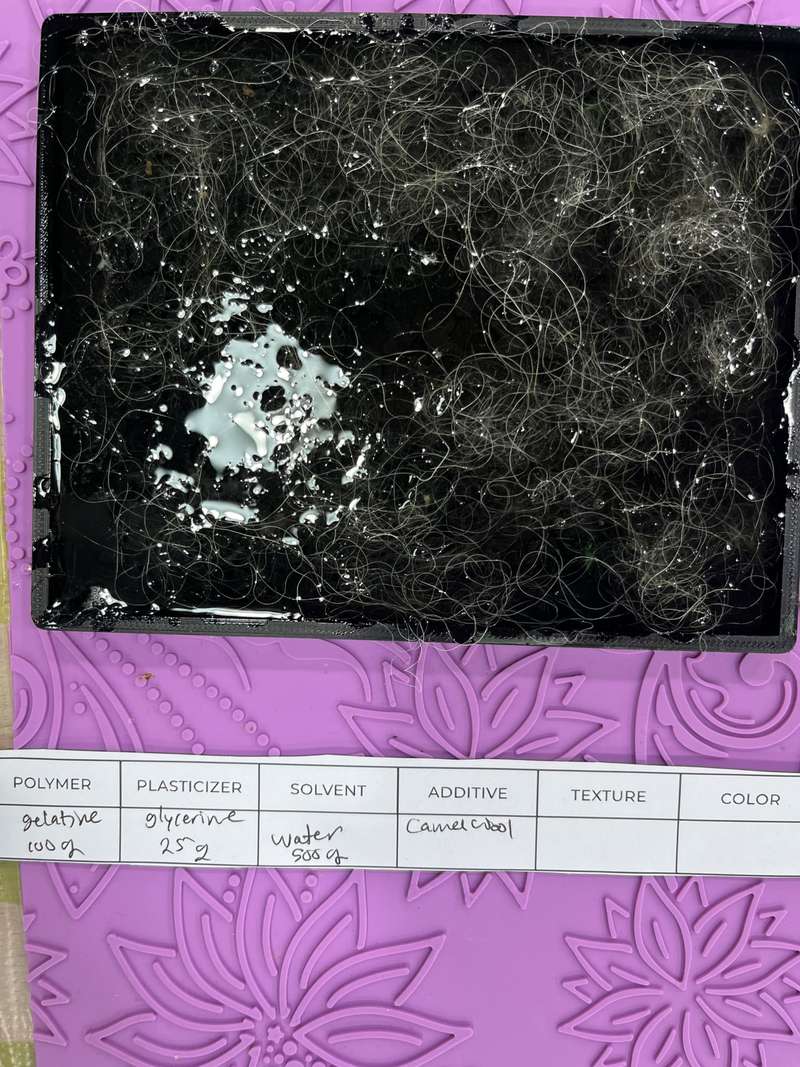
- Gelatine (Polymer) :
- Glycerine (Plasticizer)
- Water (Solvent)
Process & workflow
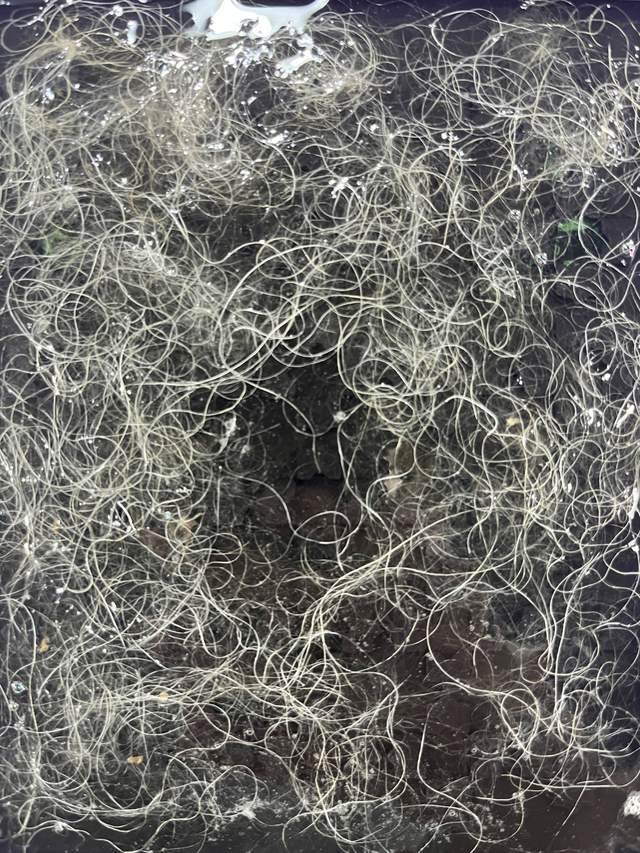
Camel wool: fibre that makes that reinforces the material and adds tensile strength - added all across the mould - added after the bio-plastic was added to the mould.
Results
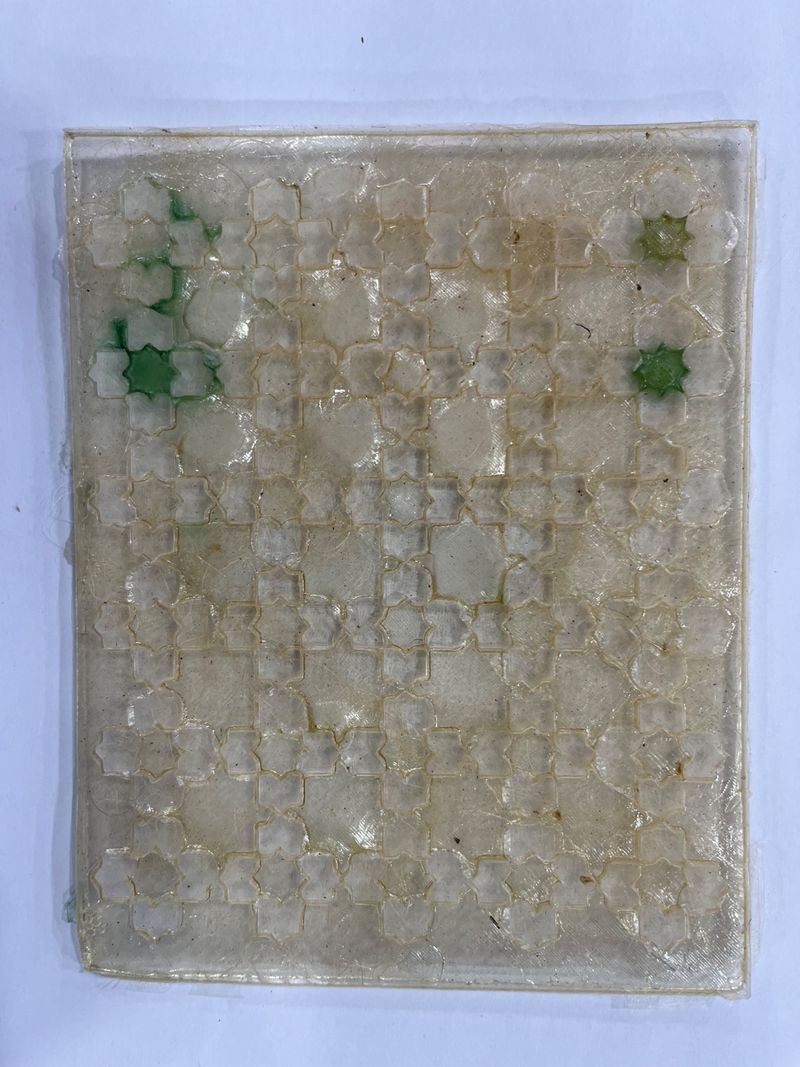
After 72 hours of drying, the bio resin in the mould hardened. The bio-resin mixture was placed in a hard-mould. Compared with the other bioresin experiment without camel wool, there was no observable difference. In this case, based on observing and touching the camel wool strands didn't change much. Perhaps if I try to break both, there could be a difference in brittleness.
Tools & ingredients
Process & workflow
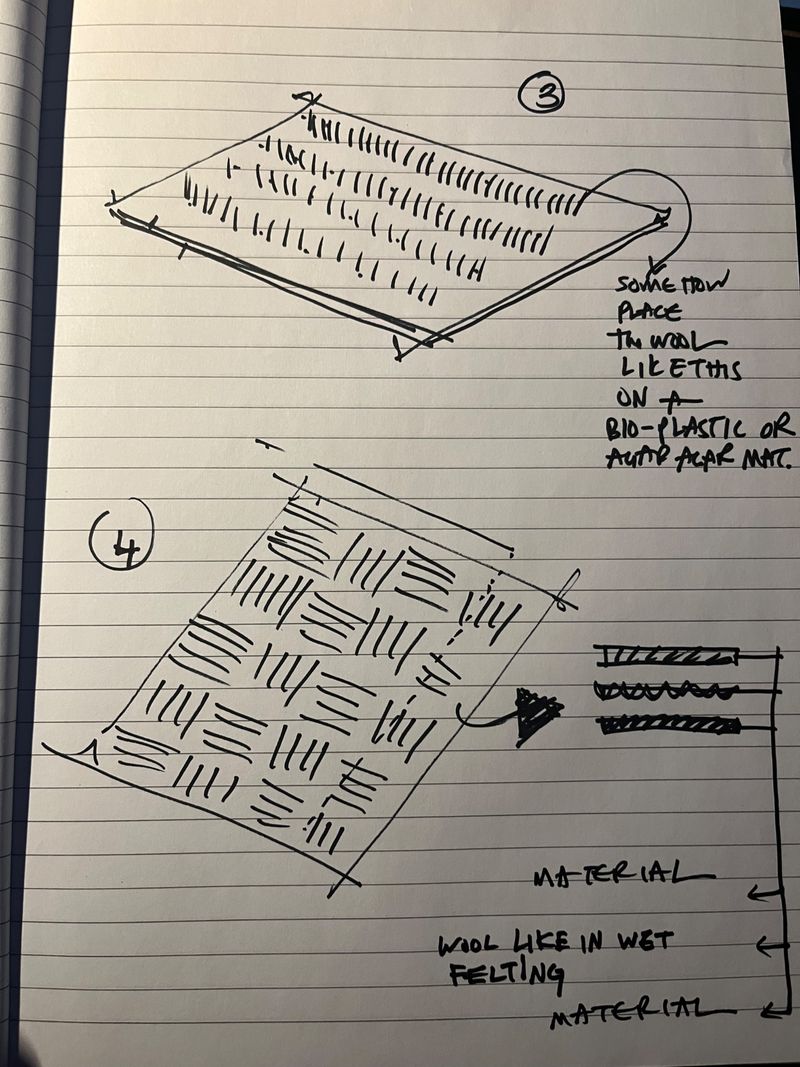
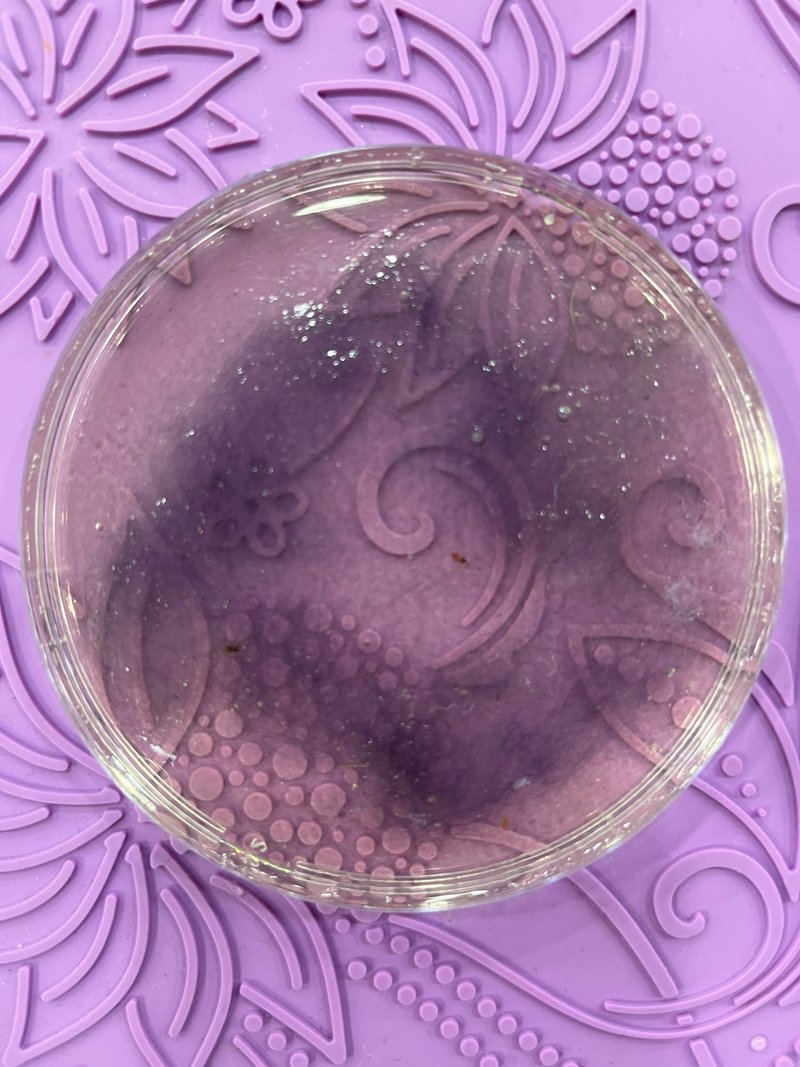
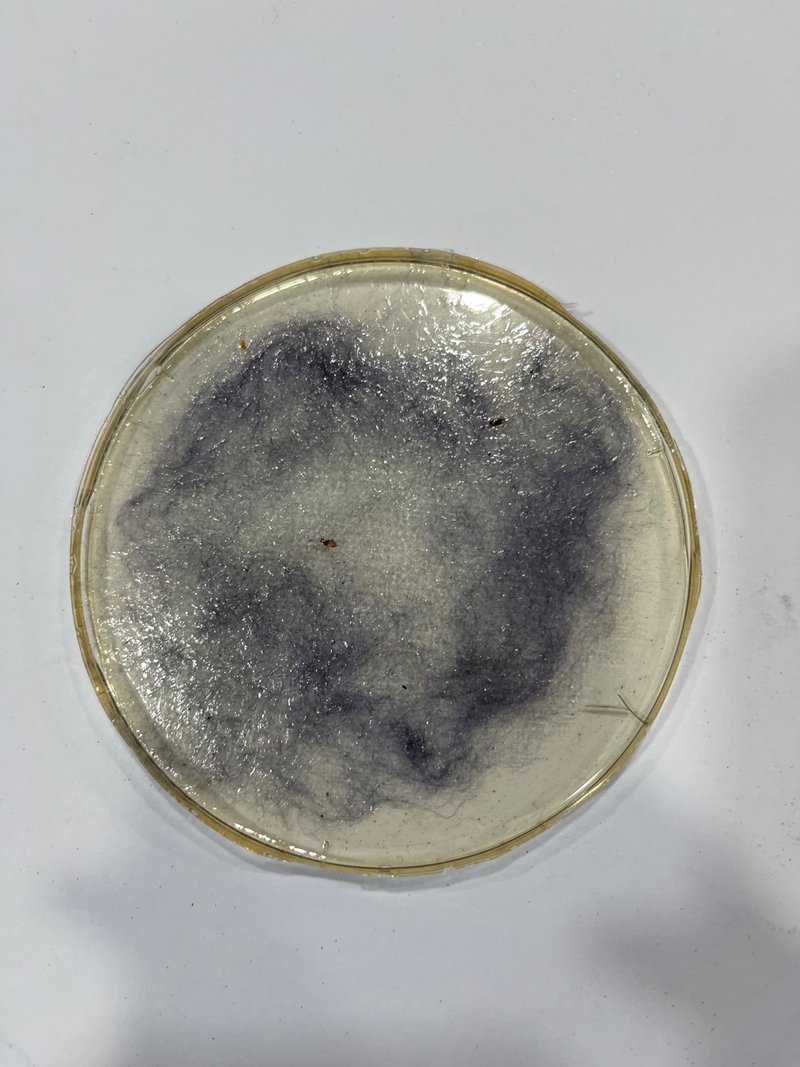
Merino wool: fibre that makes that reinforces the material and adds tensile strength - this wool was added in a circular pattern closer to the middle of the petri-dish
Results
Tools & ingredients
Same as the bioplastic in the previous sections. The wool was added before drying and embedded in the casting.
Process & workflow
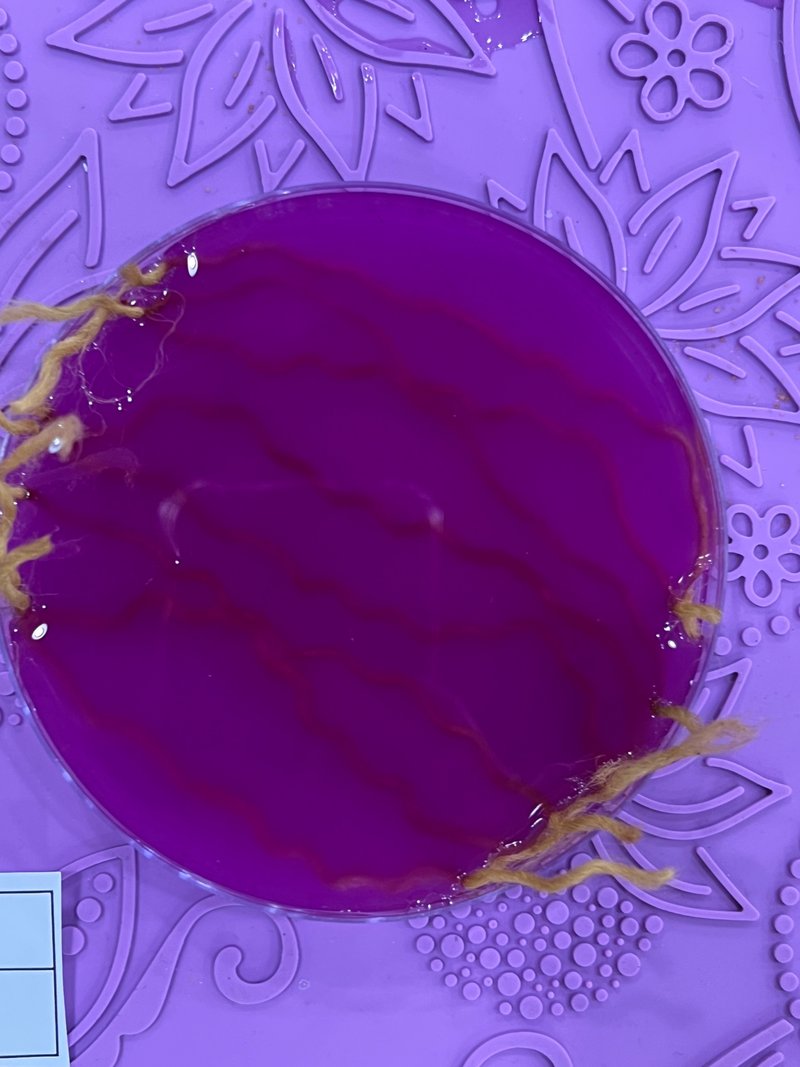
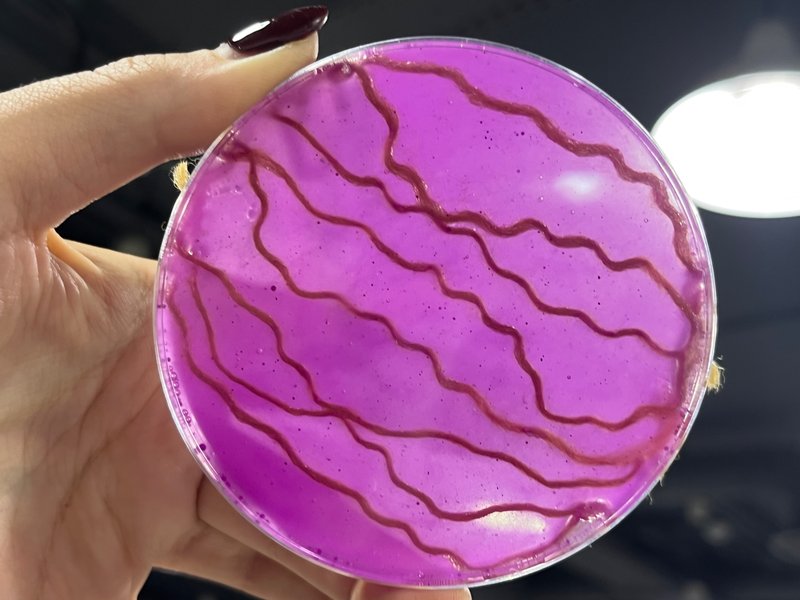
Spun strands of synthetic wool-blend: added in the middle of the mould, only five strands evenly-spaced, then more of the mixture was added on top of it. if any tensile strength was added, it was only in one direction
Results
Bio-waste: Lettuce experiments
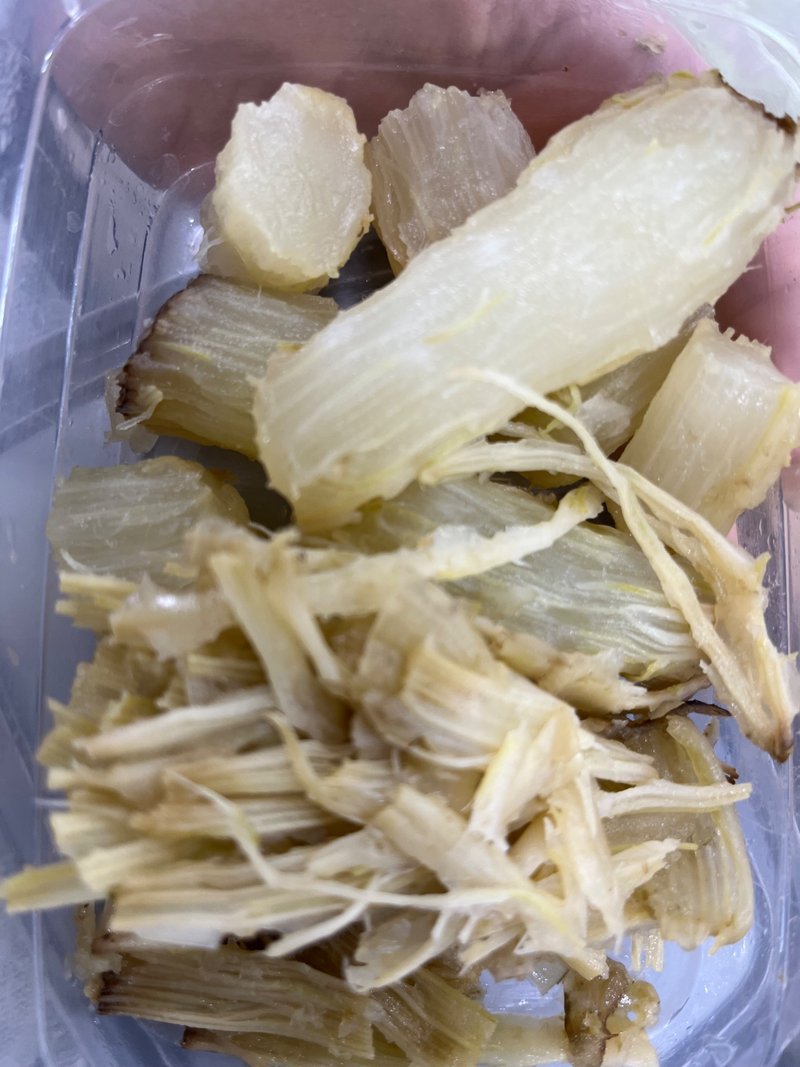
For the lettuce experiments, I received about 10 heads of waste lettuce. I divided them to three portions:
- First portion: I chopped the whole lettuce (leaves and core) into large pieces
- Second portion: Just the leaves
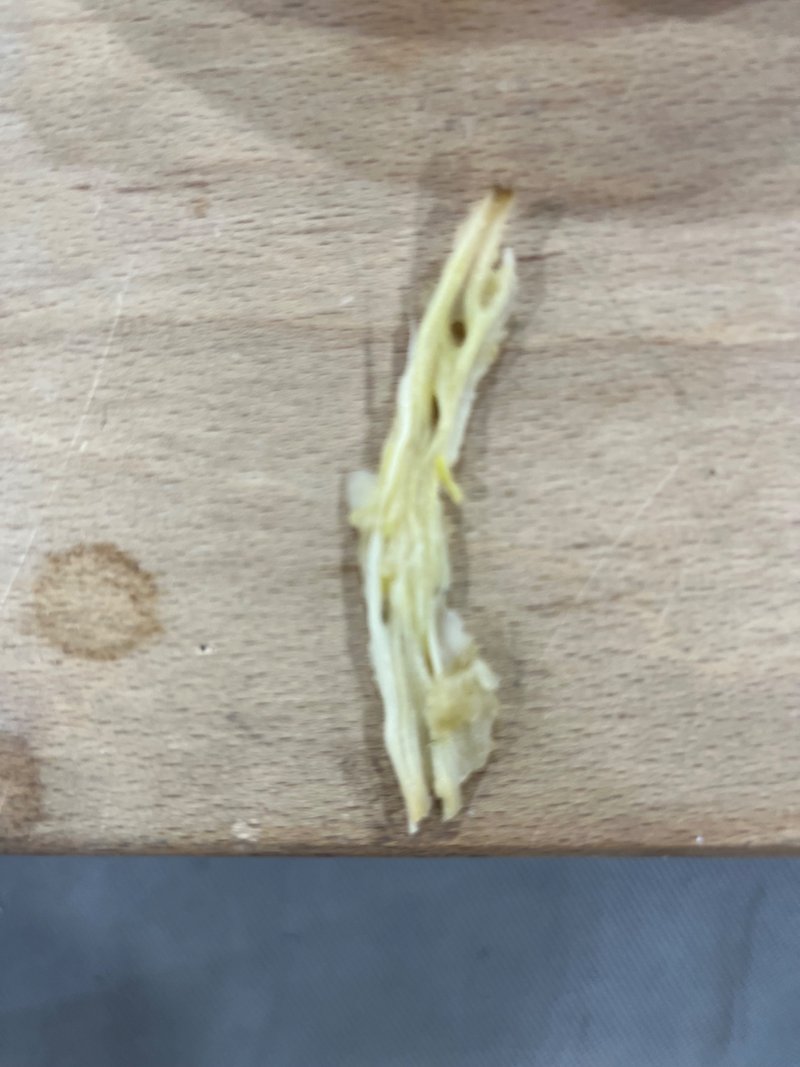
- Third portion: Just the stems and cores
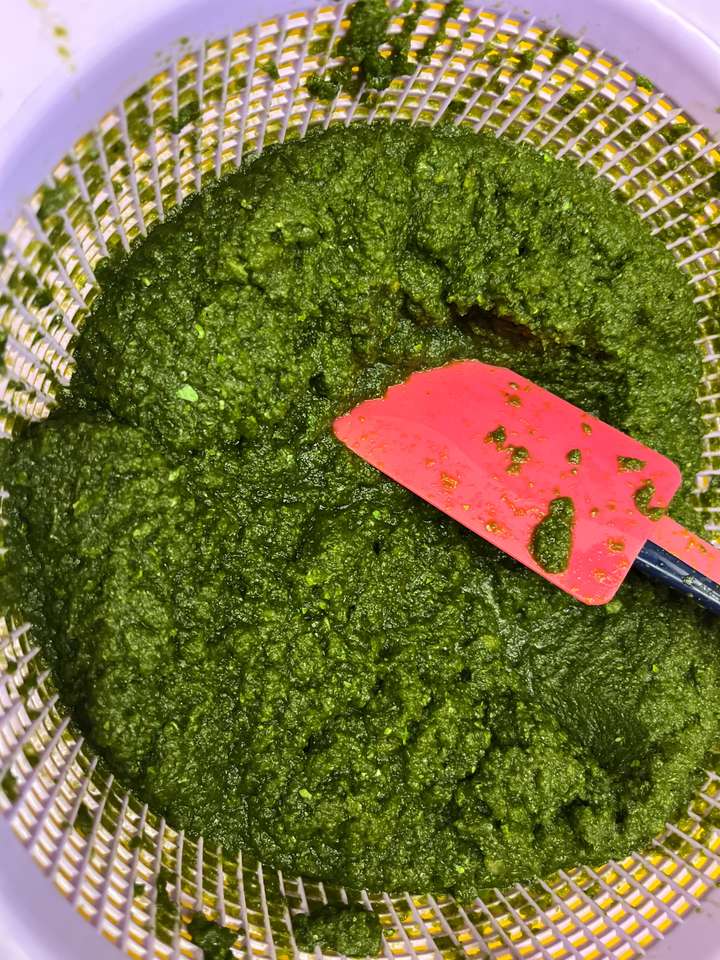
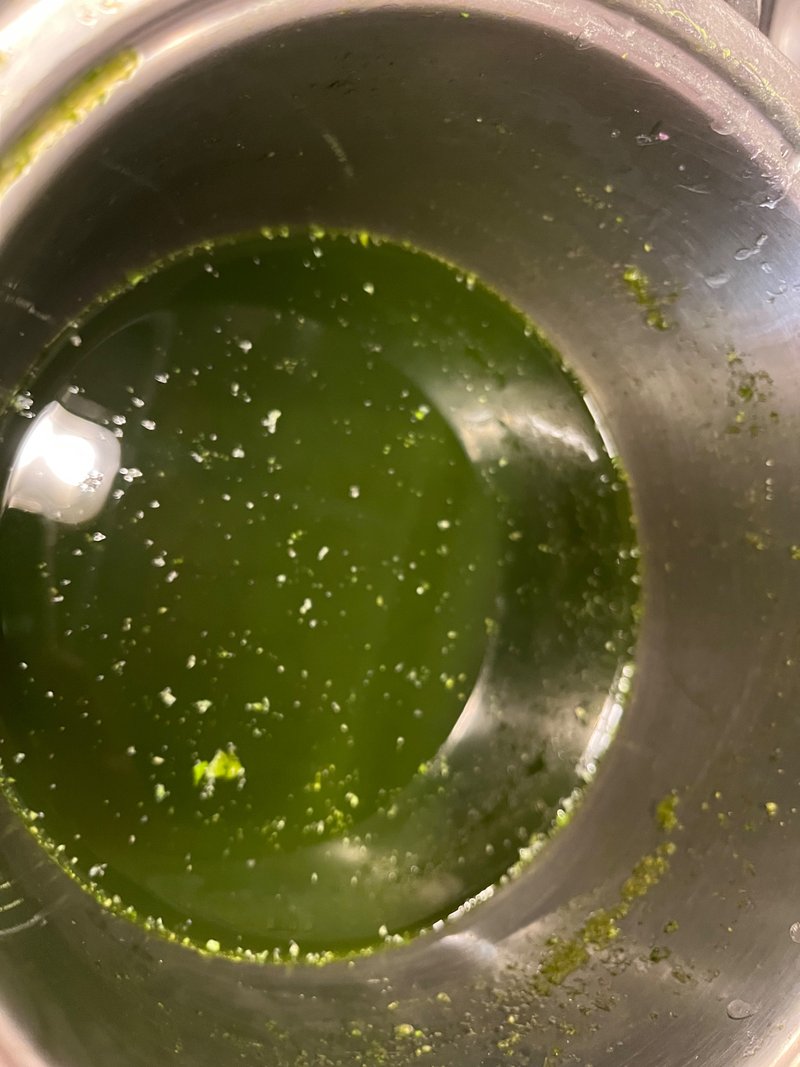
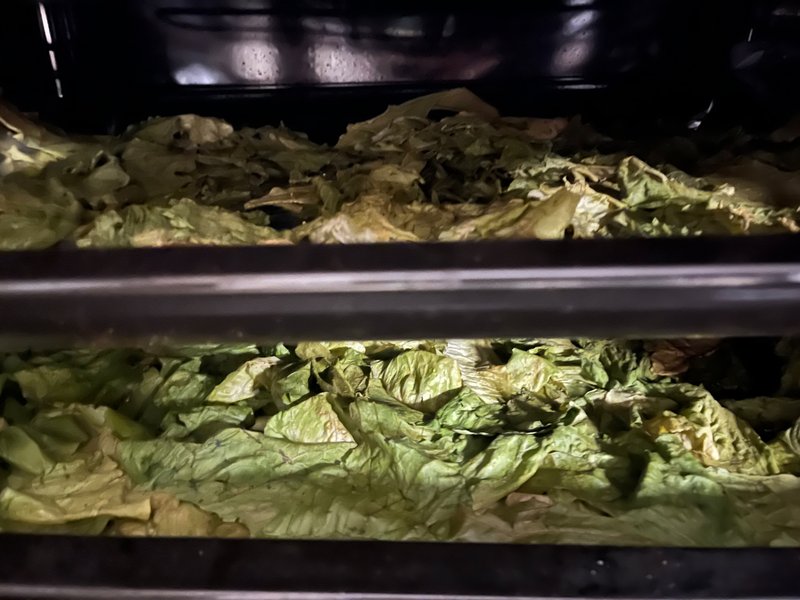
For the first portion I put the chopped parts into the blender with water and made a lettuce purée. I also strained the lettuce purée and got a good amount of lettuce water. For the second portion, I placed the leaves in the oven for dehydration at 80 degrees celcius for three hours and then I put them in a plastic bag and crushed them using.a pestle. And finally, I boiled the last portion on the stove and let it boil for about two hours.
The first portion I wanted to add to a bio-plastic mixture and and agar mixture, because I thought it could be used for a lettuce leather. I wanted to use the dehydrated leaves for texture in a number of mixtures. I had high hopes for the cores and stems because I read in passing that there are long fibres that could be separated the white mushy part. This last experiment would have required pectinase, maybe this has potential in the future.
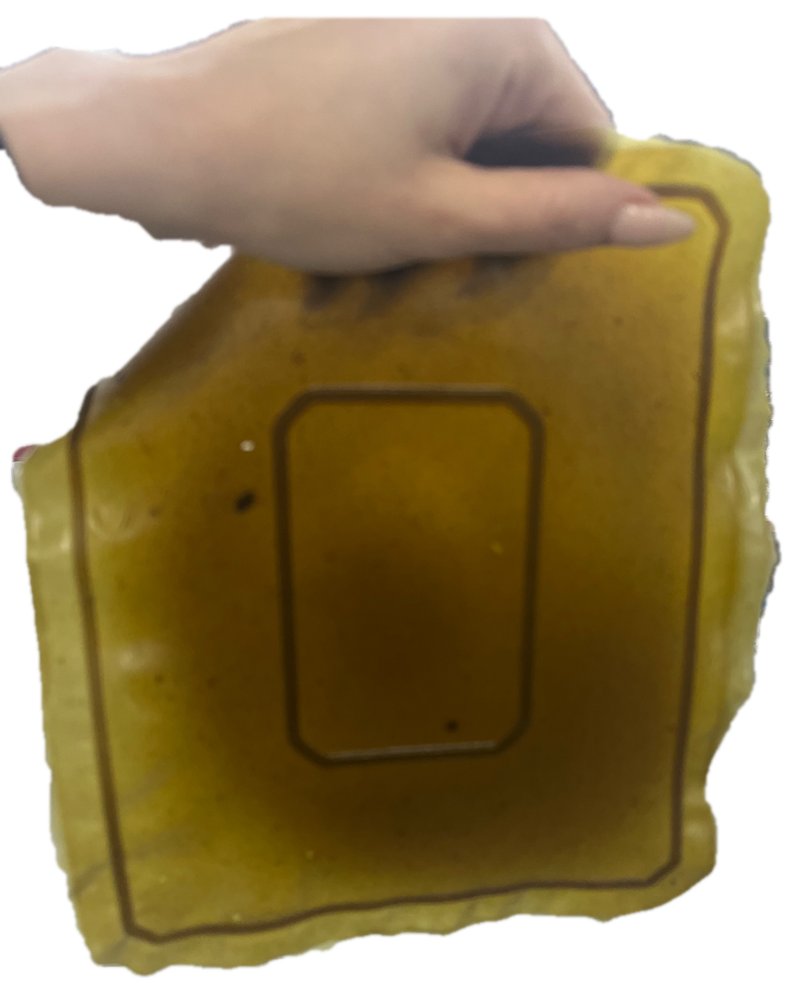
Tools & ingredients
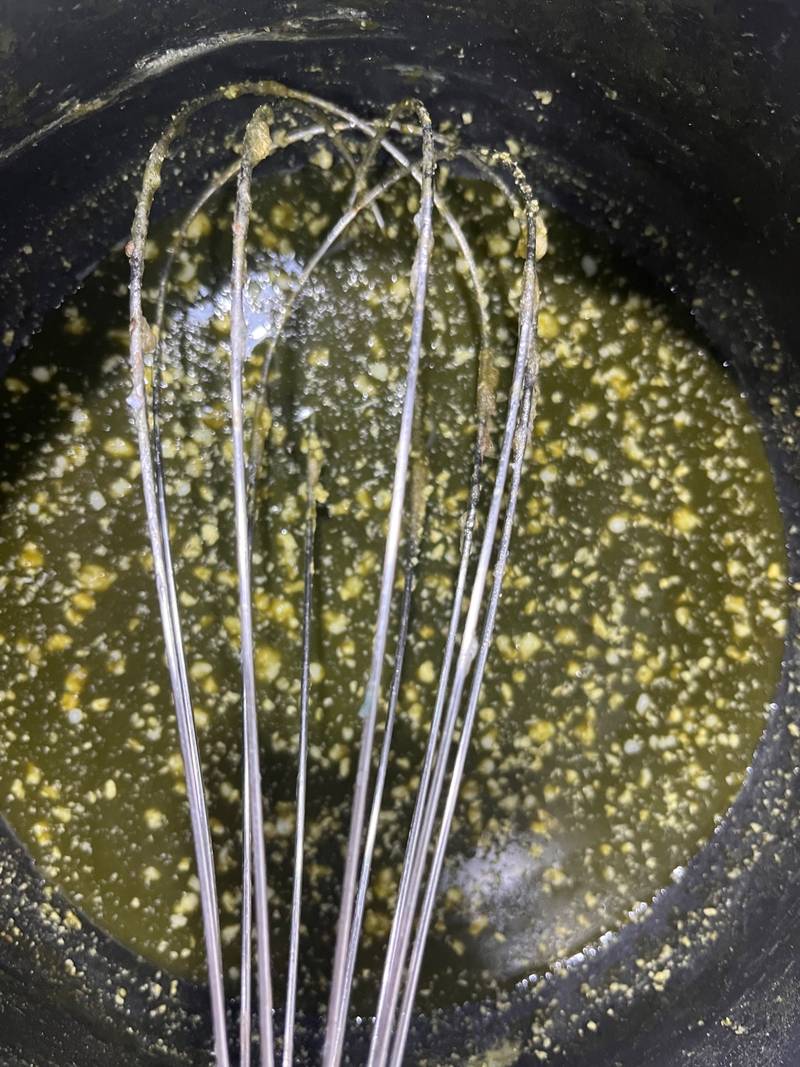
- Agar Agar (Polymer): 4 g
- Glycerine (Plasticizer): 12 g
- Lettuce water (Solvent): 200 g
- Beeswax (water proofing): 6 g [do not add]
Process & workflow
- Bring the water to around 60-80 degrees celcius
- Agar Agar slowly and dissolve it
- Add a splash of ethanolt to avoid modling
- Add the glycerine to the mixture and dissolve it
- Dissolve the beeswax on the side with hot water, mix vigorously [skip here]
- Keep stirring the mixture until it starts to feel gelatounous
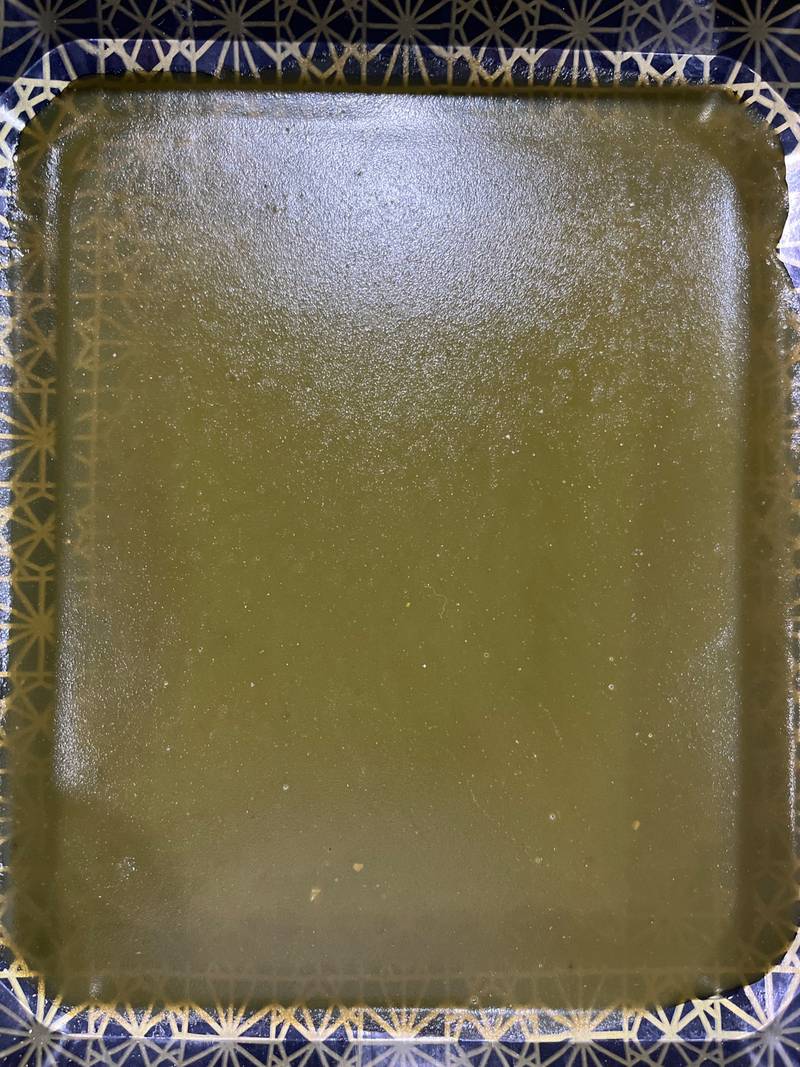
- Cast in mould
I learend that beeswax gives a sort of water proof quality to this material. However, I added it impulsively, and I don't think it mixes well with the ethanol so I had to throw away my initial experiment. So I repeated it without the beeswax.
Results
Tools & ingredients
Ingredients
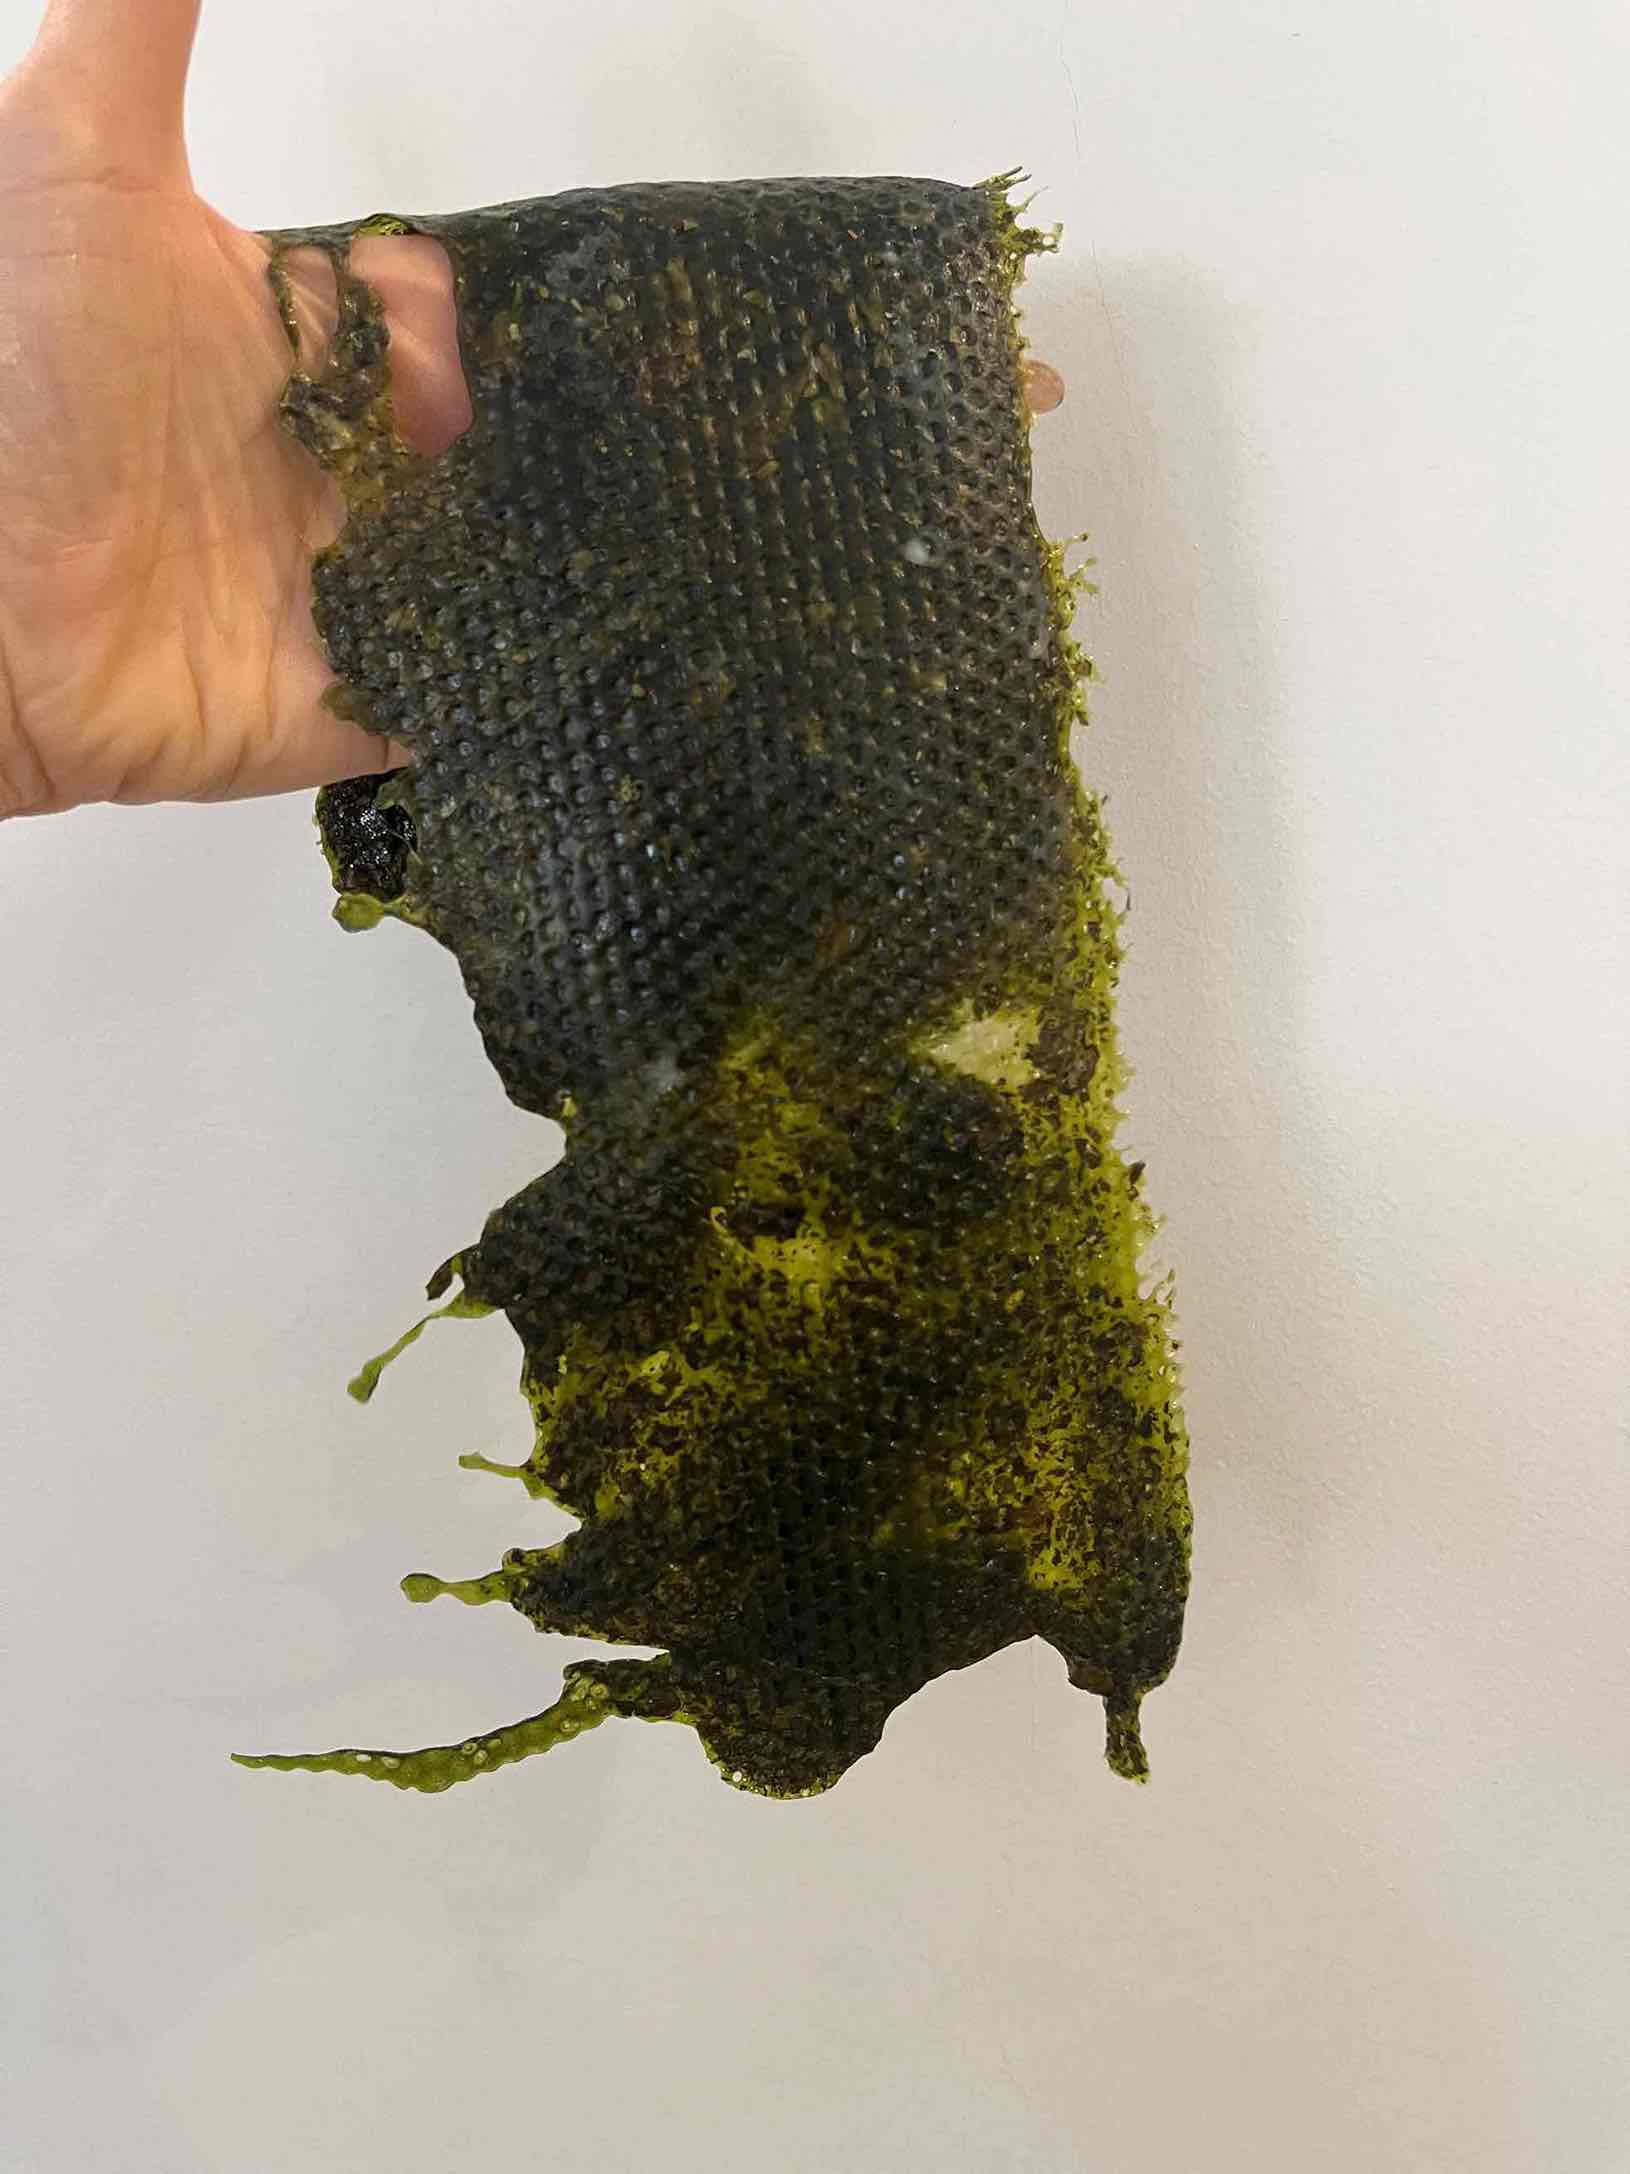
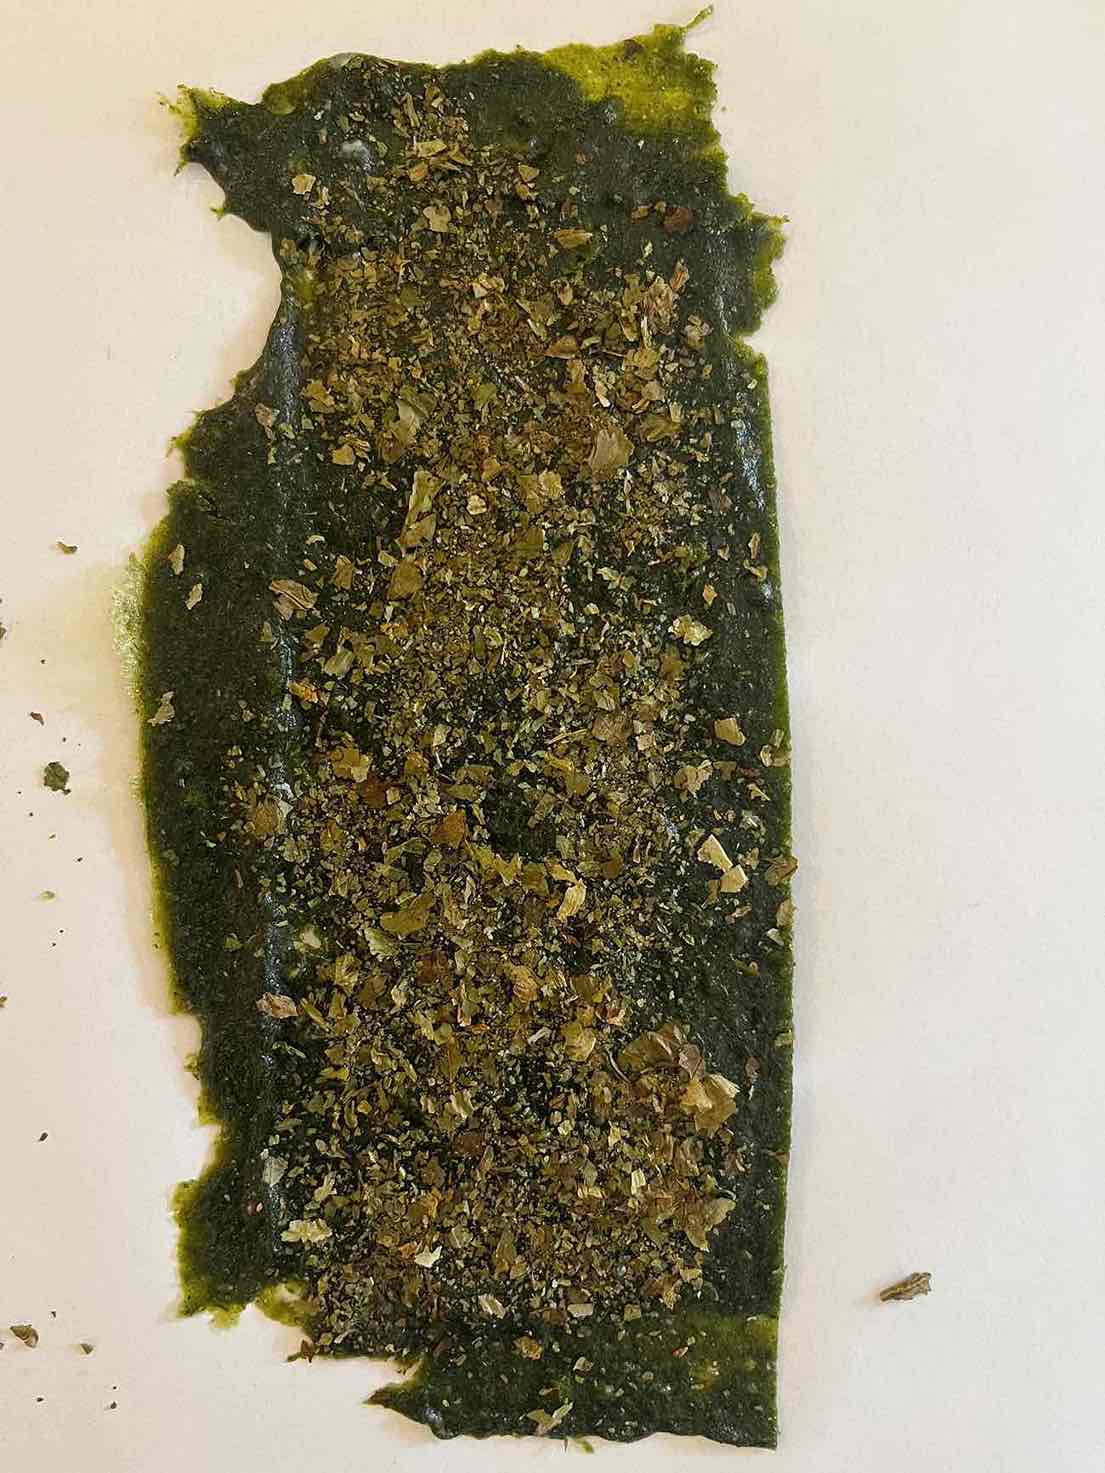
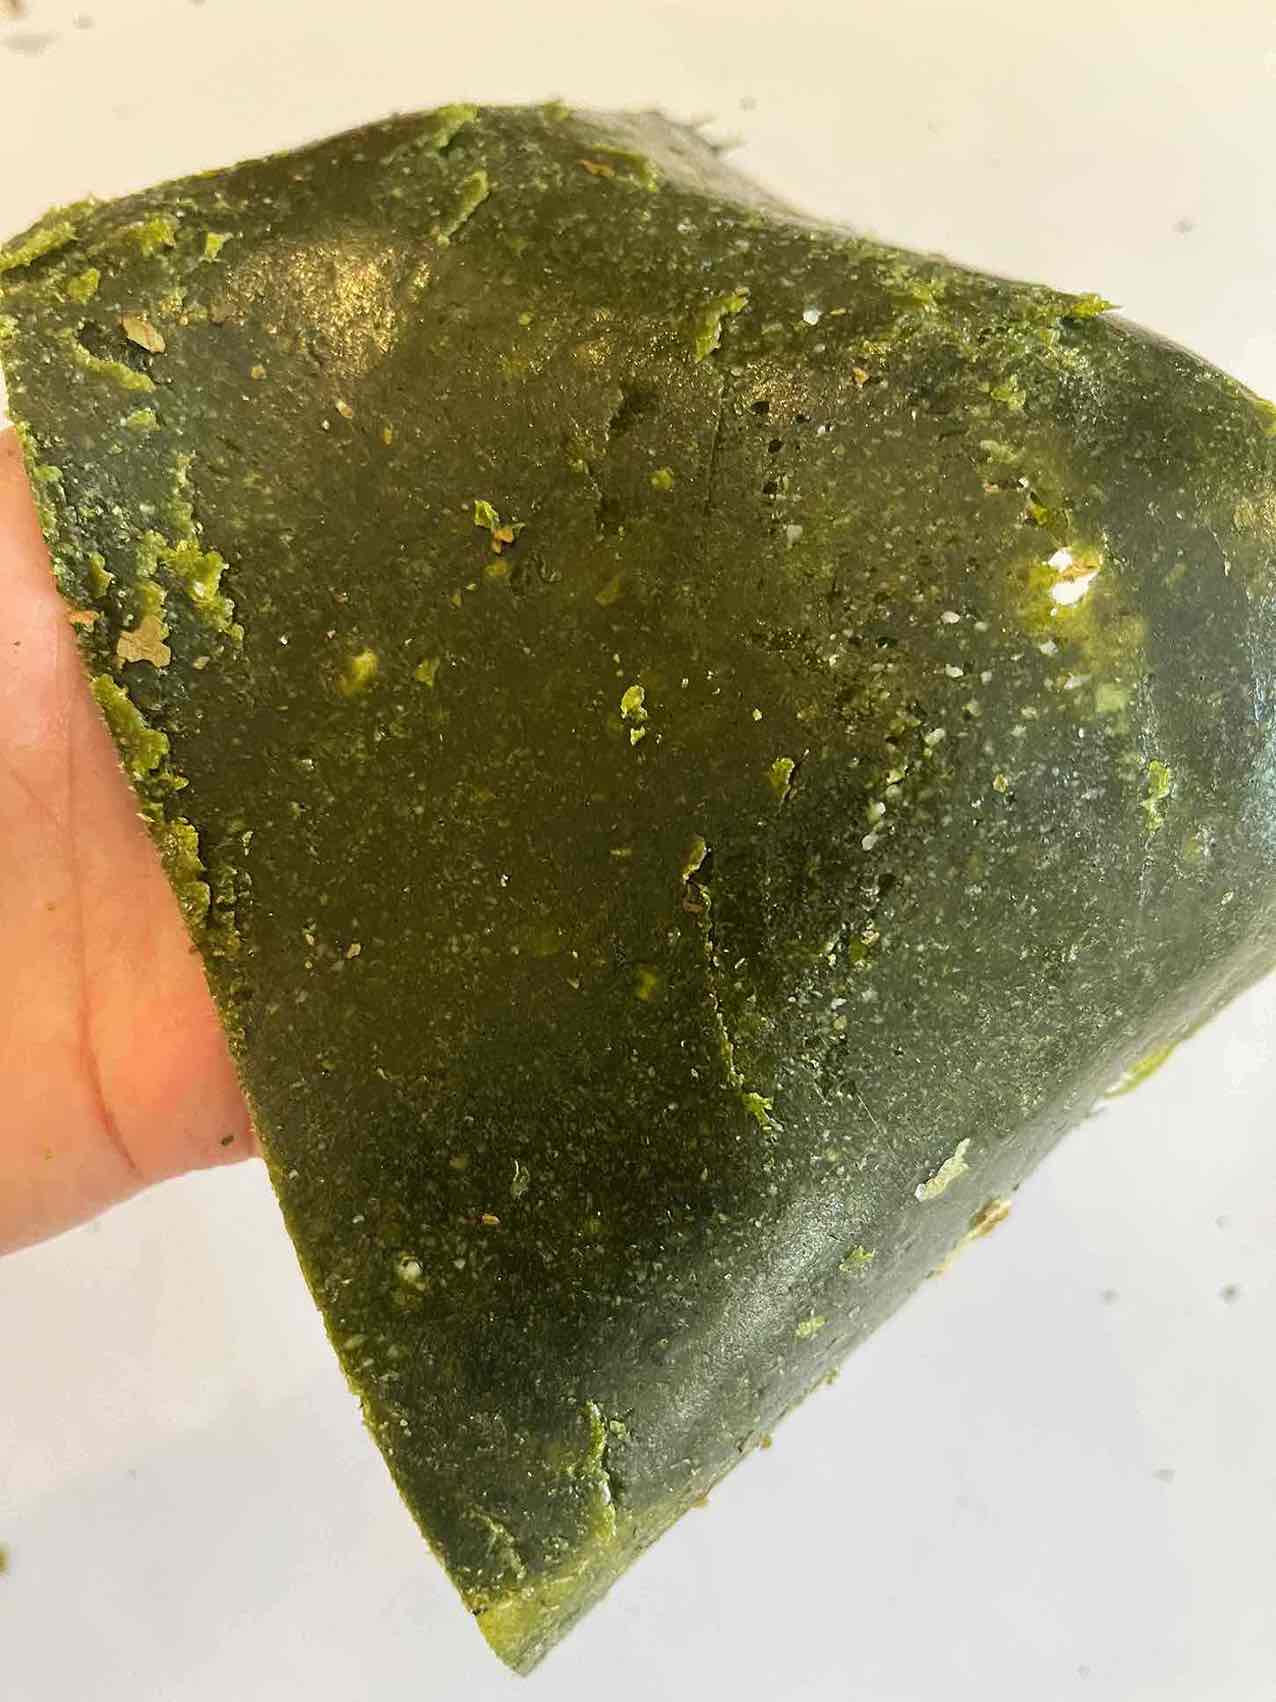
- Lettuce Water (Solvent): 50 ml
- Glycerine (Plasticiser): 20 g
- Gelatine (Polymer): 40g
- Lettuce purée: 250 ml
- 3 tbsp of dehydrated lettuce
Process & workflow
- Bring water to 60-80 degrees celcius
- Add the gelatine in and dissolve it
- Dissolve the glycerine
- Mix in the purée
- Mix in the dehydrated leaves
Results
Tools & ingredients
- Lettuce Water (Solvent): 300 ml
- Gelatine (Polymer): 60 g
- Glycerine (Plasticizer): 27ml
- 1 tbsp of dehydrated lettuce leaves
Process & workflow
- Bring water to 60-80 degrees celcius
- Add the gelatine in and dissolve it
- Dissolve the glycerine
- Split the batch into two portions and mix in the deydrarted leaves in one of them.
Results
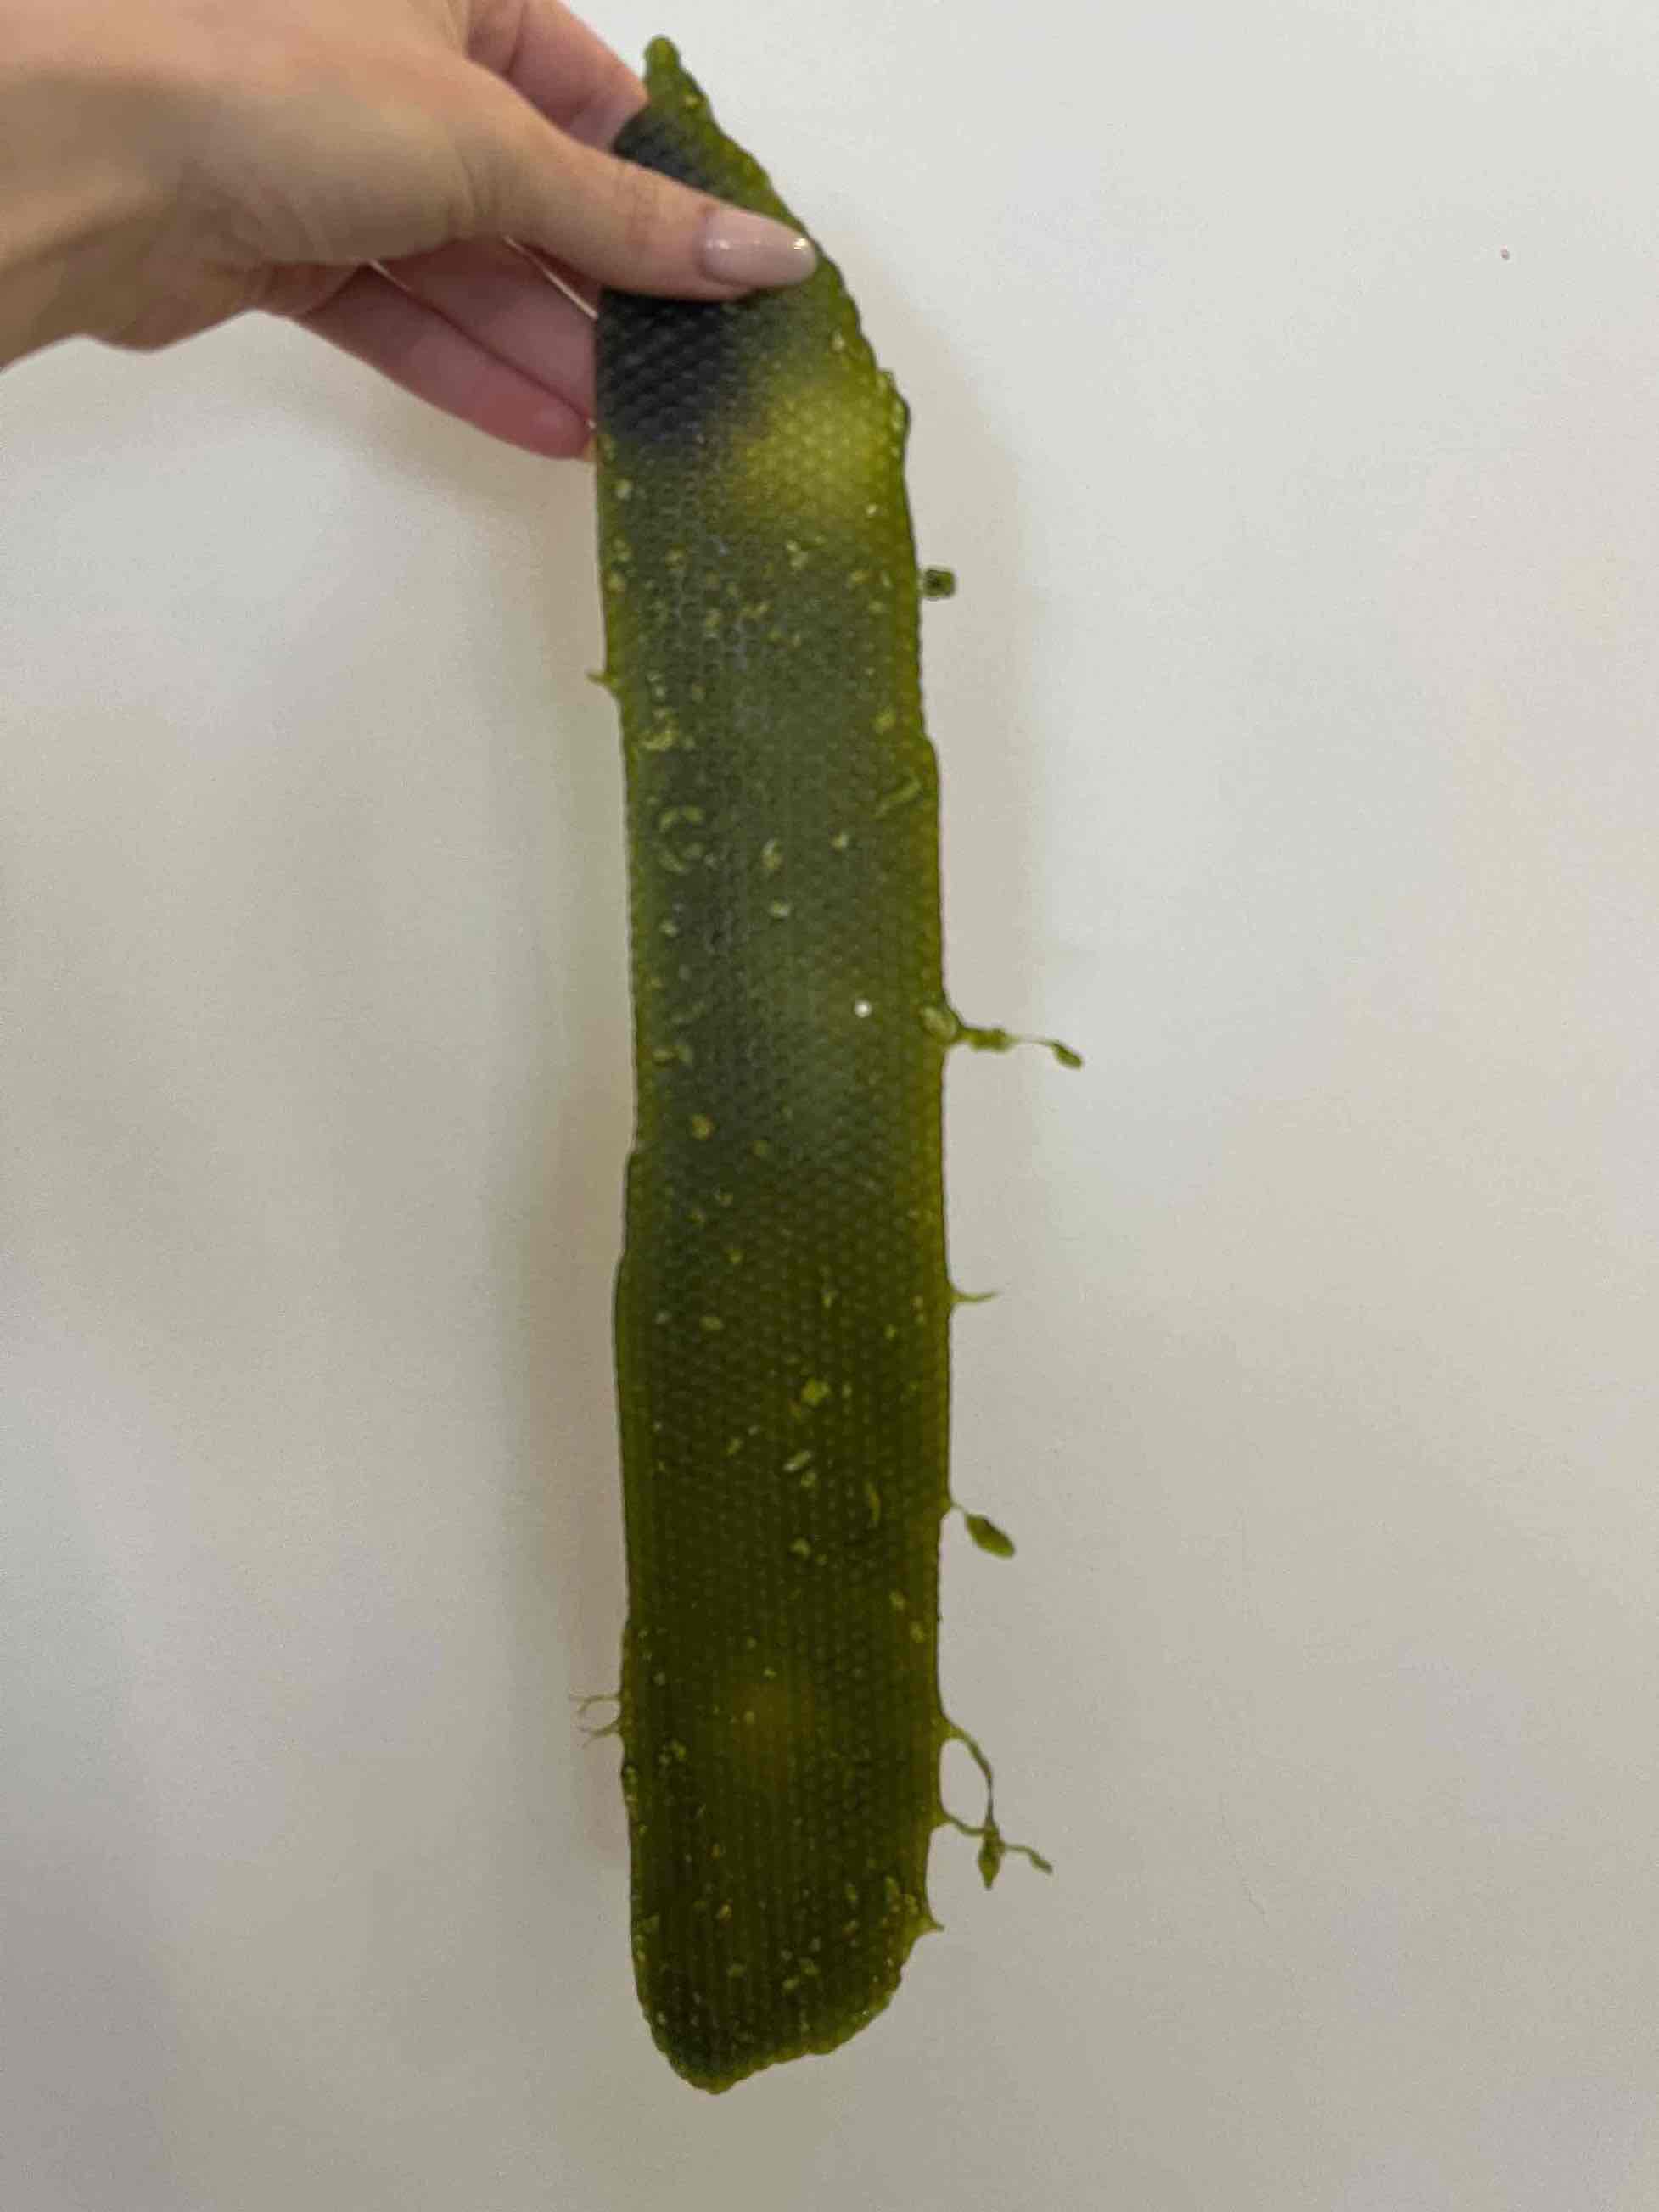
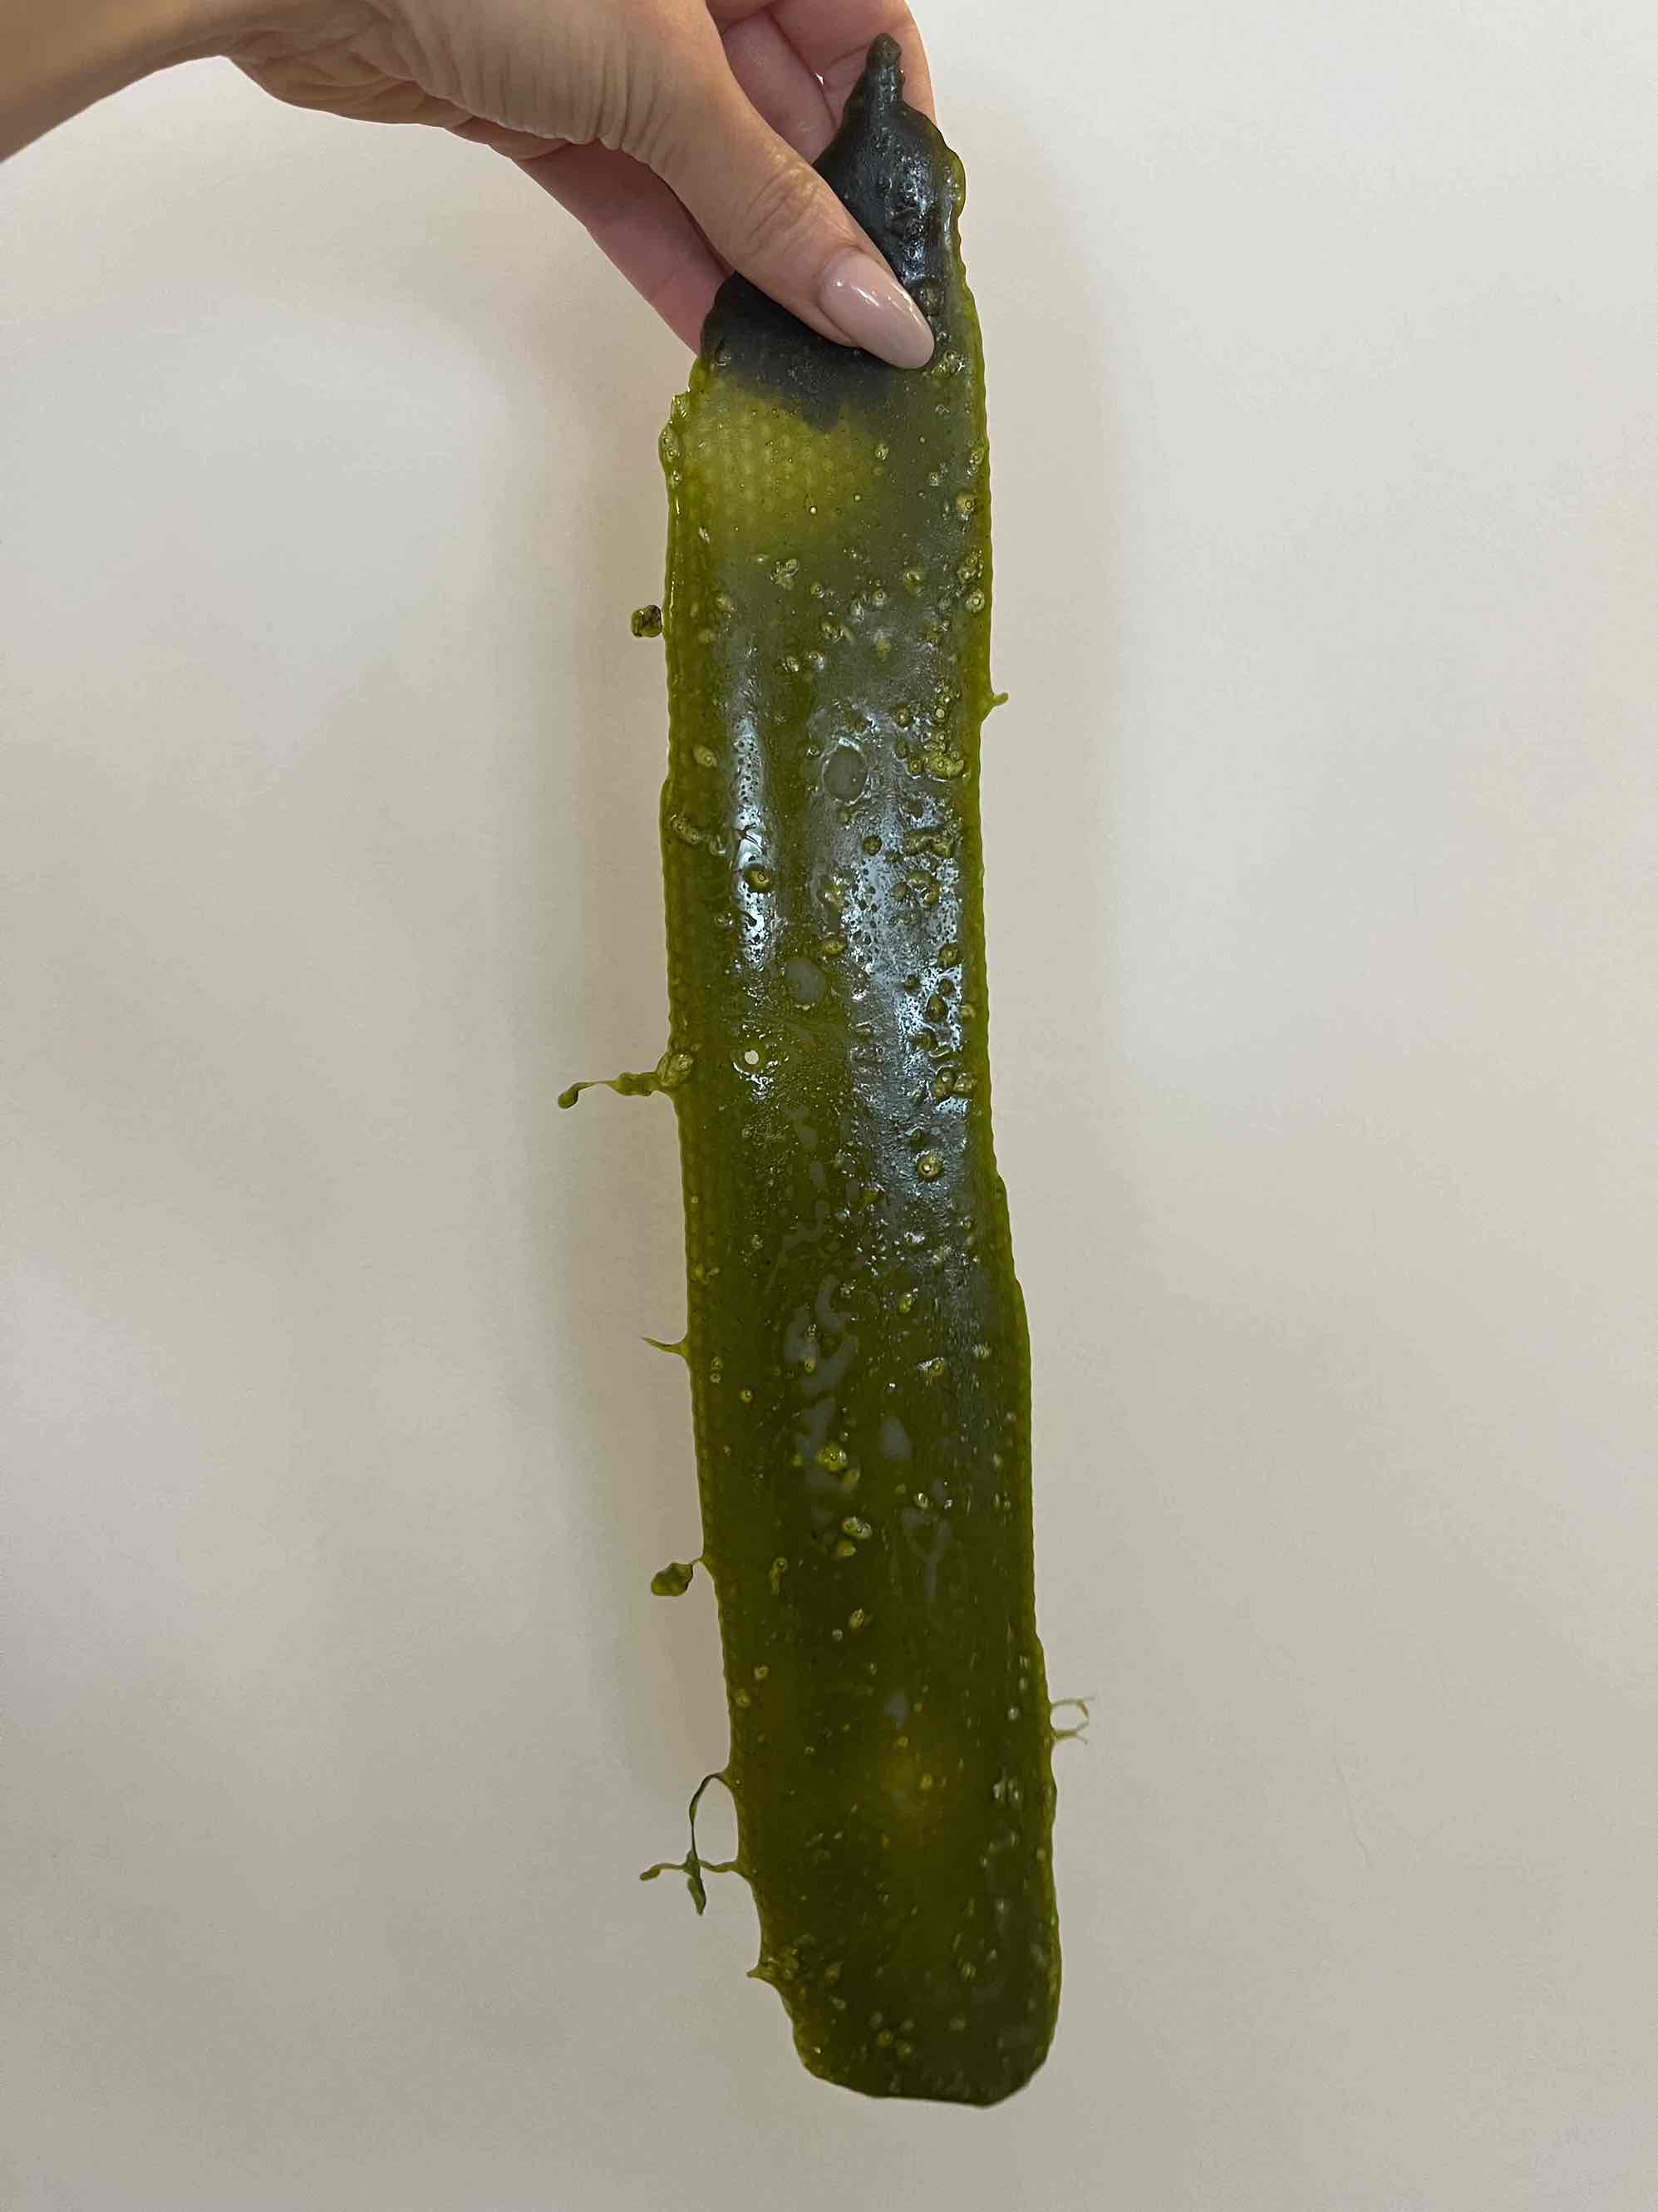
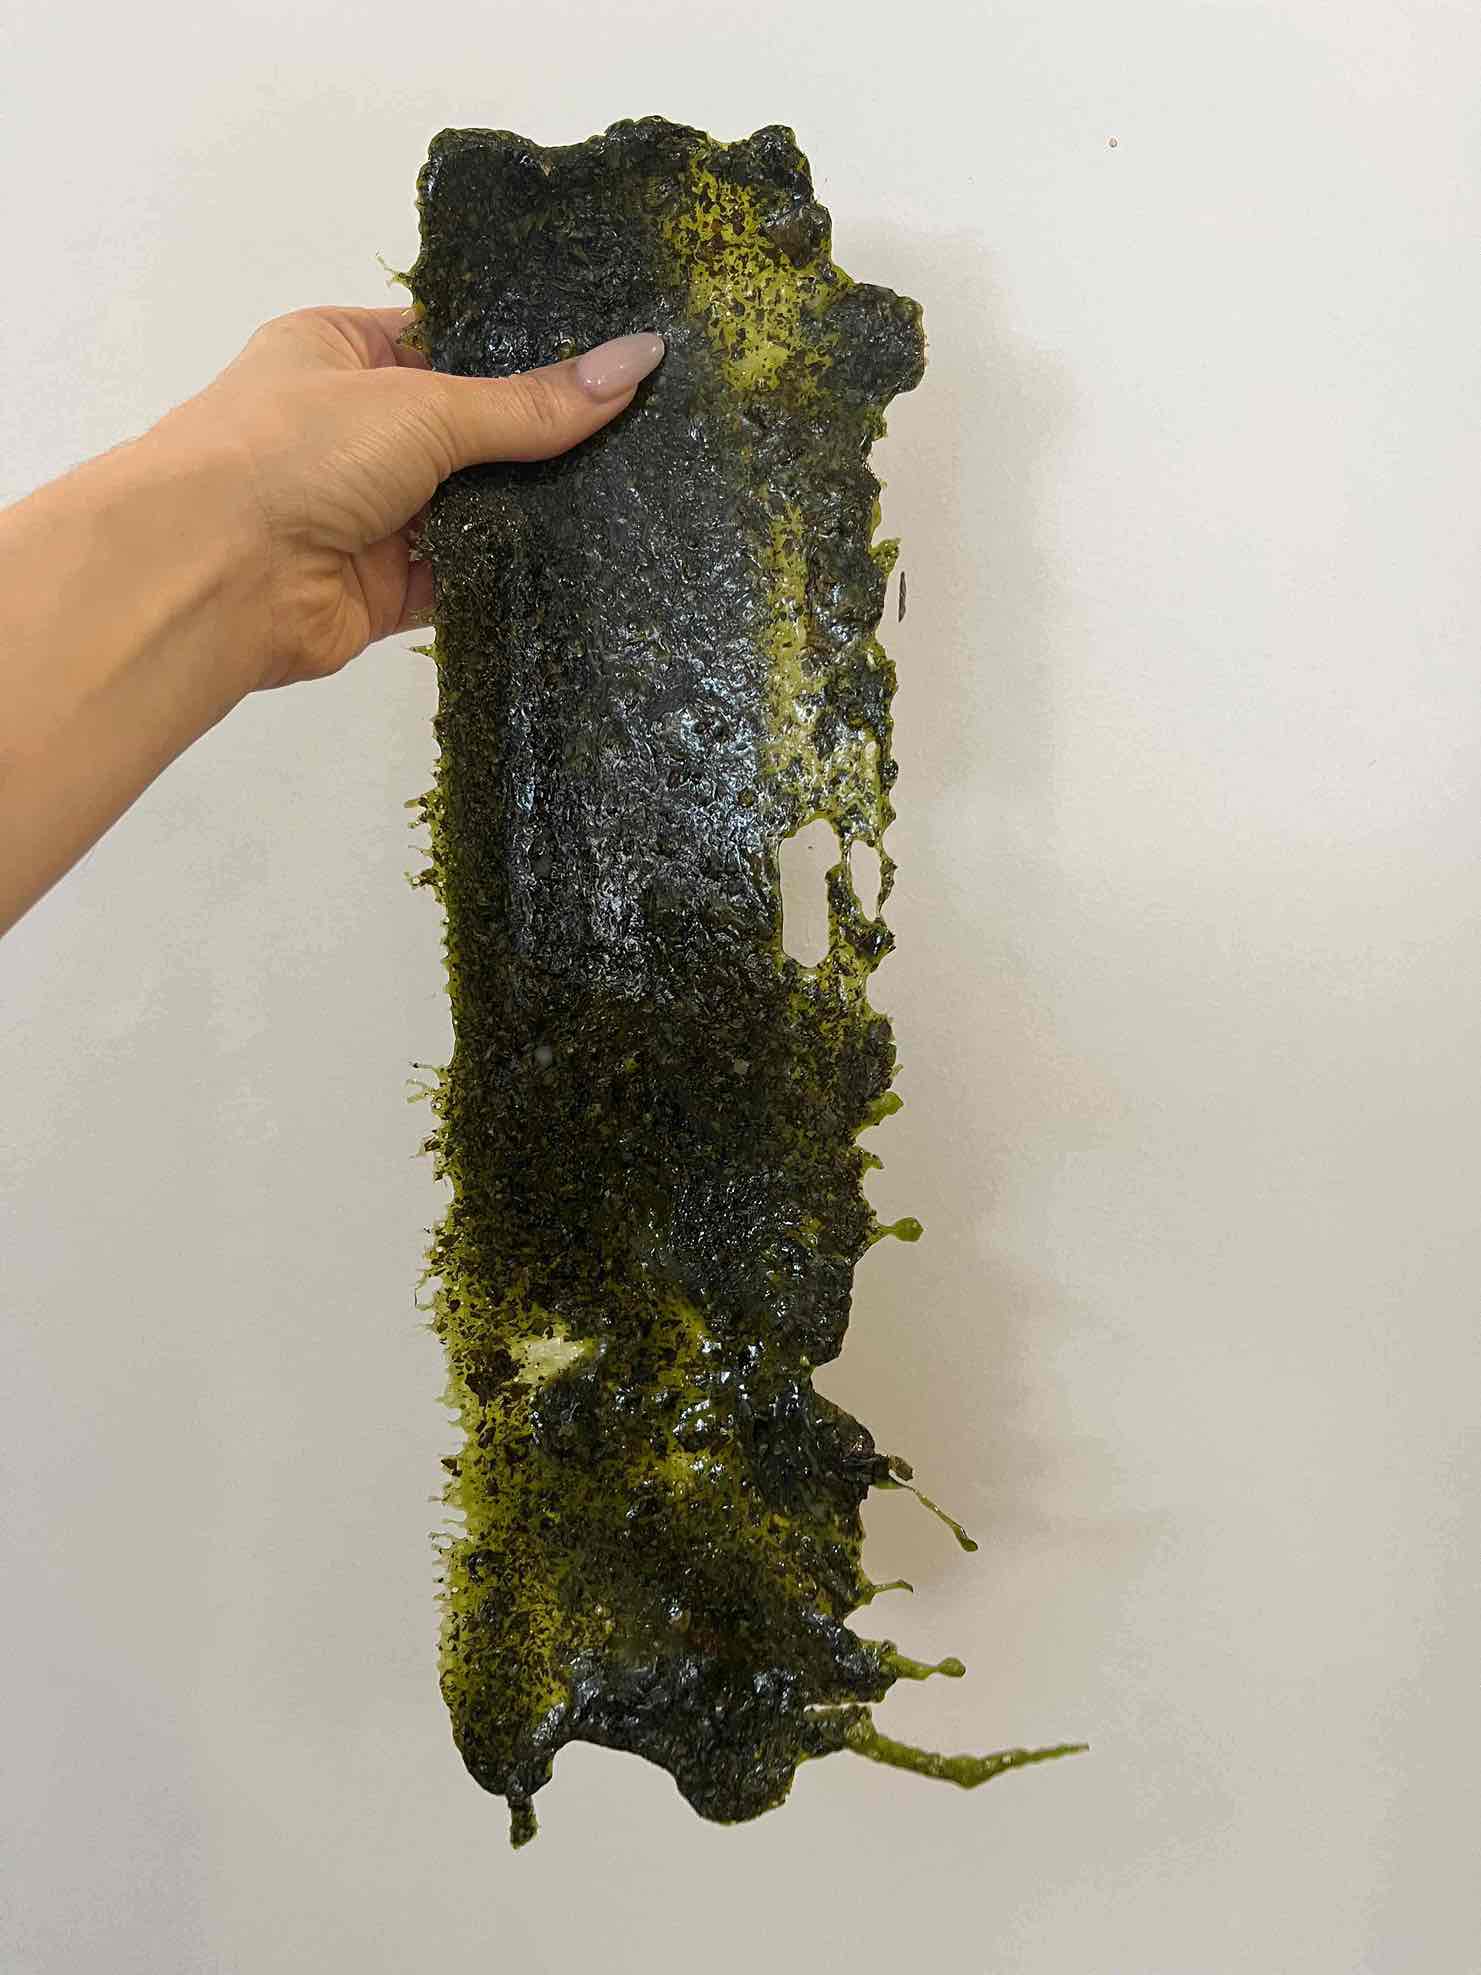
Tools & ingredients
Ingredients
- Sodium Alginate (Polymer) : 27g
- Glycerin (Plasticiser): 50g
- Lettuce purée (Additive): 100ml
- Clacium Chloride dihydrate (Curing Agent): 12ml
- Water (Solvent for curing agent): 125ml
- Water for the alginate mixture (Solvent): 400 ml
- 2 tbsp of dehydrated lettuce leaves
Tools
- Scale
- Blender
- Spray for curing solution
Process & workflow
- Put the water (cold) and glycerin in the blender
- Add the alginate slowly
- Blend until the mixture is smooth
- Add the glycerin
- Blend in the purée
- Blend in the dehydrated leaves
For the curing solution:
- Dissolve the sodium chloride hydrate in the water
- the curing agent has to make up 7-10% of the mixture
- Place in a spraying bottle
I used a spatula to spread the mixture over a texture surface using a spatula. I sprayed the top part of the material with the cuting agent.
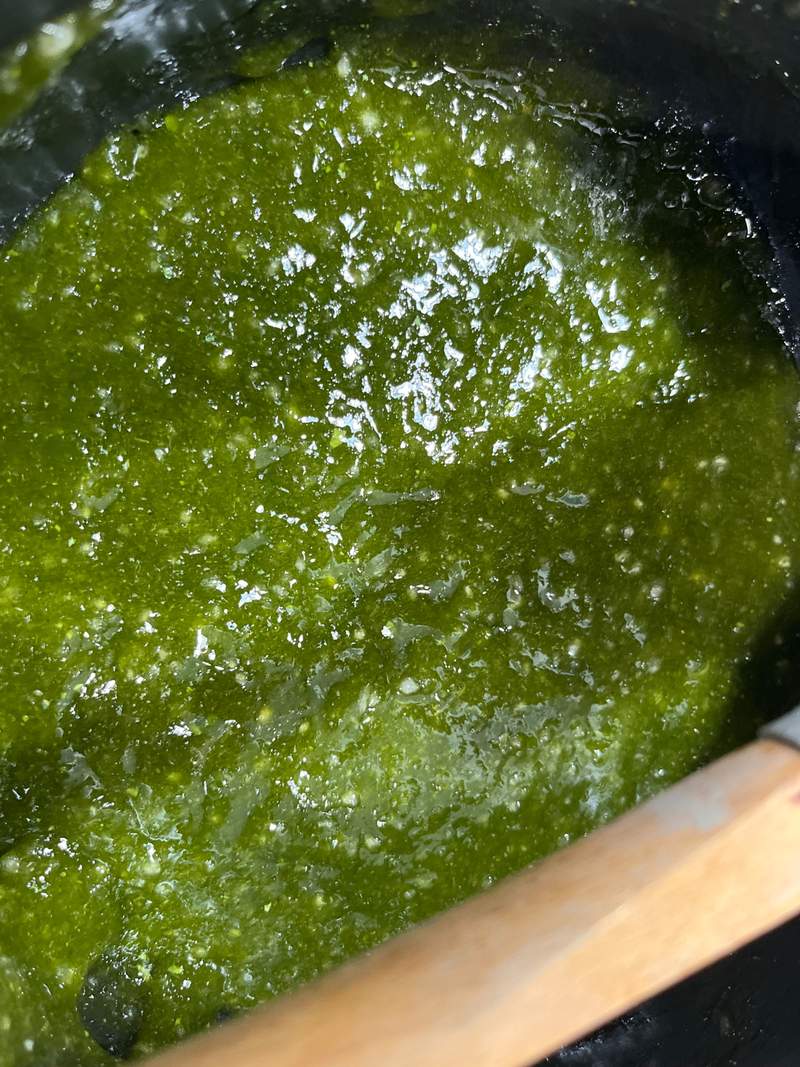
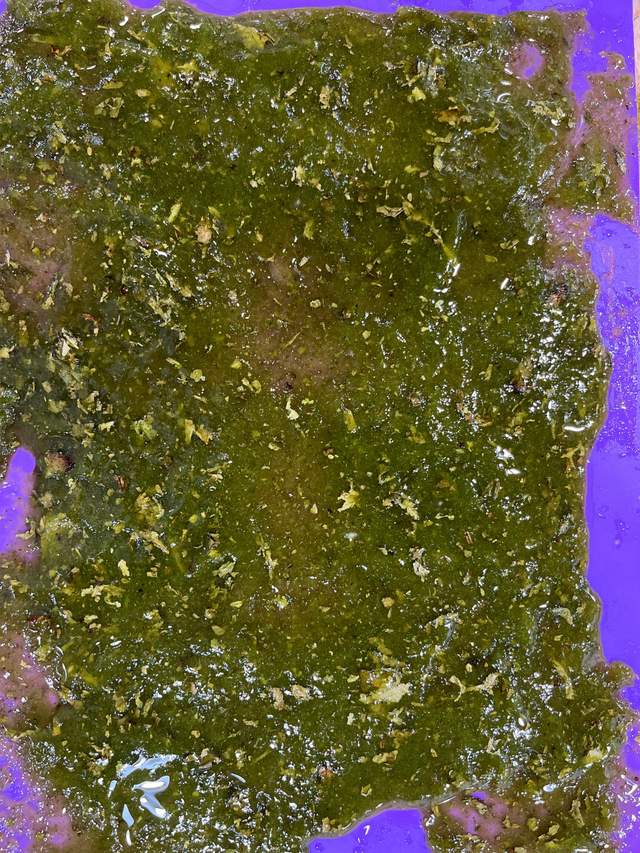
Results
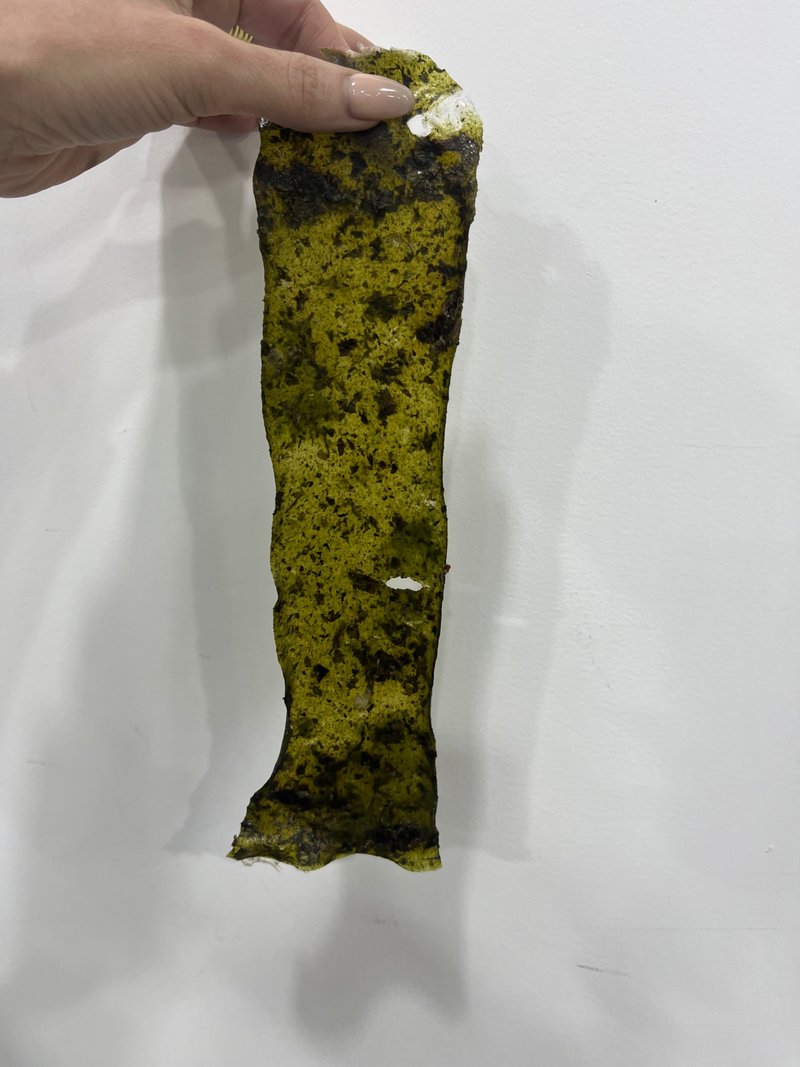
Tools & ingredients
Ingredients:
- Gelatine (Bio-polymer): 48 g
- Glycerin (Plasticiser): 12 g
- Water (Solvent): 240 ml
- Soap (Foaming Agent): 1 tbsp of dish soap with water, 1 tnsp of laurel soap in water
The ratio is [6:1:30] without the foaming agent
Tools:
- Electric Whisk
- scale
Process & workflow
- Place the watre in point and warm it up to about 60 degrees celsius.
- Start adding the gelatine and stir until it is dissolved.
- Take the pot off hot plate and add the soap. (dissolved the soap in water before hand)
- Whisk hard (I used an electric whisk)
- Pour into the mould.
- Let the mixture cool over night
- I tried two versions (laurel soap and dish soap)
- I added varying amounts of foam, and also a whisked in dehydrated lettuce.
- In the last sample I whisked the foam again.
- I didn't have moulds, so I rubbed cocnut oil on paper cups.
- Leave over night
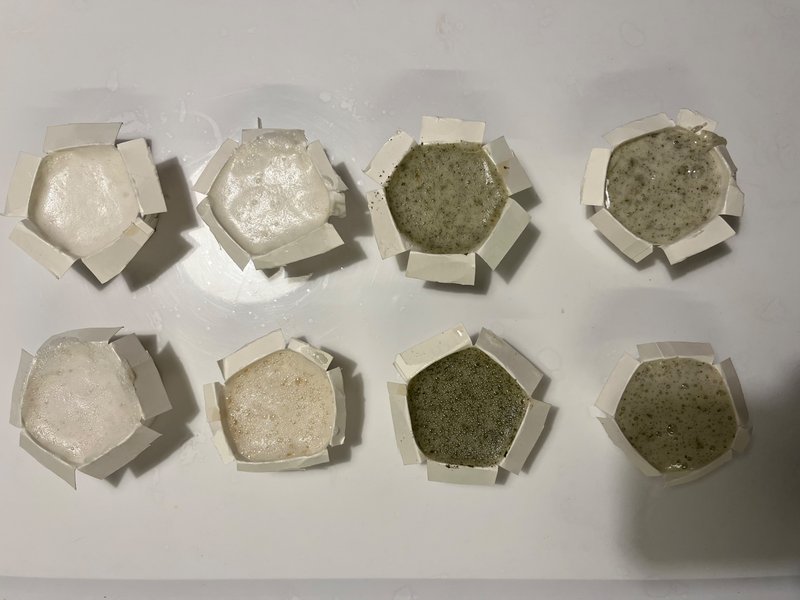
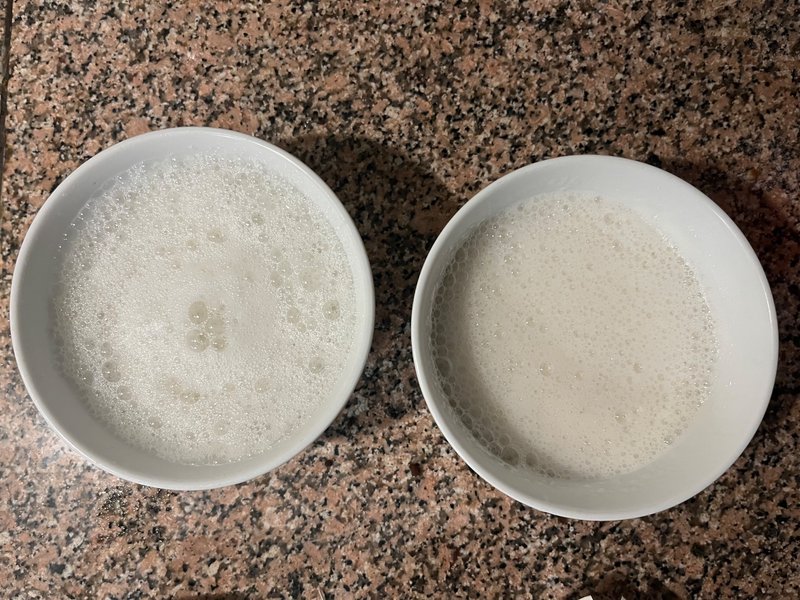
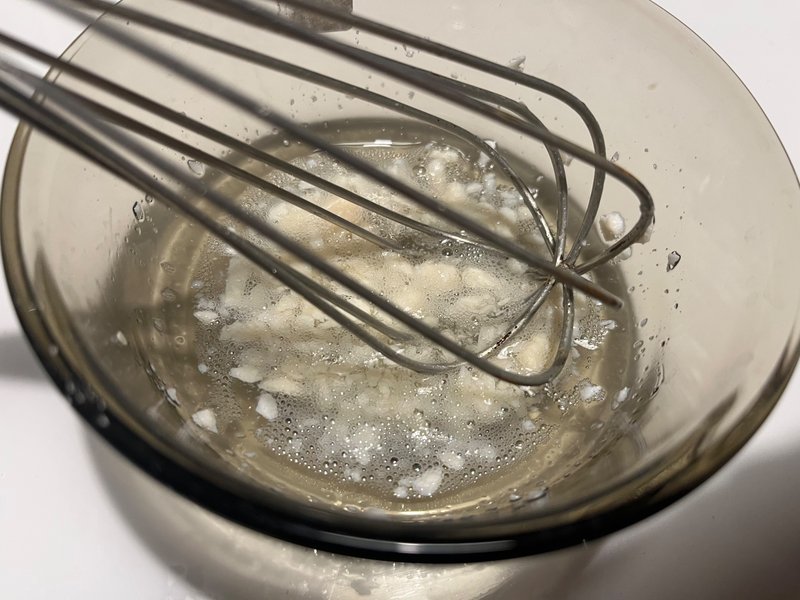
Results
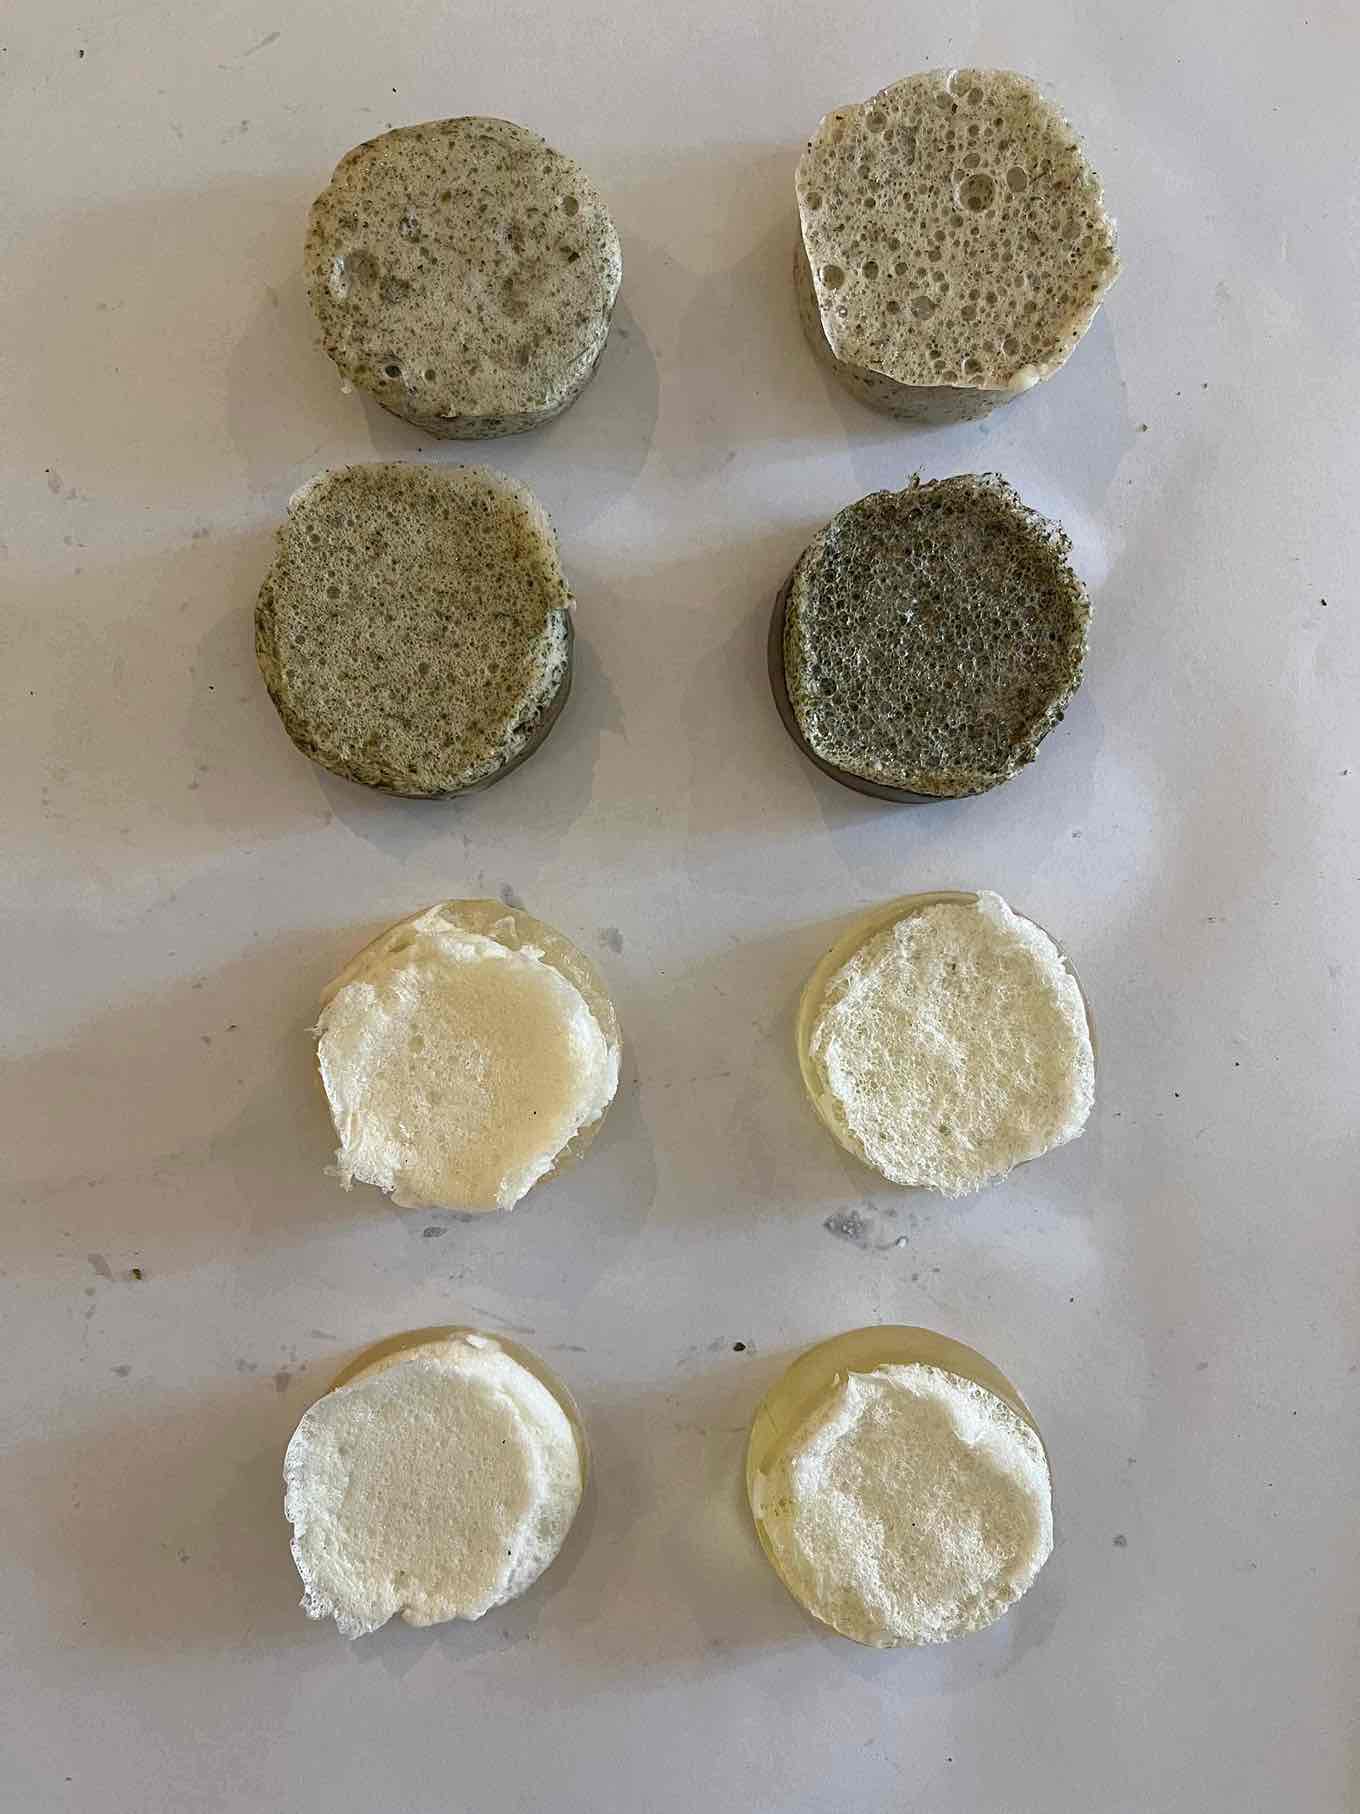
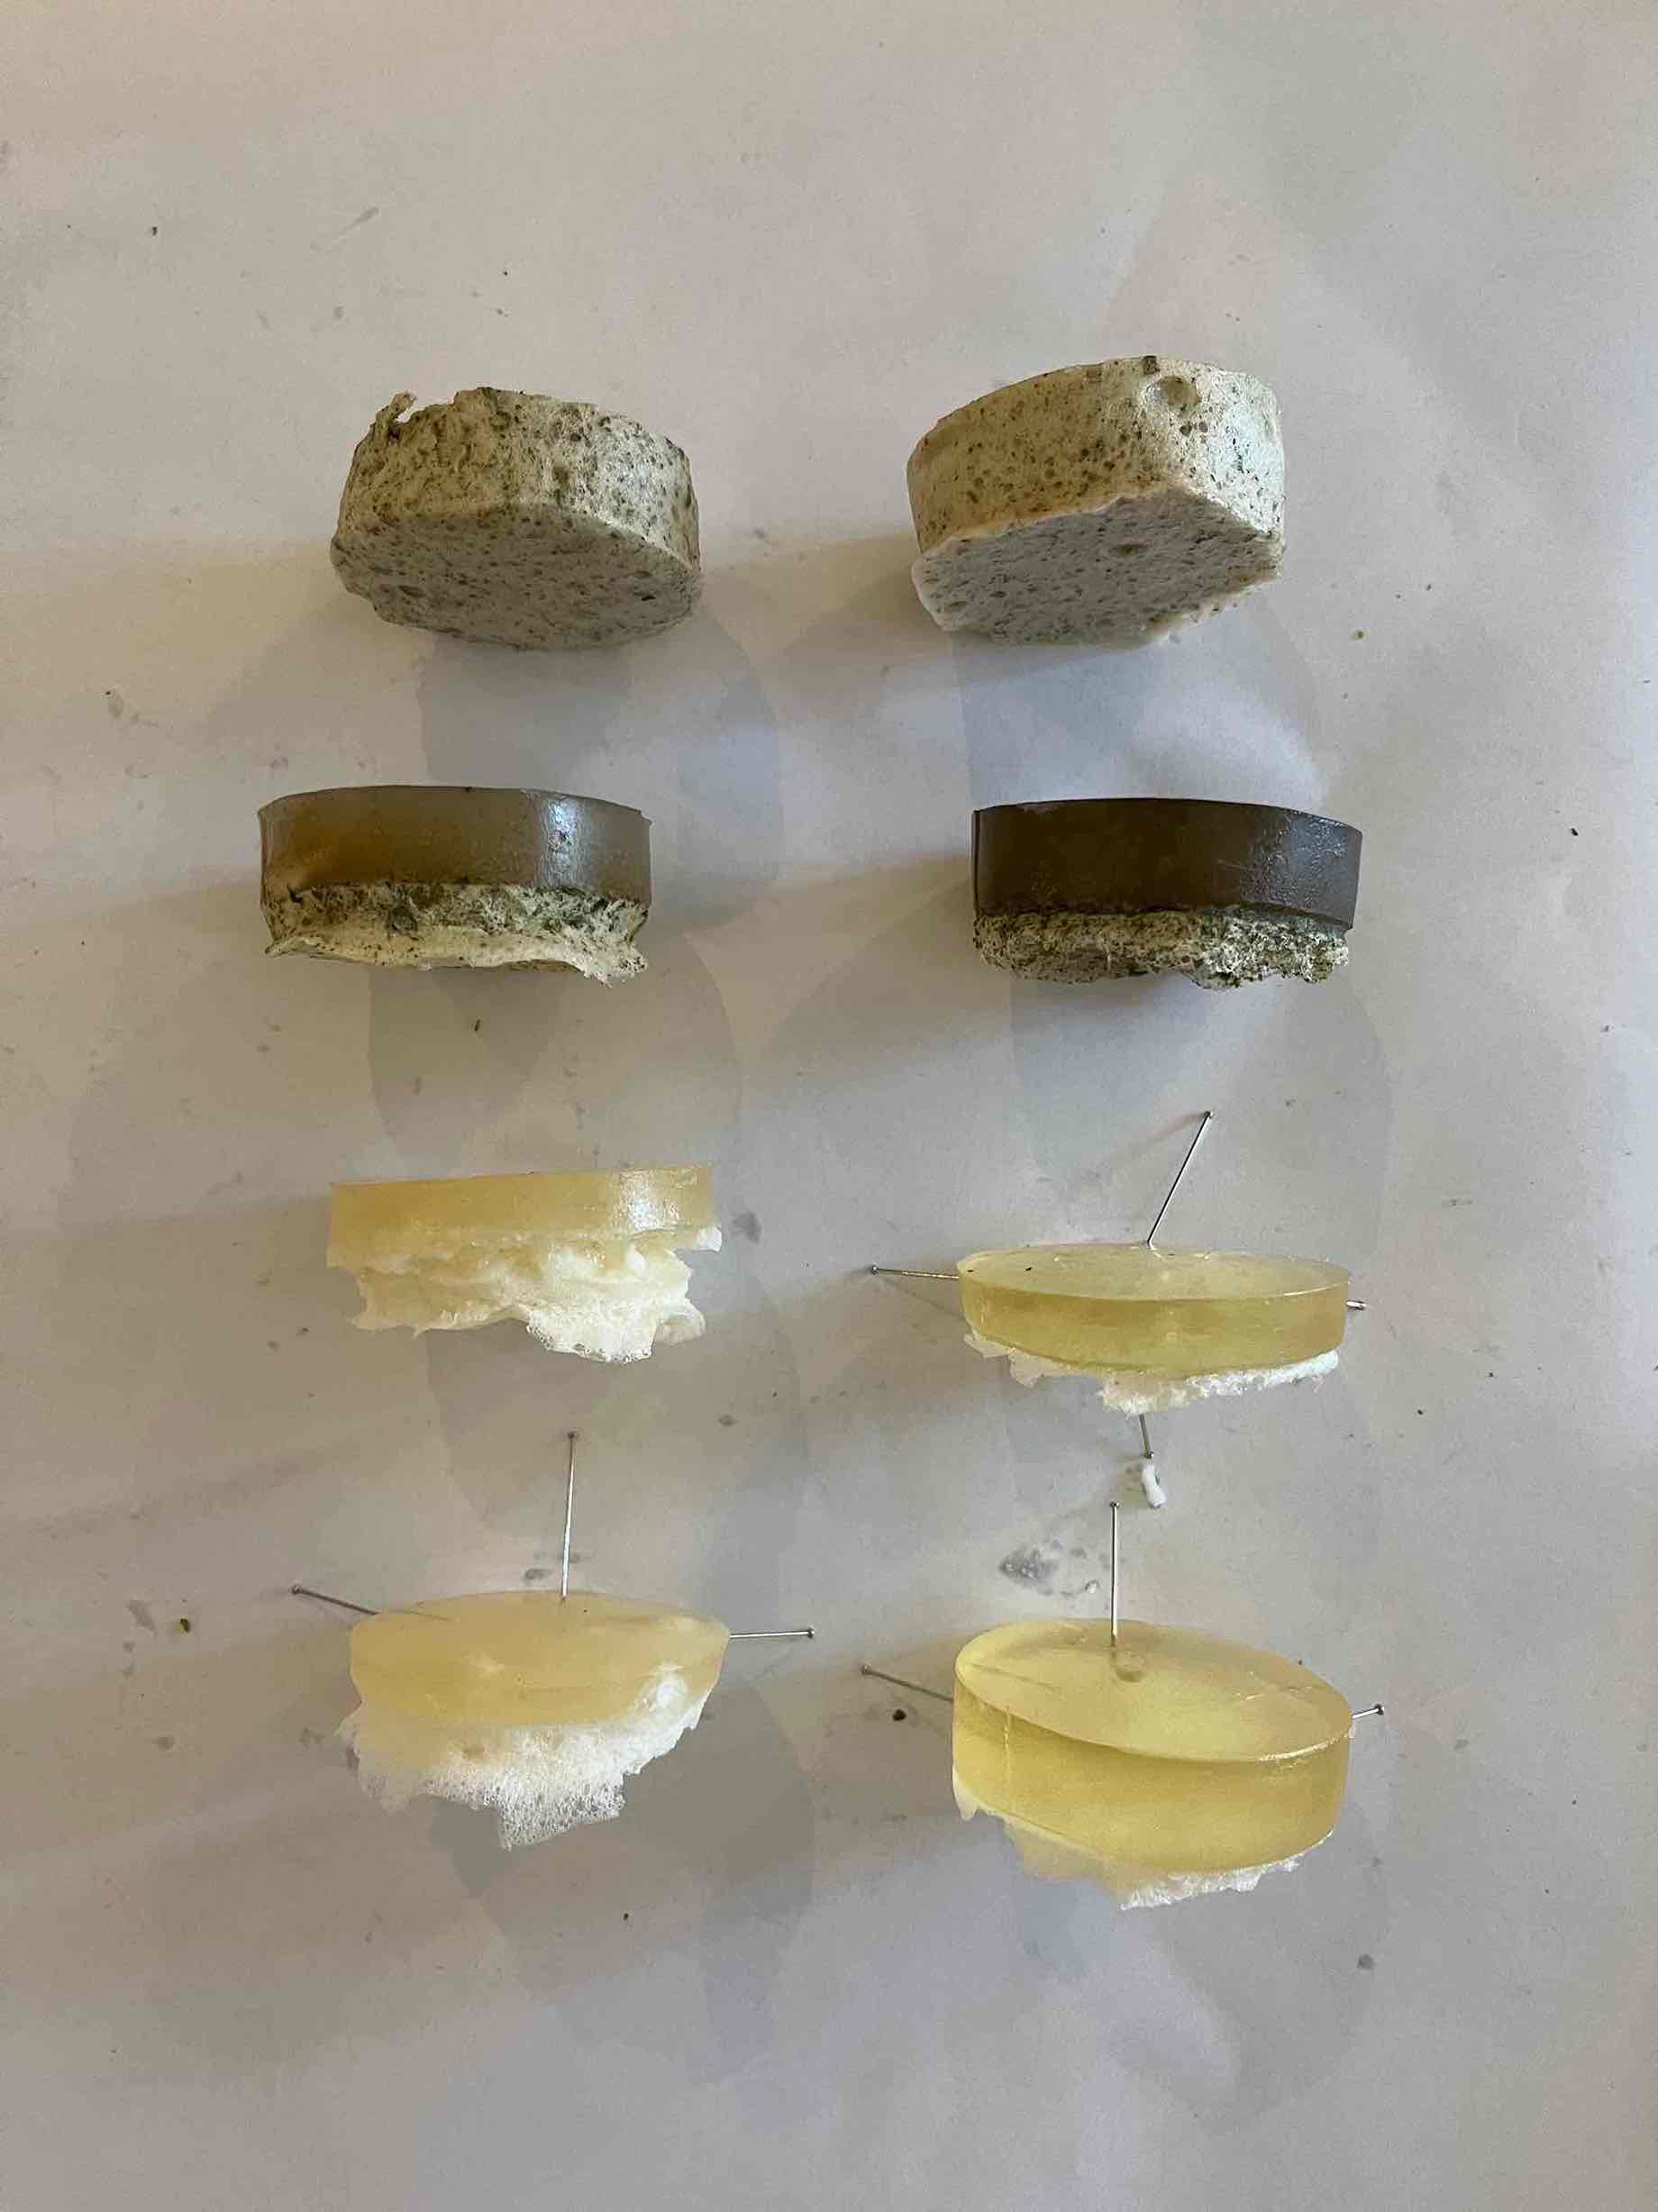
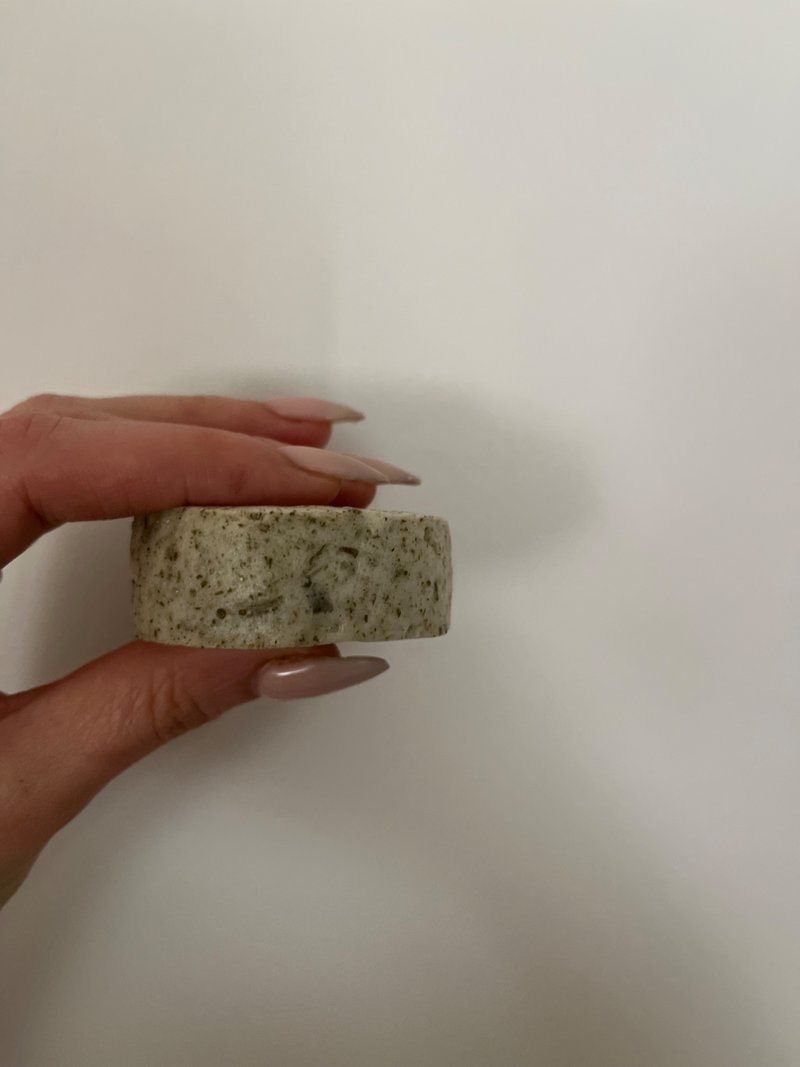
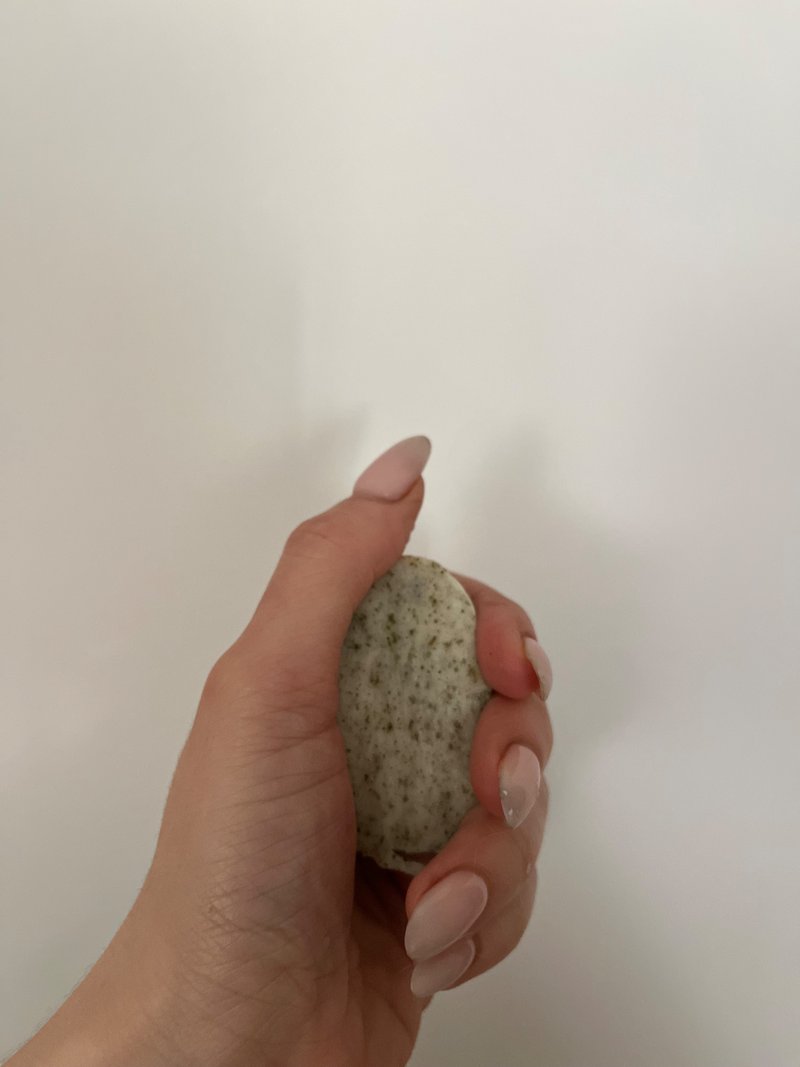
I used dish soap and laurel soap. The results with the laurel soap are much better. I also used varrying amounts of soap to test how that works. For the top results with both types of soap, the step that was most consequential was whisking for a longer period of time. Otherwise the bio-plastic and the soap-y part separate.
6. Weekly reflection & critical thinking
During this week, especially with the lettuce experiments, I made everything too thick! if I had time, I would make sure to create thinner samples to understand the resultant materials better.
I enjoyed the lettuc bio-waste tangent. I would like to spend more time experimenting with the leather.
I would have liked to try laser cutting with the new materials, especially lettuce-based ones.
Now that we're halfway through the program, I thought I have to deal with the fact that we cannot always accomplish everything we set out to do and explore all the tangents. So I decided to create a new section in the documentation that speaks to ideation for potential future experimentation.
7. Recipe files, Booklet and References
8. Future Tangents