11. Soft robotics#
This week we had a great global lecture by Lily Chambers & Adriana Cabrera and then we blew up things.
This website looks like a great resource for soft robotic experiments that are written up as tutorials.
ballooooons#
We began locally with heat transfer vinyl experiments. Using baking paper to create the connected channels, we just drew the patterns with pencils and cut them with scissors, then ironed together our sandwich of two layers of heat transfer vinyl with the baking paper in between. The main thing is to ensure that there is a tongue of baking paper sitting outside to allow one edge to open for a straw or syringe to be inserted. You can see in the image of the blown-up yellow balloon that I applied some sticky tape - this was because I had a leak, so I used it to seal it. I had the leak because I cut the heat transfer vinyl before I melded it together and the baking paper moved. In following experiments, I cut the details afterwards.

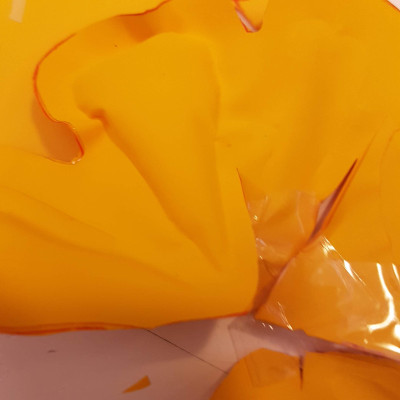
When we removed the thick-ish plastic backing we could see that these ‘balloons’ that we’d made were soft and flexible, slightly elastic. Using straws we blew our experiments up, as you can see below.
If the videos aren’t loading and say you have to download them, refresh the page instead…
When I experimented more with this inflatable technique at Fab Lab Kamp-Lintfort, we also used some heatshrink to seal the balloon around the straw.
animating silicon#
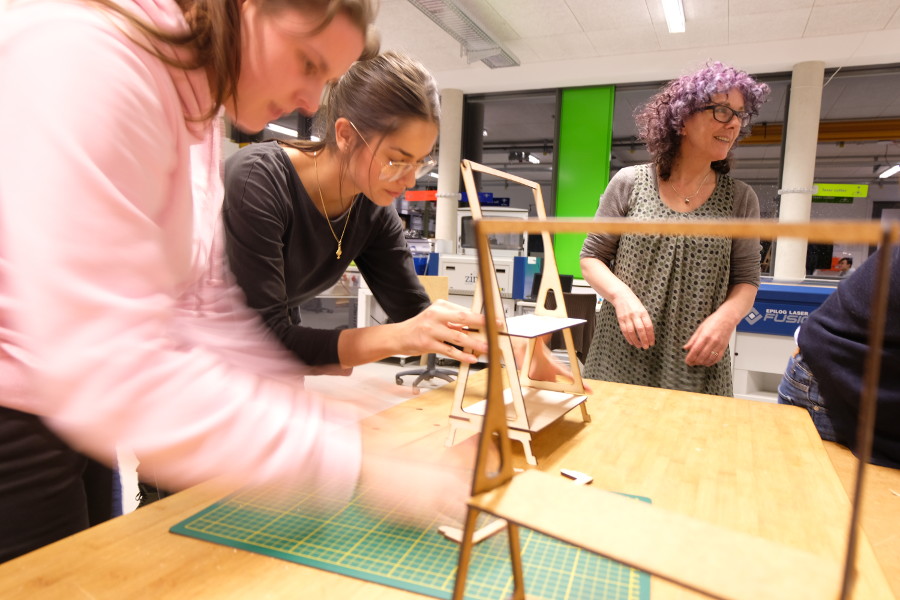
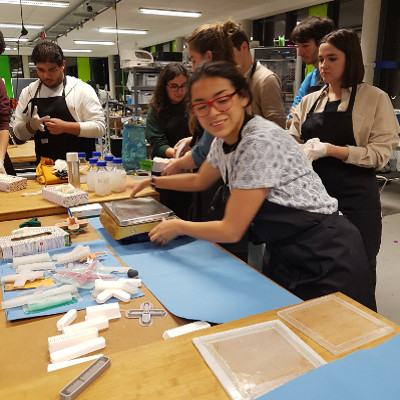
On Thursday I went to Fab Lab Kamp Lintfort and was able to join Adriana and her students in a soft robotics session. We did a little bit of heat transfer vinyl but I focused more on the silicon tests.
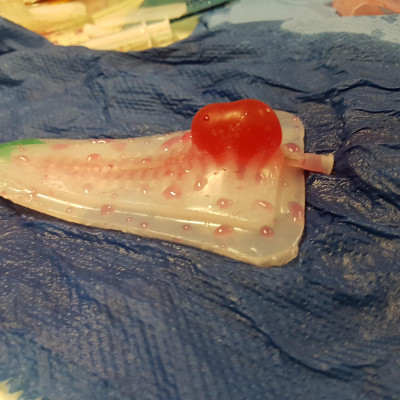
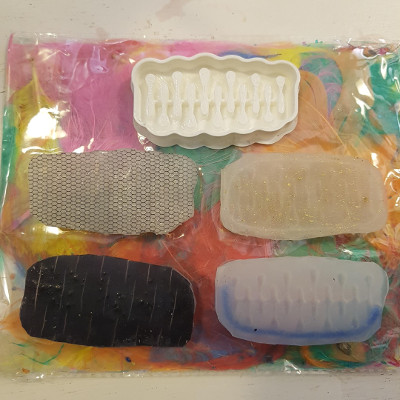
I find the bloodblister in the triangular tongue-like piece below both fascinating and repulsive. Animating this material with air or coloured water is a bit disturbing, and it makes me think of special effects from the Alien movies. You might be able to see that Adriana had some existing 3D printed moulds for us to use in our initial tests so that we could begin to understand how the silicon structure works.
existing mould#
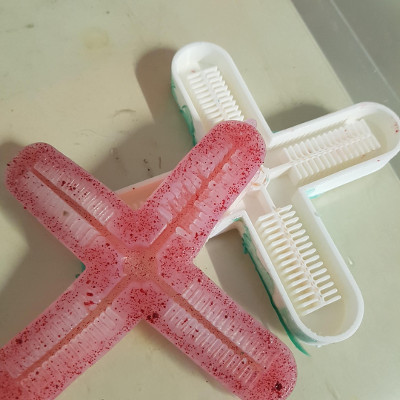
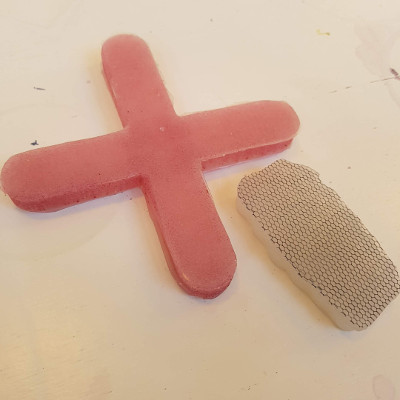
I did a cast using a cross shaped mould she had, which looked a little like a starfish, but I had some trouble getting it out of the mould. Adriana suggested that I wait until the next day as it might shrink and be easier to remove. The next day I was able to eventually remove the silicon. After that, I was much more thorough when applying a Mould Release agent. The process of casting is:
- spray your 3D printed mould thoroughly, even twice, with Mould Release spray
- spray your flat surface (acrylic) for the second part of your mould
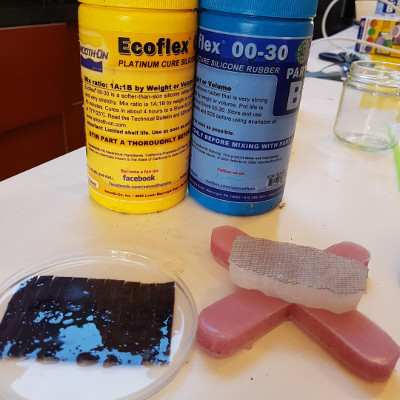
- mix your Ecoflex 30 in equal parts following the instructions in the technical data sheet (if you’re going to add colour, ensure it’s compatible with your silicon and mix it into part A before adding and mixing part B)
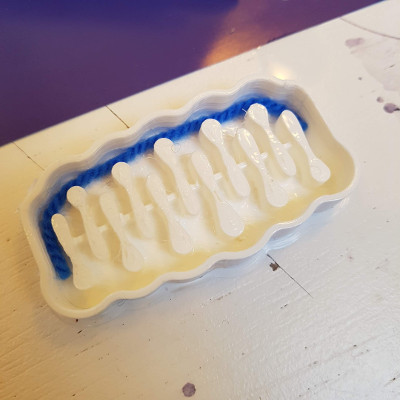
- cast your starfish and pour some mixture onto your flat surface as well
- put these somewhere warm (in an oven or near a heater) so that they will cure more quickly
- in 15 - 45 minutes, demould the two pieces
- mix another small batch of silicon (~5g) to glue the two components together
- leave to cure
- blow up your creepy thing with either a large syringe or a compressor
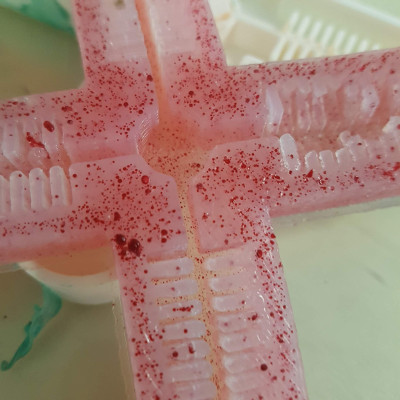
I think that the mould above needs fabric in the clear base layer to restrict its movement, or alternatively that layer should be a bit thicker. Also, I think that the compressor is pushing the air too quickly, so will inflate the other moulds using a syringe for better control.
creating a mould#
In Fusion, I drew up a similar mould to one that Adriana had and printed it out. For this one, I put some net fabric in the base cast to see if it affects the movement of the object.

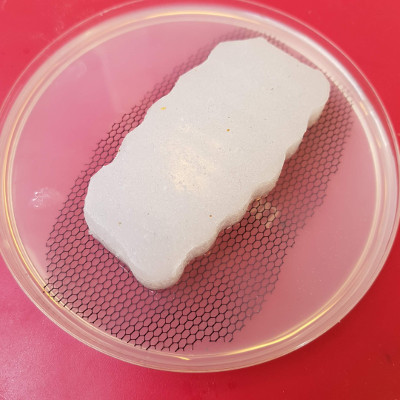
I placed a small length of wool in one side of the next cast I made, and made a cast with fabric with a net of slits to see what impact that has when the object is inflated. The final cast I made using this mould has a linen thread at the base going around the whole perimeter and also has some gold/copper/nickel powder in it to see if that makes it more interesting or affects it in any way.
You will be able to see briefly in the video below of my net-fabric cast and the wool cast, that adding the wool did constrain its movement a little, but what I found more intriguing was that the thickness of the silicon has a bigger impact. The two objects are curving in opposite directions but with similar outcomes. (thanks Jessica and Stephanie for helping out with this demonstration and filming)
Also, in this video that Scarlett took, you will see that the linen thread did constrain the form, and that the gold/copper/nickel mix added an interesting sheen and didn’t impact on the integrity of the object.
download files#
bonus section#
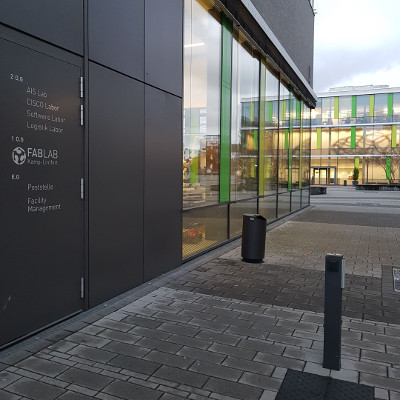
It was great to visit yet another fab lab in Europe and to be hosted by such an enthusiastic fabber and awesome person as Adriana. I caught a train early in the morning from Amsterdam, and was in Kamp Lintfort by mid-morning, which is quite a novelty for me. In New Zealand I can’t catch a train to go to another country.
As I said, I attended a workshop about soft robotics and got to explore some of the techniques discussed during the lecture, as well as hosting a workshop titled “Exhibitionism: make it outstanding!” and delivering a fab talk the next day.