Research: incubator electronics#
I tried, and I tried, and I tried to make soft circuits for this project, but decided that they wouldn’t work for two reasons:
- embedding the electronics into the materials would mean that the incubator wouldn’t be as decomposable, which was very important to me
- I’m using a lot of power, so the system needed to be robust.
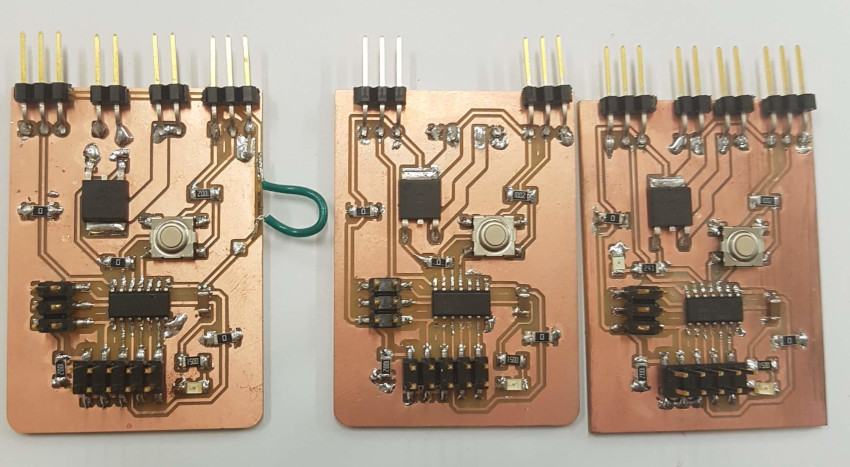
I developed each element individually and ensured that it worked before combining it with another. Basing my design on the Multi Processing Machine that we made in Open Hardware week, I made ~10 versions of the circuit board, while I tested the other elements of the incubator.
the potentiometer#
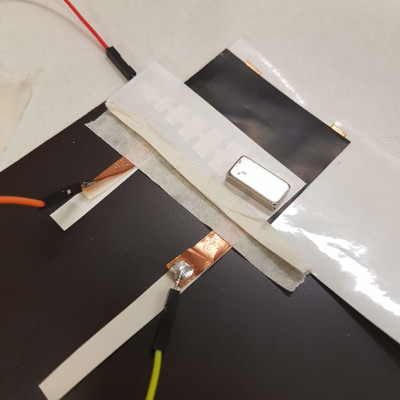
I’ve explored making my own, but got to the point where this became less of a priority than getting everything working, so has become a ‘nice to have’ rather than a ‘have to have’. In the end, I purchased a commercial sliding potentiometer.
I looked at a Kapton & copper matrix on Kobakant, and a pressure sensor grid by Liza Stark, with accompanying code as well as a Ribbon sensor and all showed lots of promise, but were too variable to be effective for my purposes, in the time I had. It’s definitely something I will pursue later.
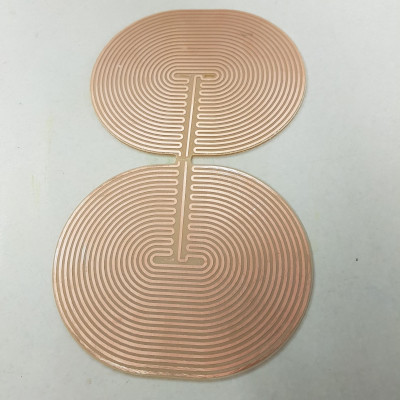
the heater#
I’ve been milling my own heater elements, and testing them, from the FR1 that is in Labs that host Fab Academy. The tests are going well…everyone loves an MDX20 video with sound effects!

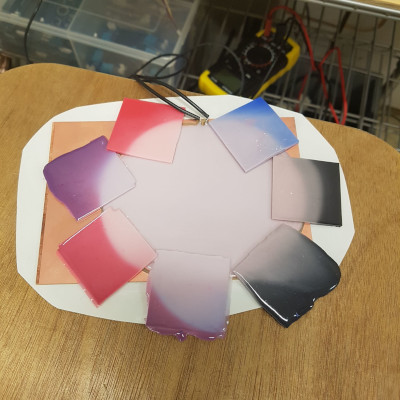
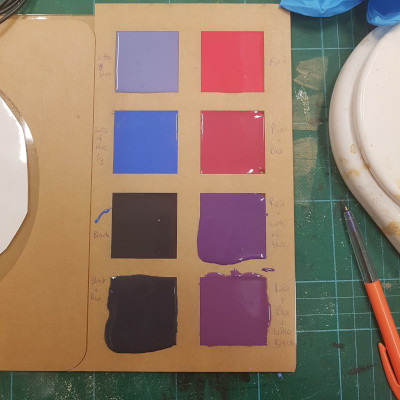
My first test with a silicon sealer on top. I’ve chosen a food safe Smooth On product, and have put some thermochromatic pigment in the mix so it can show when the heater is working through a colour change.
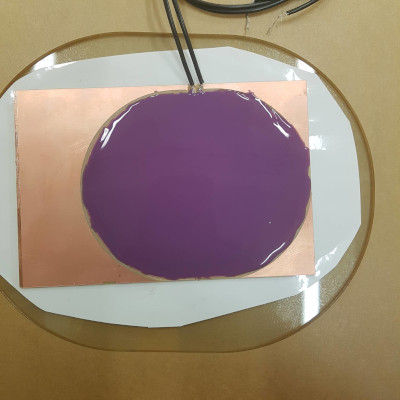
You can see the range I mixed - the base colour of the silicon is a pale pink, so it’s an interesting challenge to get a good colour range. I have put the yellow pigment aside for now as I’m not sure I want to see what colour that will create, mixed with the pale pink.
a rivetting 1 minute of colour change with the silicon. It was actually fascinating that it went translucent first and then opaque.
![]()
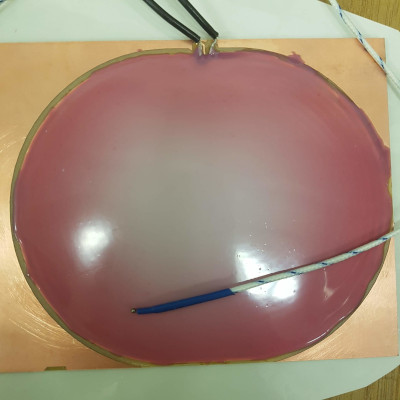
The full heater element is working superwell, with the thermochromatic pigment showing the progress of the heat across the silicon.
making the heater element with pouillet’s law & power wheels#
Using this power wheel below … I work out my calculation to find out R.
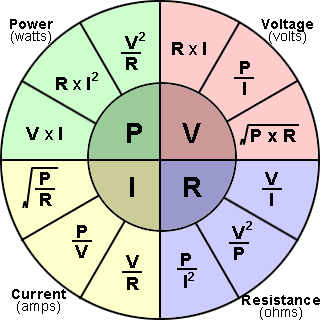
I know that the resistivity of copper is 1.68 x 10 to the power of -8…
…and then I do some calculations in a spreadsheet that Daniel showed me how to make. For all the details, please see the Fab Lab Wgtn Cyclopedia
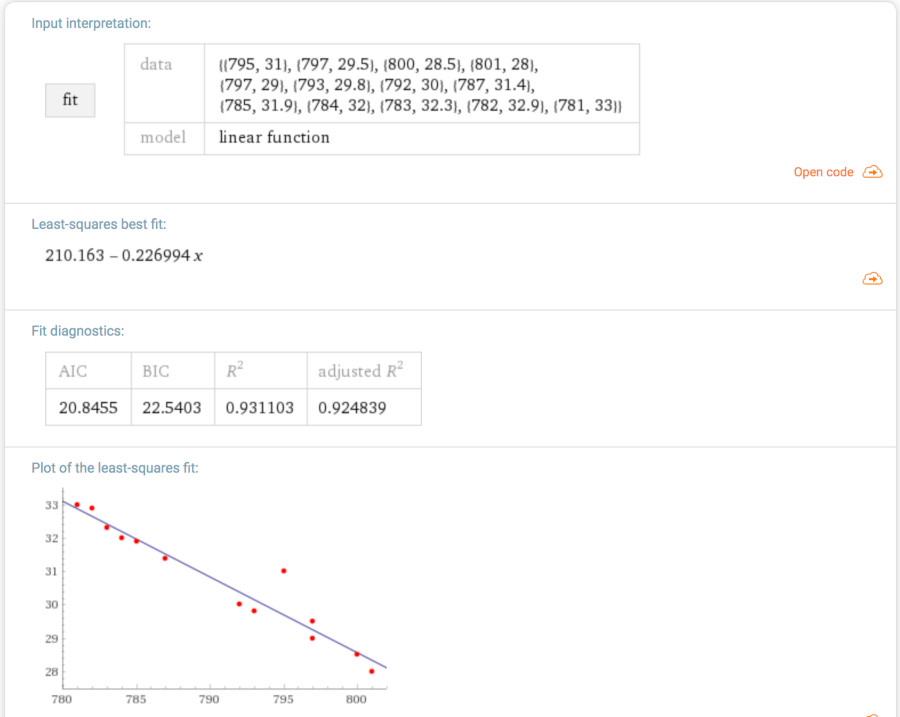
calibrating the temperature sensor#
To work out how to code the sensor readings,
the board#
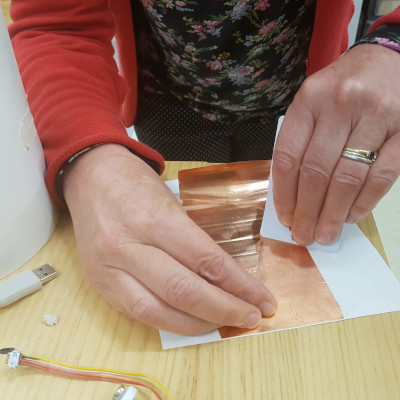
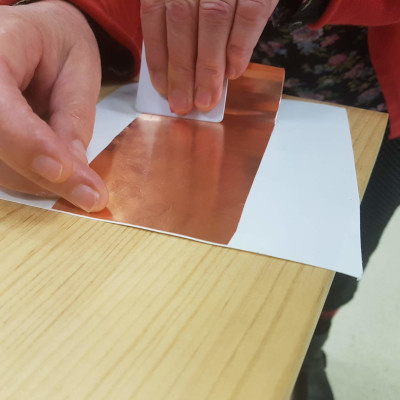
more copper foil - this time for the back of the FR1 board. Initially I was using an Atmega, thinking I’d be able to swap it out into the wenduino as well, but it’s actually not that easy to pull them unharmed from the socket. I was only using a few of the pins, so ended up deciding to use an attiny 44 instead, where I’m using 13 of the pins. If I was going to enhance the incubator capability, Daniel has suggested that I might look at using an ESP32.
As I mentioned earlier, the board went through a number of iterations. See my mosfet fail? And the frankenhacked wire where I blew the trace by shorting it and tried to fix it?
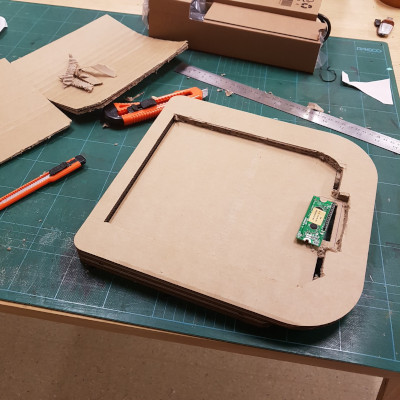
I hacked the initial cardboard prototype to see how the LCD screen would fit. I started to wonder whether it might work better to have the electronics in a separate enclosure, near the power supply, so that they’re more easily protected, but ended up putting them where I initially planned to as it seemed more usual for interaction.
useful links#
or nearest thing to a datasheet for LCD from BFB
IRF530 TH Mosfet used for breadboarding datasheet
and associated Reference Designator Wiki
unoffical list of 3rd party boards
adding the atmega to arduino boards manager
download files#
You will find the full set of files for the incubator on the Final Project page.
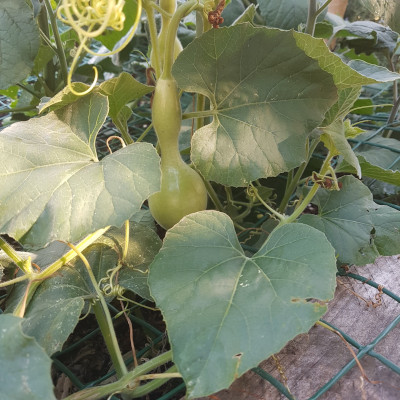
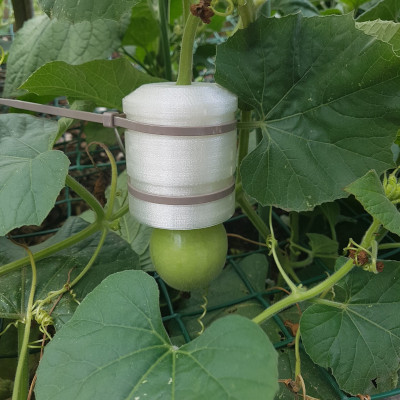
bonus section#
growing Hue, an indigenous NZ gourd. We’ve put a 3D printed enclosure around it to see whether we can guide its growth.