9. Textile as scaffold
This week is mainly dedicated to use the CNC machine to curve a press Mold
Idea
I want to make a case in leather for my Phone, I basically create the shape under Rhino

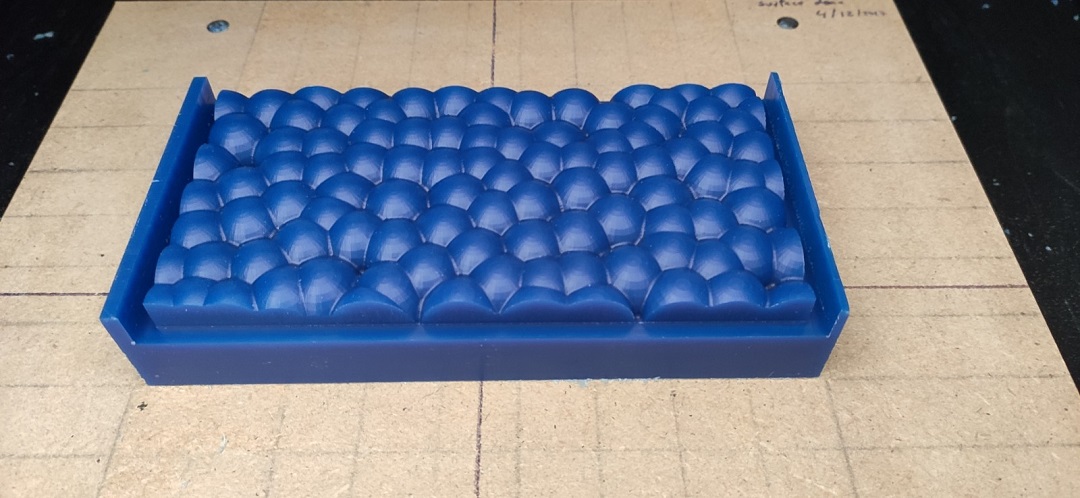
The I baked the stl that I will use to carve modeling Wax
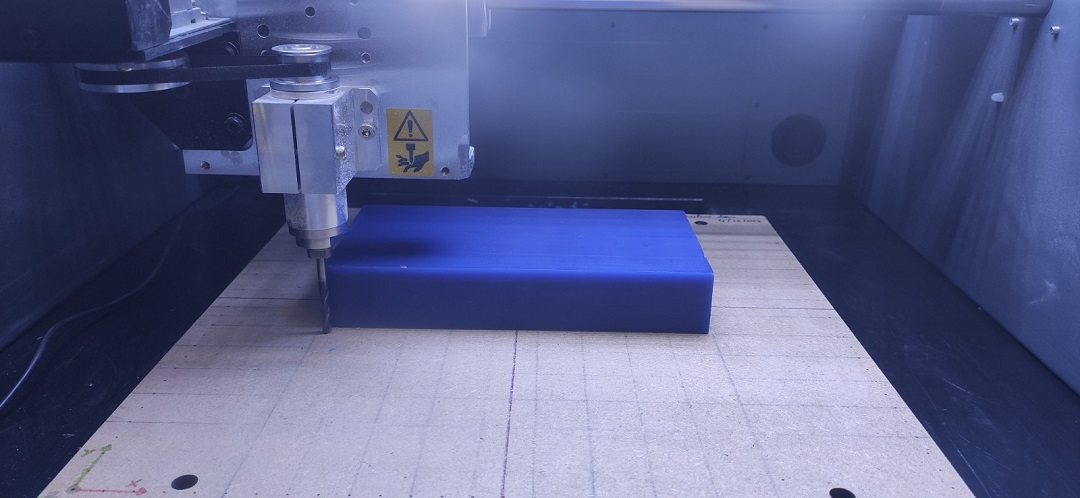
setting up carving
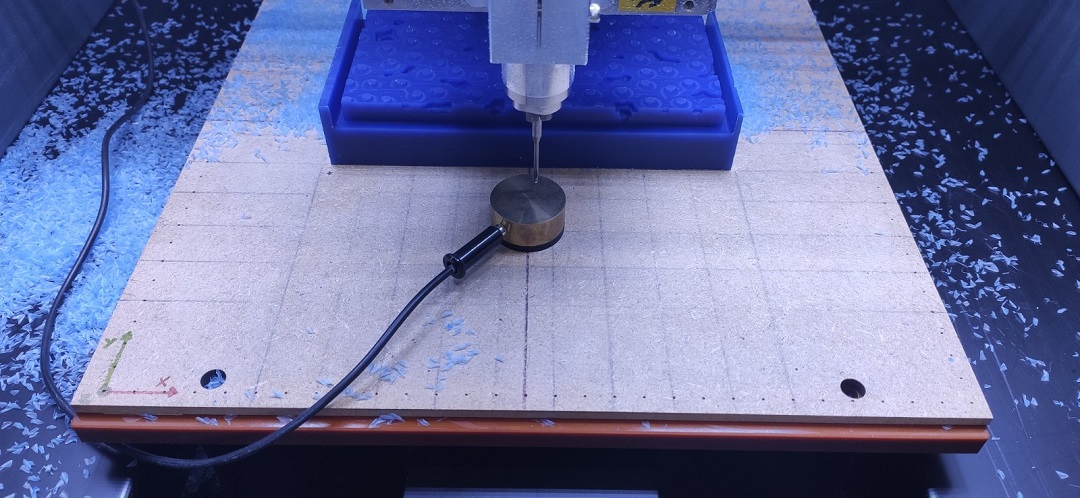
At My Lab I have a Roland MDX40A milling machine
there 2 softwares : the SRP Player which help you to transform STL into toolpath for the machine and the VPanel to controle the machine and set tool Zeros
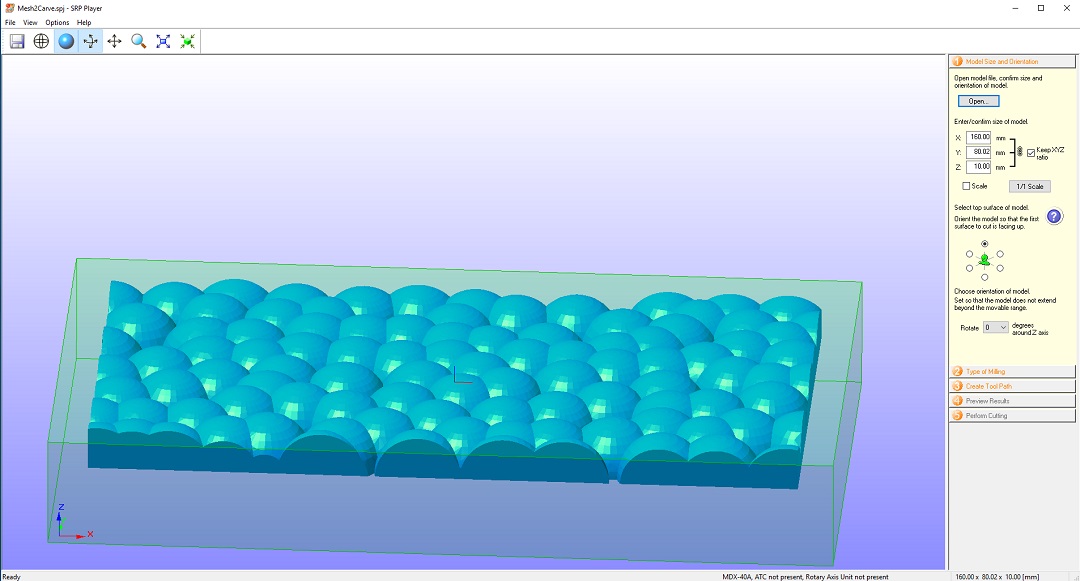
you load the stl.File , set the size and the orientation of the carving
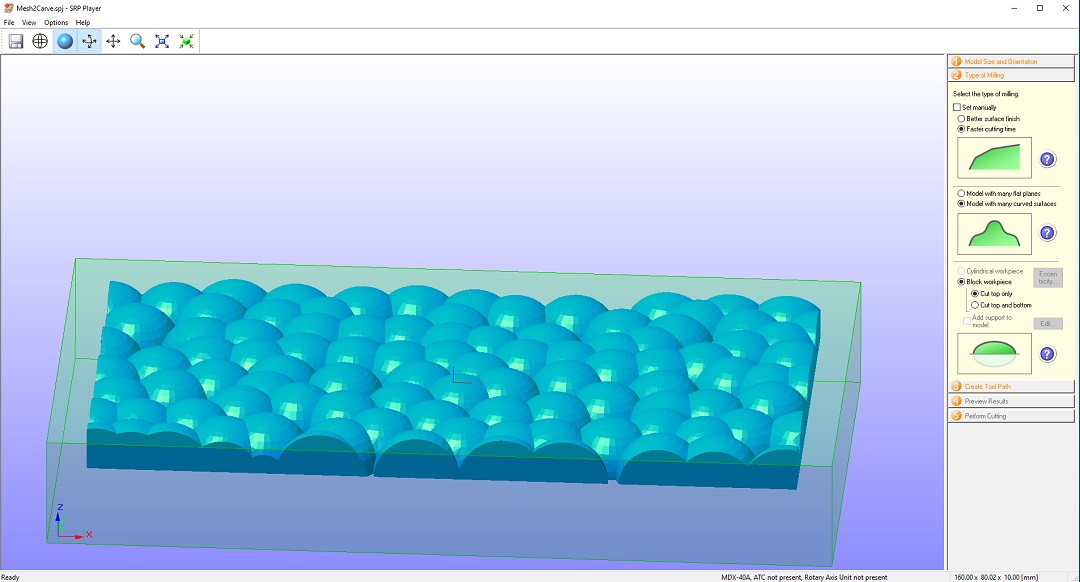
then you define the kind of milling you want

Here you to define tools for rought toolpath and finishing toolpath For Rought I usr a 4mm Diameter straigth milling end

and a ballnose 2mm diameter for the finishing
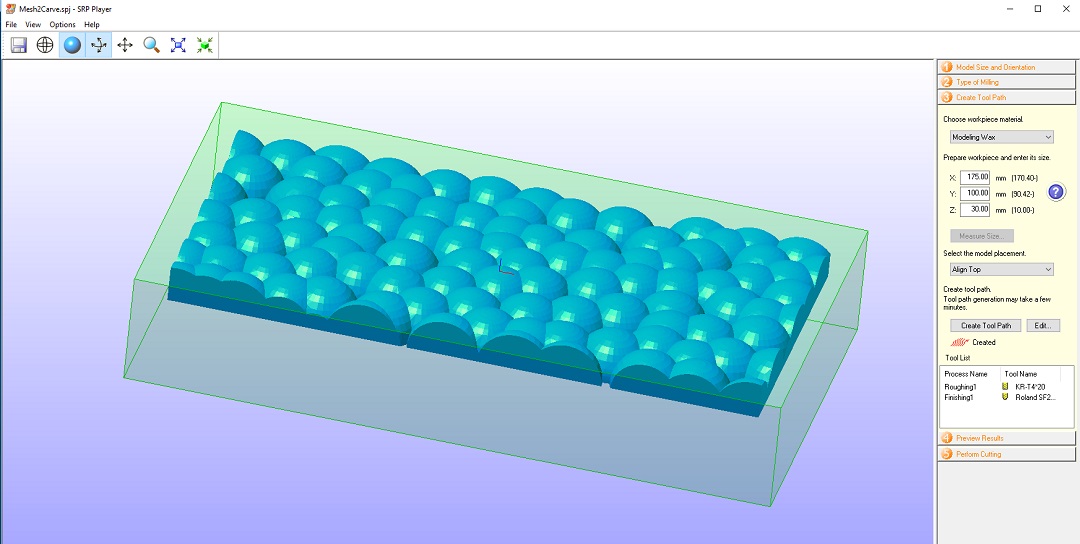
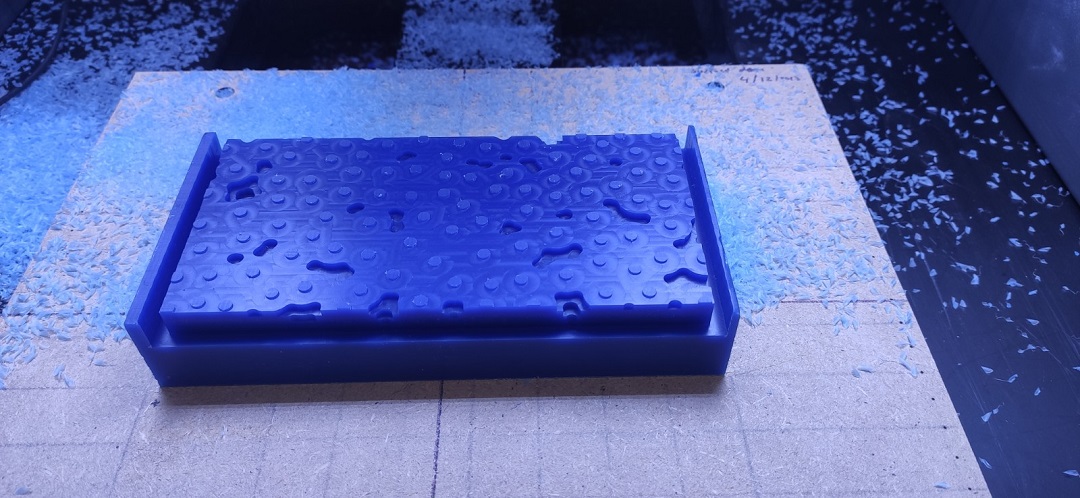
It s also there you set the size of the block and the type Material Here : Modeling Wax
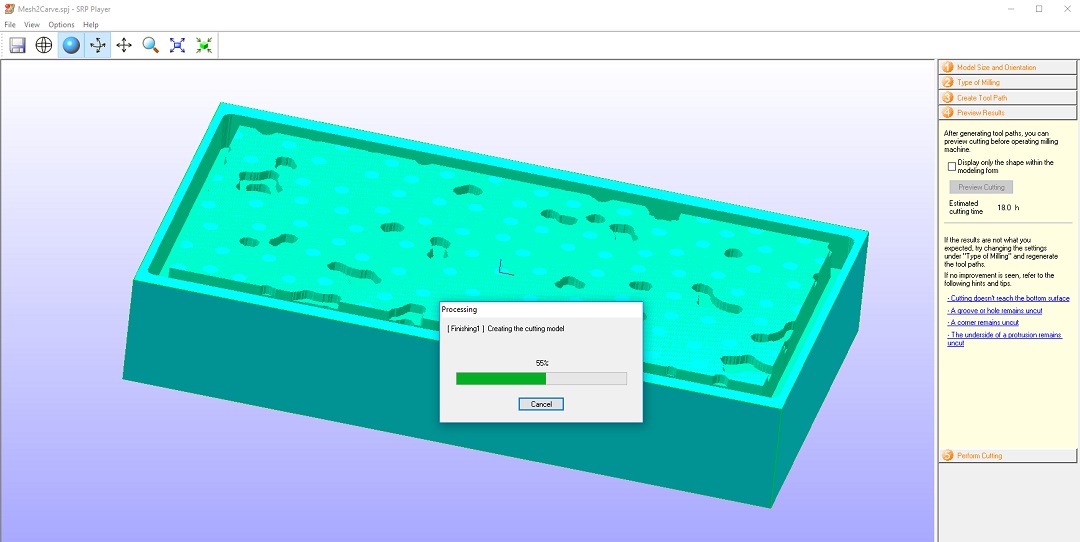
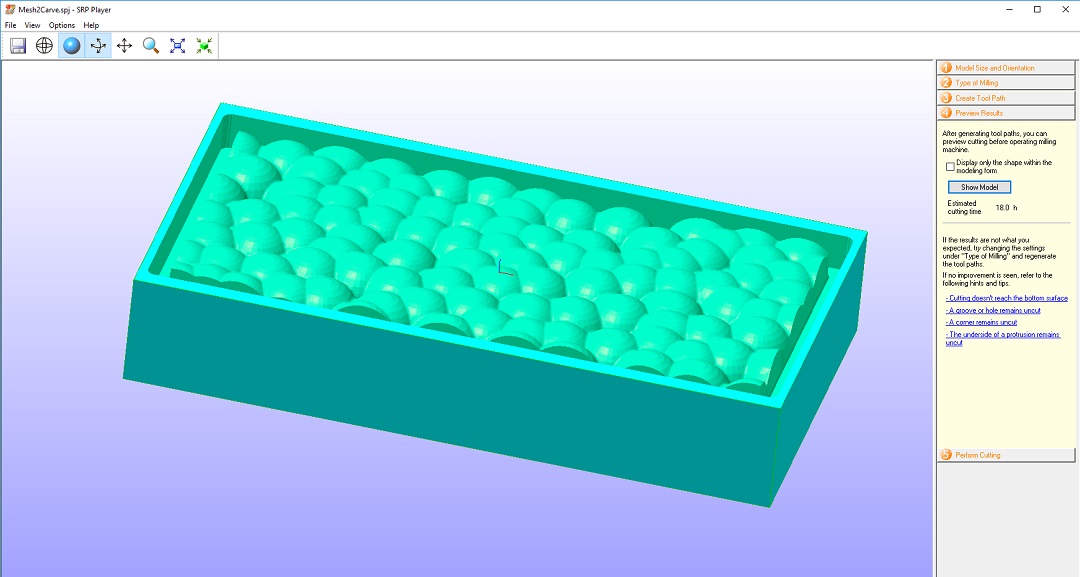
Then it s perfect but you can have a preview of the toolpath
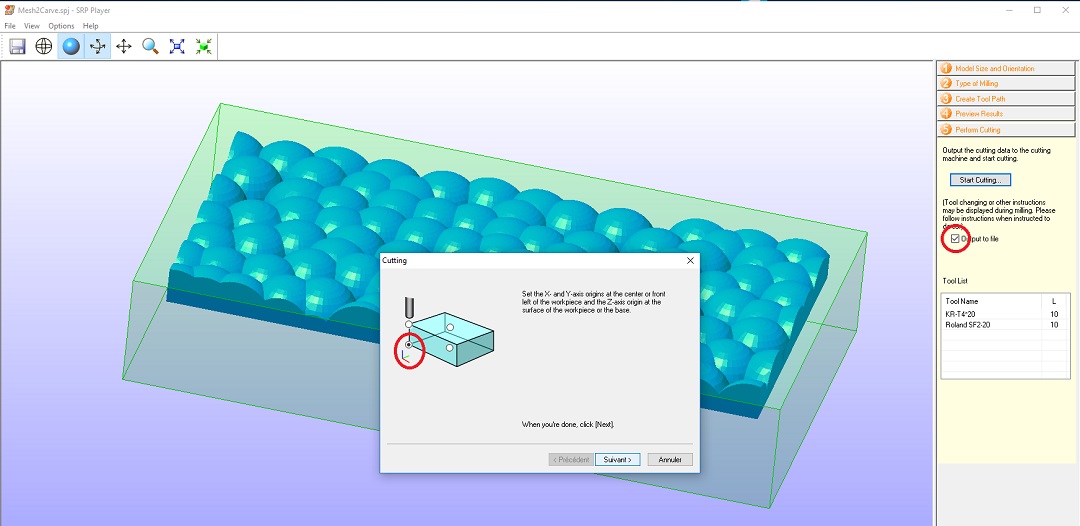 Then you perform the cutting
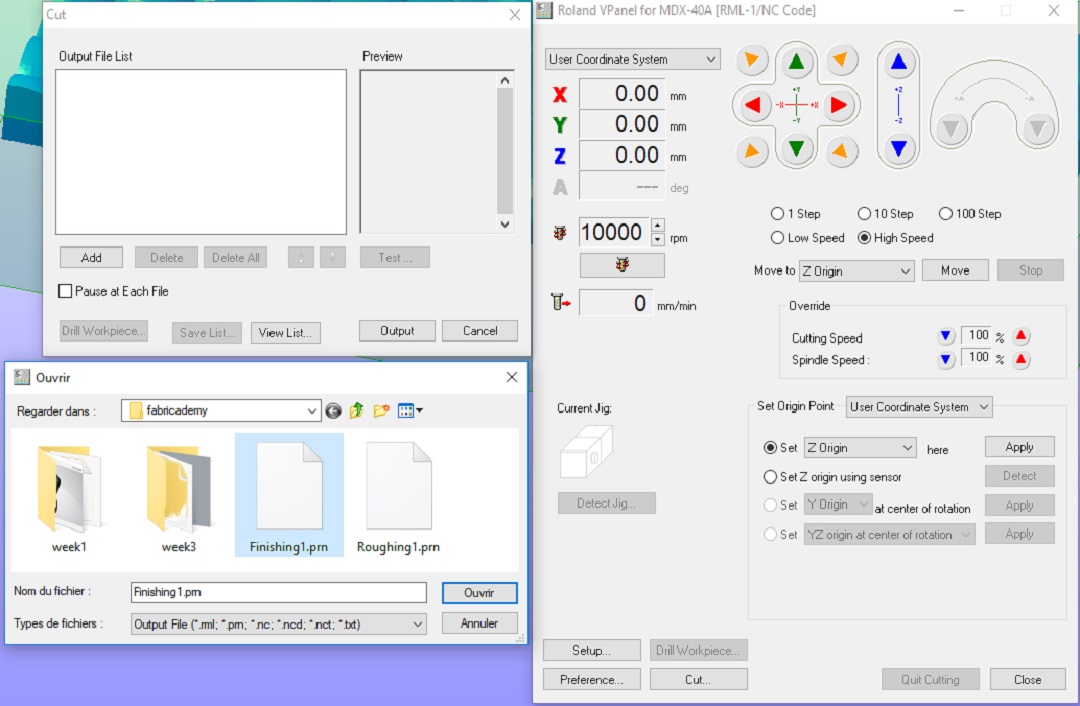
I prefer to do not run directly the milling but I prefer to ask for the files to be generated:
Then you perform the cutting
I prefer to do not run directly the milling but I prefer to ask for the files to be generated:
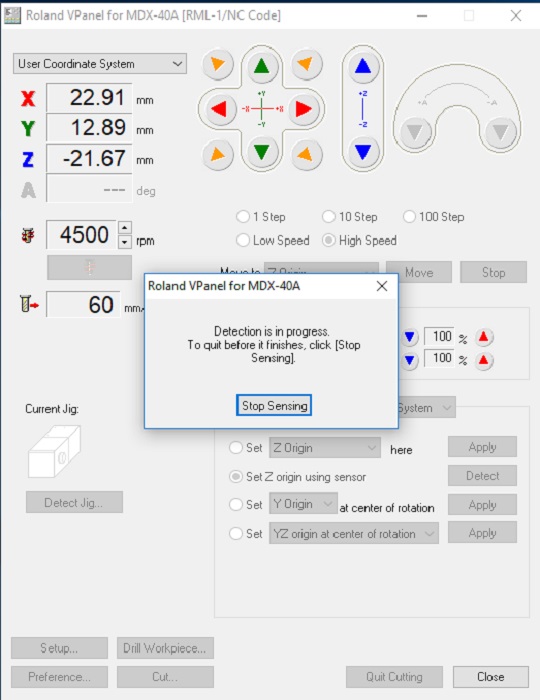
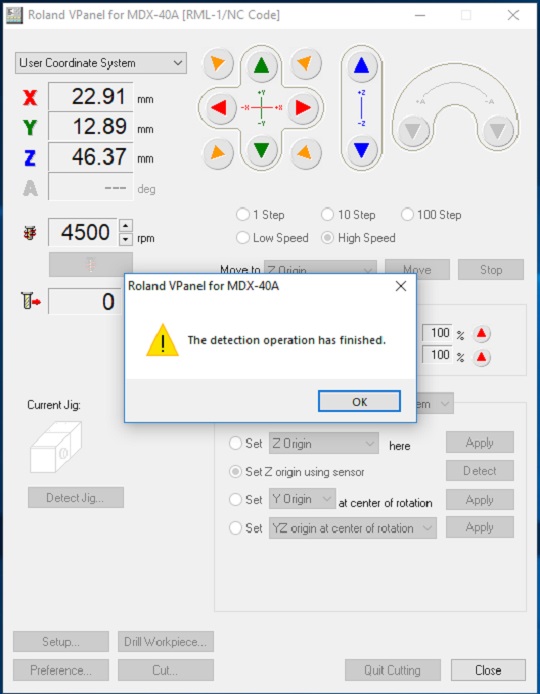
Here it s also important to set the Z Zero and later to use this position to set the Z for each Tools (rought&finishing)
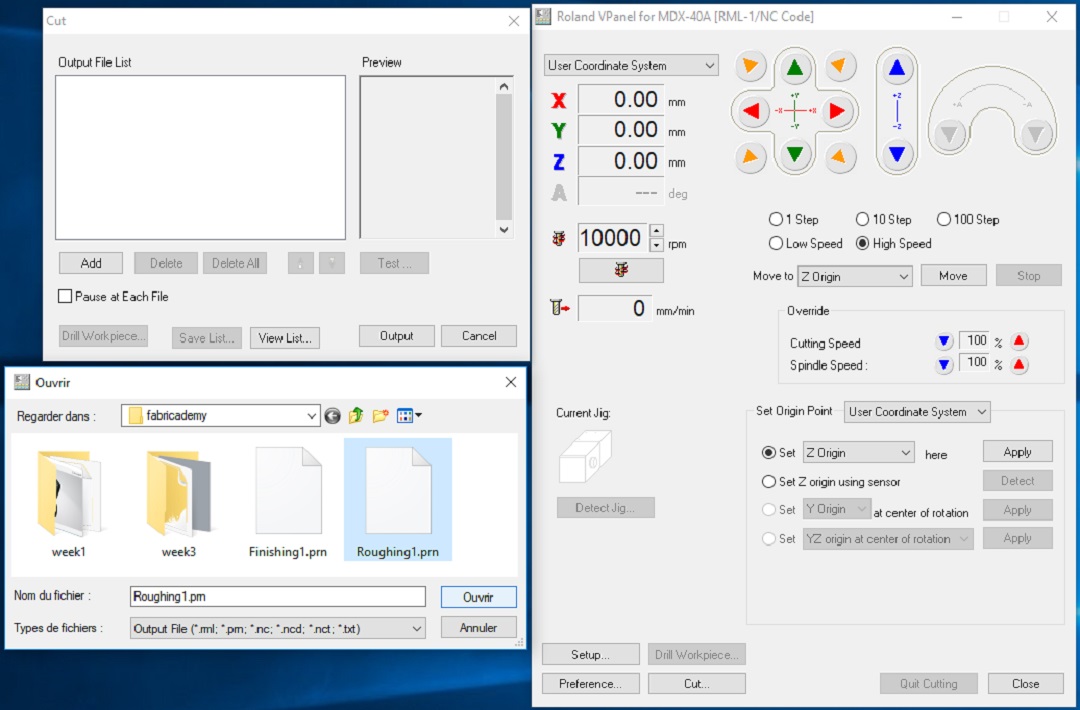 Milling on file allow you to do now everything from the VPanel
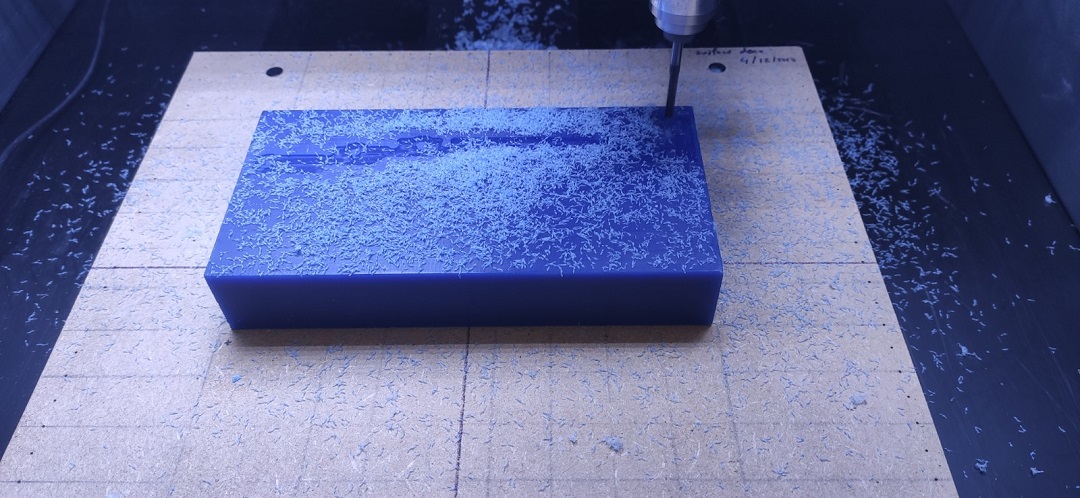
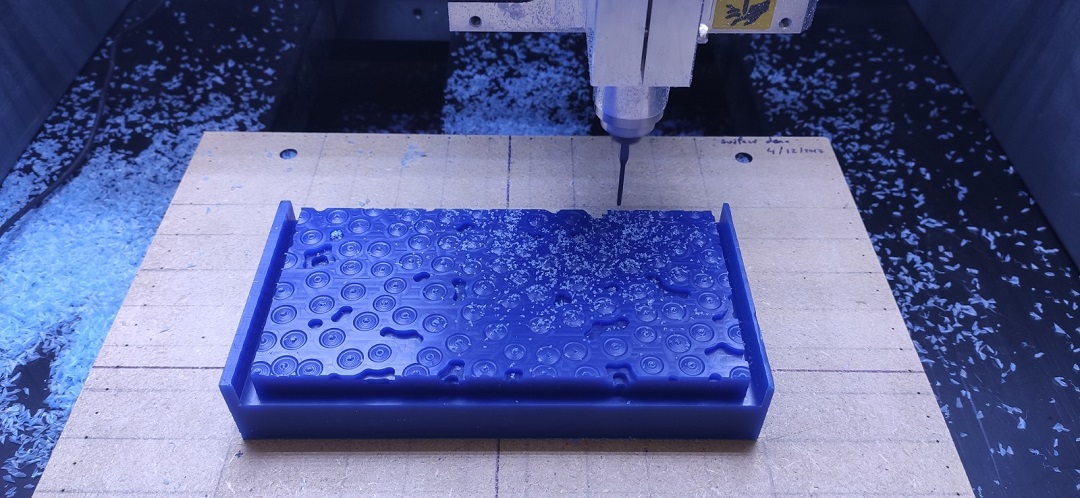
Here I load the Roughting toolpath
Milling on file allow you to do now everything from the VPanel
Here I load the Roughting toolpath
I set the X Y Z Zero at same time when I put the Rought Tool
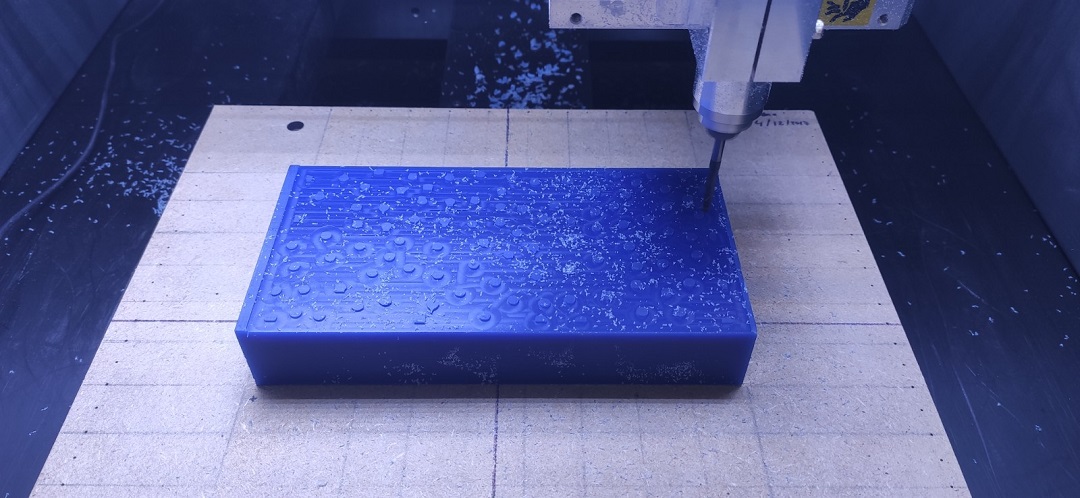
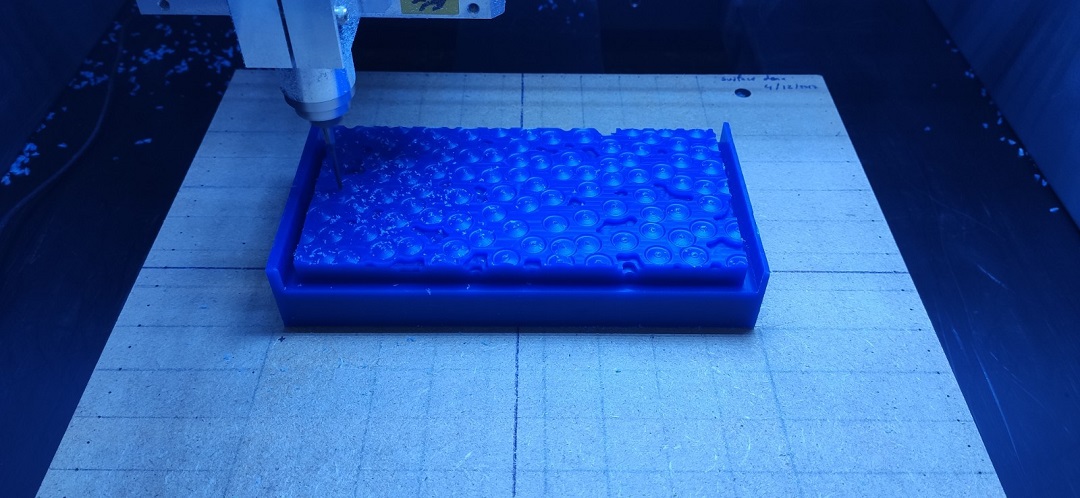
Then you have to change the tool and set the Zero again
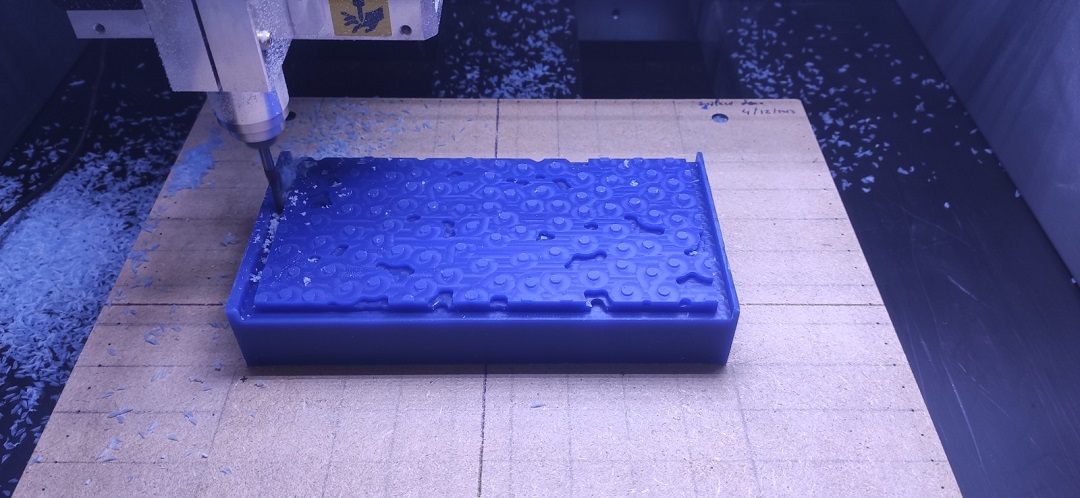
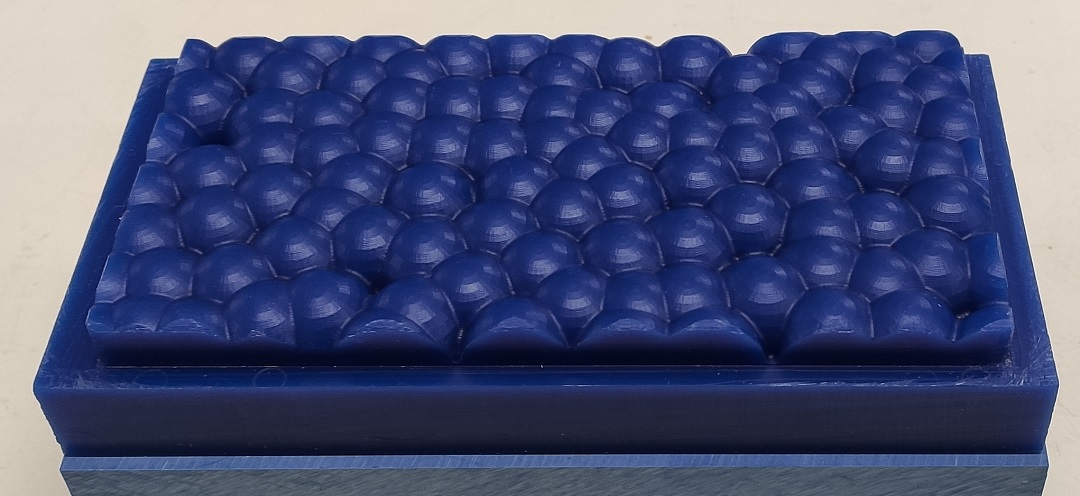
Then you load the toolpath for Finishing
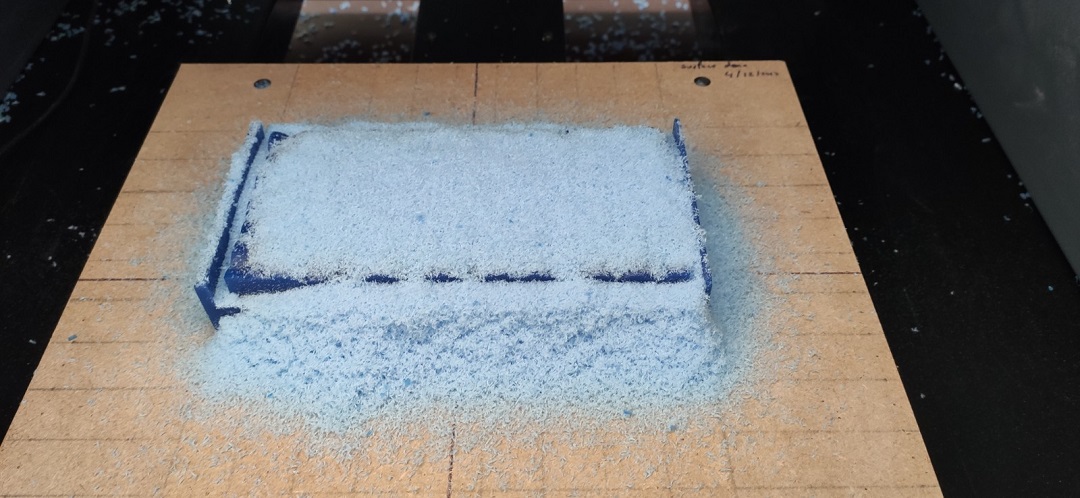
Then I used the VPanel to remove the remaining material on Right and Left
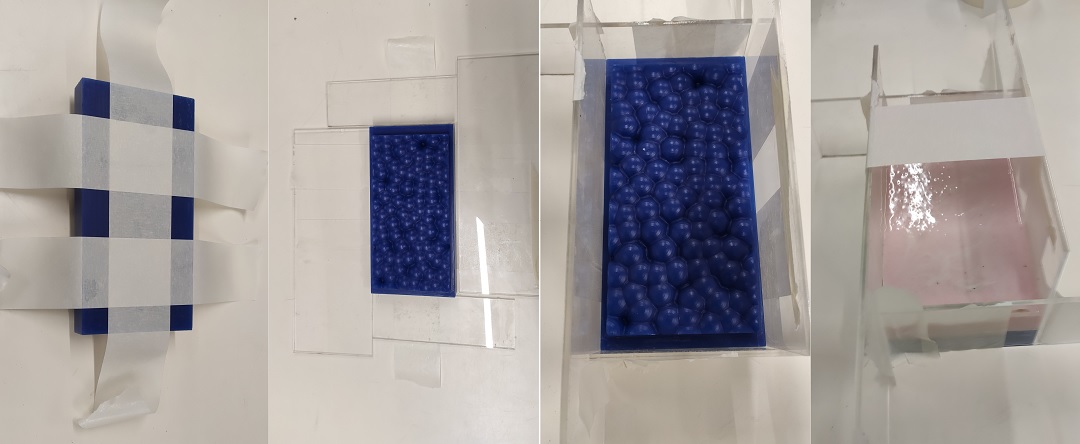
create counter mold using silicon
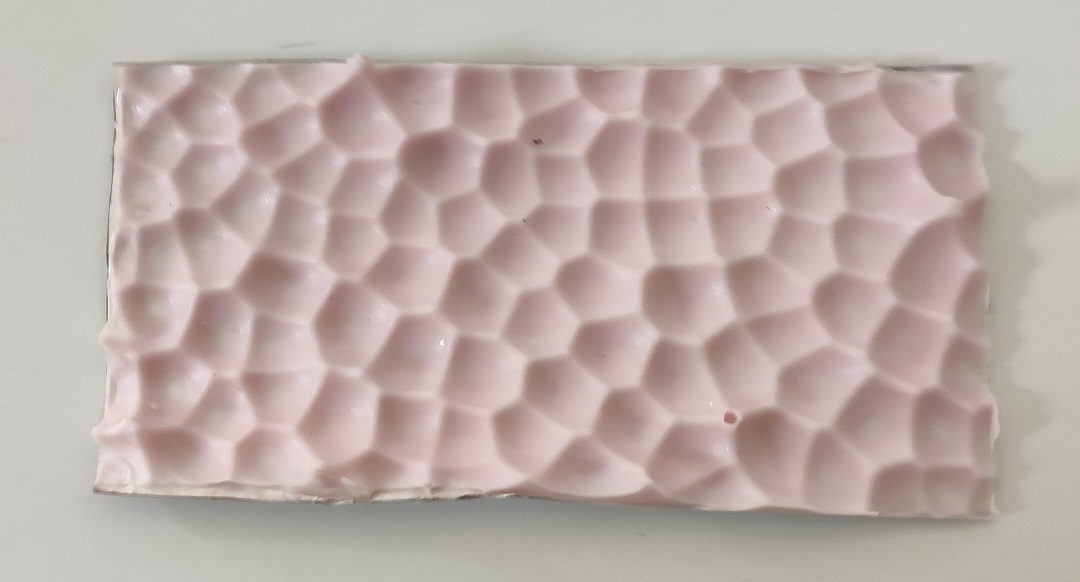
using 4 pieces of acrylic I prepare the mold around the block then I cast silicone. In my Lab at this time I have only silicone for food but the result will be the same.
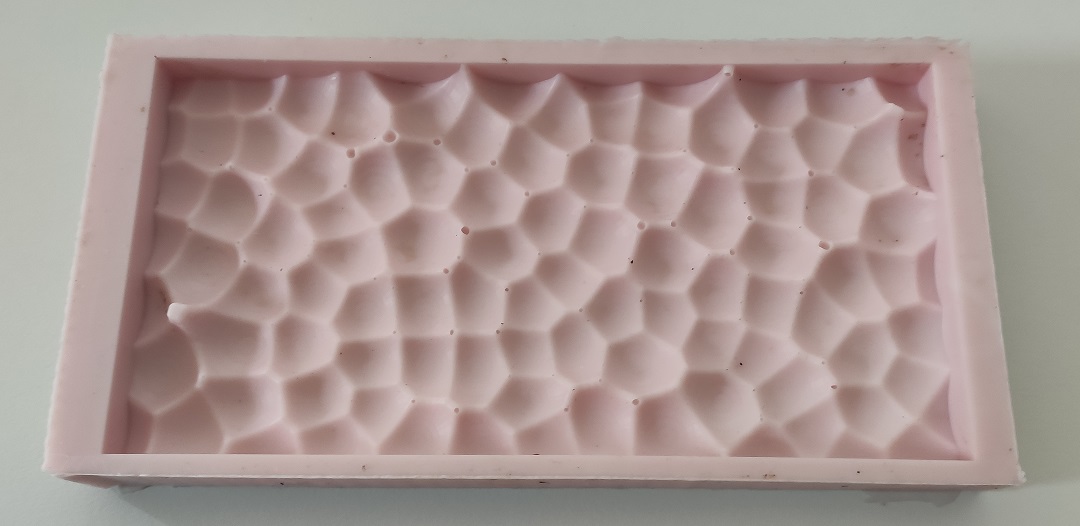
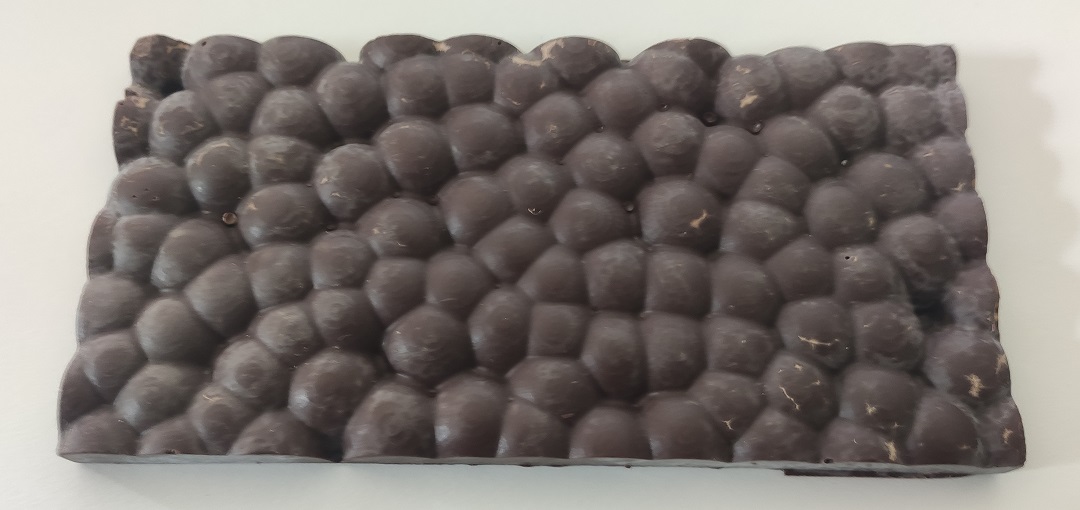
Just for fun and because it's silicone for food I will cast chocolate in it:
Then I removed the border of the mold to be able to use it for compression:
shaping leather using the 2 Molds
First try:
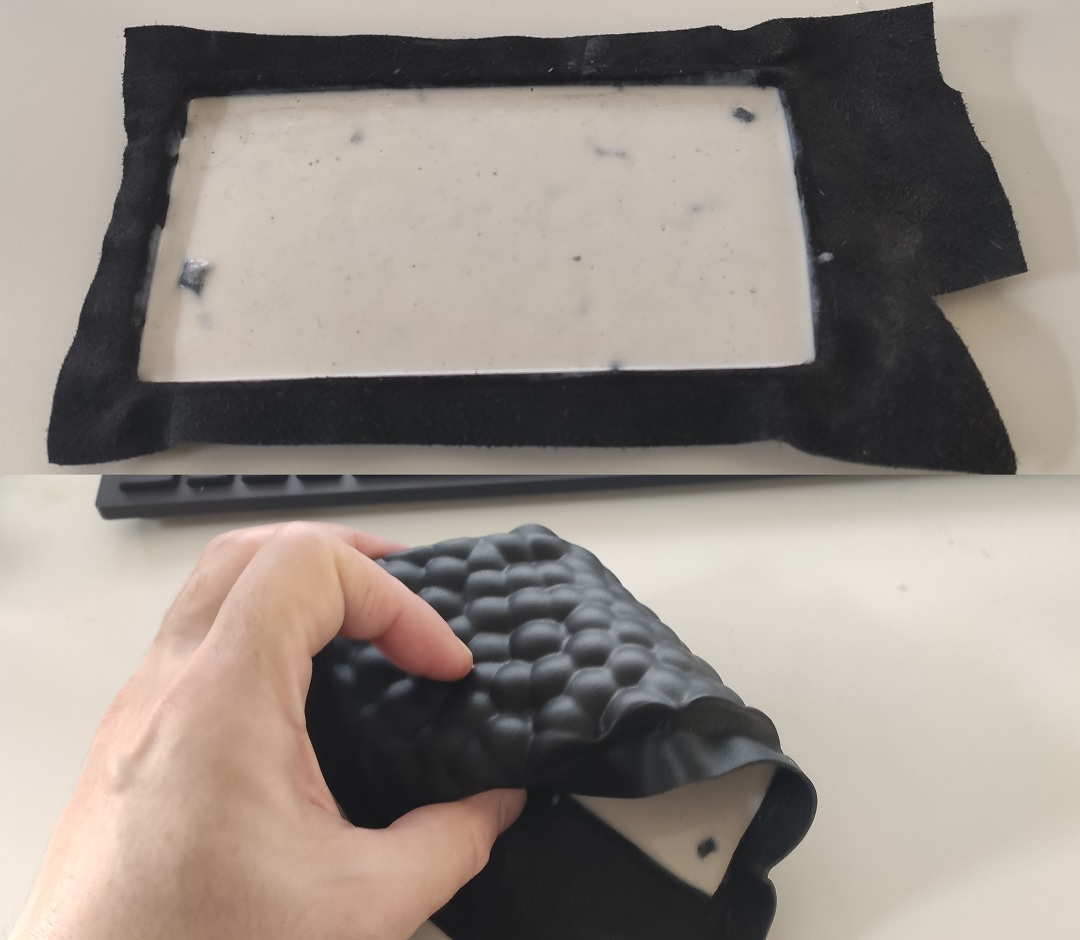
I put the leather under warm water for 10 min, then I sandwiched it between the 2 mold and let it dry for 2 hours just to if it works.
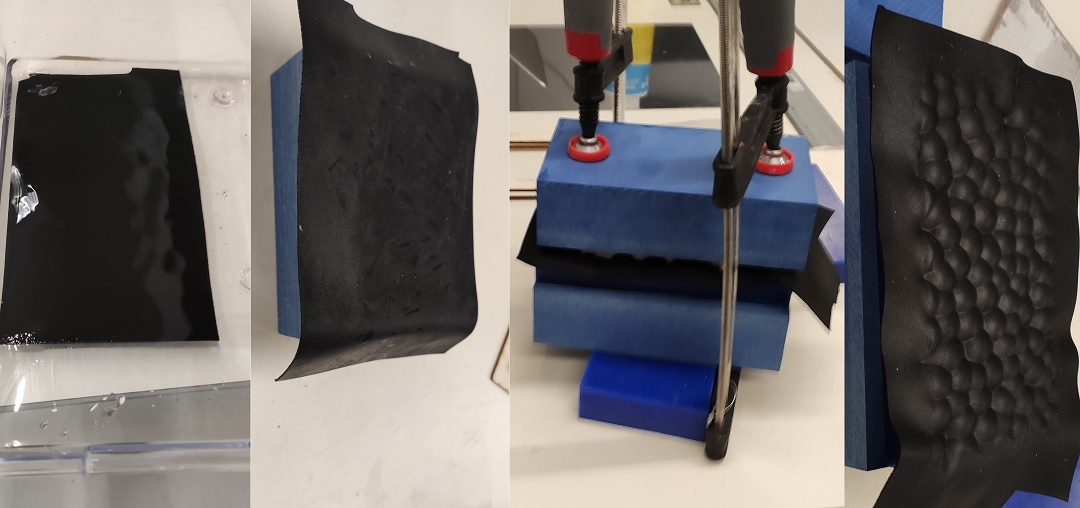
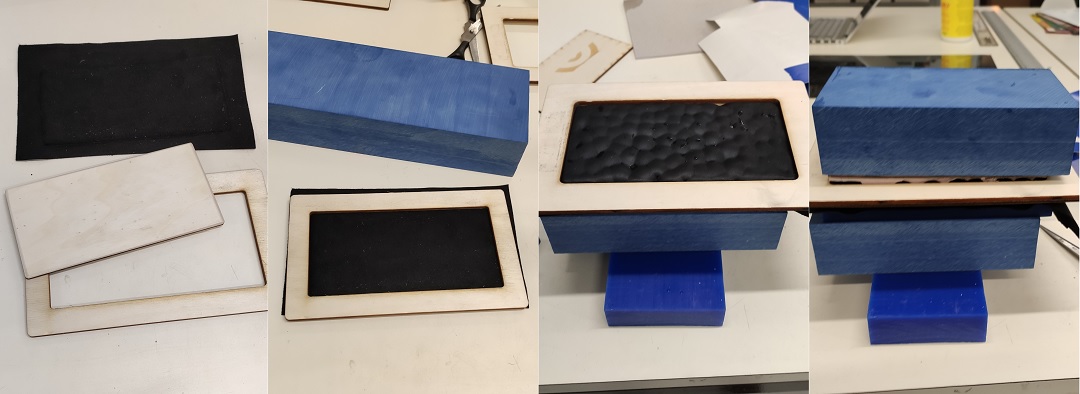
It works really well, so now I just have to redo it but with a frame around it. I put the leather again under water, cut a wood frame with the laser (same size as the mold + 2mm due to the leather thickness) And I did tha compression again.
The final result is really nice:
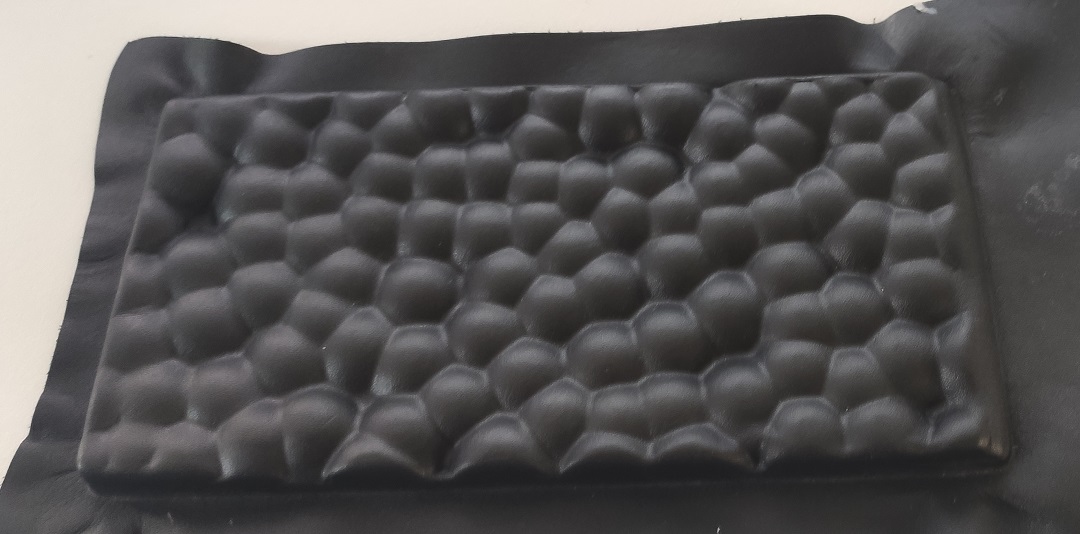
To make sure the shape won't desappear with time, I decided to cast a thin layer of silicone in it, so it keep the shape and flexibility:
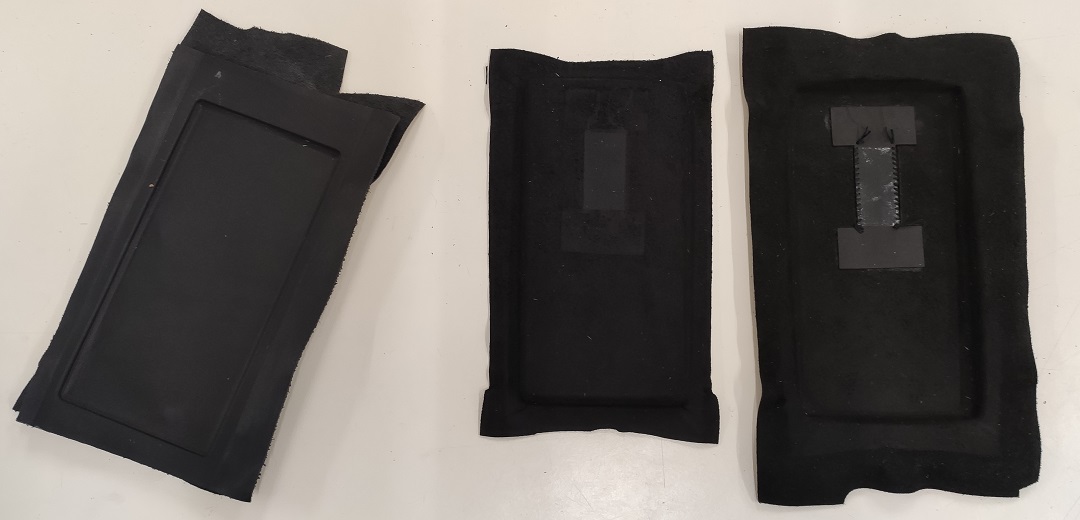
Then I repeat the procedure to create the back of the holder and the inside.
For the back I also glue and sew a reenforcement and cut two line for the belt
Those cut and the holes for sewing were made with the laser cutter.
Sewing leather by hand without tool to make holes is not easy
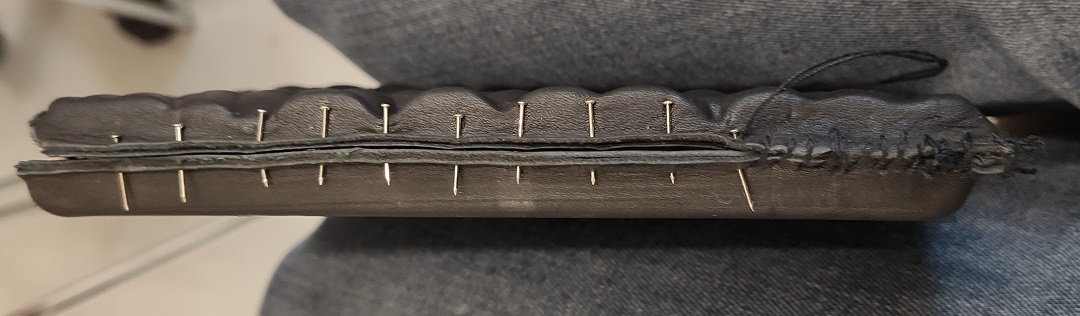
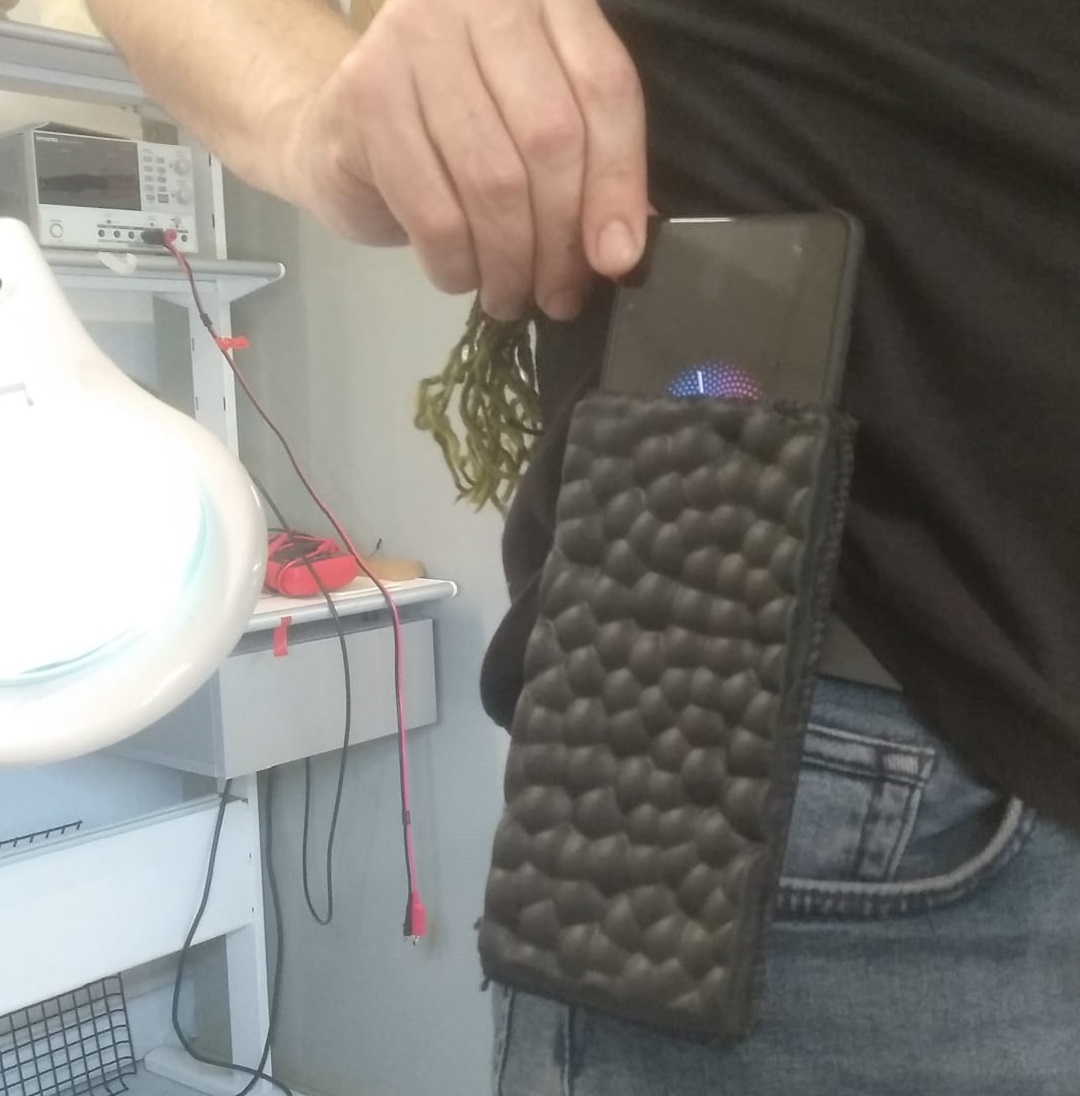
Final Result:
Cristalisation
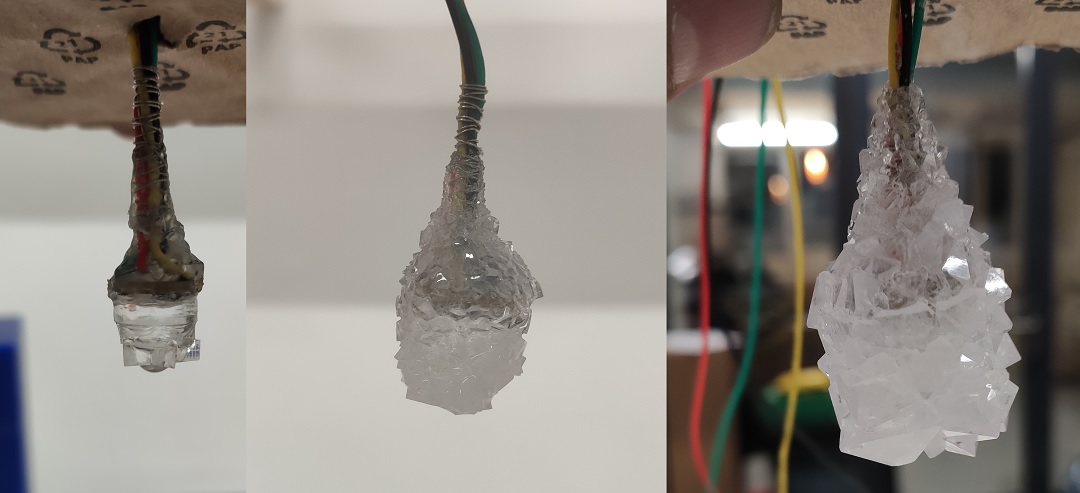
Adding a layer of cristal around a support, I decided to use alun to cover an RGB led.
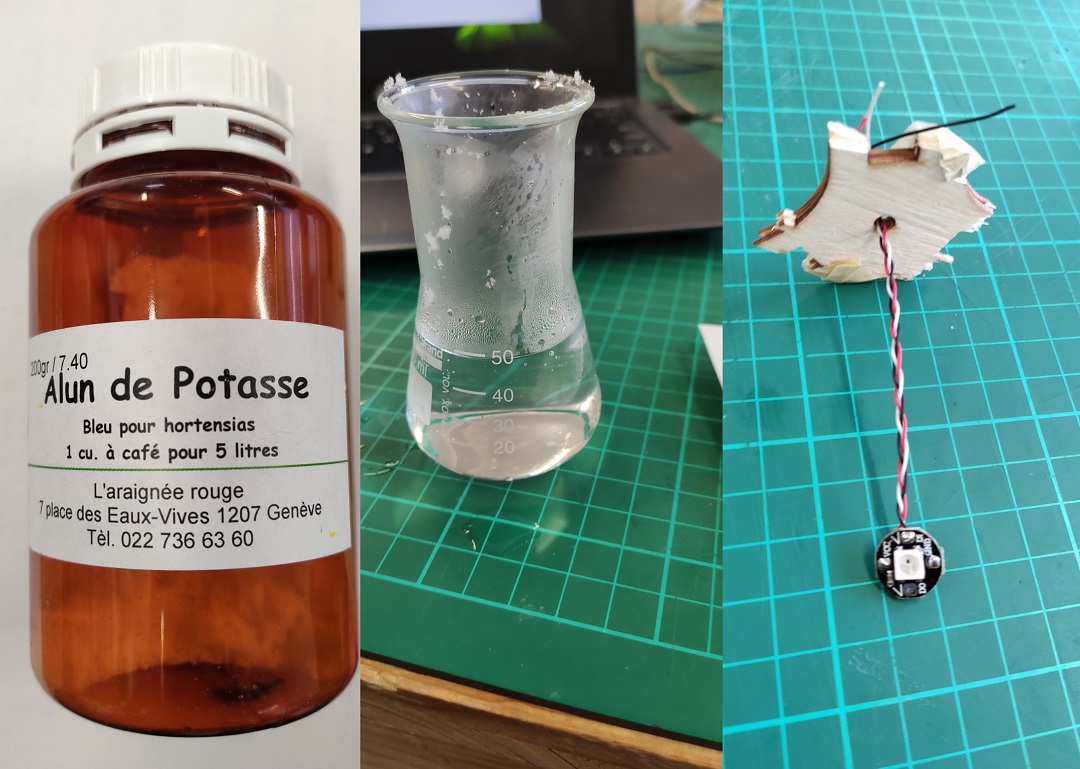
The idea is to saturate water with alun then put the objet you want to cover in the mix and let the cristalization starting and growing.
My recipient is about 50ml so I added 5g to 7g of Alun in it and try to dissolve using 50 ml of hot water.
so I soldered the RGB Led, applied a layer of varnished to protect the electronic, then put it under the saturated mix.
With alun the cristalization should go fast (2 or 3 days)
The first Try Failed completly because I left some alun inside the recipent and nothing has grew on the LED.
So for the second try, I boiled the water and put in a lot more alum until it could no longer dissolve, then I filtered it, I let it cool down and I put the Led + cable in it. (I also sticked a fabric on the LED as a growth medium) the next day I had 2 or 3 large crystals but not on the fabric and mainly on the cable, so I broke them and dissolved them again. This time, instead of fabric, I stick a small piece of acrylic and stick it on the RGB LED.
And I put the led really on the surface of the liquid ... It starts to grow well, but as a large amount of crystal was also created at the bottom of my container, I decided to remove the led from the mix, boil the mix again every day and put the led when the liquid is cold.
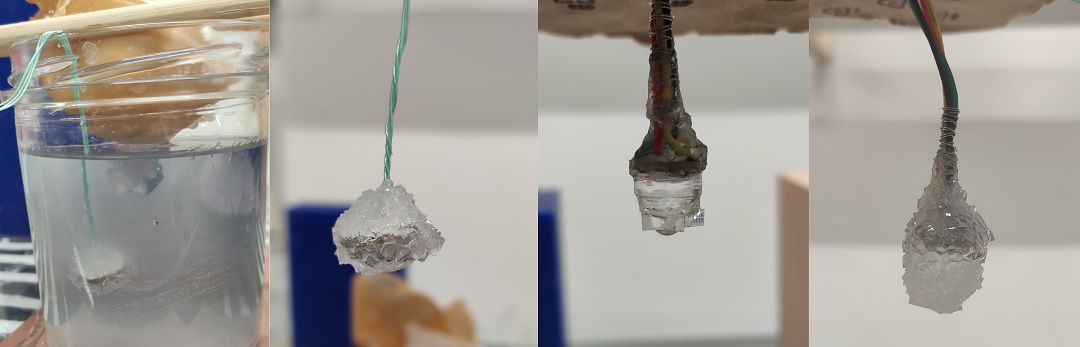
Unfortunately the crystal formed (2nd image from the left) disintegrated on drying because there were no roughness to fix it better. So I glued pieces of acrylic with many roughness so as to ensure the grip.