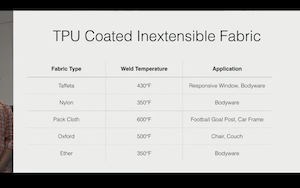
Inflatables can be created with many material; silicone, vinyl, rubber, latex, coated textile, plastic sheet or fils, even biomaterial. All these materials have a point in common, they can melt together and create an air seal tight. Before touching costy silicone, I would like to test with textile first because when something is inflated, (exept for very streachy material like silicon) the air changes the geometry.
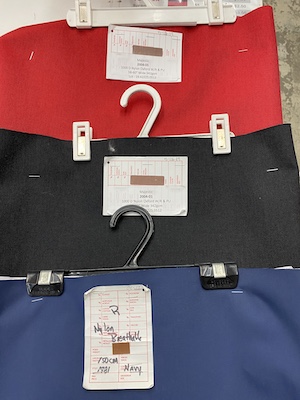
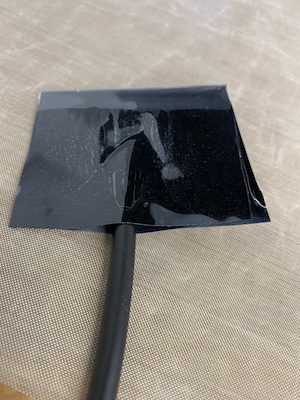
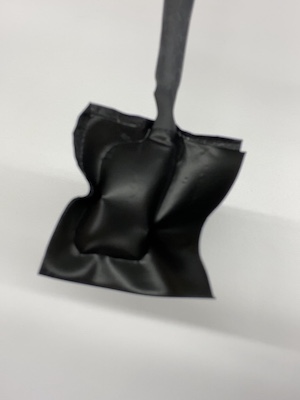
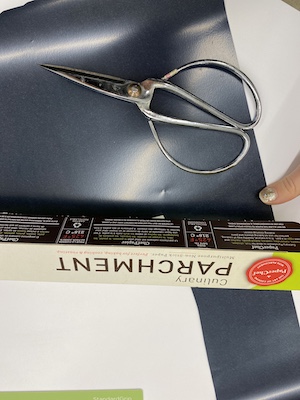
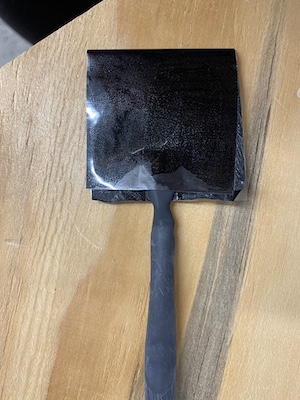
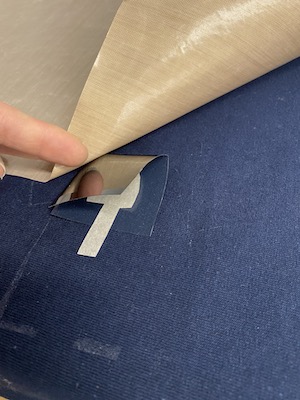
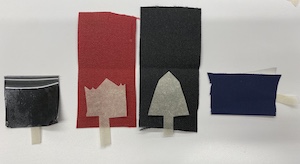
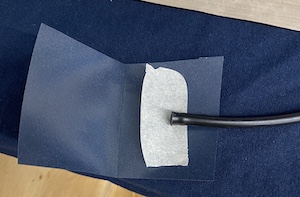
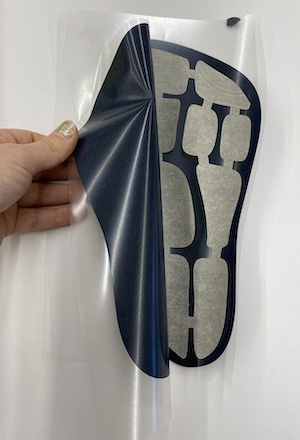
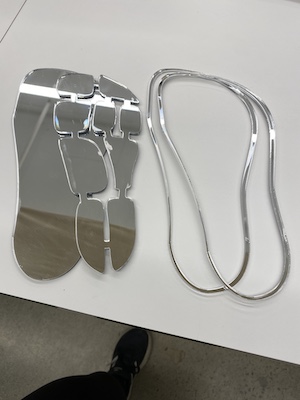
I test different materials and jonctions. The jonction of your inflable is very important because it is often your weak spot where your air will leak. I test with the tubing directly in the heat press, but the result is really not fantastic. The best I found was using a piece of backing paper who go out, heat press everything (140 degres celcius for 40 sec with a heavy pressure in the heat press) then pull the baking paper and breaking it inside. Take a valve for the 1/4in tubing and insert it. Lucky us the heat transfert vinyle is a little streachy and creates a air seal. The second option is to fill a heat shrink tubing of backing paper and put everything is the heat press.
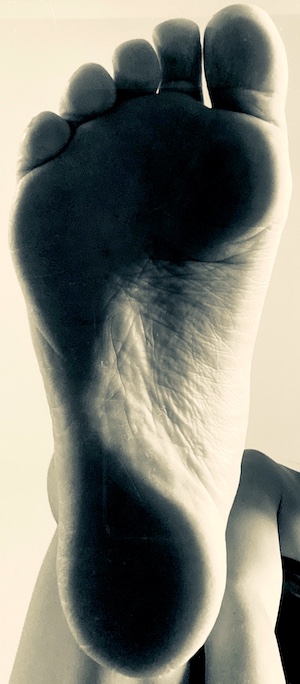
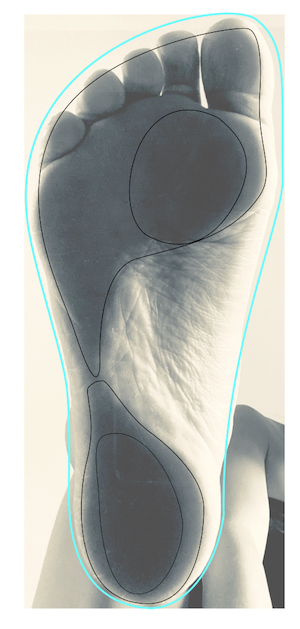
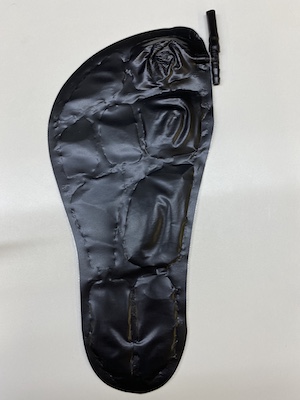
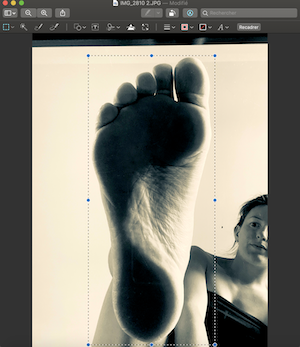
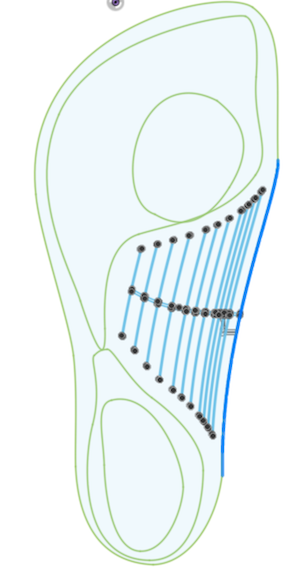
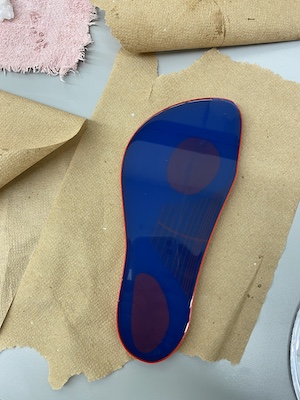
After testing basic small baloon, I create a the prototype for a inflatable sol. I put my feet on the glass of my coffee table take a picture that I put a filter of black and white on. Increase the contrast and crop the picture. You can see the spot where I put more weight on.
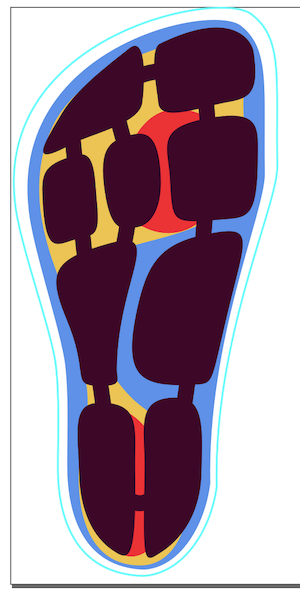
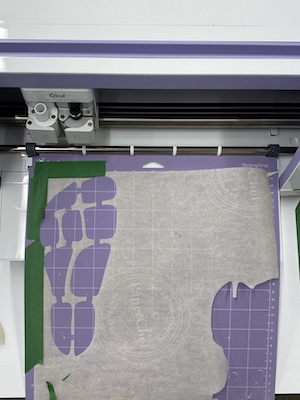
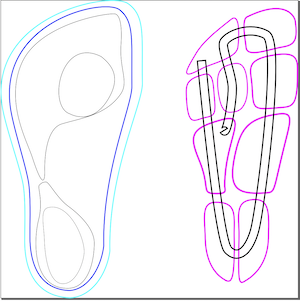
On Inkscape, I trace my foot and the zone and create a padding all connected by a 7mm tube. Cut the backing paper on the cricut (watch out, is a bit tricky ...the backing paper is duty is to be nonsticky) put everything in place and put heatpress everything.
The silicon
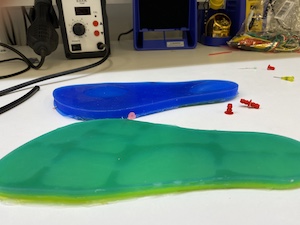
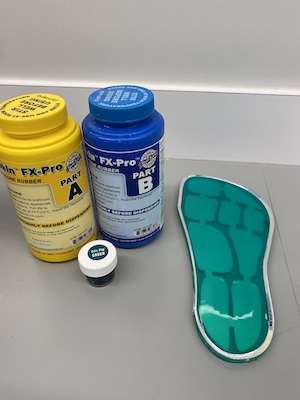
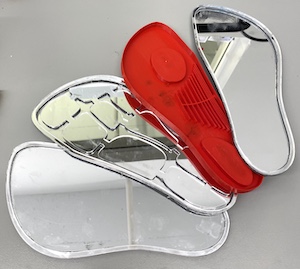
I want to test different technics and possibilities in the sime time. I first test the acrylic mold with the same sol project of the vinyl. I use dragon skin silicon with a very small amount of green silicon dye. The thing with a sol is that the connector need to be on the side, tricky situation.
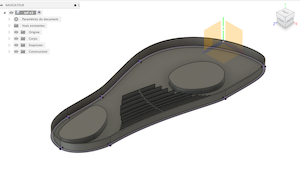
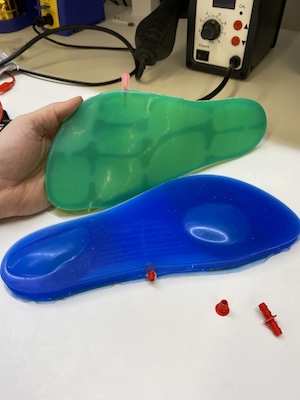
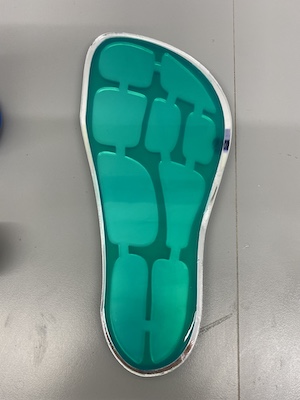
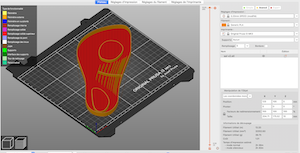
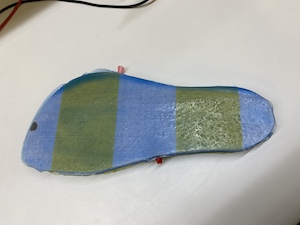
Next, I want to test the 3D printing mold. I put my Inkscape fill on a sketch on Fusion 360 and offset the arch arc inside to create these spacing tube that the air will be filling. I want the arch to be bigger at the biggining and smaller in the middle of the foot. All the tubes have 0.5mm width and 1mm, 2m or 4mm of distance. I also did two pockets where the heavy load is applied.
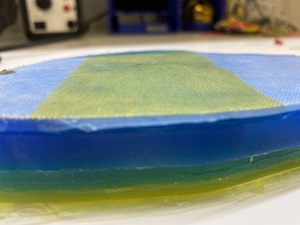
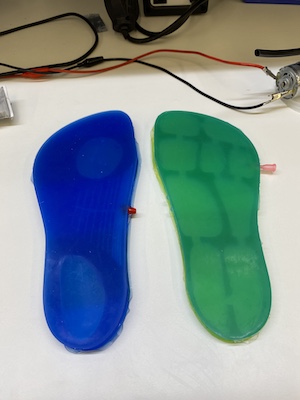
I 3d print the mold ruffly, 0.2mm fast parameter and use Ecoflex 0-20 silicone with a little bit of blue.
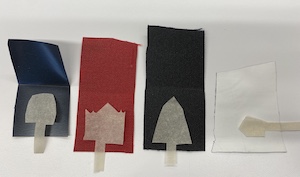
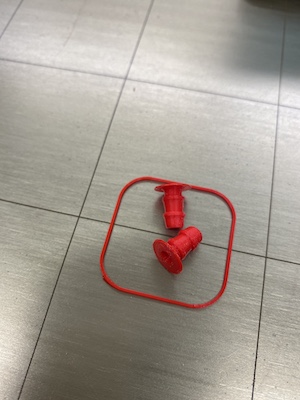
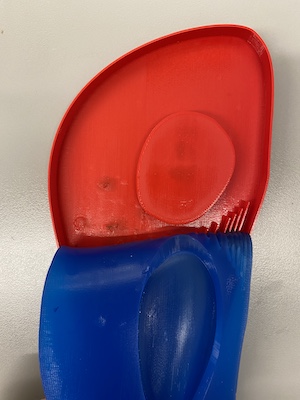
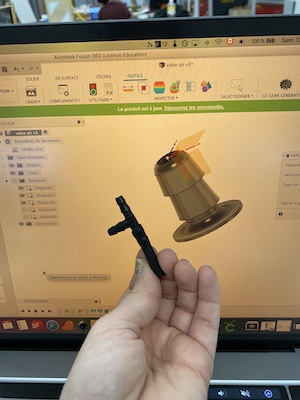
I also want to try with a textile on the surface. It's like a sandwich that you can add layer to add property. I also design a valve base on standard 1/4in tubing that I 3D print.
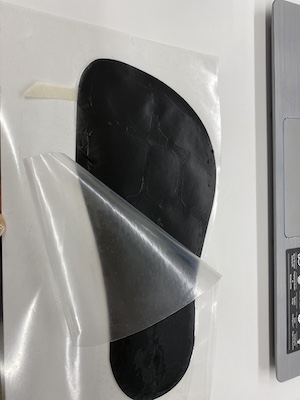
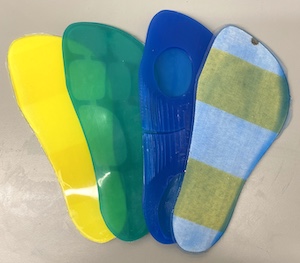
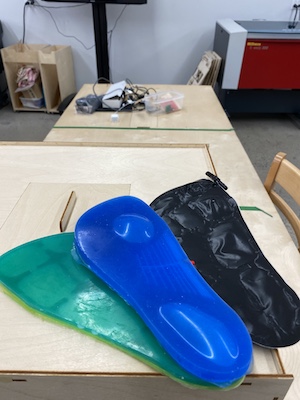
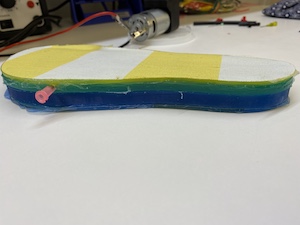
To resume, I made 2 coated textile in silicone, top and bottom to protect of the ground and for the feet. Both sol can be add together and in the blue one, I insert air from a sering that is now trap inside of the silicone sol.
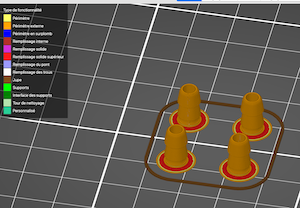
This is a inspiration for the next improved valve.