This week the learning outcome is the cnc, has you can see in these 2 links, it's not the first time with this machise.CNC for molding and casting and CNC with Lexan and wood. I will perhaps experiment more about a bio resine. I am very intrigue of exploring that avenue to replace the epoxy and creating biomaterial that can me molding without that big retraction.
Crystal
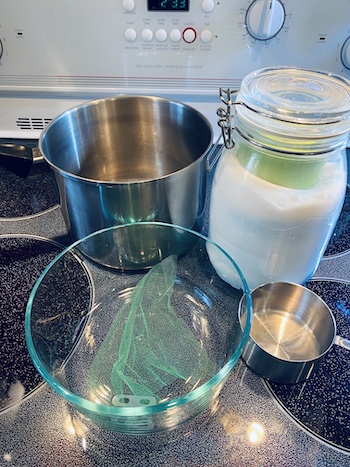
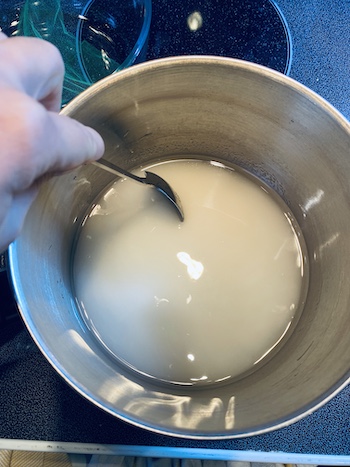
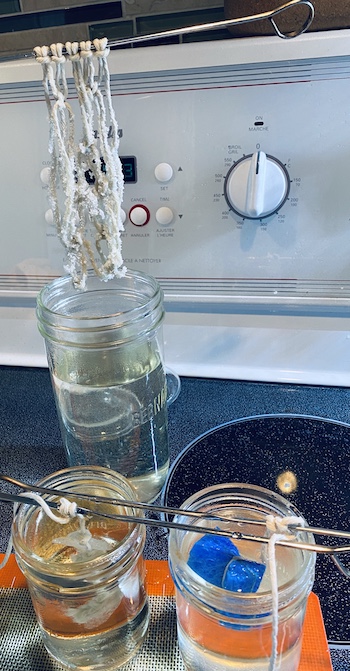
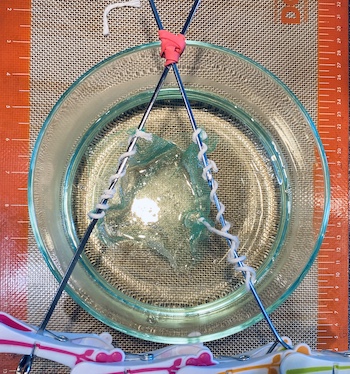
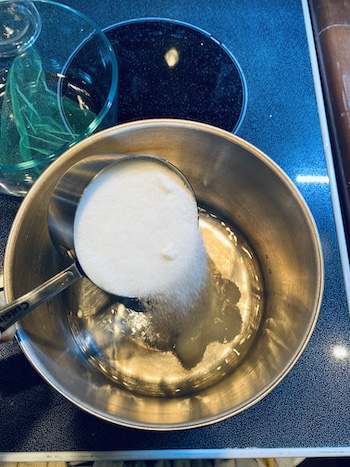
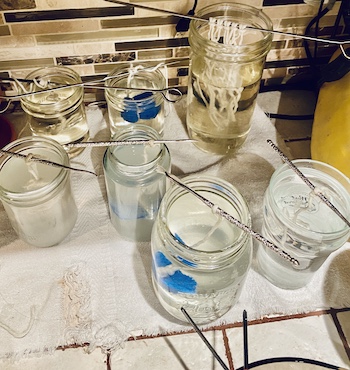
- To test the theory, I first decide to go with sugar chrystal. The concept is simple, you take 3 cups of sugar that you desolve in water on the top of your stove. The water is saturated in sugar and when it cools down, the elements chrystalise and precipitate. The sugar molecule will attract other sugar molecules. When everything was desolved, I dip my tule and my string into the hot liquid and cover it of grain of sugar.
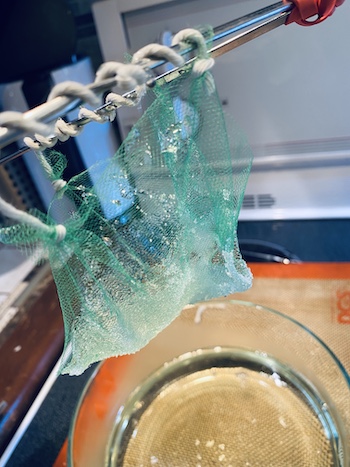
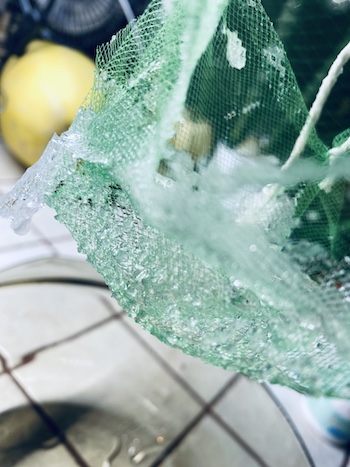
- Next morning, when it cools down, I have many crystal at the botom, some on my string and very baby one on my tule. Let's try to make a seed. On internet, many people begin by doing some crystal in the bottom of a container, take the biggest one and redo the process hanging this seed that will atract more element in the water.
- I reheat the mixture and 2 big crystals in one jar, a old furry scrub in artificial fiber and a macrame exploration. Next news I know, my seeds melt in the hot liquid and nothing happen. Maybe my liquid was not saturated enough...well let's try with borax and alum.
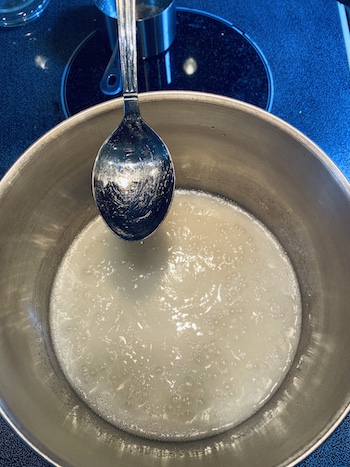
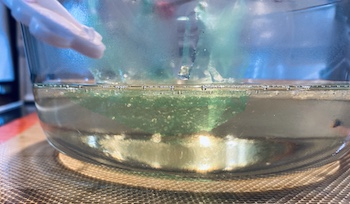
- I didn't have mesuring quantity for these ones, so I mix the powder until some of the powder sink on the bottom. Be careful: water can dilute a lot of alum in very small quantity of water.
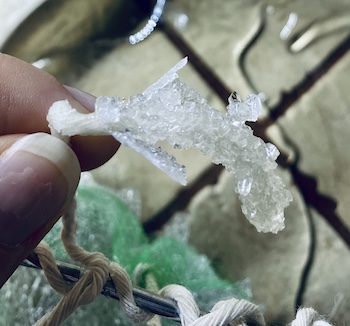
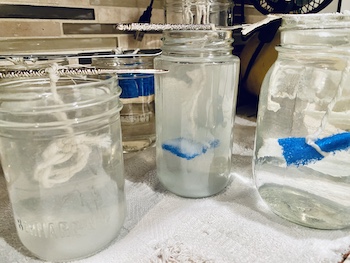
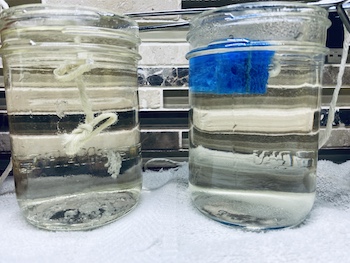
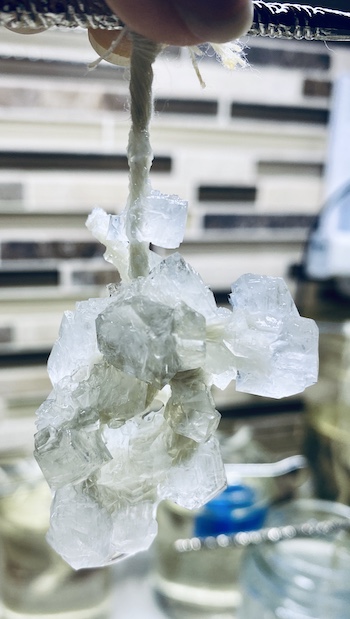
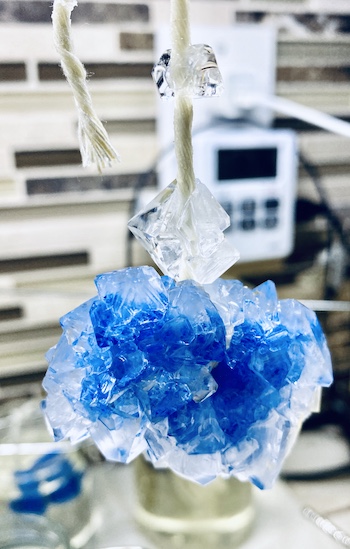
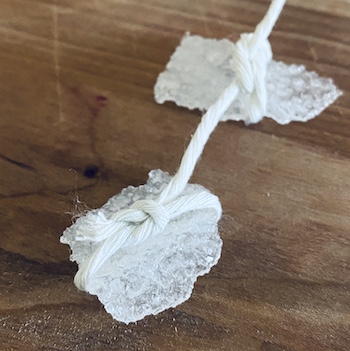
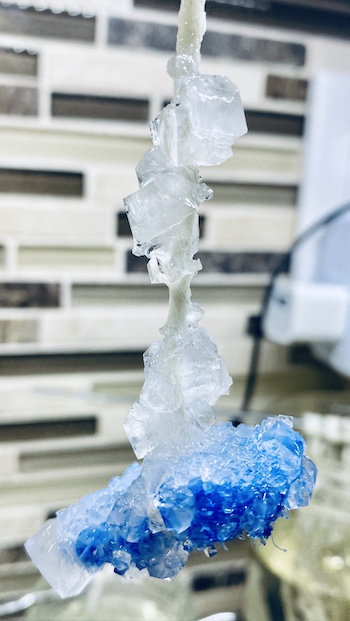
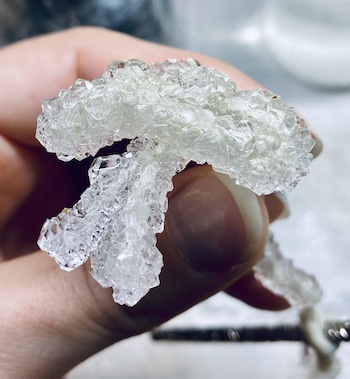
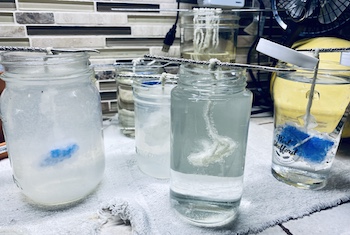
- Next morning, the result what impressive! Very big crystal white for the borax and strangly transparent for the alum! On the picture with the yellow background, the one at your left is borax and the the right alum. I try a second dip but this time I make sure my solution was not too hot and very saturated.
- I found this inspiration very interesting for the type of textile he uses. Venus natural crystal chair by Tokujin Yoshioka I also have a great discussion with my sister and we think that the time of the cooling influence on the size of the crystal. Slower the bigger. Hotter your solution, more element in your solution so maybe bigger crystal too.

Resine and composite
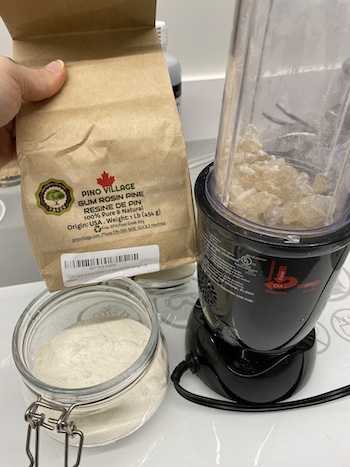
- I base my experimentation with the work of Lara Campos and her pine resine material. If we talk about resine, the retraction the material could be very low and the process very fast. My kind of thing!
- In the week of biomaterial, I made some samples with oignon skin, coffee and only desolving with alcohol everything was a cold process. I look back at my work and my material are fragile. If you look closely (top row last colon) you can see some hole, maybe the propostion of the resine vs filling was not ok the resine that was only desolving in alcool never became hard again. It looks like in the nature, a gowy sticky liquid like you can find on pine. Maybe I can heat it.
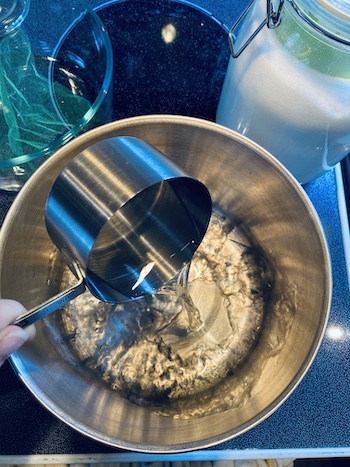
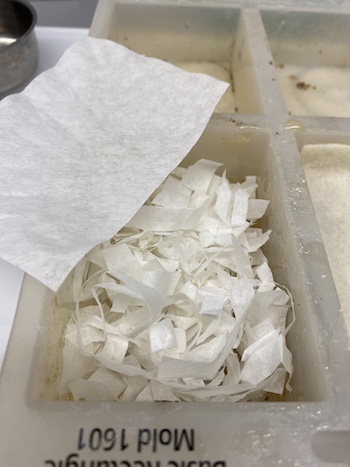
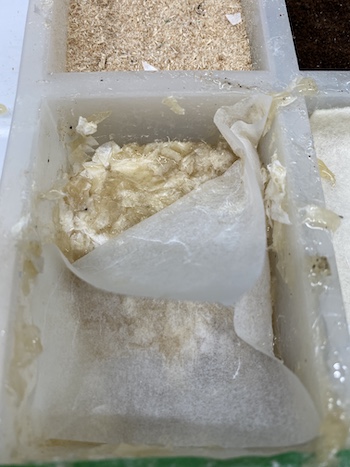
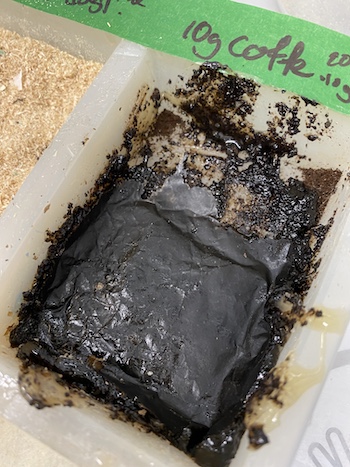
- I create powder with the rock (in week 6 I discovered it was easier to desolve). I take 15g of pine resine + 15g of alcohol and 2/3 cup of coffee filter paper. I put the paper in the mold and the liquid into a pan, heat it up. When boiling, I put it in the mold and try to press everything together. It is very VERY STICKY. The best trick I found was to press it with a parchement paper. Let it dry and release the paper when it is at room temperature.
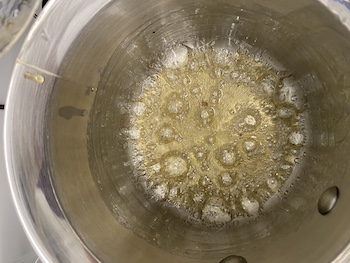
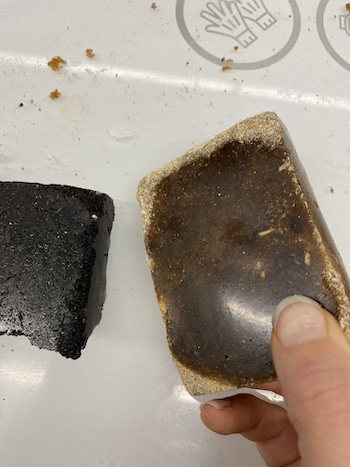
- I try 20g pine + 20g alcohol +10g glycerine and 10g coffee ground. When I boil the mixture (same process as the paper) I boil it more. A little bit like a caramel, the water evaporate and the mixture thincken littly. I pour it, mix with the coffee, press with the parchement and surprisely the time of curing was really quick (10 min) and promissing estheticaly and mecanicly. Still a a little bit fragile.
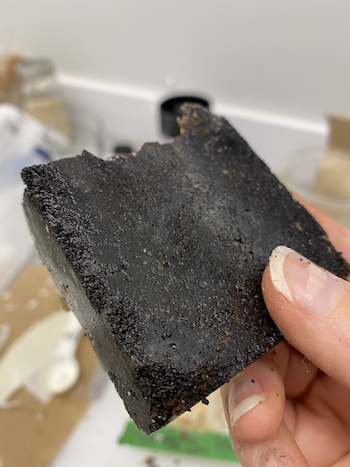
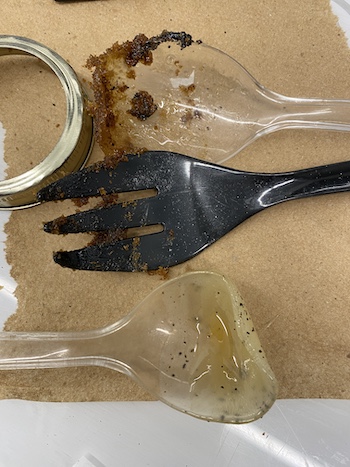
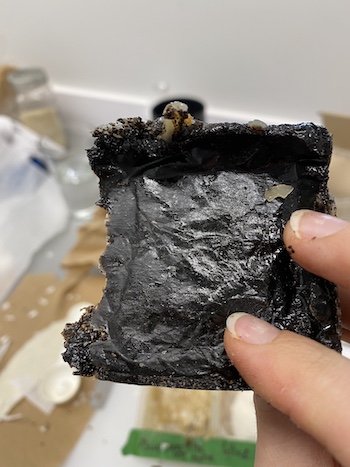
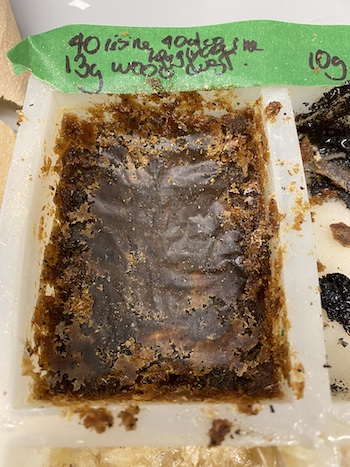
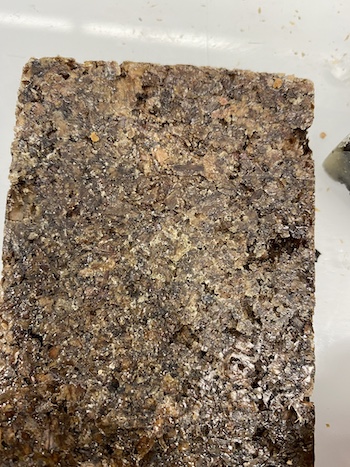
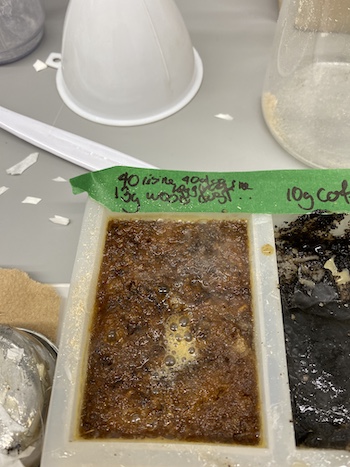
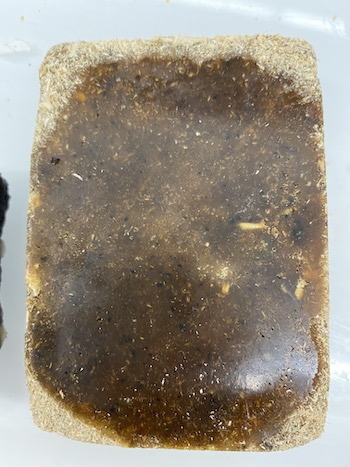
- I try 40g pine + 40g alcohol +10g glycerine and 30g wood dust. When I boil the mixture, I boil it longer than the coffee and at some point, all the bubble were gone and some rebel coffee grains look to be melting..very weird so I pour it in the wood...and the wood (I think) burns. Some smoke and boiling bubble appears in the mold, I stir the mix and melt 3 plastic tool...oops, be careful, it is very hot, I guess can be dangerous. BUT THE RESULT WAS VERY NICEEEEE! very hard, interesting color, smells incredible. I think this one is the begining of something. With a little less boiling ;) Safety first.
Thermoforming machine
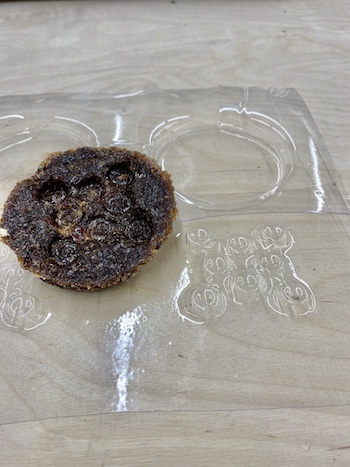
- I decide also to create a mold but in thermoforming. We add some leftover from our faceshield project, PET plastic that I can use.
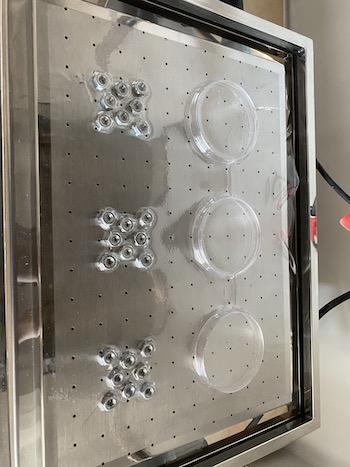
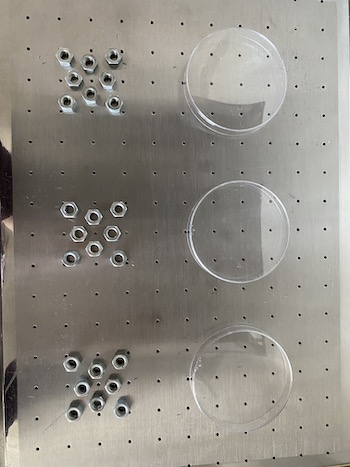
- I take some bolt to create a texture and on the other side, a little cup to add the future biomaterial.
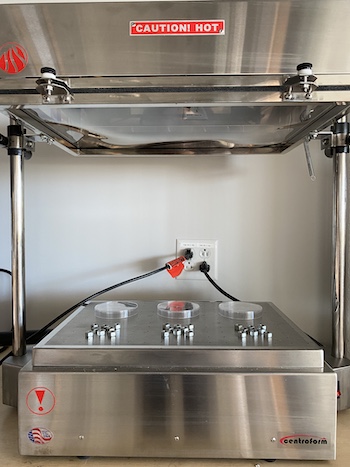
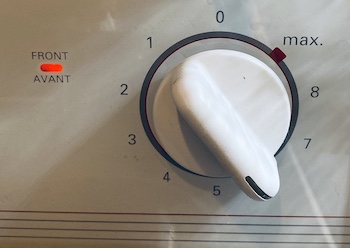
- It's really simple, you add your thermo plastic in the frame of the machine (be careful they have non thermoplastic, but if you stay in the same plastic that you can put in your recycle bin, you will be ok). When you plug the machine in wall, an heat element will heat the plastic. When the plastic is creating a nice uniform bubble, you start the vaccum (that you install before) and this one is sucking the air in all the little holes that you see on the bead.
- Take both handle and push the plastic frame completely down to create a seal with the bed. The vacuum will help to shape precesely the rest. The more your plastic is soft, the more it will take shape, so if you have a really big shape to mold, you need a thinker plastic sheet. My geometry was very thin so mine was 0.06 in.