This week, we see parametric design with Grasshopper on Rhino and 3d printing on fabric. During the fabacademy we touch the 3d printing; how to calibrate the 3d printer, how to send a .stl file to a slicer like cura or Slicer of Prussa, how to generate a gcode and print with it. Here and at the end of here I made a mecanism where I imbed some pieces of TPU in rigid PLA to create a flexible jonction. The biggest goal here is more about understanding and make the switch on Rhino (wich I have almost never touched) and Grasshopper (wich is completly incognito). Also, the experimentation with the fabric is something new.
Grasshopper and Rhino
- I start by listening some tutorials on YouTube just to make my mind. Sadly, a lot of people don't comment their GH video so my understanding was not good. Then, I went for the obvious, I listened the first tutorial by the textile academy and try on my GH to do the same.
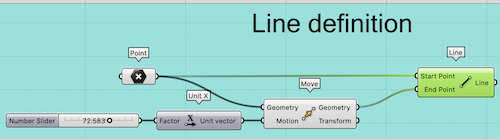
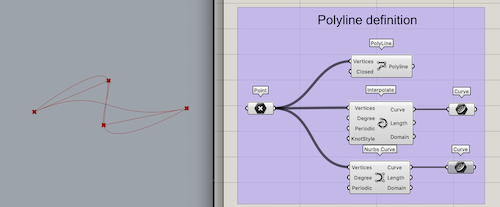
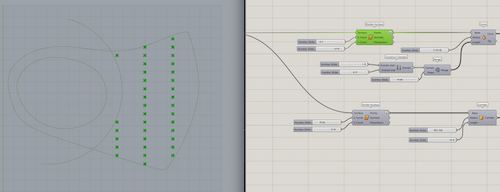
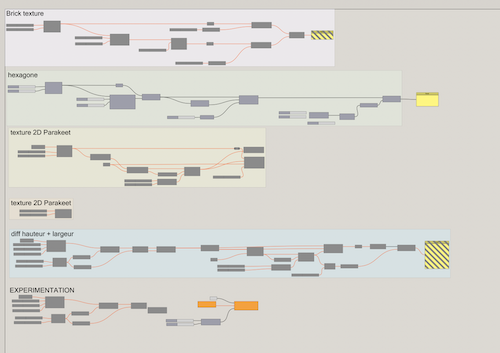
- I work in a group, so in the same file I can make multiple experimentation on top of each other. I began to create definition for different type of line and play with the basic. Bifocals help me a lot to understand the bloc and I change my display to see instead of letter the complete name for the input and output of the blocks. If you put your mouse on each one of them, you will have a definition who will pop out.
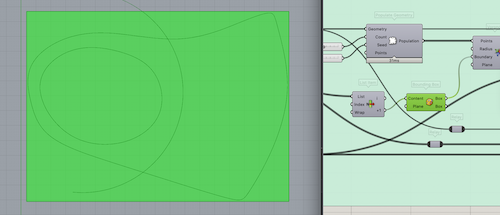
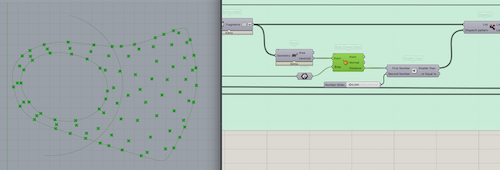
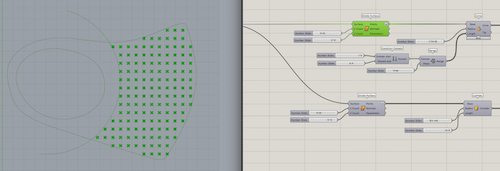
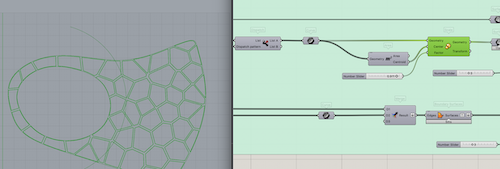
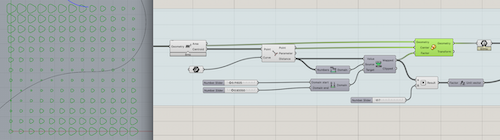
- Because I am not confortable with Rhino, it was almost a relieve that in the turorial he presents the interface and help us to scale the imported image to begin the drawing. Very fast, we began to do this mask. I pick up the beat and when you look at it, its almost like the history of how you can build on an other software. You create a shape, you populate it with points that align the center of the patern you chose (here in the exemple veronoi) then you erase what is outside of the bound box (this is the part is a little bit cloudy) I understand that you tell to the point to move and place themself on the nearest BRep (Boundary Representation) and then you create a dispatch that devides both inside and outside surface.
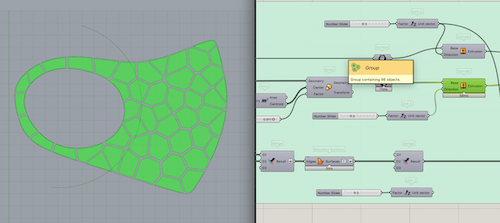
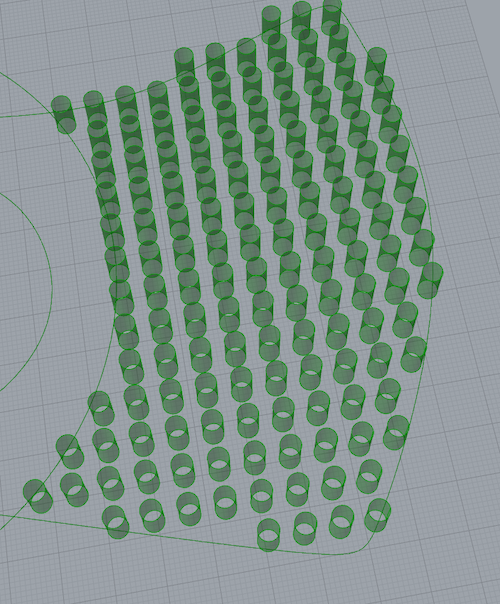
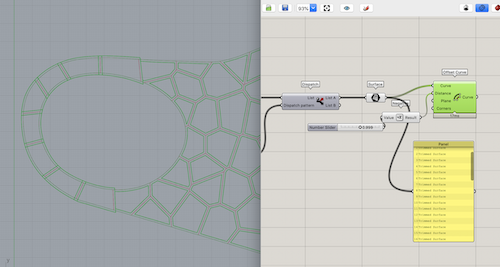
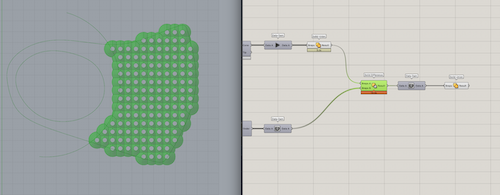
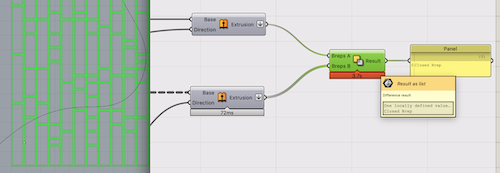
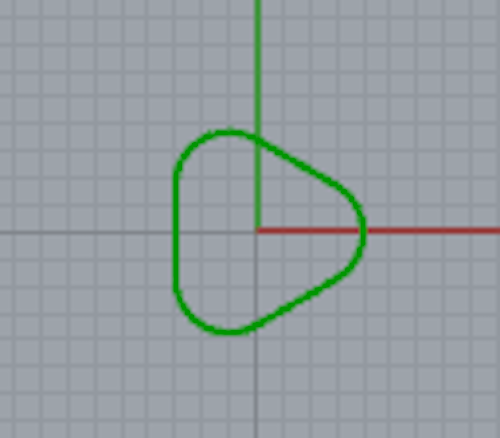
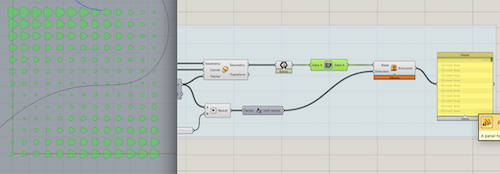
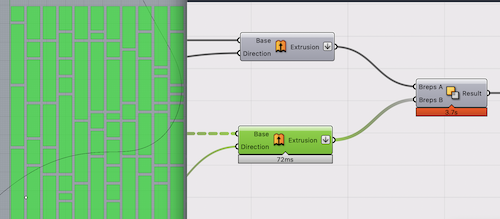
- In the tutorial, he uses the fonction offset to offset the surface of each polygone of the veronoi. Sadly for me, it was not working. Most of the pieces work really well, but a part of it acts in the opposite. If the surface go smaller, these ones go bigger and vice versa. I did find my answer, but here's an insight. If the direction of the curve or the point is not on the same side, then it could be logic to act like the opposite. How do we go over this... no idea. I decided to change the technic and instead of going offset, I went with scale the surface down and creating 2 BRep and making a difference with the shape, everything was good. I redo this exercice a couple of time with the panel on, just to figure how the data work and was distributed.
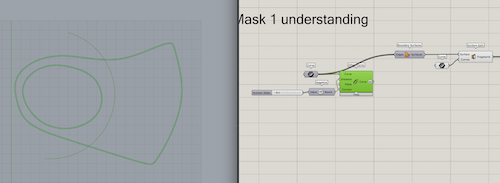
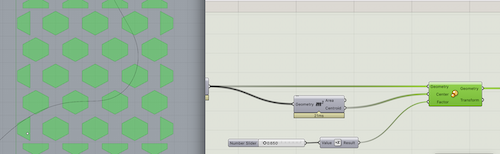
- I create 2 other masks like the exemple, but with other pattern to see if I integrated...Mission accomplished!


The paradise of textures
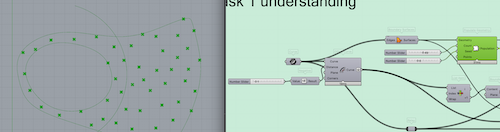
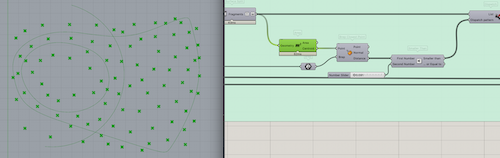
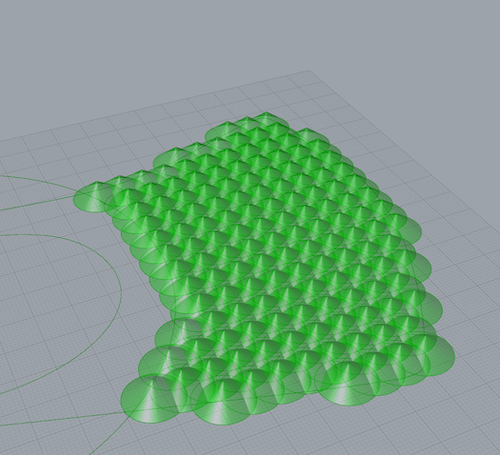
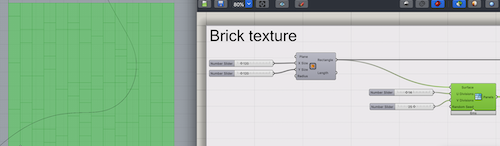
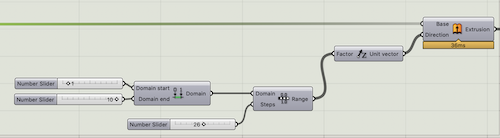
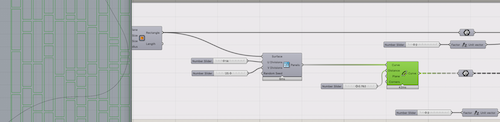
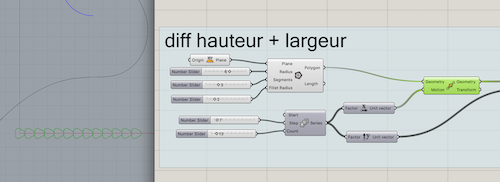
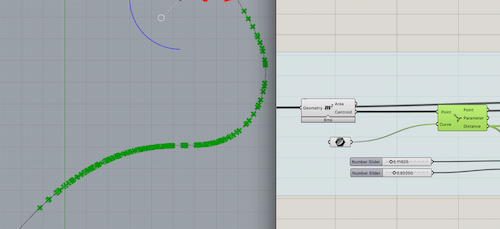
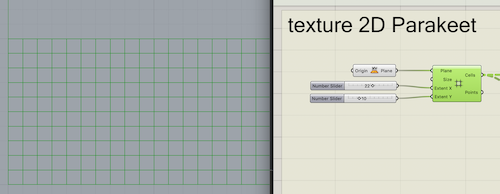
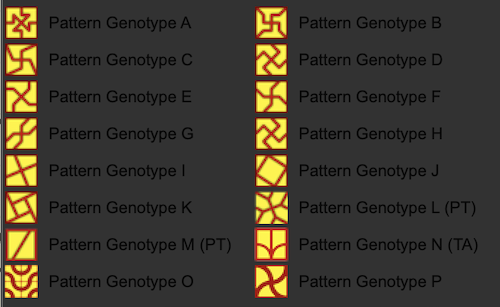
- Then I explore the texture and how to manipulate the data to attract, generate range of data and different base I can use. Creating plans, grids of points, surfaces, polygones, spacings, etc.
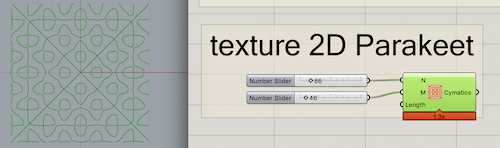
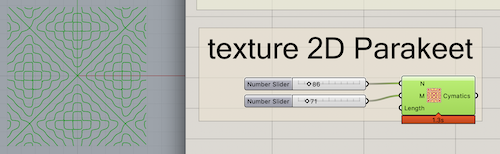
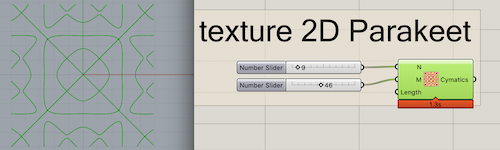
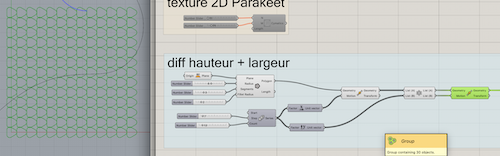
- I also explore the plugins available. Many tutorial almost always use a plugin and it's logic because coding is long and a little bit like arduino, if we can have already fonction precoded... well take it and use it. On Food4Rhinoyou have access to all the plugins. Few are compatible with Mac sadly for me, but we have access to some interesting. I heard also someone explaning that he takes the plugins for Windows and some versions work on mac. I try with Lunchbox, Parakeet and WB and it look like they work at a basic level. For exemple, I did some texture with paraket and try to make a rotation of this texture in relation with the distance between the componant and a point. I can generate the texture, but the total algorith doesn't work. It is me who don't master the software of the algorithm that don't work...I will only know in 10 years.
- Here a video of the file I produced!
- Some turorial I like:


3D print
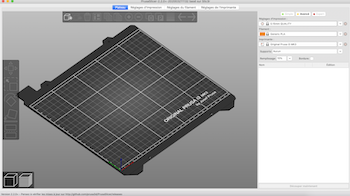
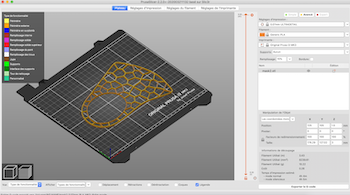
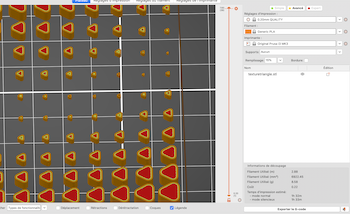
- In Rhino and Grasshopper, when everything is fine, you can (in GH) bake your shape. That means that it calculate the shape and produce it live. To that stage, you can select that shape and export selected and choose .STL file.
- I use to generate the gcode with the slicer of Prussa. I use default setting with PLA material. I began this journey with the print of the mask without fabric, just to confirm that everything was well generated. No problem so far.
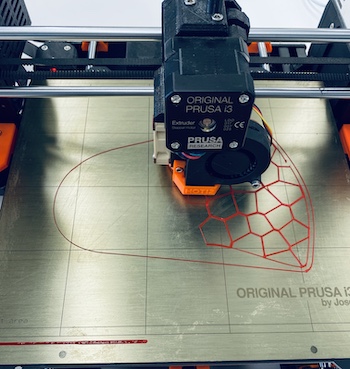
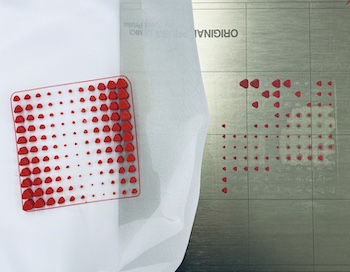
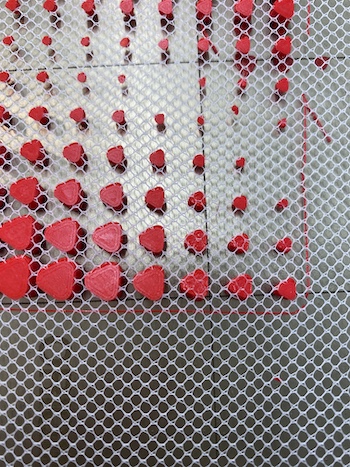
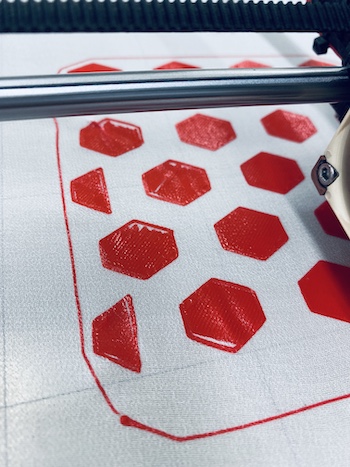
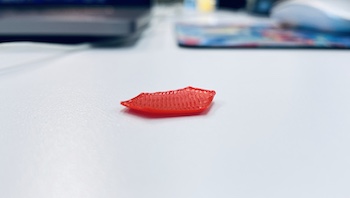
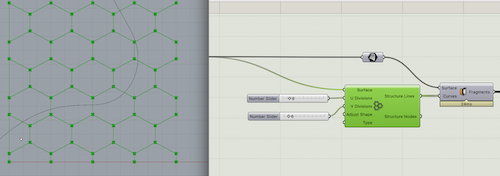
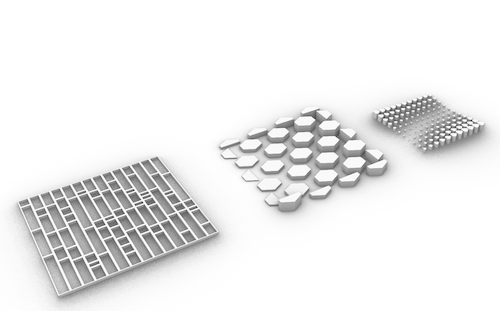
- I take the hexagone texture I created, it's a bigger one so maybe on polyester weaving fabric it will stick... let's try. As you can see in the picture, the first impression was really impressive. But further you go, you see that it has a little flexiblility in the textile so it creates some distortion. I use strong clip that I take off the metal wire on it to make it fit in the machine. Few layers after, some hexagone scales take off. The center on the scale stick, but the outline of it shrink in the air.
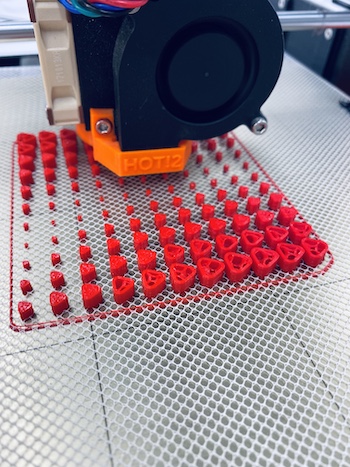
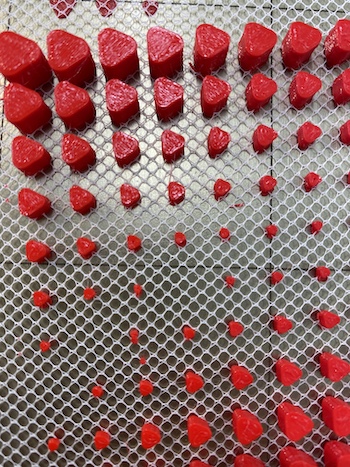
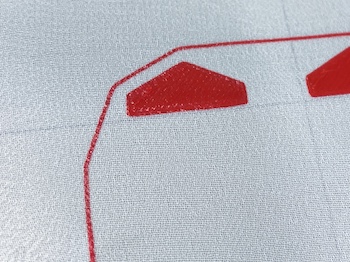
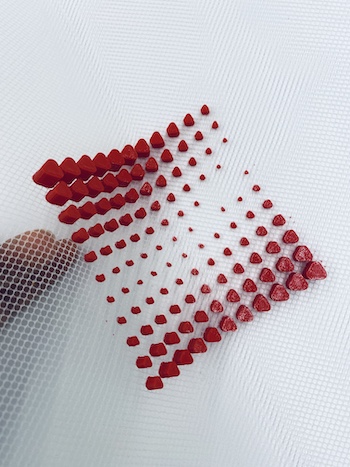
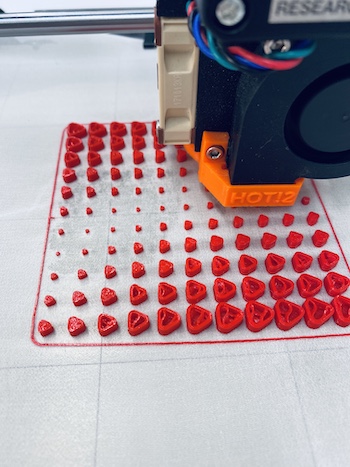
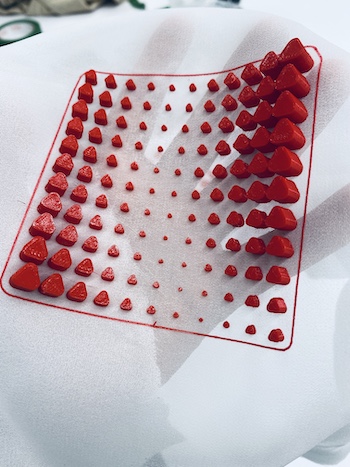
- I make another test, but with smaller triangle patterns this time and on tule. It has some part that were really small and I want to test the limit of this technic.
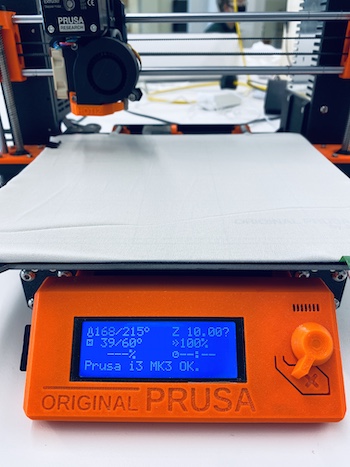
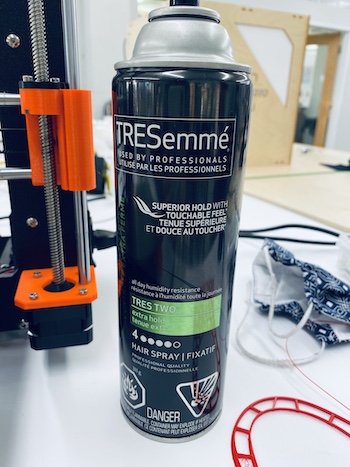
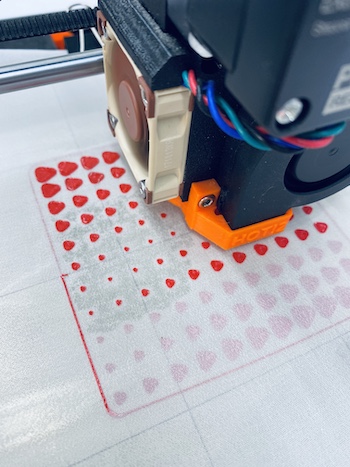
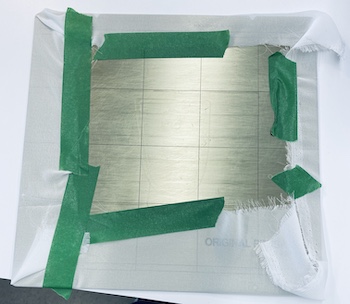
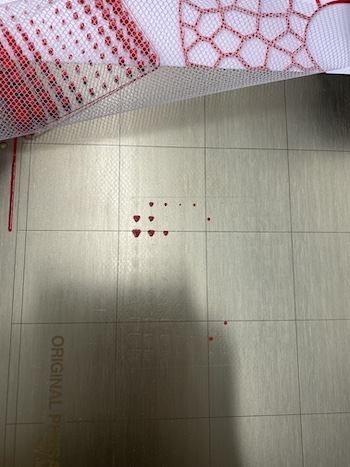
- This time I let 1 layer on the bed (I had some spray net too because the smaller piece didn't even stick to the printer bed), pause the print, add the tule with clip, add again some spray net and resume the print. This process works very well. When I take it off, some pieces of the 1st layer stay on the bed and other very small pieces fit in the hole of the tule so I lost them too.
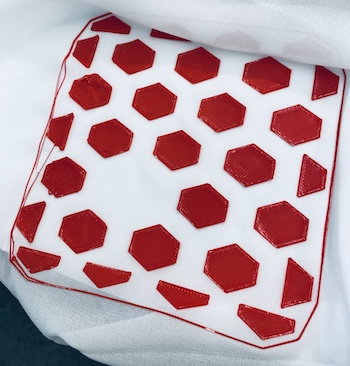
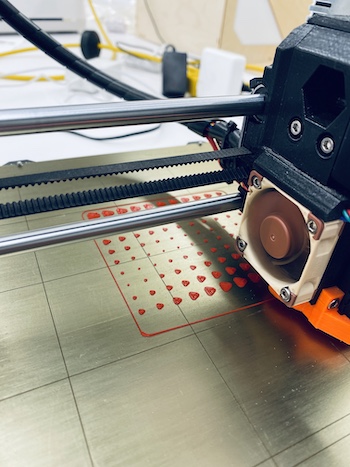
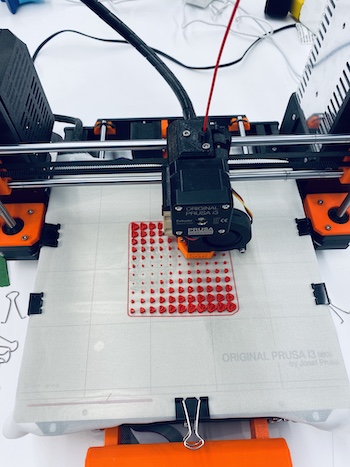
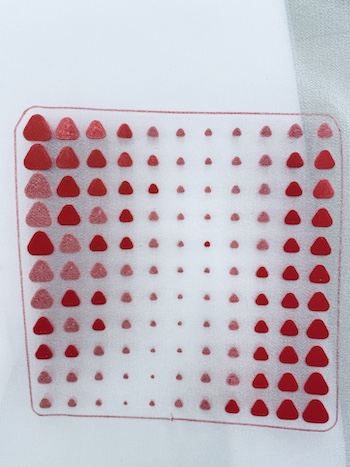
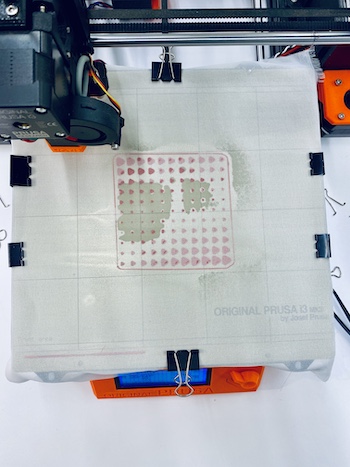
- Time to test with the same polyester voilage that I try before, but with this process. Spray net, print 1 layer, pause the printer, install the fabric on top with solid clip, spray net again, resume print and wait. This time the spray net help me also to stick the fabric on the bed so it moves less and the result was impressive. Again, unfortunatly at the end, some first layers stay on the bed. So the fonction between the fabric and the PLA is not something very strong, it's a weak spot. The PLA needs to stick to other PLA so it can be strong. So I learn a lot this week, but it was facinating. This grasshopper software will be something to discover more for sure and the fabric need to be twisted in my head so I can approch it differently in the future.
- Here are the files.