1. State of the art, project management and documentation
This week I started my journey at de Waag Fabricademy and got introduced to Mkdocs documentation, Gitlab and my personal blog. I have never worked with Mkdocs before but I do understand a bit of coding and Github. As committing (= saving changes to your Git repository) took a while during the tutorial and I always like to see my changes in realtime, I choose to work locally right away. You can work locally by forking, cloning or downloading your repository. After installing Mkdocs on my laptop, I choose to download my repository but that turned out not to be working, probably because my computer did not recognise it as a git repository. I decided to start over quickly after that by cloning my project and got it to work within 10 minutes.
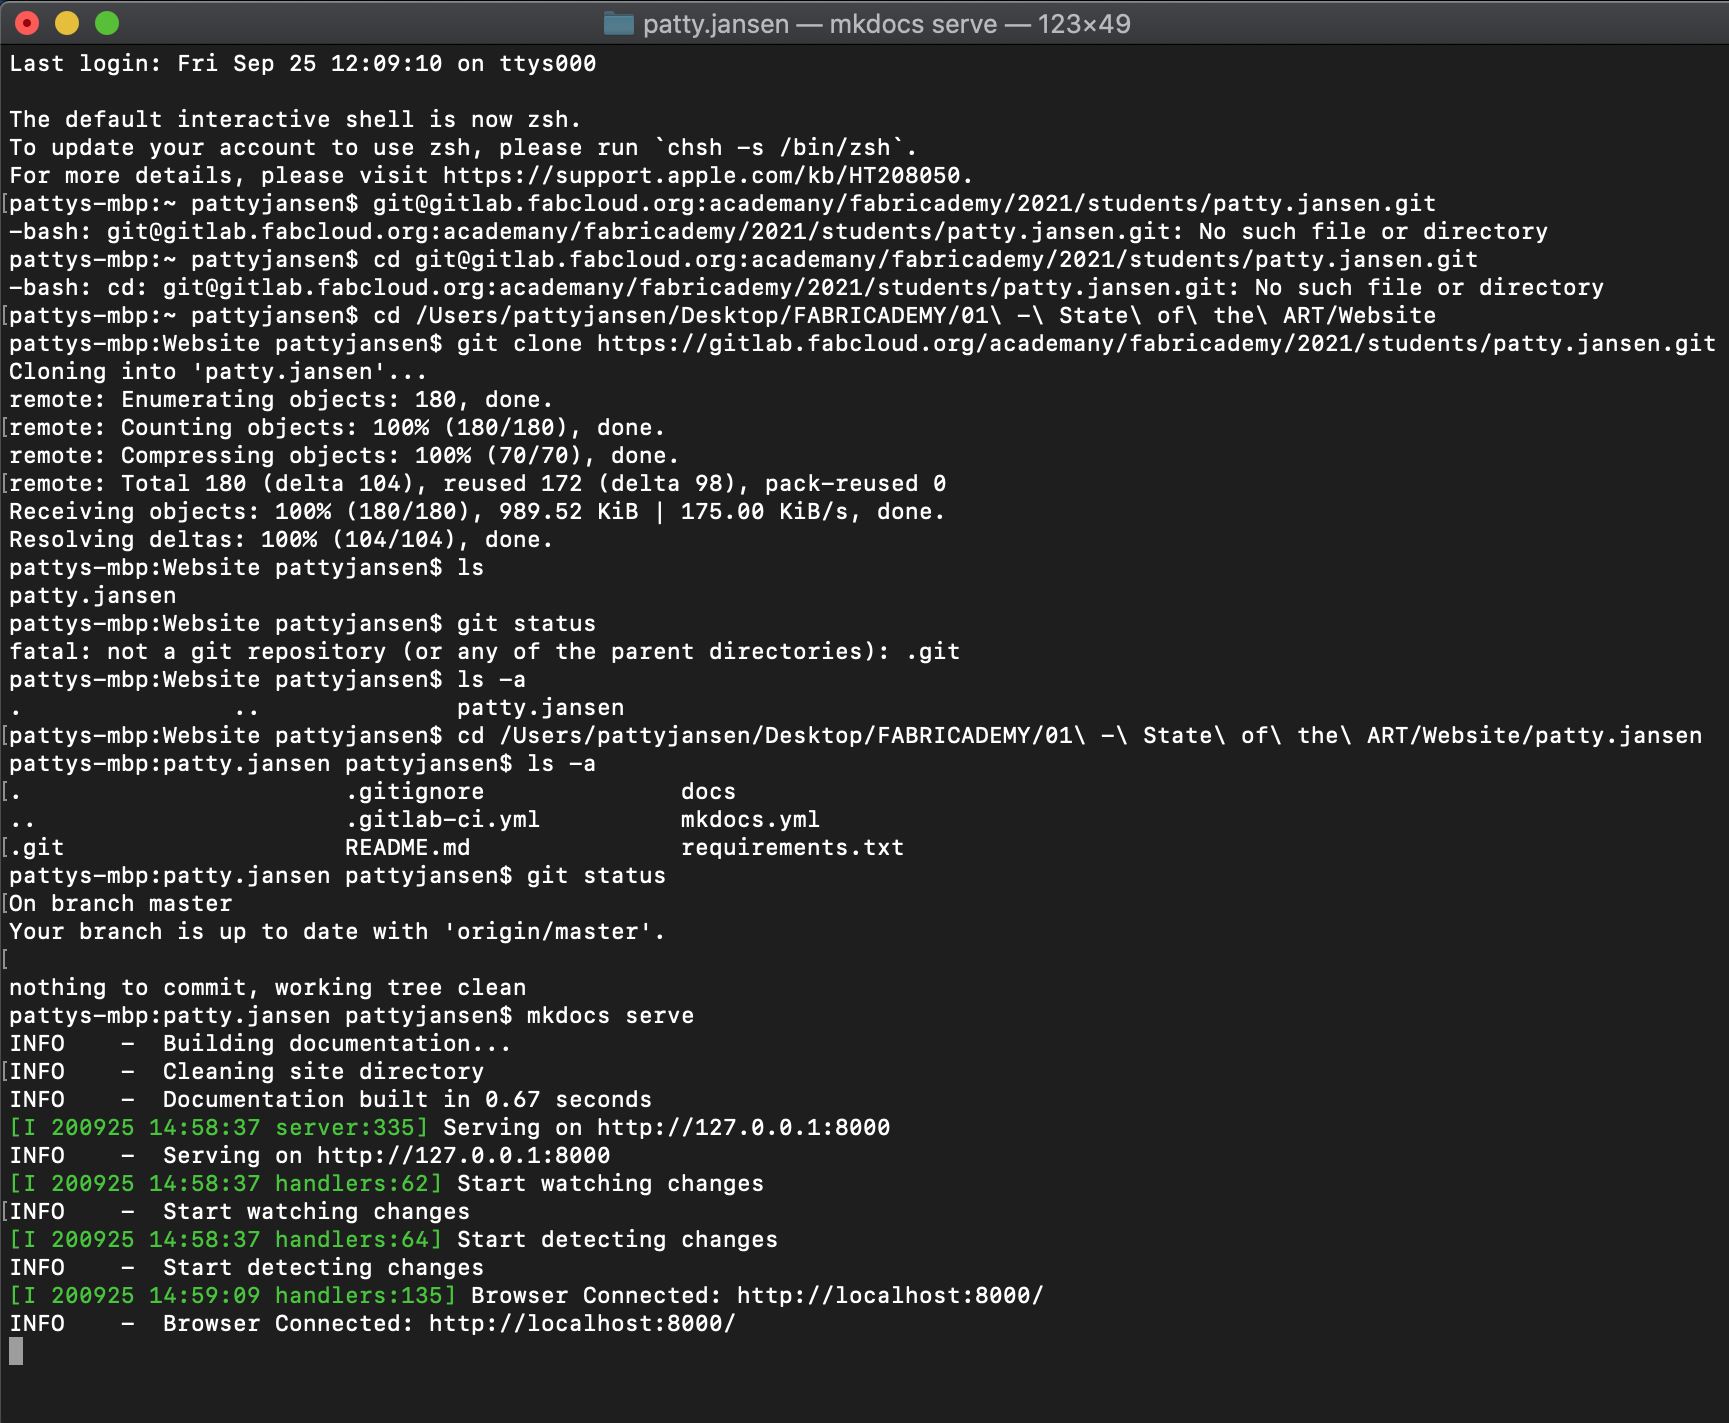
type in your terminal: 'CD yourgitrepository' -- or drag the folder into the terminal and the right path appears -- ENTER
type 'git status' to doublecheck -- ENTER
type 'mkdocs serve'-- ENTER
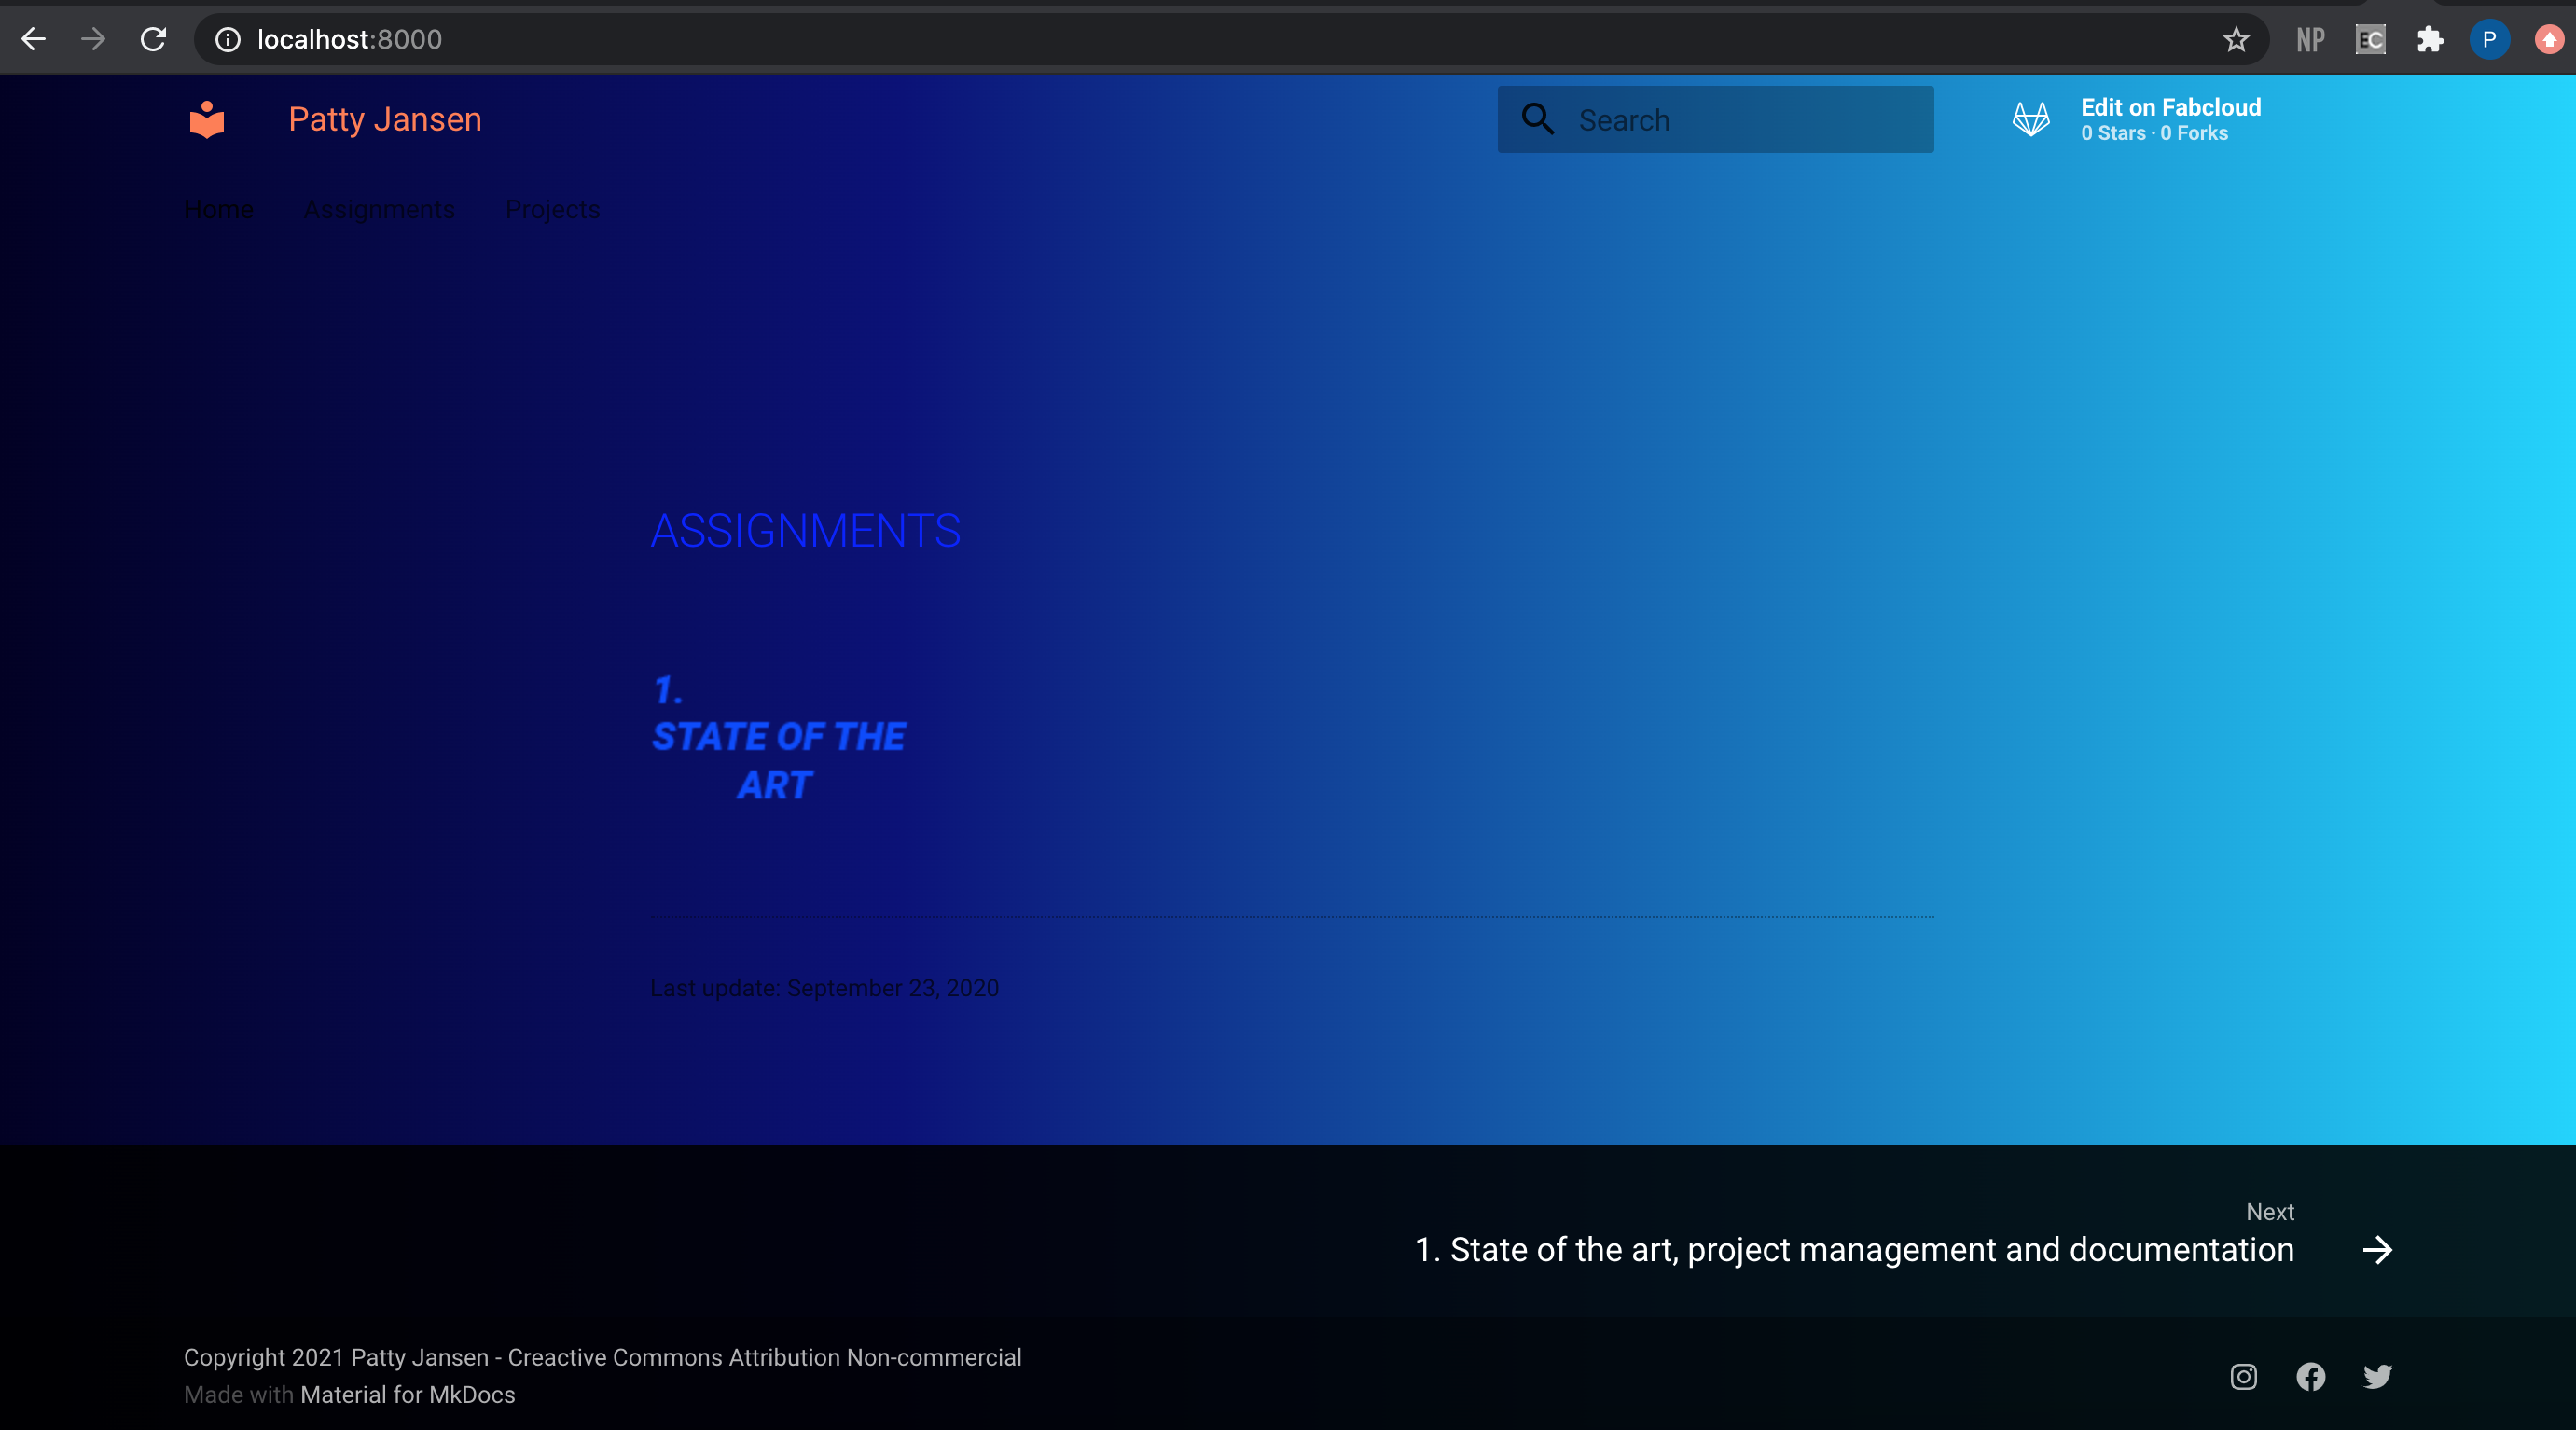
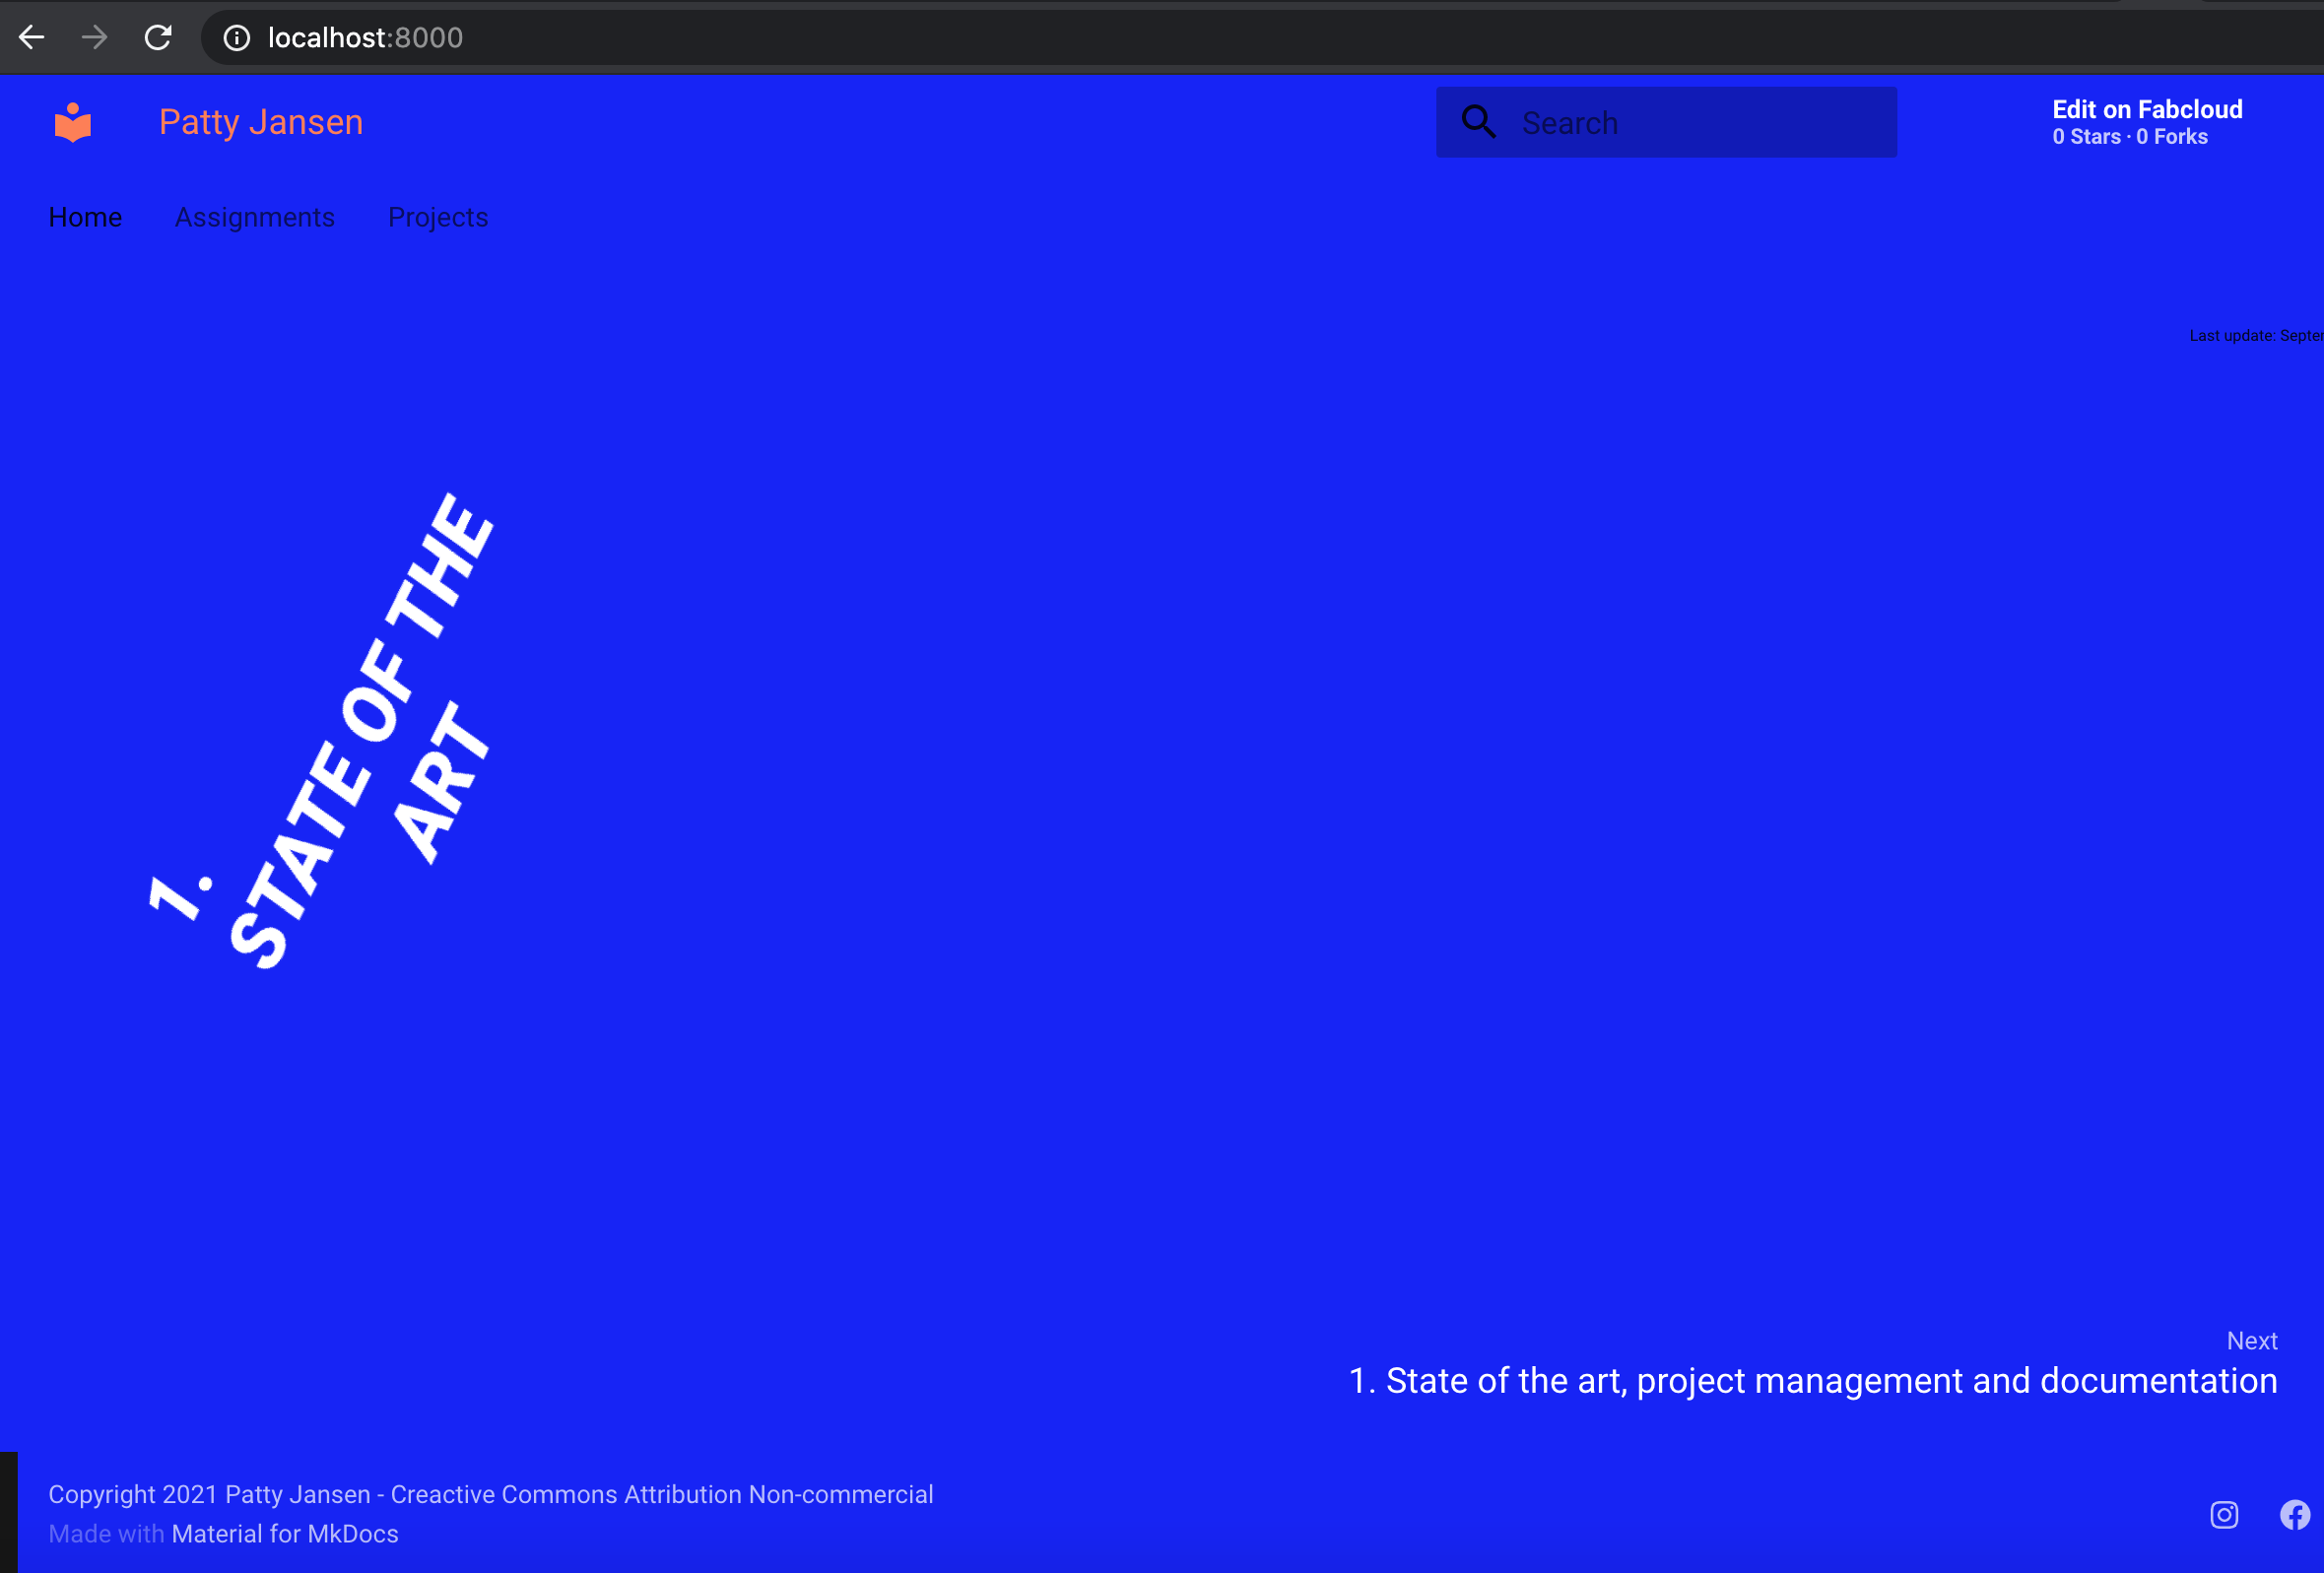
It should look a little bit like this:
Links:
- Useful documentation for installing Mkdocs
Note to self: throw away your similar but not working directories immediately - you'll be saving yourself quite some confusing moments and time
Hacking Material
CSS
After searching for the one Mkdocs theme that would knock me of my feet, I soon discovered that none of them had that potential and decided to stick to the 'Material' theme and hack in to it for a bit. I found out you can manipulate the theme by adding a css file to the docs directory and using a specific command in the Mkdocs.yml.
Add css file:
├─ docs/
│  └─ stylesheets/
│     └─ extra.css
└─ mkdocs.yml
Add command to mkdocs.yml:
extra_css:
  - stylesheets/extra.css
Links:
- Source and useful documentation for css in Mkdocs
With css it becomes more easy to manipulate the layout. Some of the stages my page has been through: