might add some things
Week07
This week, we are exploring computational design methods to approach and interpretet fashion design and design in general in a new way, using Rhino and Grashopper to generate complex and calculated designs. In other words: data becomes design.
Insert inspirational slides over here
7.1.1 Learning how to 3D print
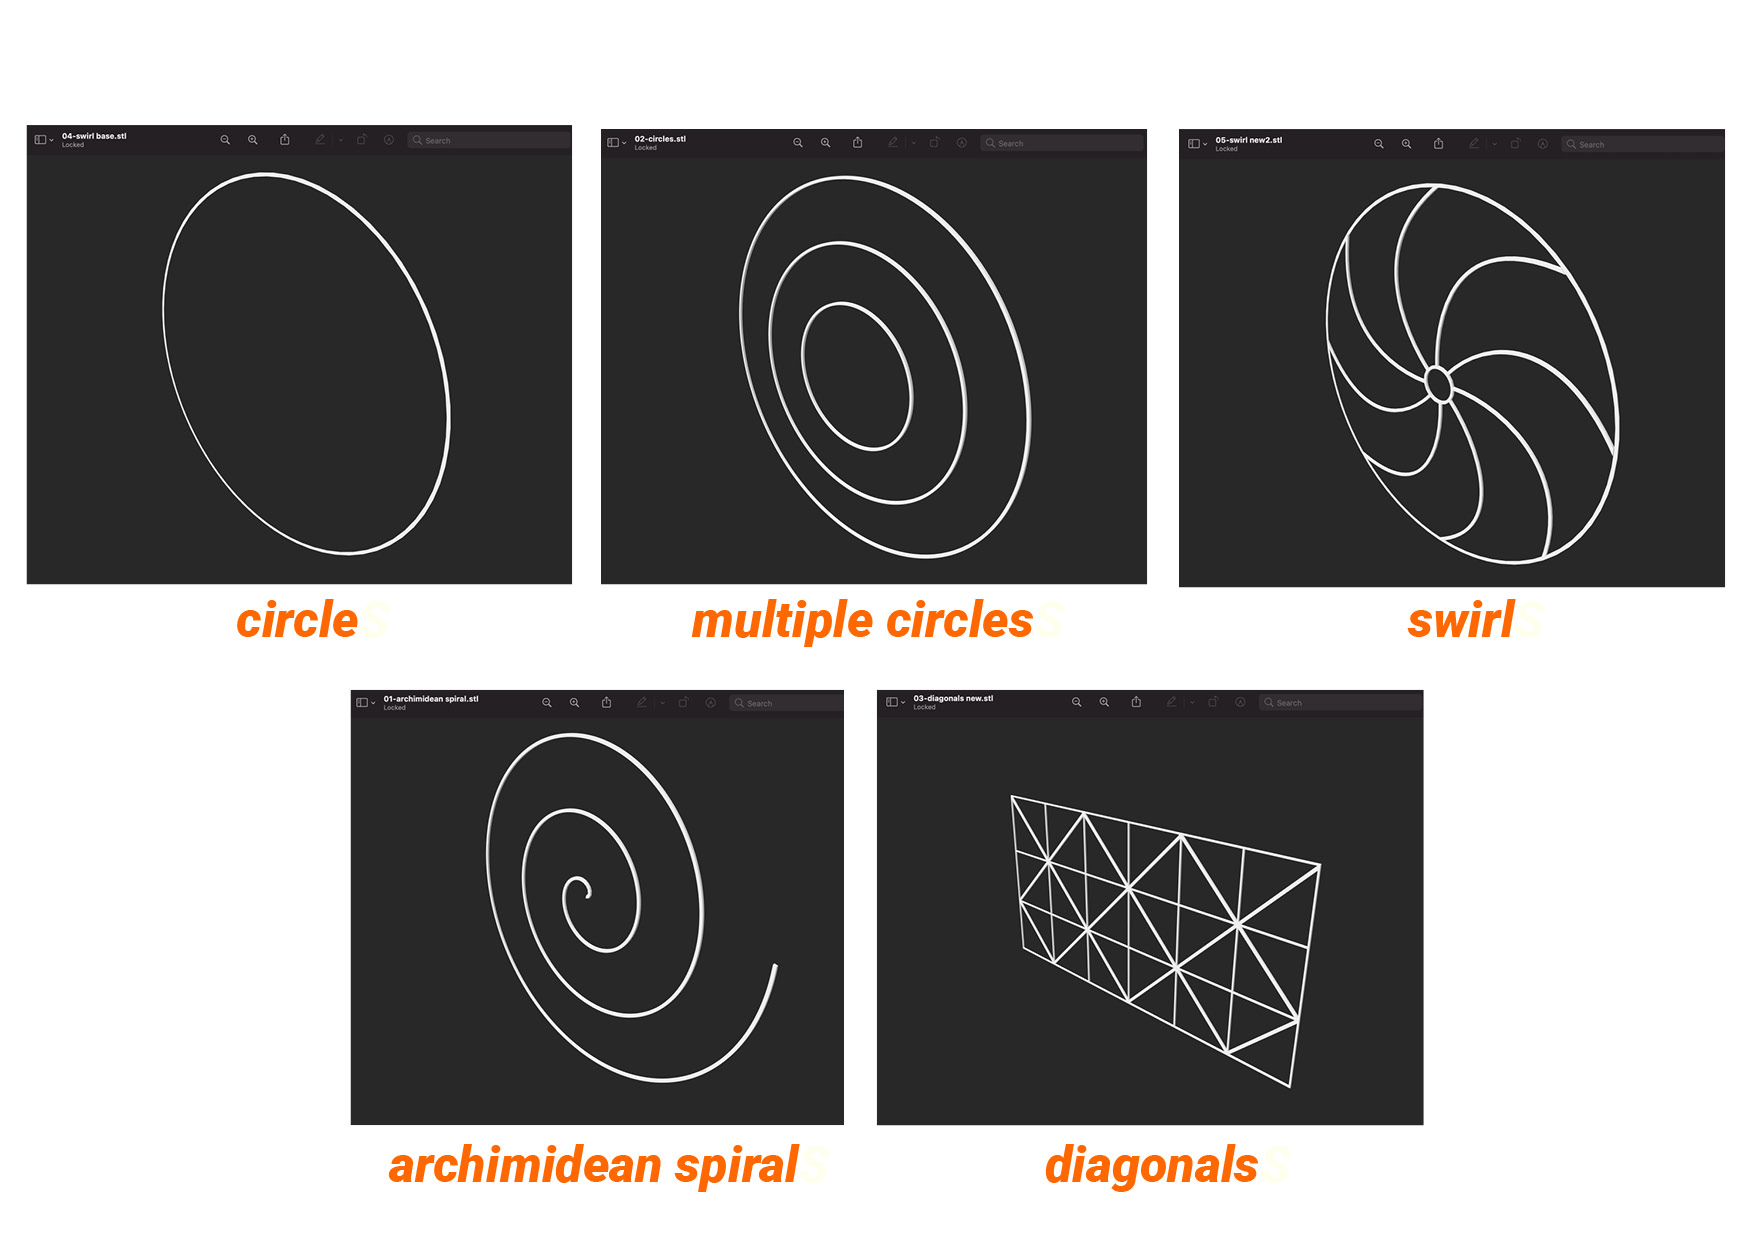
To ease into 3D printing in general, Bea send us a series of files with prefabricated shapes which, when printed on stretchy fabric, will have a certain effect.
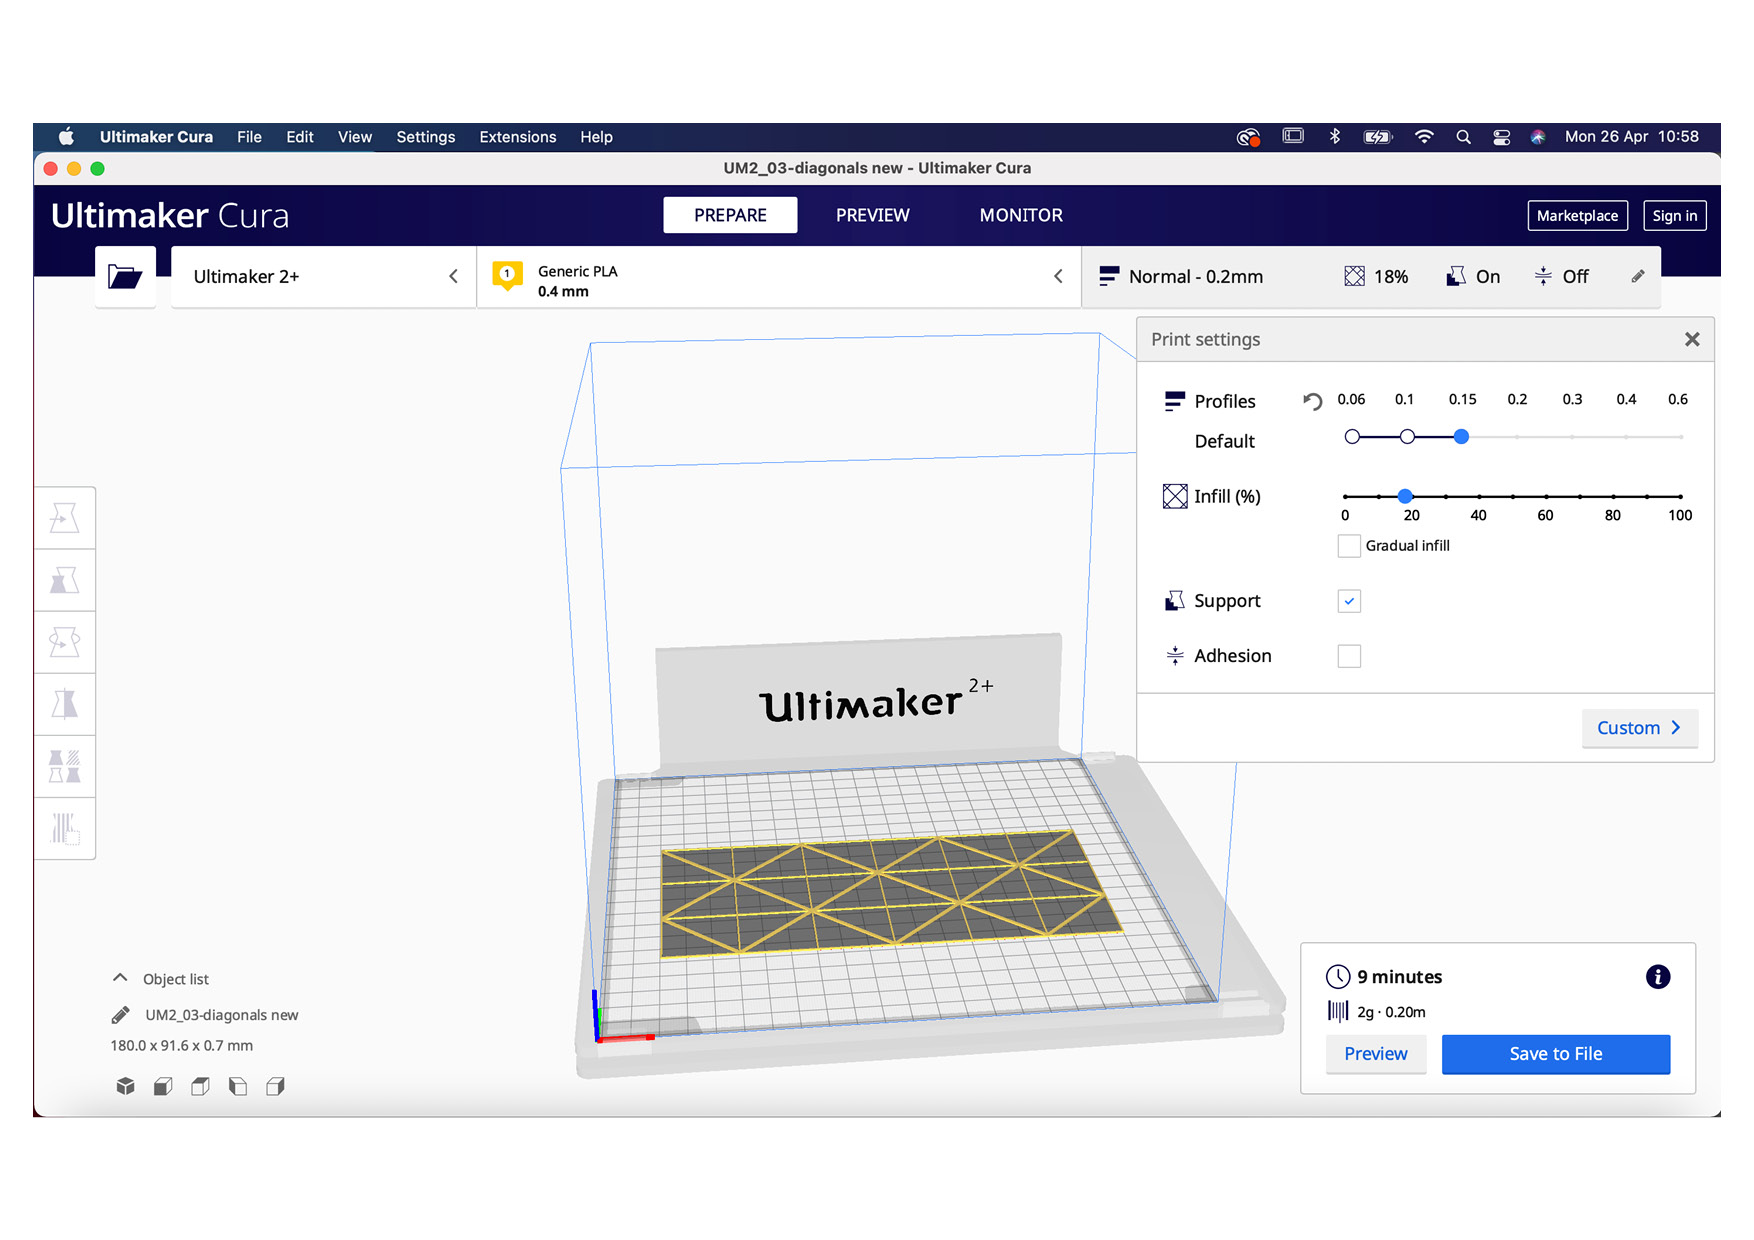
For my first tryout, I choose the diagonals. When preparing the file for the 3D printer, in this case an Ultimaker, you need to import the file first into a slicer program which will also will give an indication of how much time it takes to print your 3D file. We are using the Cura slicer which you can download online.
Before importing the file, you first select the type of printer you are using on the top left, next to that the material you are using. We used a simple green non-flexible PLA for our first try, which we printed without fabric. Once imported, you can adjust size and position of your print on the left and 3D printing settings on the right. It shows you the print basics but once you click 'custom', you can adjust a whole range of specified features which will influence the speed and quality of your print. On the bottom right you find the option 'slice' and once sliced, it will return the estimated printing time. Save your file on a micro usb stick and proceed to the 3D printer.
Before you start printing, make sure that you already selected and installed the filament you want to use. You can download your file in the 3D printer and start to set up your file concerning material, nozzle temperature, heat bed temperature and also alter features such as speed, eventhough you already specified them in the Cura slicer.
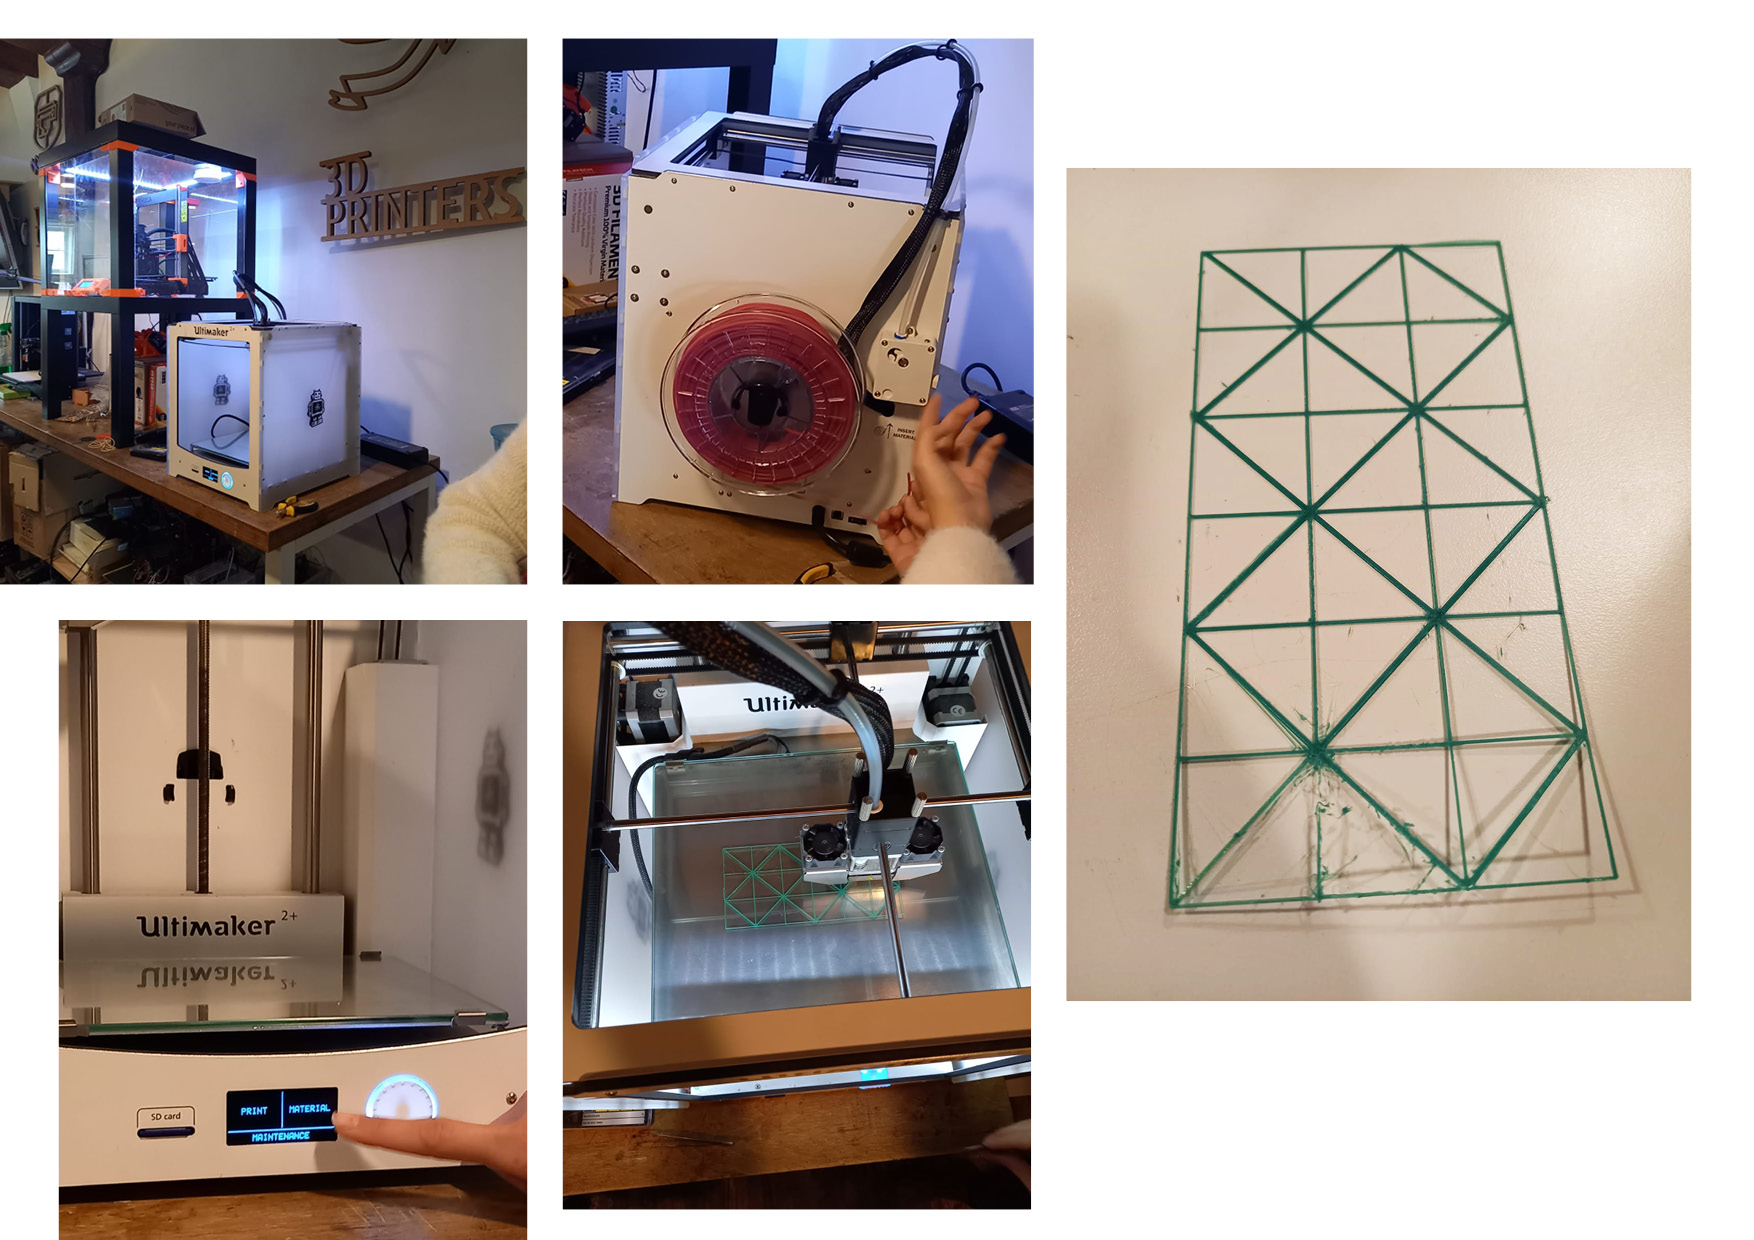
My first print started a bit unstable with the PLA not fully extruding. After that, it catched up and finished 'ok'. Next step was to print on fabric.
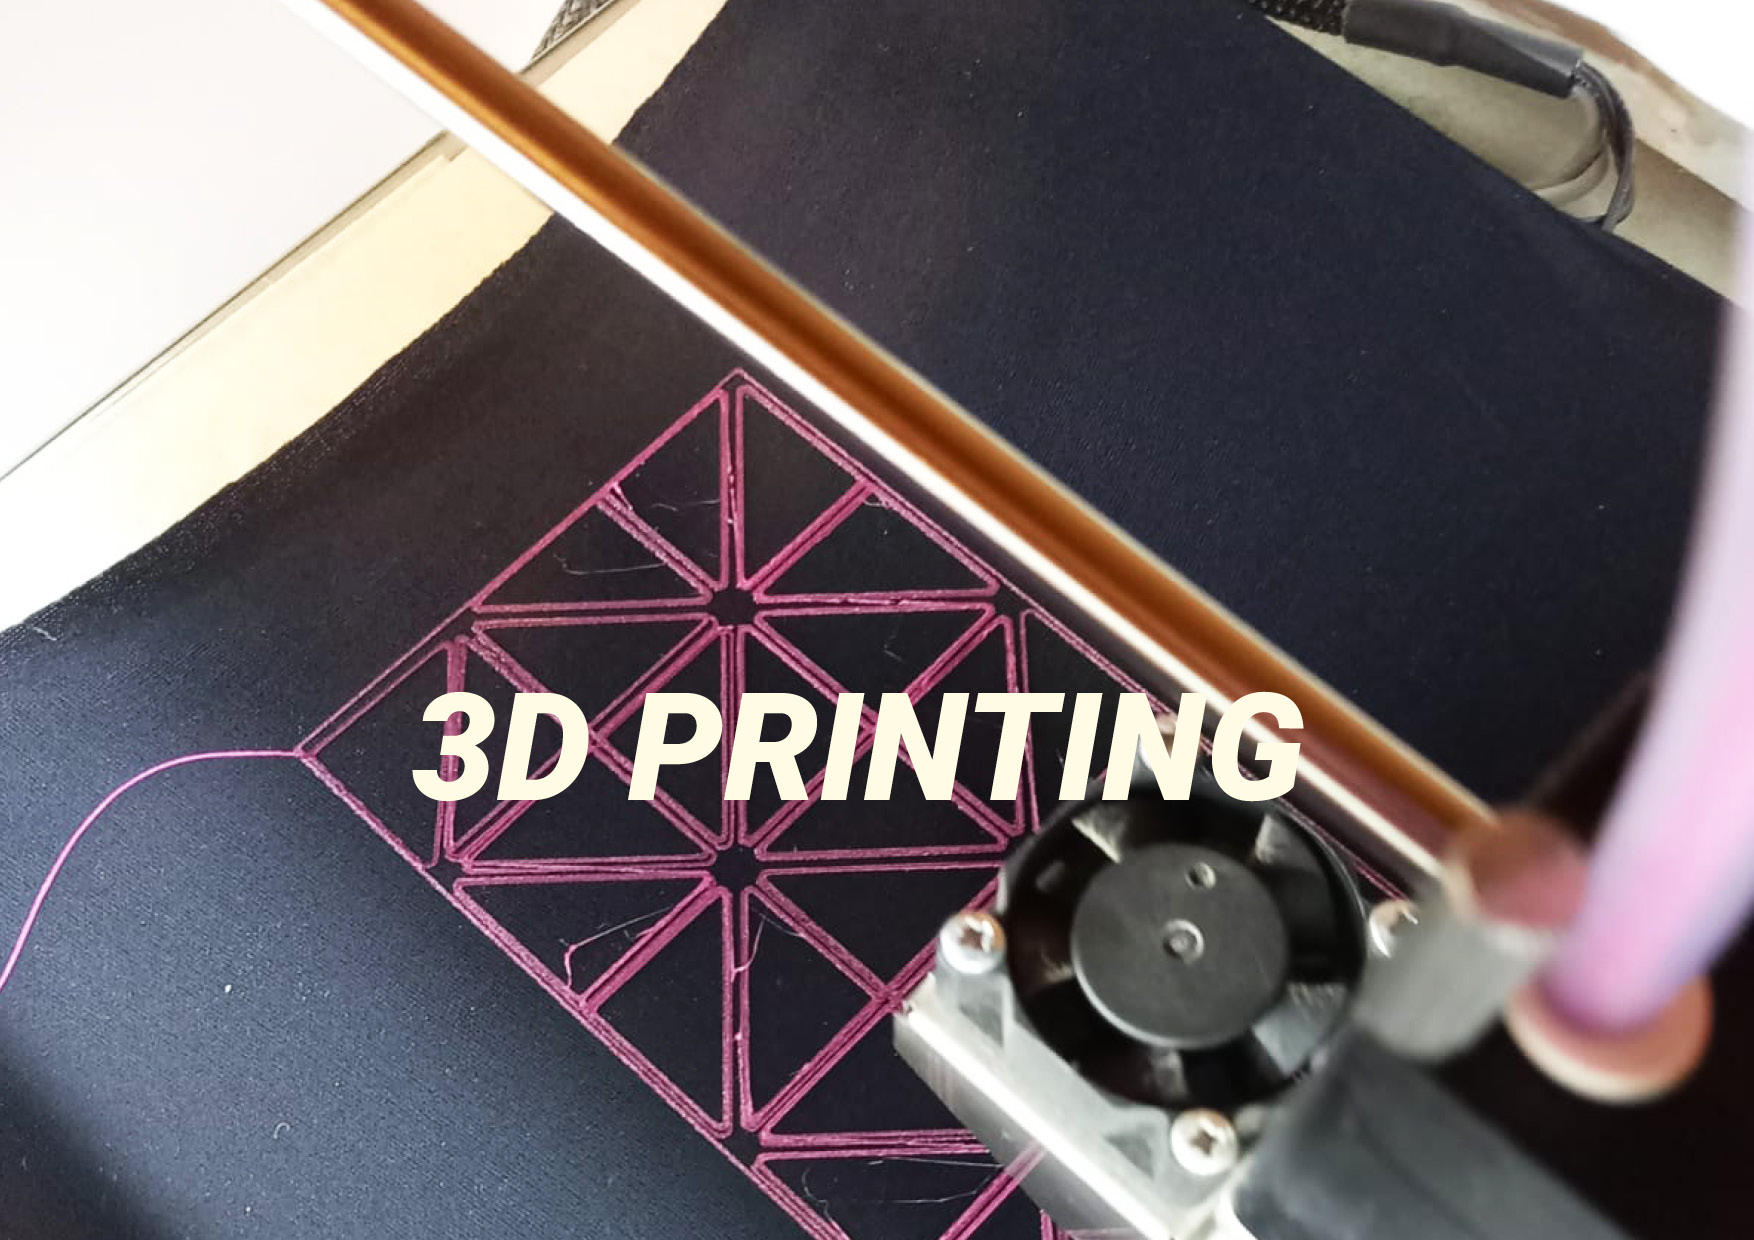
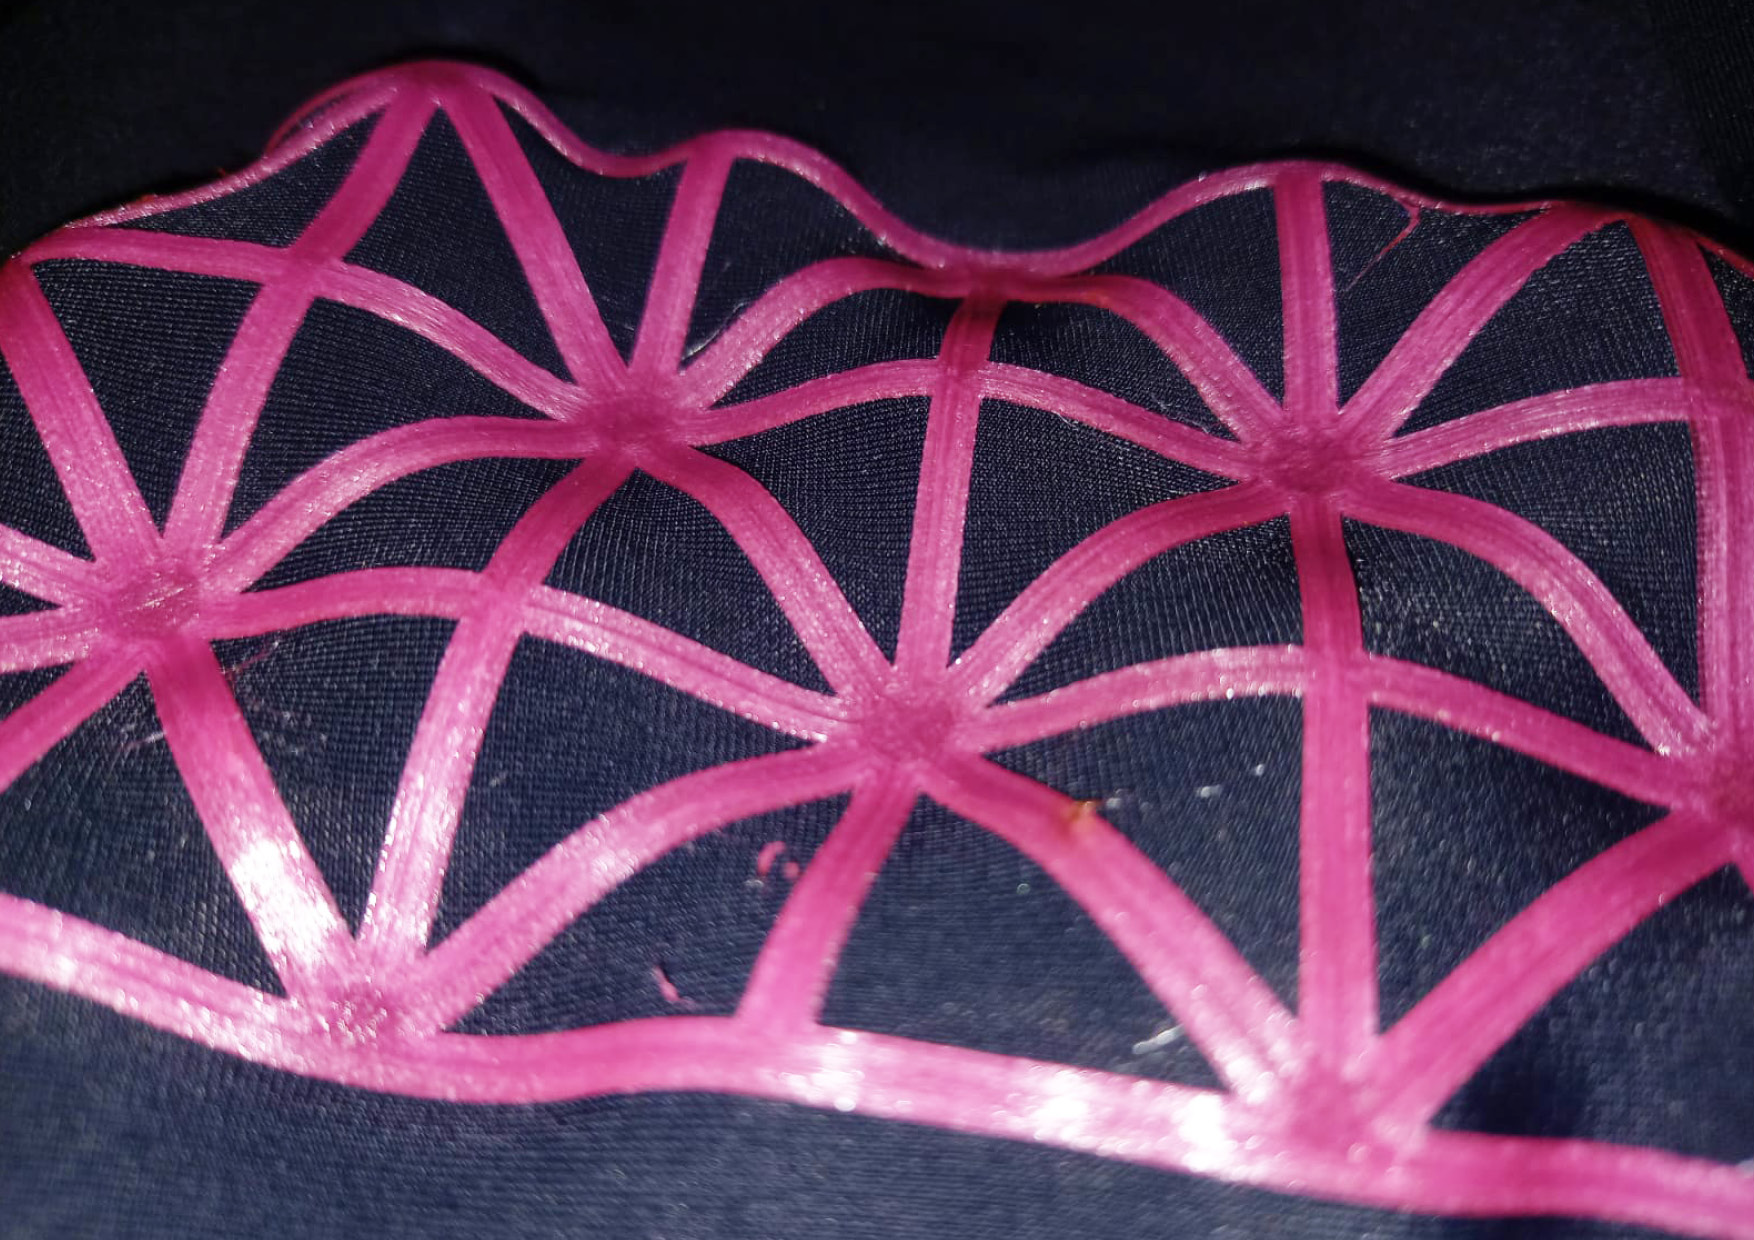
7.1.2 3D printing on fabric

To start printing on fabric, especially stretchy fabric, you need to first prepare the in this case a 4-way stretch fabric on the glass bed with tape, stretching it as much as you can and tape it onto the back. We selected a pink flexible filament and I printed the diagonals onto the fabric, which returned a nice sample on a first try.
7.2 Grasshopper
During the week, we followed the tutorials by Eugenio online. At least, we tried because learning Grasshopper through a live tutorial without being able to pause the video proved to be a real challenge. For Grasshopper, you need to take time to sit down and go through the steps one by one. I found the tutorials of Grasshopper founder David Rutten quite insightful, you can find them here.
7.2.1 Grasshopper attractor points
To create a first design through Grasshopper, I followed this tutorial on attractor points, creating a square shaped design which, before baking, can be scaled and changed through adjusting a range of parameters. I watched it once and came up with the polygon design below. In order to reproduce the steps, I would have to watch it a couple of more times. (The guy in the video says it's a fairly simple script. I wonder when I will feel the same way ;)).
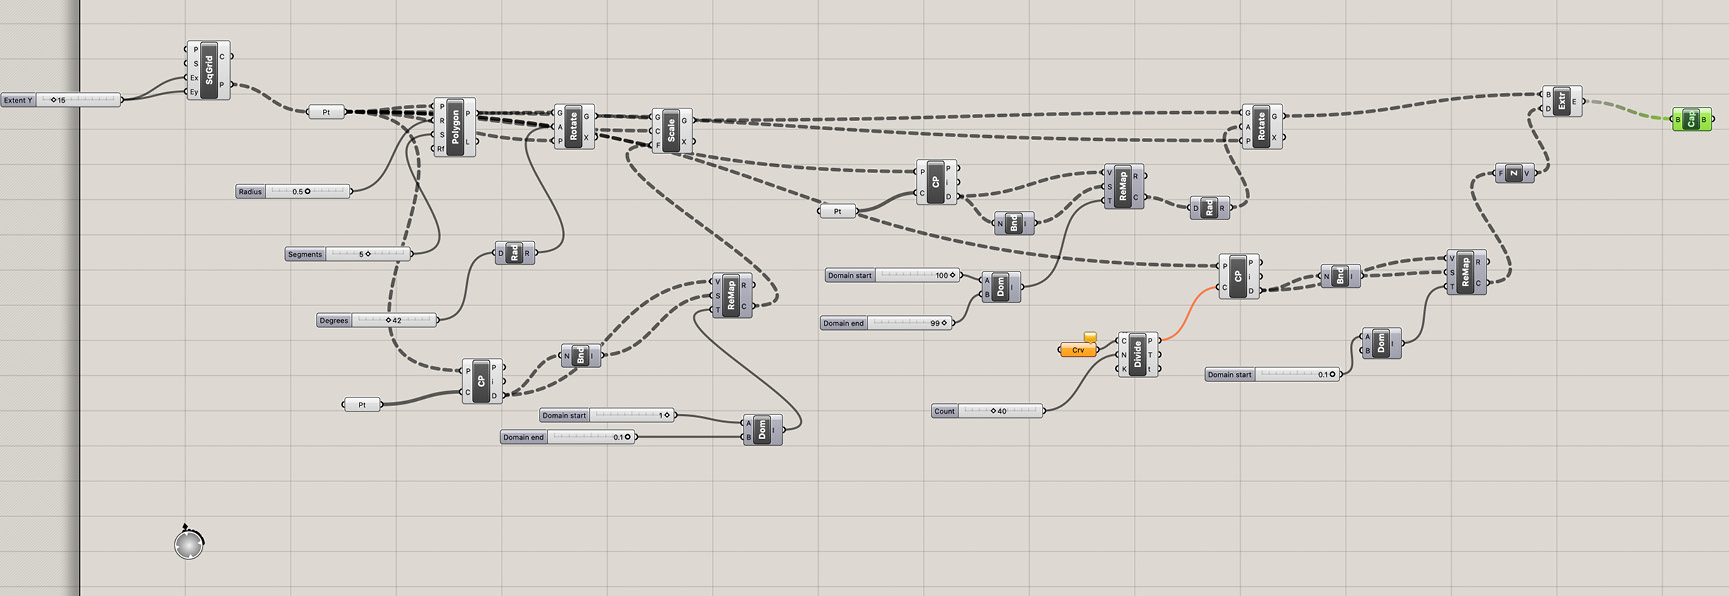 The full script in Grasshopper - credit: Patty Jansen, 2021
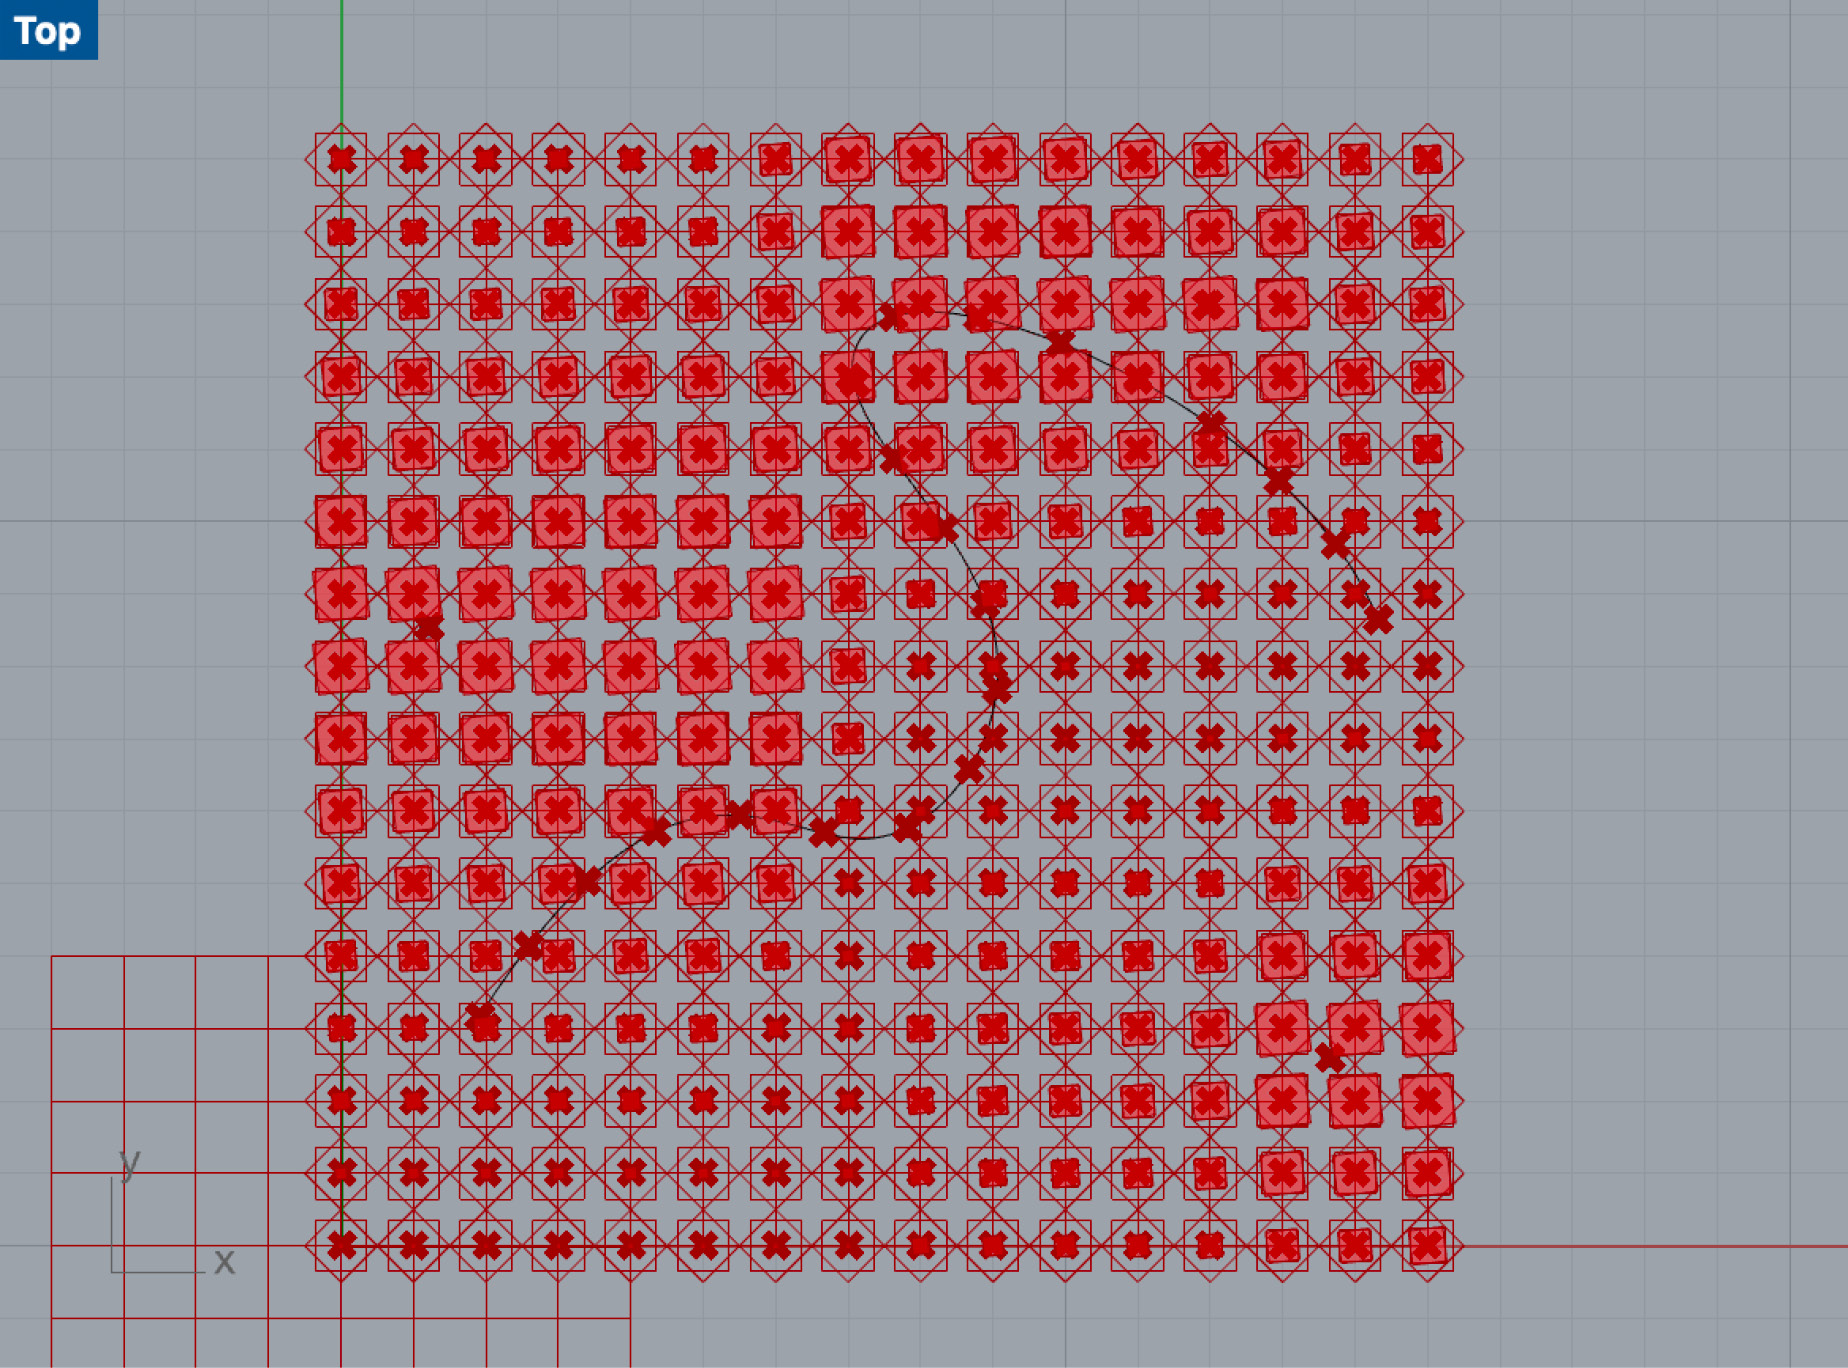
The Grasshopper script result in Rhino, square shaped - credit: Patty Jansen, 2021
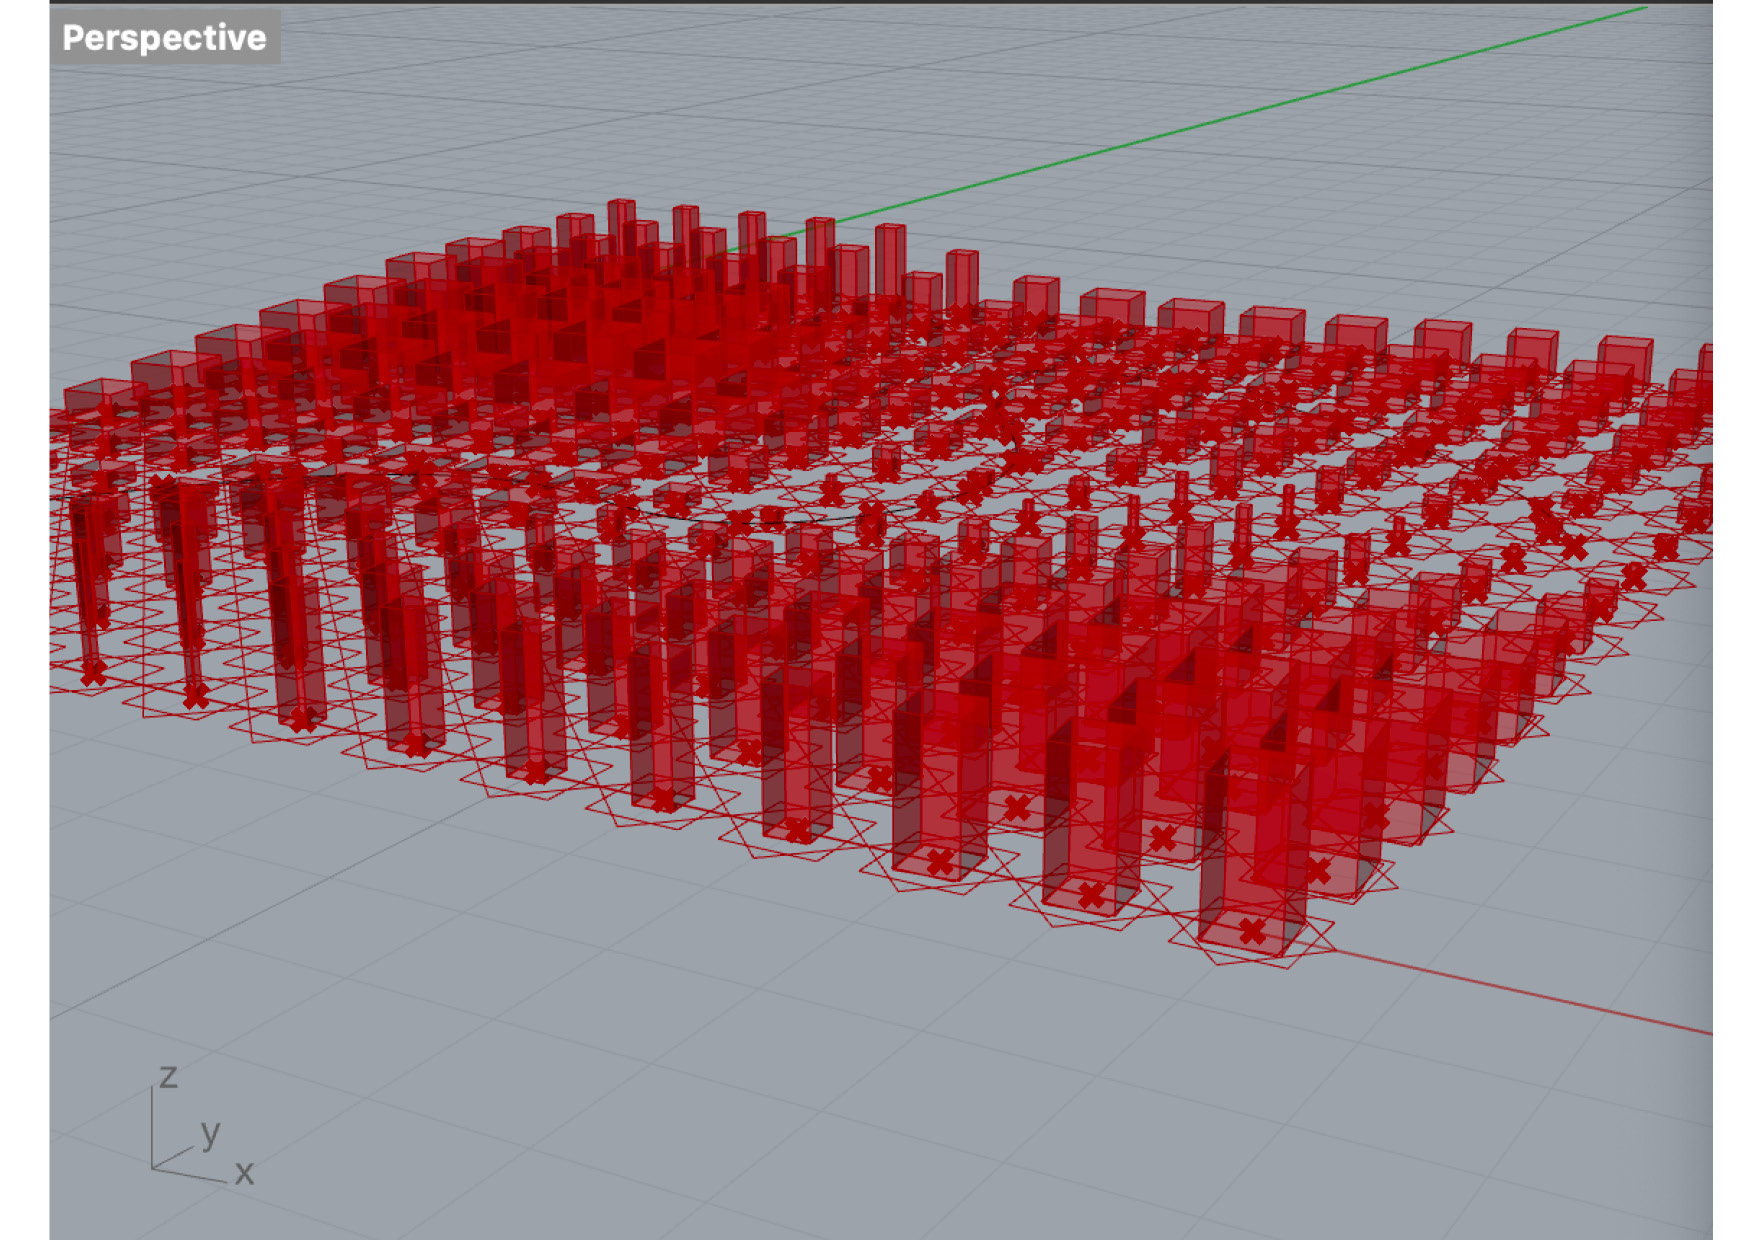
Extruded squares - credit: Patty Jansen, 2021
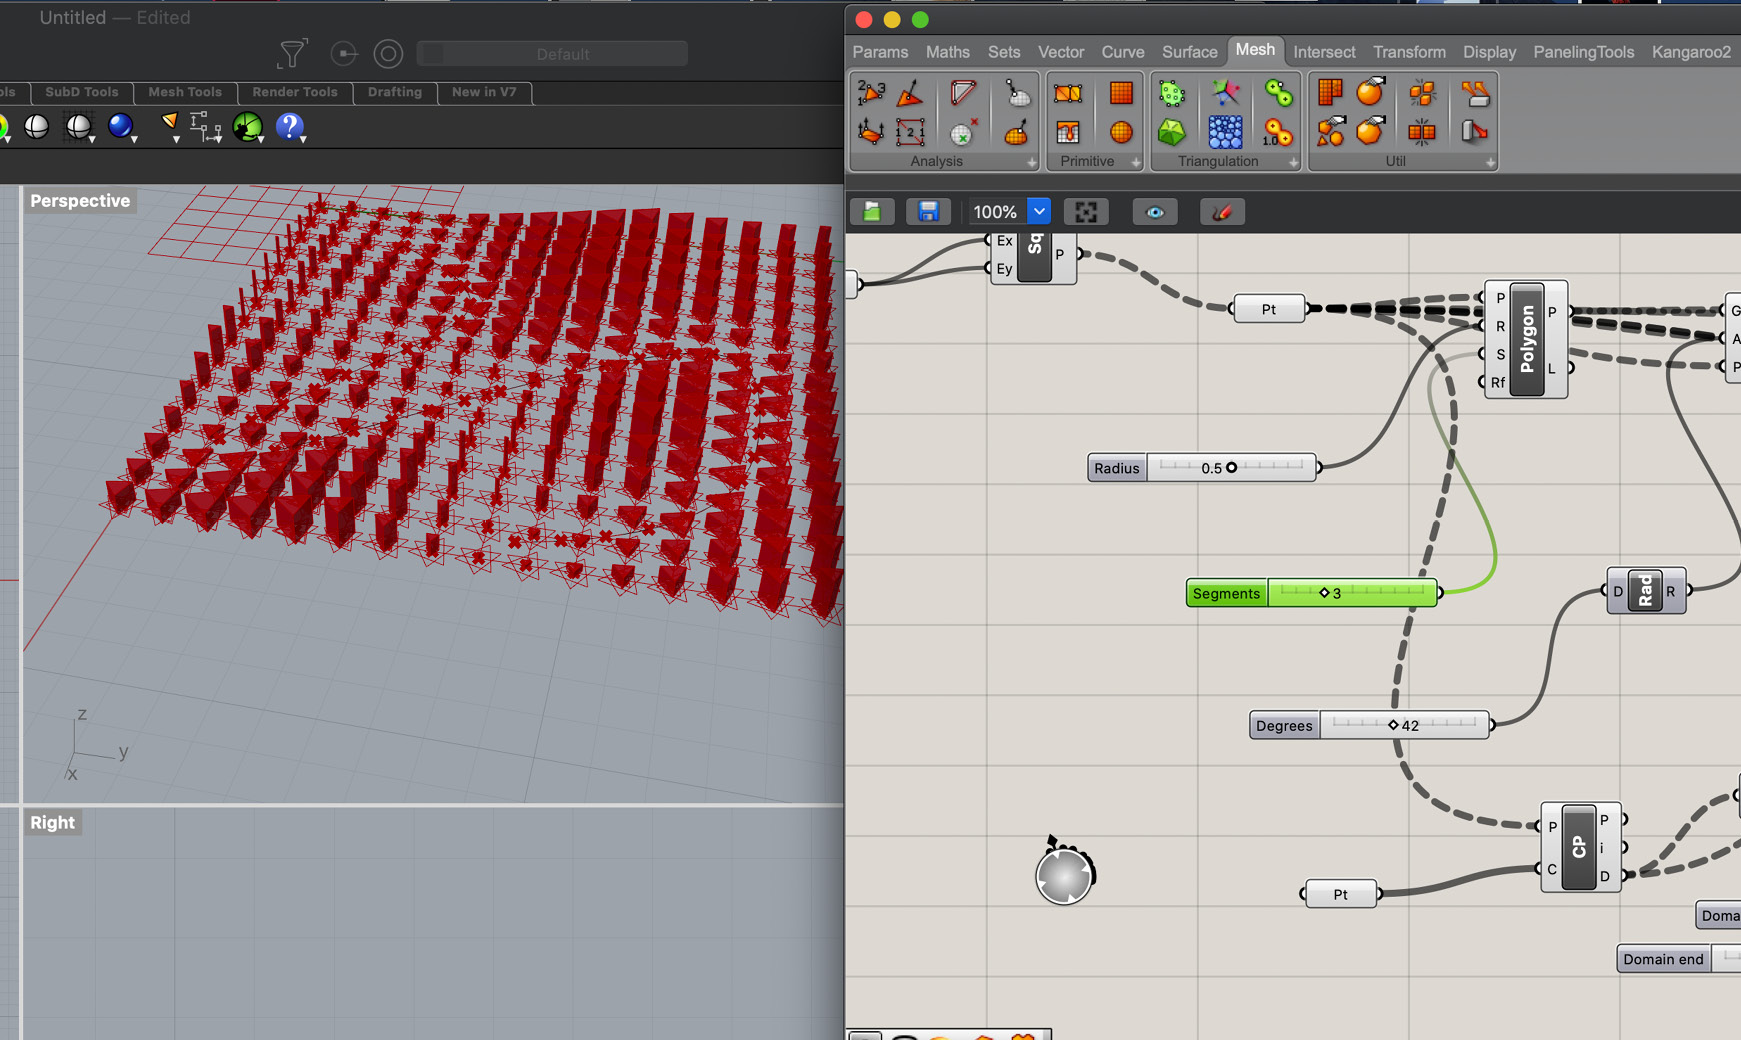
Changing the shape by adjusting the segment parameter in Grasshoper - credit: Patty Jansen, 2021
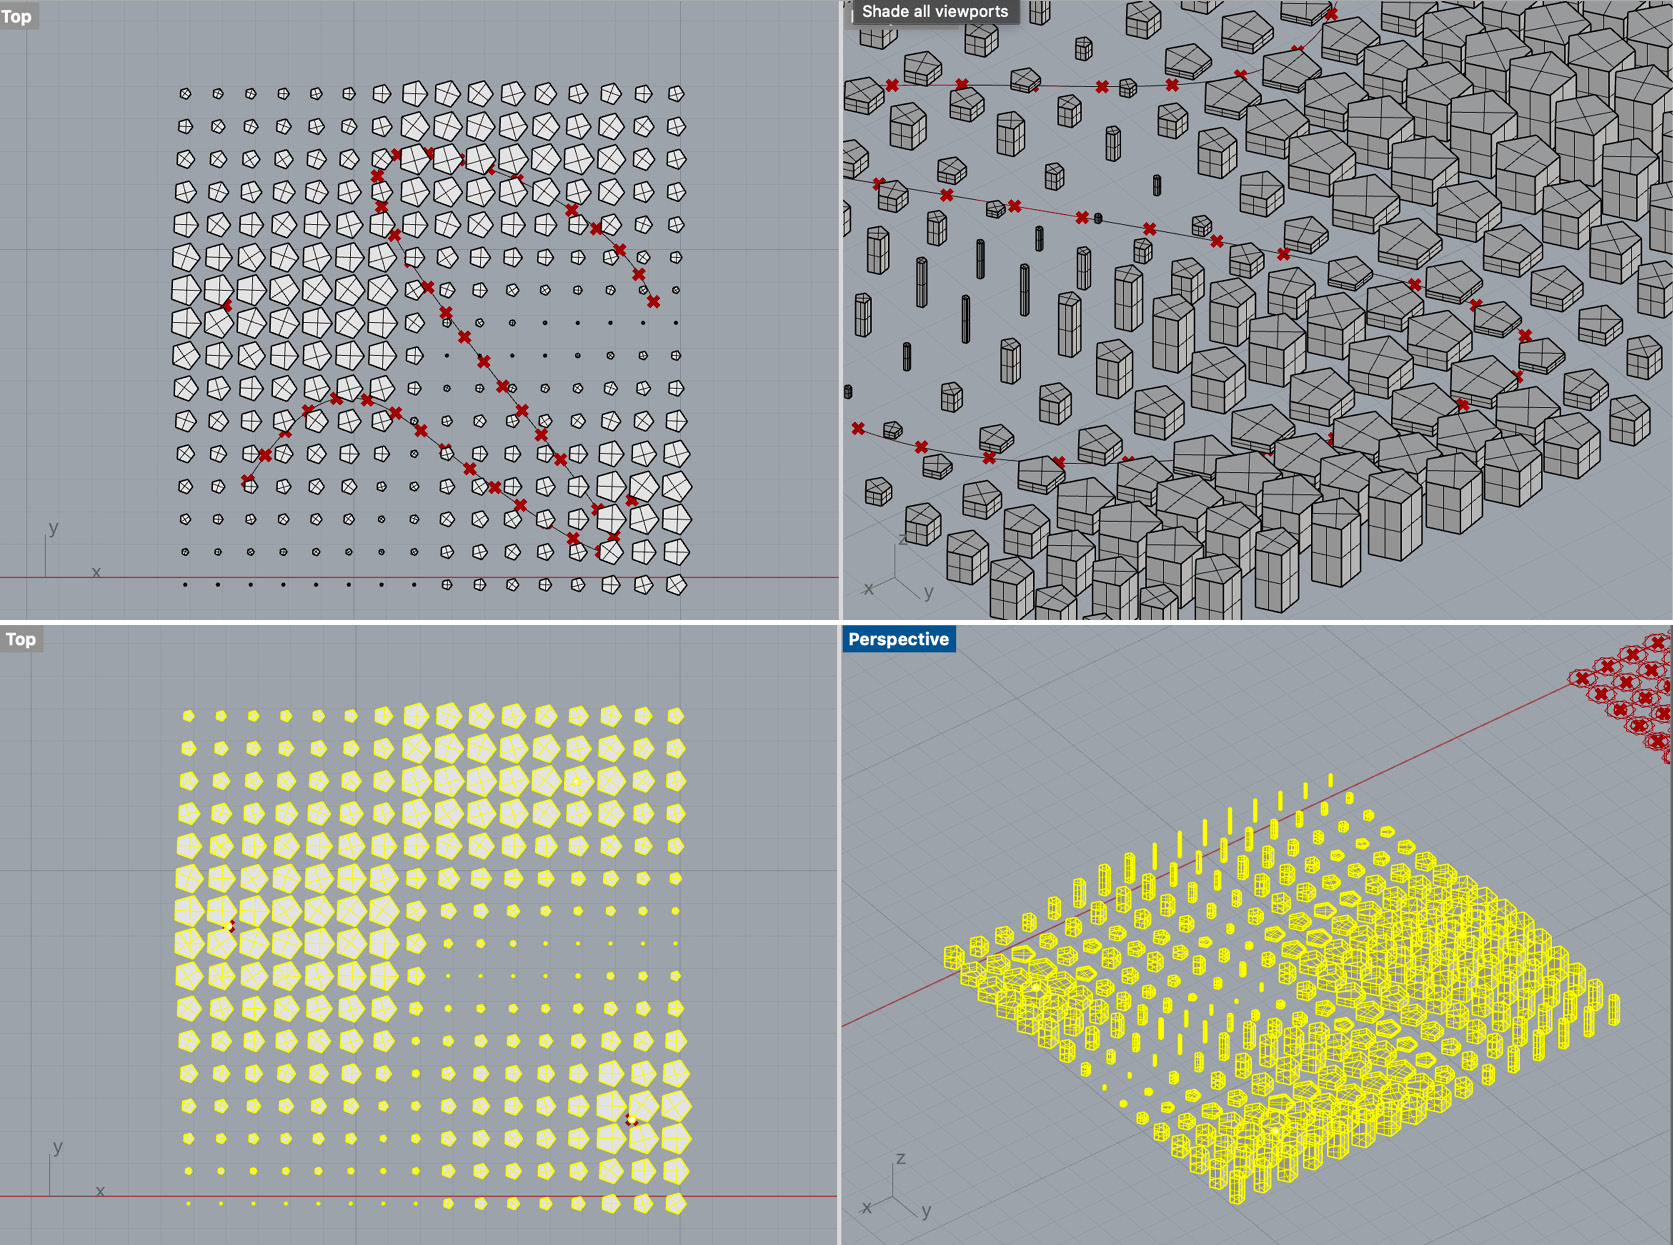
Baking the final design - credit: Patty Jansen, 2021
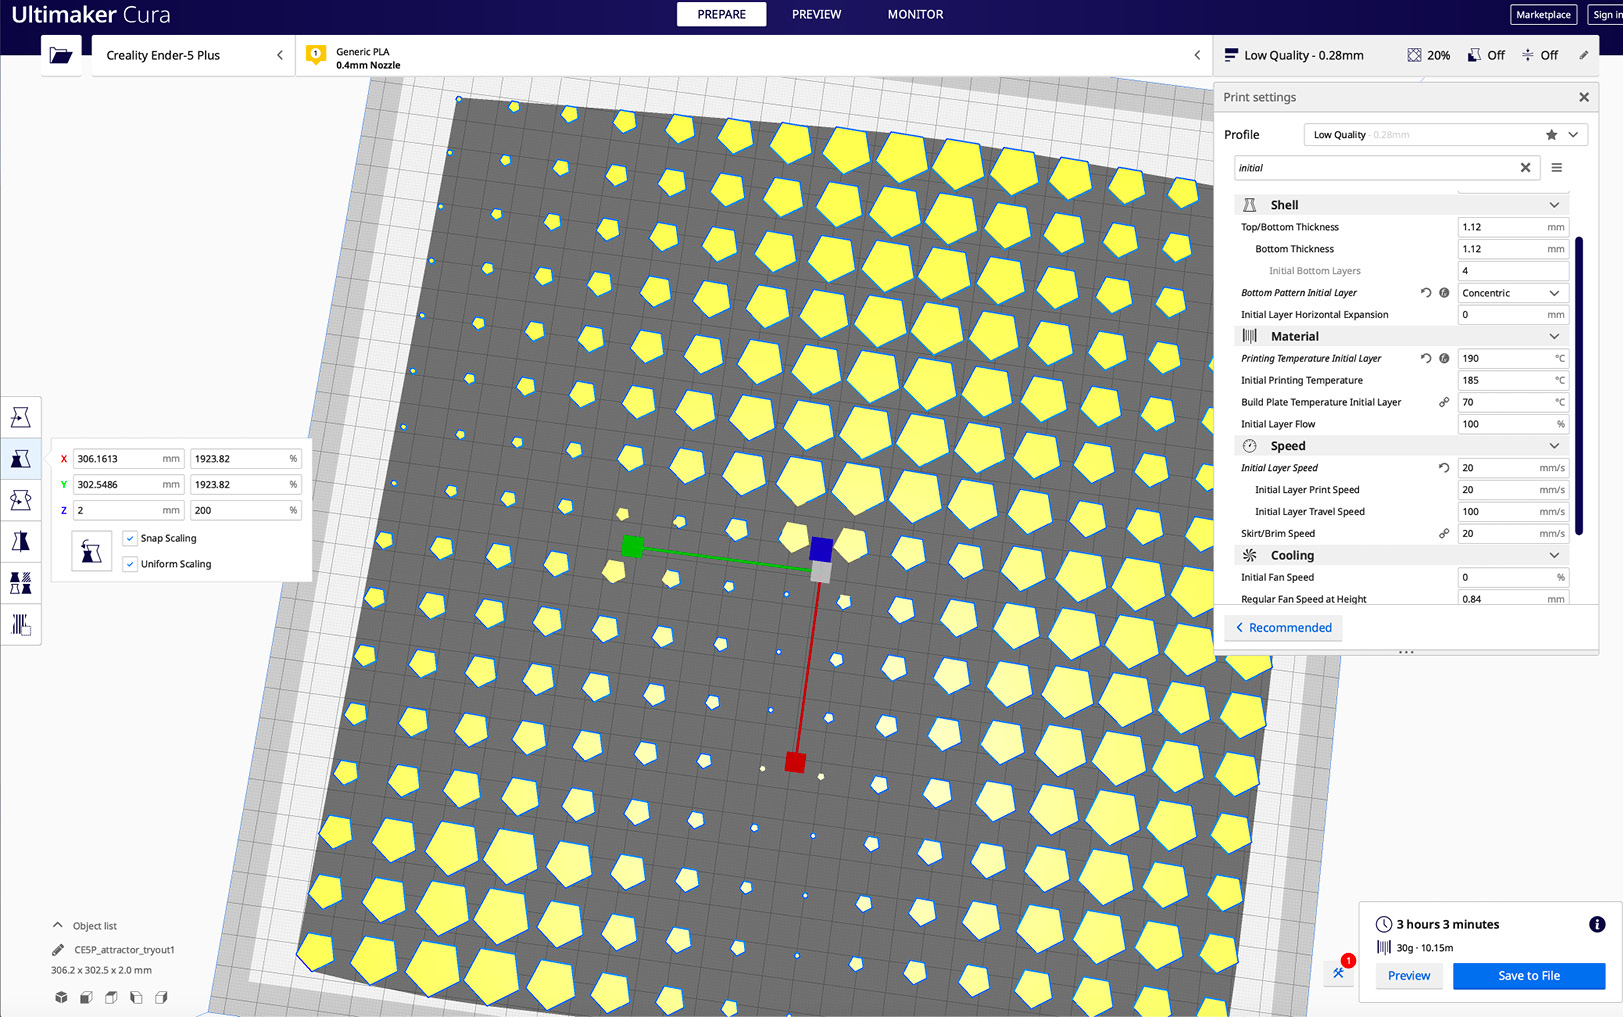
Preparing the file for the 3D printer - credit: Patty Jansen, 2021
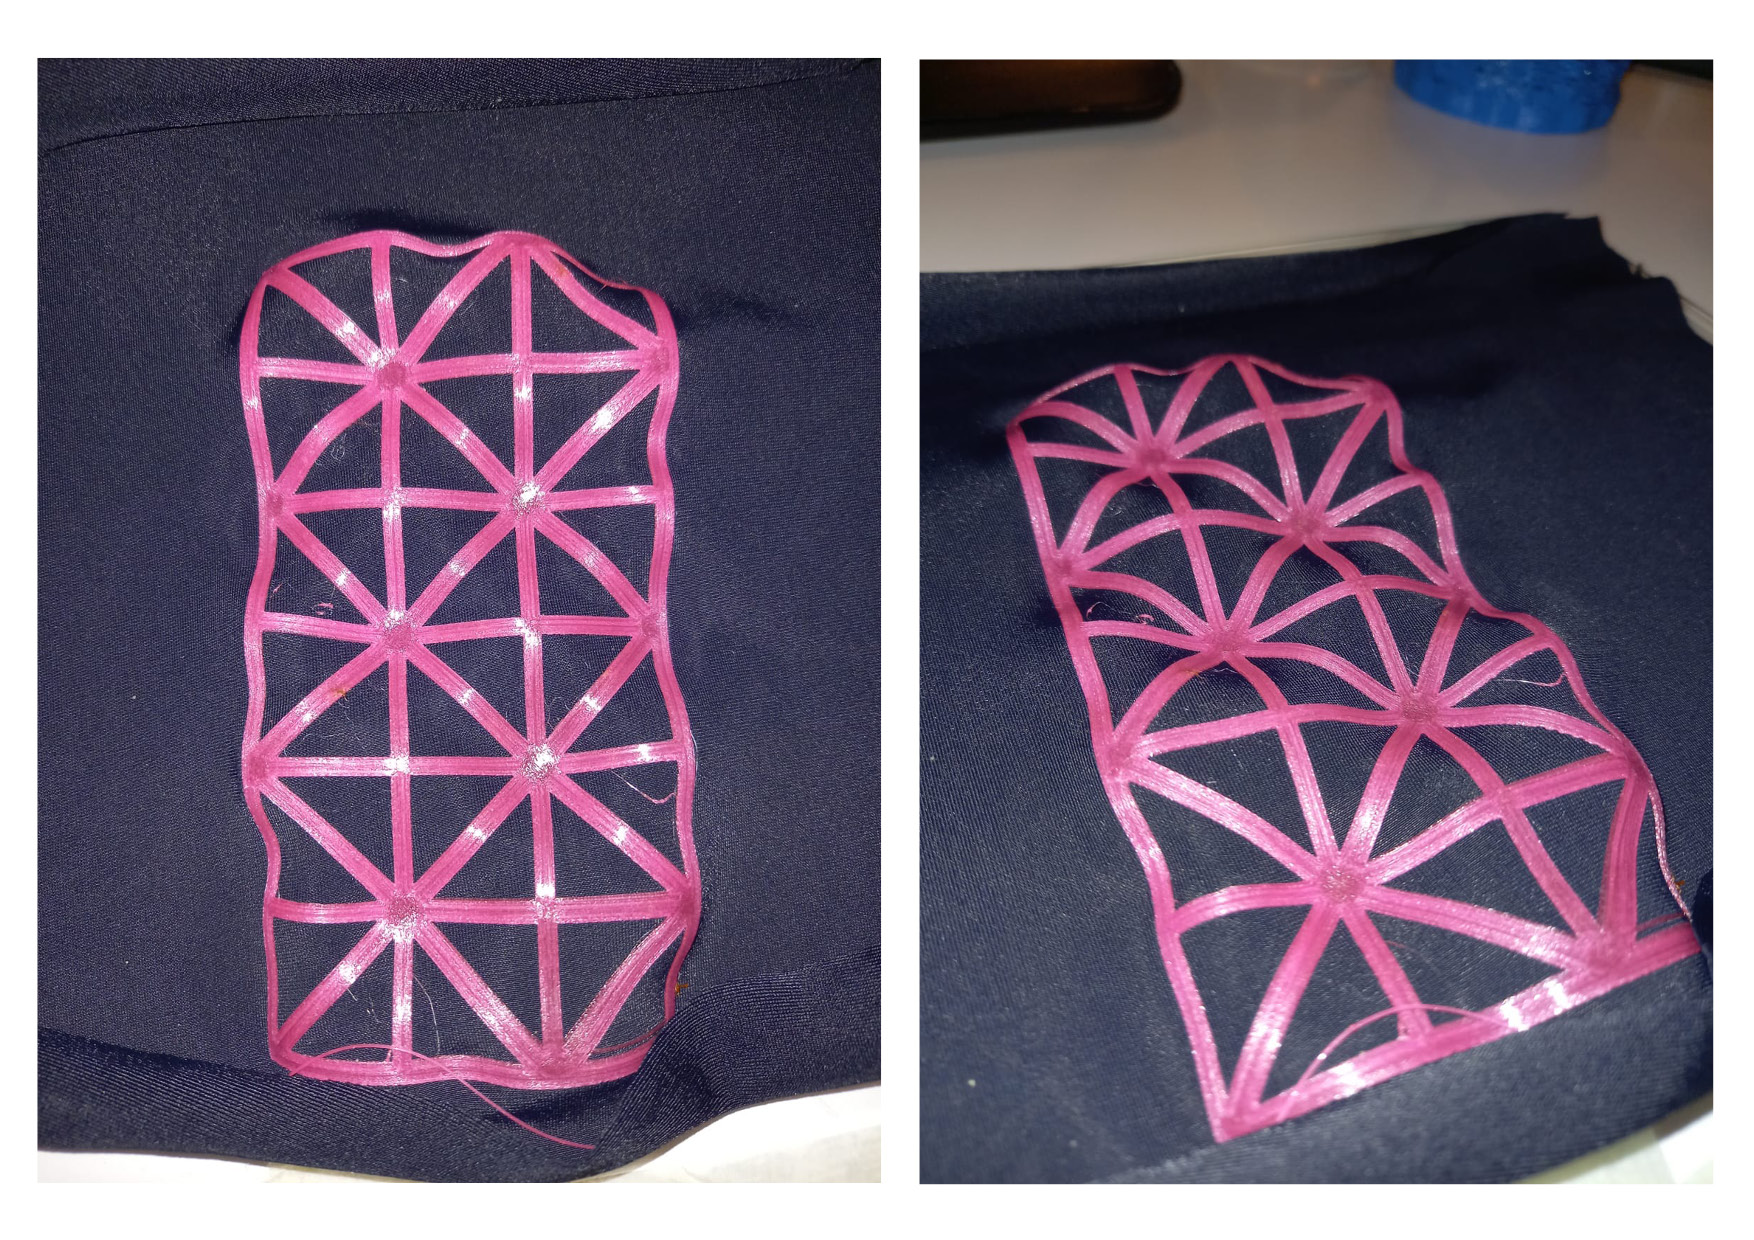
I decided to 3D print on a blue tule. To really stick the 3D print to the fabric, you need to first print one layer, pause the 3D printer, secure the fabric on the heat bed and continue printing. It's possible to generate a file with a pausing instruction in Cura but unfortunately, my 3D printer did not pick up on that and continued printing so I had to pause it manually.
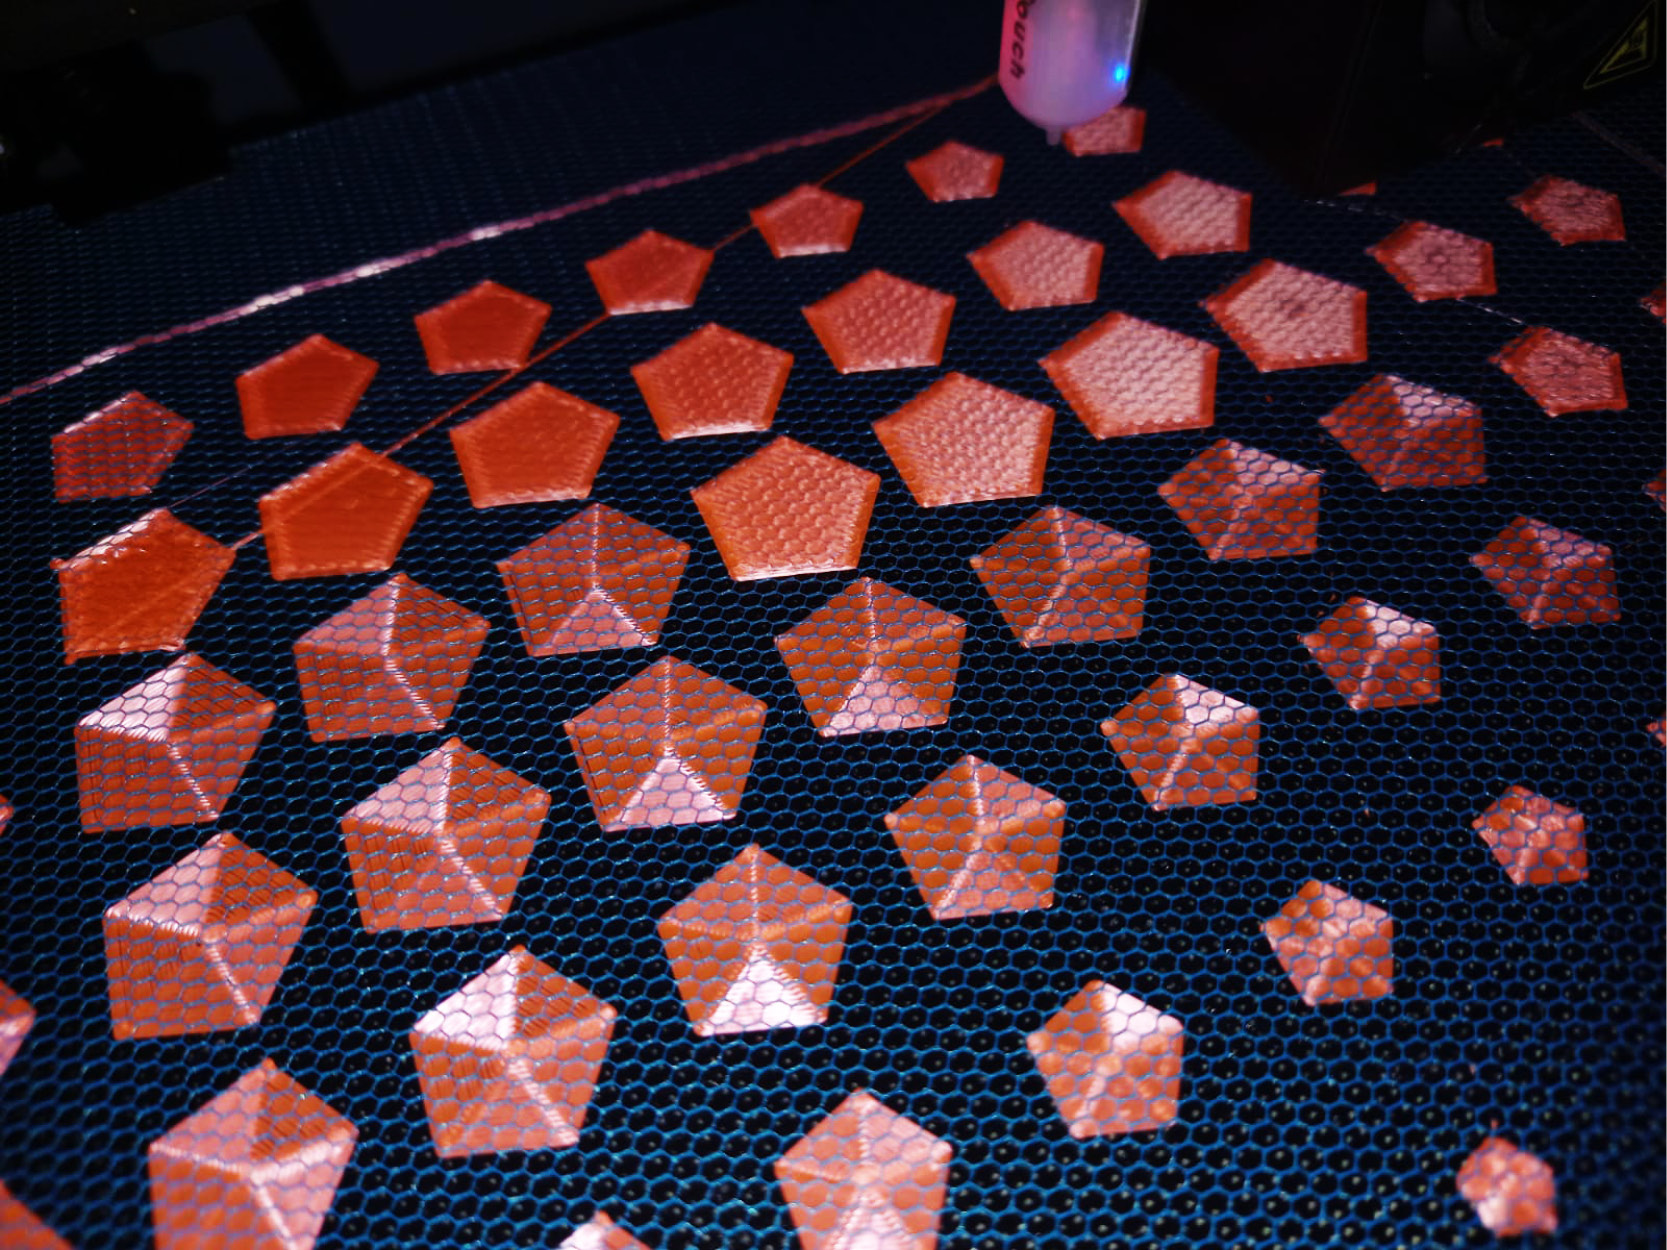
3D printing, detail shot - credit: Patty Jansen, 2021
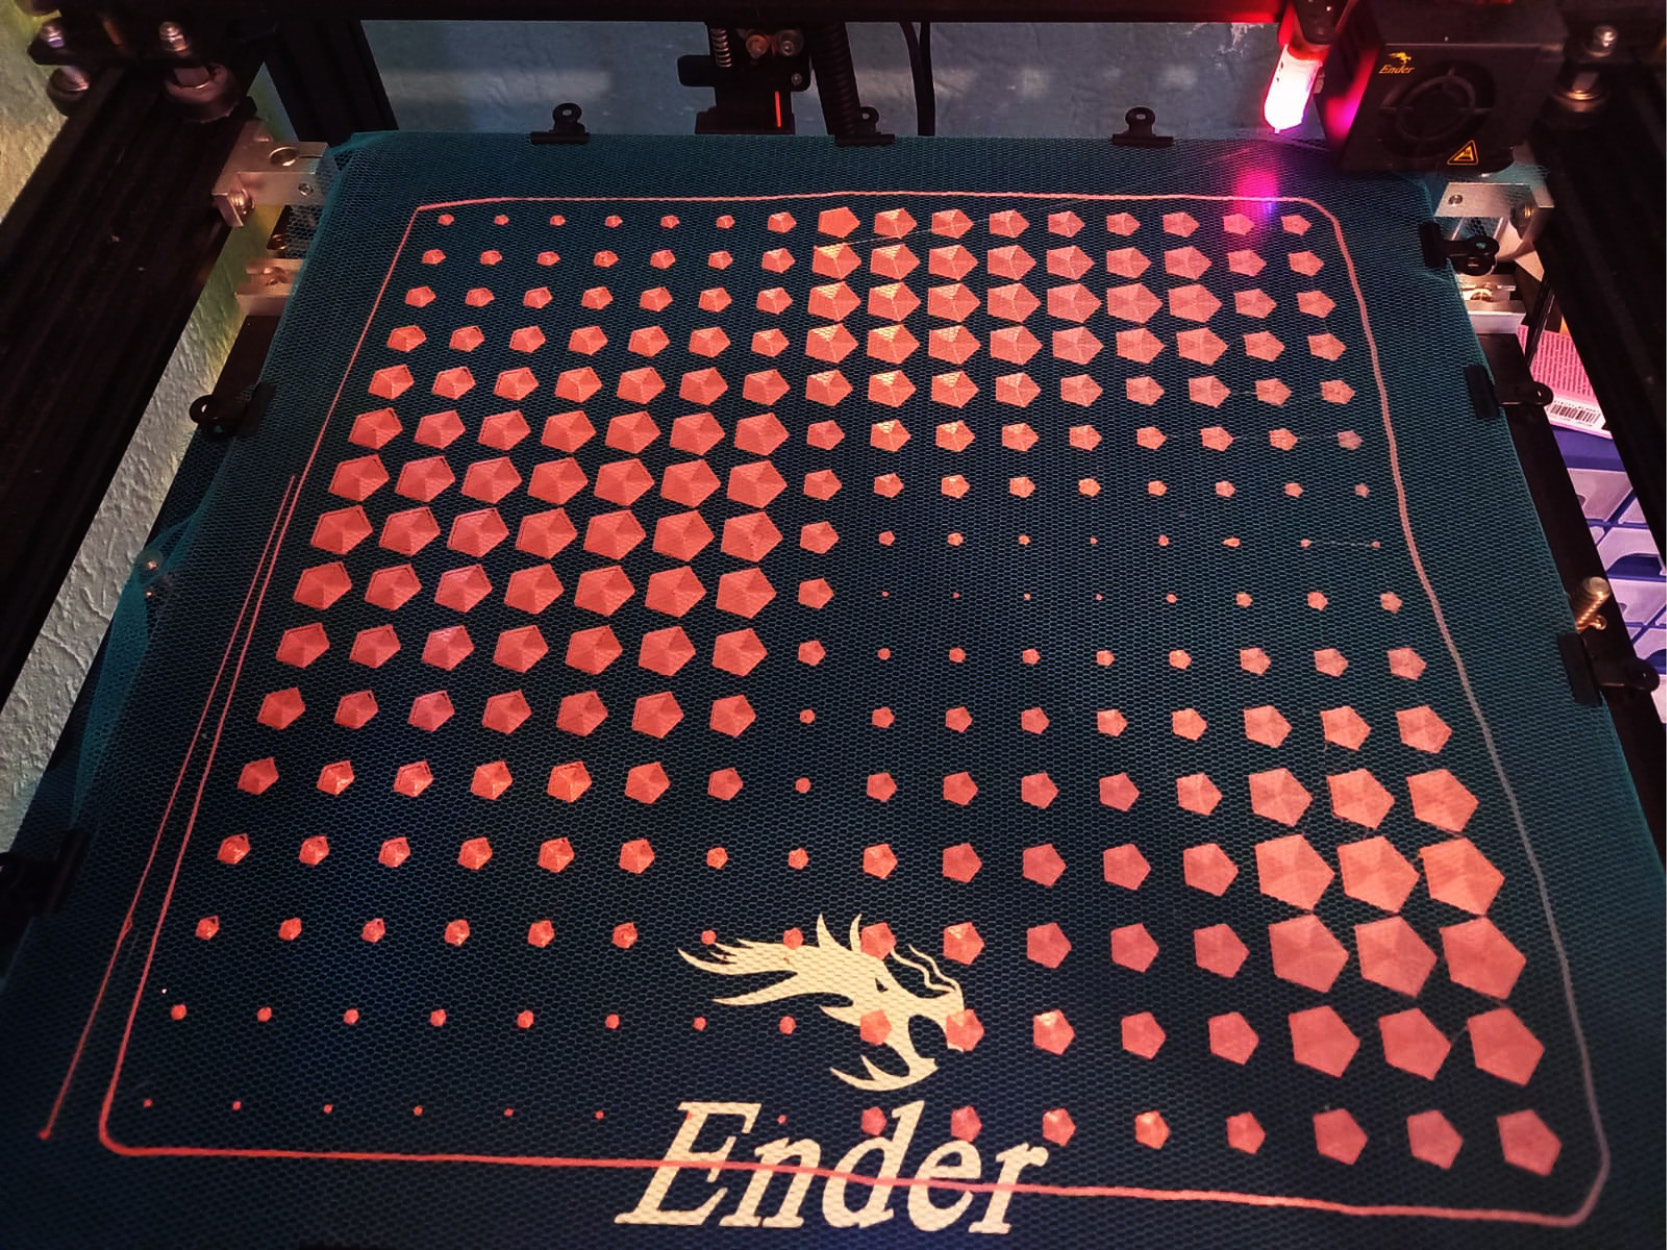
Final result - credit: Patty Jansen, 2021
Important mental note:
Make sure to double-check the height of the lowest shapes in the Cura slicer. I missed this step and some of the polygons consist of only 1 layer, meaning the fabric now lies on top of them. You want all of the polygons to layer on top of the fabric as well.
Have to add:
final shot of end result (fabric only)
maybe another good attempt
Useful links
Code Example
Use the three backticks to separate code.
// the setup function runs once when you press reset or power the board
void setup() {
  // initialize digital pin LED_BUILTIN as an output.
  pinMode(LED_BUILTIN, OUTPUT);
}

// the loop function runs over and over again forever
void loop() {
  digitalWrite(LED_BUILTIN, HIGH);   // turn the LED on (HIGH is the voltage level)
  delay(1000);                       // wait for a second
  digitalWrite(LED_BUILTIN, LOW);    // turn the LED off by making the voltage LOW
  delay(1000);                       // wait for a second
}
Gallery

Video
From Vimeo
Sound Waves from George Gally (Radarboy) on Vimeo.