Week12
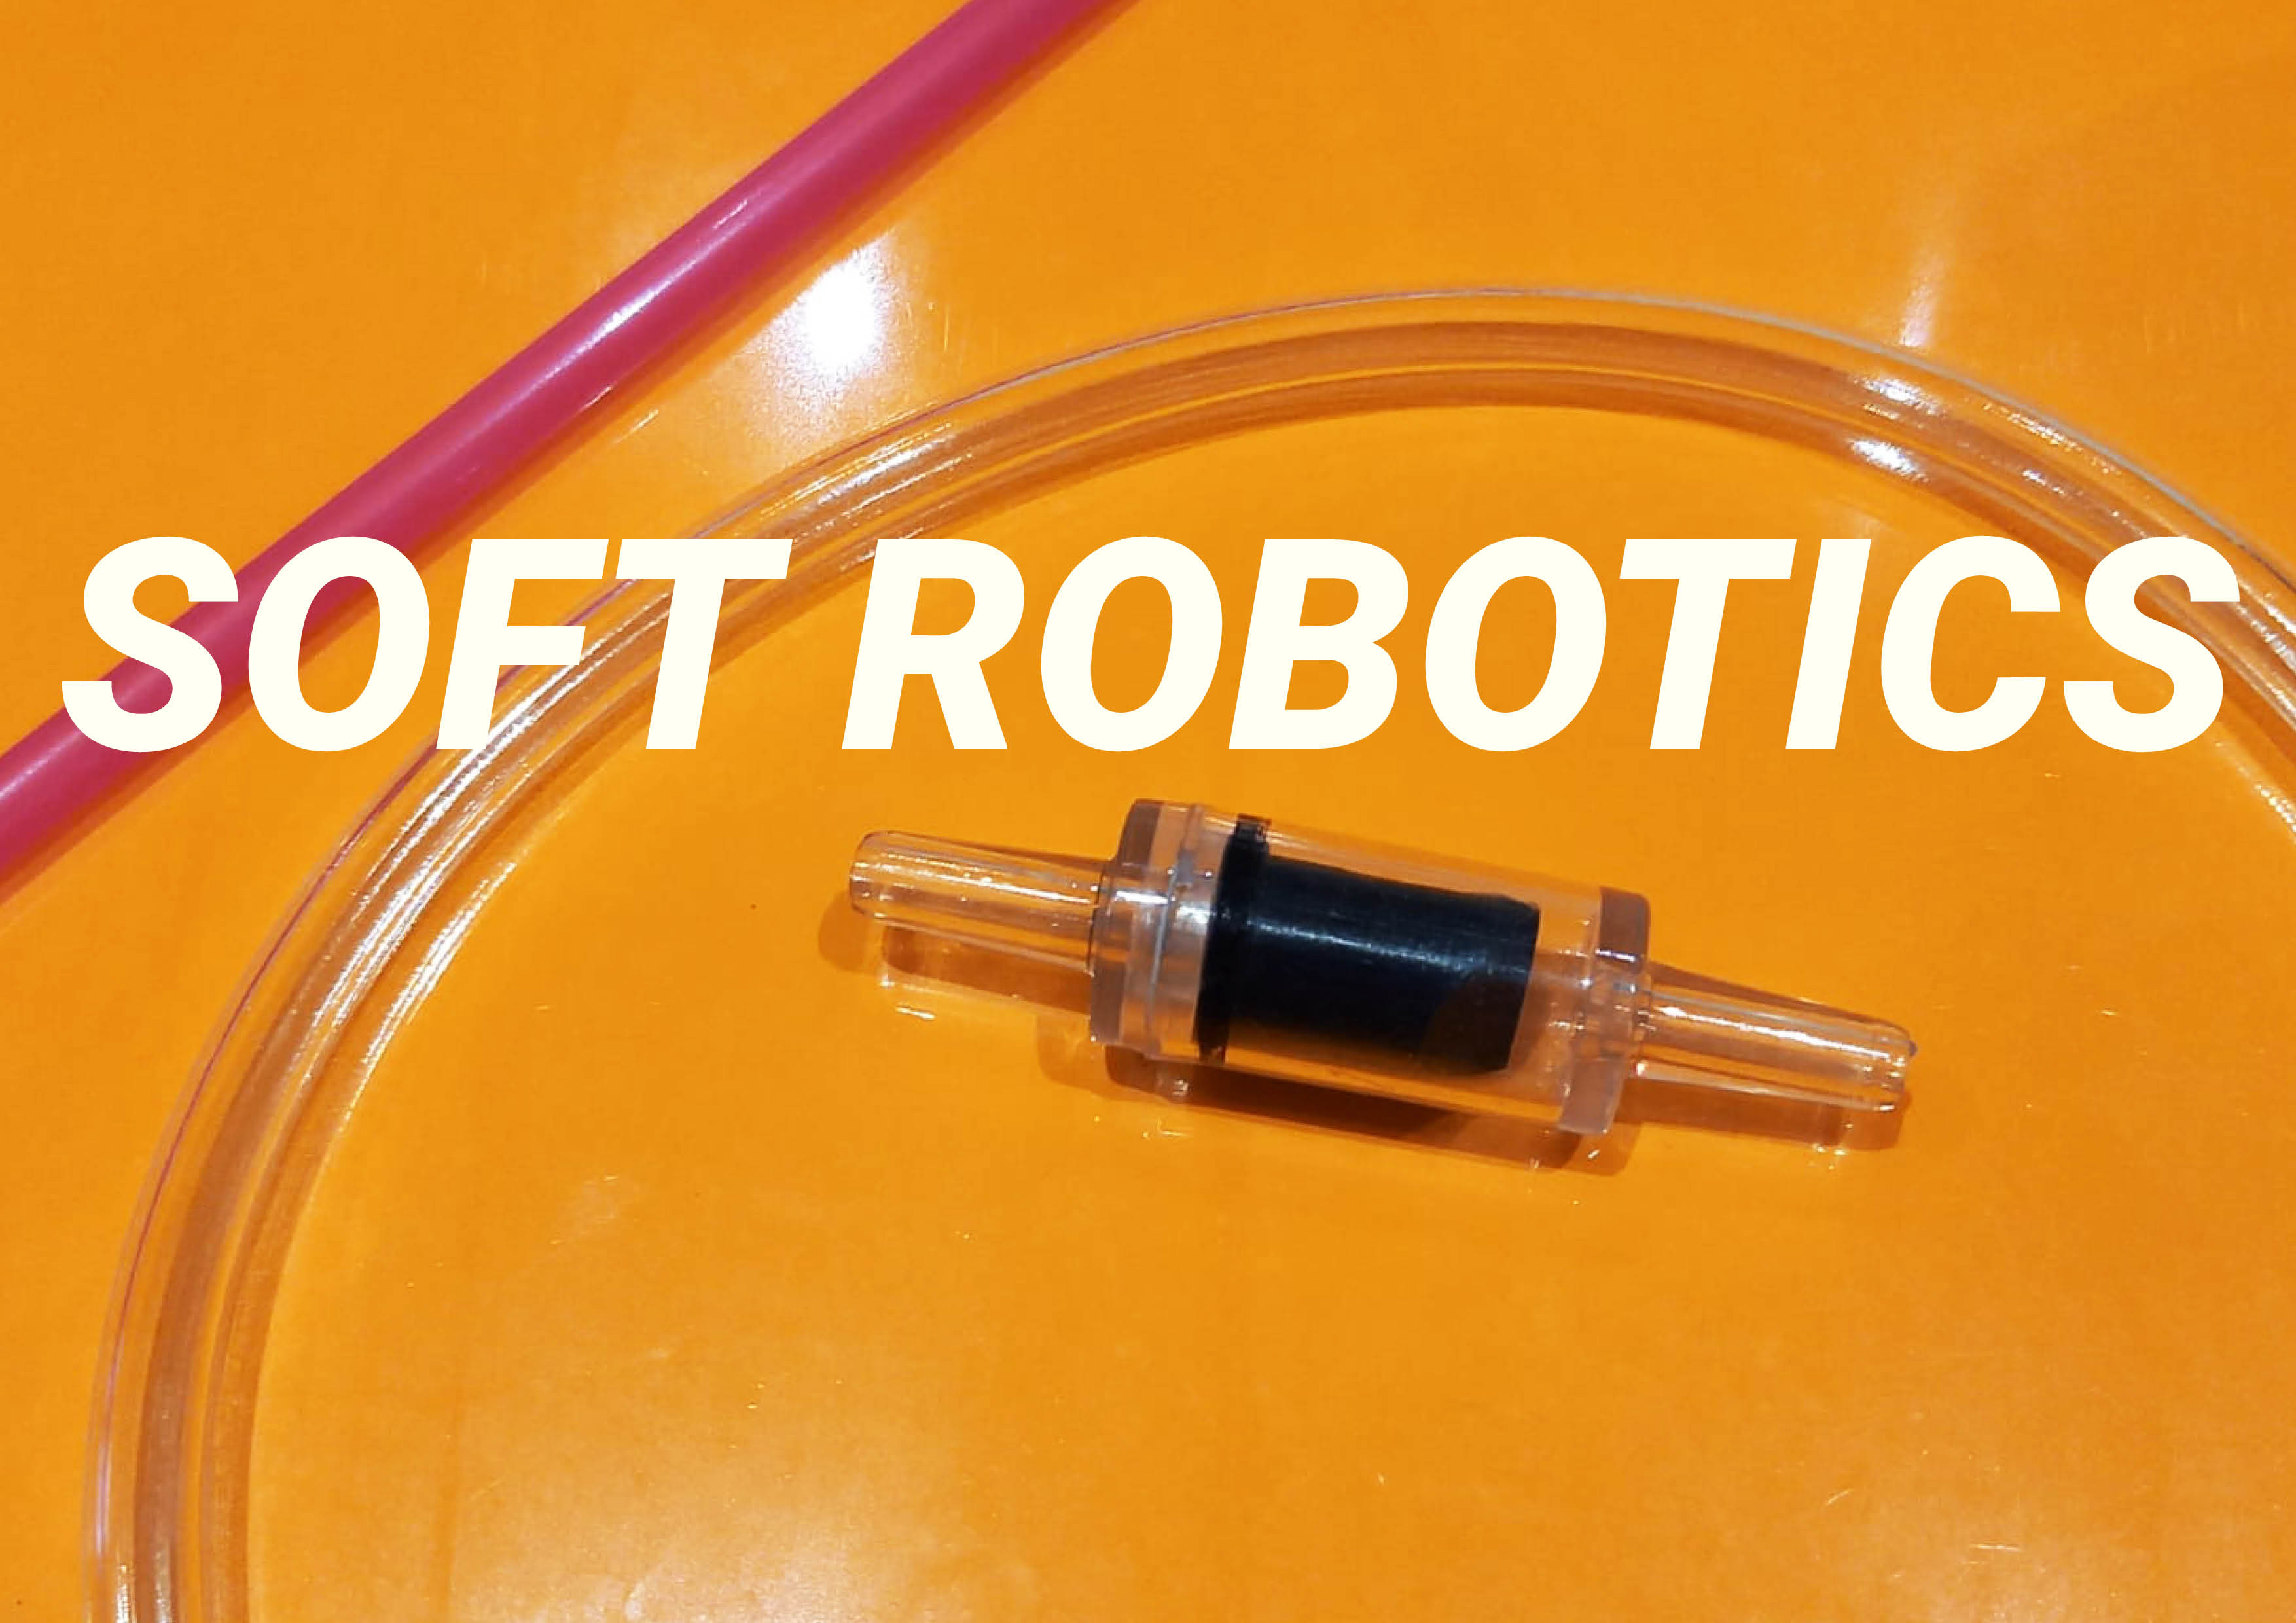
This week, Lily Chambers and Adriana Cabrera lectured us all about soft robotics: a special field in robotics based in bio-design/biomimicry and where, unlike most rigid robots, the characteristics are much more similar to our human bodies and other living organisms. You can find soft robotic applications in wearables, rehabilitation prosthetics, surgical robots, rescuing and other areas.
add references
12.1 Vinyl
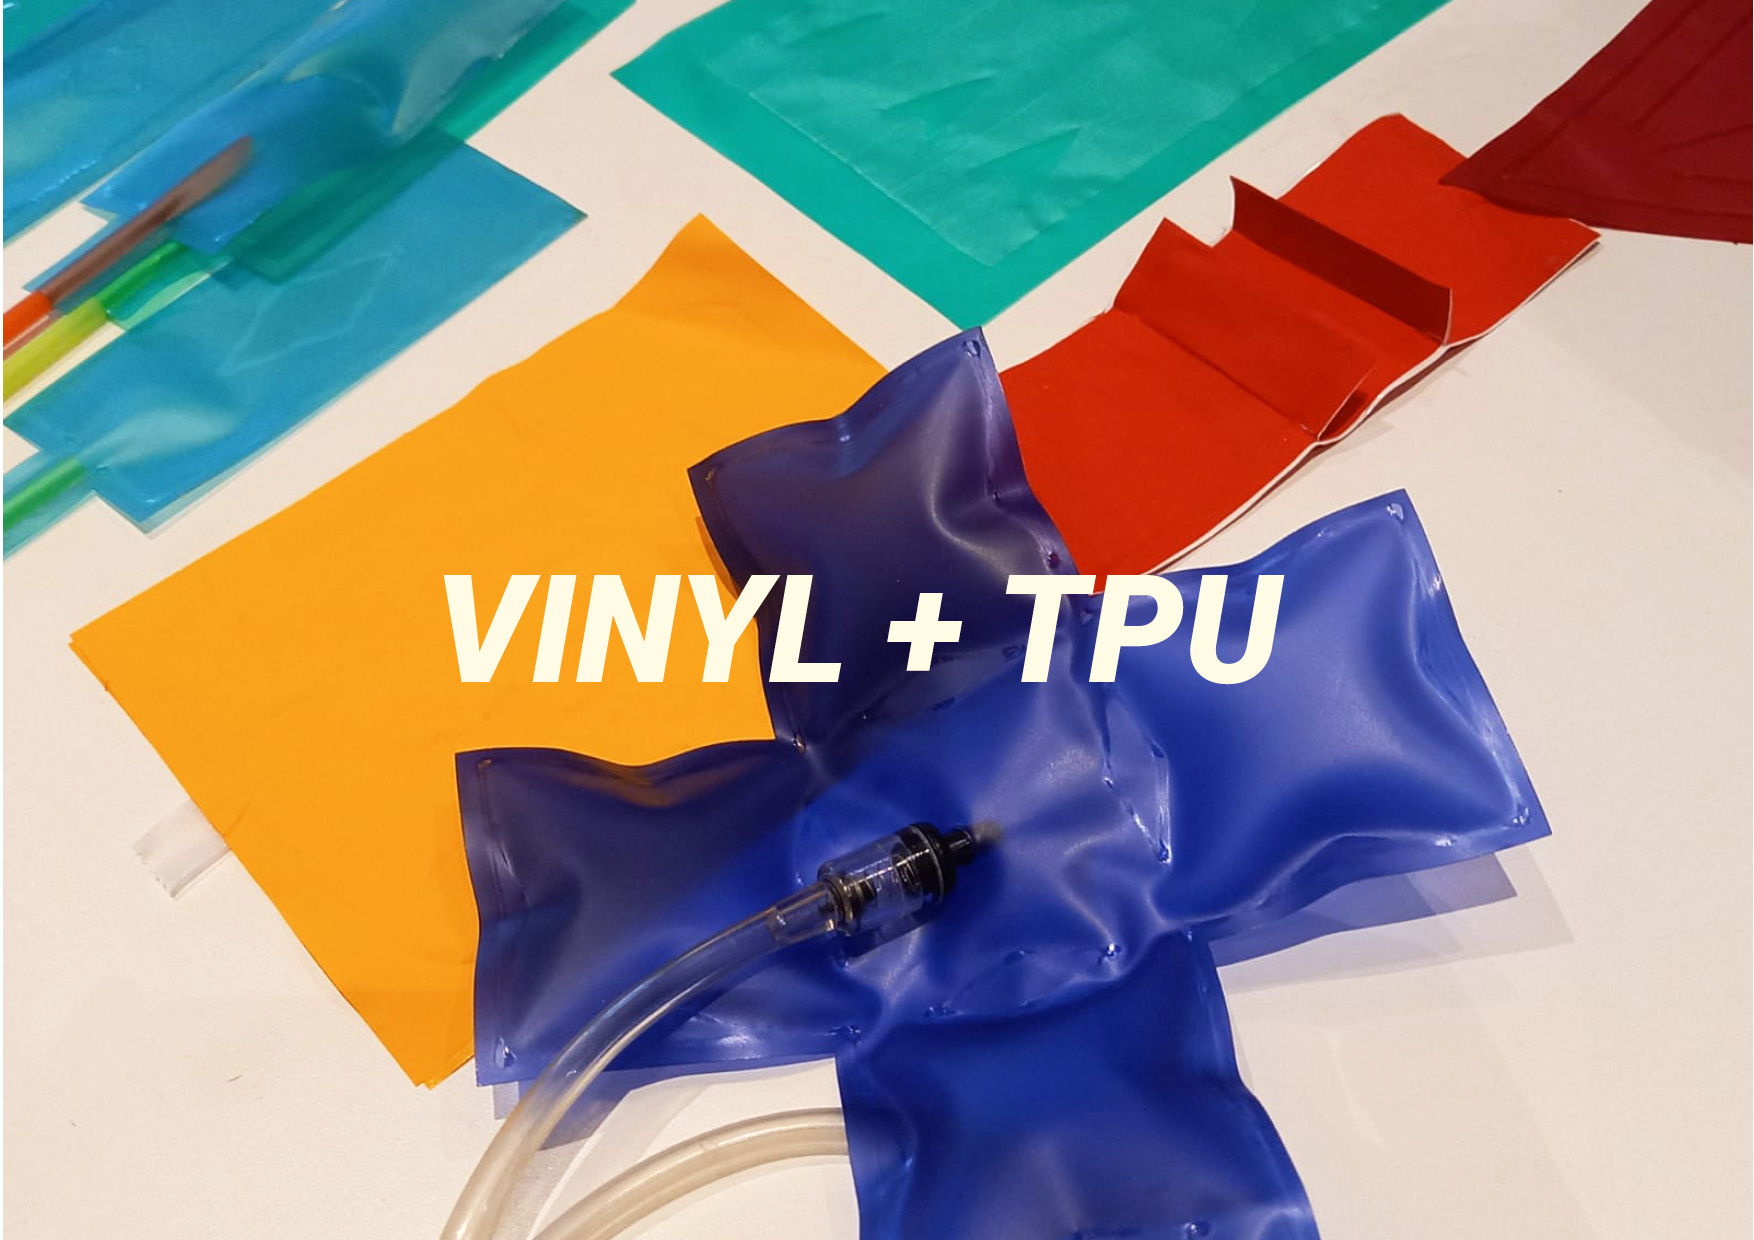
12.1.1 The making of
Creating a soft robot from vinyl is actually quite simple: cut or lasercut a design from baking paper, cut two pieces of vinyl that cover the design, iron it between two sheets of baking paper or dishcloths and your soft robot is ready.
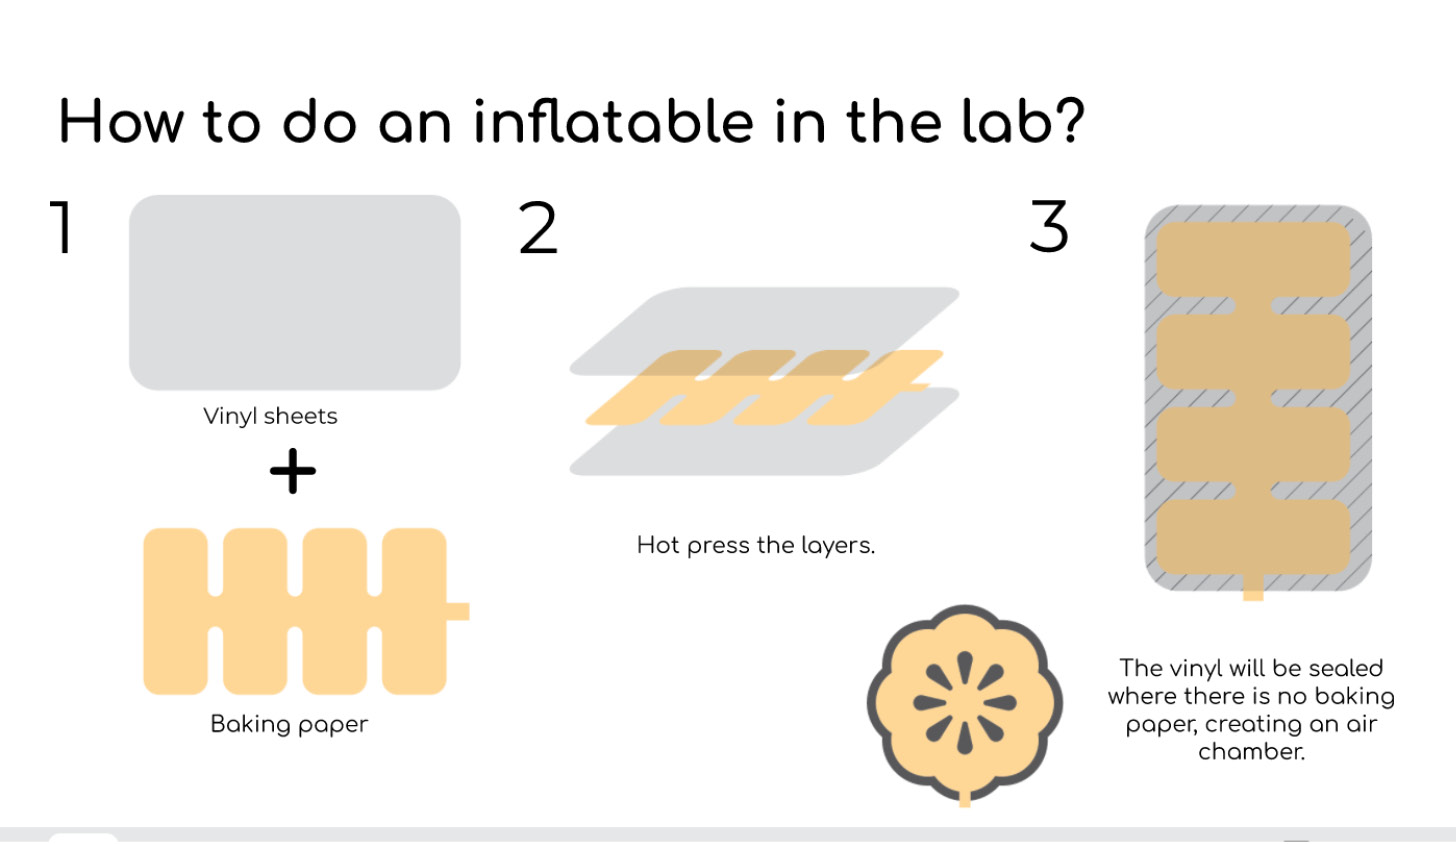
Important notes:
1. Make sure you design an air channel big enough for your straw or tube but small enough to leave no air out
2. Check your design for good air flow. Narrow air chambers will cause your design to inflate poorly or will leave you dizzy trying to inflate it
3. While cutting your vinyl, make sure it's big enough to cover your baking paper, the vinyl should close off the design perfectly
4. In case of poor inflation: check if all sides melted properly / wiggle your soft robot so the air can travel through
12.1.2 Vinyl results
I made 3 vinyl soft robots, with the soft robot in the video below being my absolute favourite one. I love how it comes to life with the animated movement. In all of my samples, I researched different movement possibilities.
Soft robot, animated movement, credit: Patty Jansen, 2021
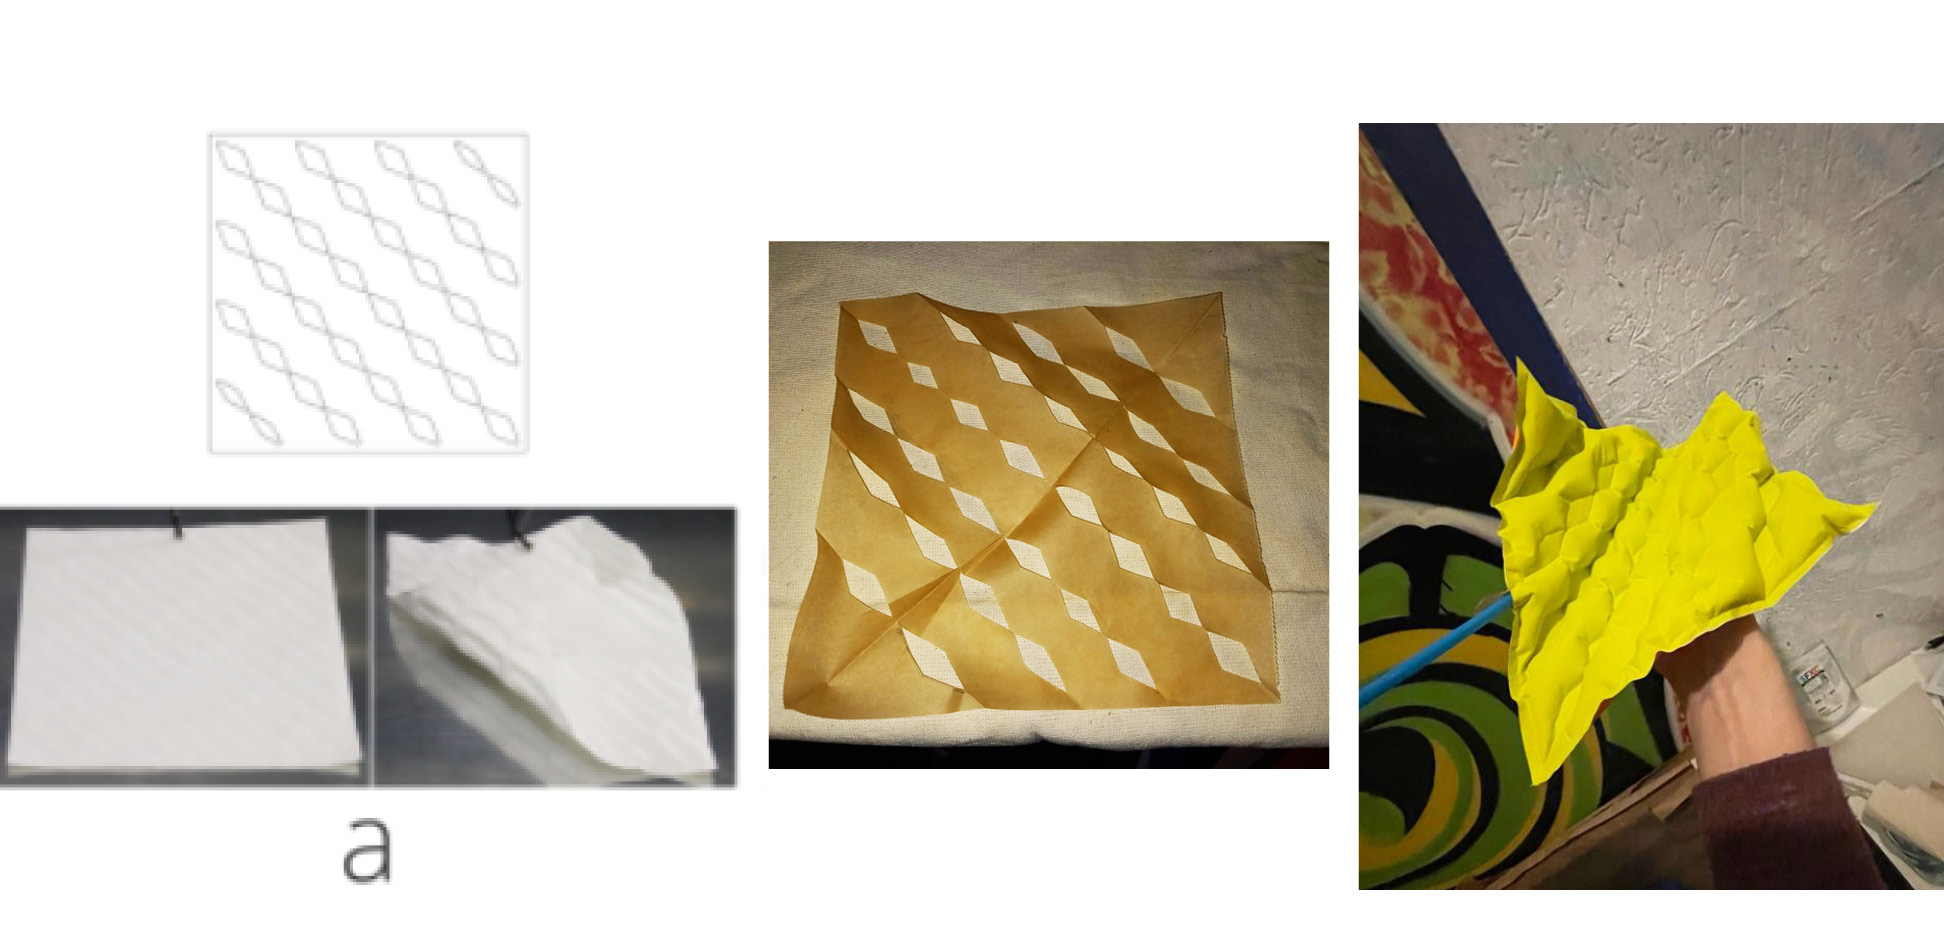
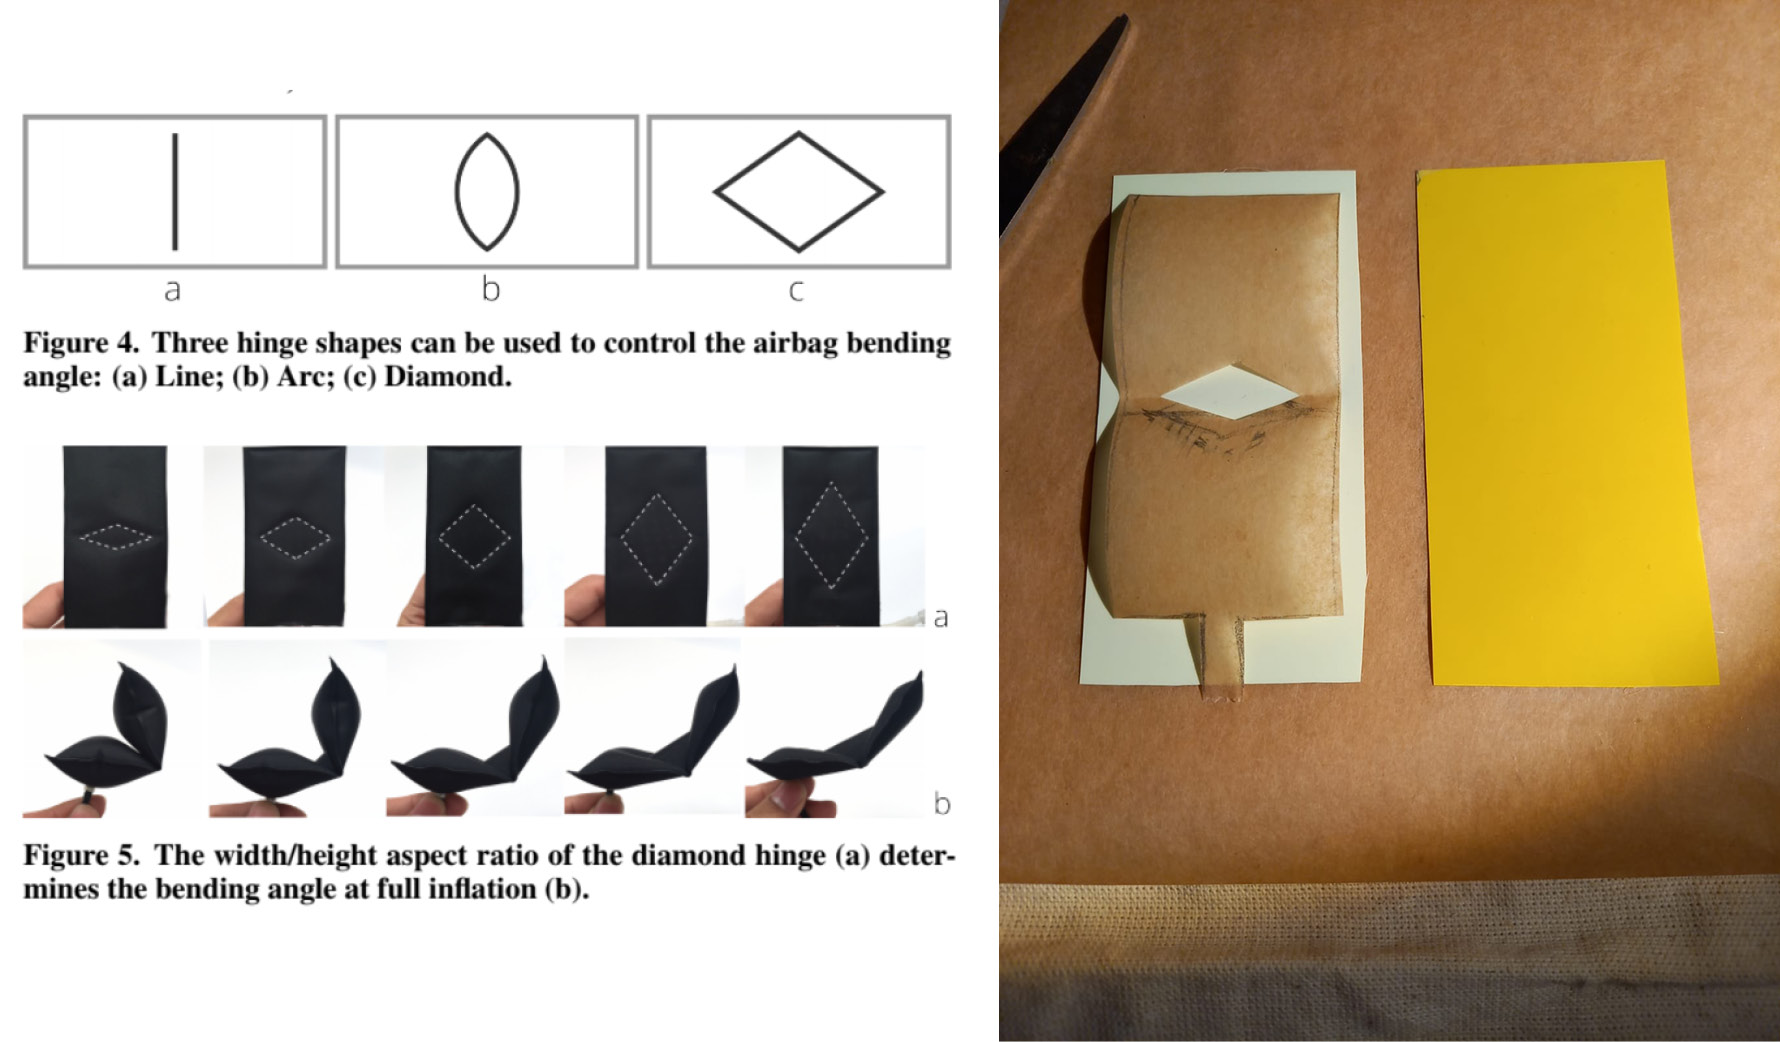
Left image: movement design, source: aeroMorph
Middle & right image: cutting the baking paper according to the design & final result, credit: Patty Jansen 2021
Left: soft robotic folding mechanism, right: soft robotic contracting muscle, credit: Patty Jansen, 2021
Constructing the folding mechanism:
Left: folding options, source: aeroMorph, right: construction, credit: Patty Jansen, 2021
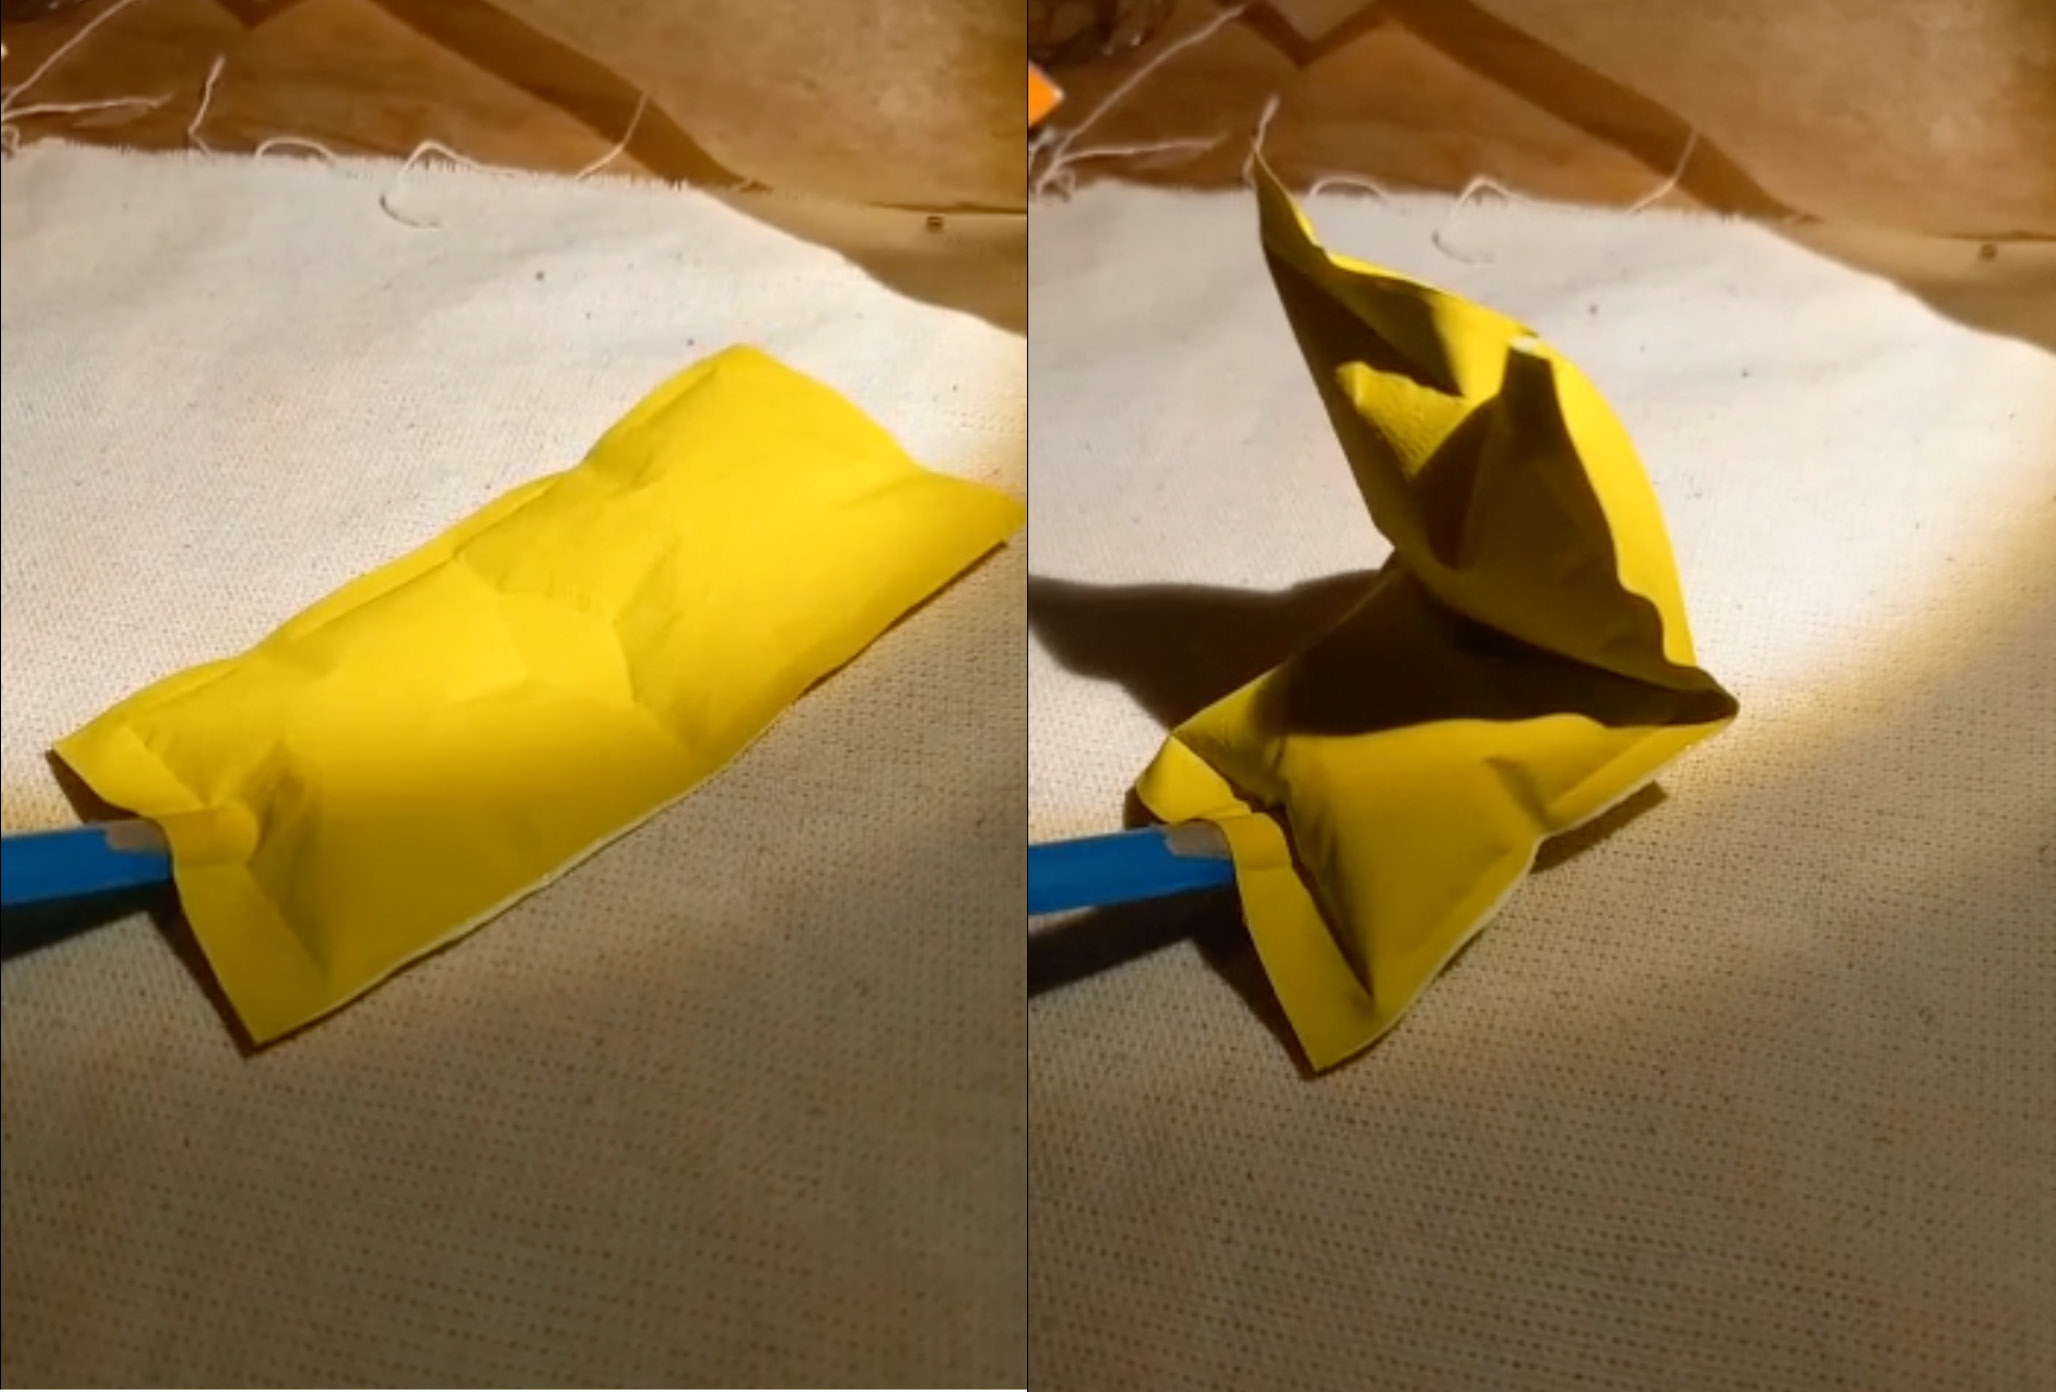
Final result, deflated & inflated state, credit: Patty Jansen, 2021
Constructing the artificial muscle:
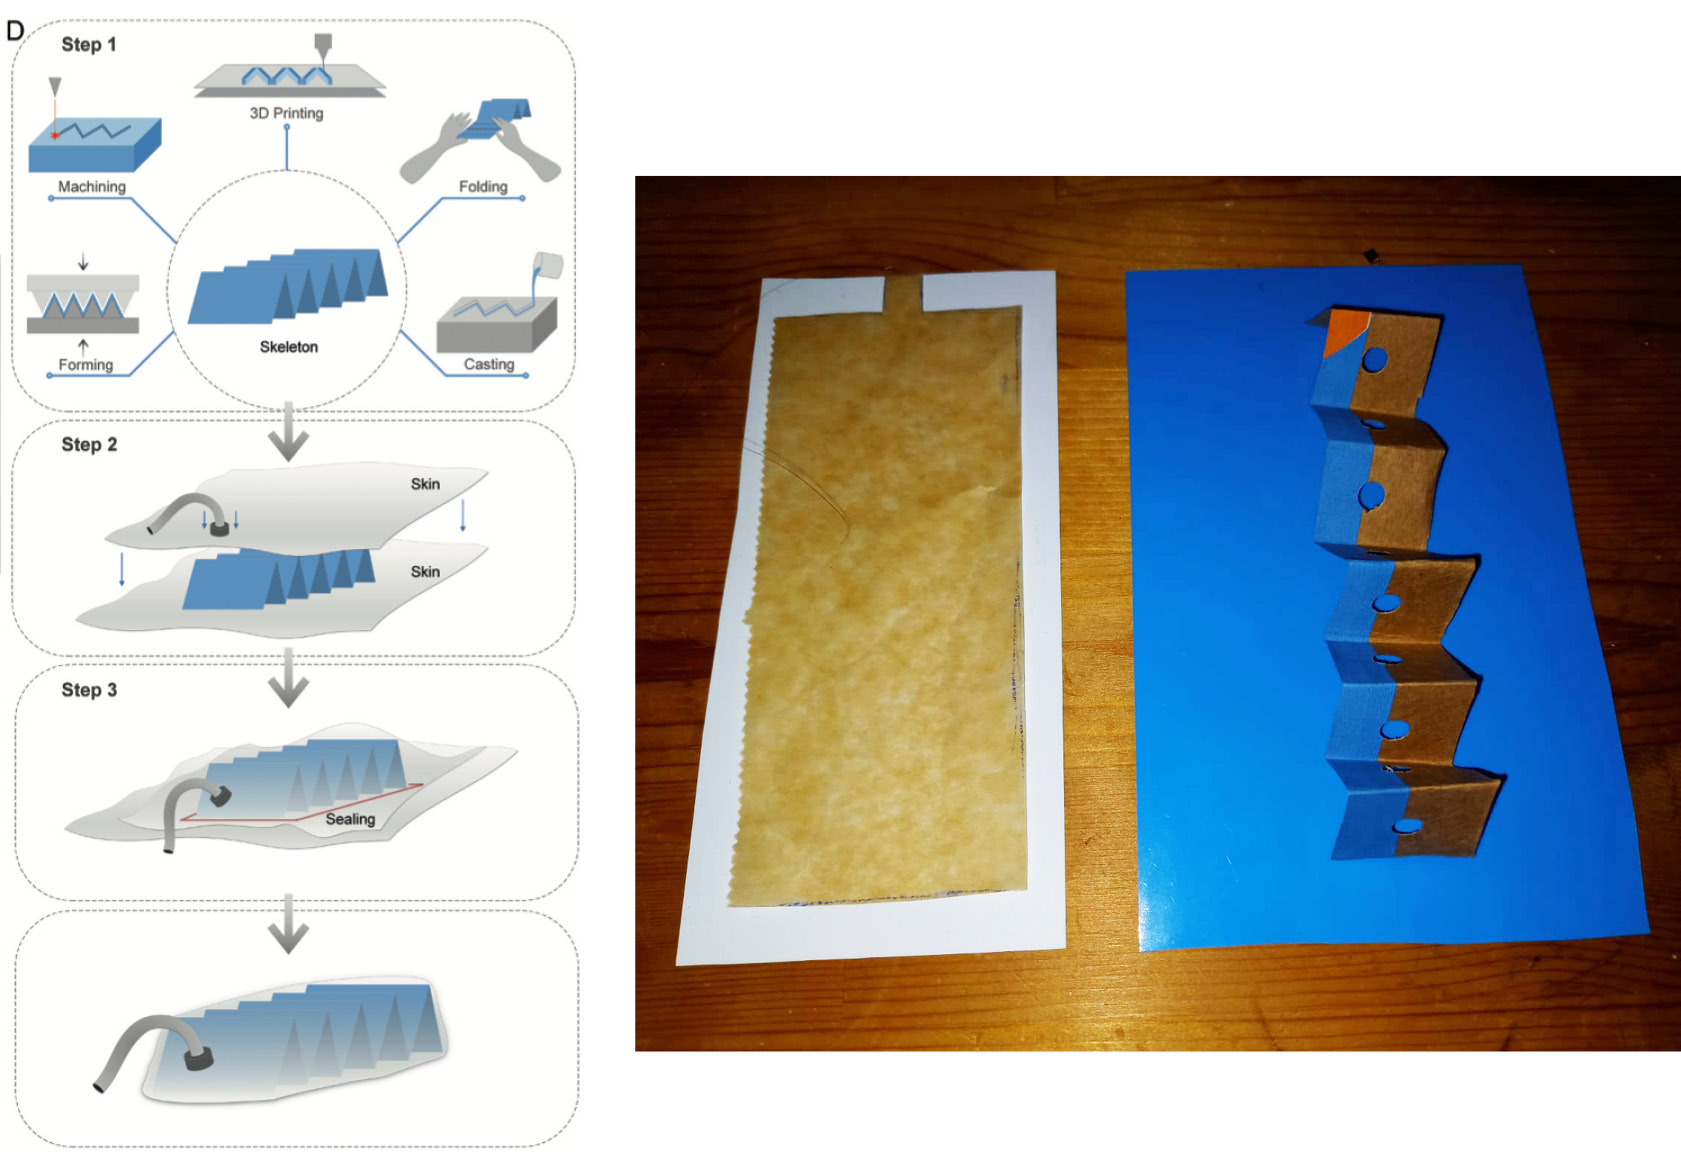
Left: steps of making an artificle muscle, source: Fluid-driven origami-inspired artificial muscles
,
right: construction of the muscle, credit: Patty Jansen, 2021

Final result, deflated & inflated state, credit: Patty Jansen, 2021
insert picture/gif muscle lifting something
12.1.1 TPU
Unfortunately, we had a very hard time welding the TPU with the lasercutter so I didn't manage to make TPU inflatables. Check the documentation from Loes Bogers and Beatriz Sandini for some good TPU examples.
if I have time, insert example of fabric with tpu
12.2 Silicone
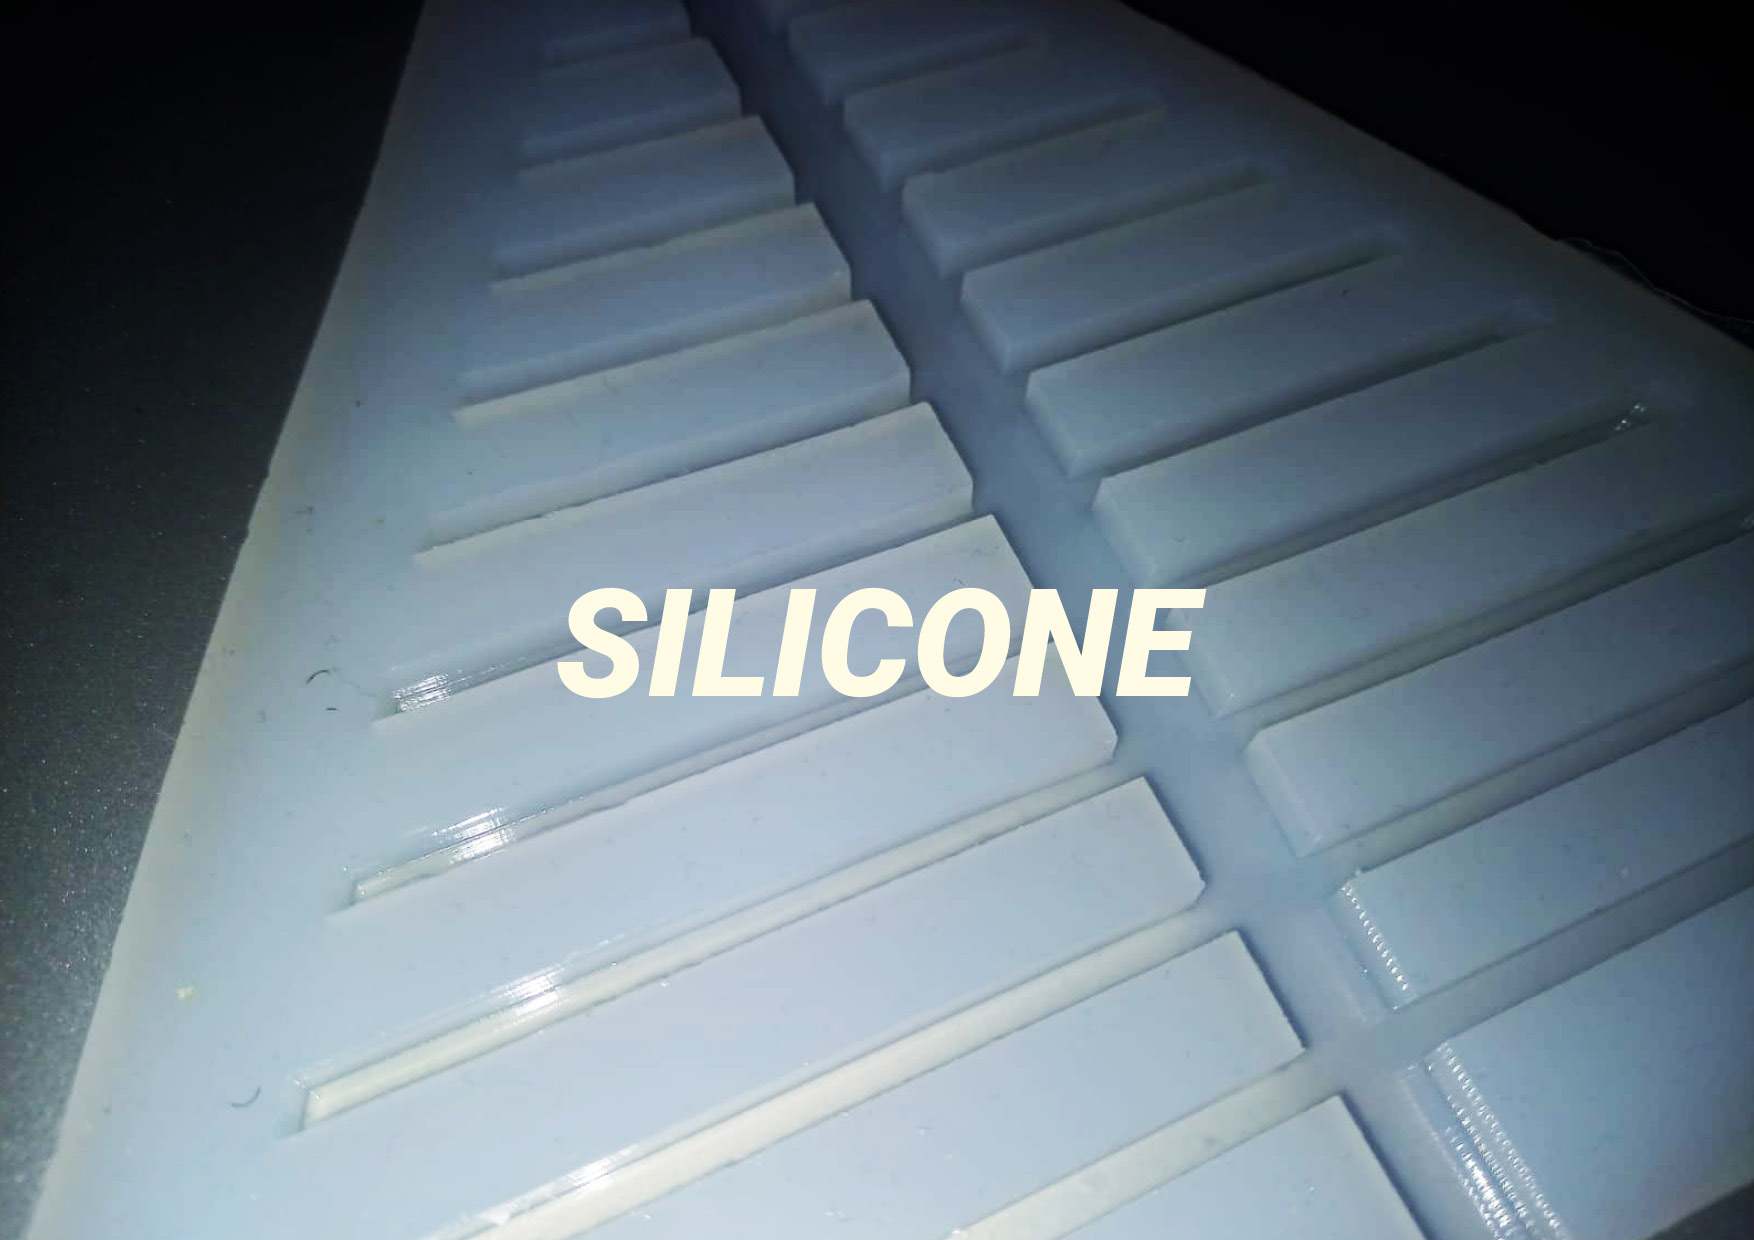
12.1.1 Designing the mold
A great thing about using silicone is that you can shape it into anything using a mold. It will adapt even the smallest details. Next to that, using Ecoflex-0030 silicone guarantees a lot of flexibility, which means the inflation is similar to a balloon.
First we had to produce a mold and for this, we used Rhino, acrylic and the lasercutter.
Step 1. Creating the design in Rhino
Creating the mold with acrylic means you will have to think in layers;
you need a base and walls for both sides + an air chamber glued on one side
My design in Rhino and all parts ready for lasercutting:
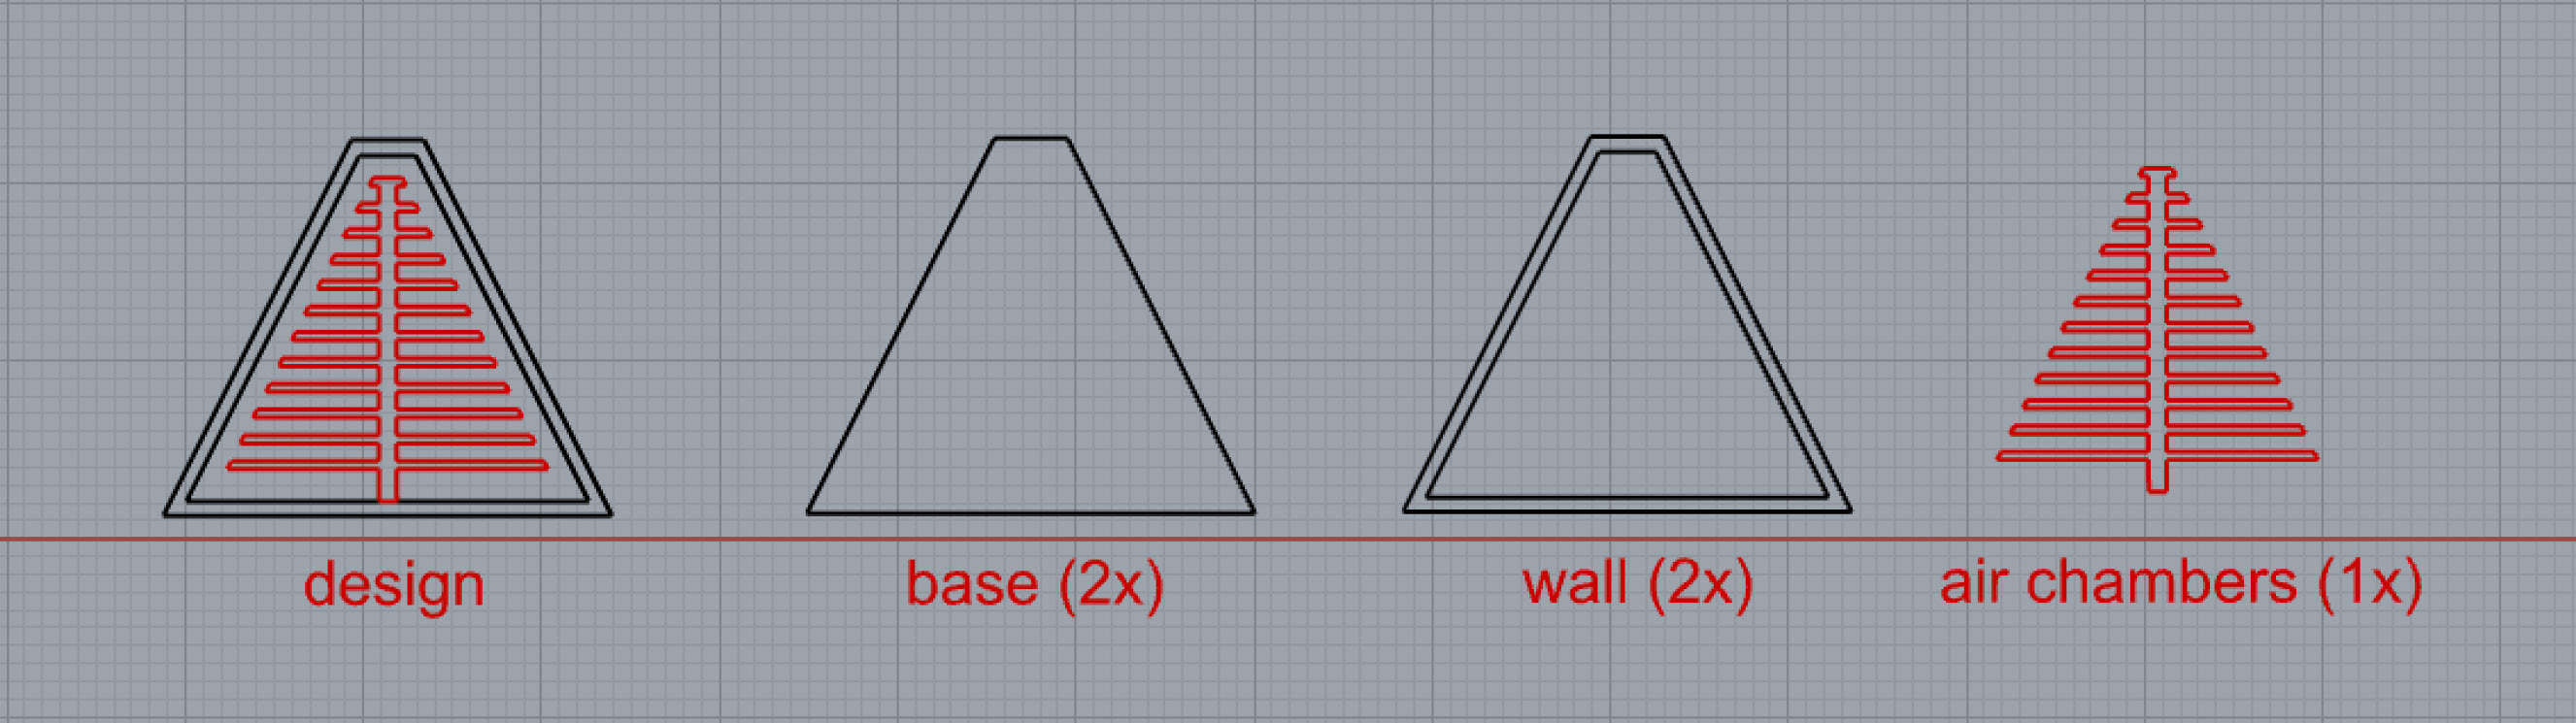
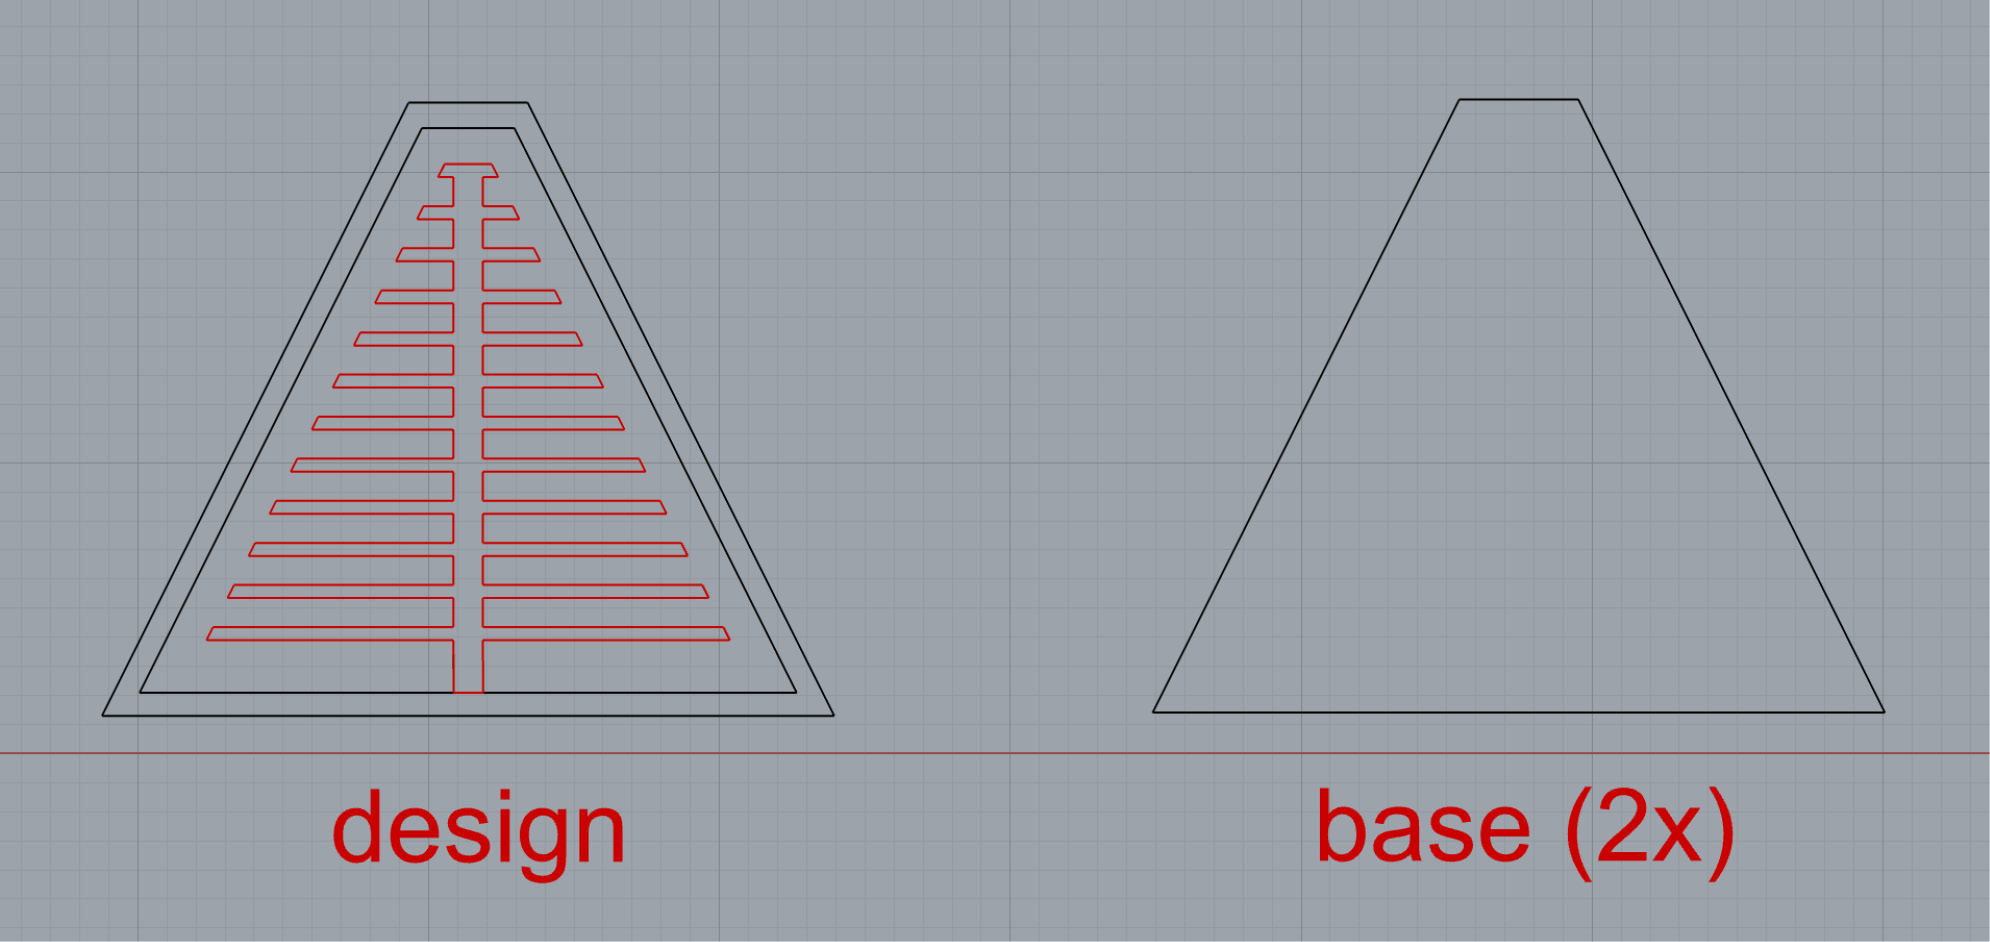
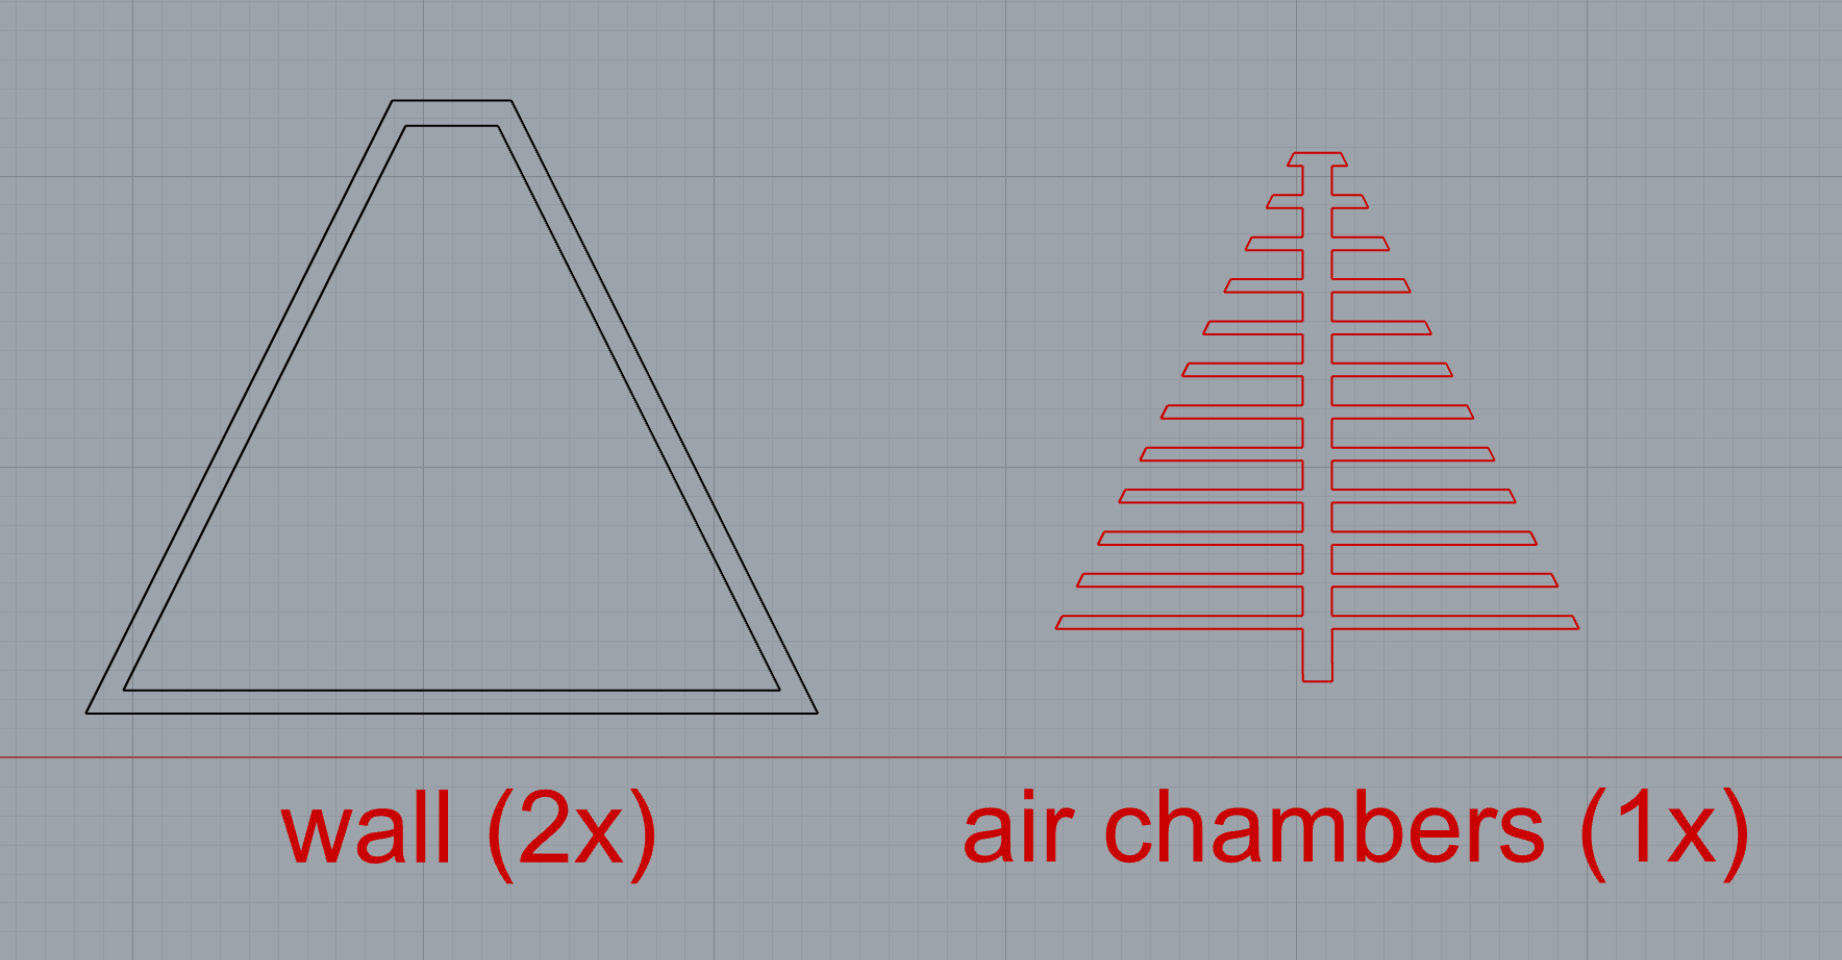
Design in Rhino, credit: Patty Jansen, 2021
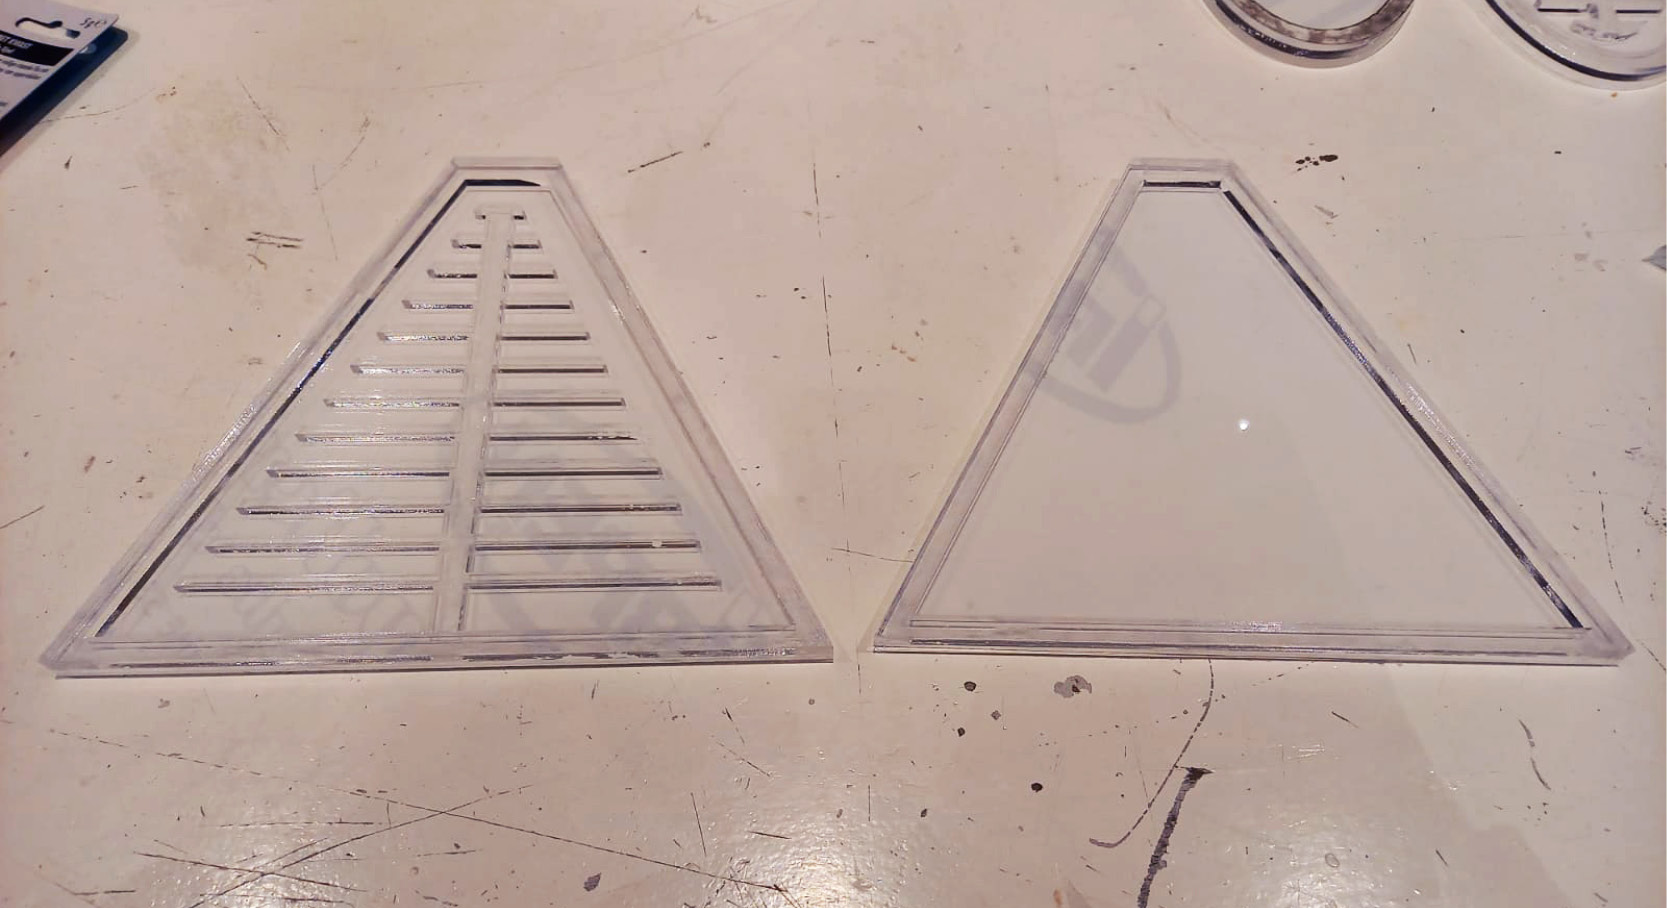
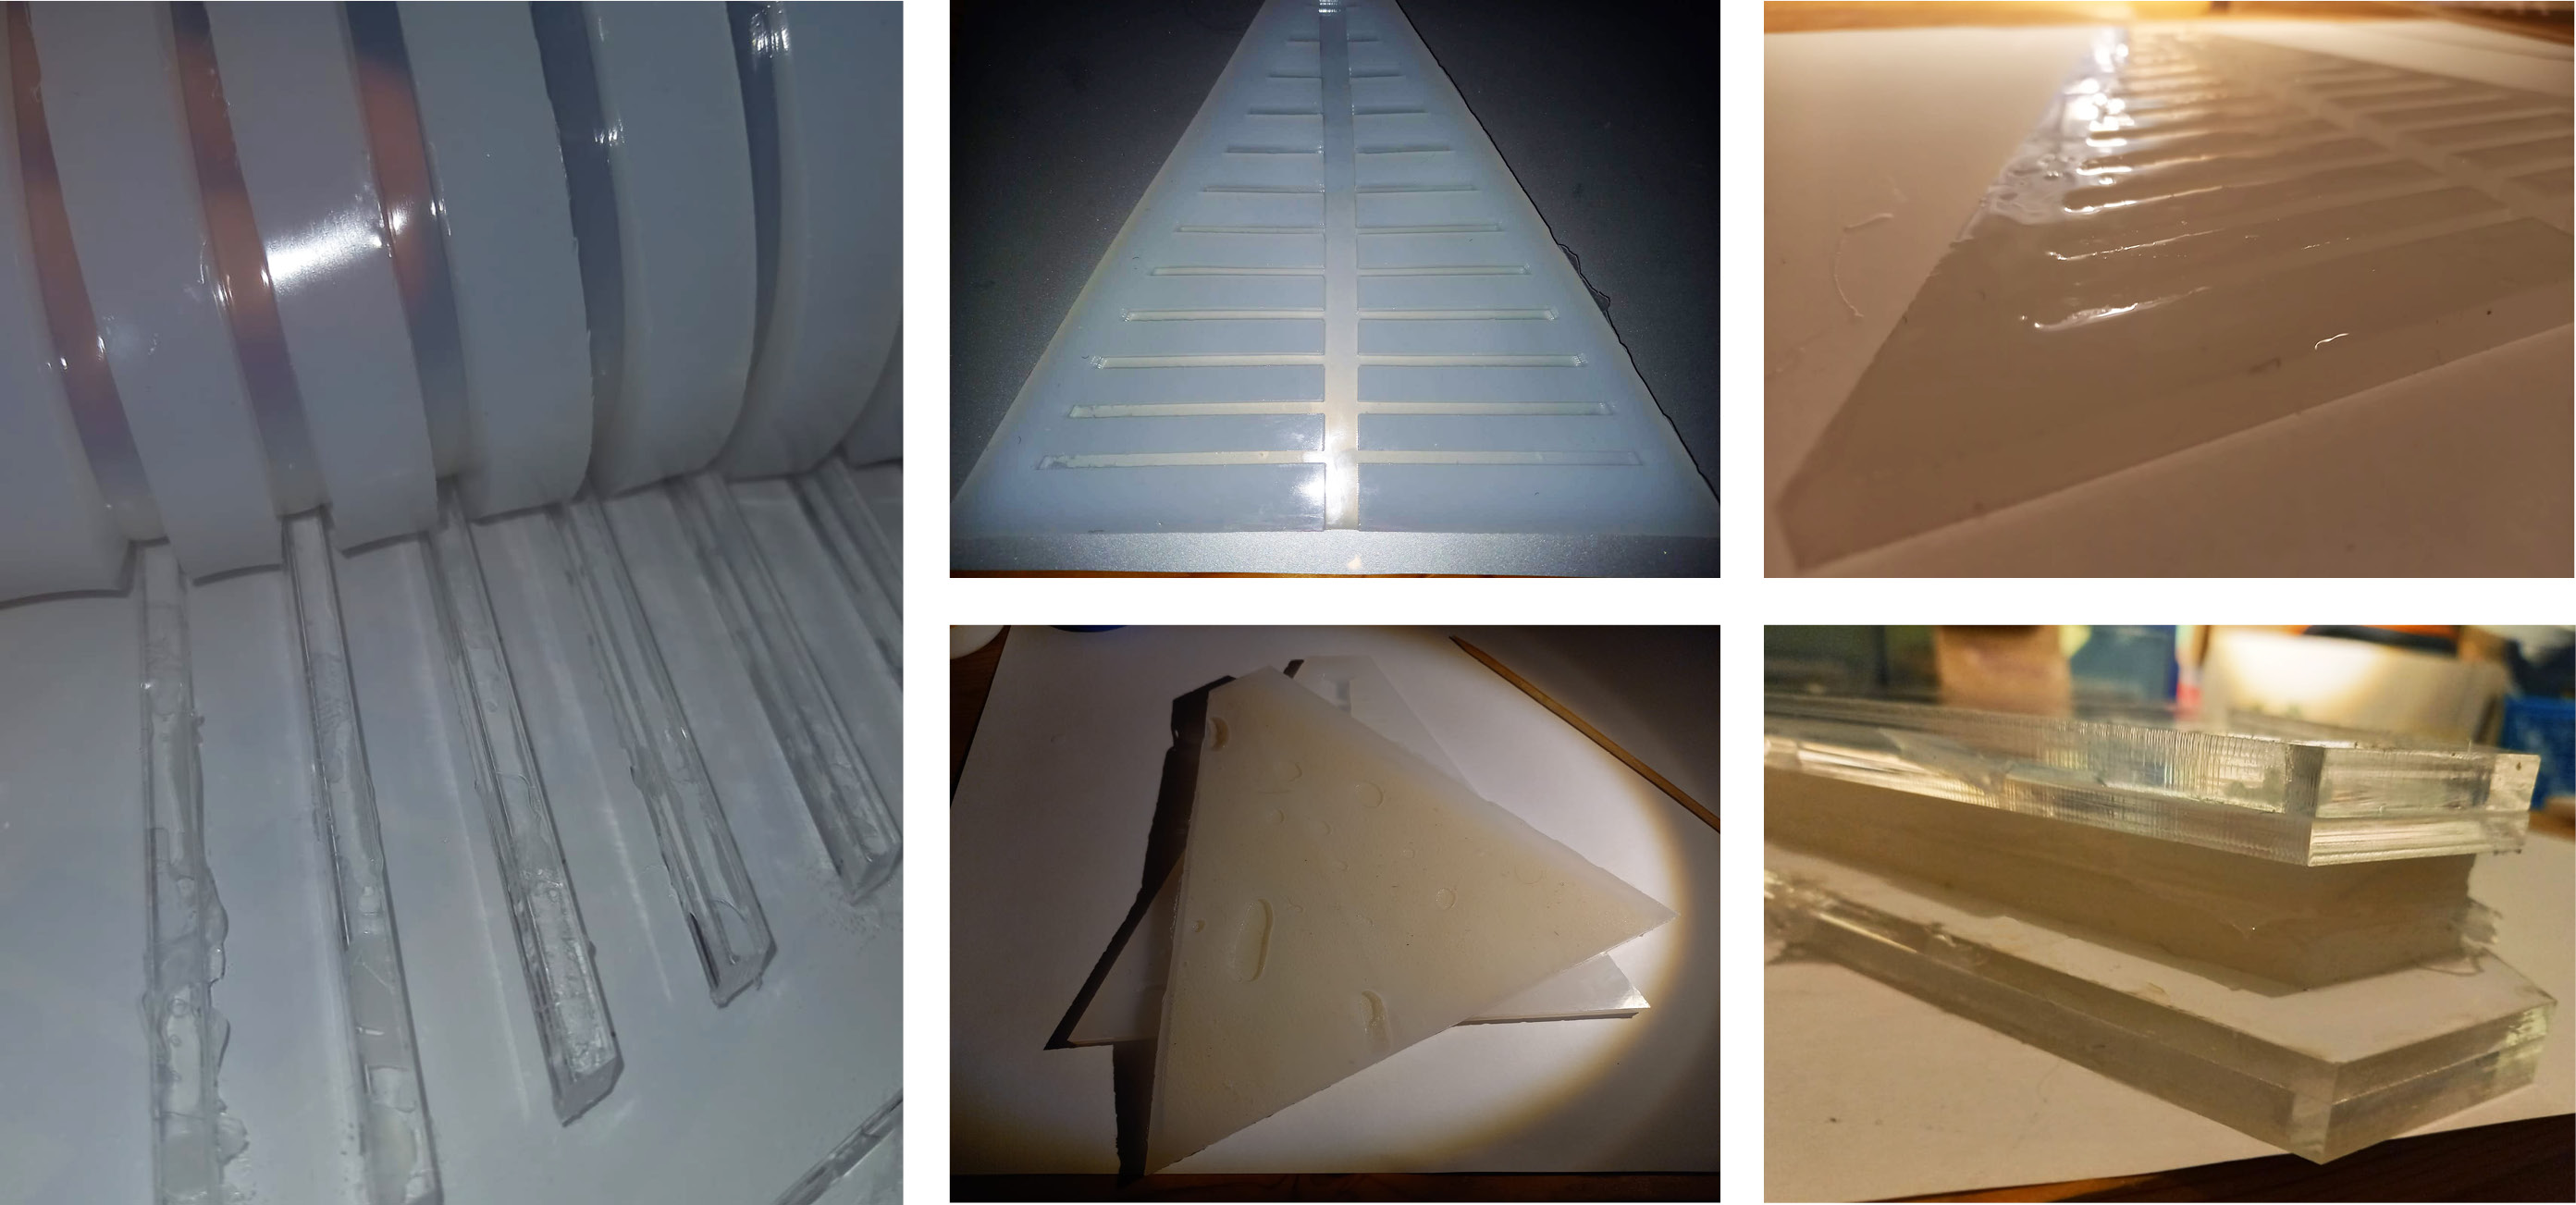
The lasercut parts:
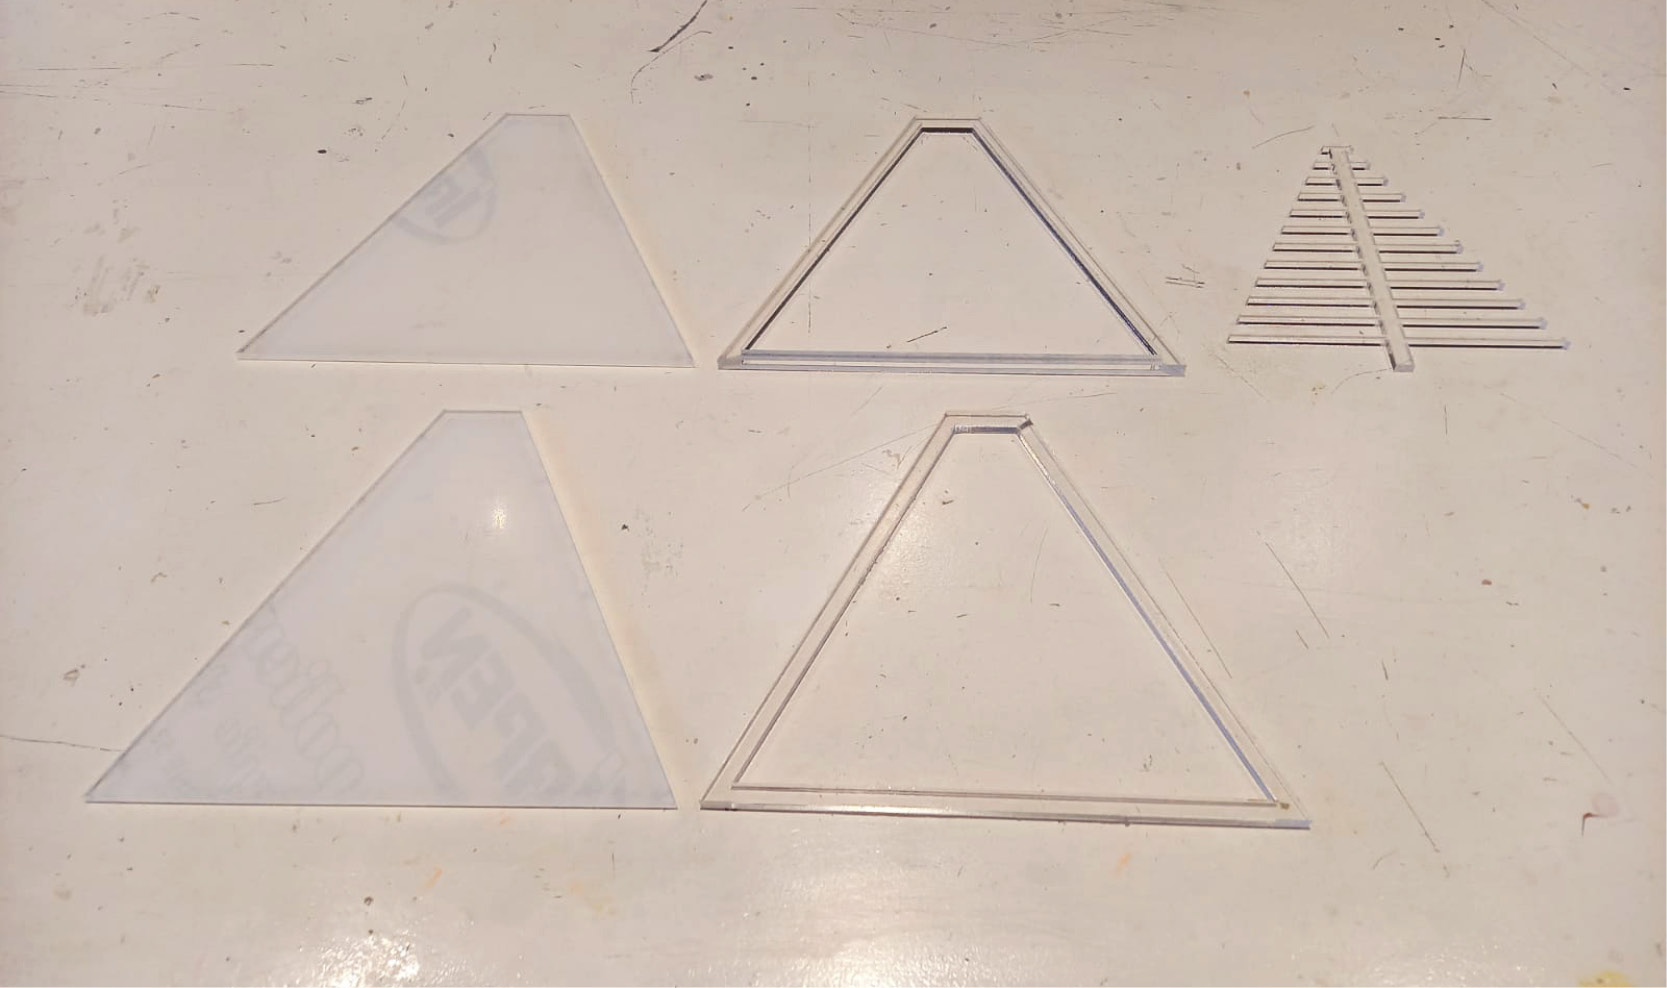
Lasercut mold parts, credit: Patty Jansen, 2021
Parts glued together:
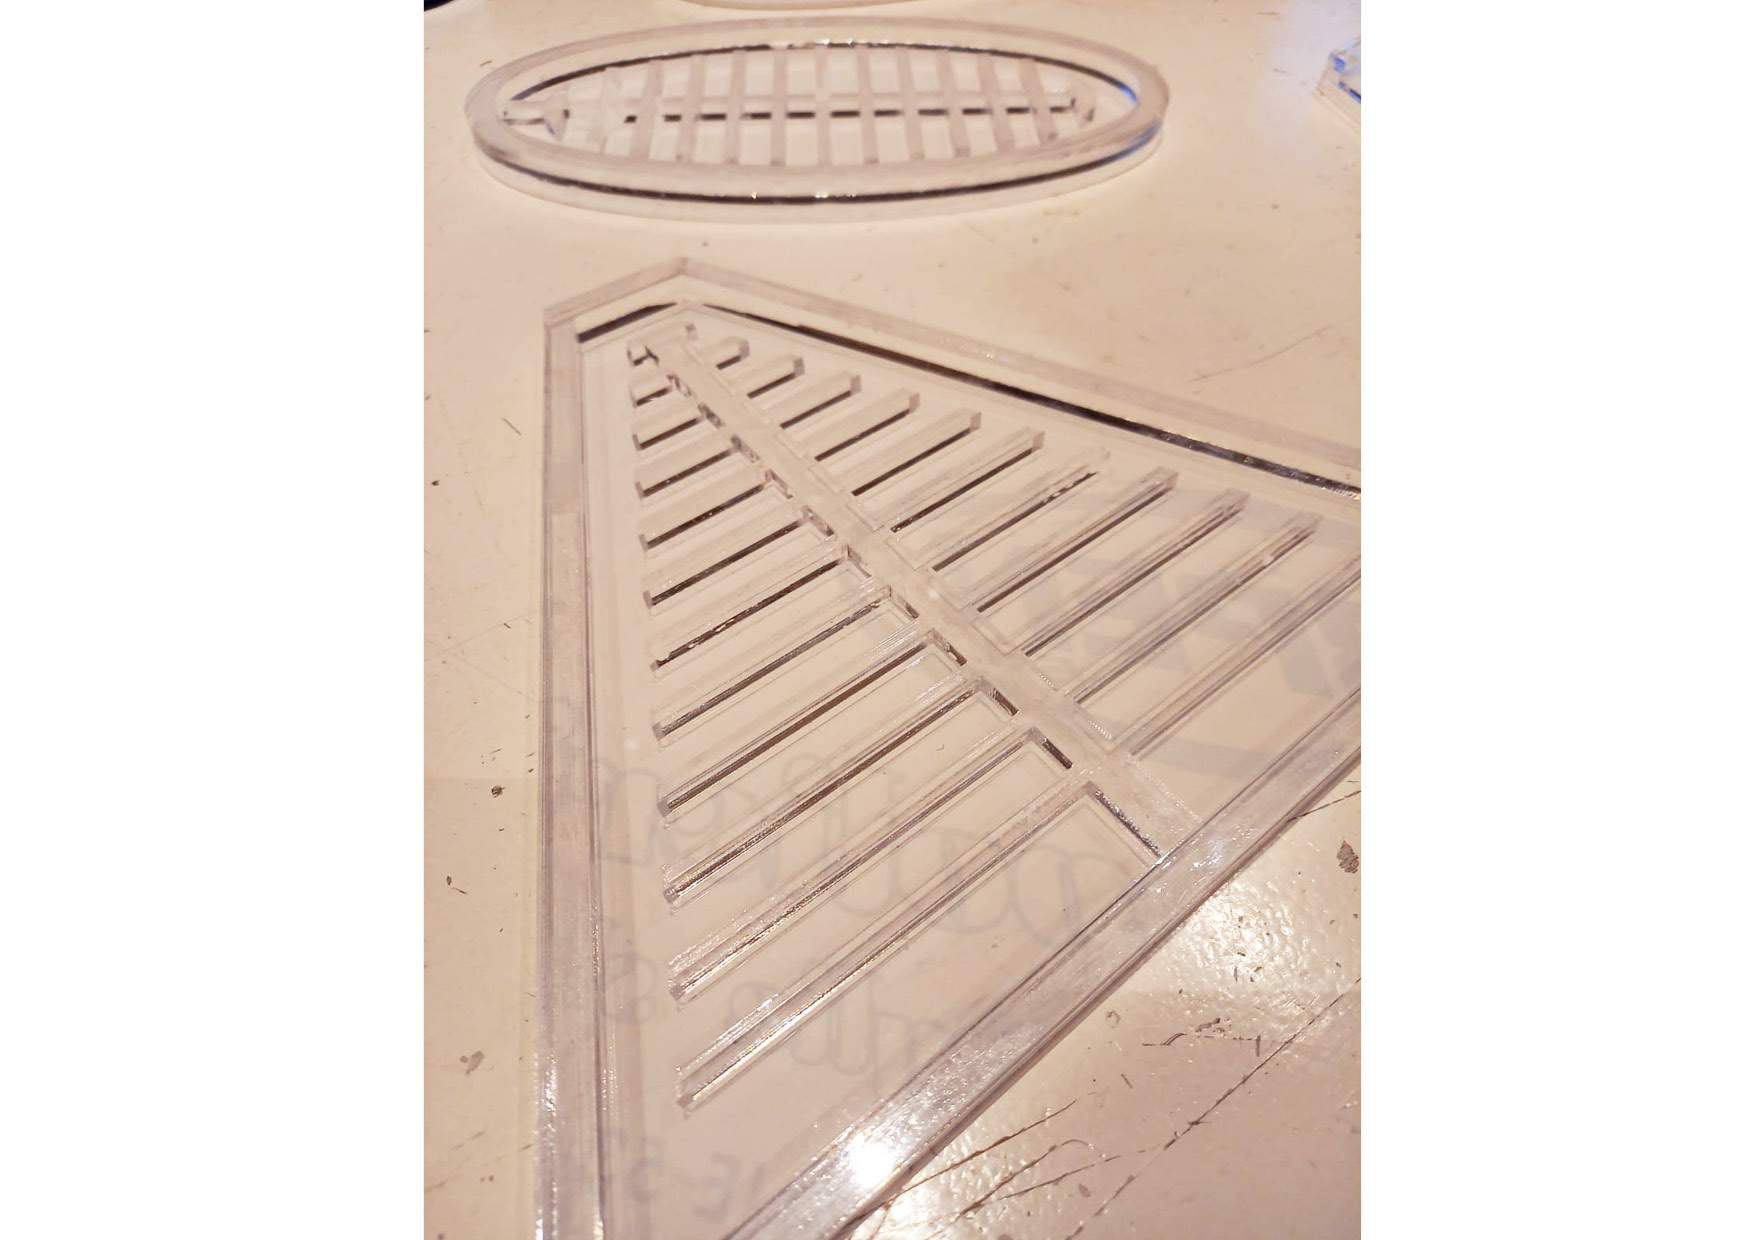
Top: Mold glued together, bottom: detail shot, credit: Patty Jansen, 2021
12.1.2 Casting the silicone
Step 1: cutting a fabric base
Before preparing and casting the silicone in both molds, we need to strengten one side of the soft robot with a piece of woven fabric which will stimulate inflation towards one side, making it possible for the soft robot to 'curl' and enhance a good inflation overall. Patterned after the inner base size, the fabric is placed in the mold without the air chambers and now the molds are ready for casting.
Step 2: preparing and casting the silicone
Next, the Ecoflex-0030 has to be prepared. It's quite easy but you have to take into account the following knowledge:
- The mix ratio = 1A:1B by volume or weight
- The pot time is 45 minutes, which means you have 45 minutes to get it right, make changes etc.
- Curing time is 4 hours which you can speed up by using a drying oven
- Silicone is great but it's really greasy. Use gloves and cover the table. Or if you're like me: use a plastic bag to clean your hands. If you spilled: don't clean it, you can tear it off in an hour or two.
Casting the silicone:
1. Pour and measure pot A and B into two even parts
2. Mix them together and stir really well but not too hard (bubbles will usually disappear very fast)
3. Cast the silicone into the mold, starting from the middle. Cast a thin layer in the bottom base with fabric
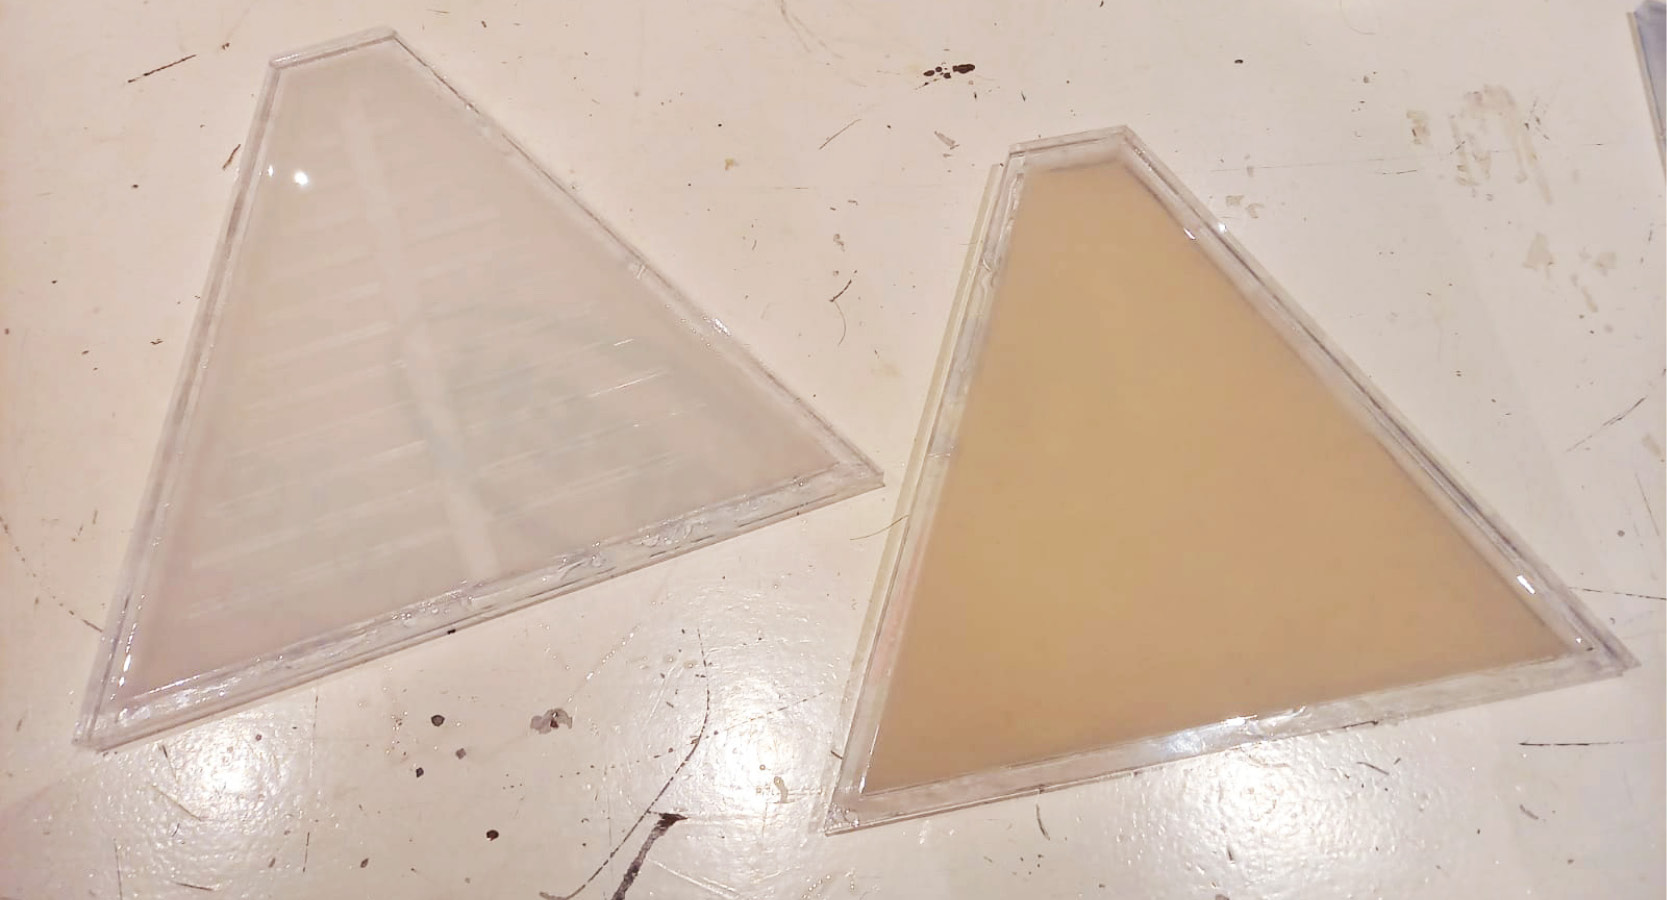
Left mold with silicone, right mold with silicone and fabric, credit: Patty Jansen, 2021
After 4 hours you can release the silicone from the mold and glue the pieces together with a small batch of Ecoflex 00-30.
Releasing and glueing the silicone, credit: Patty Jansen, 2021
After finishing the soft robot, we went into a lockdown so unfortunately, I have no picture of a final working silicone soft robot yet. Due to the size and the weight of the silicone, I cannot inflate it myself, nor did a 6v air pump. Will do a test with a 12v air pump or wait until I can use the air compressor at De Waag.