under construction
Week06
Right after E-Textiles, we dived into the world of the biomaterials, finding new alternatives to the current ones that are poluting and exhausting our world. This week explores a broad range of materials such as bioplastics,-silicones & -resins and bacterial, fish skin, mushroom and fruit leathers.
Below are some great examples of the use of biomaterials by students as well as bigger brands such as Adidas, which has created a leather sneaker from mycelium:
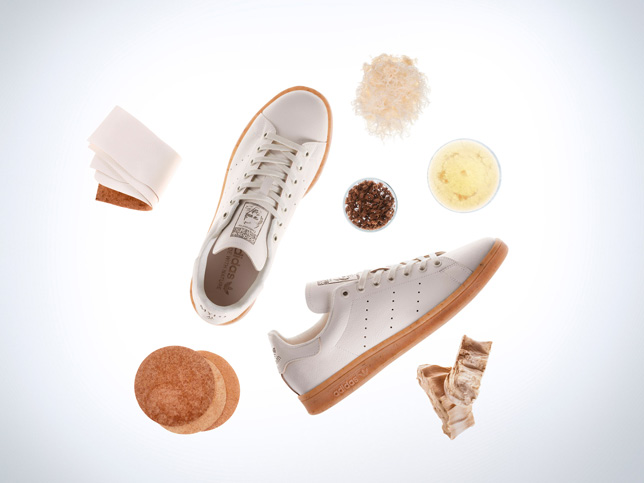
Mylo sneaker by Adidas, mycelium leather, source: Dezeen
Central Saint Martins graduate Scarlett Yang used algae extract and silk cocoon protein to create a glass-like dress that grows over time and can decompose in water within 24 hours. Source: Dezeen
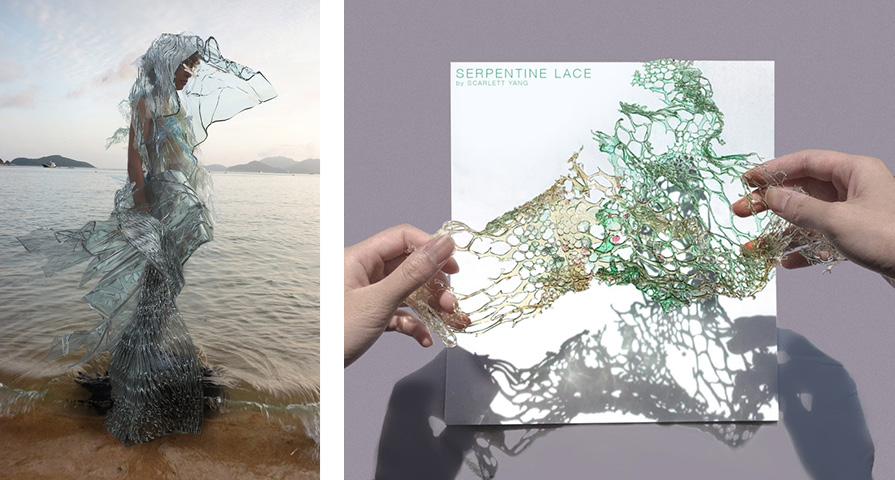
Algae dress by Scarlett Yang, 2020, Source: Dezeen
Sonnet155 is a fruit leather bag created by Berlin design students Lobke Beckfeld and Johanna Hehemeyer-Cürten which can dissolve in water and used to fertilise plants (once it is no longer needed) Source: Dezeen:
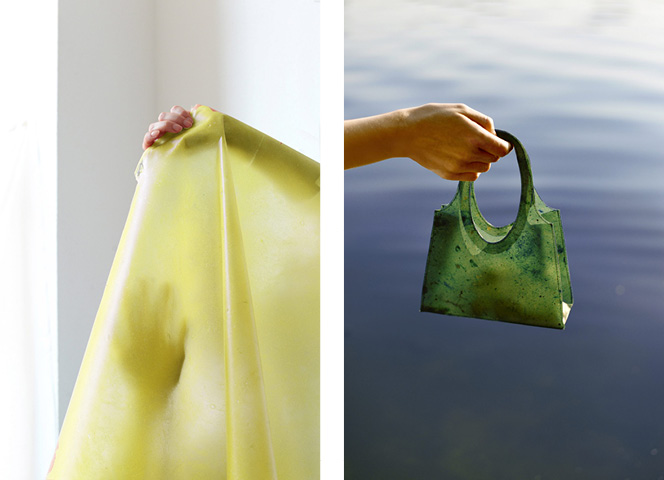
Fruit leather bag by Lobke Beckfeld and Johanna Hehemeyer-Cürten, source: Dezeen:
6.1 Bioplastics
6.1.2 Alginate
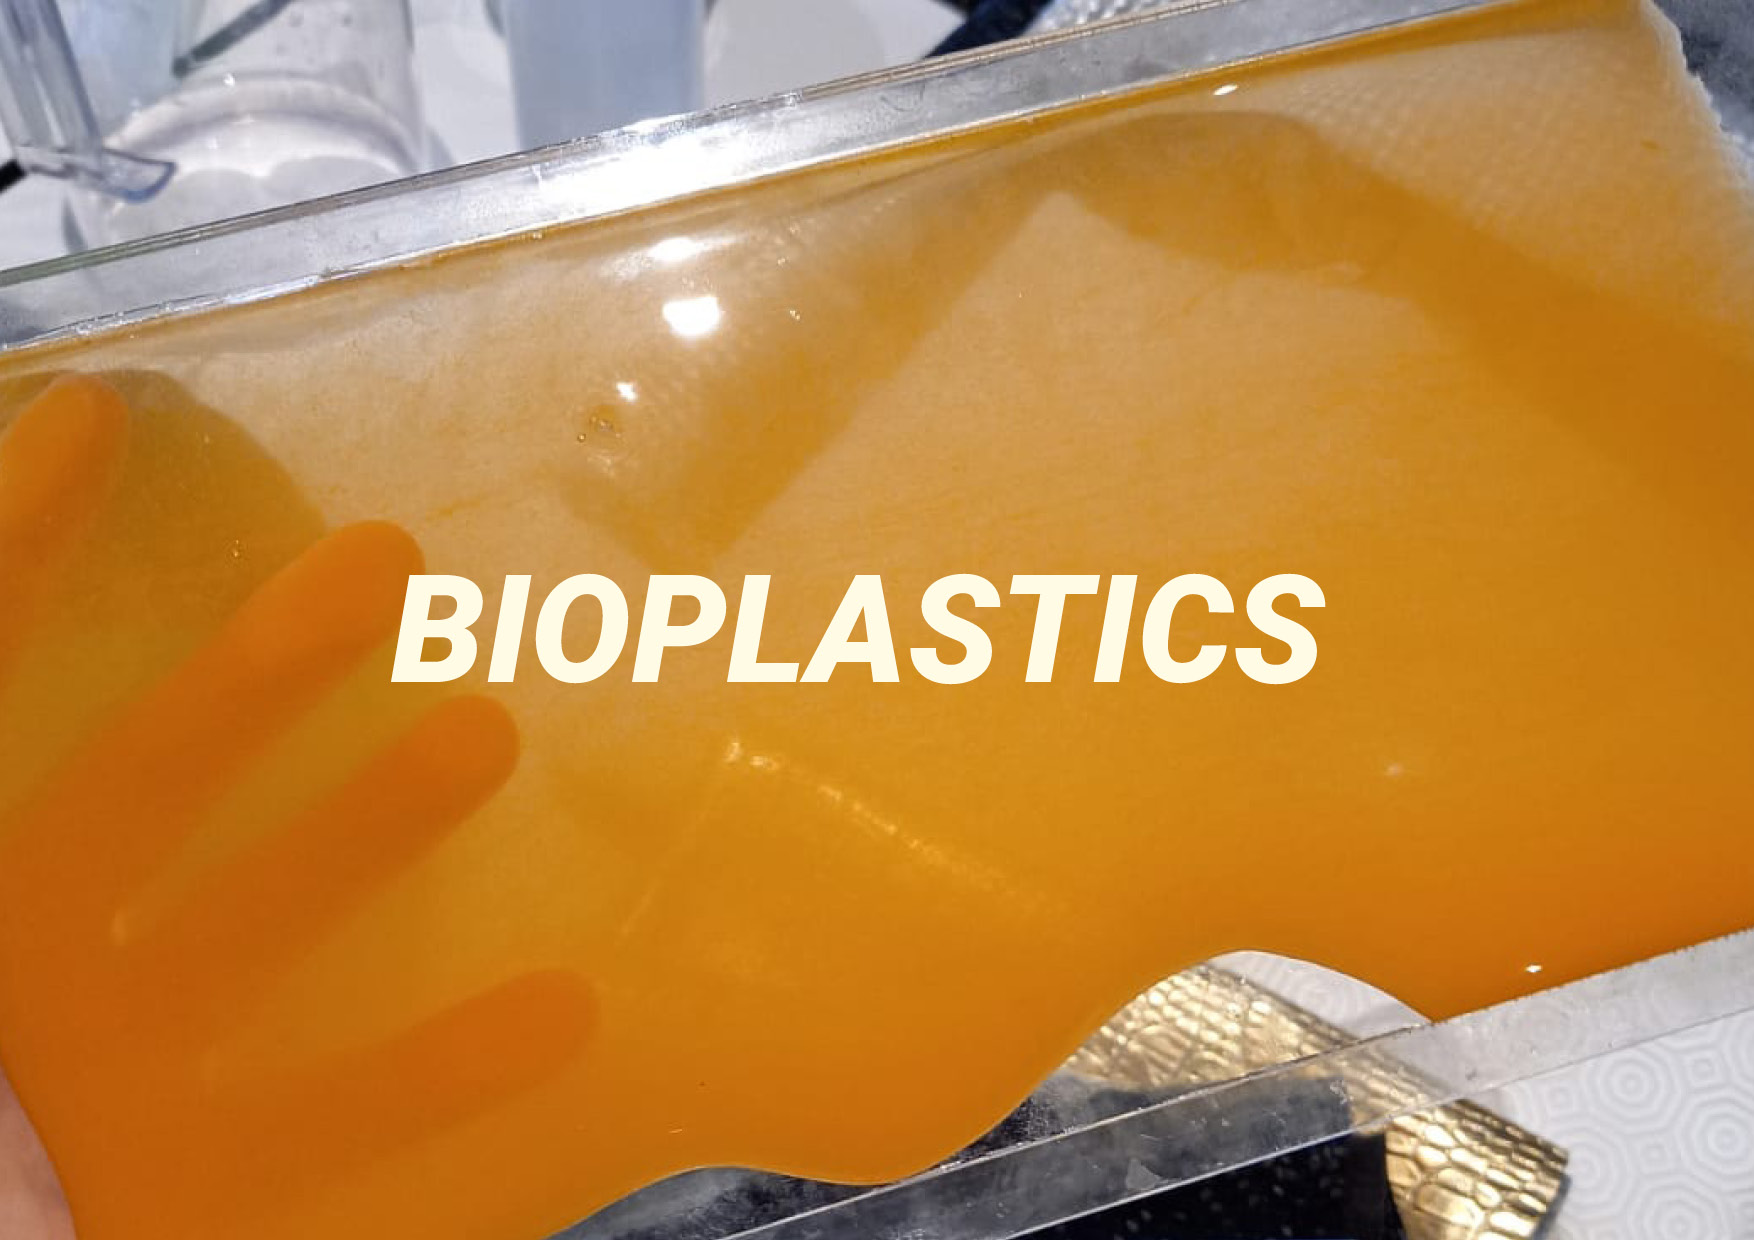
Alginate sample at the lab - credit: Patty Jansen 2021
The first biomaterial we got got acquainted with was Alginate, a bioplastic made by combining a mixture of sodium alginate, water and glycerine and a curing agent, calcium chloride. We used it to create a thin biofoil and a thicker bioplastic, suitable for making threads and larger surfaces.
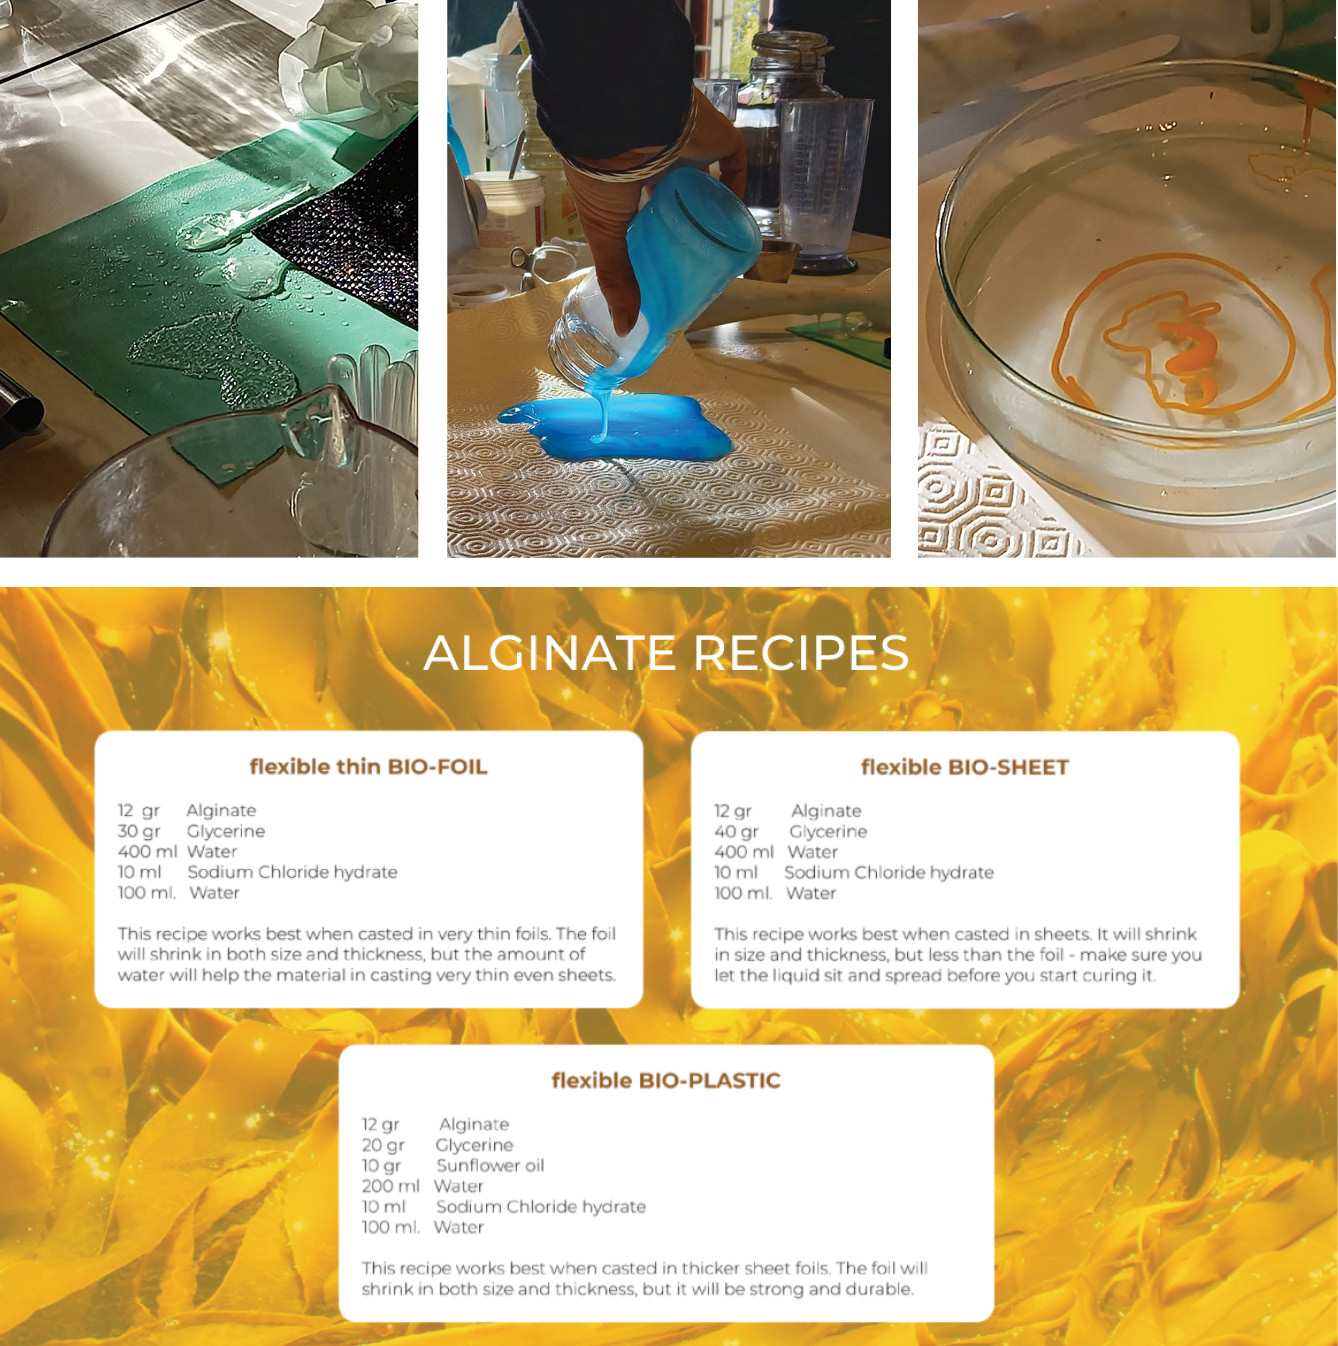
Top: Alginate workshop - credit: Patty Jansen 2021, bottom: Alginate recipes, source:Fabricademy
Alginate recipe method:
1. Mix the alginate with water and glycerine. The best way of getting a smooth mixture is to use a hand held mixer or blender. If you are planning to make a batch of multiple colours, prepare your colors in a jar or small container, to which you will add the mixture
2. Once the mixture is smooth and completely dissolved, let it sit for several hours, this will allow all the bubbles to leave the mixture
3. Prepare a solution of water and calcium chloride, at 10%, and fill a small spray bottle with it
4. Prepare your the surfaces and moulds to be filled, by spraying the calcium chloride mixture on the surfaces. You can use 3d textured coated fabrics that are waterproof, to transfer the texture to your bioplastic foil
5. Cast the alginate mixture onto the surface or mould. Once you start pouring, try to cast slowly, without inglobating air, and by carefully pouring on the liquid itself. Spread the material into a thin film using a very wide spatula or by moving the mould
6. After a couple of minutes spray the casted alginate with the calcium chloride mixture, the casted material will shrink both in thickness and width
7. Once the alginate mixture is cured, rinse it thoroughly or dip in it water to eliminate any residue of calcium chloride
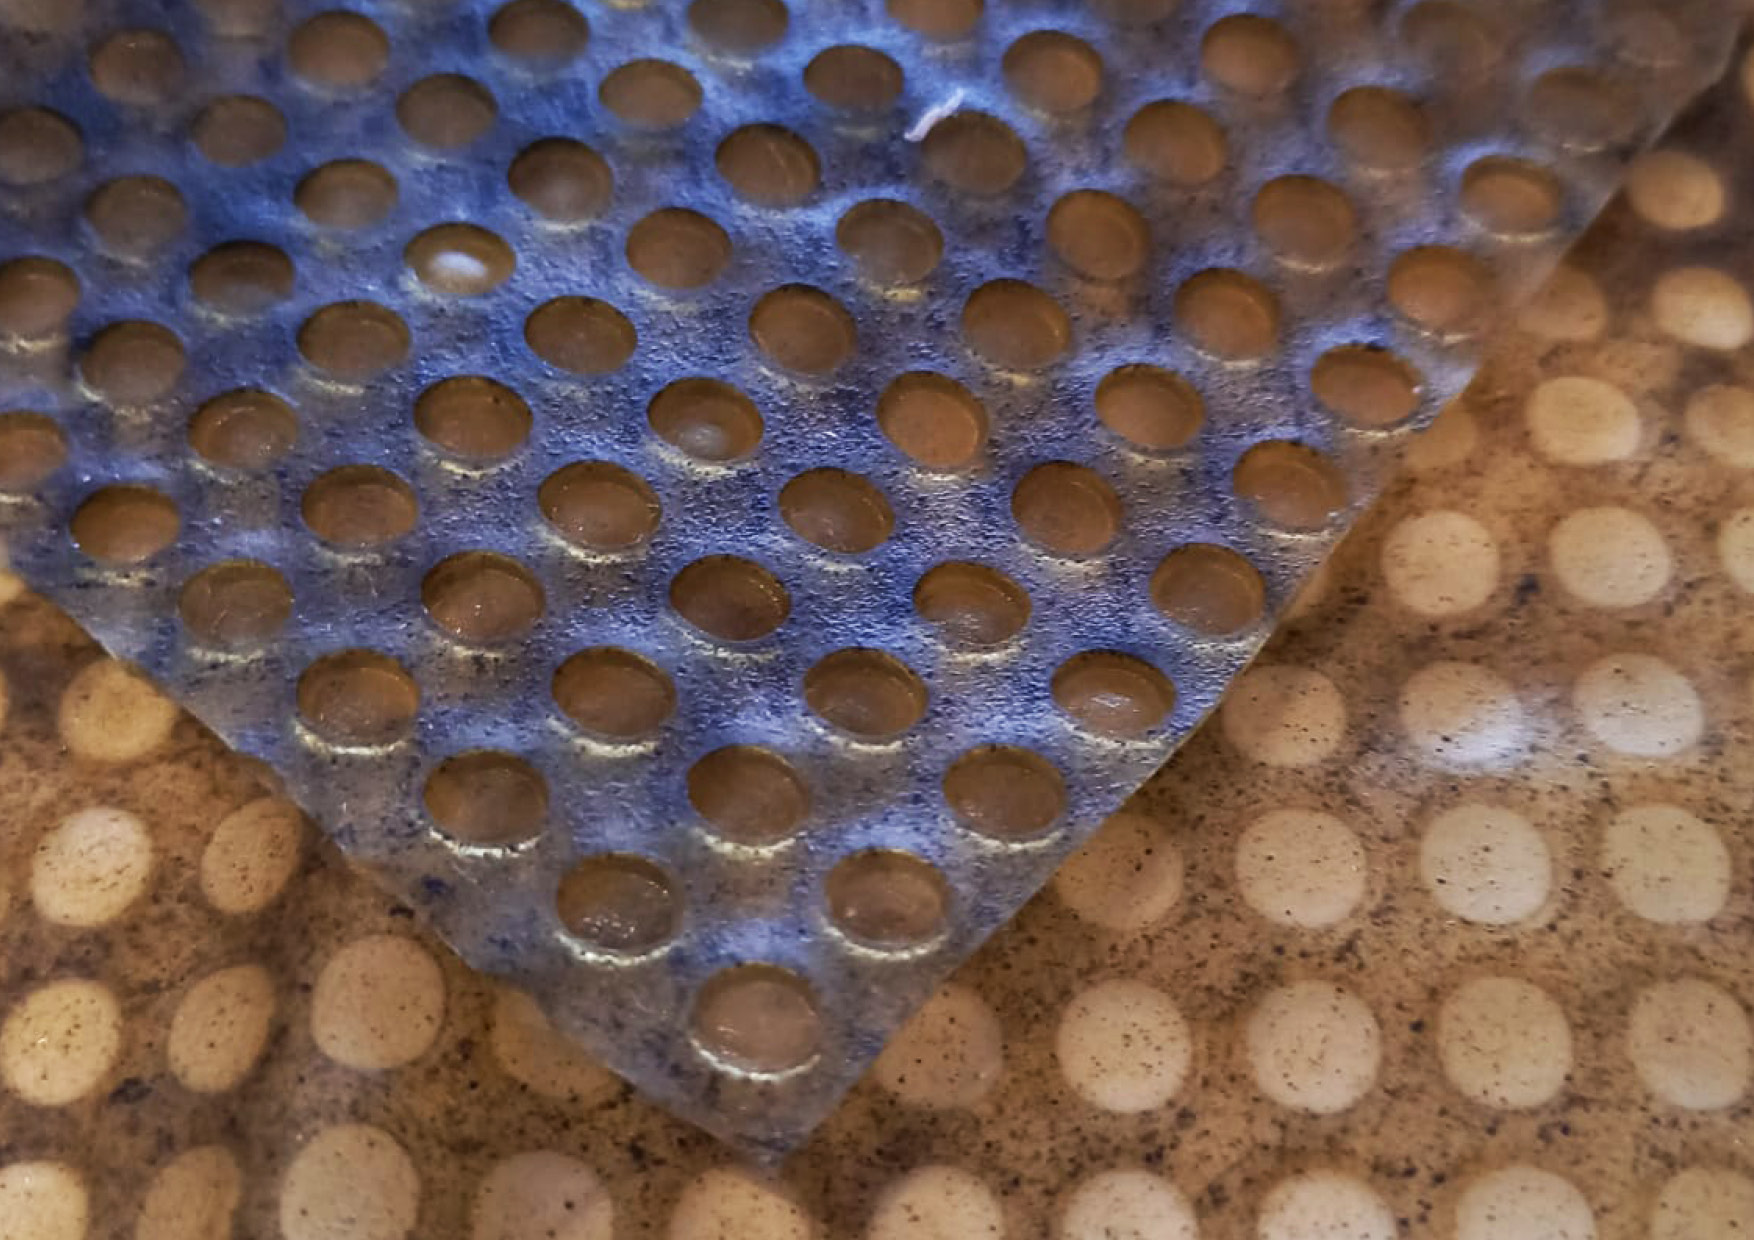
When casted on a patterned surface, the bioplastic/foil will copy this pattern while drying. Starting with the biofoil, I soon found out dat preparing the surface with probably too much calcium chloride almost 'scares' the biofoil, curing it while pouring which doesn't help to get a smooth surface. After leaving the alginate to dry for a while at home, I was suprised to see my sample below almost looked like a dryed out snake skin, or better yet, an umbilical cord.
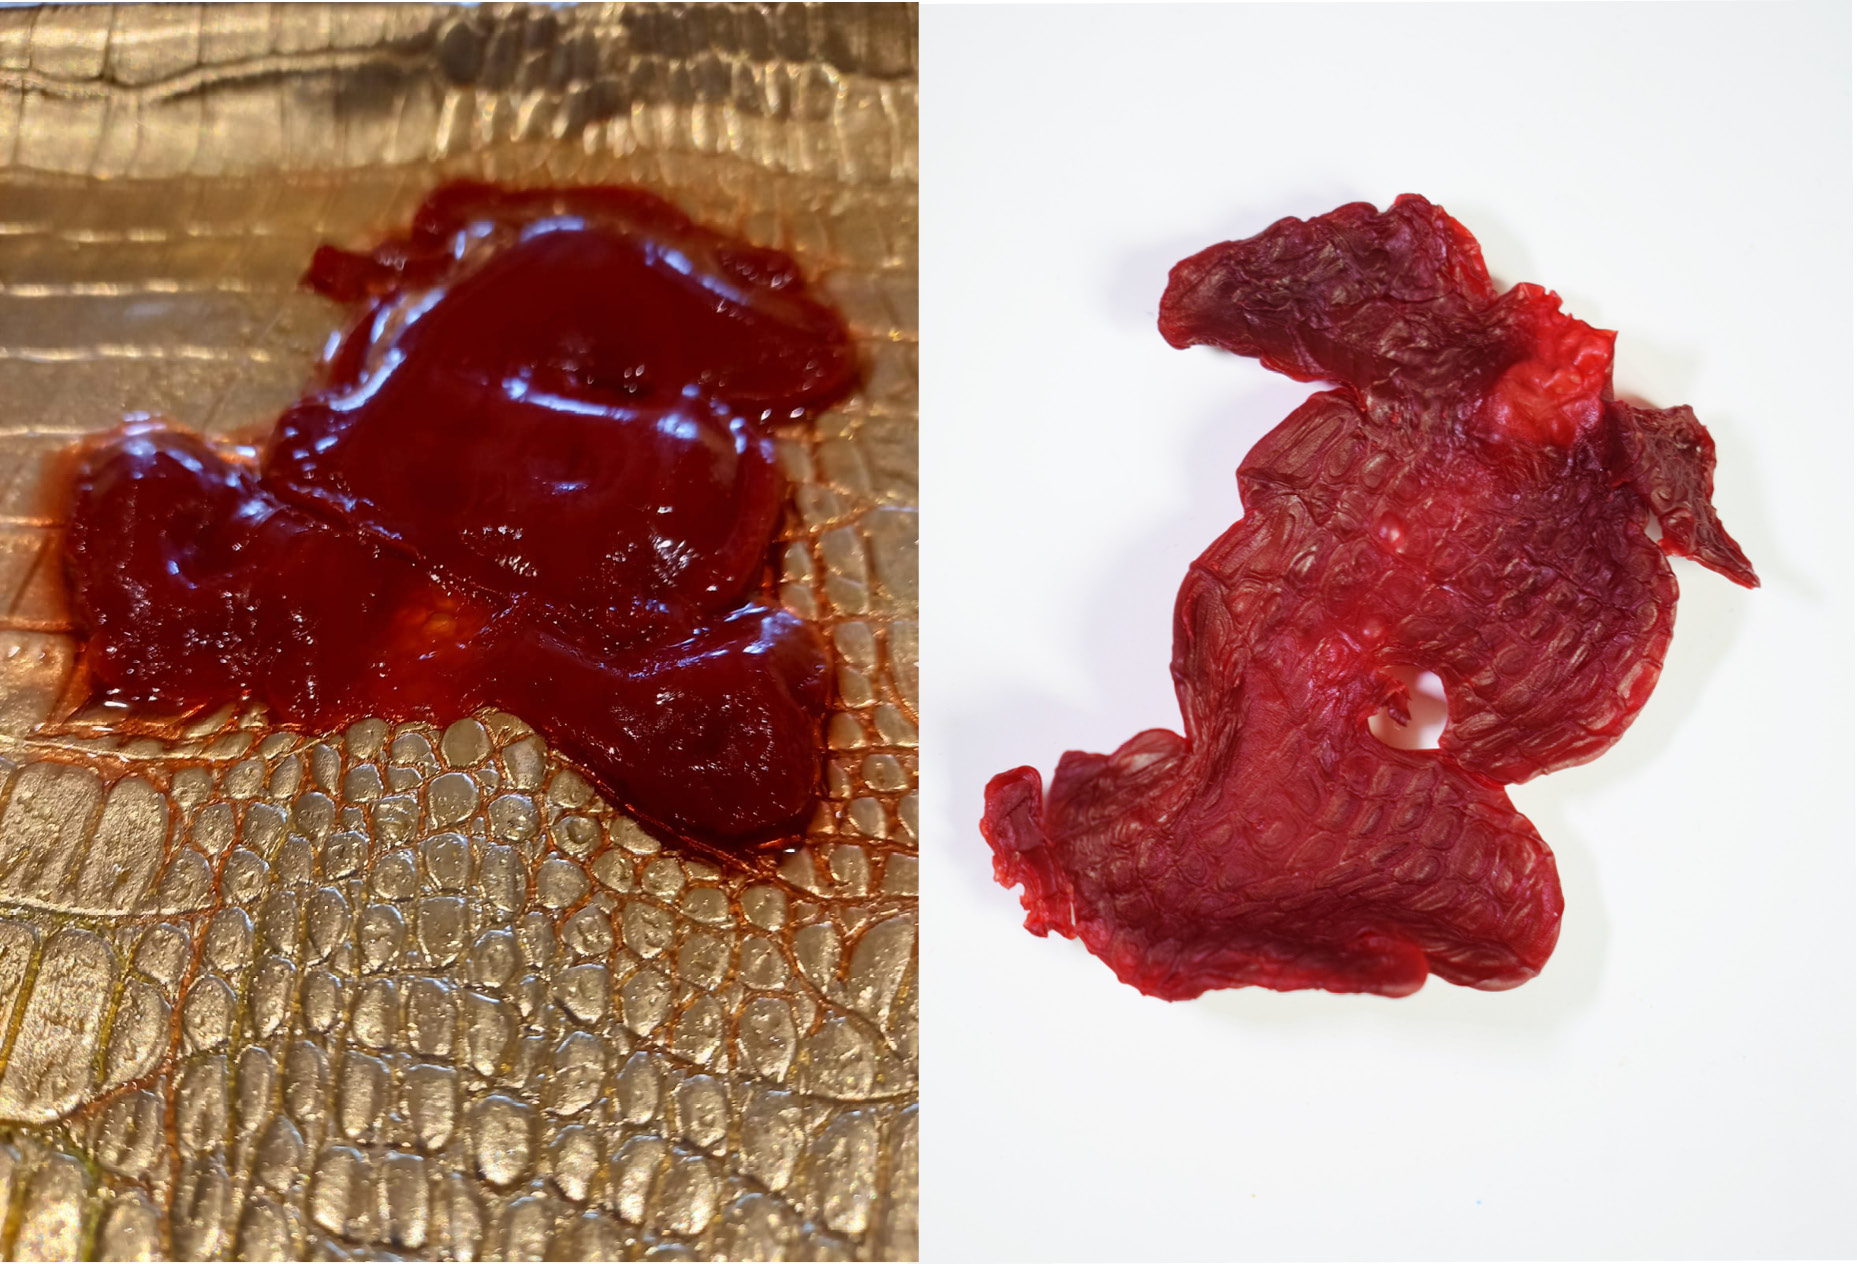
Alginate before and after - credit: Patty Jansen 2021
The samples below are by far my best achievements this week as it comes to Alginate. The tumeric in the left sample created a beautiful powdery look and the Alginate didn't shrink that much at all. The right sample inherited some foodcoloring from the earlier mentioned red sample during transportation, so mental note for self: be careful next time. I think it turned out nicely though.
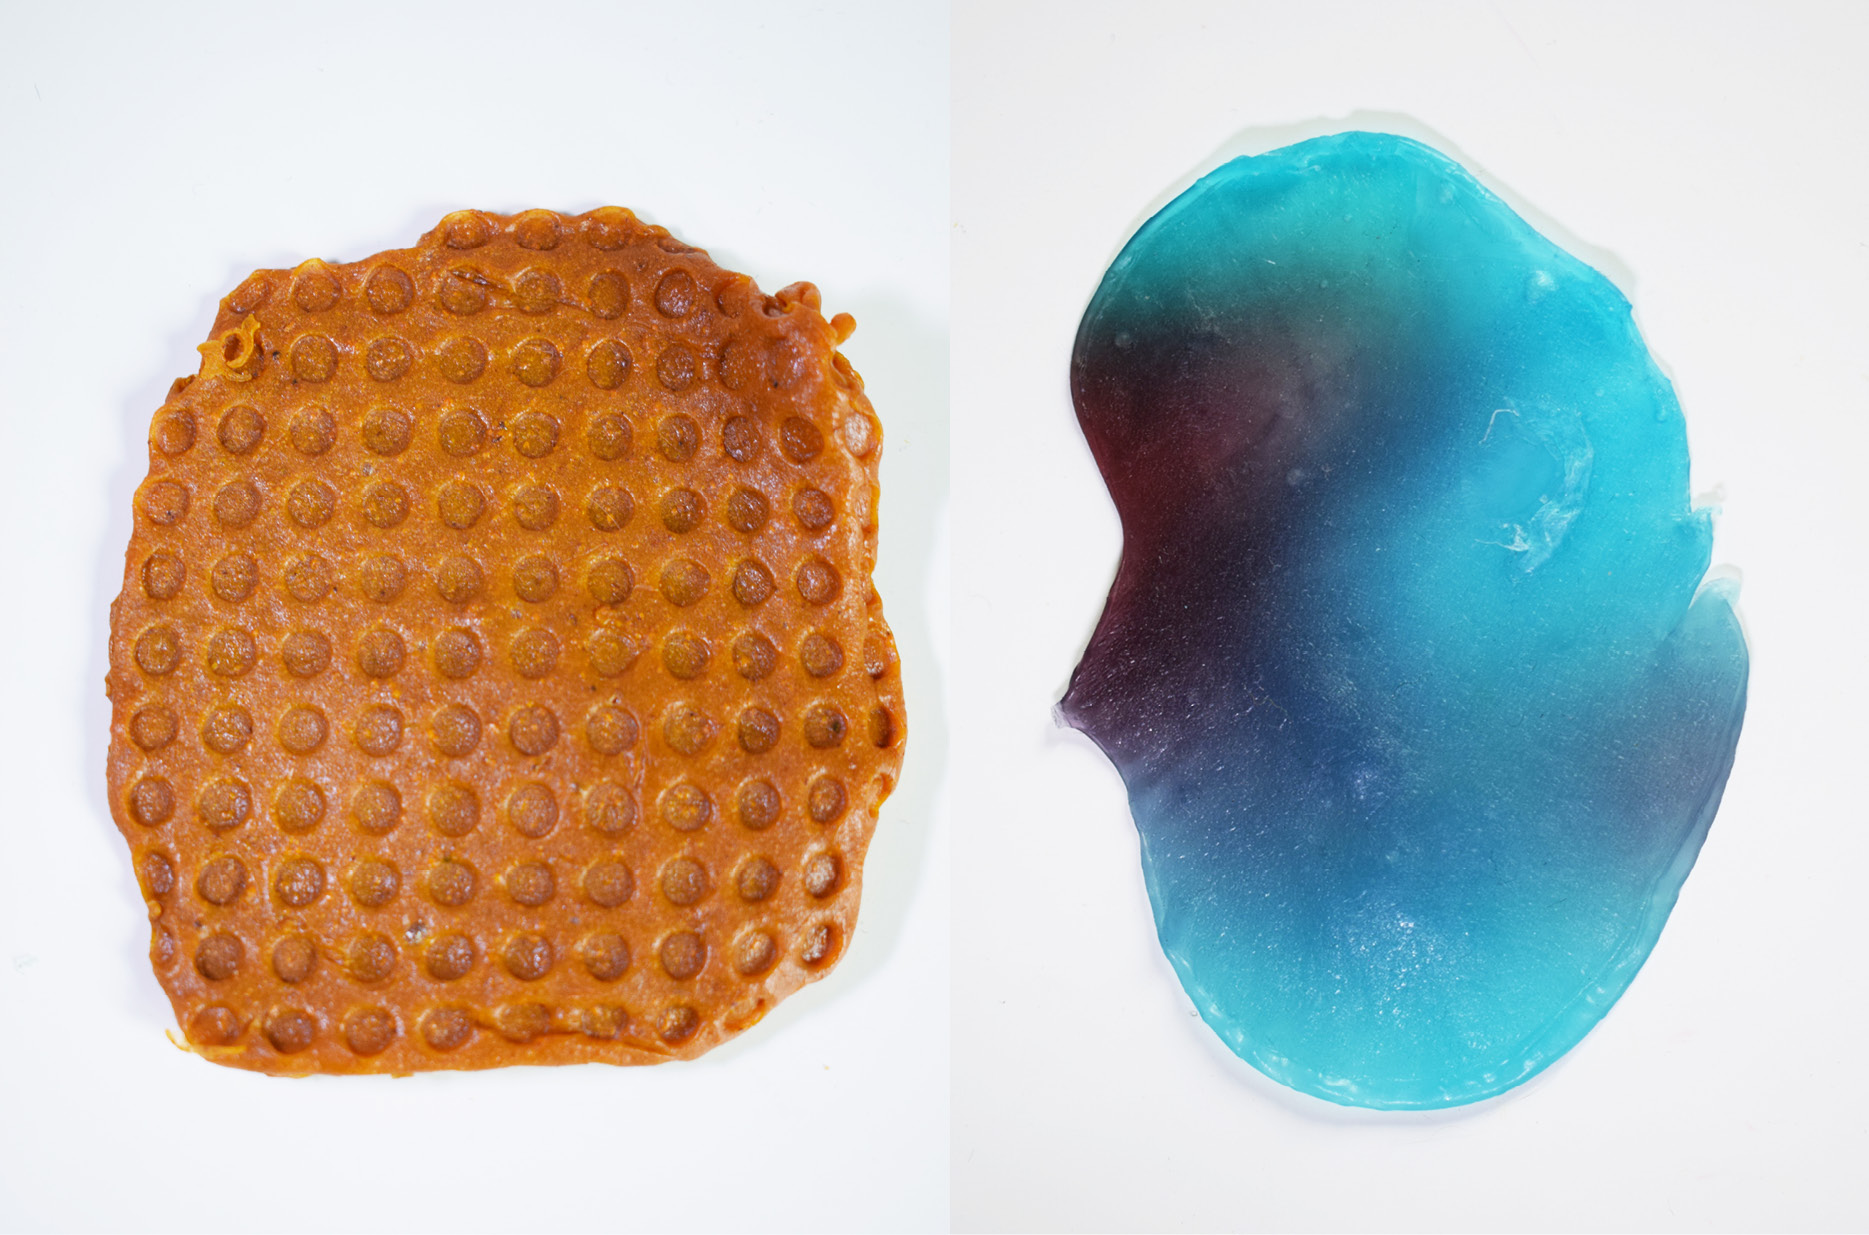
Left: Alginate bioplastic with tumeric, right: Alginate biofoil with foodcoloring - credit: Patty Jansen 2021
I also did some experiments with creating threads and small pearls with small and big syringes straight into a 33% calcium chloride bath.
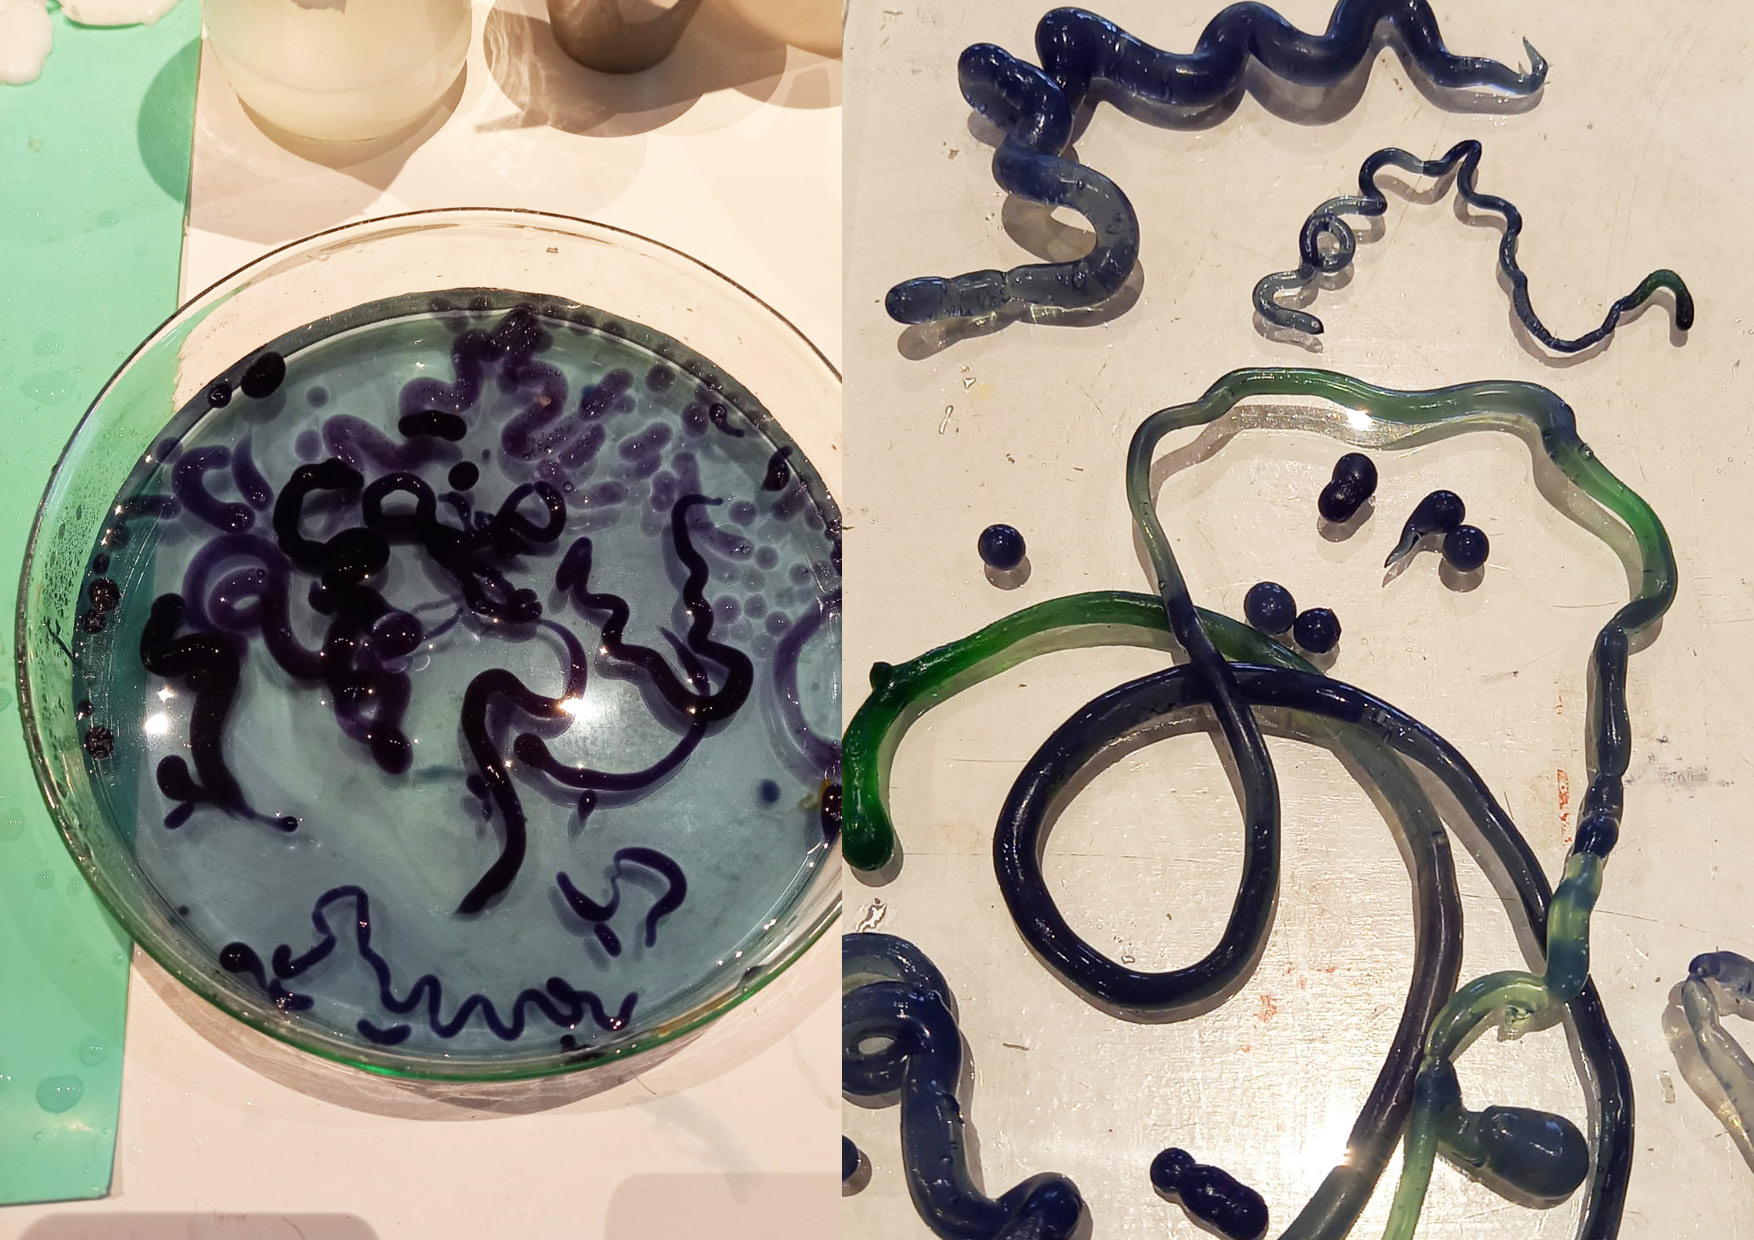
Left: Alginate biofoil strings and pearls - credit: Patty Jansen 2021
6.1.3 Gelatine & Agar
During the week we were introduced to Agar and Gelatine bioplastics. We made 5 recipes altogether: bio resin, bio foam, bio silicone and two bio foils.
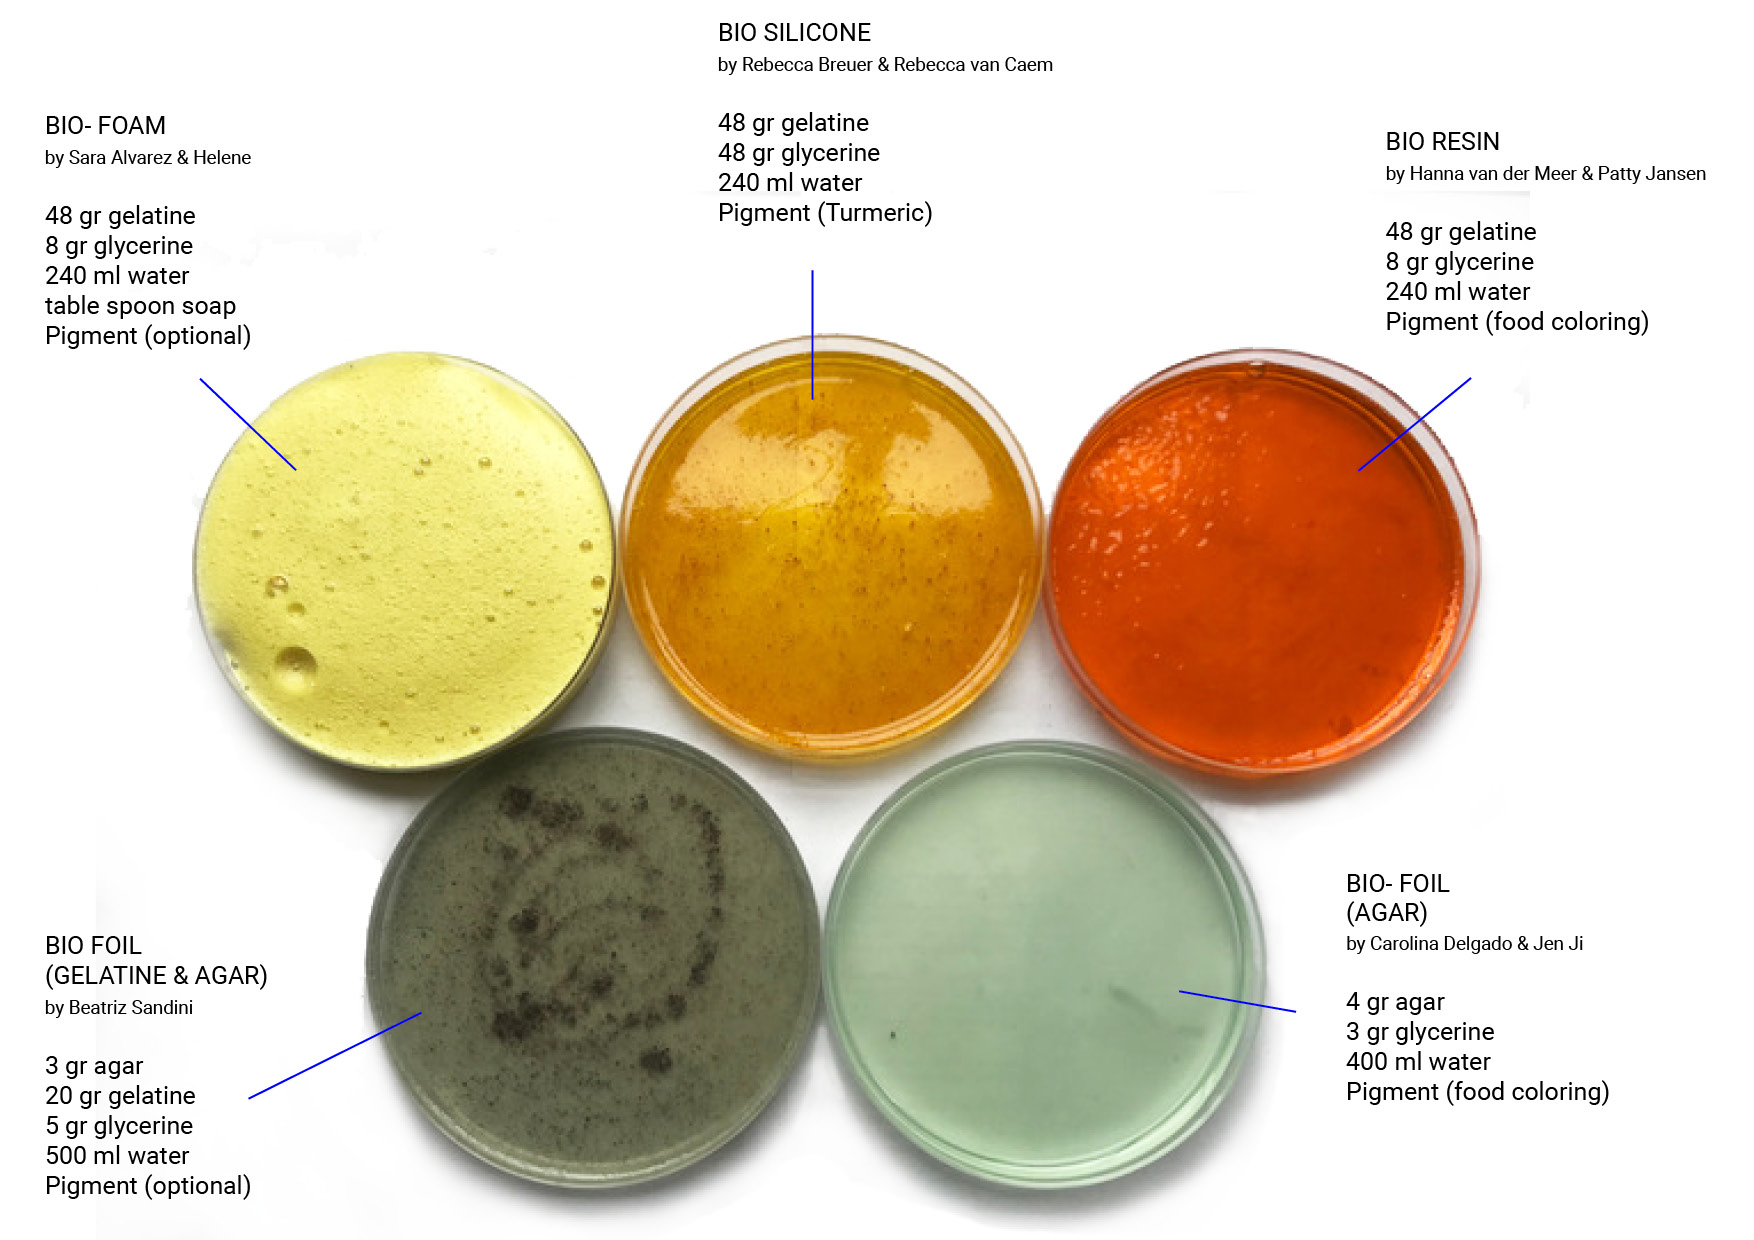
Hanna & I created a bio resin colored with orange food coloring. The recipe is fairly simple:
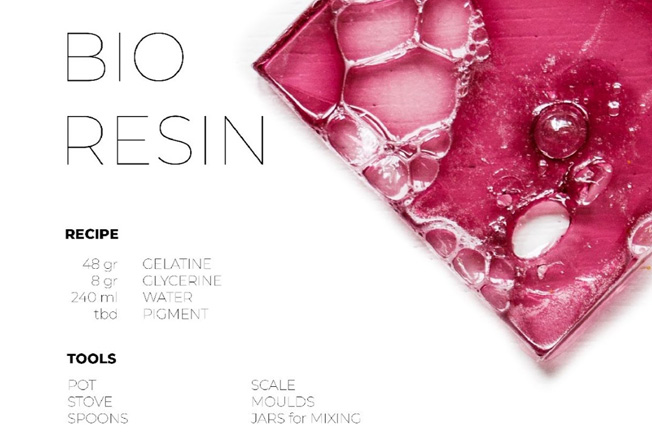
Bio resin recipe, Fabricademy lecture by Cecilia
We followed the steps below and casted the bio resin into petri dishes, leaving them to dry
Bio resin recipe steps, Fabricademy lecture by Cecilia
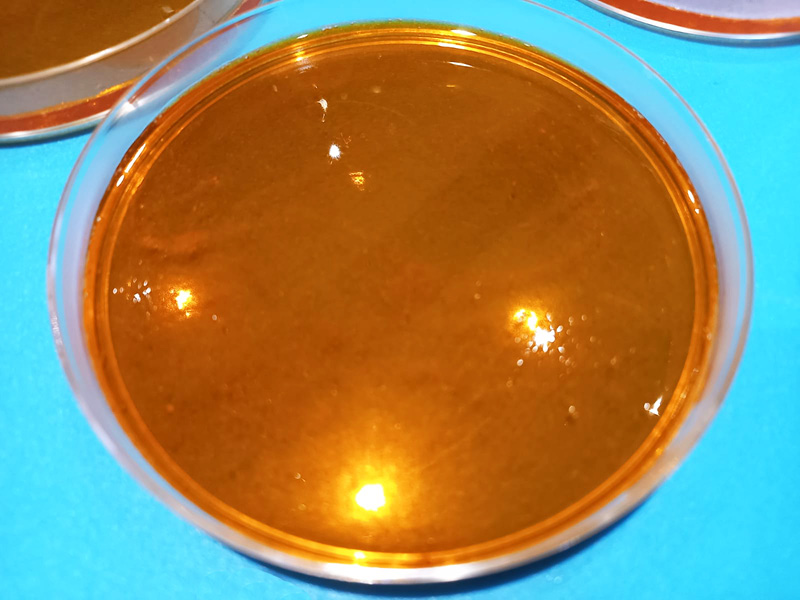
Bio resin cast, credit: Patty Jansen & Hanna van der Meer, 2020
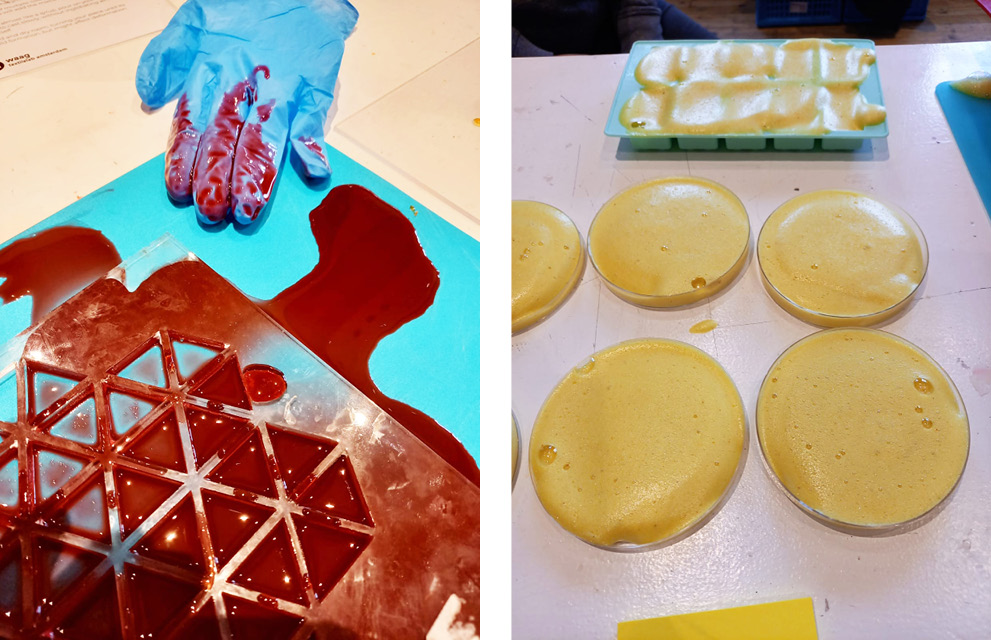
Casting fun, left credit: Patty Jansen & Hanna van der Meer, right credit: Sara Alvarez & Helene, 2020
The result of the bio resin after drying:
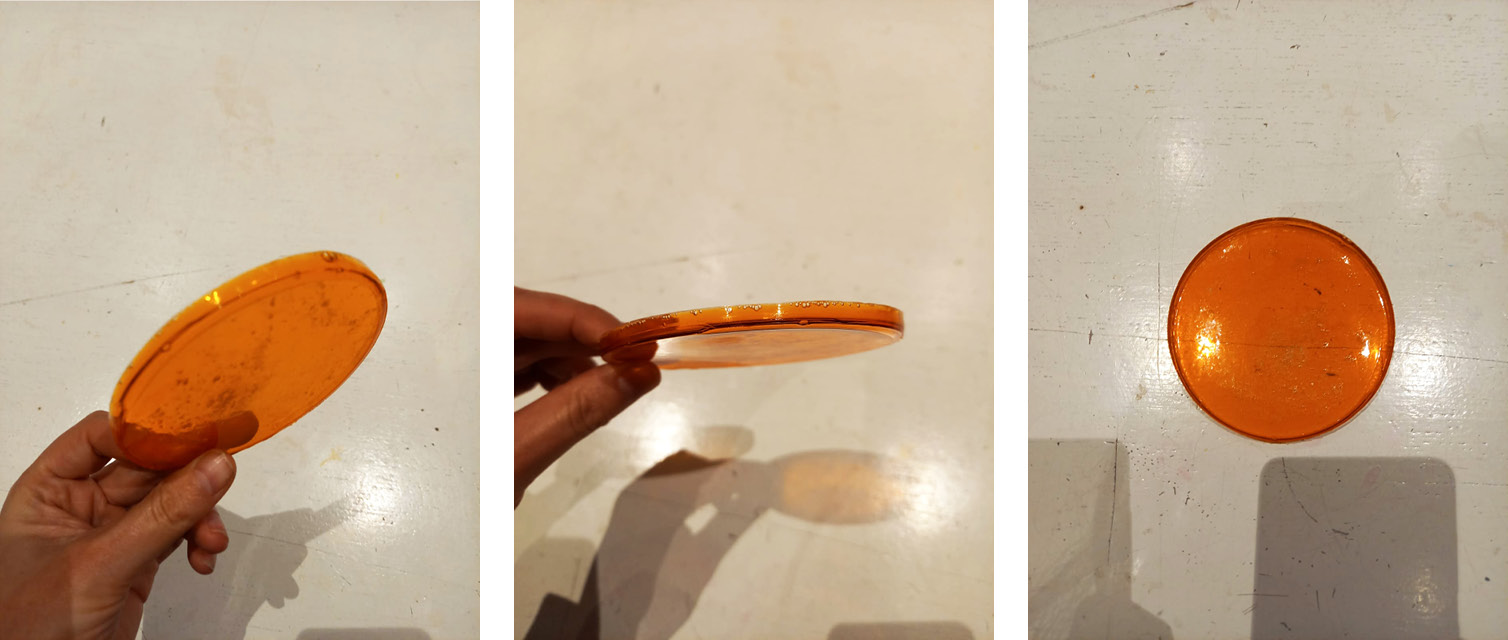
Bio resin result, credit: Patty Jansen & Hanna van der Meer, 2020
We also poured some resin into a mold for candy, result below. If you look closely, you can see that the bottom of the candy is a bit curved shaped, not perfectly flat, with the edges curling out a bit as well. This is a result of the outer edges drying faster than the inside. Using a drying oven might prevent this problem from happening.

Bio resin candy, credit: Patty Jansen, 2021
Unfortunately, the rest of my samples molded while drying.
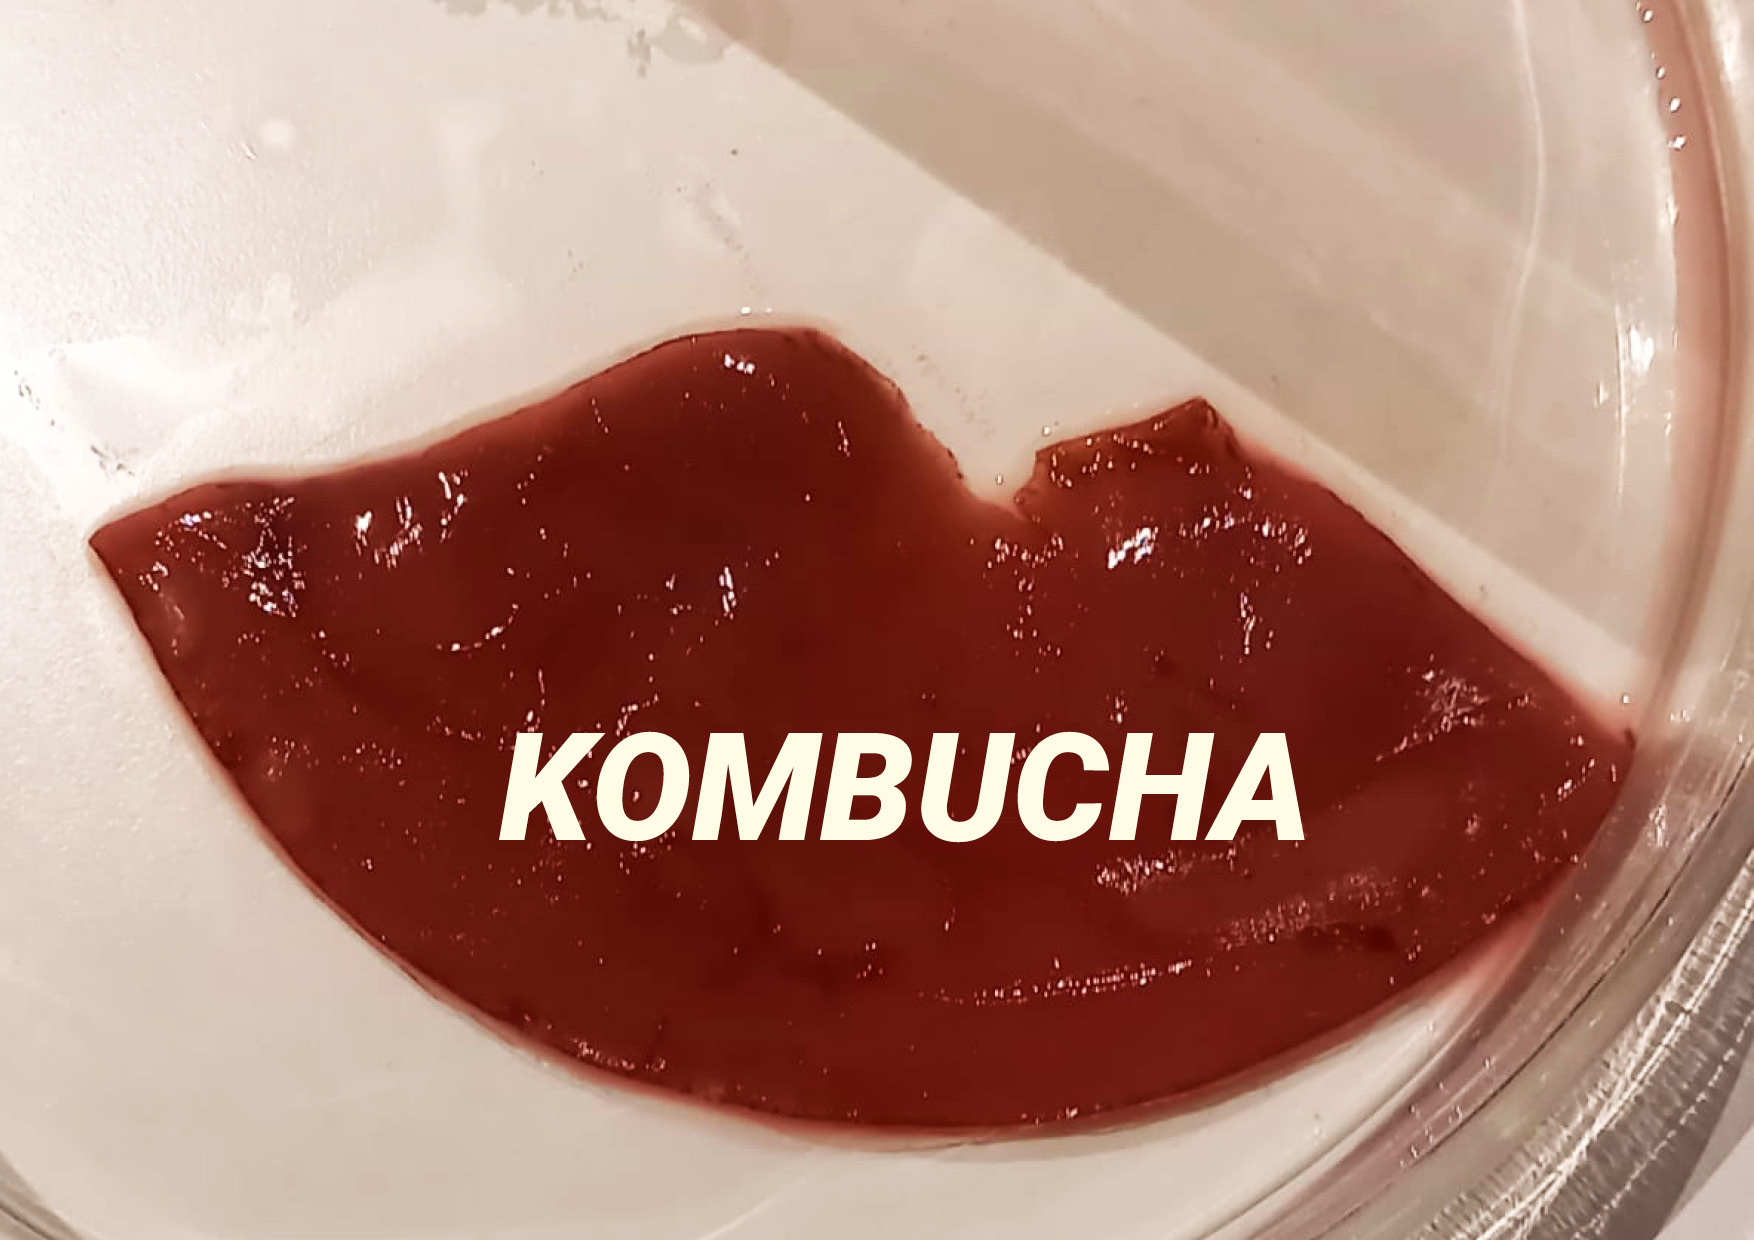
6.2 Kombucha
6.2.2 Kombucha: the making of
Kombucha is a fermented tea with a symbiotic colony of bacterial yeast (SCOBY). Bacteria feeding on a liquid medium of sugars and tea, start creating an acidic environment which allows them to thrive and spin cellulose layers. It grows between 25-30 degrees Celcius, at lower temperatures it will grow more slowly. Kombucha material is a layered cellulose, where the grown material is washed and then dried, either flat or in shape. To preserve the material, it must undergo a post-growth treatment to soften, make elastic or dry the Kombucha pellicle. (Source)
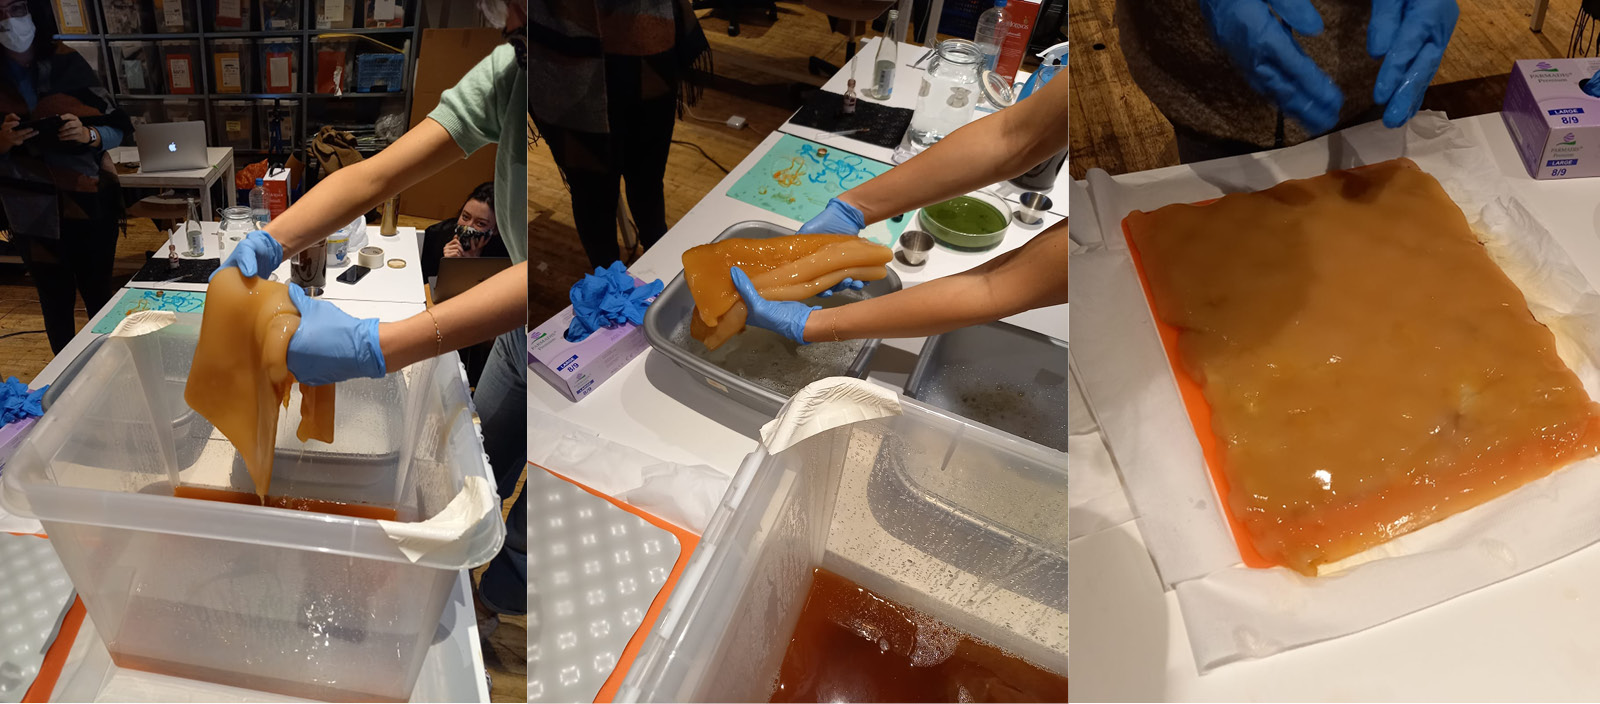
The harvest of a full grown scoby - image credit: Patty Jansen 2021

Kombucha leather samples at the lab - image credit: Patty Jansen 2021
6.2.3 Kombucha recipes
We made three Kombucha recipes at the Waag: (green) tea, beer and wine Kombucha, I was responsible for the wine recipe.
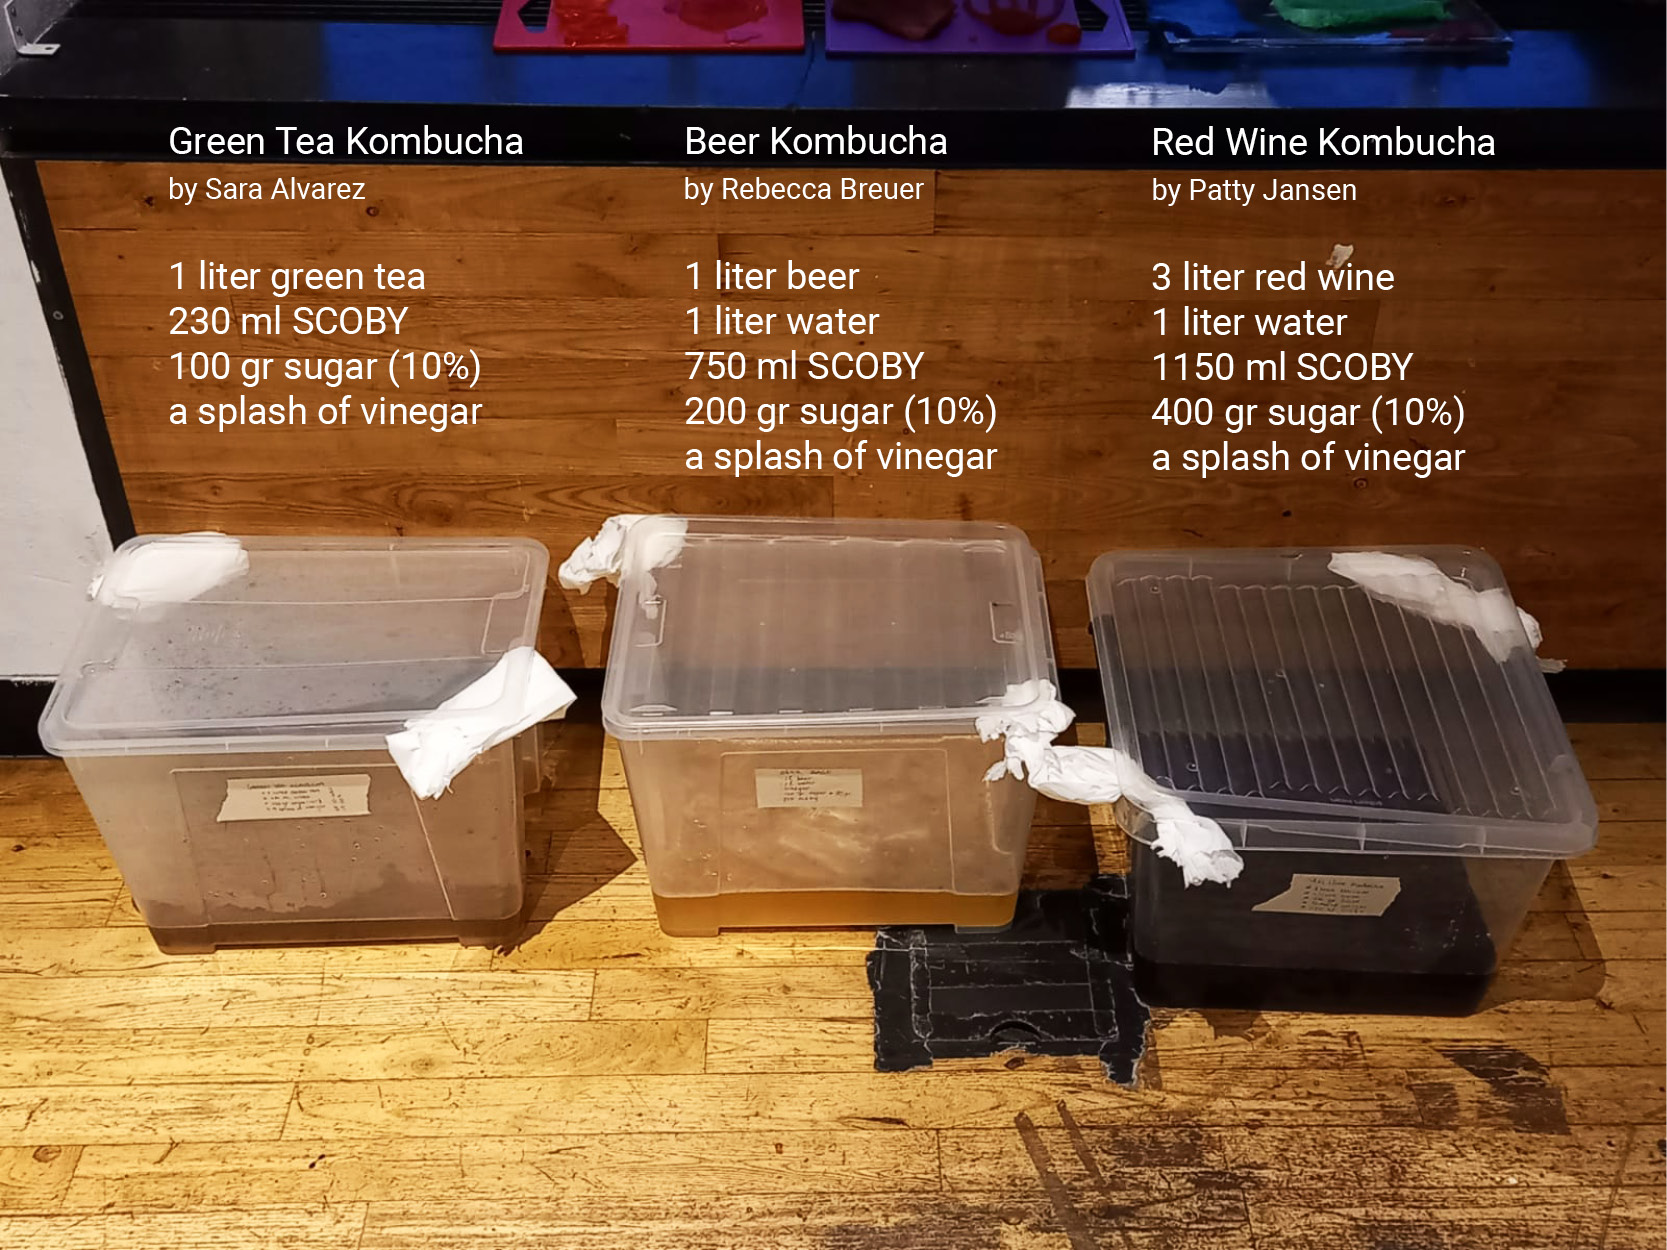
All of the recipes prepared and stored in a warm place, image credit: Patty Jansen, 2021
The SCOBY liquid mentioned in the recipes consist of a pre-fabricated starter liquid and a piece of pre-grown SCOBY which the new SCOBY will use as a base to grow.
Green tea recipe method:
1. Mix the green tea brew with the starter liquid
2. PH needs to be around 3, measure the PH and add vinegar if necessary
3. Add sugar and mix
4. Add piece of pre-grown SCOBY
5. Put the lid on the box, use paper towels to prevent it from closing
6. Store it in a warm place to stimulate fermentation
7. Check for mold, use a splash of vinegar to kill the mold if needed
8. The scoby is ready to harvest when it reaches a layer height of 1 cm minimum
Beer/Wine recipe method:
1. Mix the beer/wine with water
2. PH needs to be around 3, measure the PH and add vinegar if necessary
3. Add sugar and mix
4. Add starter liquid + piece of pre-grown SCOBY
5. Put the lid on the box, use paper towels to prevent it from closing
6. Store it in a warm place to stimulate fermentation
7. Check for mold, use a splash of vinegar to kill the mold if needed
8. The scoby is ready to harvest when it reaches a layer height of 1 cm minimum
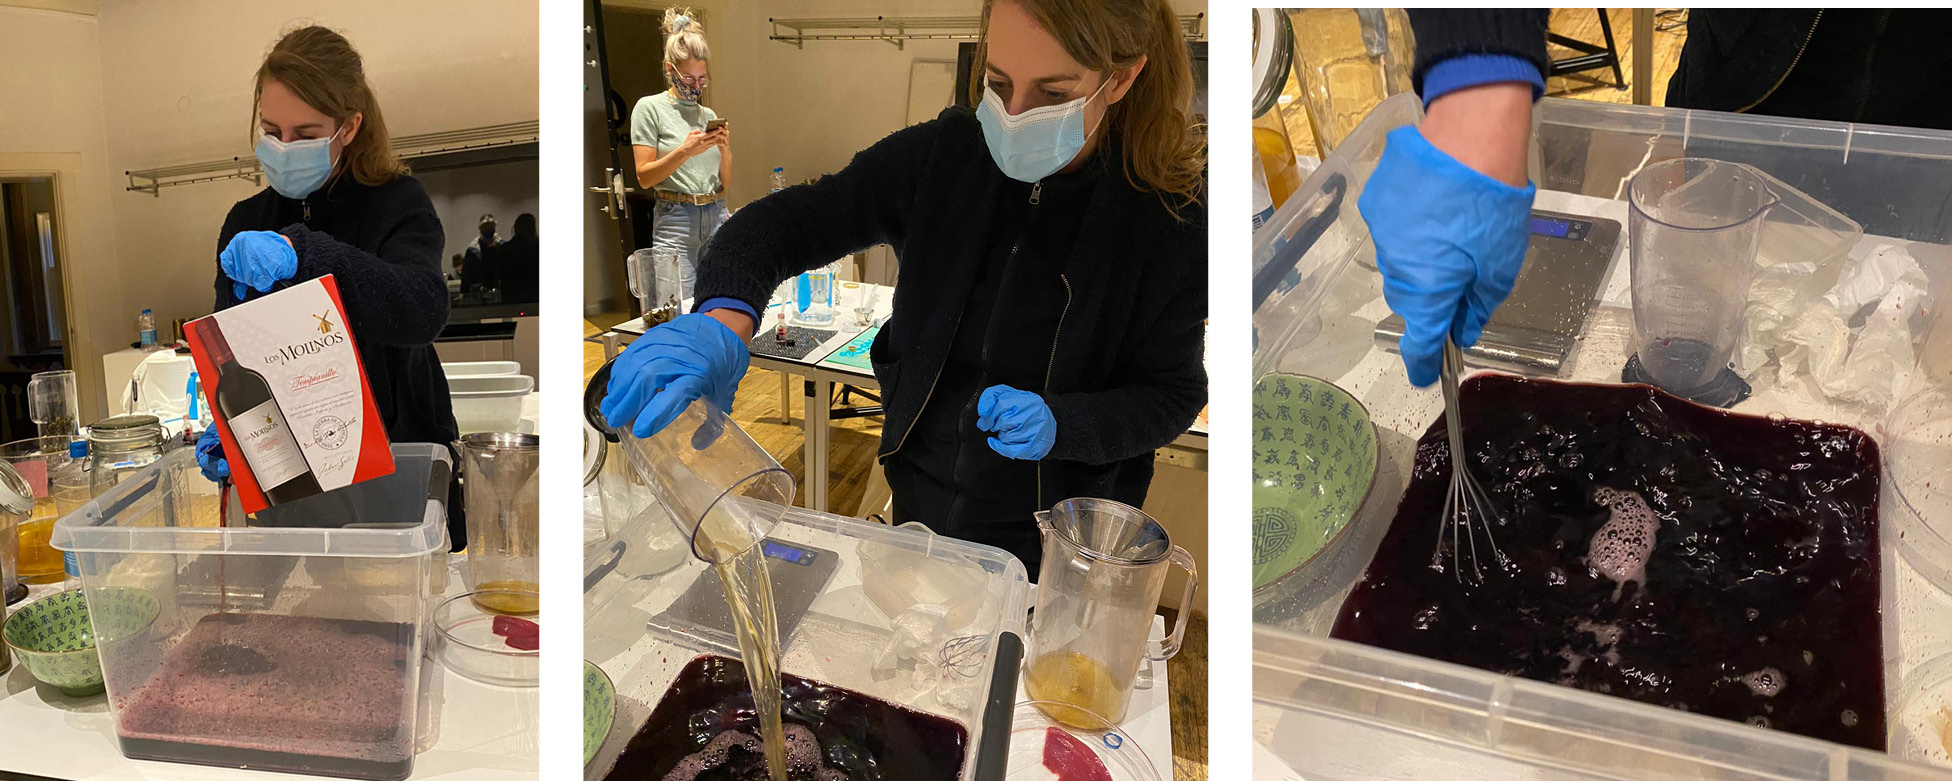
The making of the wine recipe by me, pictures taken by class mates, 2021
A week later, the green tea recipe grew some mold which was saved by adding vinegar. My red wine recipe wasn't doing anything at all: we concluded it was probably because we used unpasteurized wine. Such a pity, so much wine lost ;)