week09
under construction
This week was all about technical textiles: the use of textiles in composites, polymerisation, solidification, fabric formwork, crystallization and agglomerates. We focused mostly on the interesting process of growing crystals on textiles and got introduced to the CNC milling machine which is used to create molds. Unfortunately, the machine broke down and took a while to get fixed, that's why I focused on other techniques and ways of moulding .
9.1 Crystalisation
I think crystalisation is just beautiful: it's so simple, yet it returns such stunning results. Searching online I found the work of Roger Hiorns (it looked vaguely familiar) where he pumped 75.000 liter of Copper Sulphate into an old Londen appartment, ready to be demolished. It must have been an overwhelming experience, rightfully named 'Seizure', the intense blue of the crystals everywhere, even under your feet. It's a work I secretly wished I made.
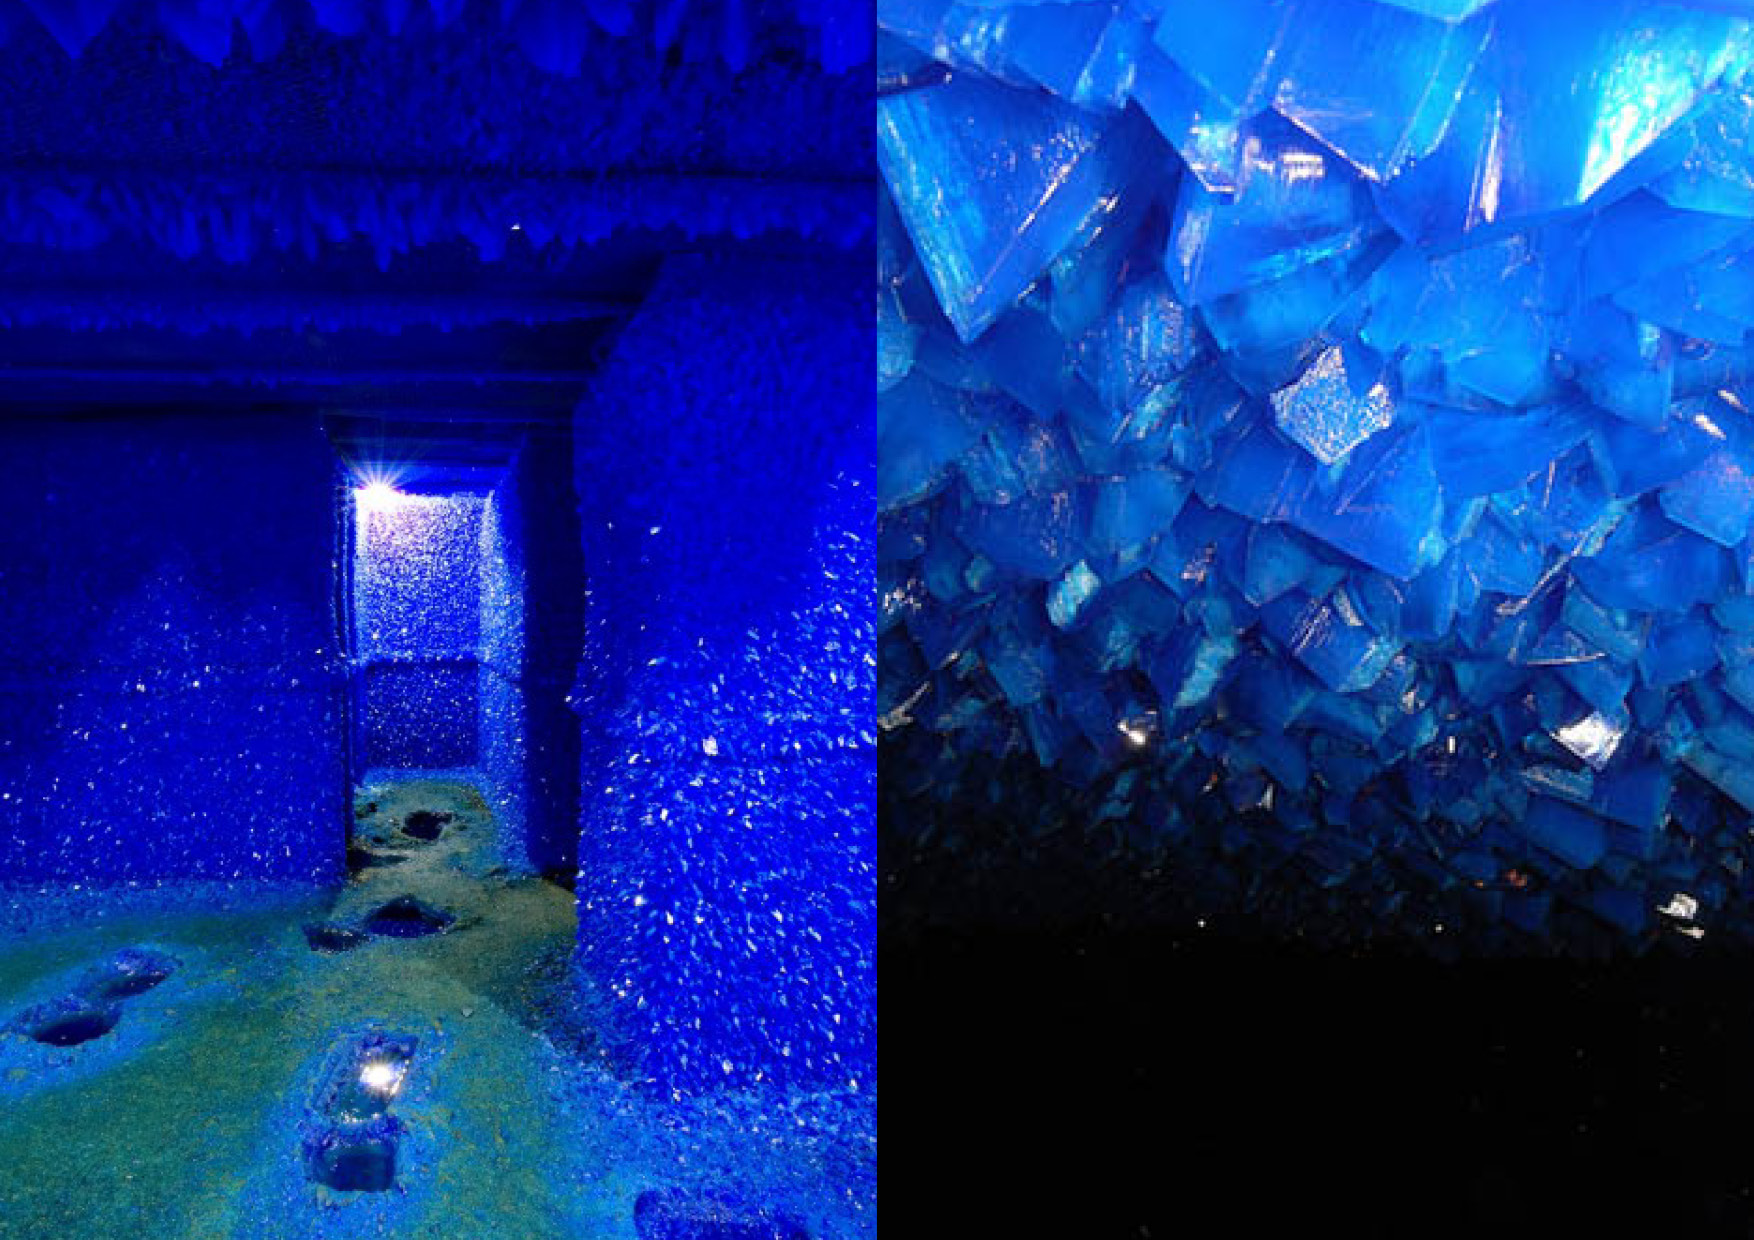
Roger Hiorns, Seizure, 2008, image credit: left:Glass Magazine, right:Flickr user aliceson
Having danced classical ballet for fourteen years, the beautiful pointe shoes with crystals and its colors from Alice Potts resonated with me:
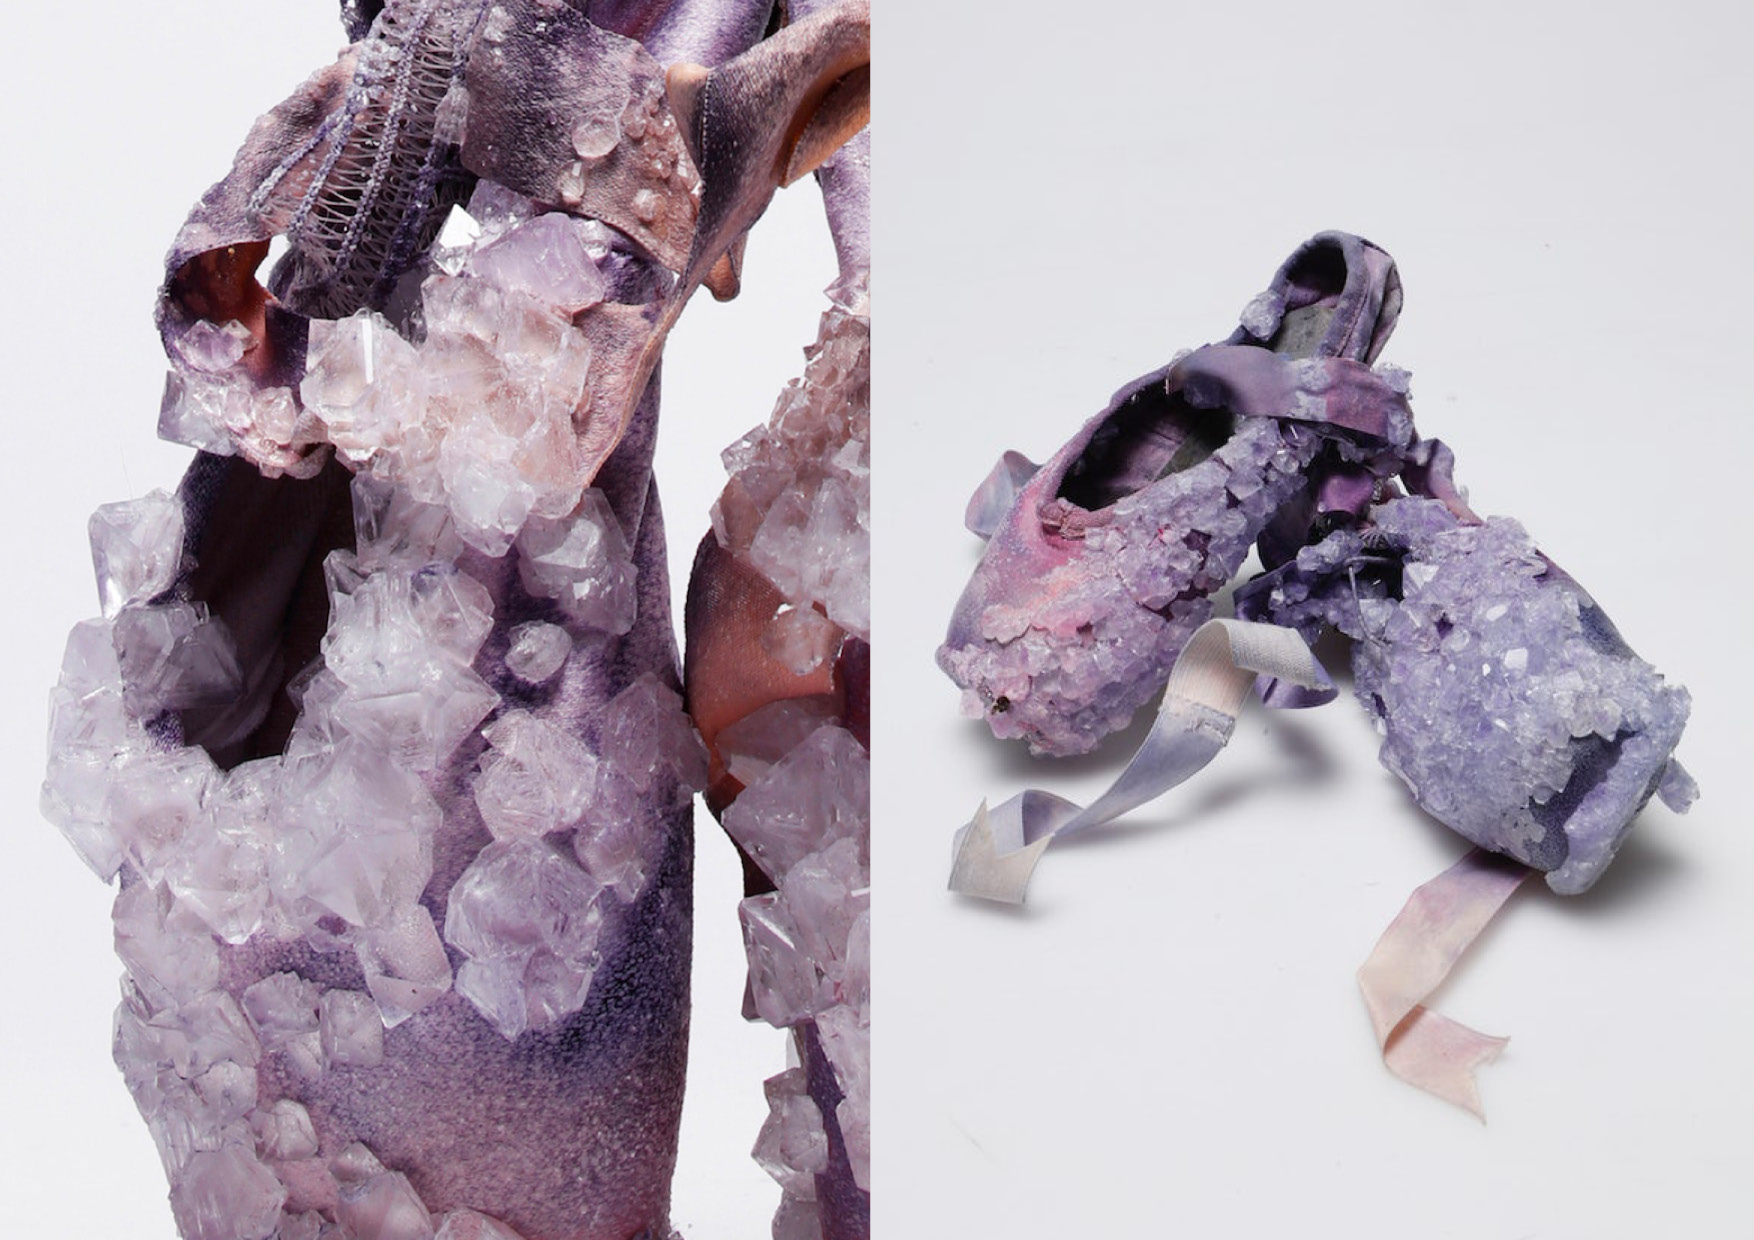
Alice Potts, Perspire, 2018, taken from: This is Colossal
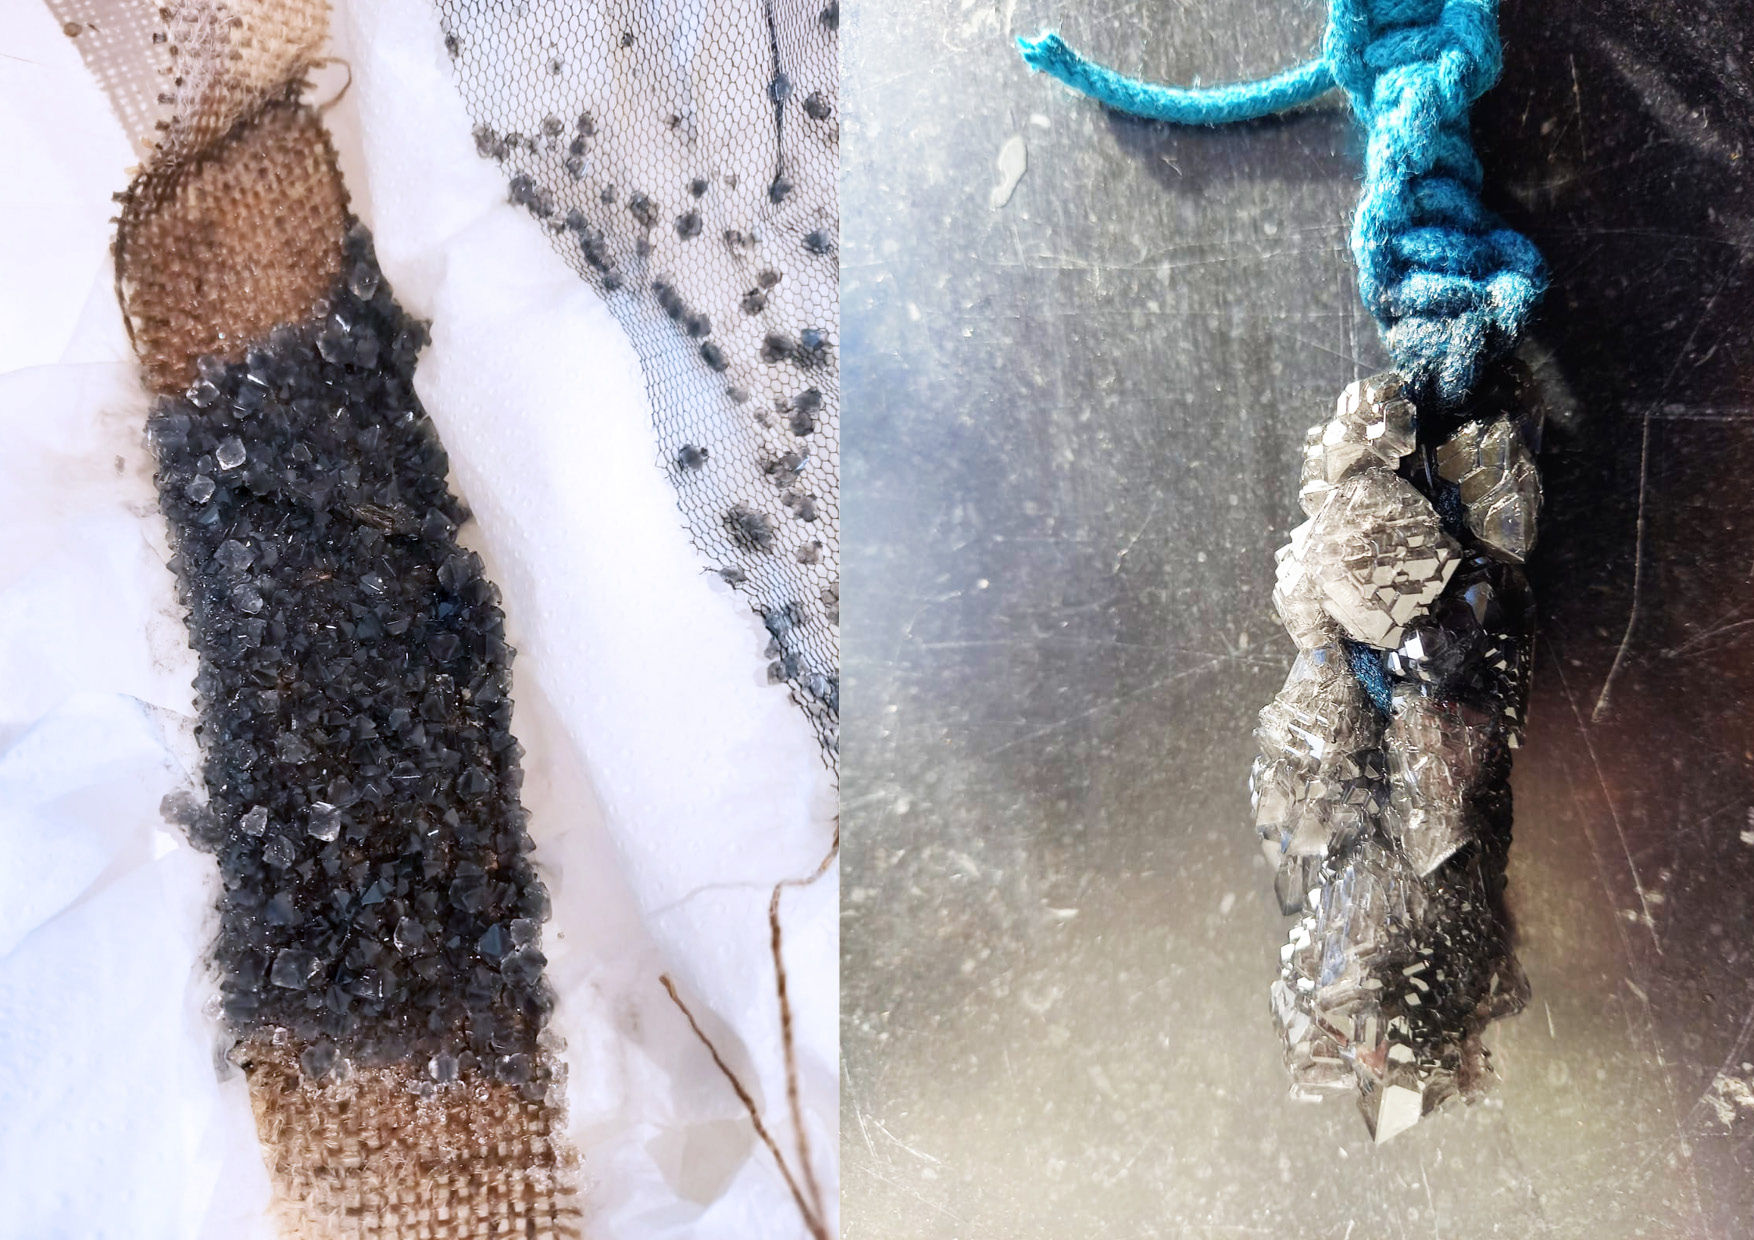
Next to that, I have a thing for the unconvential and for cinematic visuals, so the work of Sigalit Landau definately sticked with me:
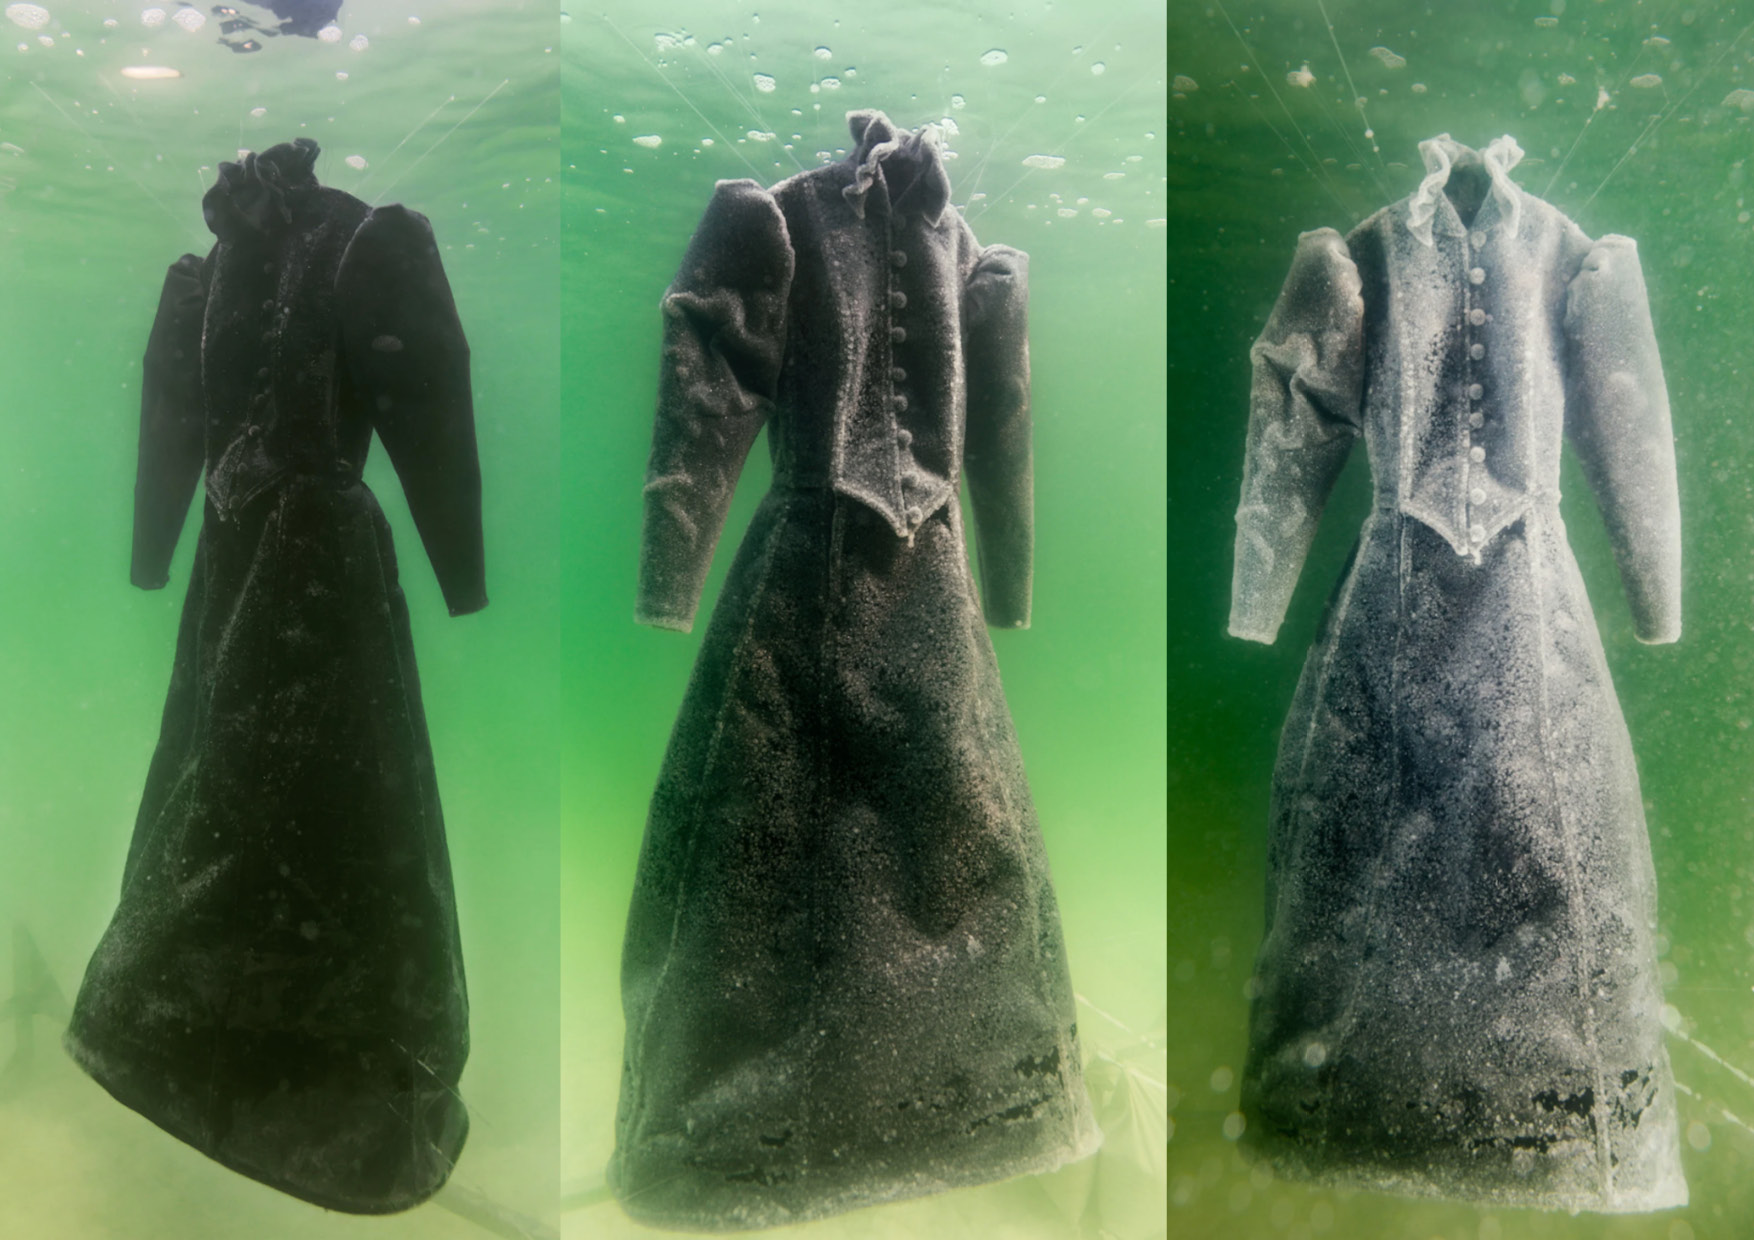
Sigalit Landau in collaboration with Yotam From, Salt Crystal Bride Gown III, 2014, taken from VICE Magazine
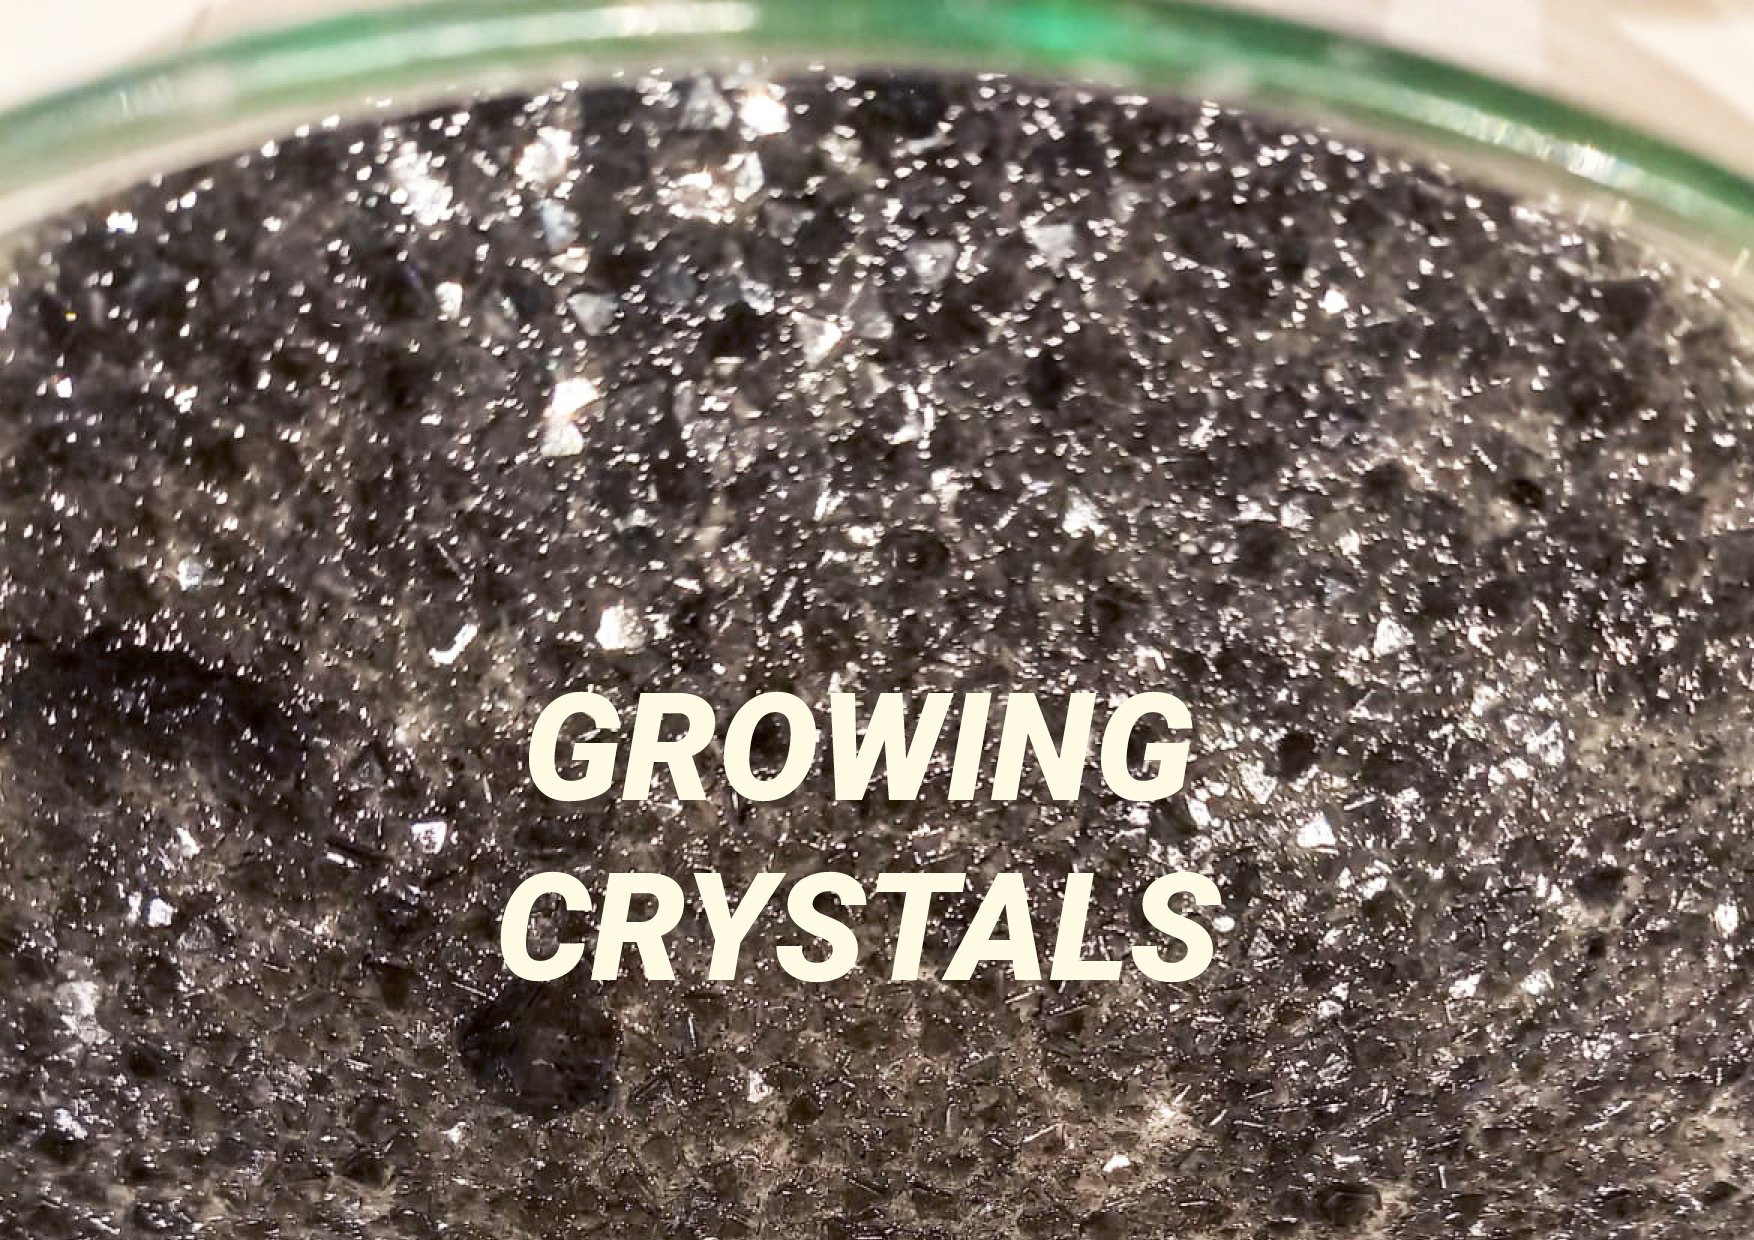
9.1.1 Growing Alumn Crystals
How much alumn you need to grow crystals depends on the amount of water and the quality of the water (and the type of project you're aiming for of course). We're very lucky here in Amsterdam because we have very clean tapwater so we can just use that. It's very good to let the crystals cool down slowly so you can grow faster, stonger and bigger crystals.
Beautiful crystal samples at the lab, image credits: Patty Jansen, 2021
Recipe for Alumn Crystals:
1. Heat water in a cooking pot/kettle or use very hot tap water
2. Keep adding alumn until it’s not dissolving anymore - meaning, until it’s completely saturated
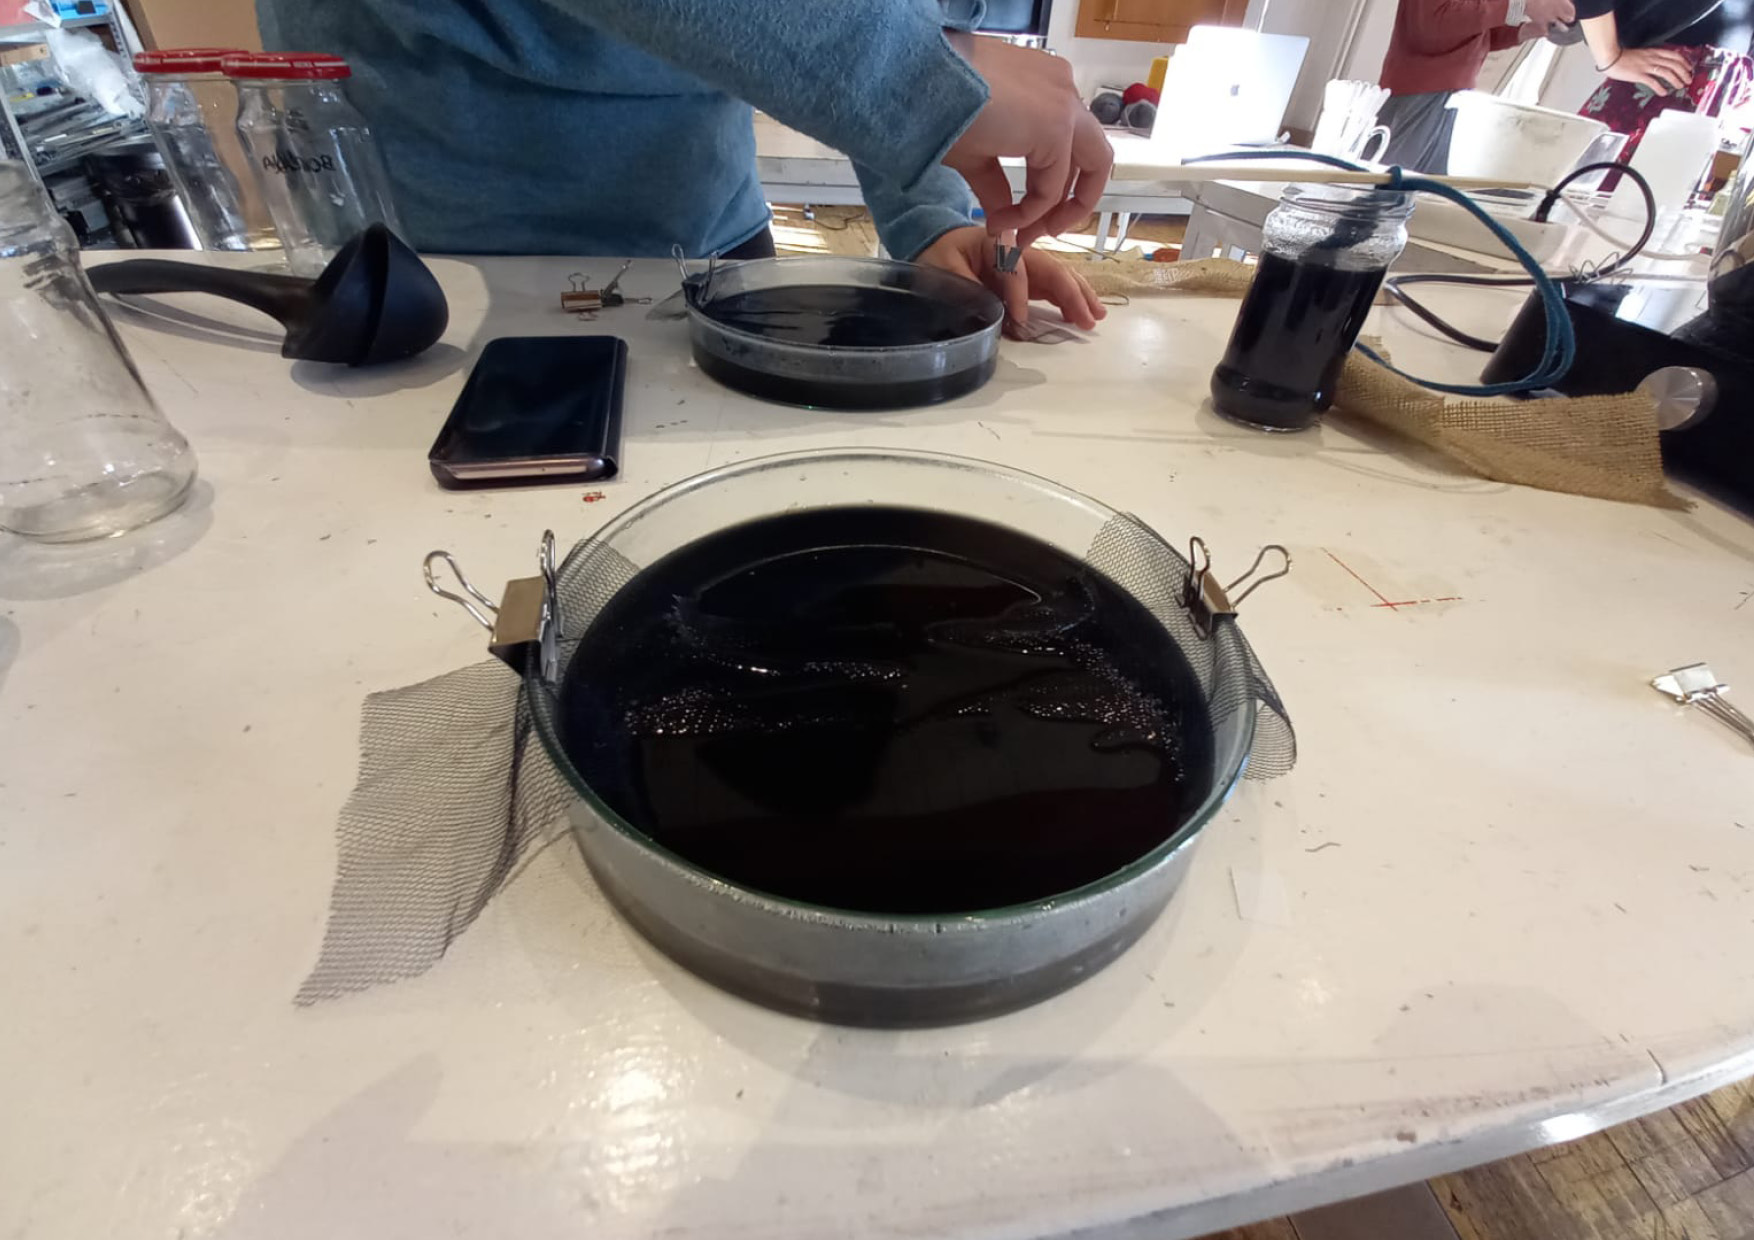
3. Pour the solution (without undissolved material) into a dish/bowl/jar and use clams to secure your fabric. Make sure it doesn’t touch the sides
4. Leave it in an undisturbed area: movement will trigger the process to start all over again
5. Alumn will start to grow within a couple of hours. Depending on the size of crystals you prefer, you can leave it overnight or remove the fabric when satisfied
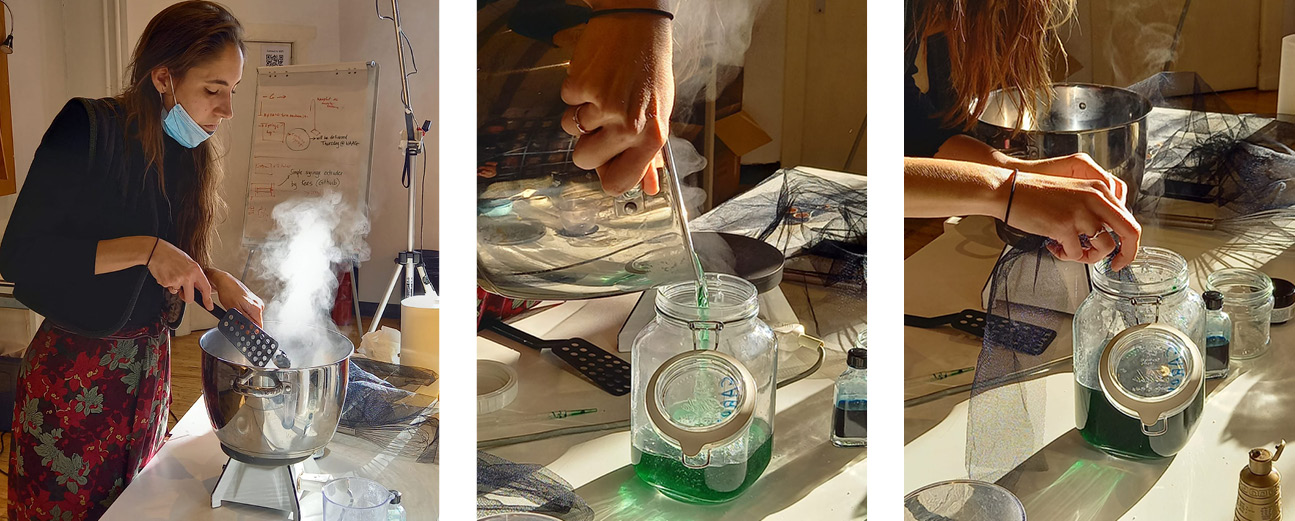
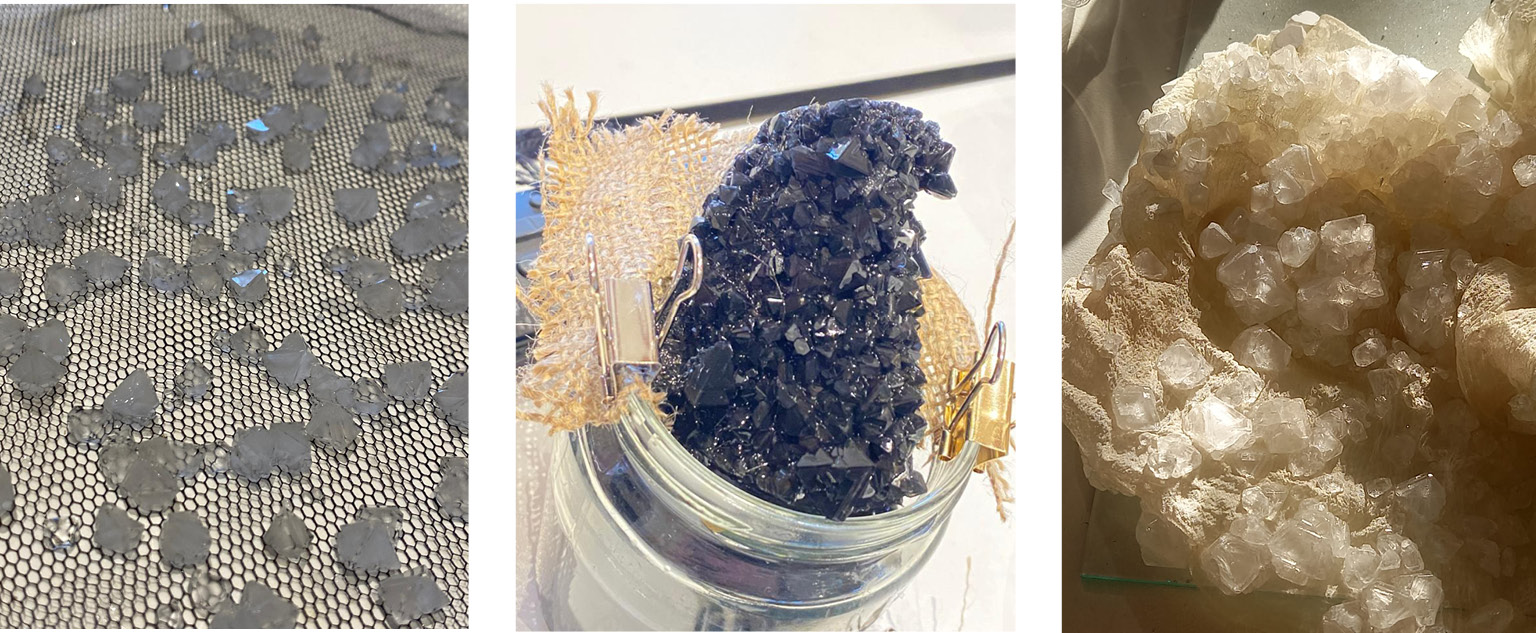
Growing crystals workshop at the lab, image credits: Patty Jansen, 2021
Preparation for growing conductive crystals, credit: Patty Jansen, 2021
Result: the beautiful yet not so conductive crystals, credit: Patty Jansen, 2021
At home, I conducted an experiment with growing alum crystals on neon pink tule. I left the fabric in for quite some time (+/- 2 weeks) and I was able to grow quite big and smooth facet shaped crystals not only on the tule but also at the bottom of the bowl I used. When I took the tule out, I also realised the alum had worked as a modifier, it returned two colors: a coral tone (I think this was the first stage of modification) and a bright orange.
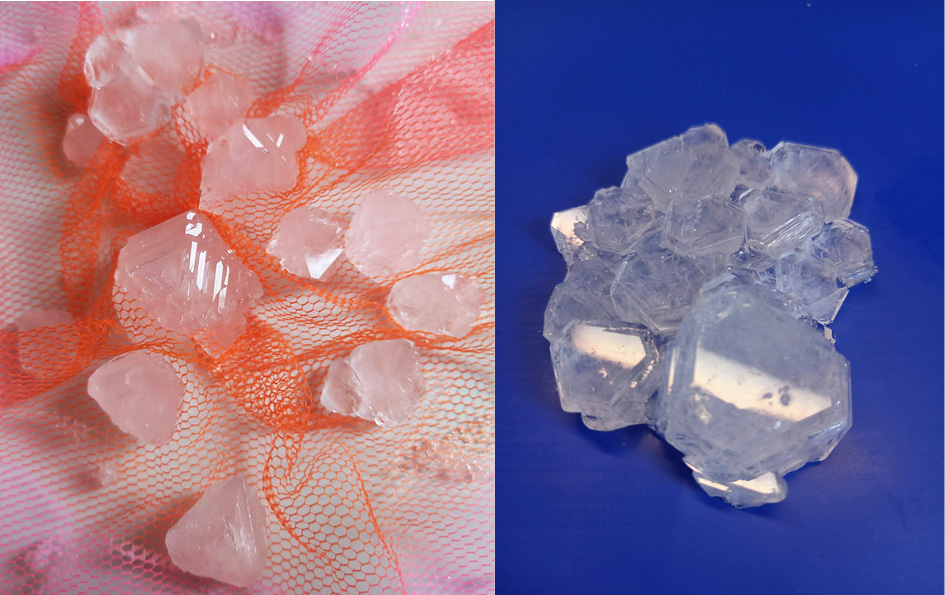
Home grown alum crystals: big crystals on tule (left), grouped facet crystals (right), Patty Jansen 2021
9.2 Moulding
9.2.1 Making a 3D mould
Intro moulding
Preparing a 3d mould in Rhino
1. Select ‘square’ and draw one from 0,0
2. Extrude surface --> make sure you select ‘solid’, hit enter
3. Select and copy the object and place on top of one another
4. Select the ‘sphere’ command and place it withn the two objects,
right in the middle
5. Use the command ‘Boolean difference’, click on the two objects and
the sphere, hit enter
6. Select top object and (half) sphere and drag next to the bottom part:
the mold is ready
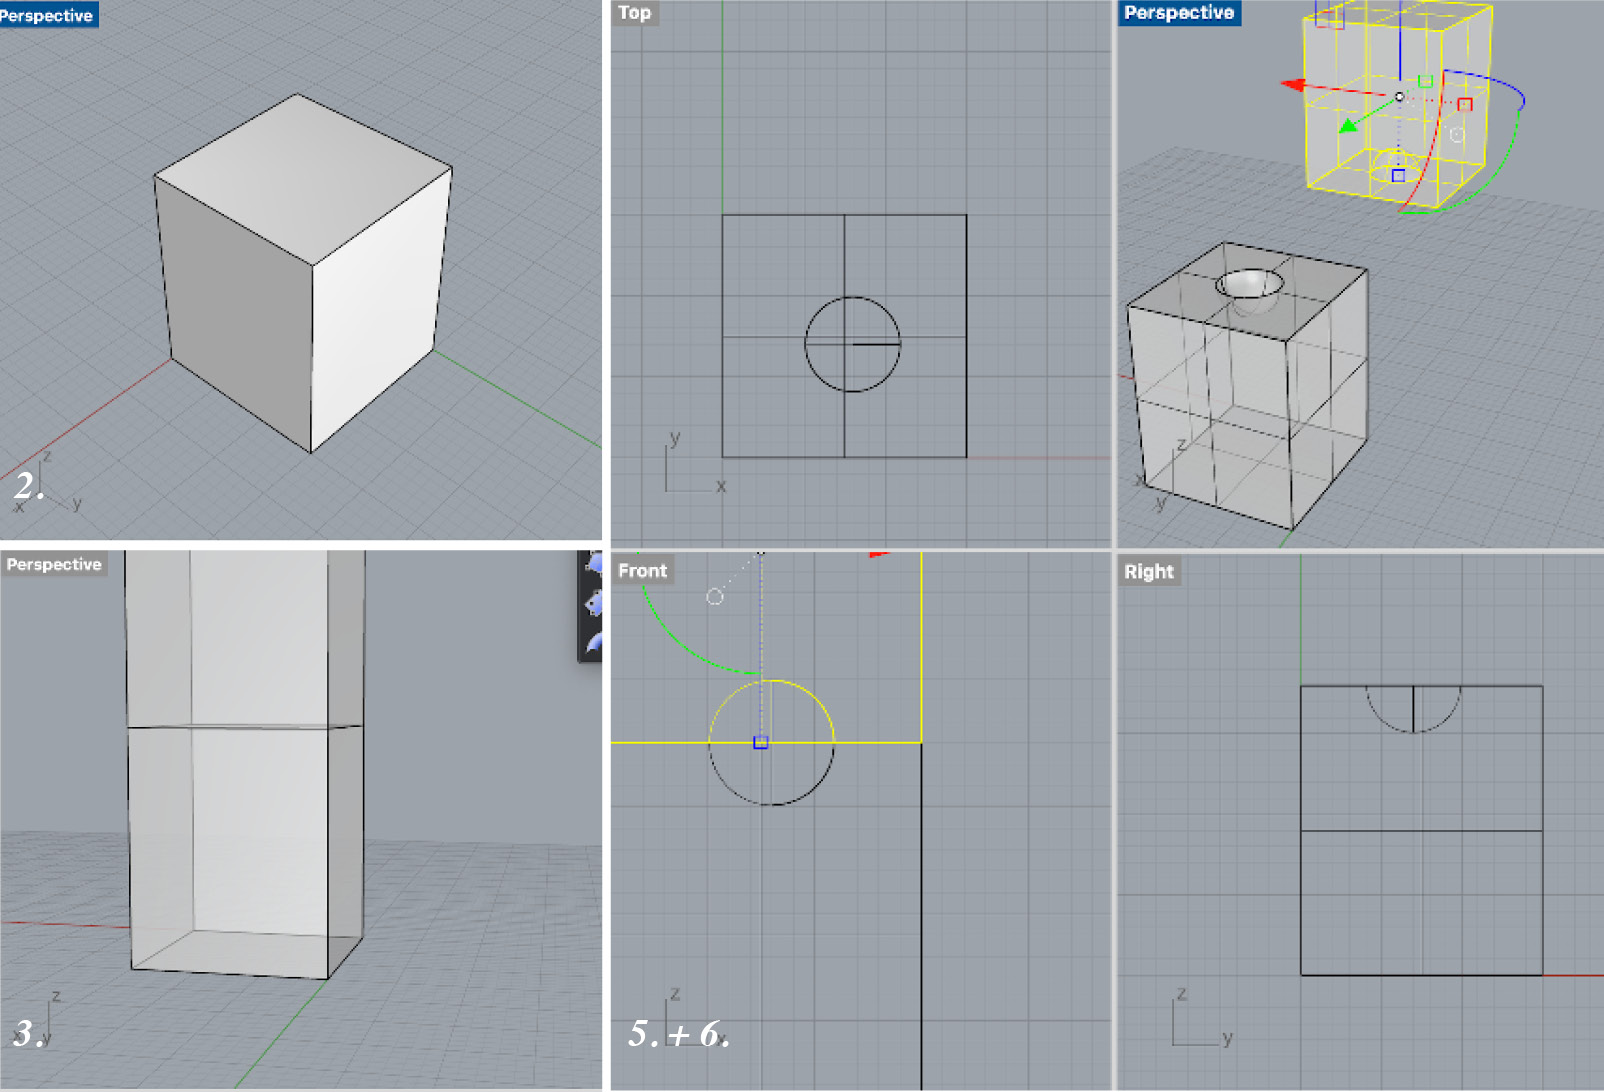
Drawing a mold in Rhino, step 2-3 & 5-6, credit: Patty Jansen, 2021
Using the milling machine, I wanted to make a simple mold for a bowl (I've been longing for a nice fruitbowl for quite some time now). We had to take into account the height of the foam material that was available at De Waag, which was 3 cm. I designed a bowl with a subtle curve, which according to Henk, would already give the machine plenty to do. I scaled the positive side slightly smaller (+/- 2,5 mm overall) so this side would fit well into the negative side.
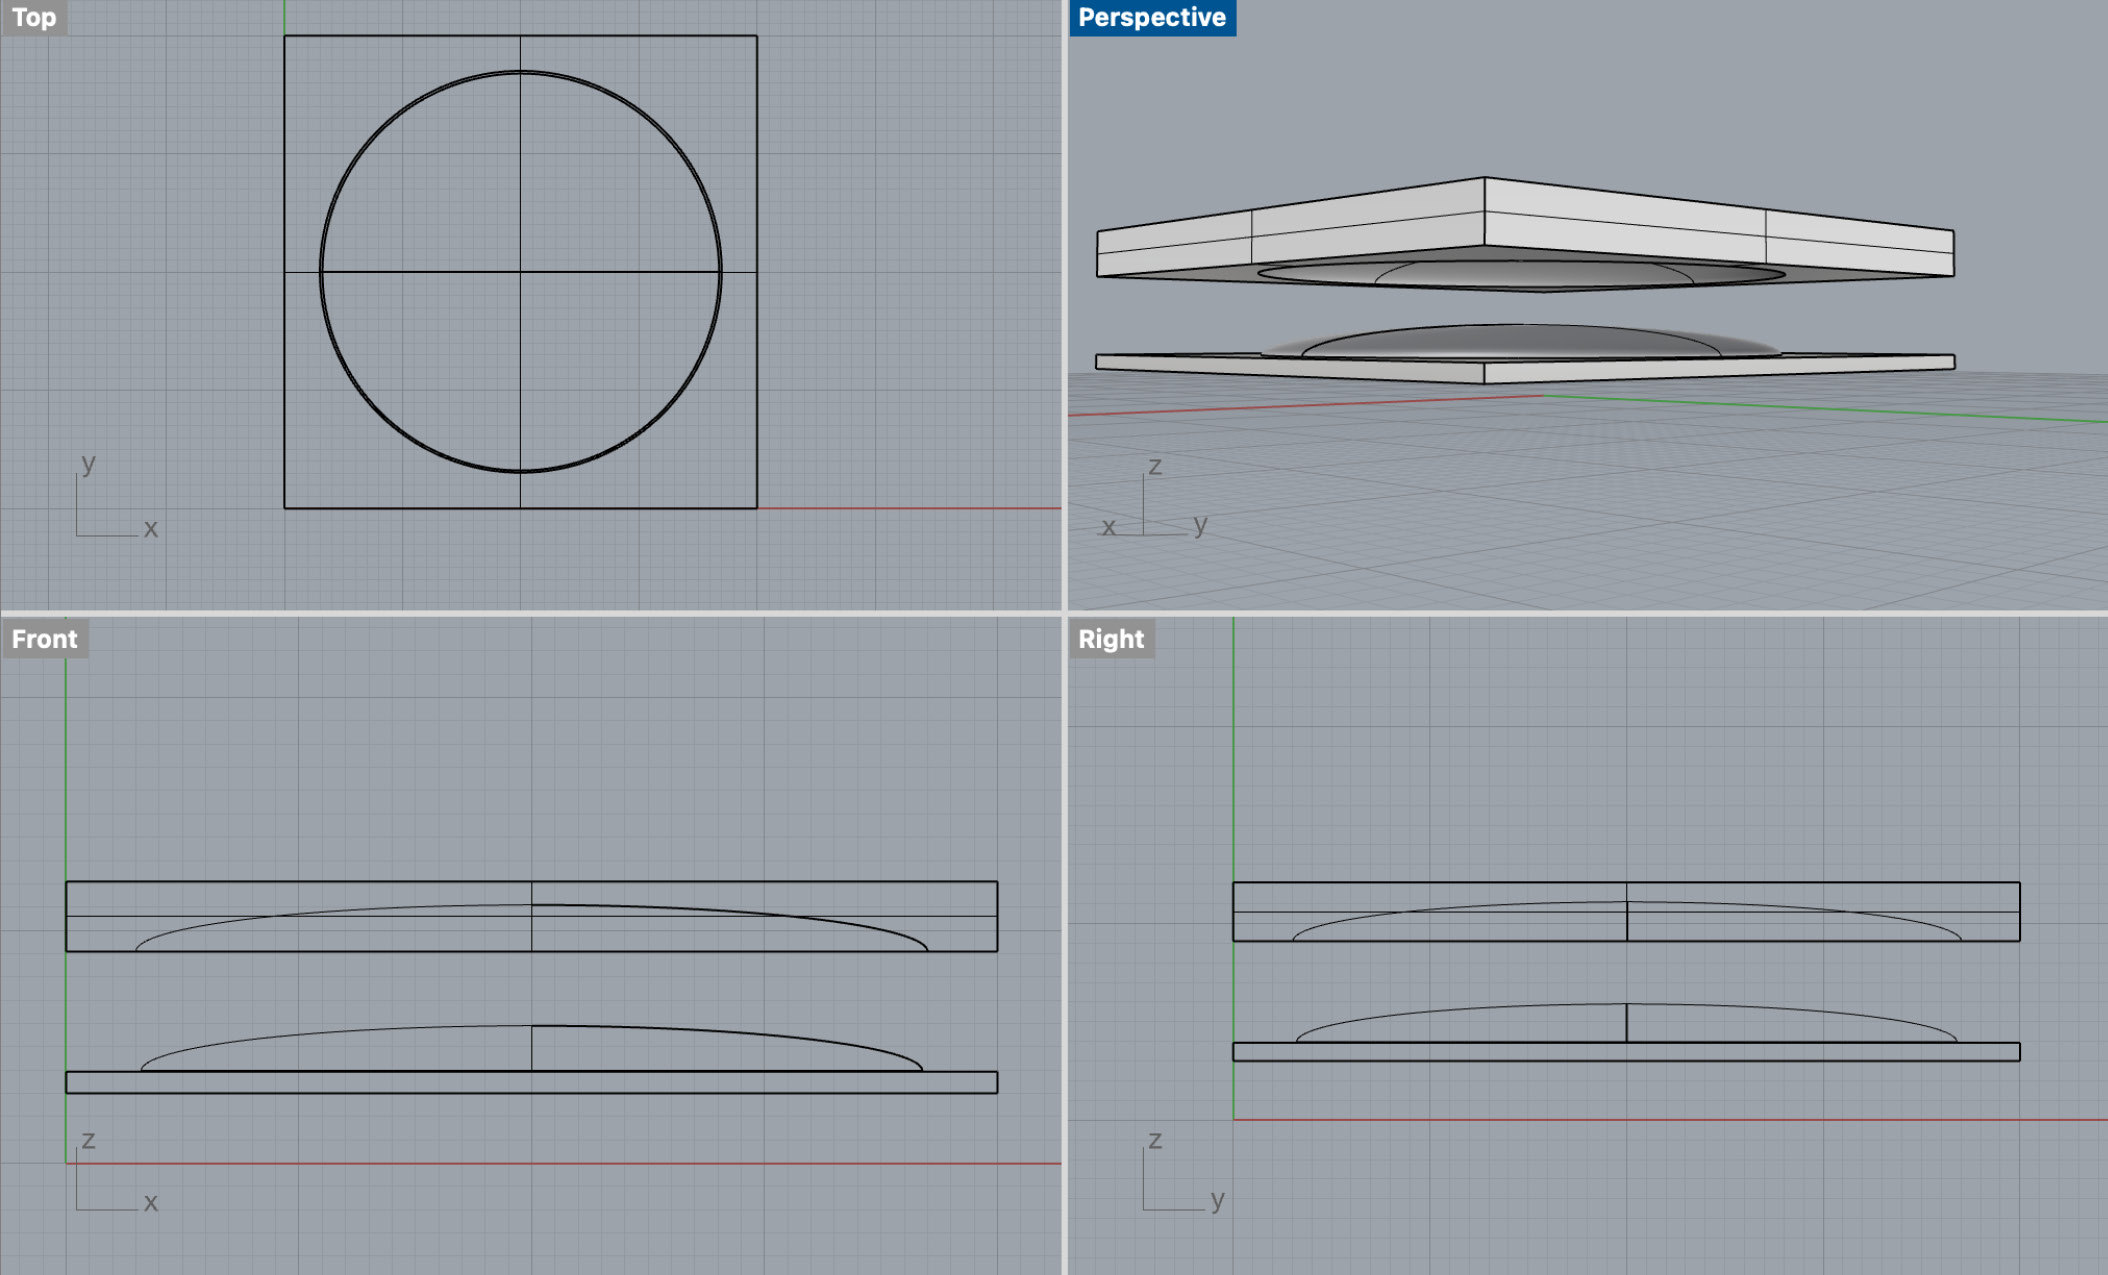
Fruit bowl mold design in Rhino, Patty Jansen, 2021
Since I was not able to use the CNC-machine because it was broken, I could not realise my mold in time. Therefore, I decided to focus on other ways of moulding.
9.2.2 Paverpol experiments
I experimented with paverpol a couple of years ago and wanted to use it again, this time I decided to make a vase of an old shirt I once dyed with a purple gradient, cutting of the front of the shirt and draping it onto a glass vase while adding paverpol. Paverpol dries fast but not too fast so you have time to sculpt the fabric into the desired shape. When satisfied, you can leave it to dry, let it dry faster using a hair dryer or leave it next to a heater. It's a smart move to remove it while not entirely dry otherwise you might have to use a knife to remove it from the mould vase.
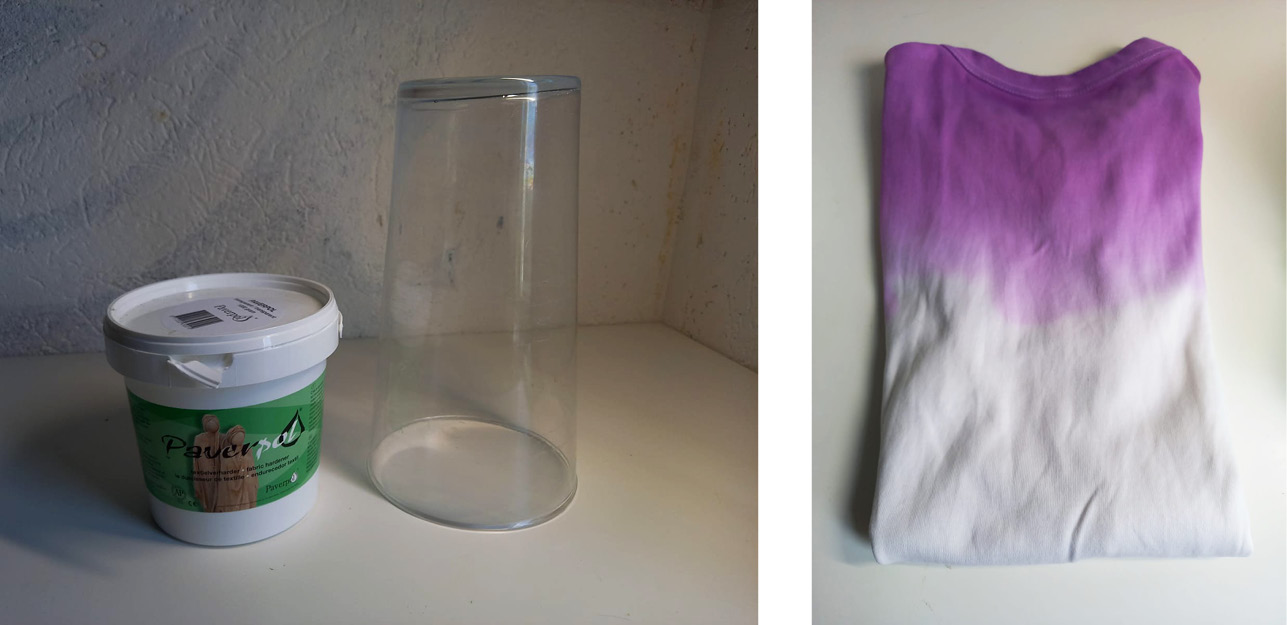
Left: Paverpol & mold vase, right: old shirt, credit: Patty Jansen, 2021
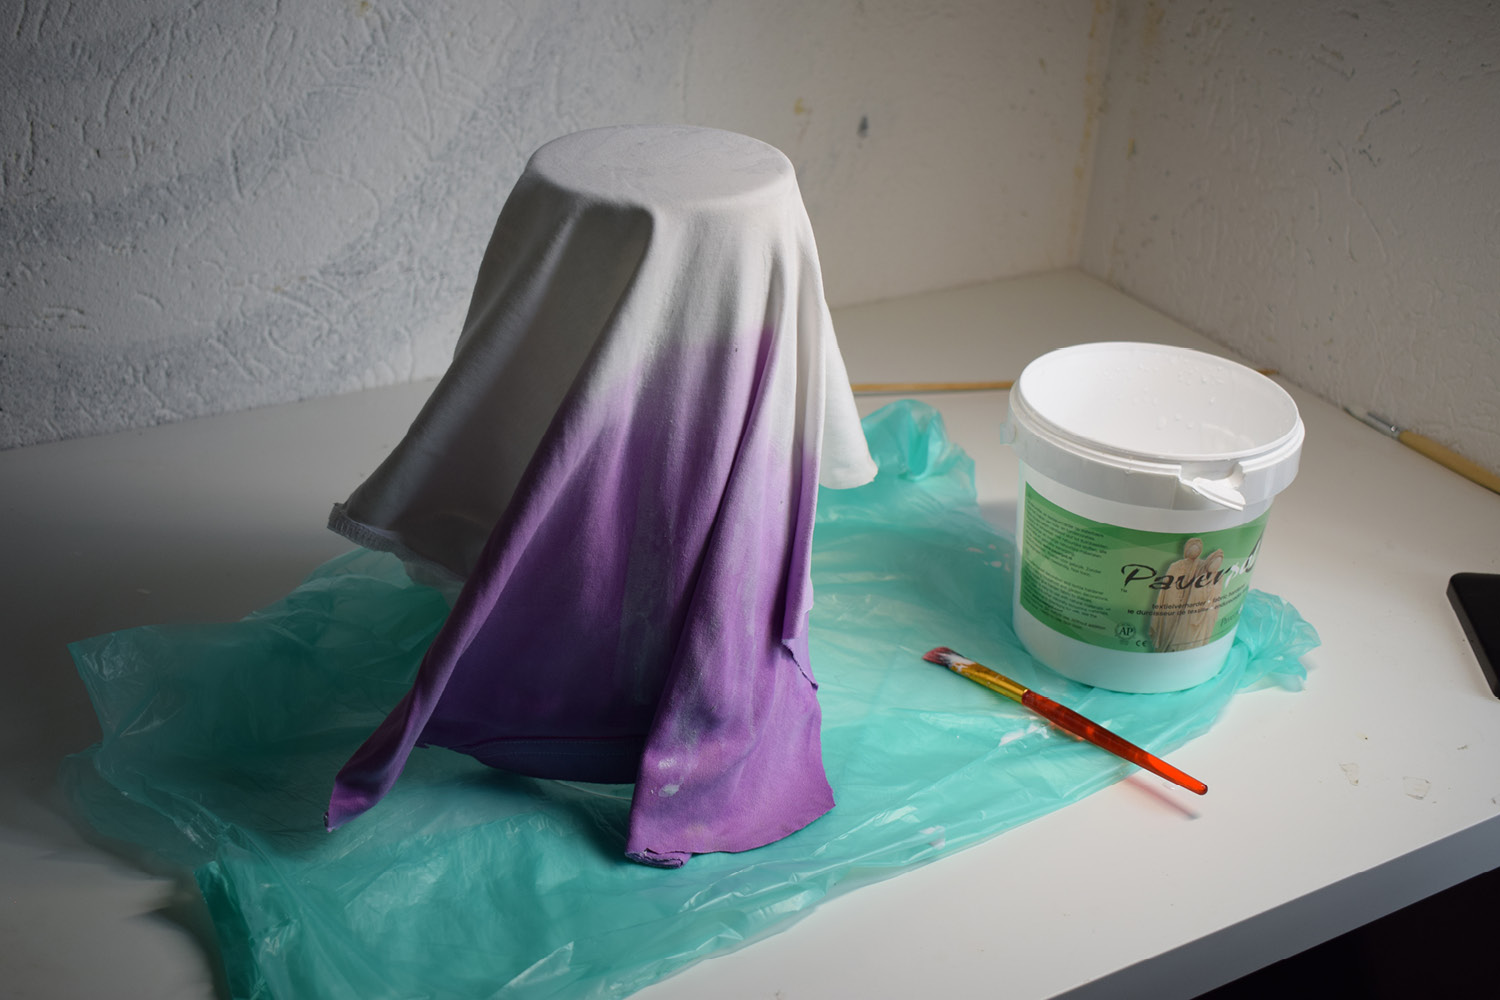
Sculpting the textile vase, credit: Patty Jansen, 2021

Textile vase, final result, multiple side view, credit: Patty Jansen, 2021
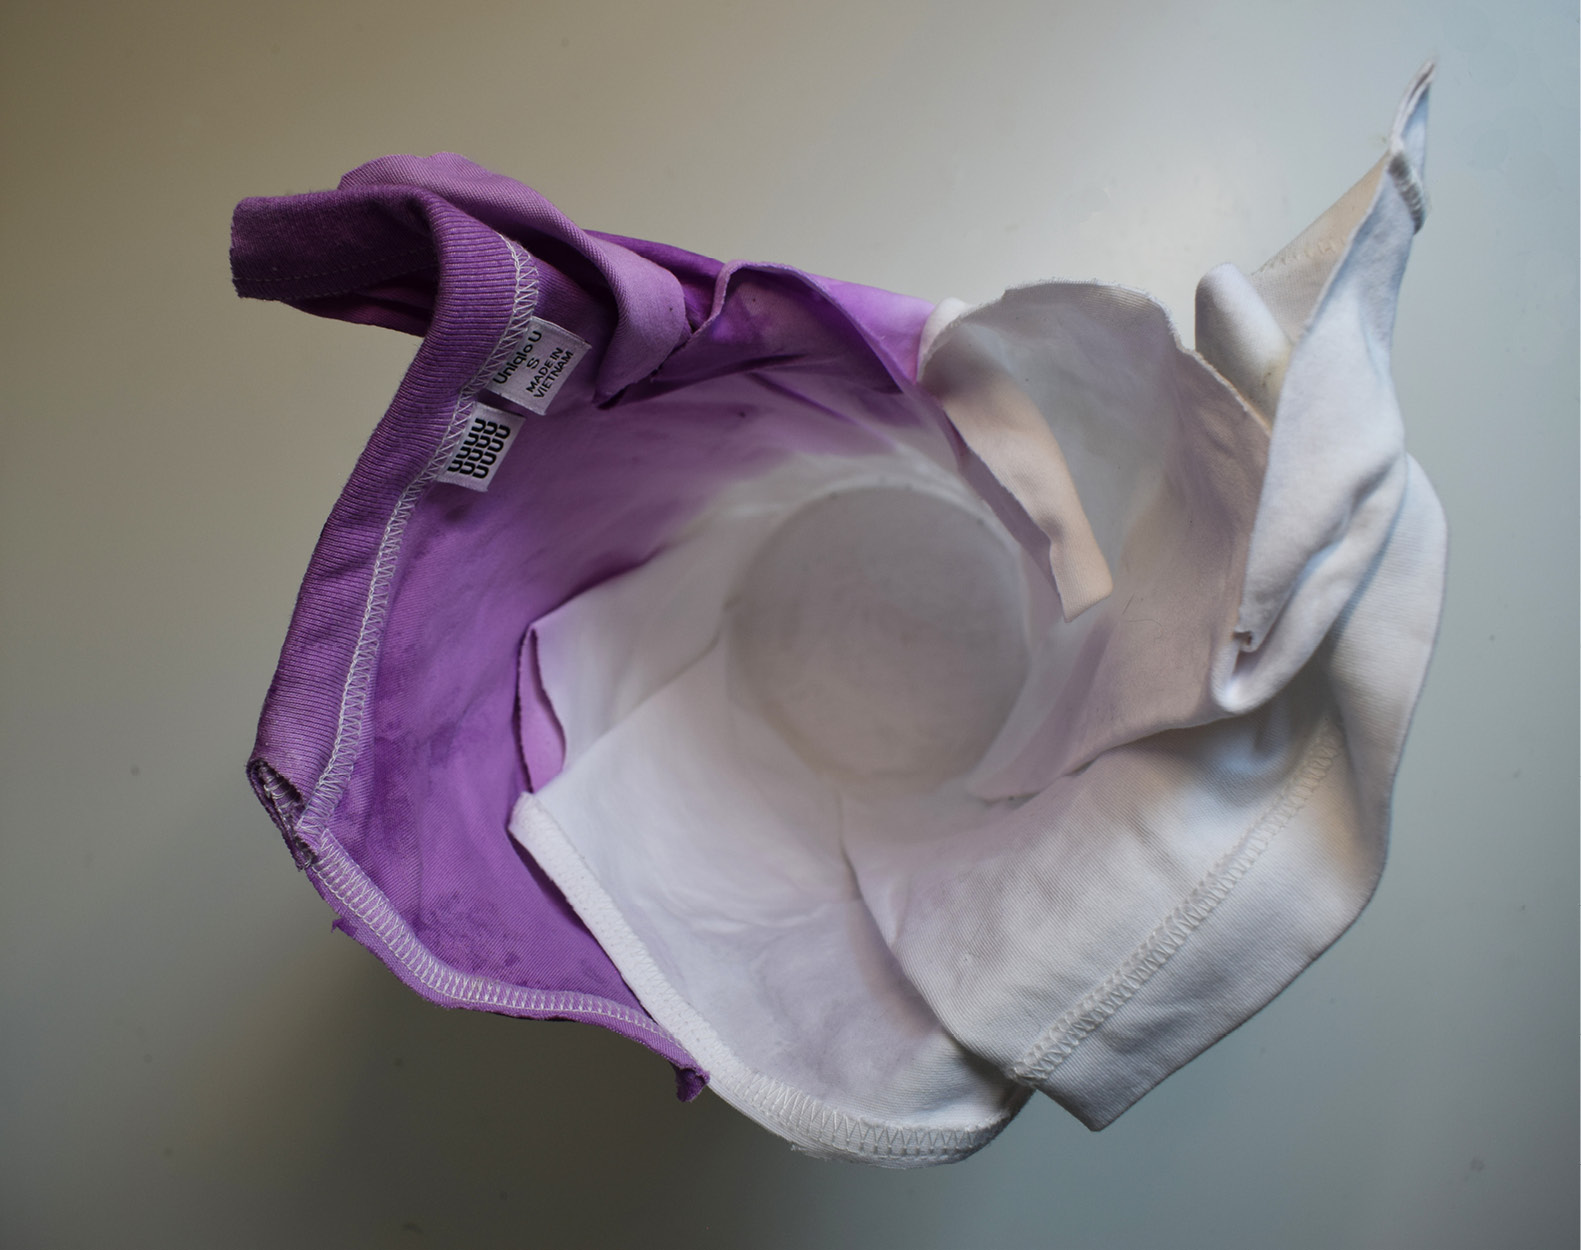
Textile vase, final result, view inside, credit: Patty Jansen, 2021
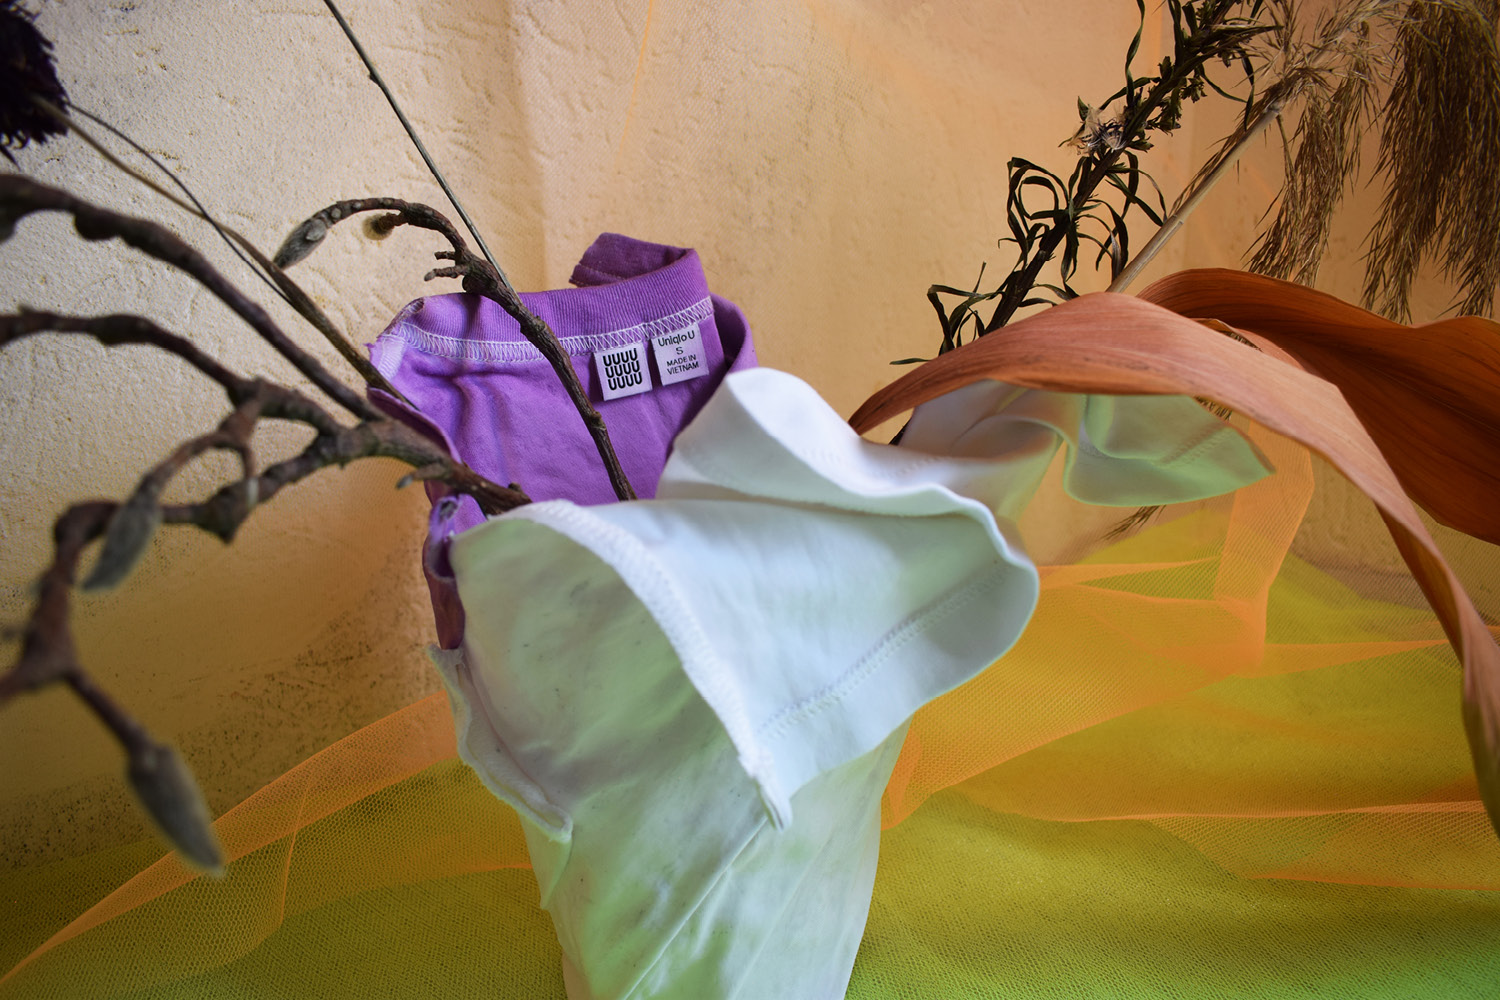
Textile vase, styled final result, detail shot, credit: Patty Jansen, 2021
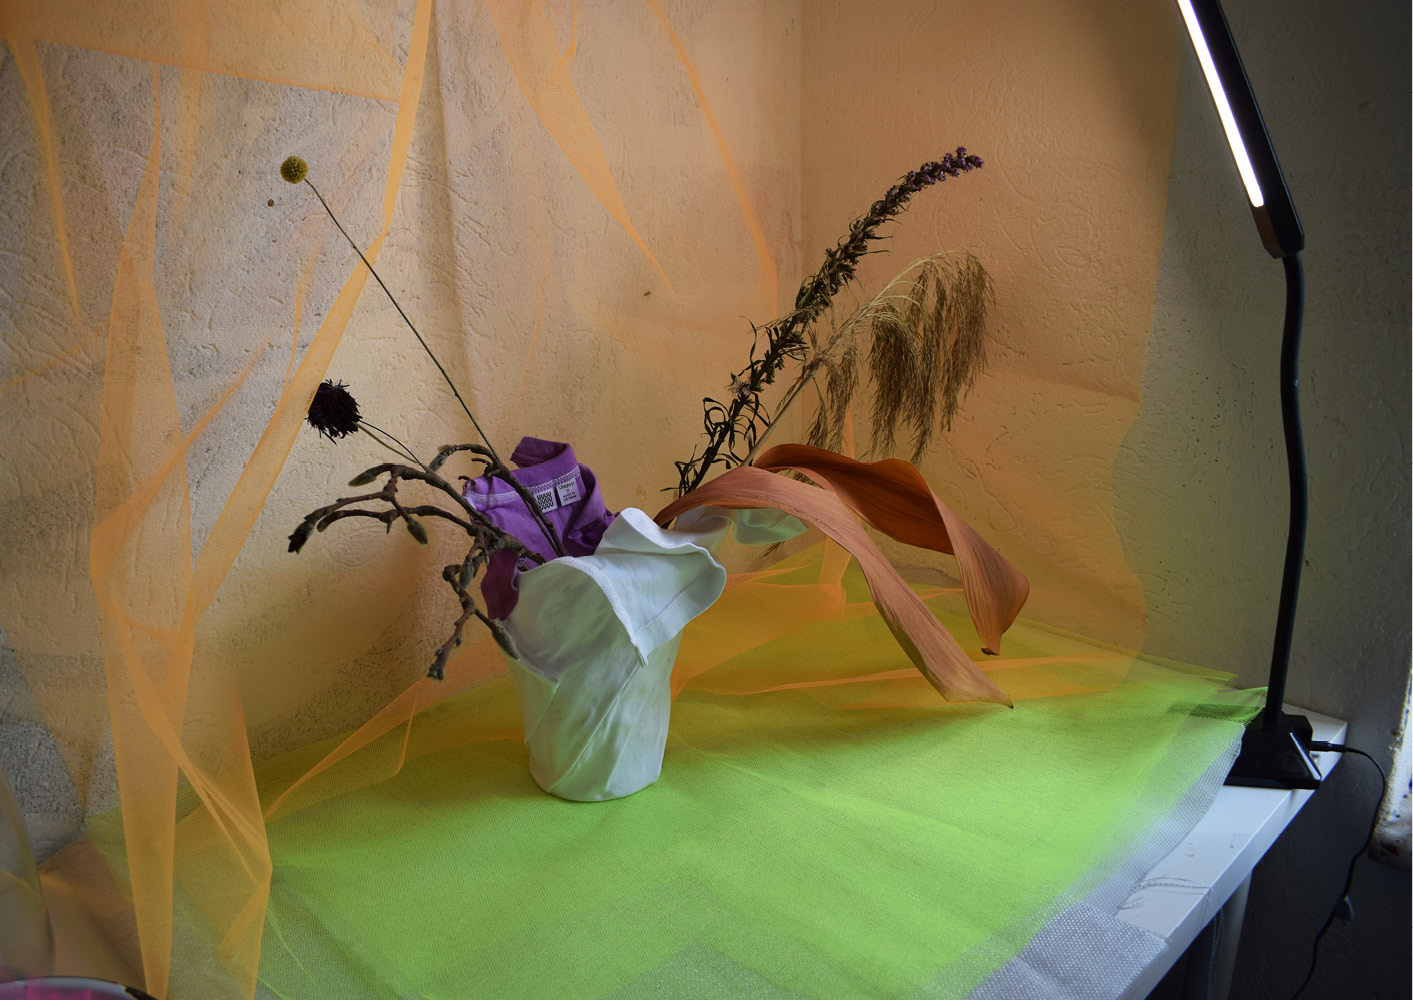
Textile vase, styled final result, credit: Patty Jansen, 2021
I also made some small fashion sketches with paverpol on a small scale model, using yellow cleaning cloths (first sketch) and yellow stretch fabric (second and third sketch):
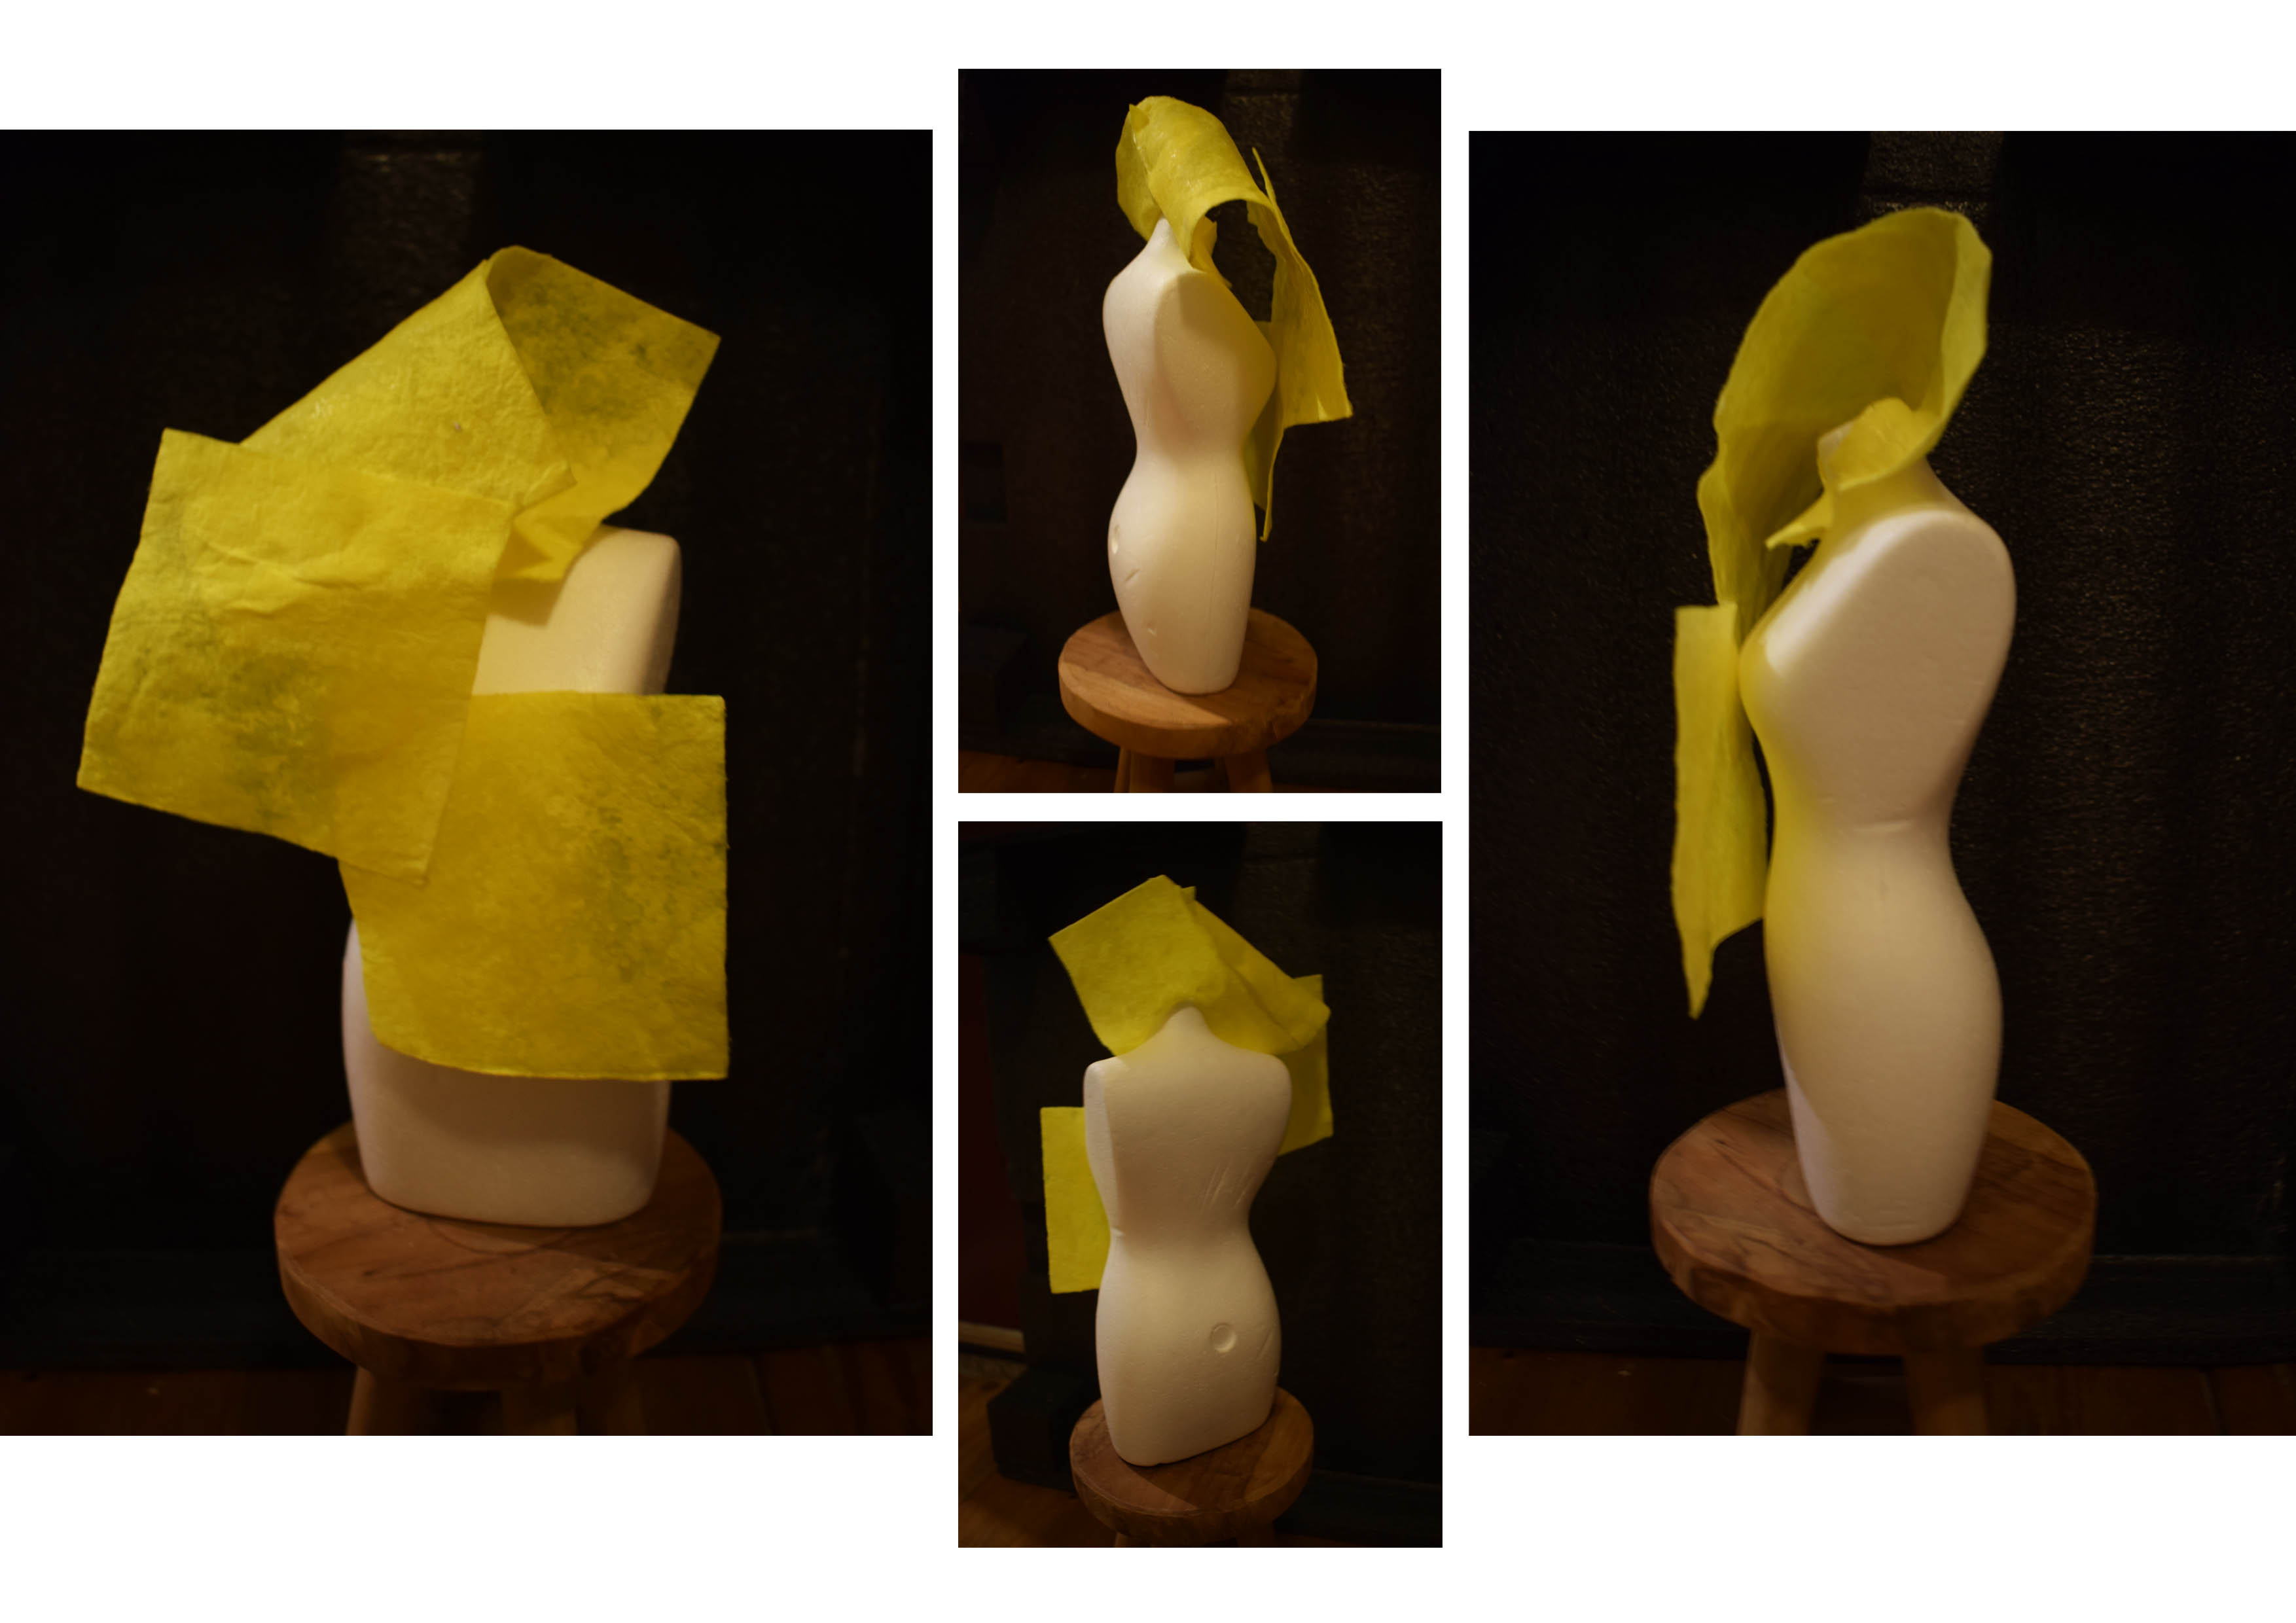
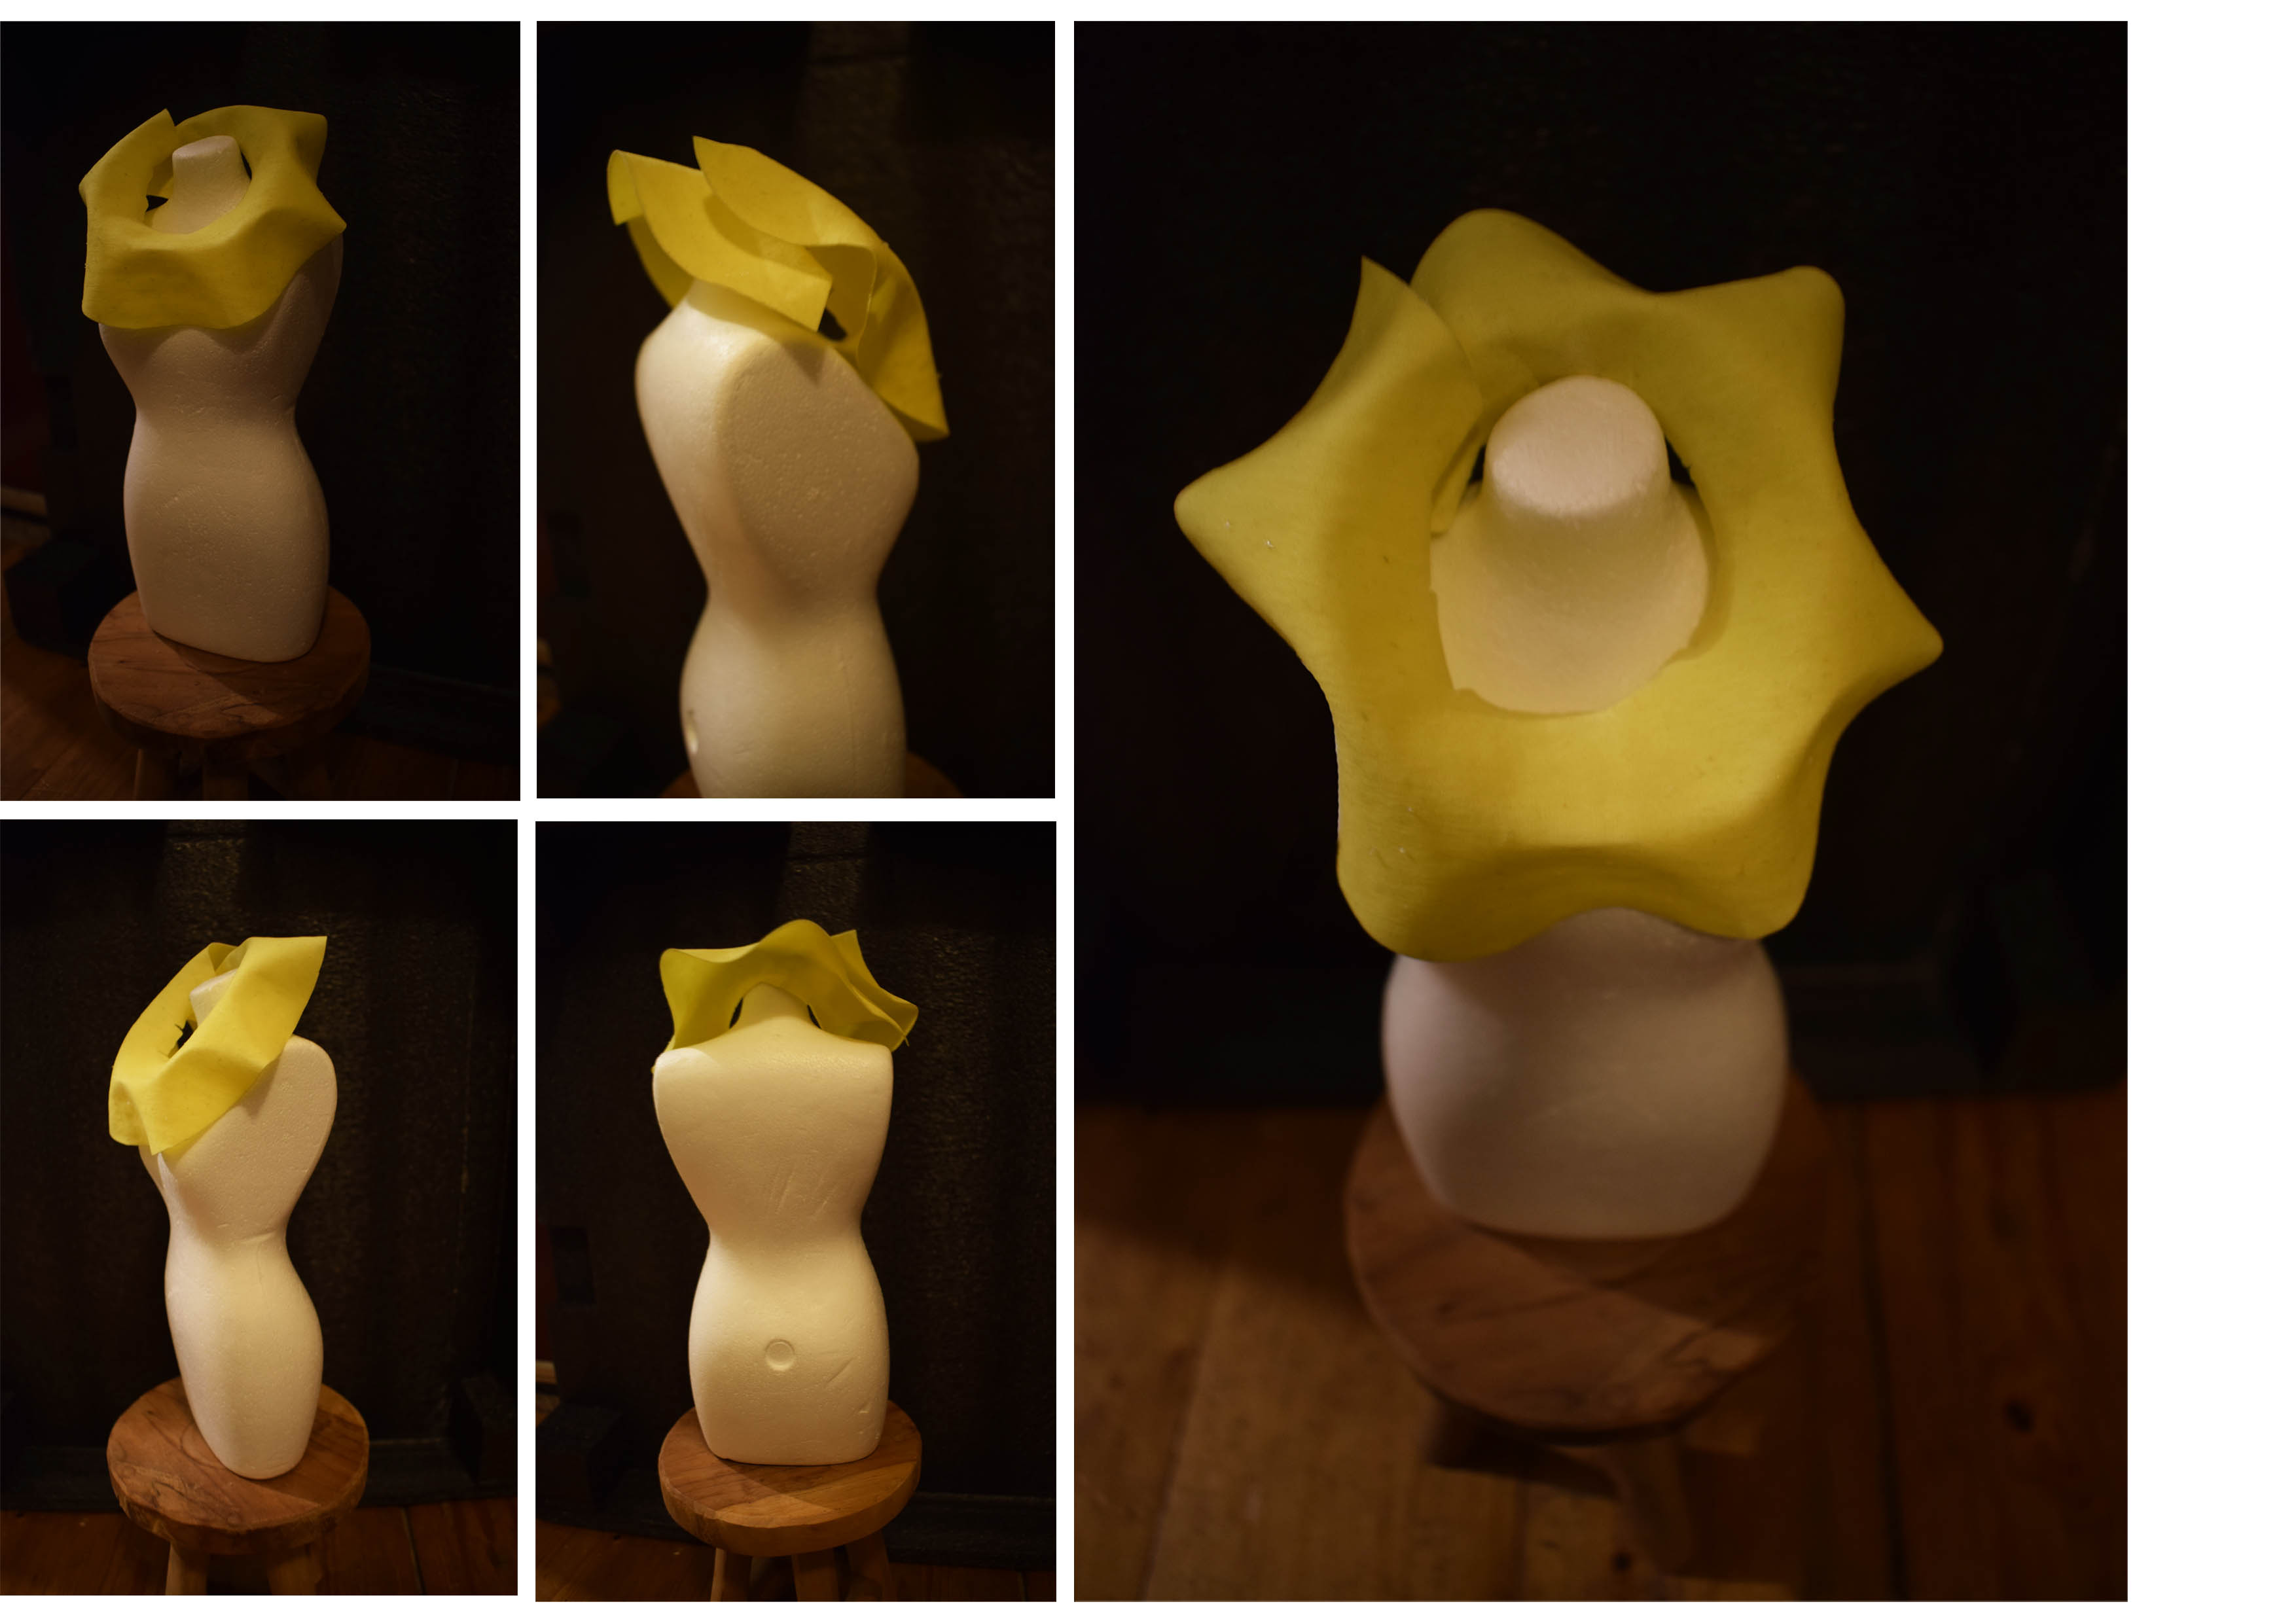
Sculpturing sketch 1, credit: Patty Jansen 2021
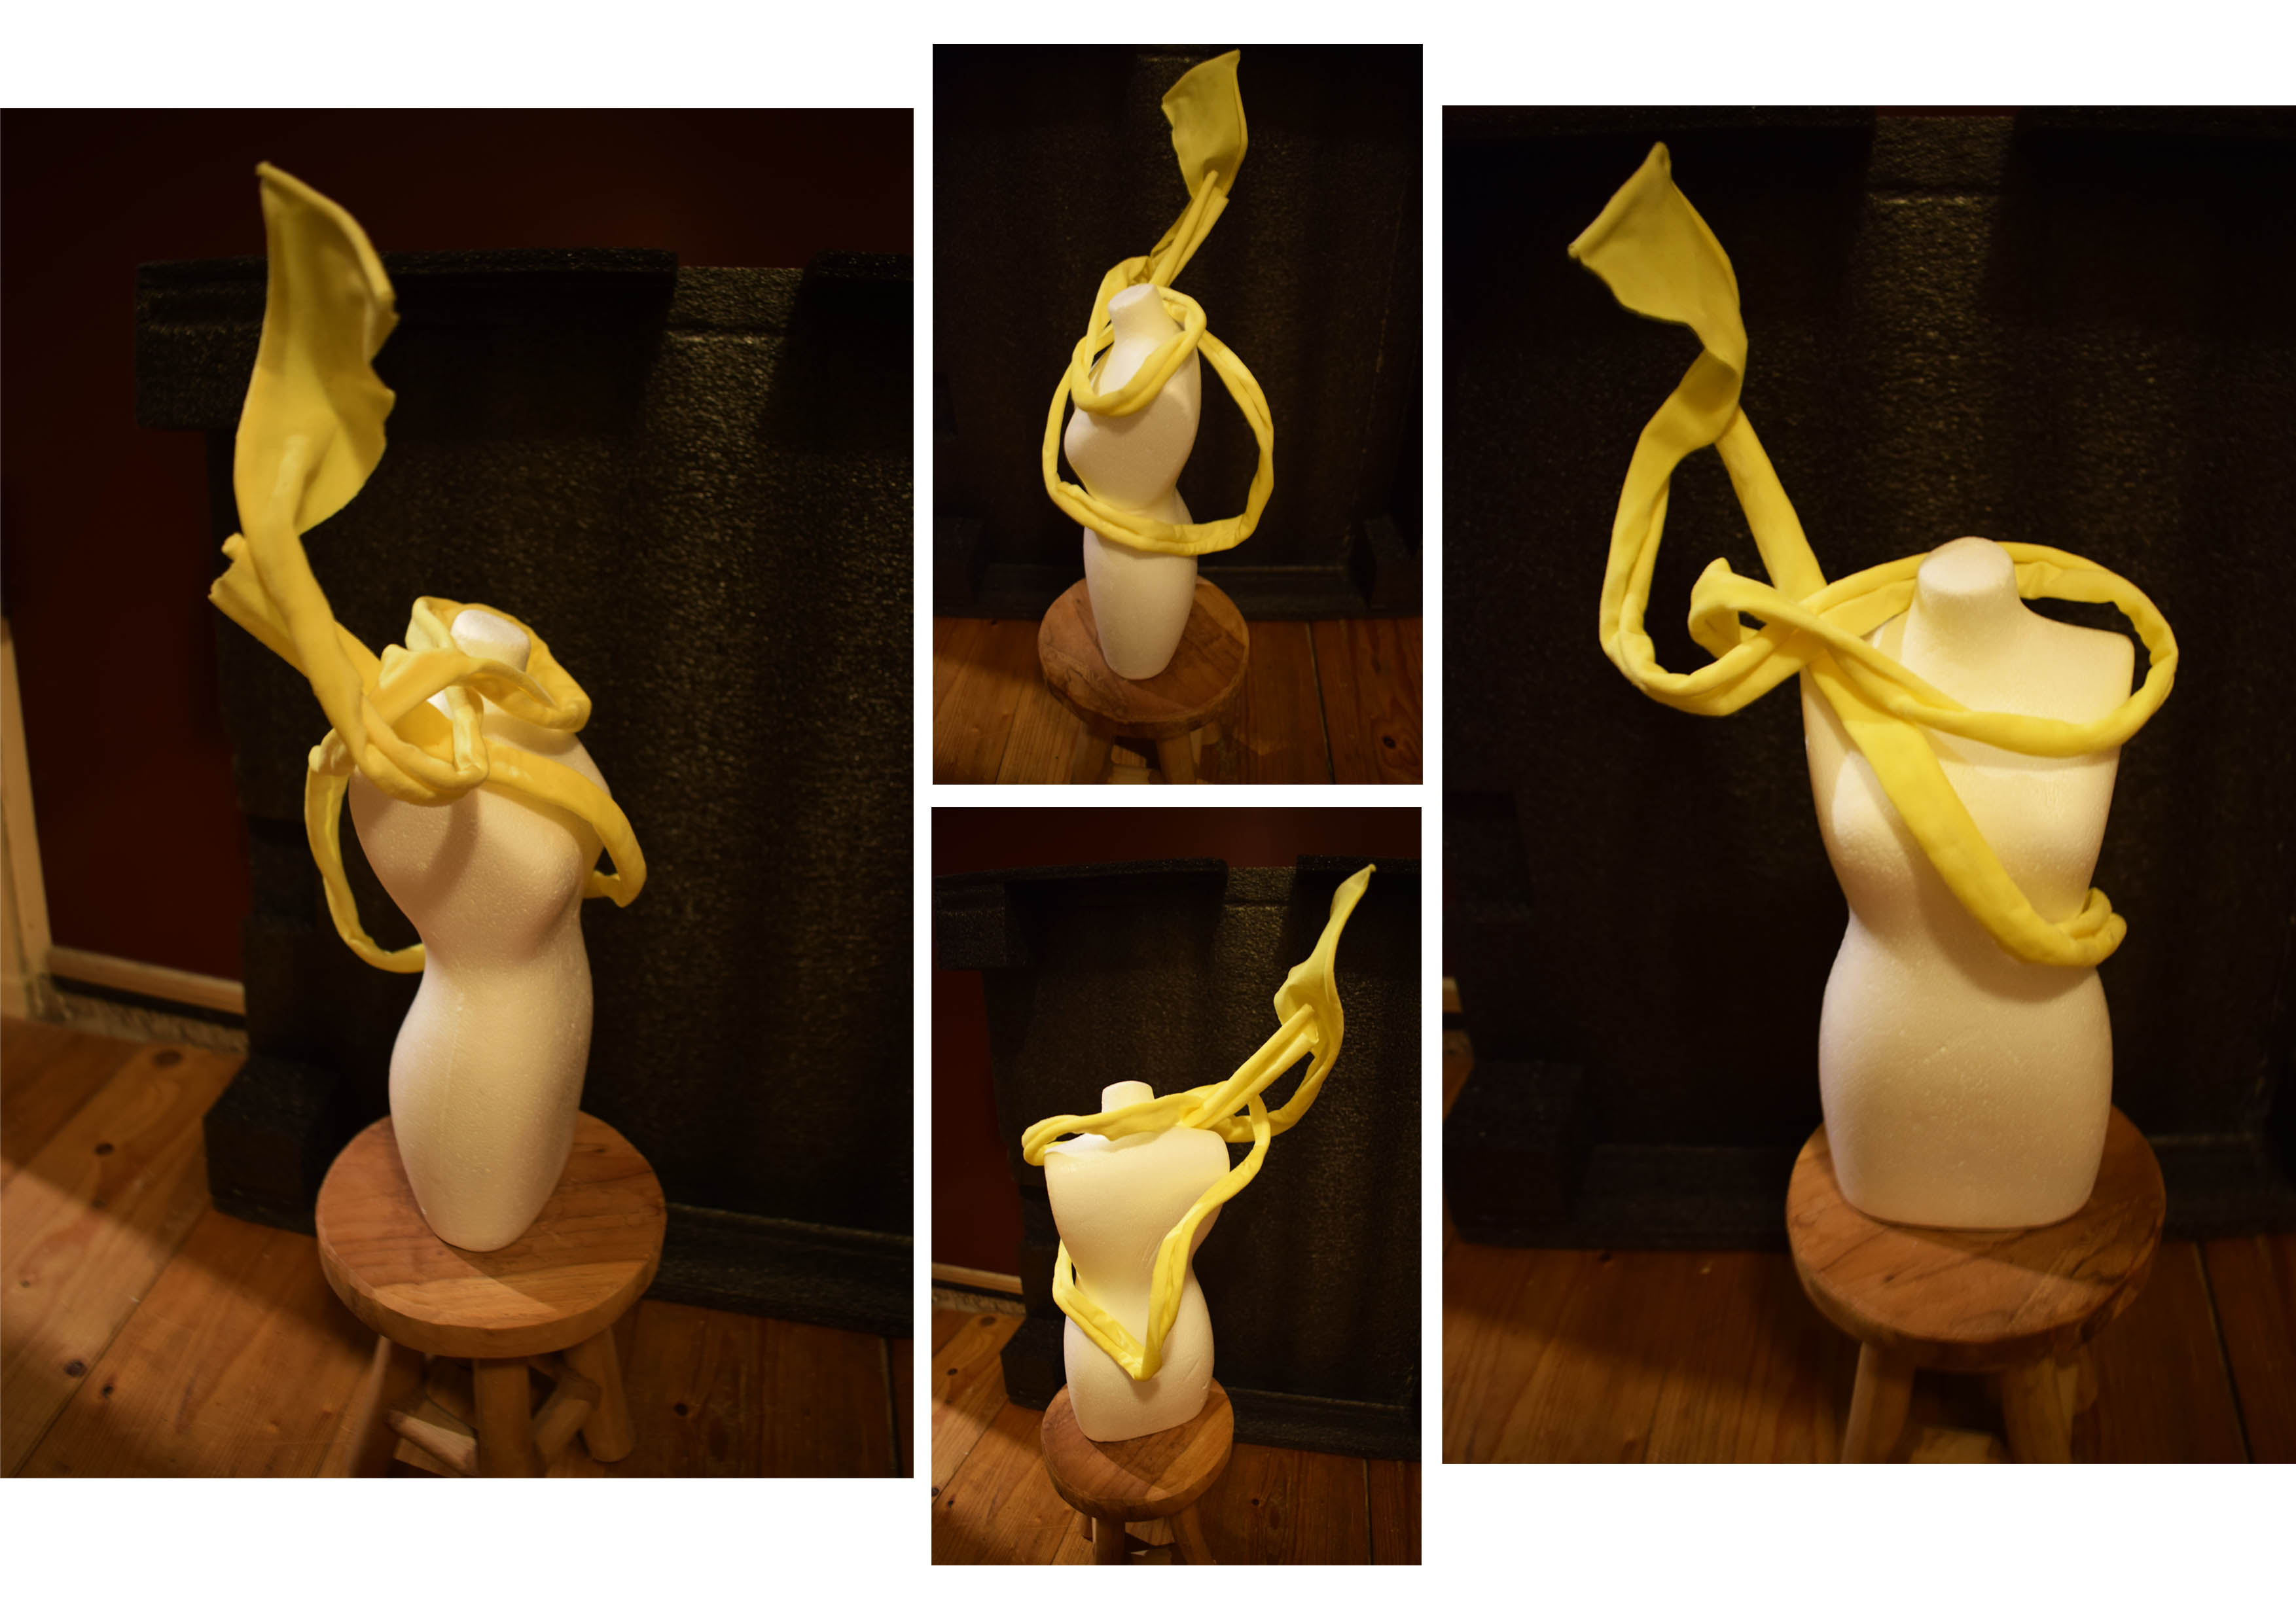
sculpturing sketch 2, credit: Patty Jansen, 2021
9.2.3 Fabric Formwork
In fabric formwork textile is use as a mould for materials such as concrete. I thought it had some interesting results so I decided to give it go myself, but on a slightly smaller scale.
Upload pictures fabric formwork

Useful links
Code Example
Use the three backticks to separate code.
// the setup function runs once when you press reset or power the board
void setup() {
  // initialize digital pin LED_BUILTIN as an output.
  pinMode(LED_BUILTIN, OUTPUT);
}

// the loop function runs over and over again forever
void loop() {
  digitalWrite(LED_BUILTIN, HIGH);   // turn the LED on (HIGH is the voltage level)
  delay(1000);                       // wait for a second
  digitalWrite(LED_BUILTIN, LOW);    // turn the LED off by making the voltage LOW
  delay(1000);                       // wait for a second
}
Gallery

Video
From Vimeo
Sound Waves from George Gally (Radarboy) on Vimeo.