Week08
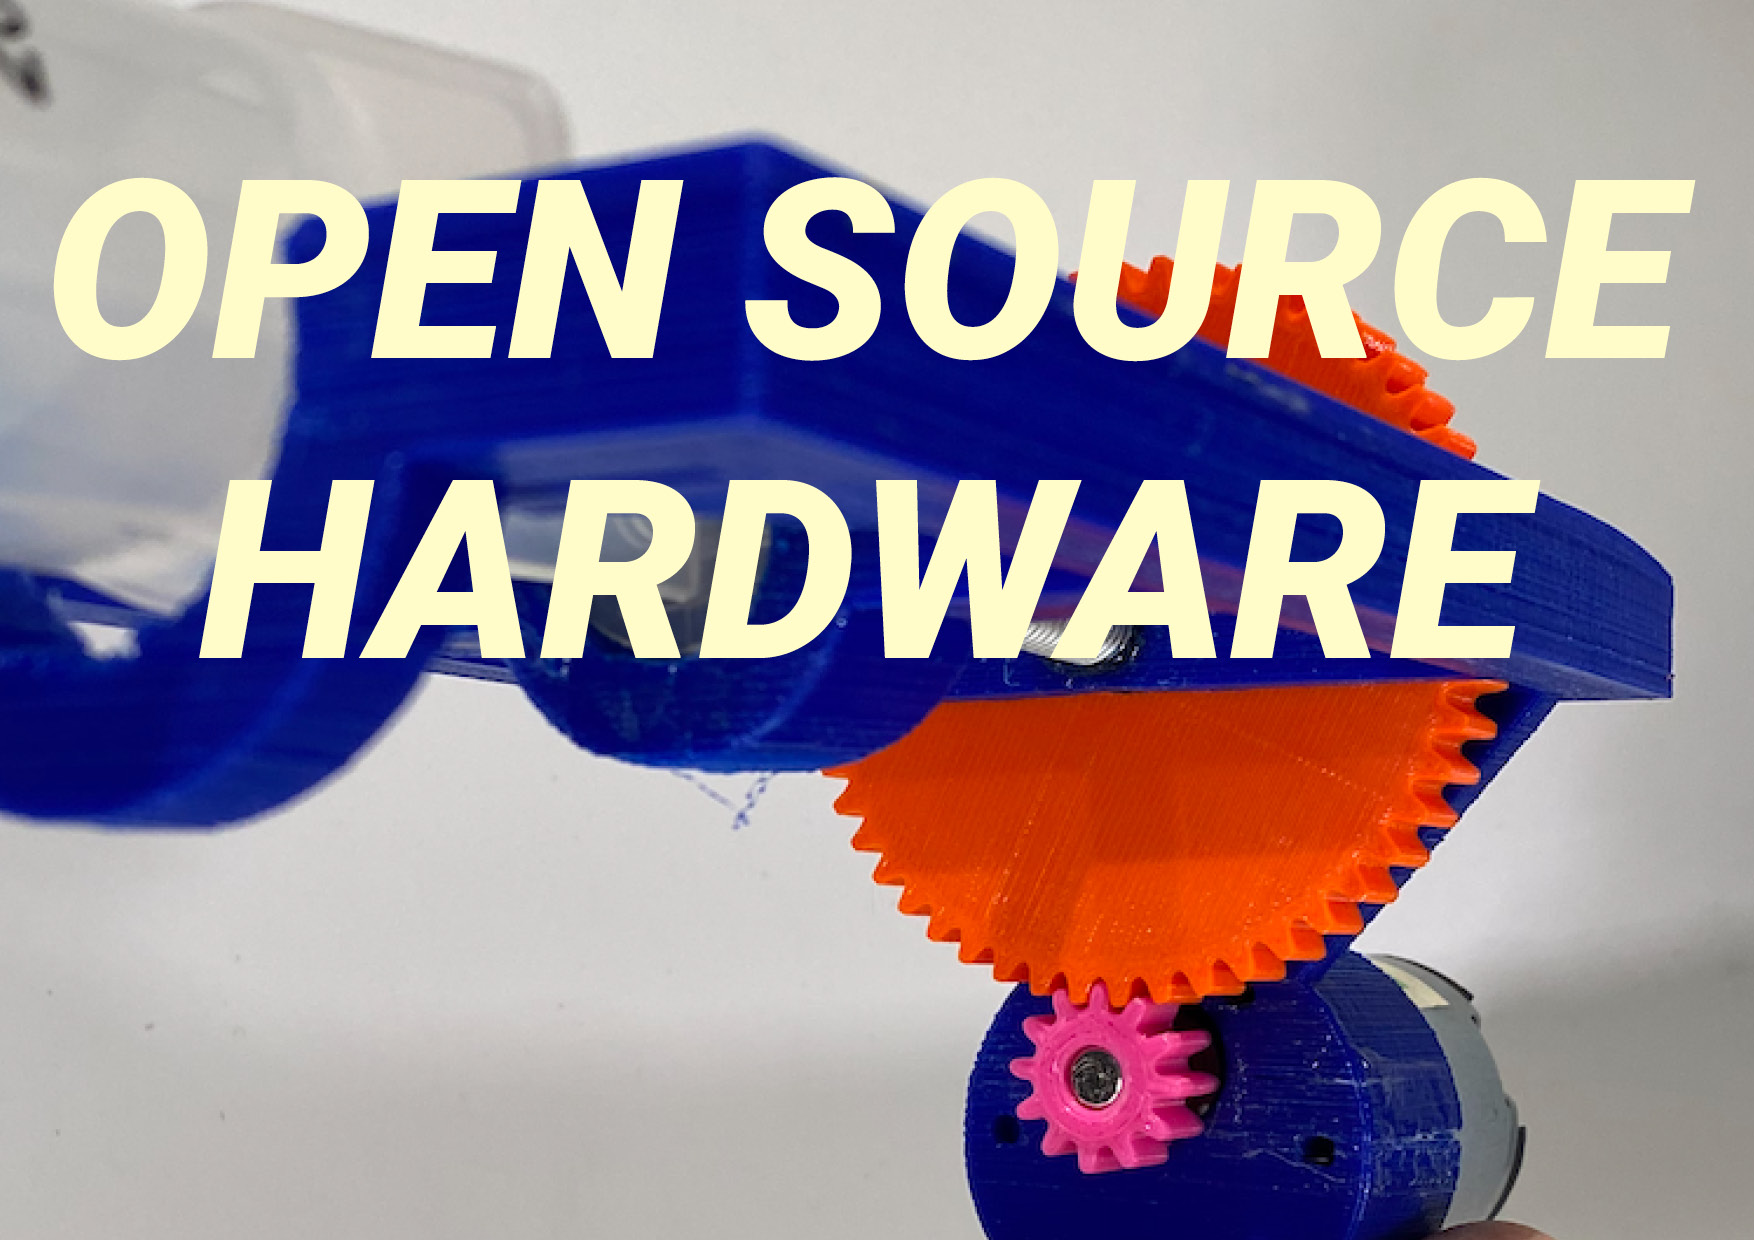
This week we worked on a group assignment called Open Source Hardware. The brief: build a new machine or hack into existing machines using open source technology & digital fabrication.
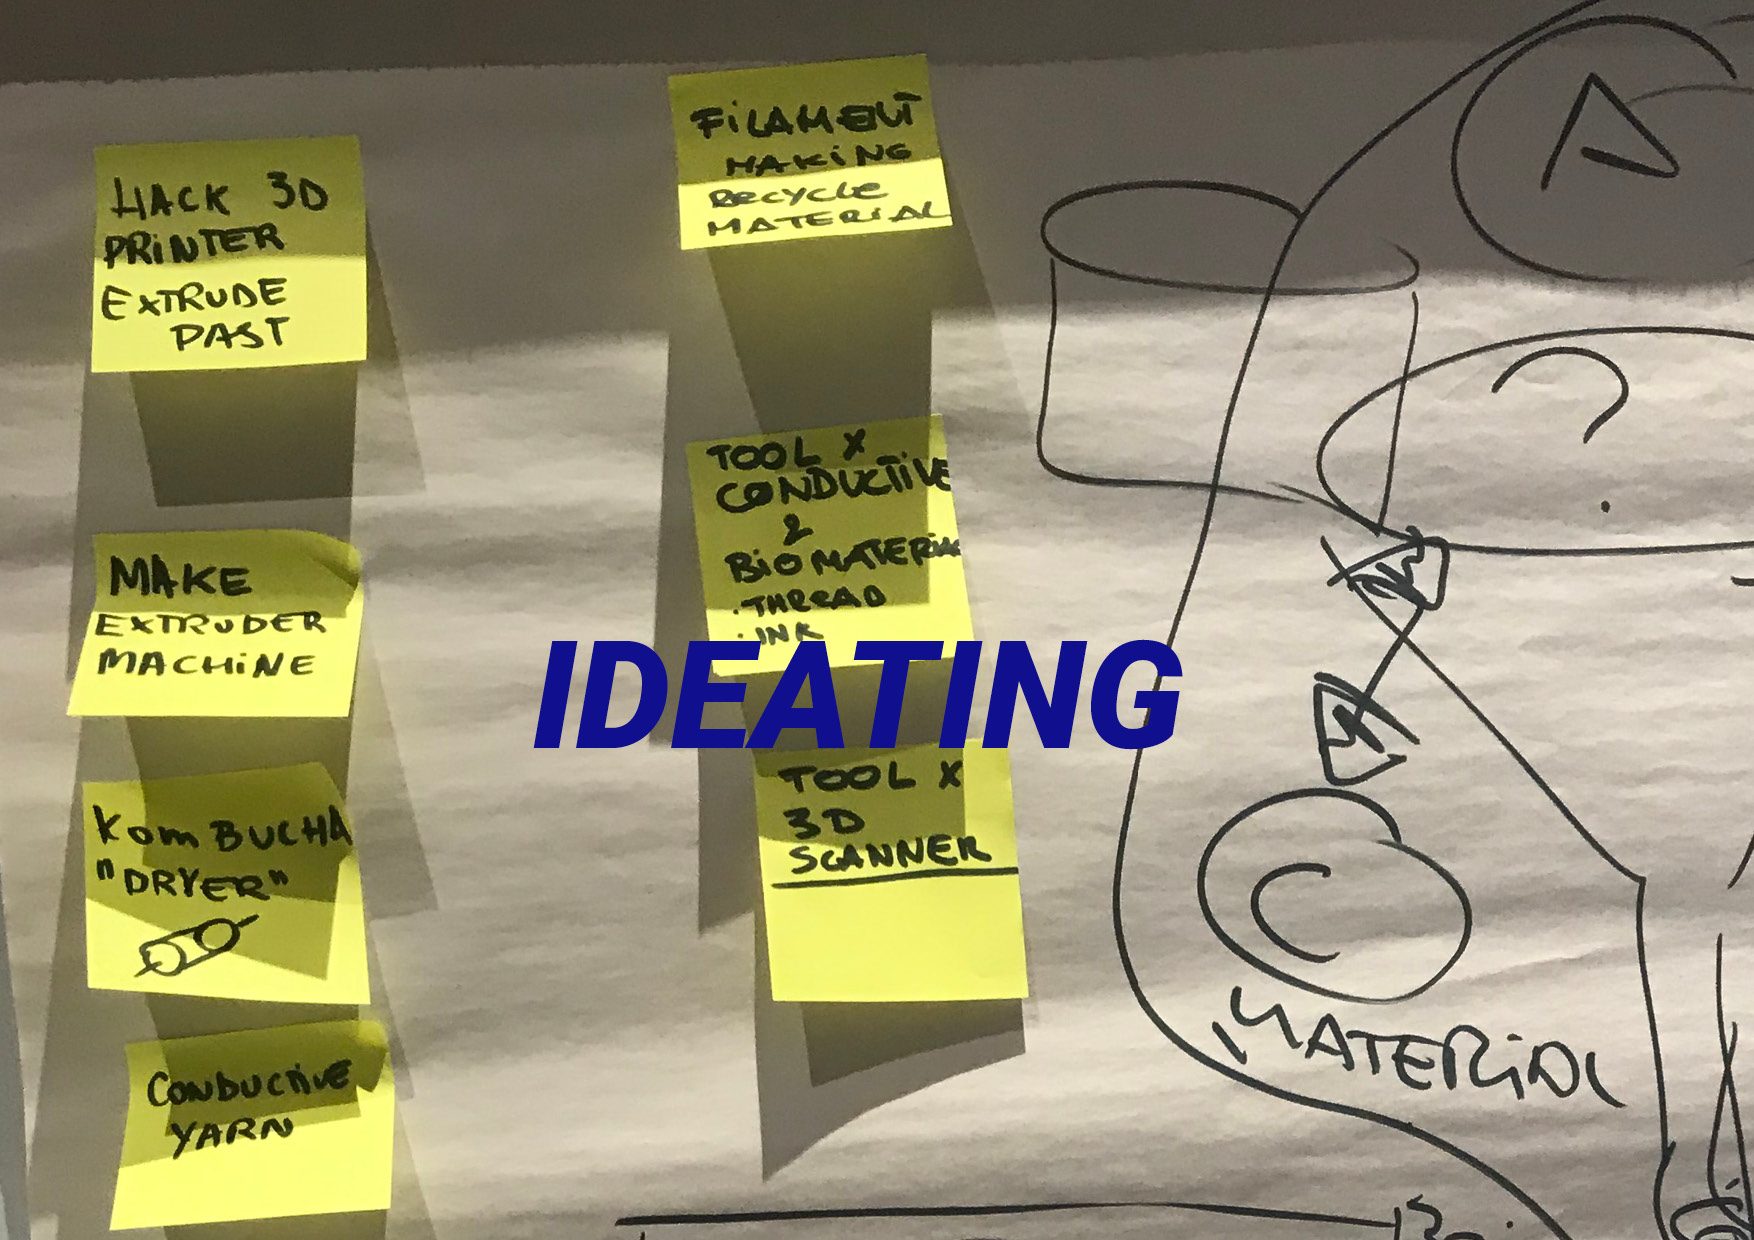
8.2.1 Ideating
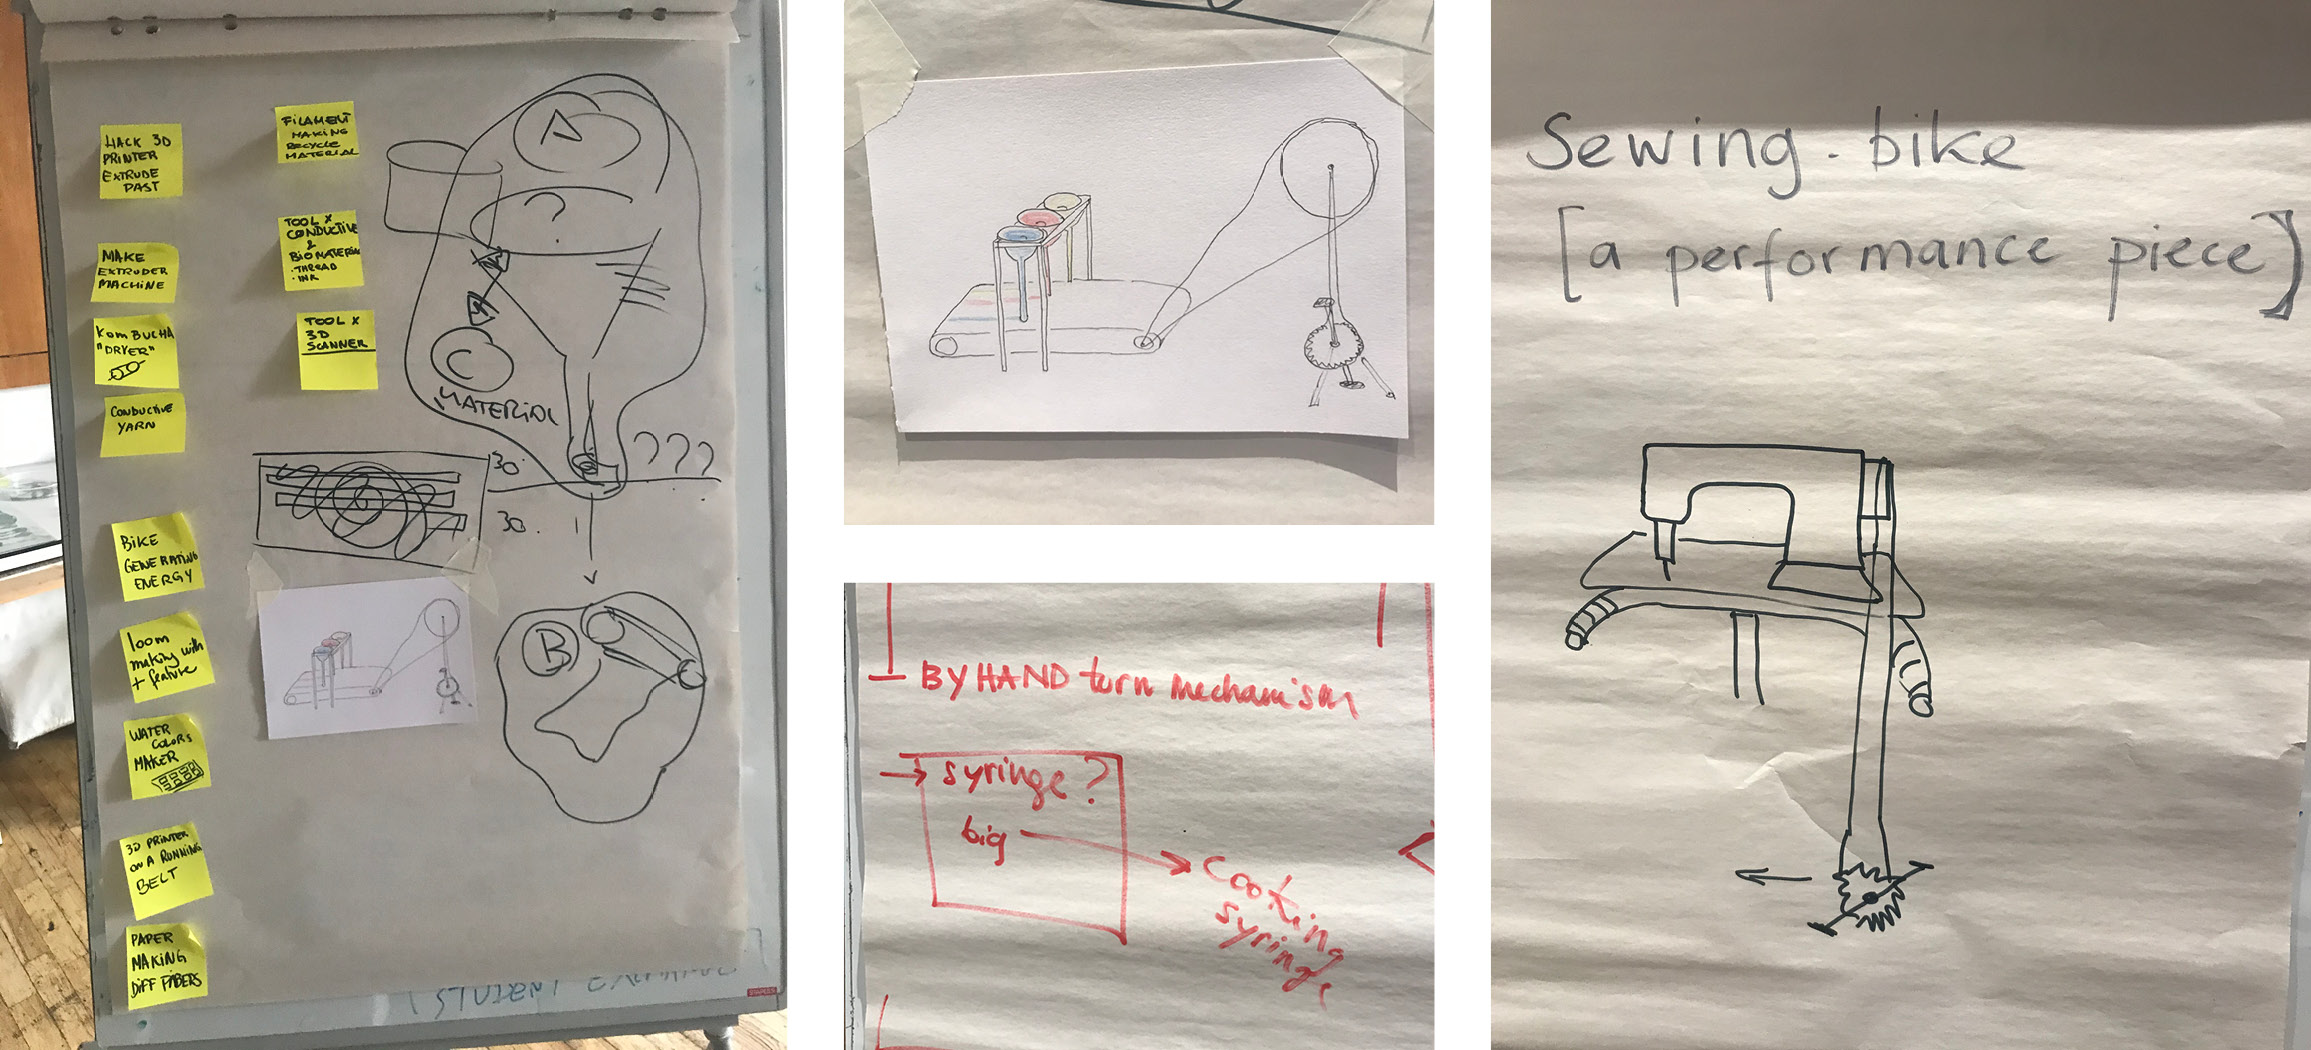
Our first brainstorm took place on a Wednesday morning which already defined one very clear design limit: time. We had to come up with an idea which we also had to execute in 4 days, so we had to be realistic and smart at the same time. Still, the development of the idea took some time as well, as nobody had a very clear idea about what to make but there was one returning element: developing an extruder.
Brainstorming on various ideas, credit: Fabricademy class 2020-2021
We finally decided to make a biomaterial extruder and did some research on the web. We found a lot of documentation and files on syringe extruders and decided to make a project overview first so we could choose a project as a base for our design.
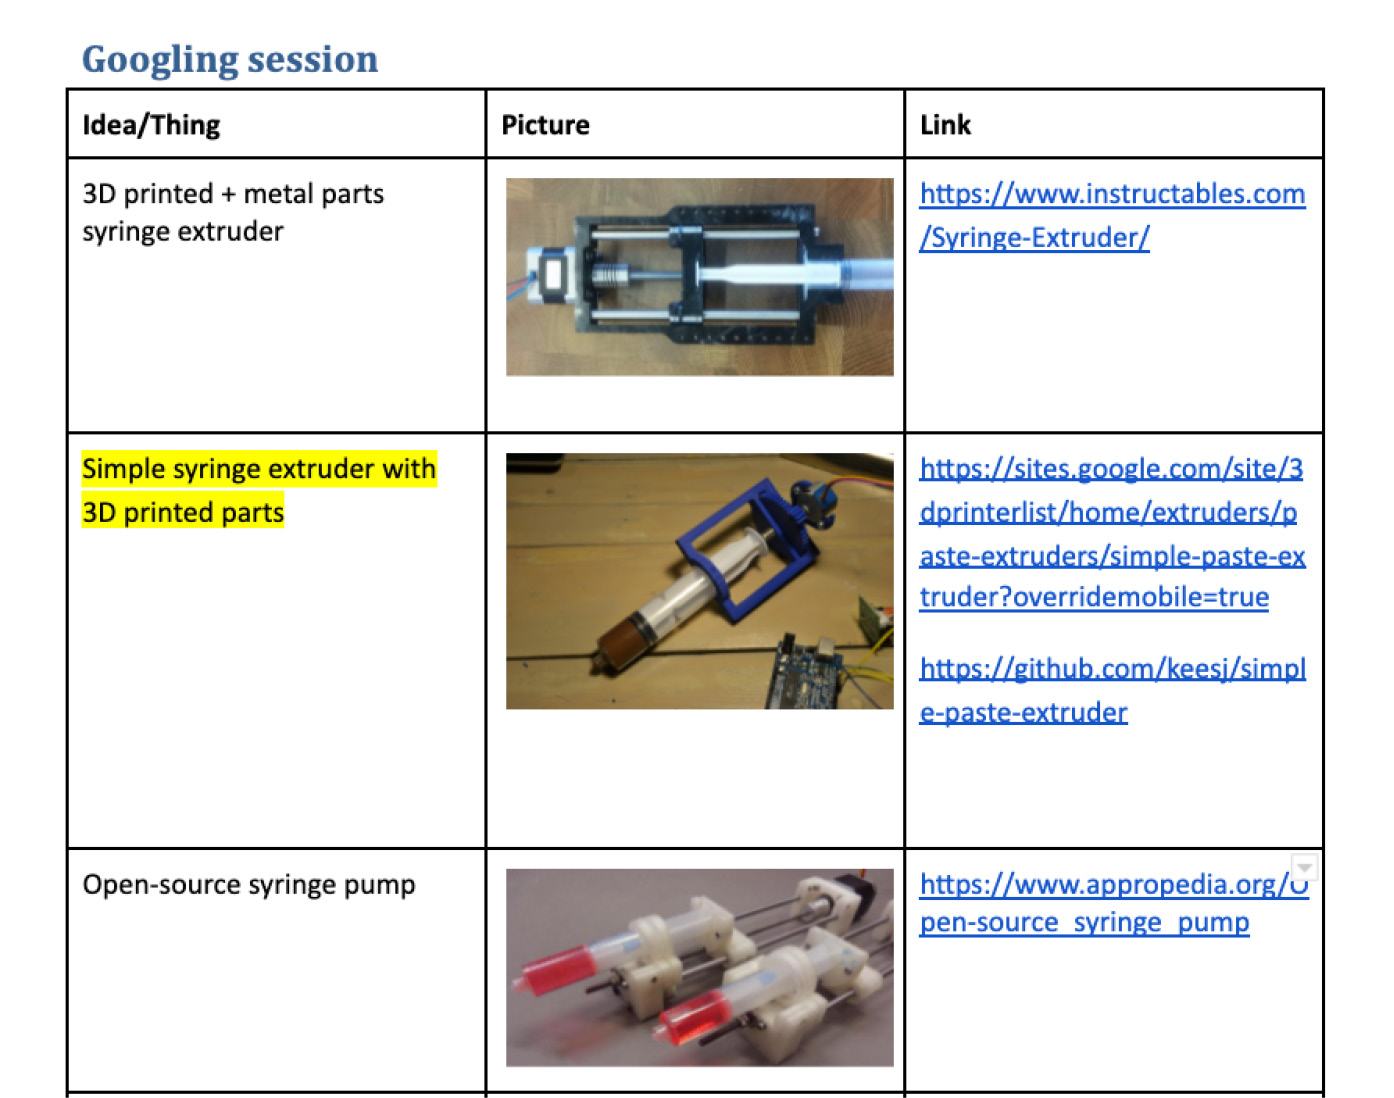
Google research extruder projects doc, credit: Fabricademy class 2020-2021
We choose the syringe project below because of its simplicity, so we could start prototyping right away, using the files of Keesj as a starting point.
Simple paste extruder, credit: Keesj
Next, we divided the tasks so everybody had a clear focus which would be beneficial for the development proces, but tasks and focus teams also changed or expanded during the development of the design:
Coding motor control + adapting 3D file: Sara
Technical sketches: Jen
3D printing: Patty + Becca + Sara
Assembling protoypes: Patty + Becca + Sara
Material recipes + testing: Carolina + Rebecca B.
Documentation: Rebecca B.
8.2.2 Development
Iteration no. 1
After the division of the tasks, I quickly prepared the first prototype in Cura so Becca and I could start 3d printing while Sara took care of the script in Arduino so we would be able to test as soon as possible.
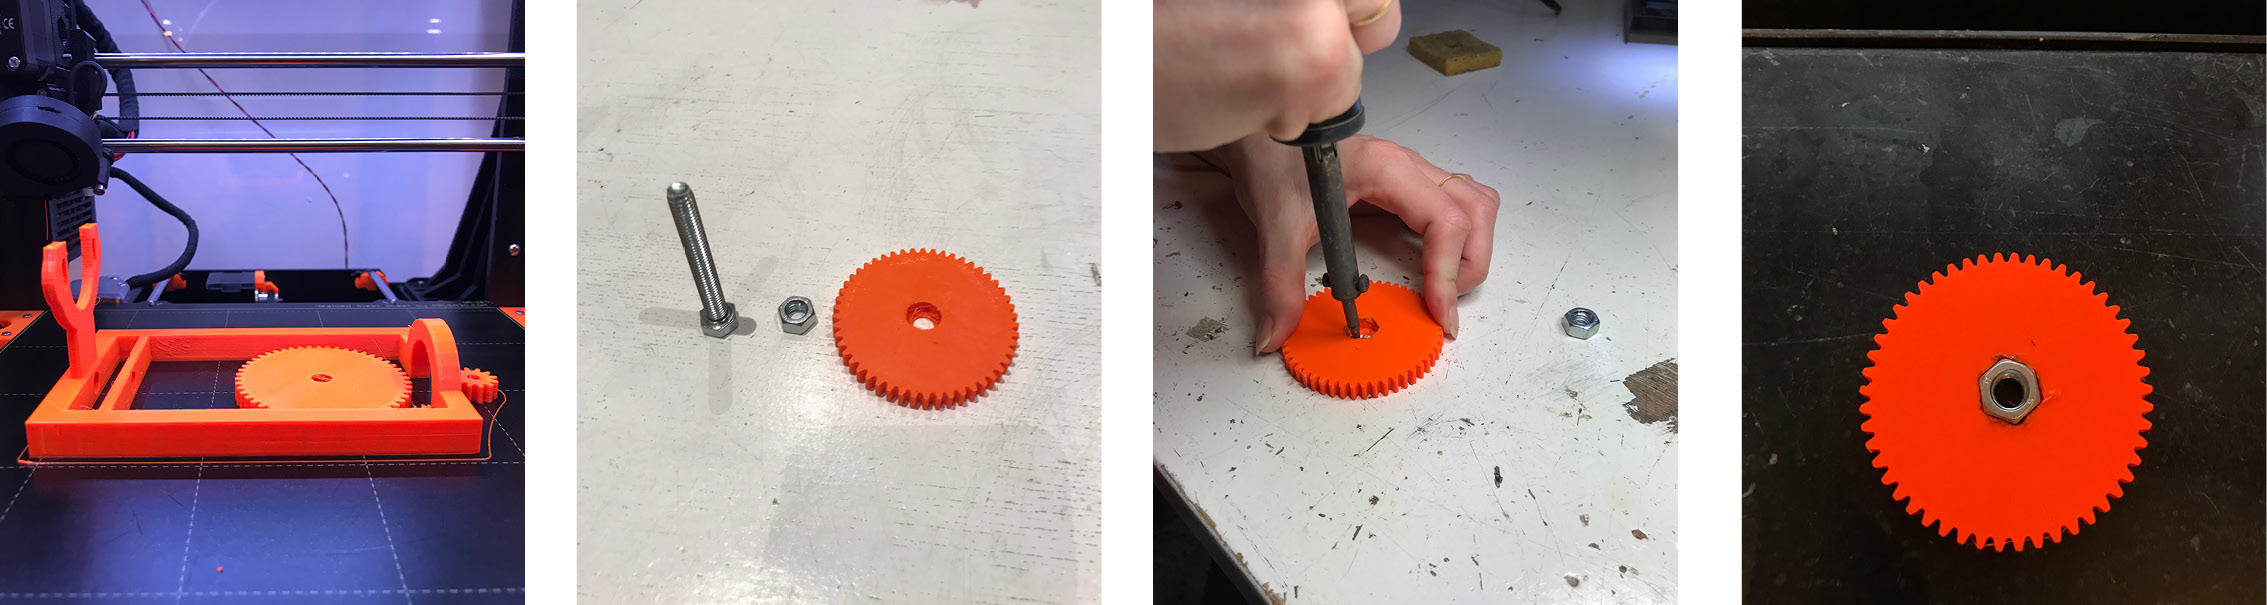
3d printing & fitting in the nut, credit: Fabricademy class 2020-2021
Assembling the first prototype, credit: Fabricademy class 2020-2021
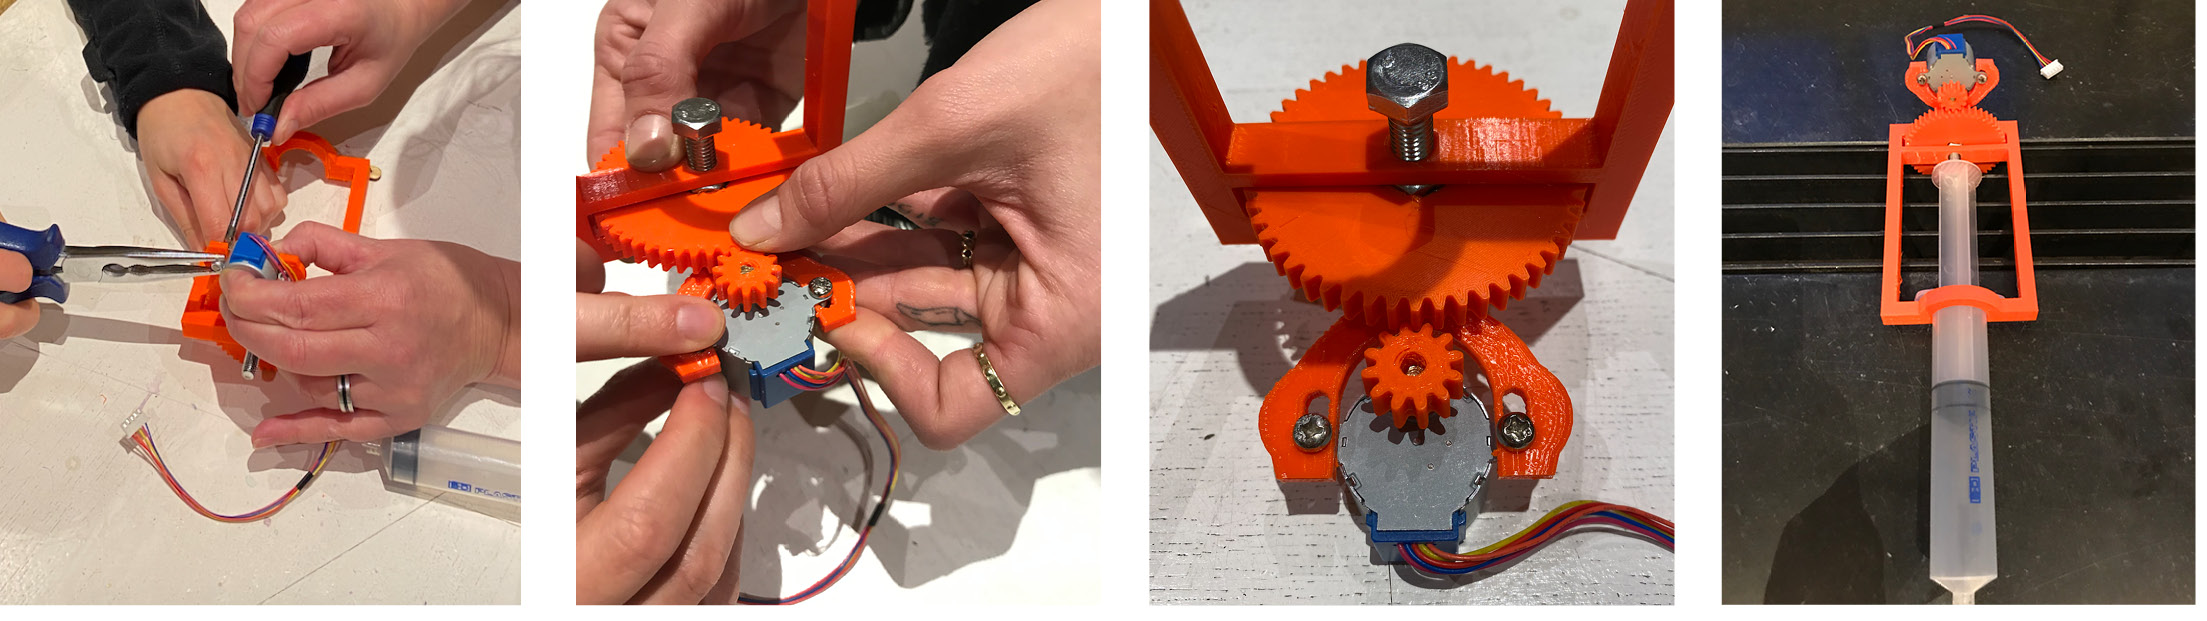
While assembling the prototype, we had to start trouble shooting right away because although the extruder looked to be working perfectly fine on the documentation of Keesj, our version did nothing when connecting the motor to the power source. It turned out, the motor didn't set the wheel in motion, meaning that there was no pushing movement forwarding the syringe and therefore nothing extruded (we tested with water at this point).
We hacked our first prototype by using tie wraps to secure the wheel onto the structure, switching to a more powerful motor, taping the motor onto the structure and 3d printing a coin shape modelled after the backside of the syringe to fit in the the bold which would ensure no slipping and a a better division of the pushing force on the back of the syringe.
Applying small hacks, final testing first protoype (Becca, Sara, Patty), credit: Fabricademy class 2020-2021
Iteration no. 2
During the weekend, Sara made some great adjustments to the initial design in Rhino and also printed the frame so we could assemble the second iteration of our prototype and see if we would have to make some additional alterations.
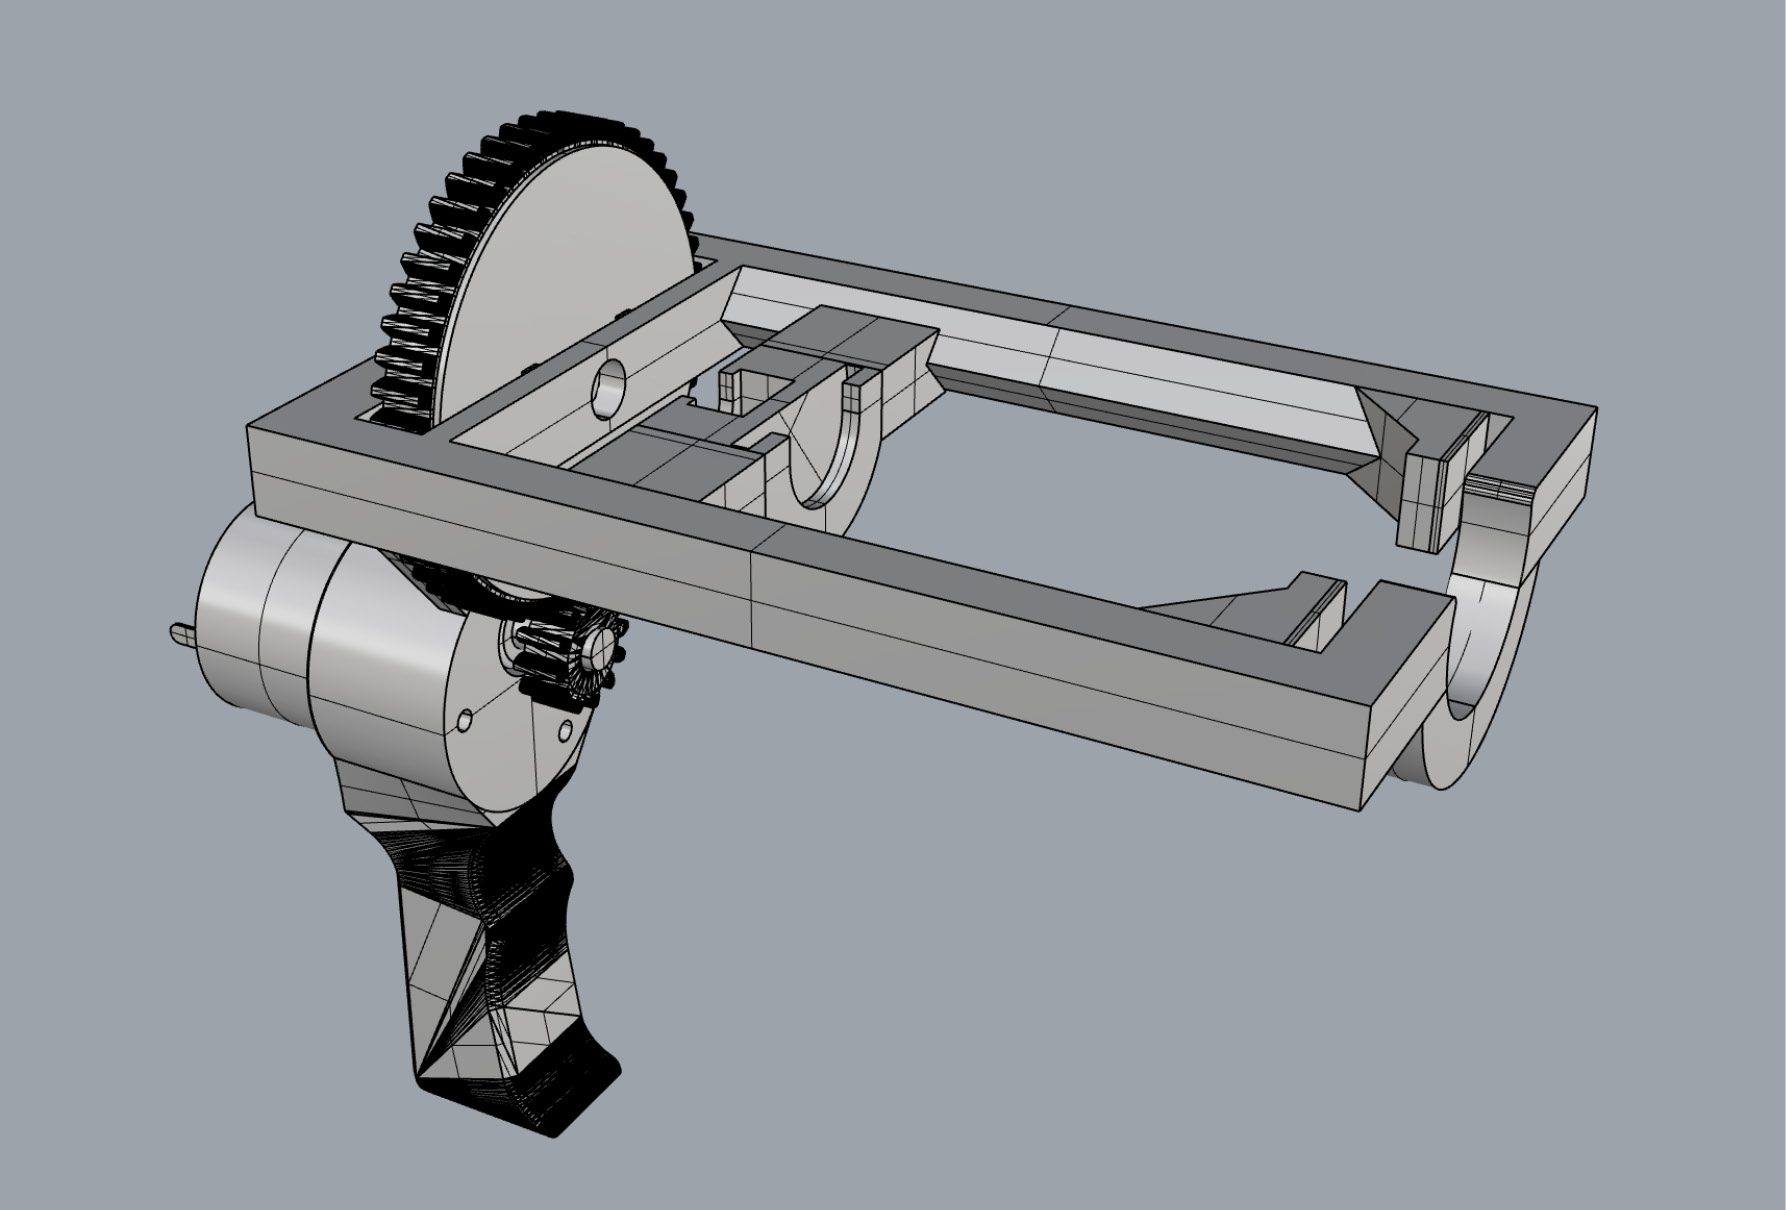
3D model adjustments in Rhino, credit: Sara Alvarez/Fabricademy class 2020-2021
The adjustments made in the second iteration:
- Adding ribs to the structure containing the big wheel to add some friction to the system (replacement of the tie wraps).
- Creating a connector between the plunge and the bolt heads.
- Adding rails in which the plunge-bolt connector would move.
- Adding a smaller opening for the syringe barrel holder so it would click in place and didn't need tape to be secured.
- Adding a slit for the syringe barrel top to be secured in place.
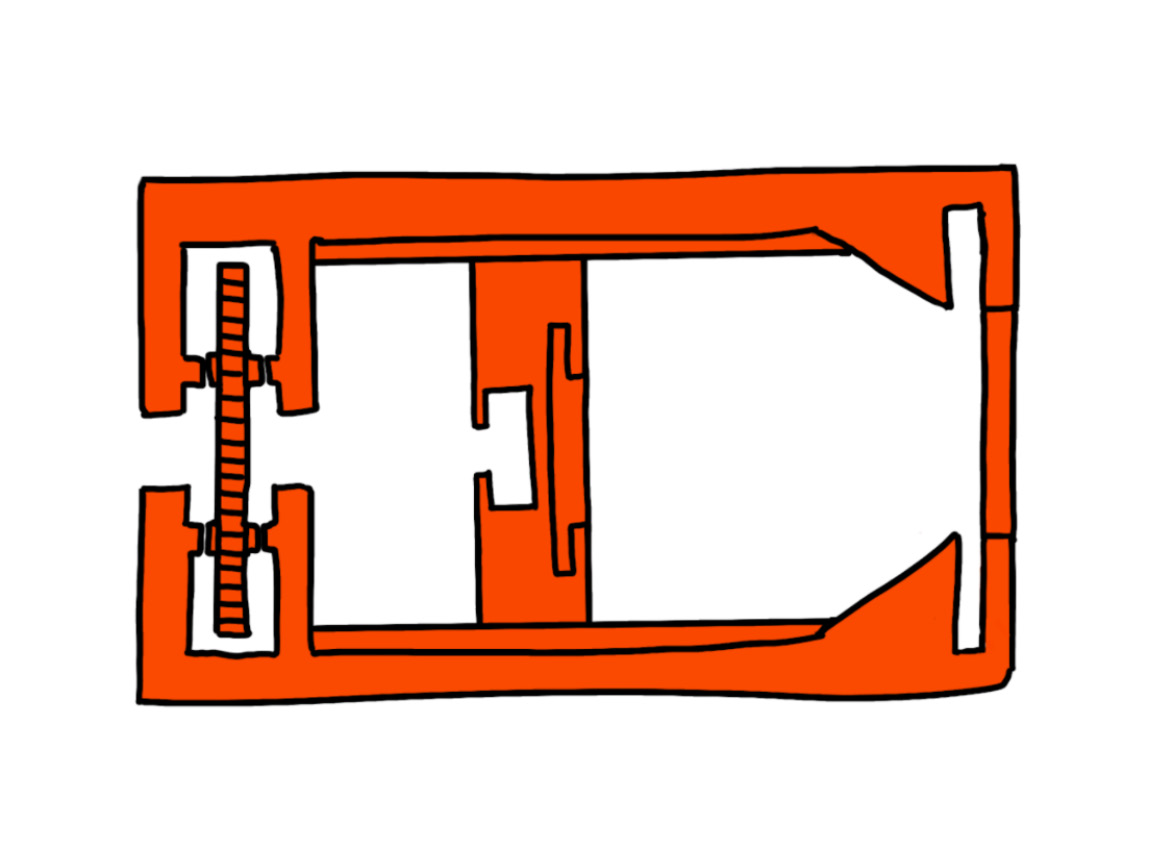
Adjustment drawing, credit: Sara Alvarez/Fabricademy class 2020-2021
During the assembly of this version, we also reused both wheels of the first iteration, resulting in the following design:
Extruder iteration no. 2, credit" Fabricademy class 2020-2021
We tested a few biomaterials and were succesful this time, so now it was time to make a final iteration.
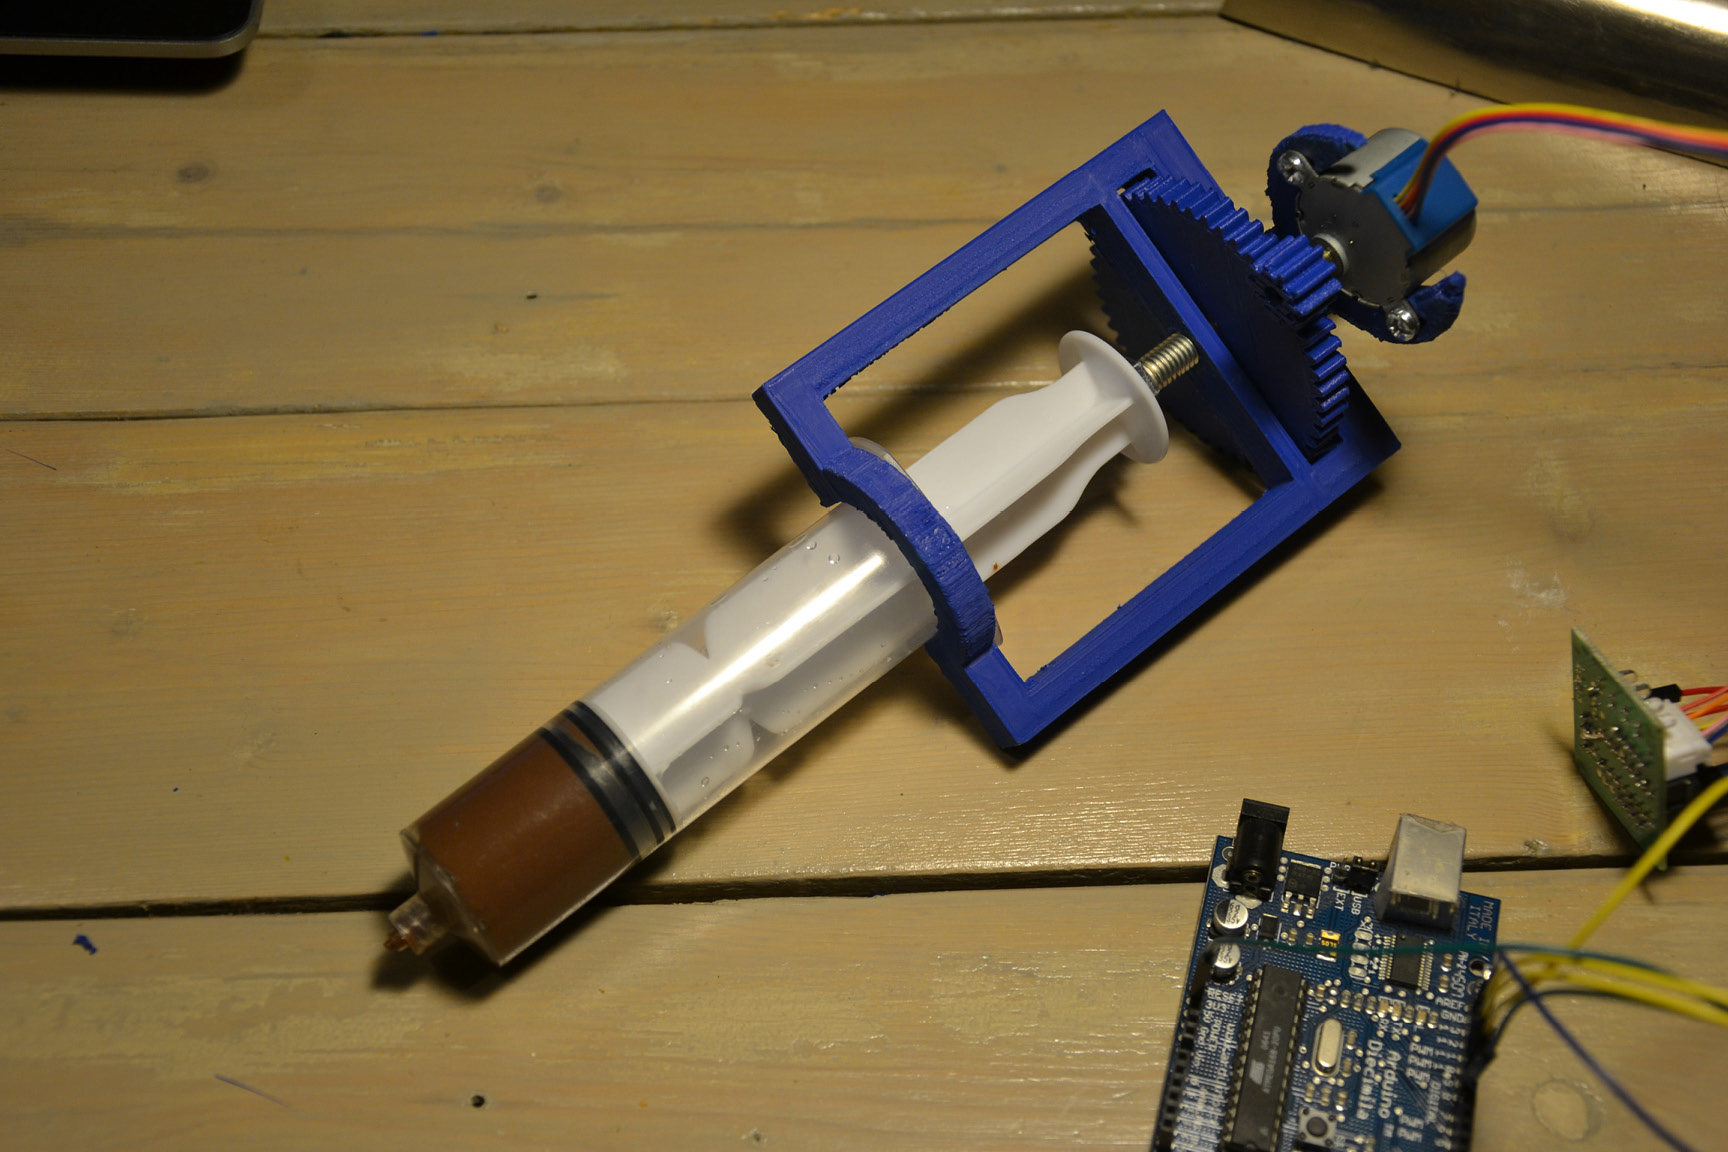
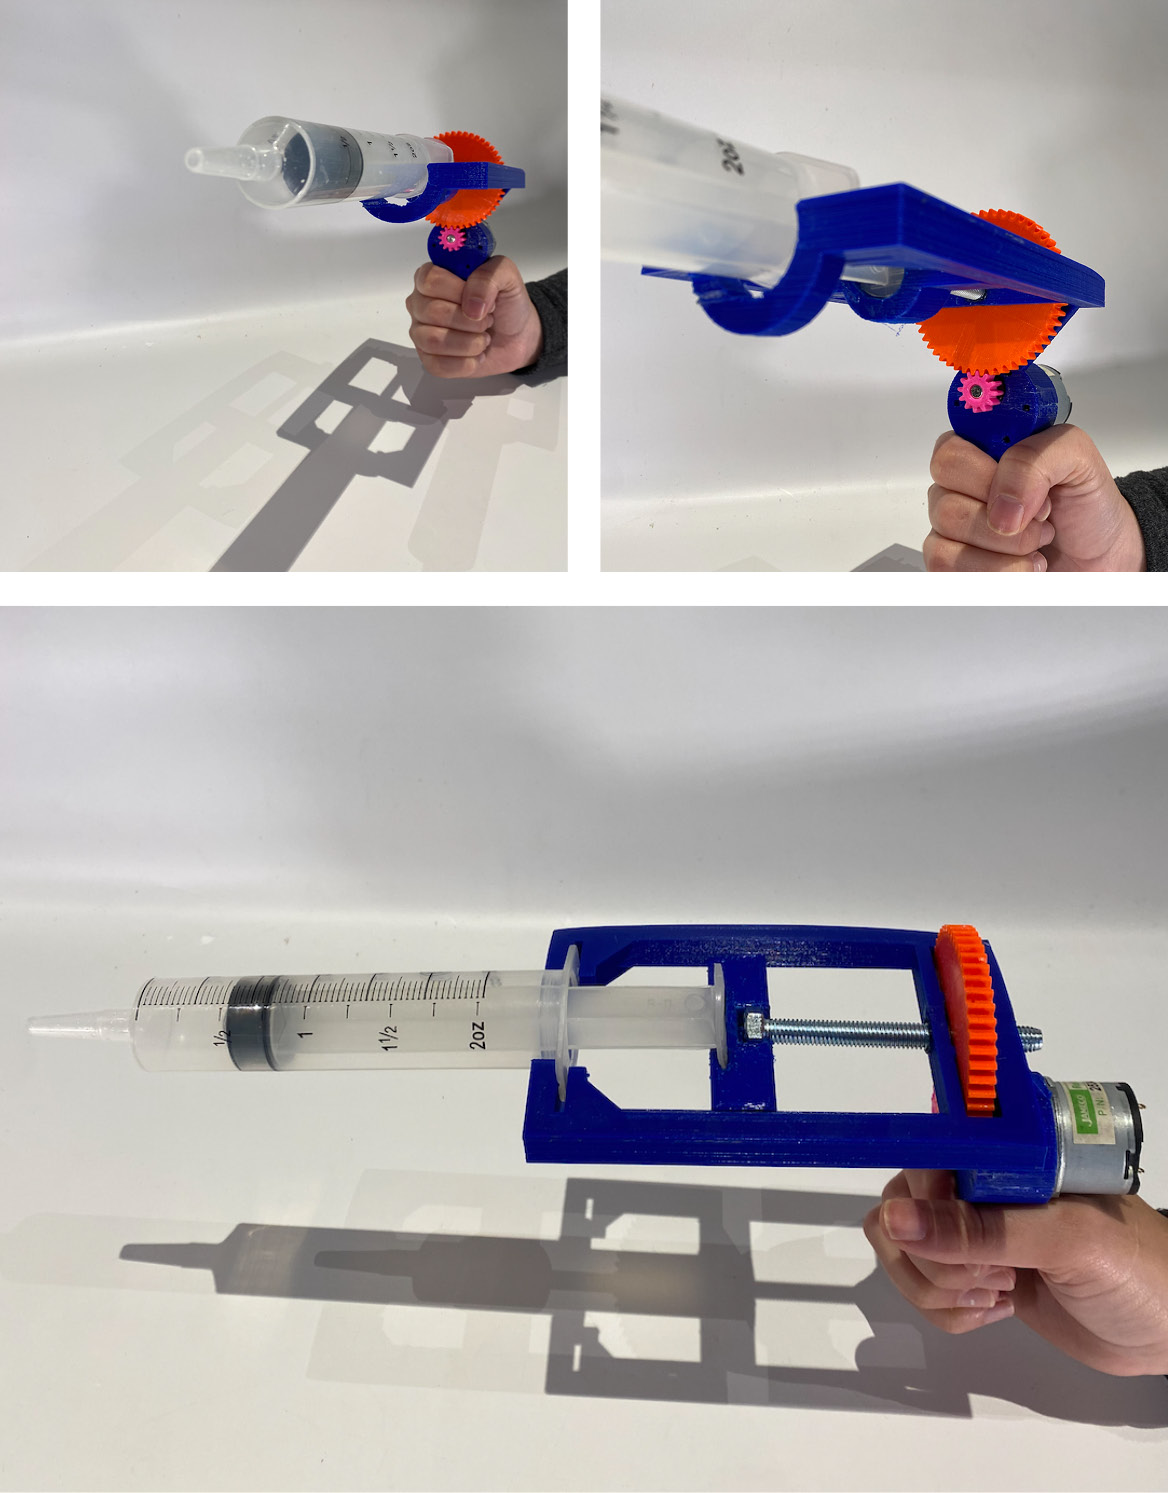
Iteration no. 3, final result
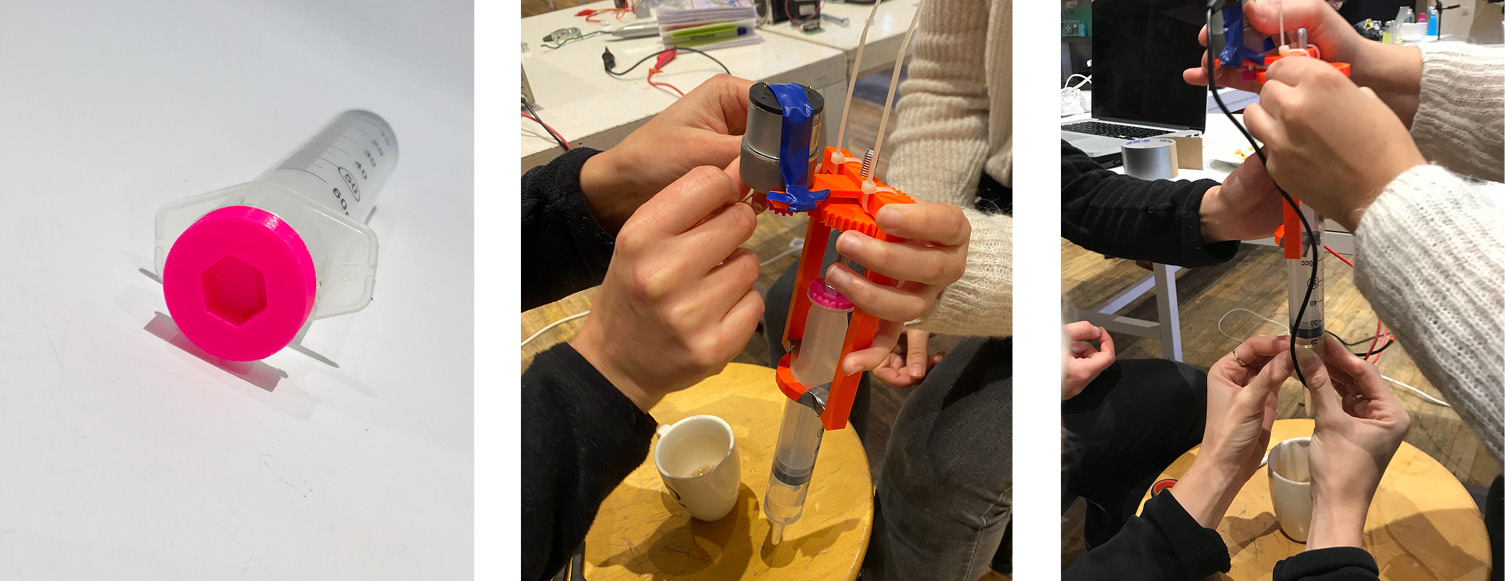
The most significant change in the third iteration is the filament we used. The PLA-filament used for the second iteration proved to be quite brittle and this resulted into actual breaking. So we decided to print it one last time in a different PLA and added a bit of bio foam (created during week 6) which we sanded into a shape that would provide a tighter fit for the bold.
This version was a succes: it didn't break and was fully extruding the biocomposite that Rebecca and Carolina created in the meantime.
Extruder iteration 3, succesfully extruding, credit: Fabricademy class 2020-2021
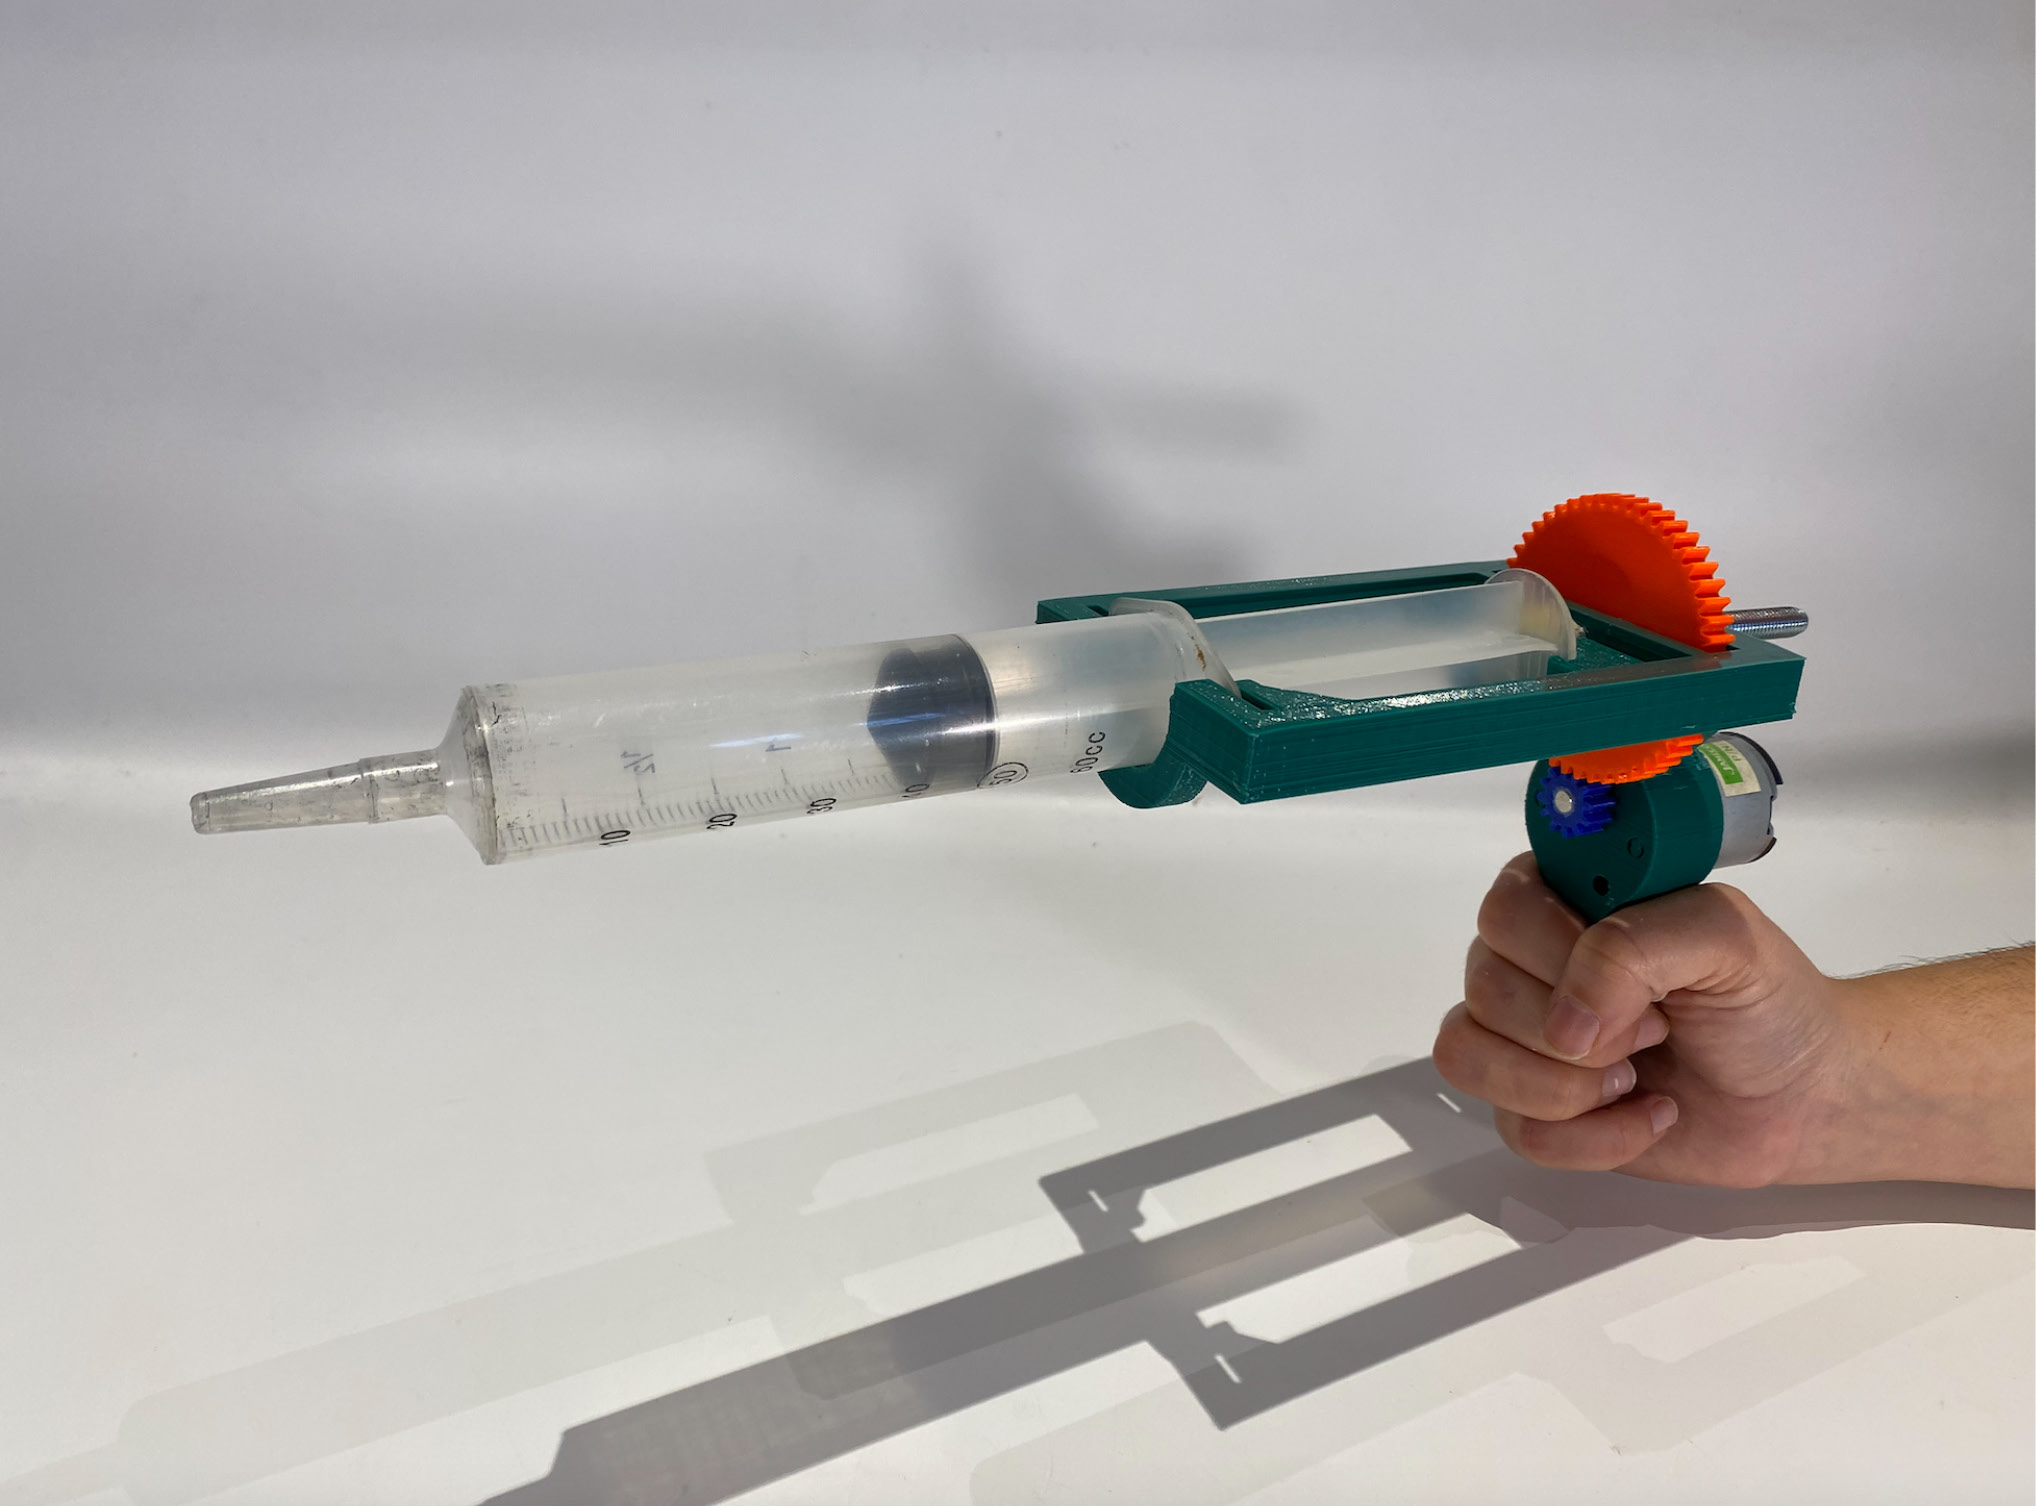
Extruder iteration 3, side view, credit: Fabricademy class 2020-2021
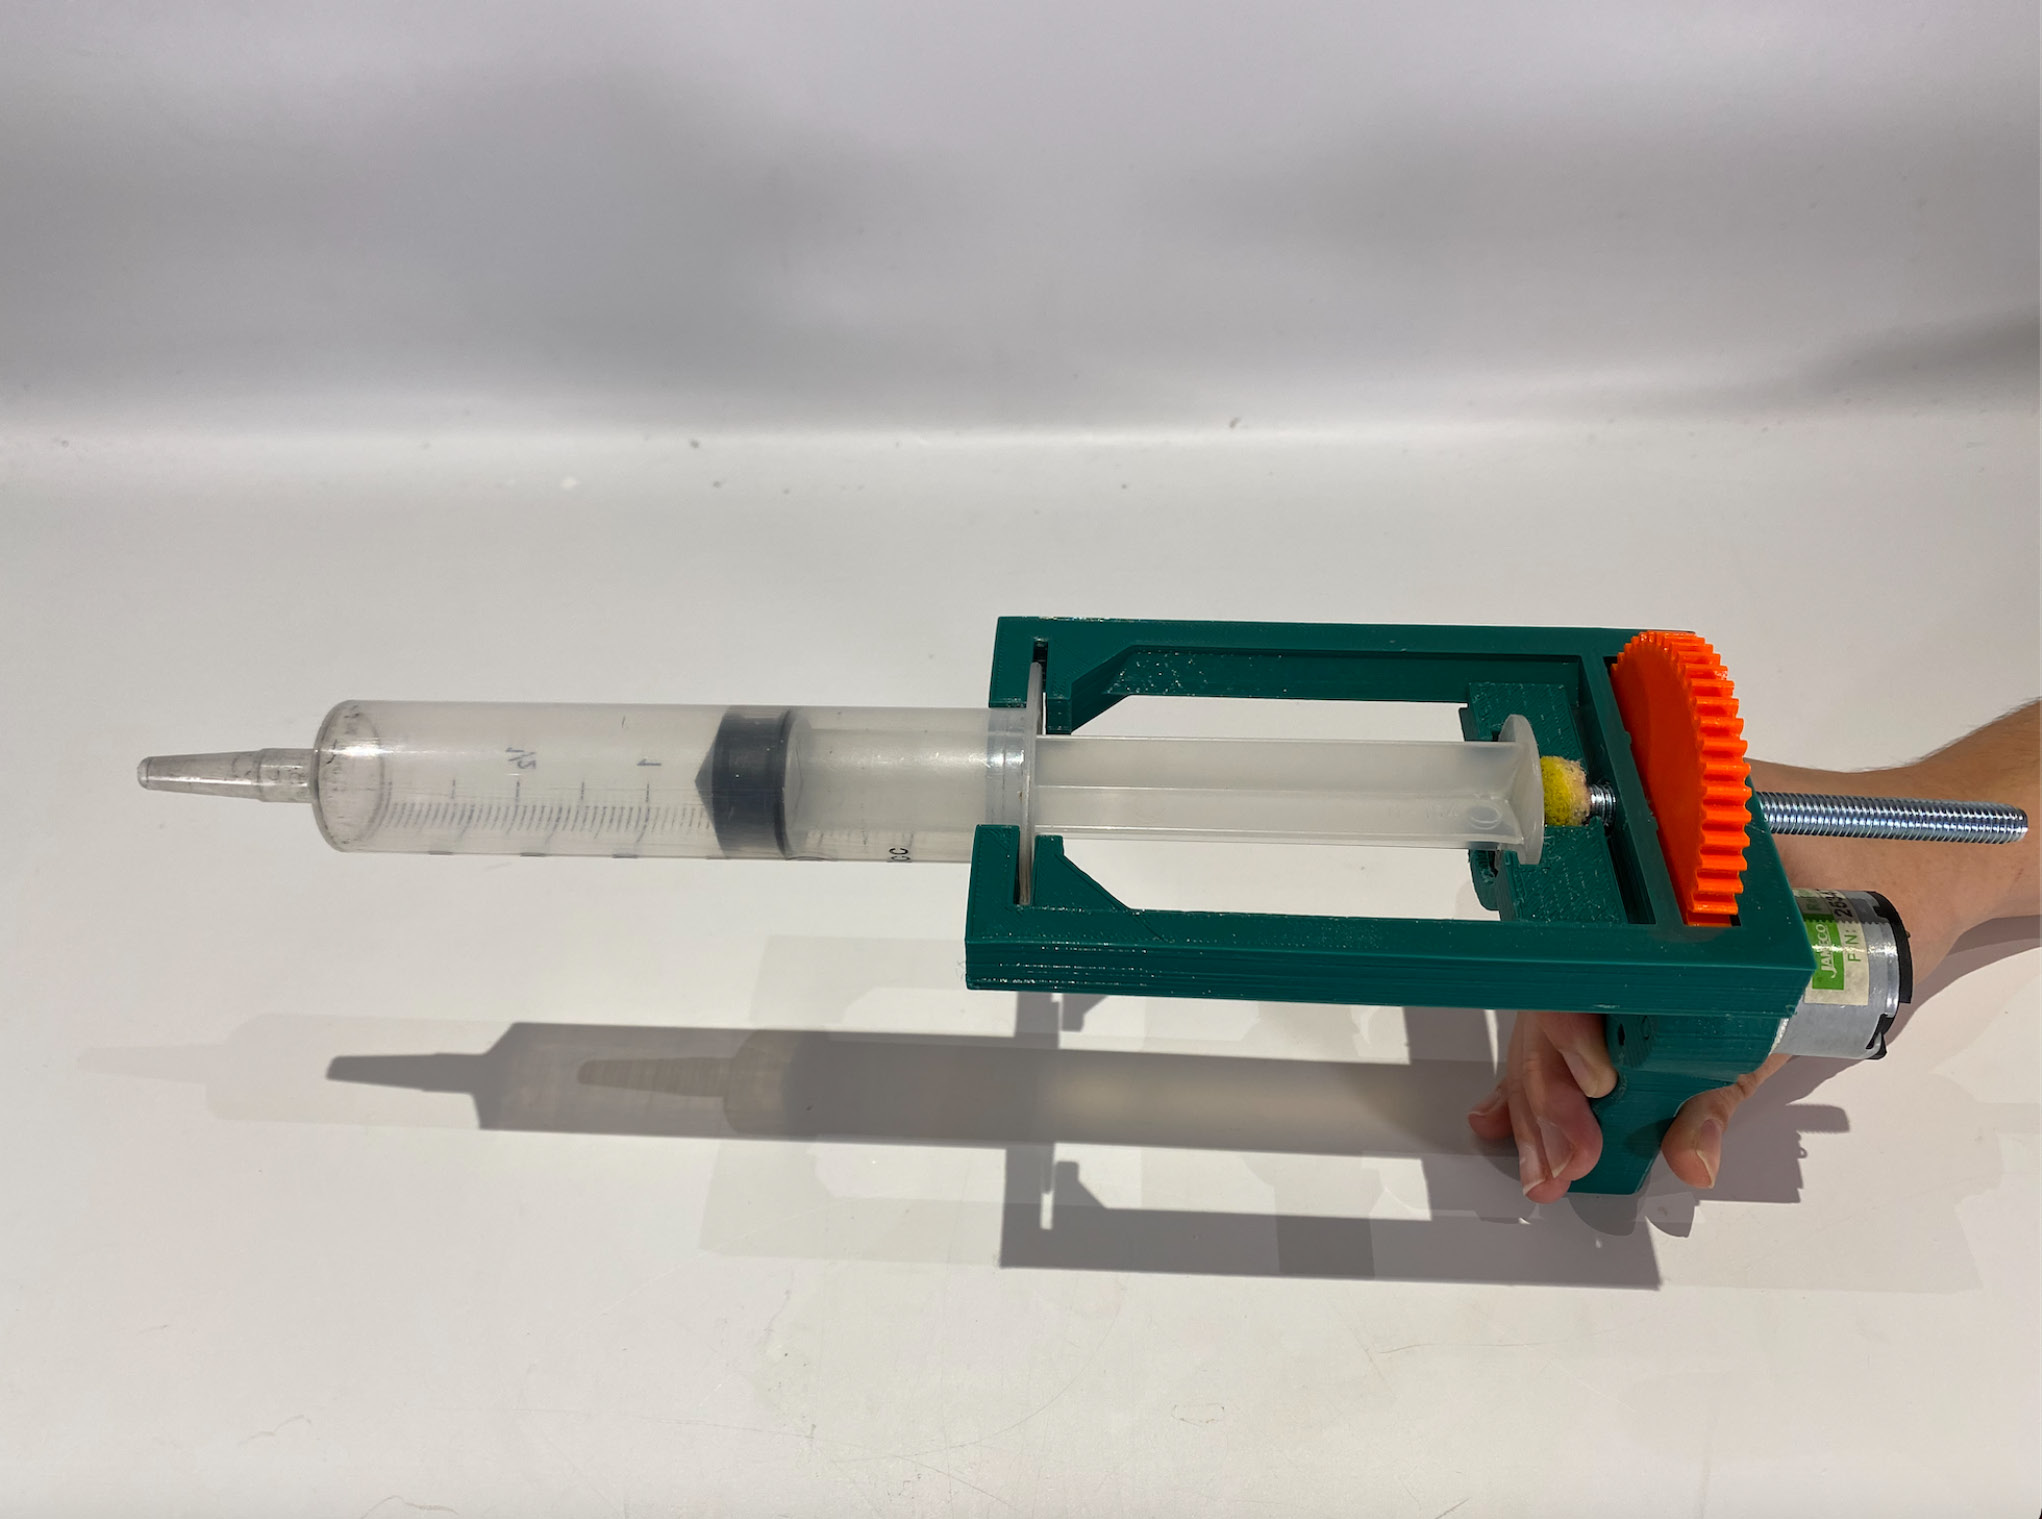
Extruder iteration no. 3, top view, credit: Fabricademy class 2020-2021
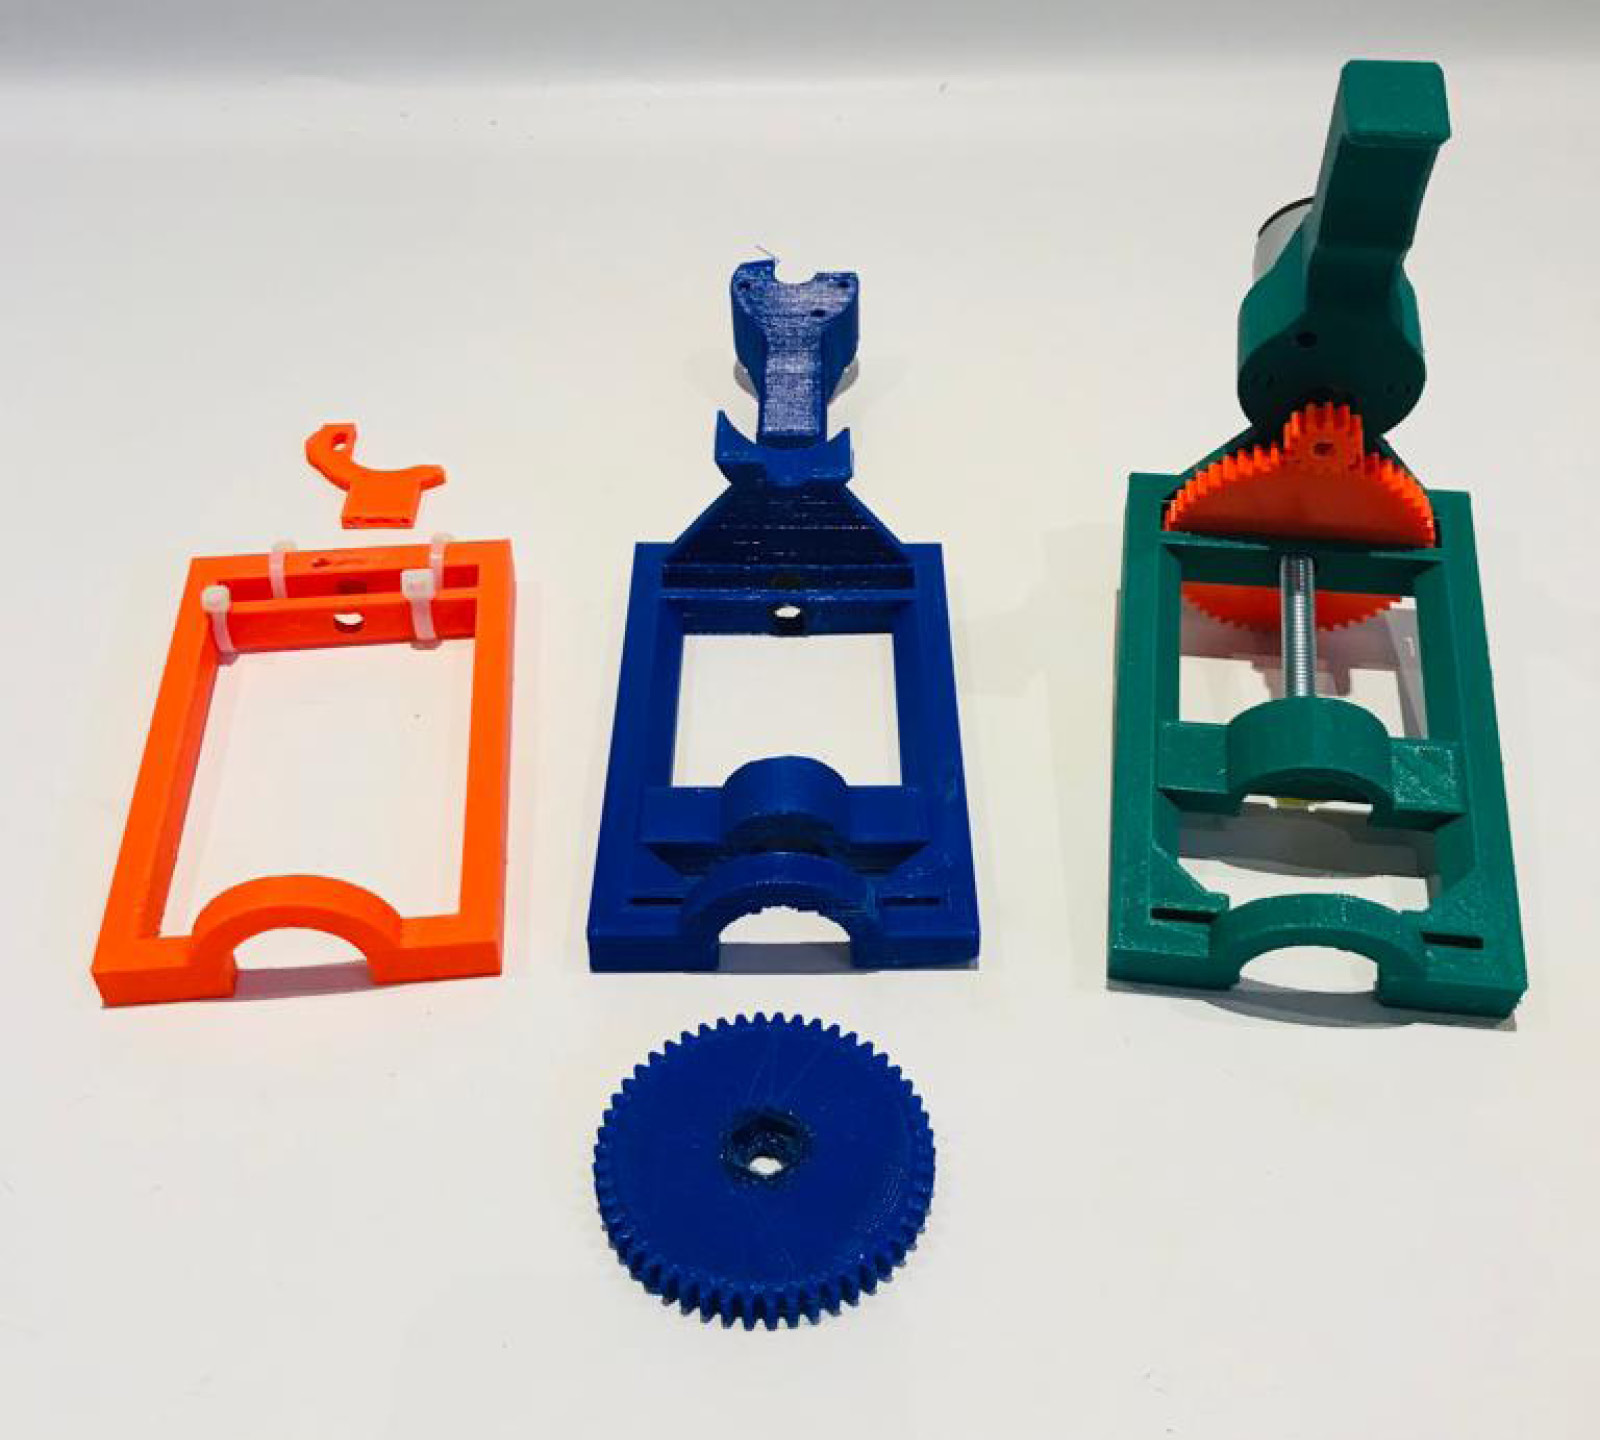
Extruder evolution, credit: Fabricademy class 2020-2021
8.2.3 Biofilament
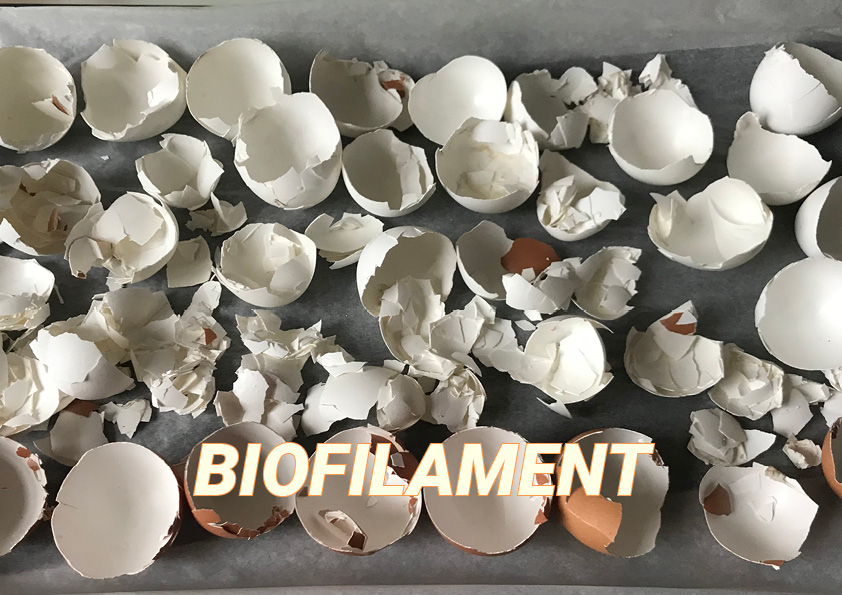
Rebecca & Caroline worked on the recipes to create a filament for our biomaterials extruder, concentrating on egg shell and shell sand alginates. They started with 3 basic recipes and build further upon these recipes, which are all documented in this overview.
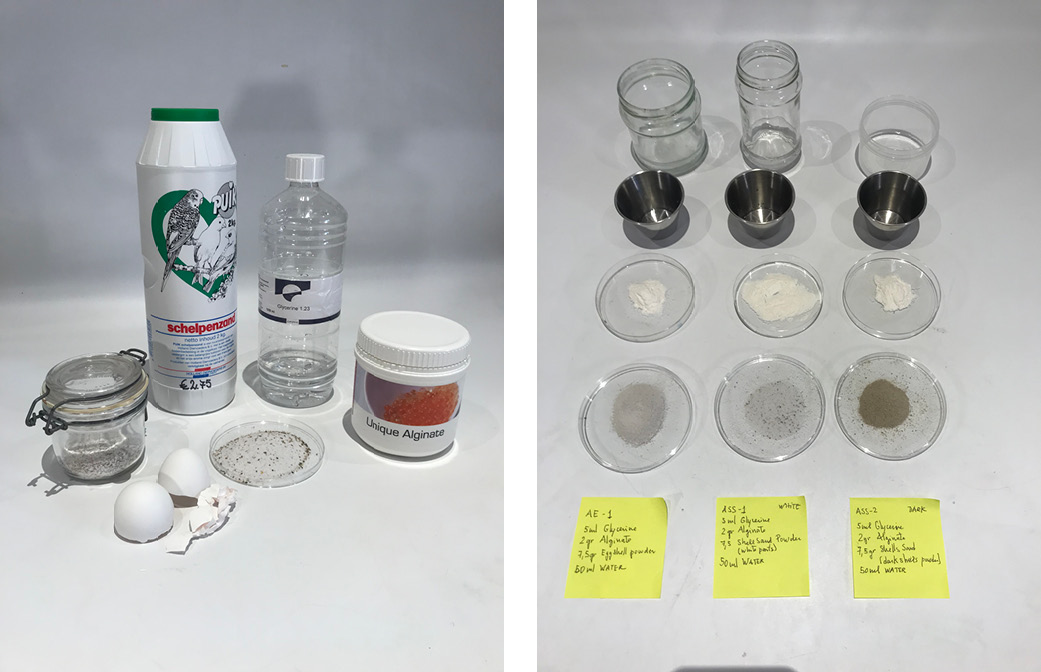 Testing alginates, credit: Fabricademy class 2020-2021
The following two recipes proved to be suitable to extrude with the syringe:
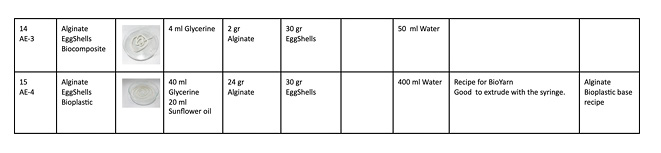
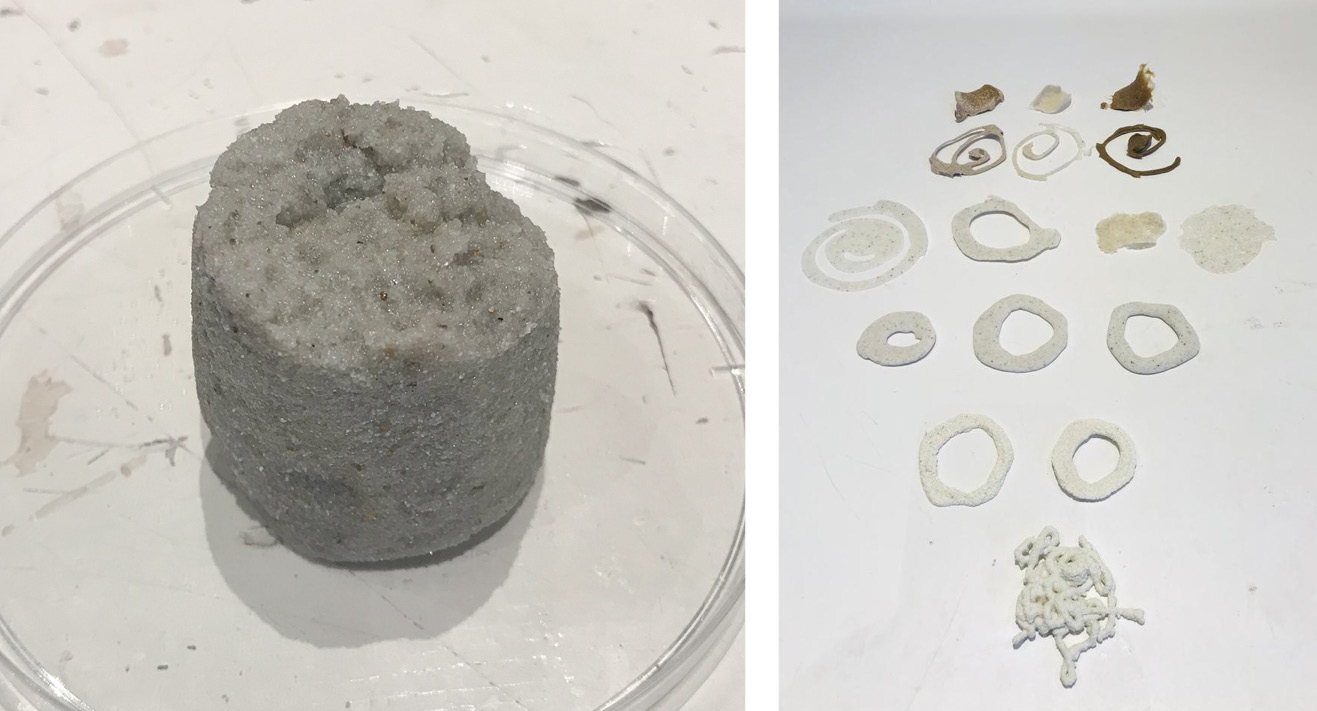
Left: recipe no. 11, right: biofilament evolution, credit: Fabricademy class 2020-2021