2. Digital bodies
- Include some inspiration: research on artists or projects that work with the human body
- Document the use of 3D scanner and softwares to acquire a 3D model
- Document the process of repairing and/or manipulating a 3D mesh and slicing it.
- Create my ready to cut file for laser cutting, learn how to use the laser cutter and document the workflow and upload your 3D and 2D files
- Learn about the fab lab processes, booking system, usage, machine demos, tools and safety rules
- Build and/or assemble my mannequin, create a stop motion assembling it or stepped process
- EXTRA POINT Send one picture (HIGH RES) of my mannequin to enter the competition for the annual exhibition
Research
 Robert Rauschenberg, Laid Out Body, ca. 1950. Cyanotype.

/https%3A%2F%2Fdev.lareviewofbooks.org%2Fwp-content%2Fuploads%2F2017%2F04%2F05_WOMB_TOMB.jpg) Mariechen Danz, Womb Tomb
Mariechen Danz, Womb Tomb
Standard methods
- photogrammetry and reconstruction with COLMAP (CUDA enabled)
- Kinect
- LiDAR scan
Machine learning-based methods
For face details
- Blender Facebuilder
3D Scan
Photogrammetry
This is my first attempt at doing photogrammetry on a small object. I took 20 pictures of a shell from different angles, and used the open source software COLMAP to reconstruct the mesh. This process is named dense reconstruction. Firstly, it is necessary to install COLMAP from this GitHub repsitory . Then I run the reconstruction algorithm by command line :
# The project folder must contain a folder "images" with all the images.
$ DATASET_PATH=/path/to/project

$ colmap automatic_reconstructor \
    --workspace_path $DATASET_PATH \
    --image_path $DATASET_PATH/images
Eventually, I smooth and clean the mesh with Meshlab. At this moment, I have not been able to scan a big object such as an entire body with this technique.
Machine learning
This is a low resolution 3D model of a digital body reconstructed from a single 2D image (128 x 128 pixels), reconstructed thanks to the PifuHD model. This is the raw result without any mesh cleaning. There is an artefact visible behind the mesh.
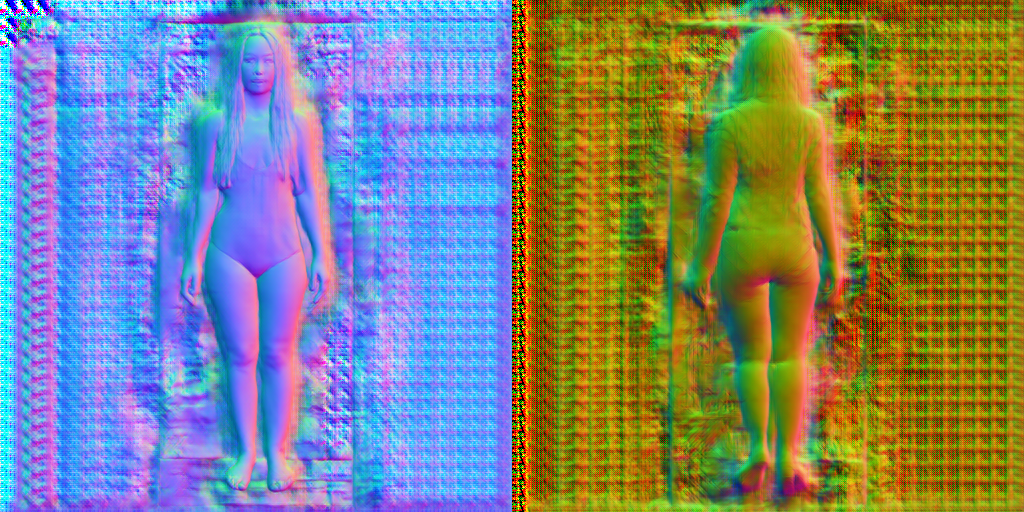
Presentation of the algorithm
This model is from Facebook Research, is allows to convert in real time a single 2D photo of a human body into a 3D model. It is based on PyTorch and OpenCV.
Demo
In order to run this demo, you have to enable GPU acceleration in Colaboratory.
Mesh processing
Cleaning
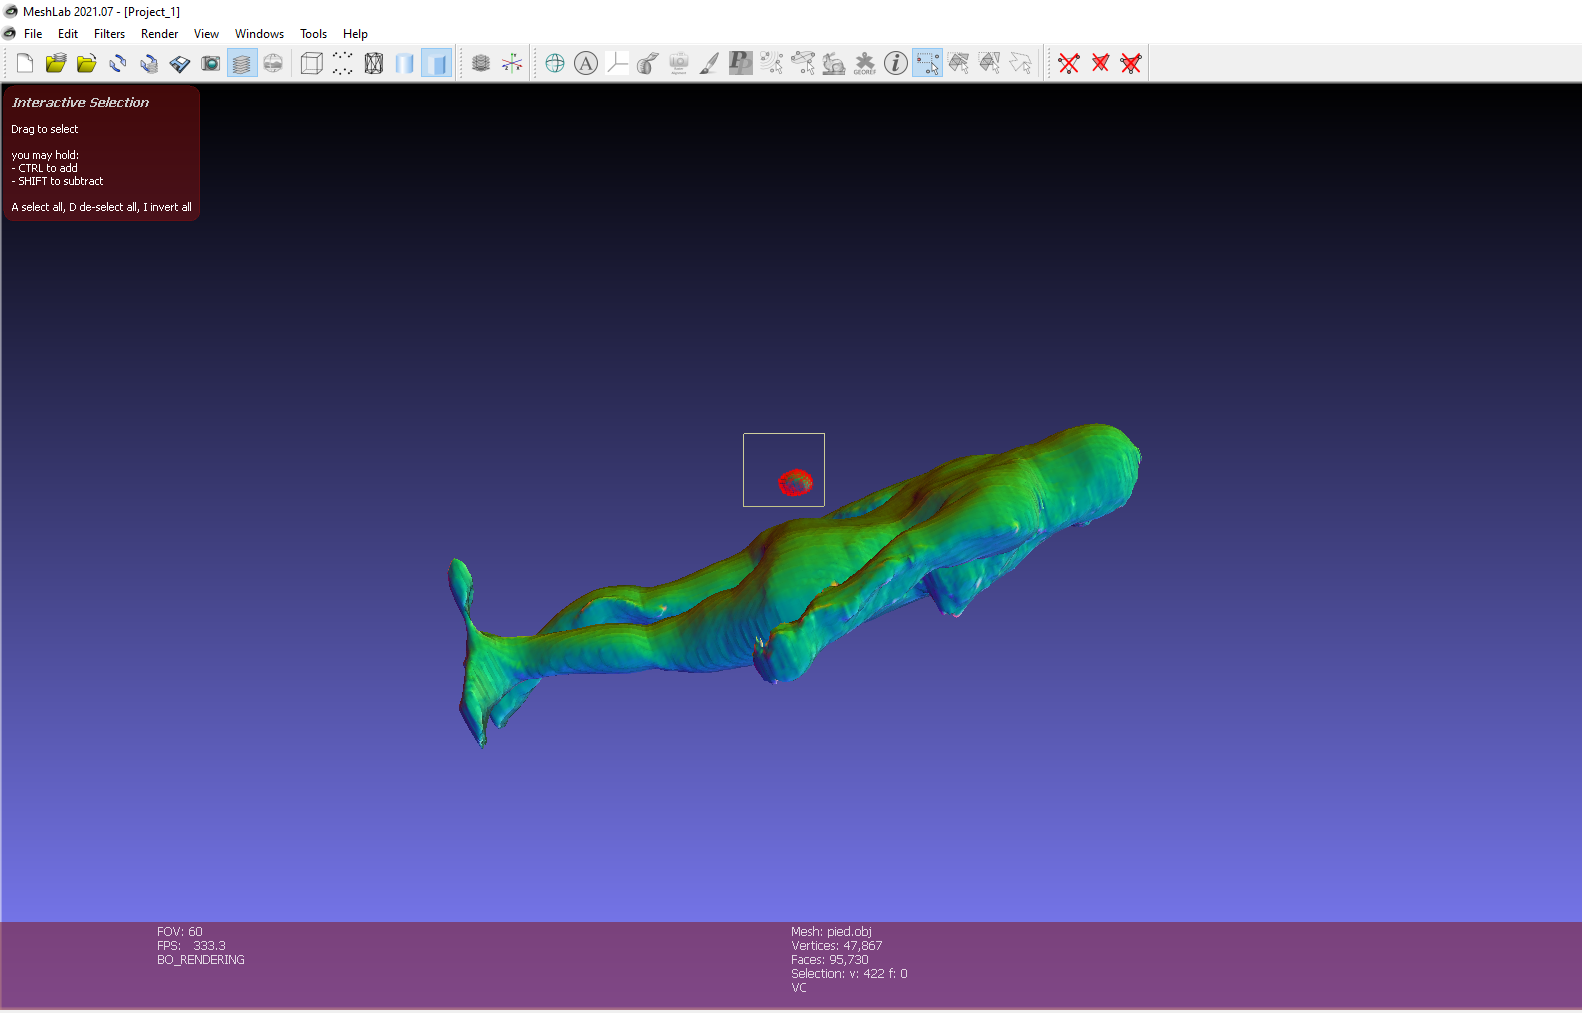
I used MeshLab to remove the artifacts from my 3D scan. To do so, I select the vertices and delete them. Afterwards, I applied a Laplacian smooth to enhance the surface of the mesh.
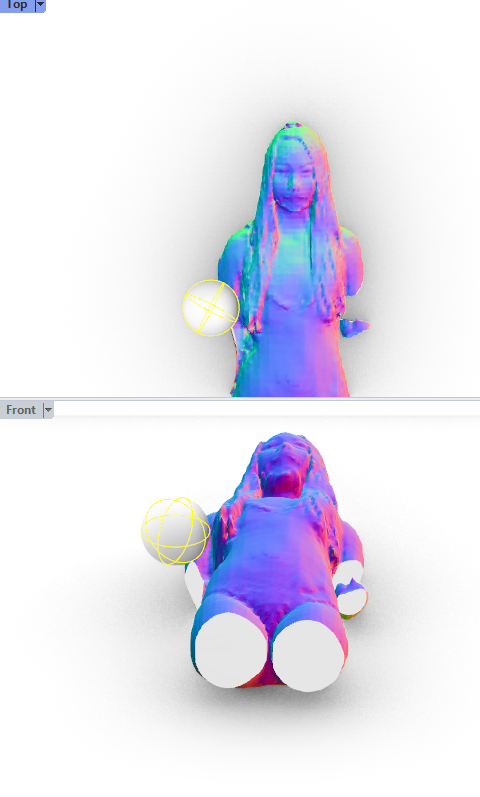
Trimming
Since the laser cut dimensions would not allow to quickly laser cut a full body at human scale, I decided to cut only my chest and head. With Rhino, I trim my mesh using the command MeshBooleanDifference.
Slices
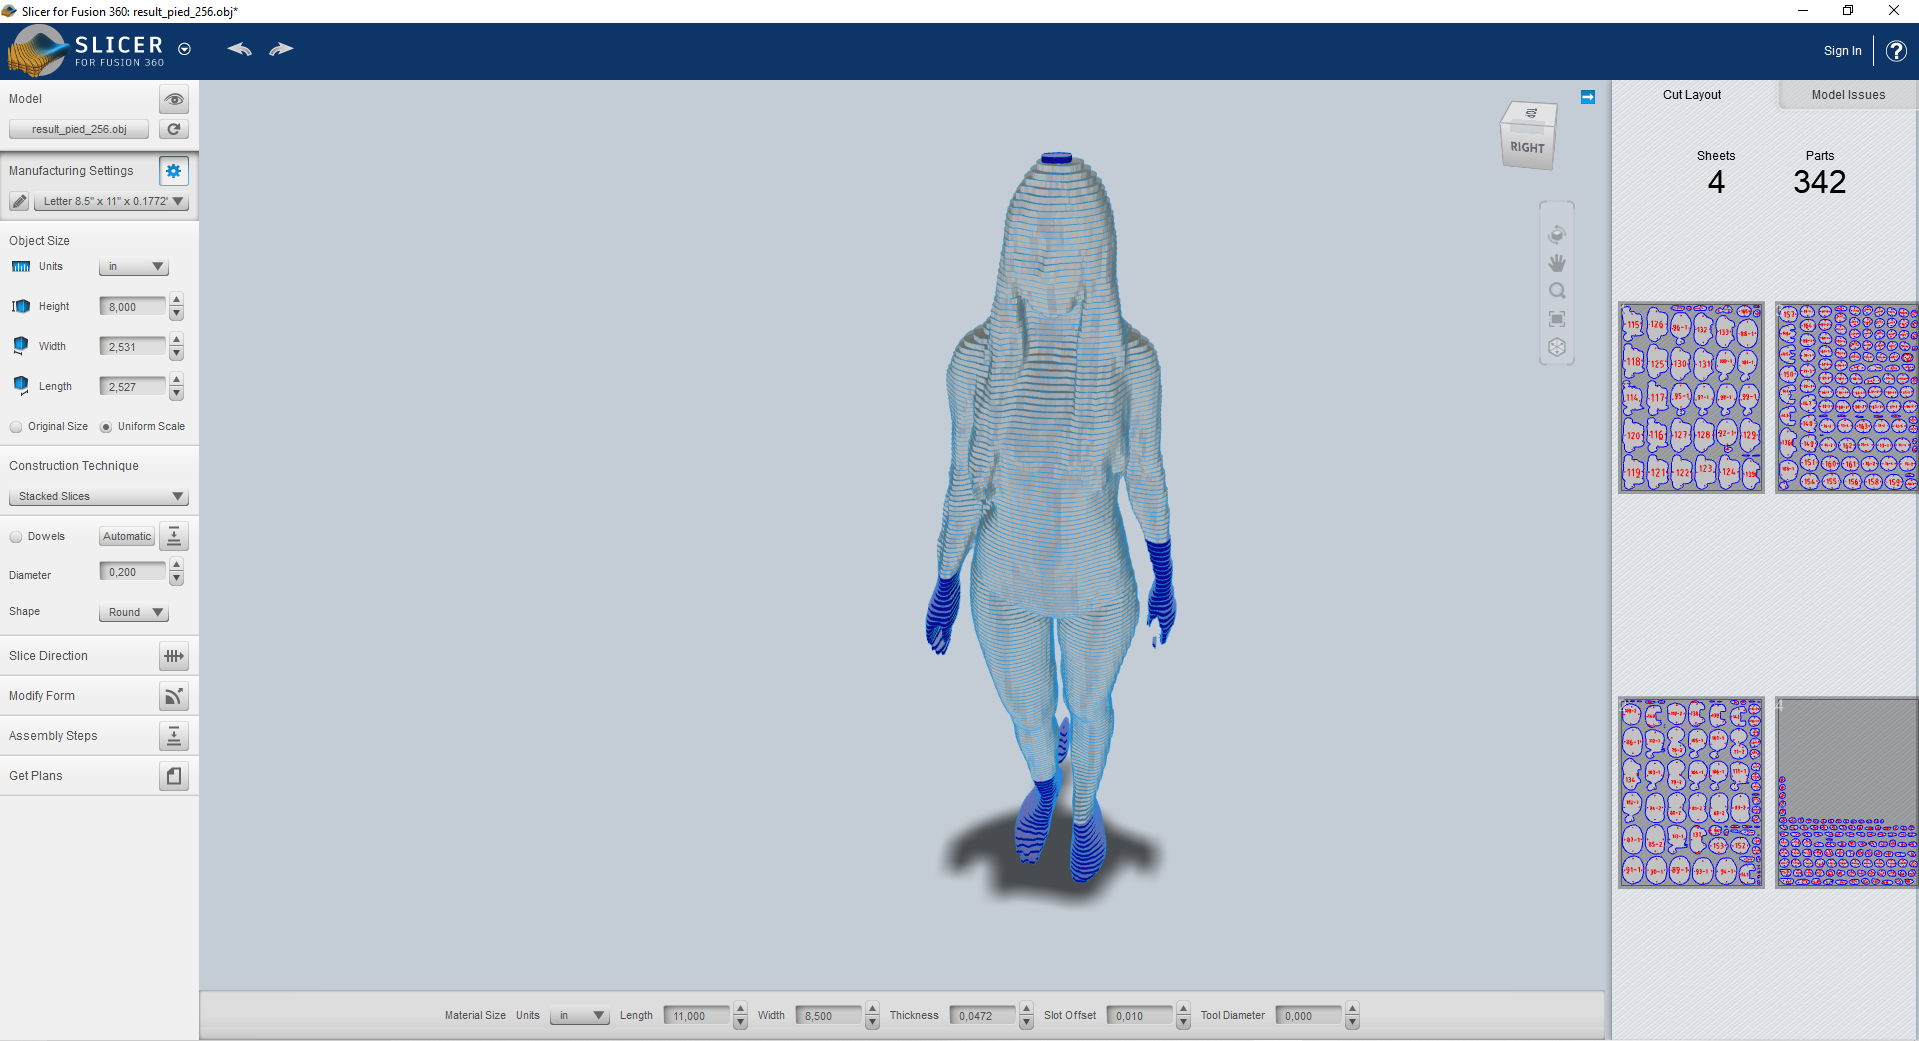
With Slicer for Fusion 360 I produced different versions of my mesh ready to be laser cut, both with stacked slices and interlocked slices.
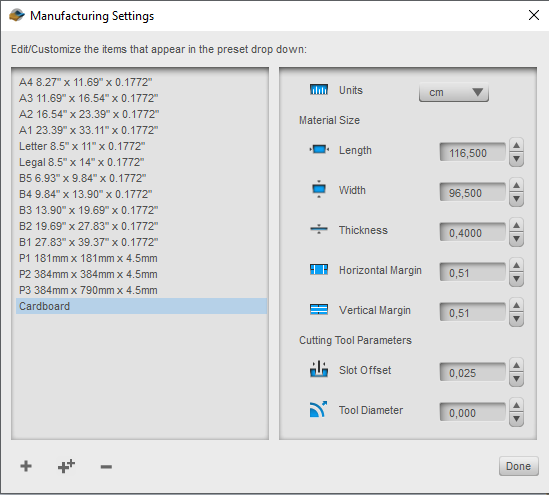
First of all, I created a custom material in Slicer taking into account the dimension of the cardboard used by the laser cutter :
Then, I experimented with different types of slice methods, starting with the stacked slices :
I changed the orientation of the slices to get a wavy dunes effect.
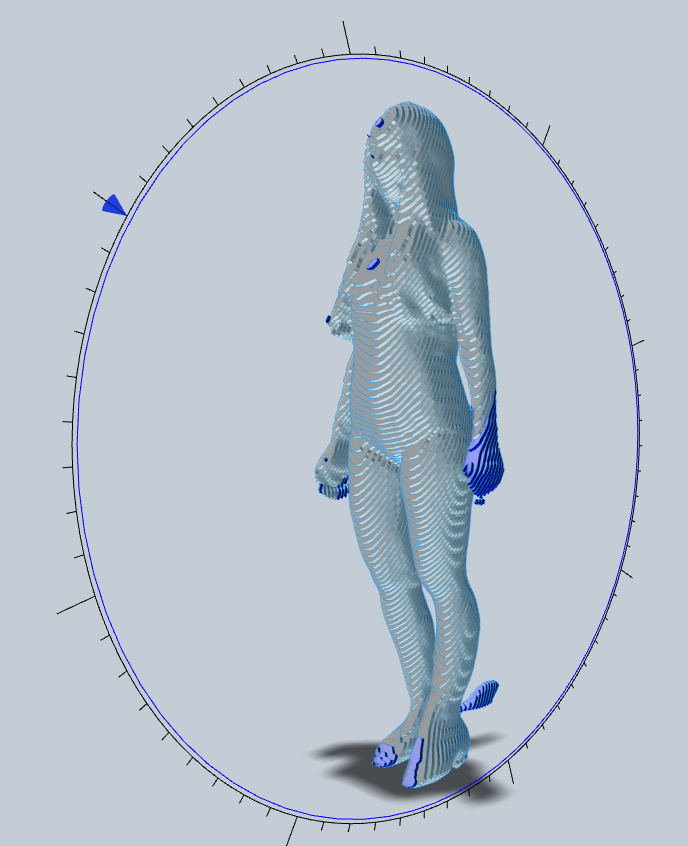
The mesh below is generated with the stacked slices method :
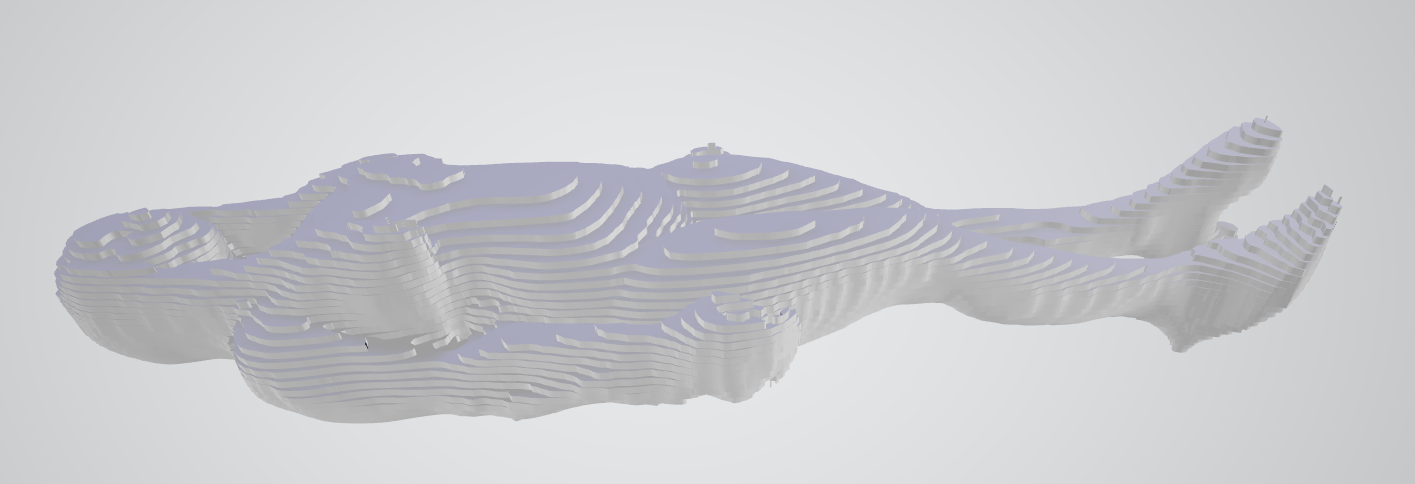
Some color on my waves...
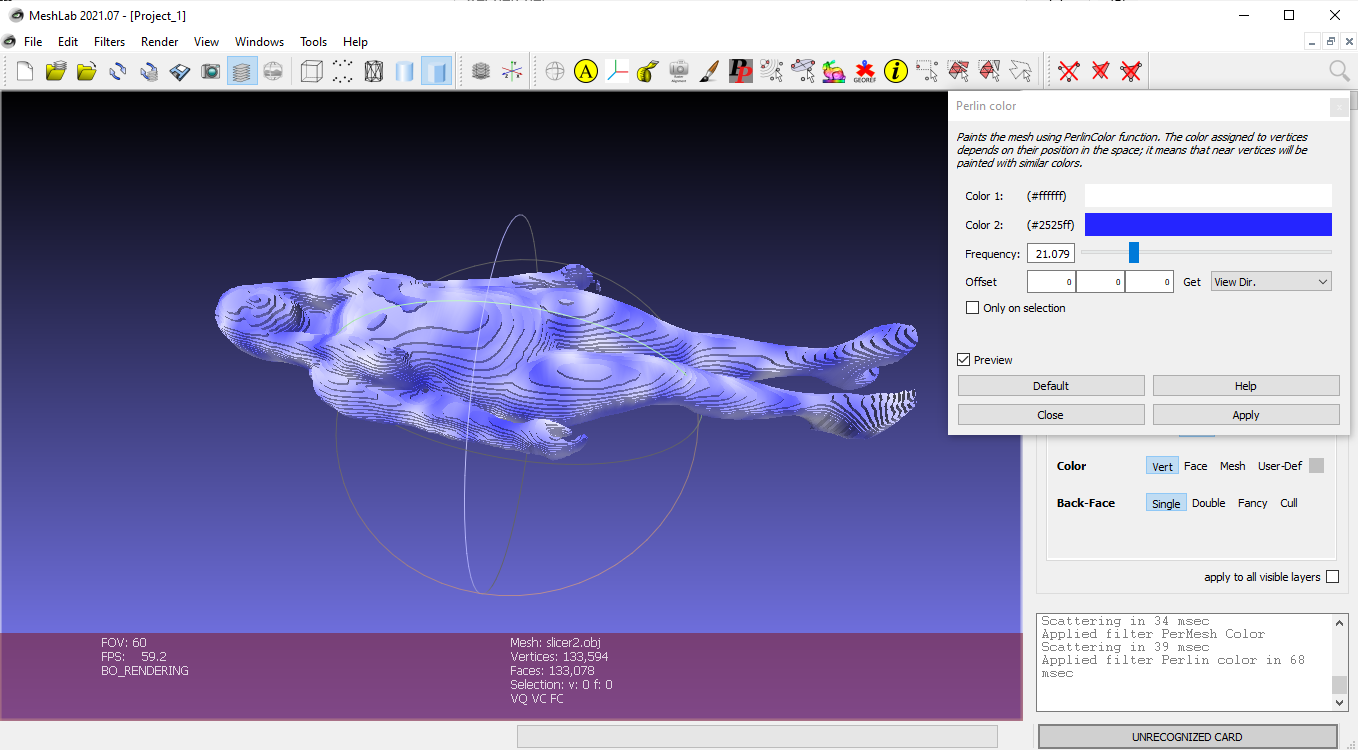
This other mesh is done using the interlocked slices method :
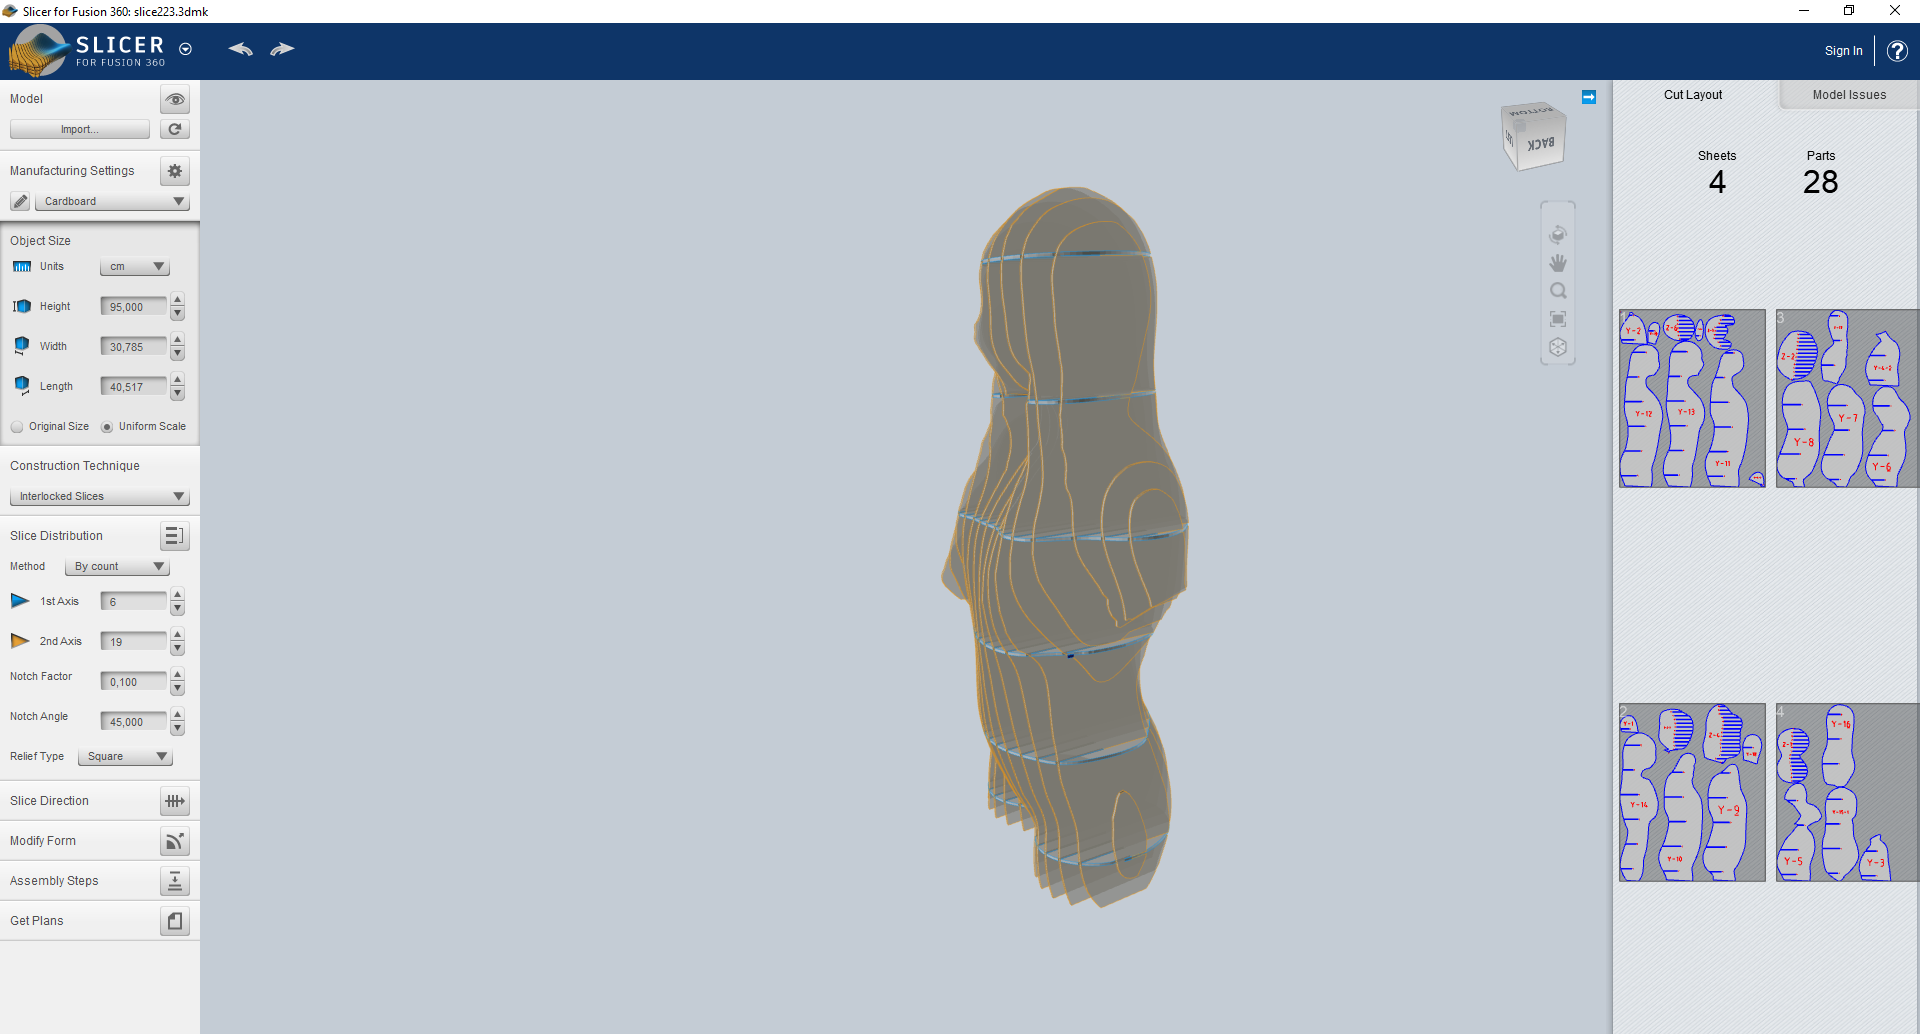
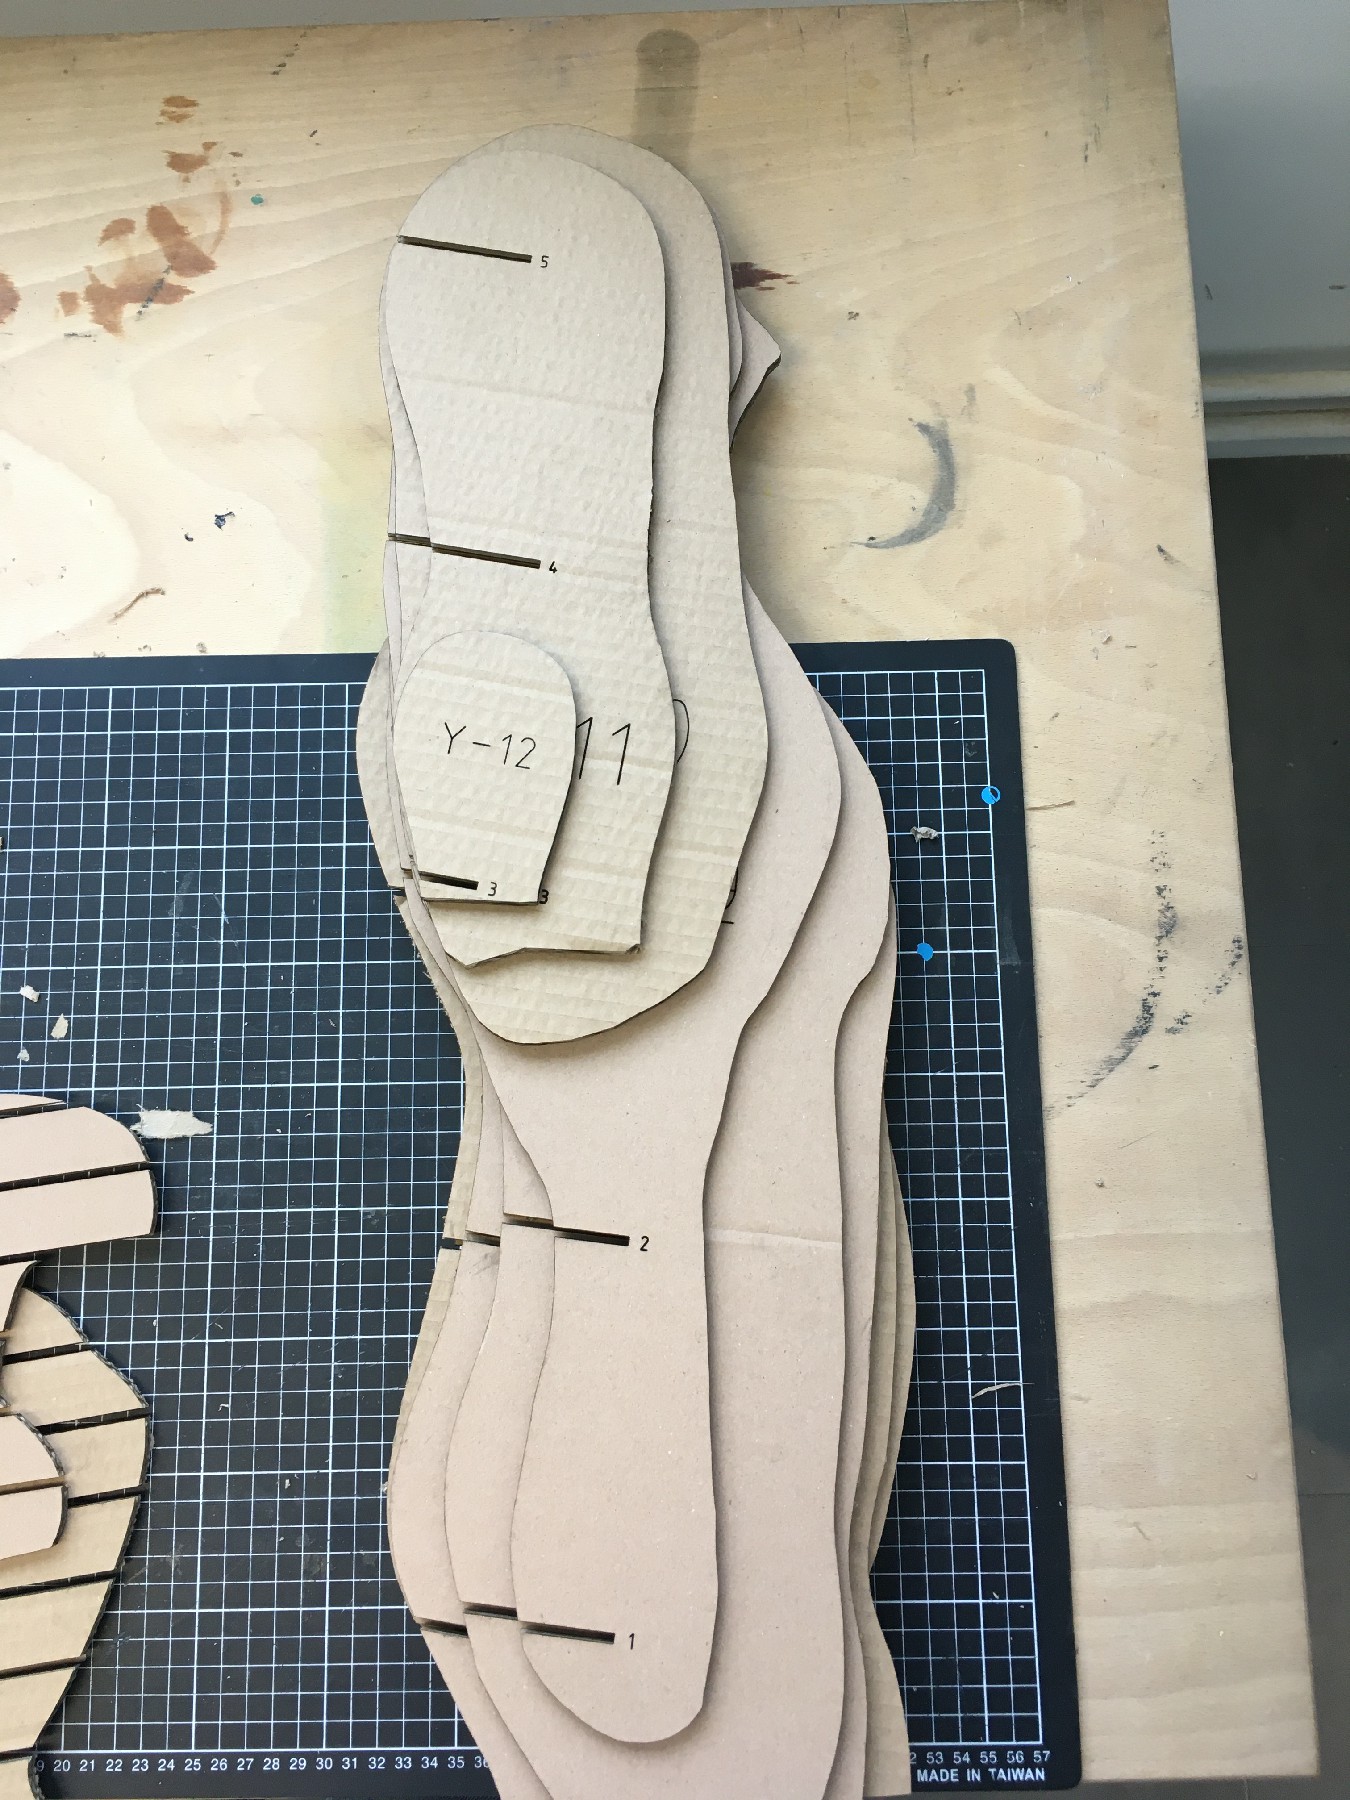
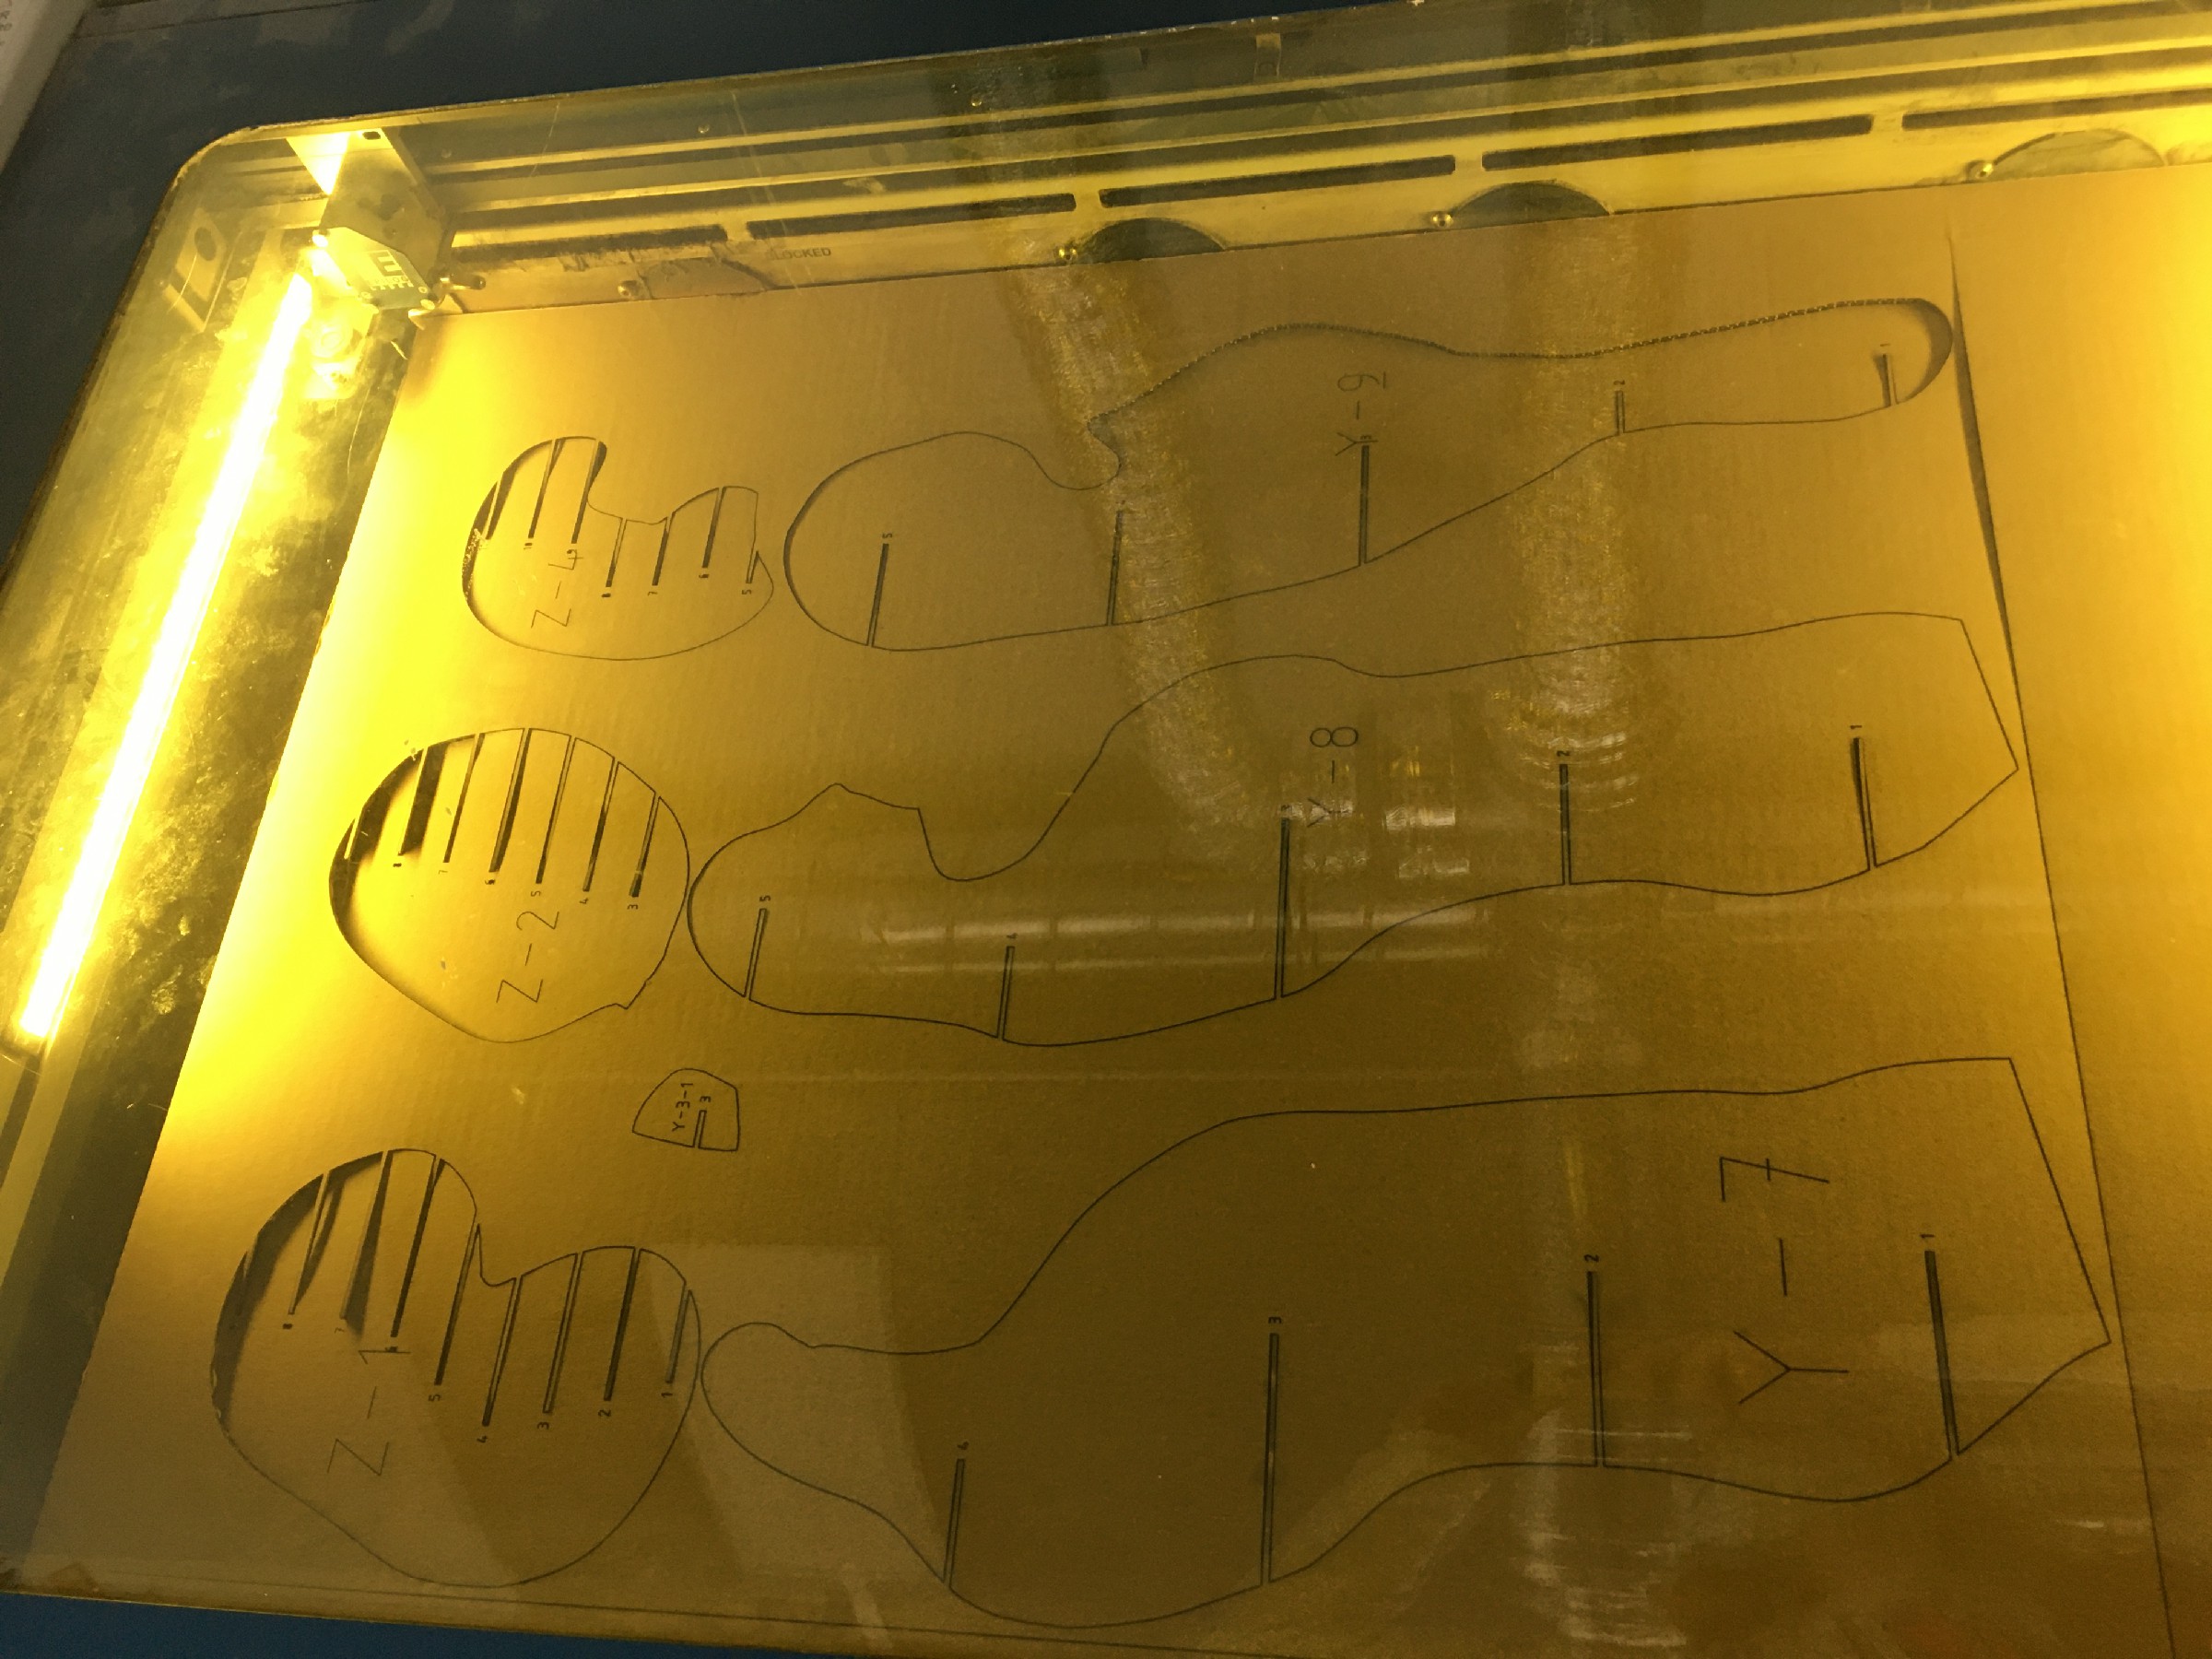
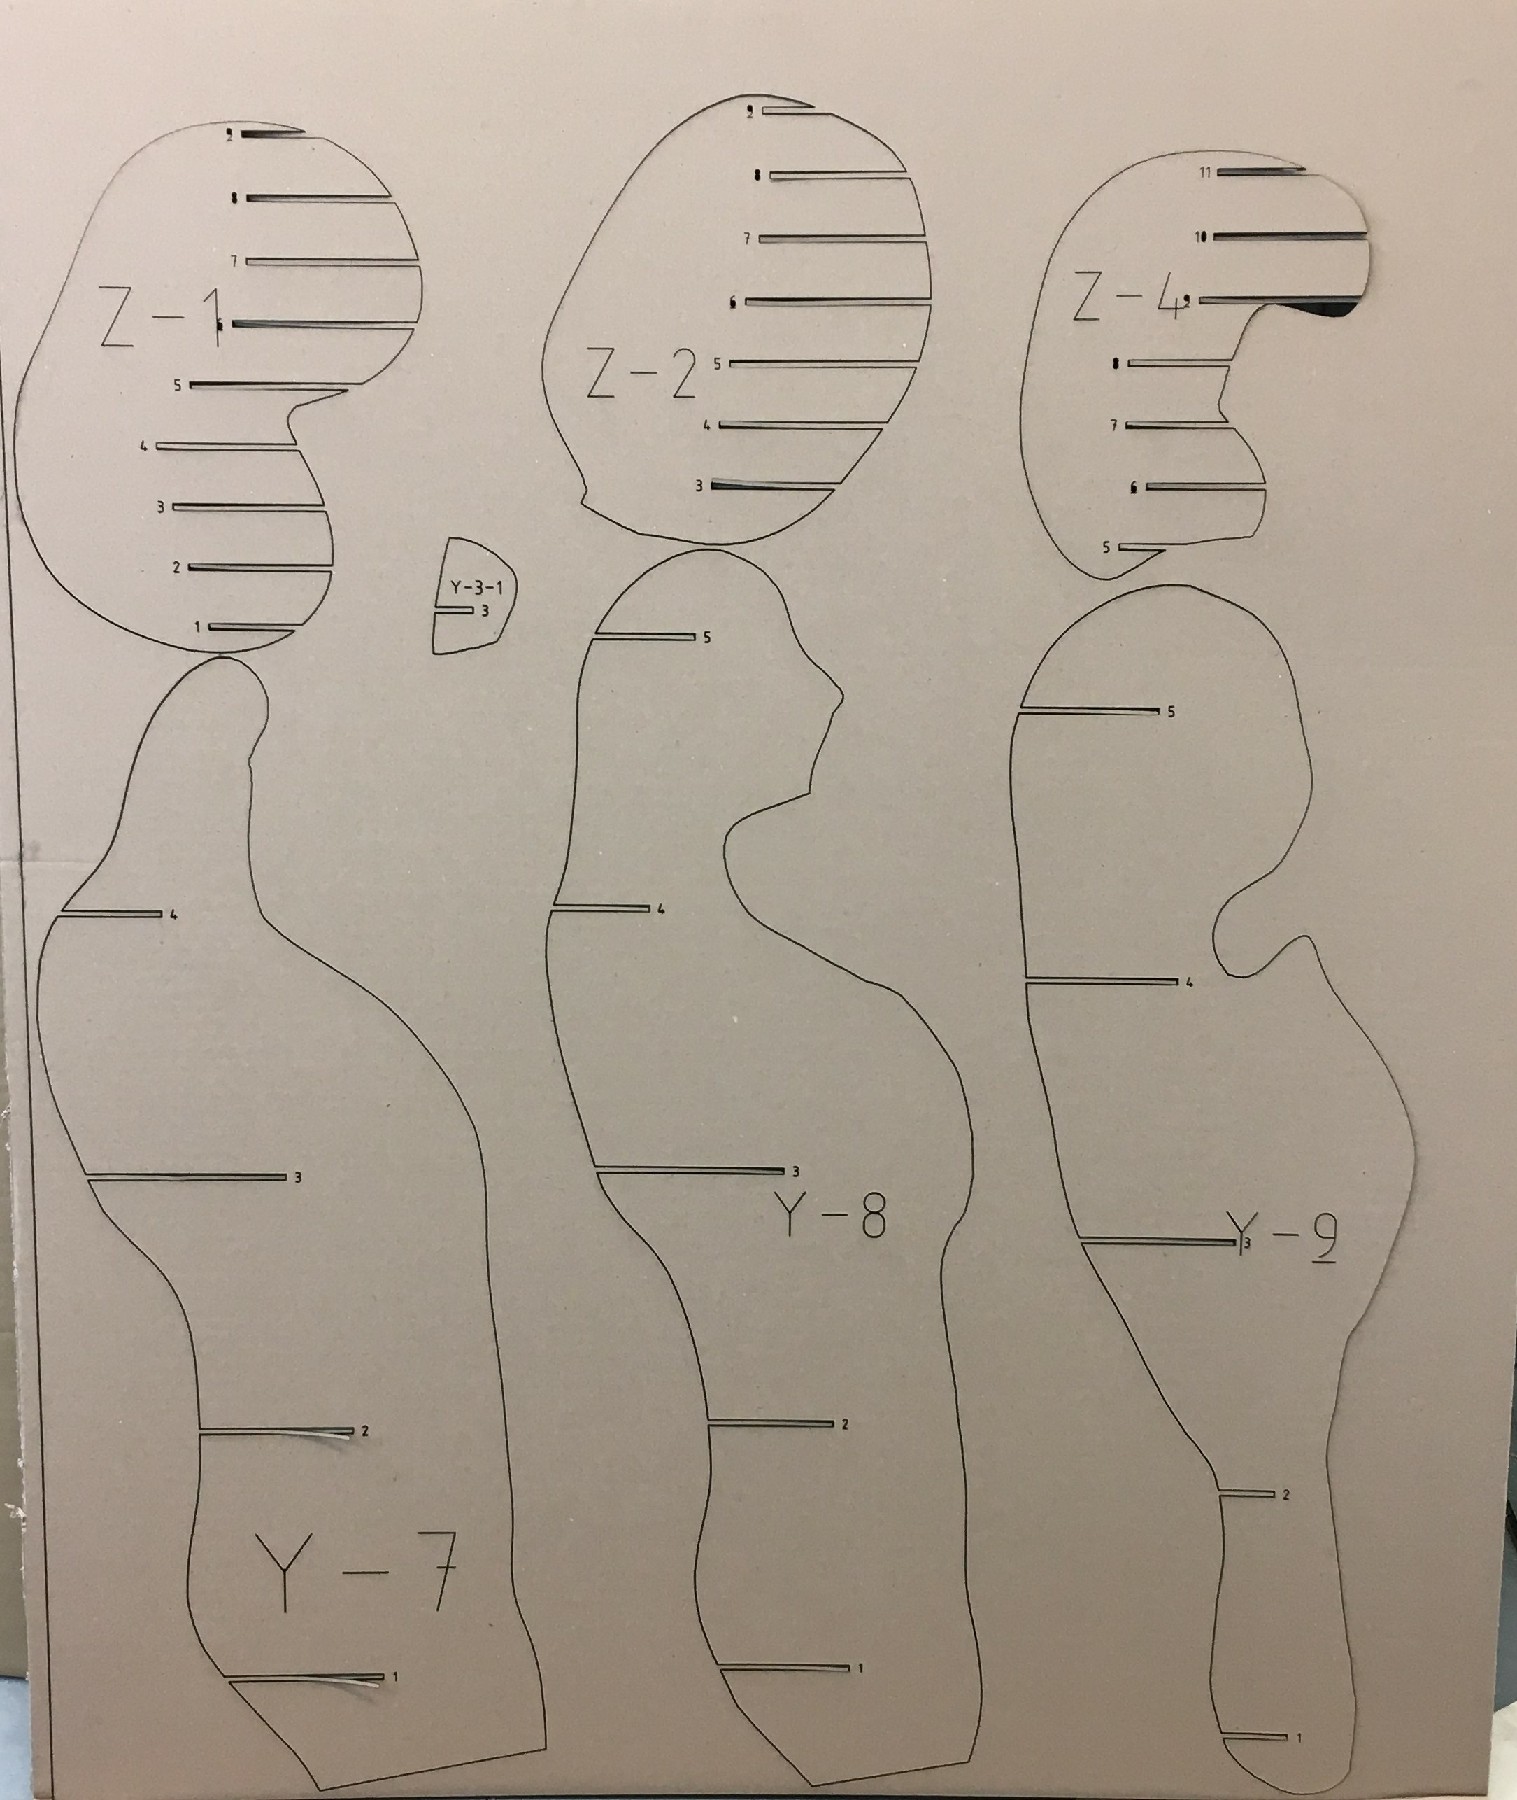
Although I found stacked slices more esthetical, I finally opted for interlocked ones because it required less material. My mannequin consists of 4 sheets and 28 parts. Here are the slices for the interlocked slices mannequin :
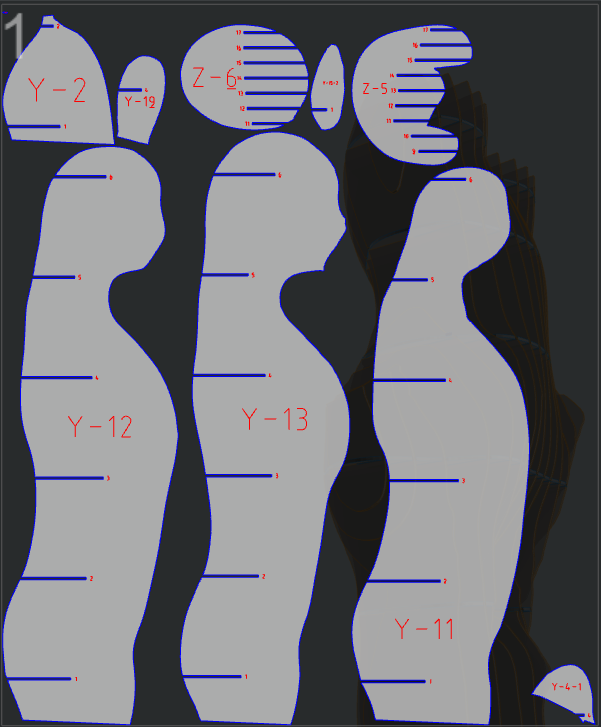
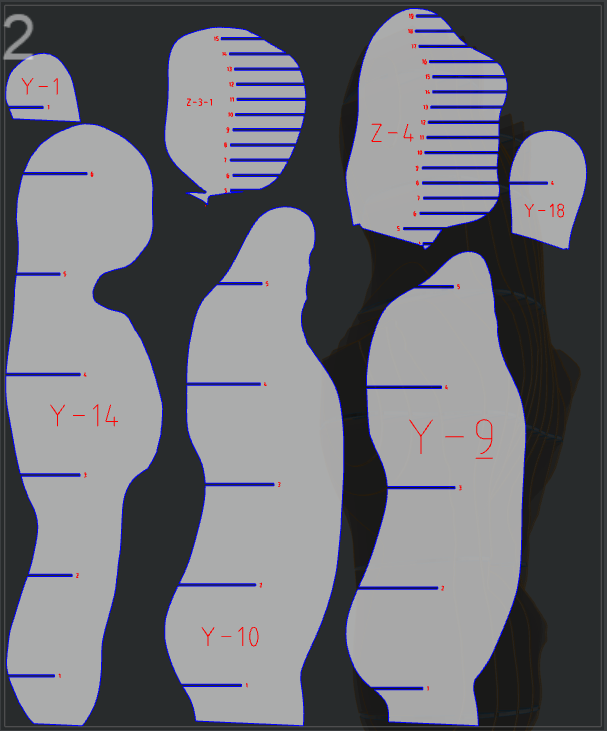
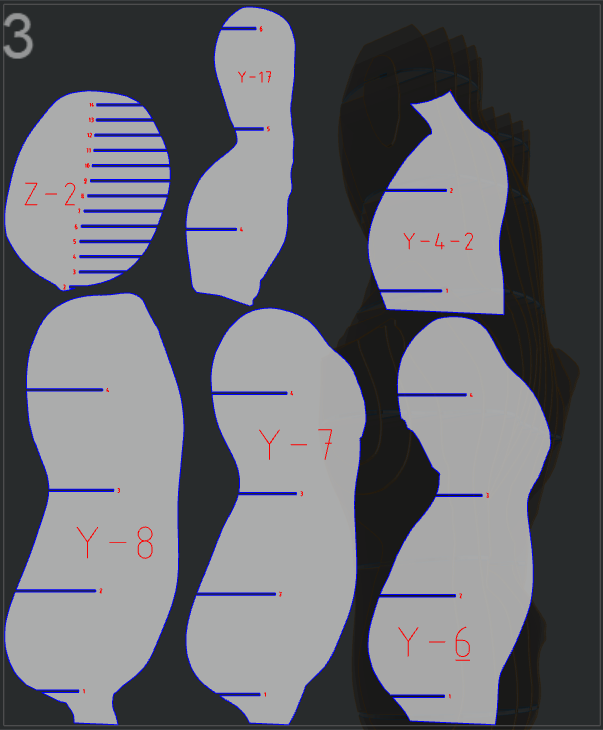
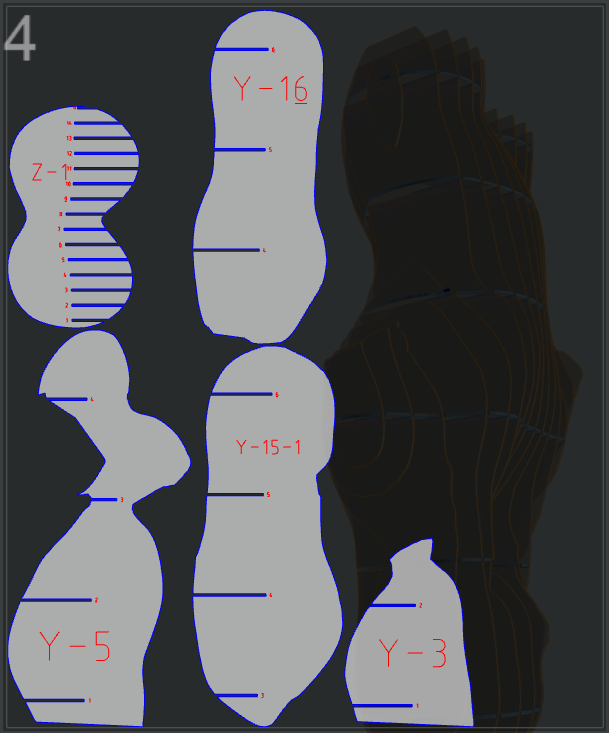
The corresponding slices ready to be laser cut in .dxf format are here.
Laser cut
Once the slices are exported in .svg or .dxf format, here are the next steps for laser cut :
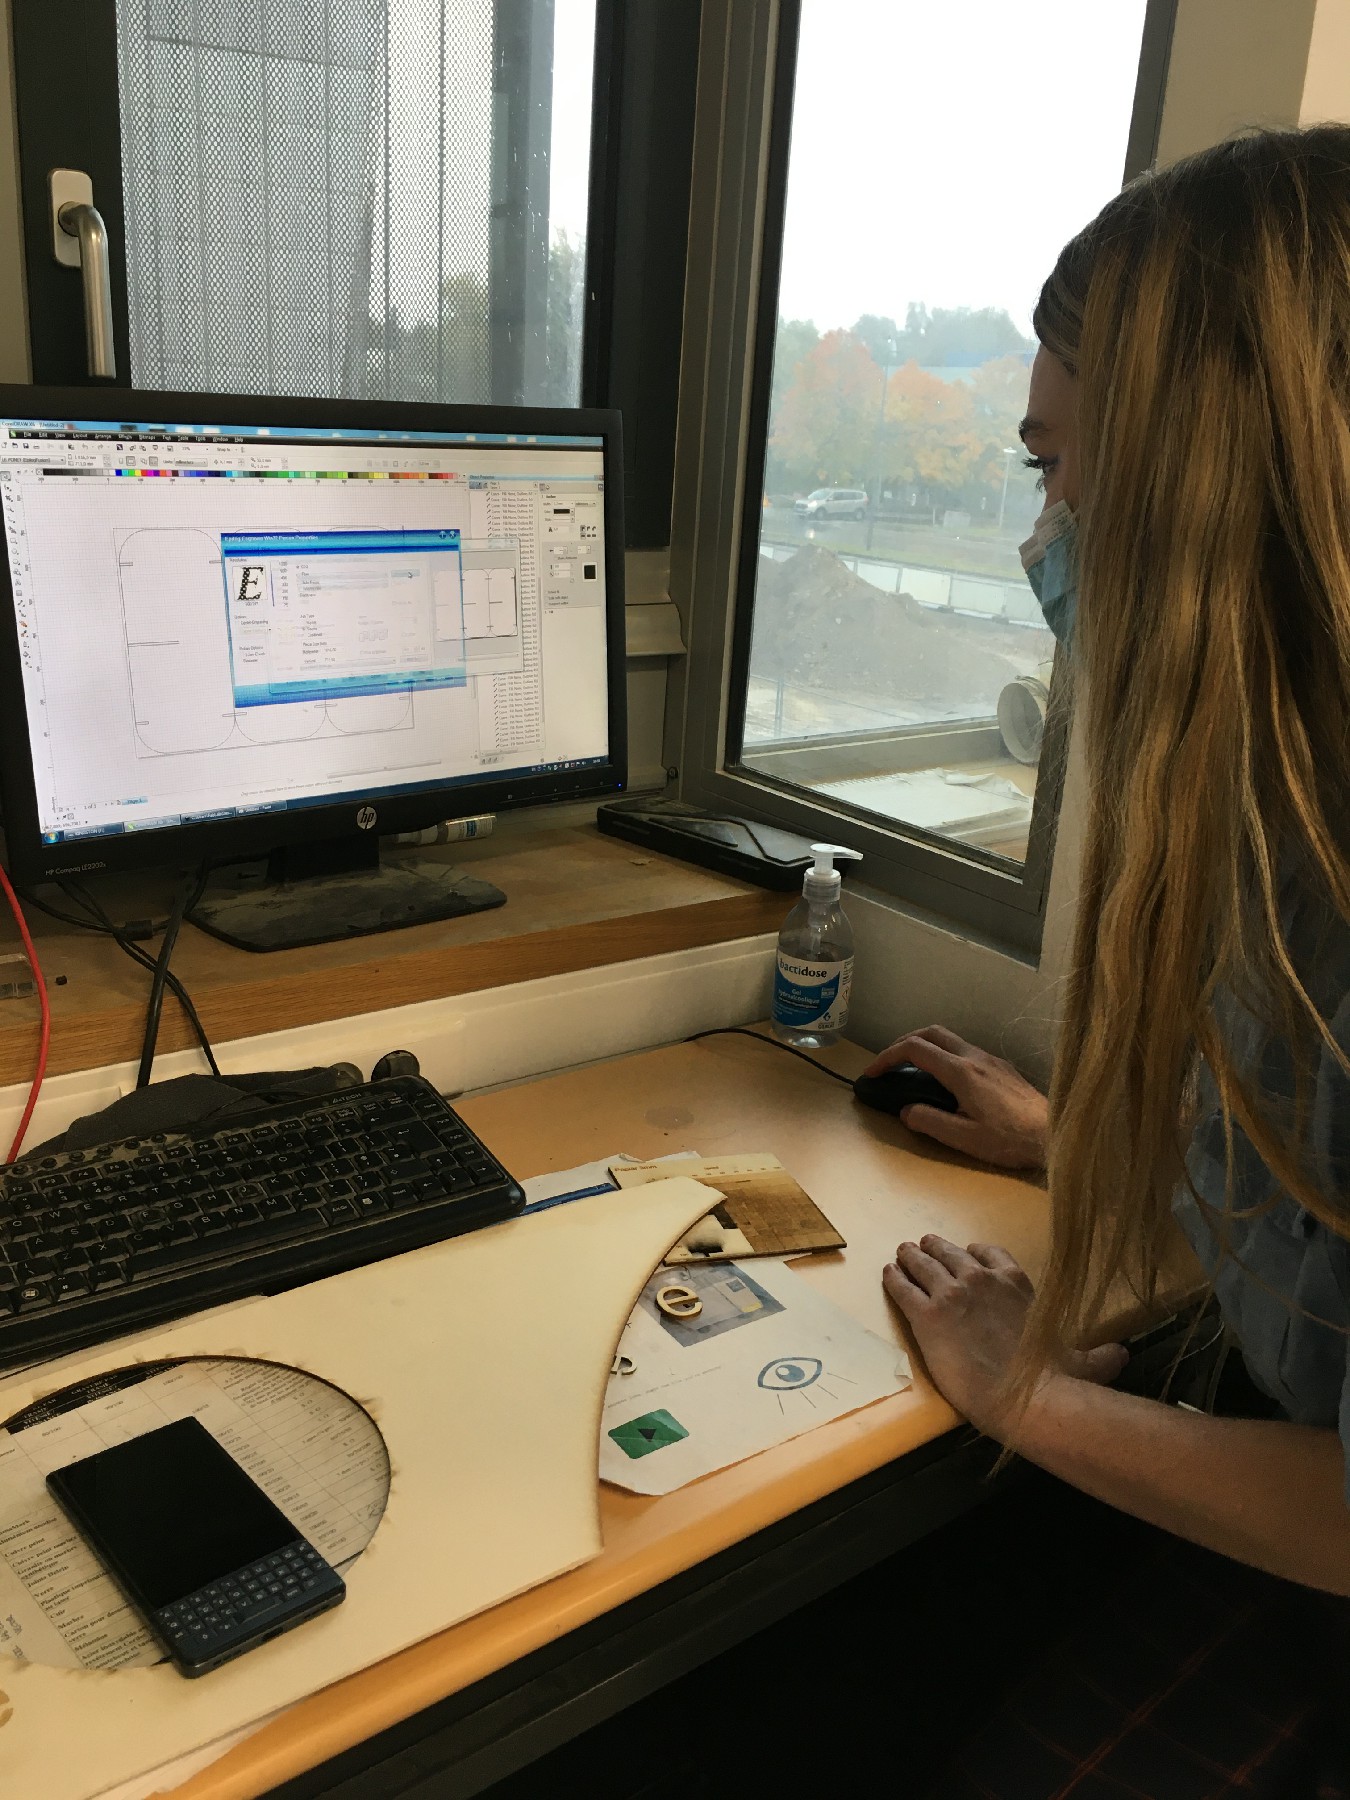
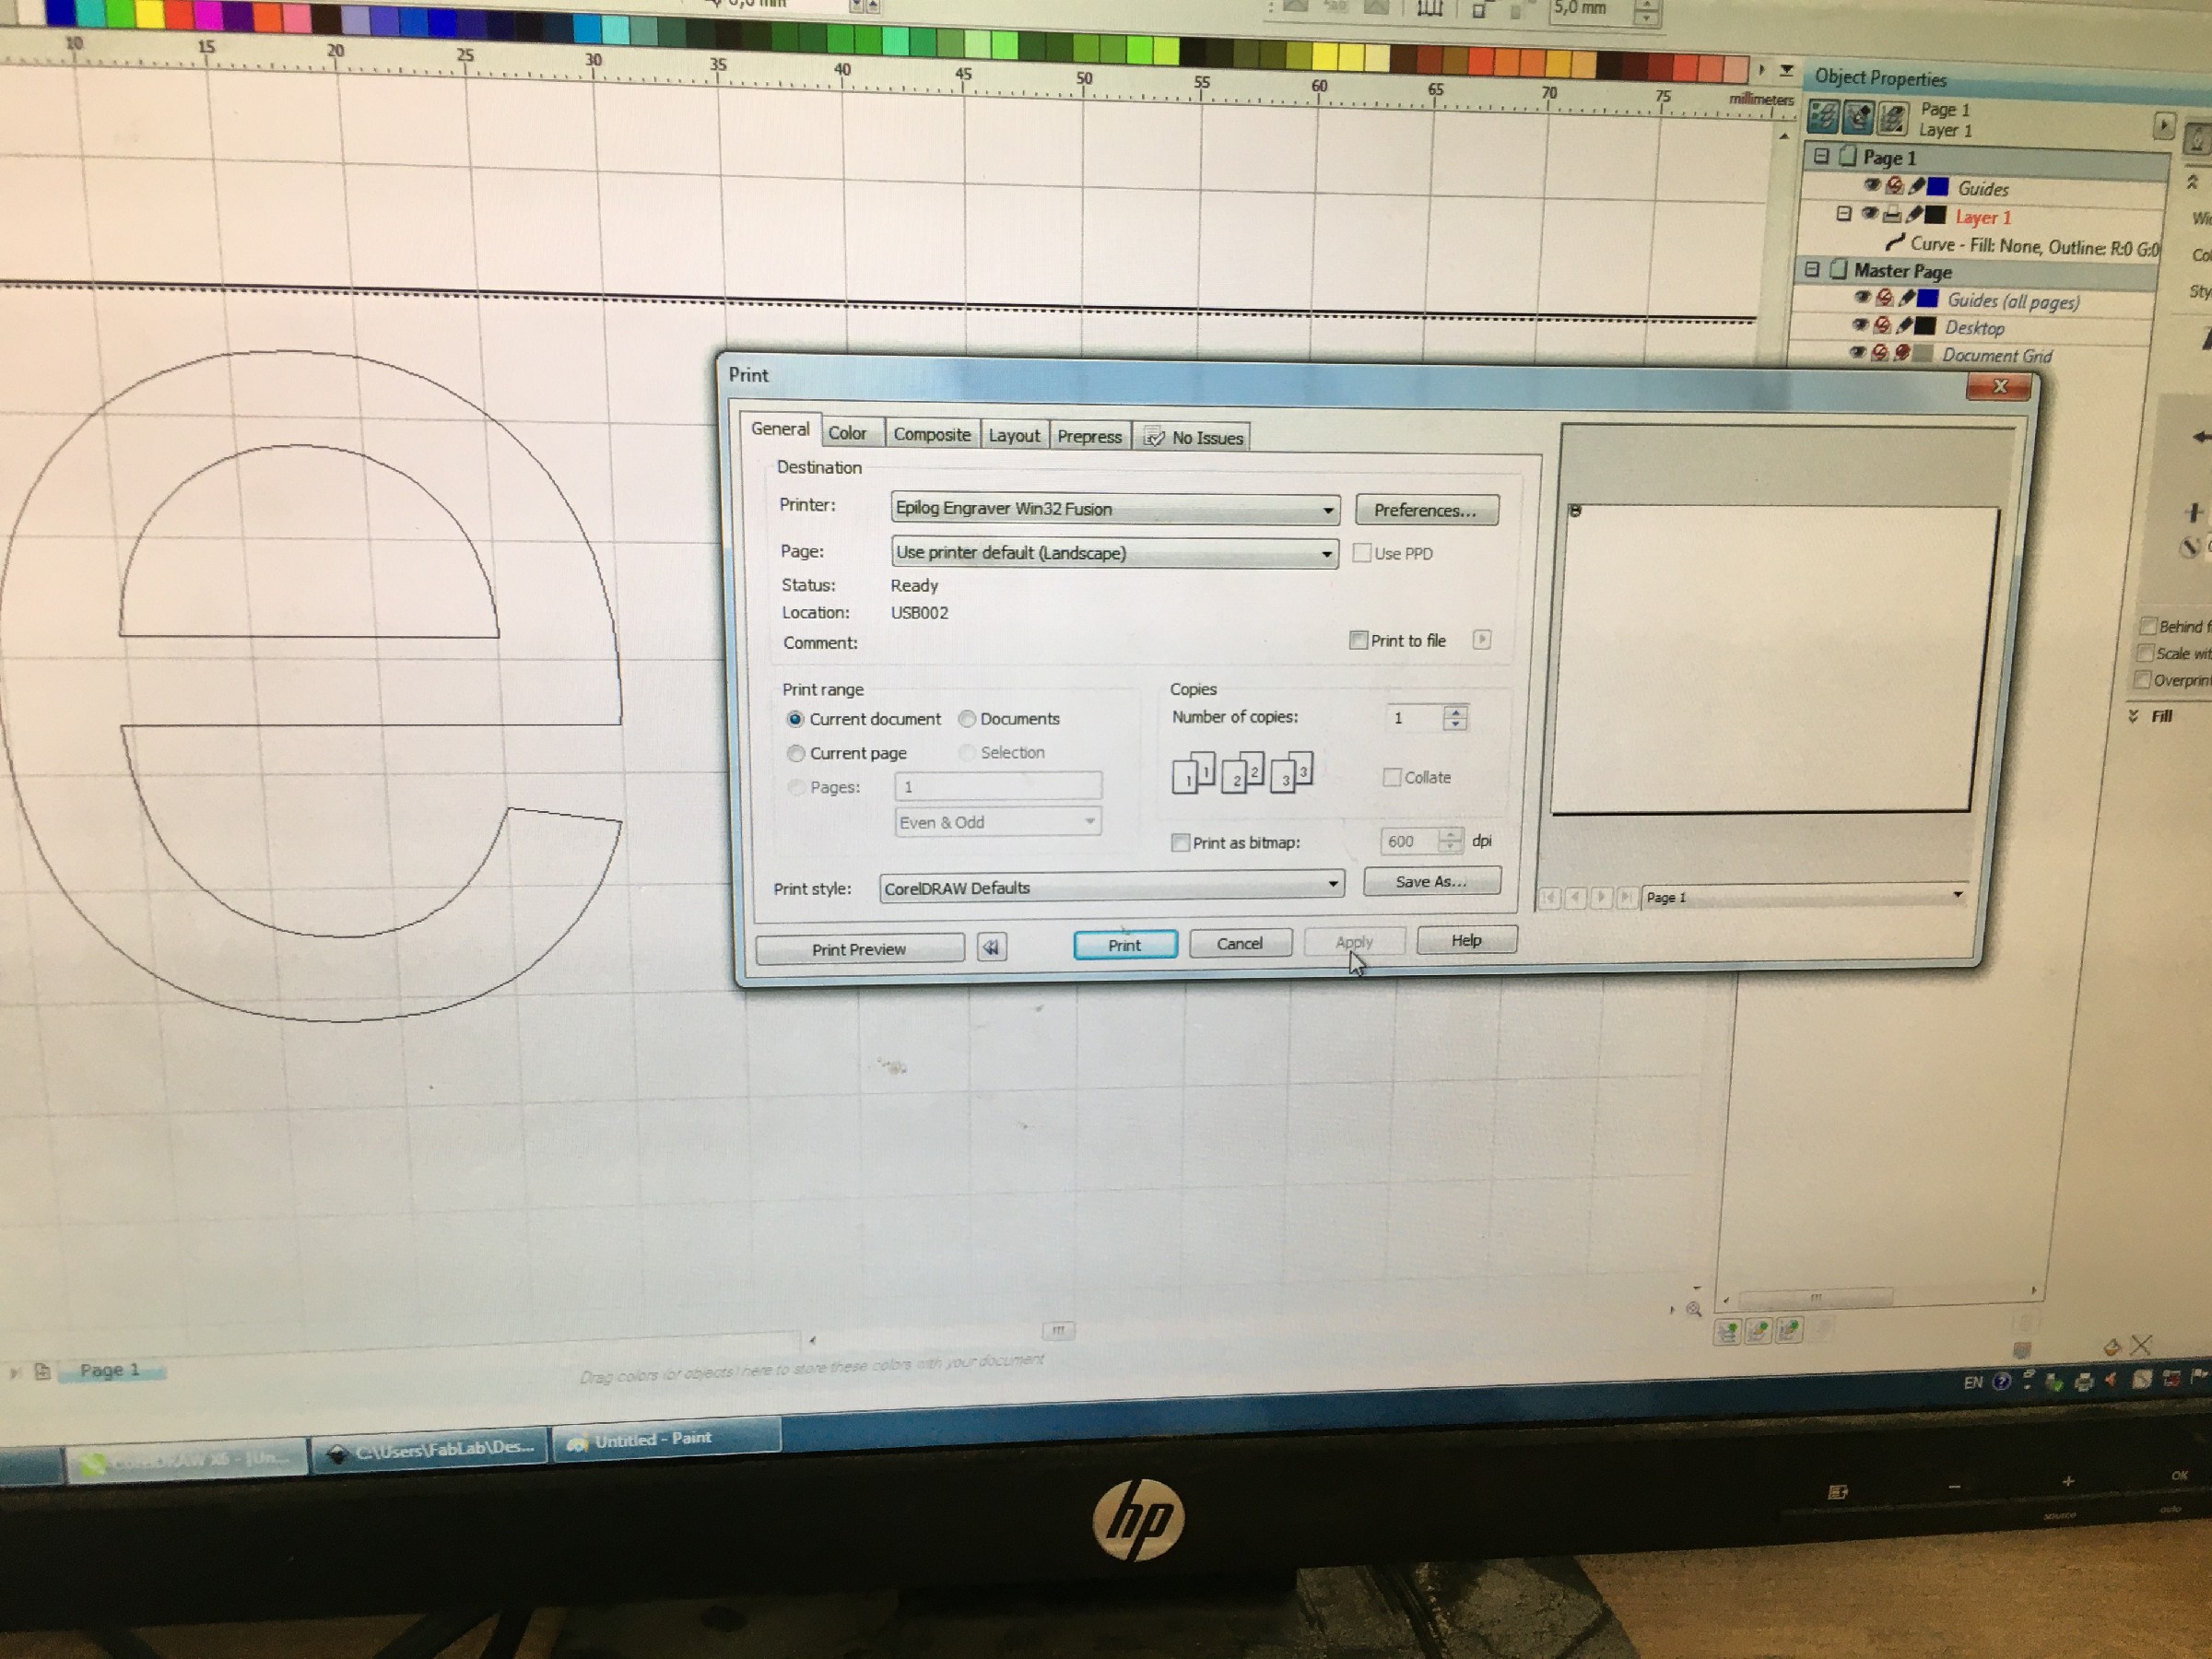
- Import the pattern in CorelDraw
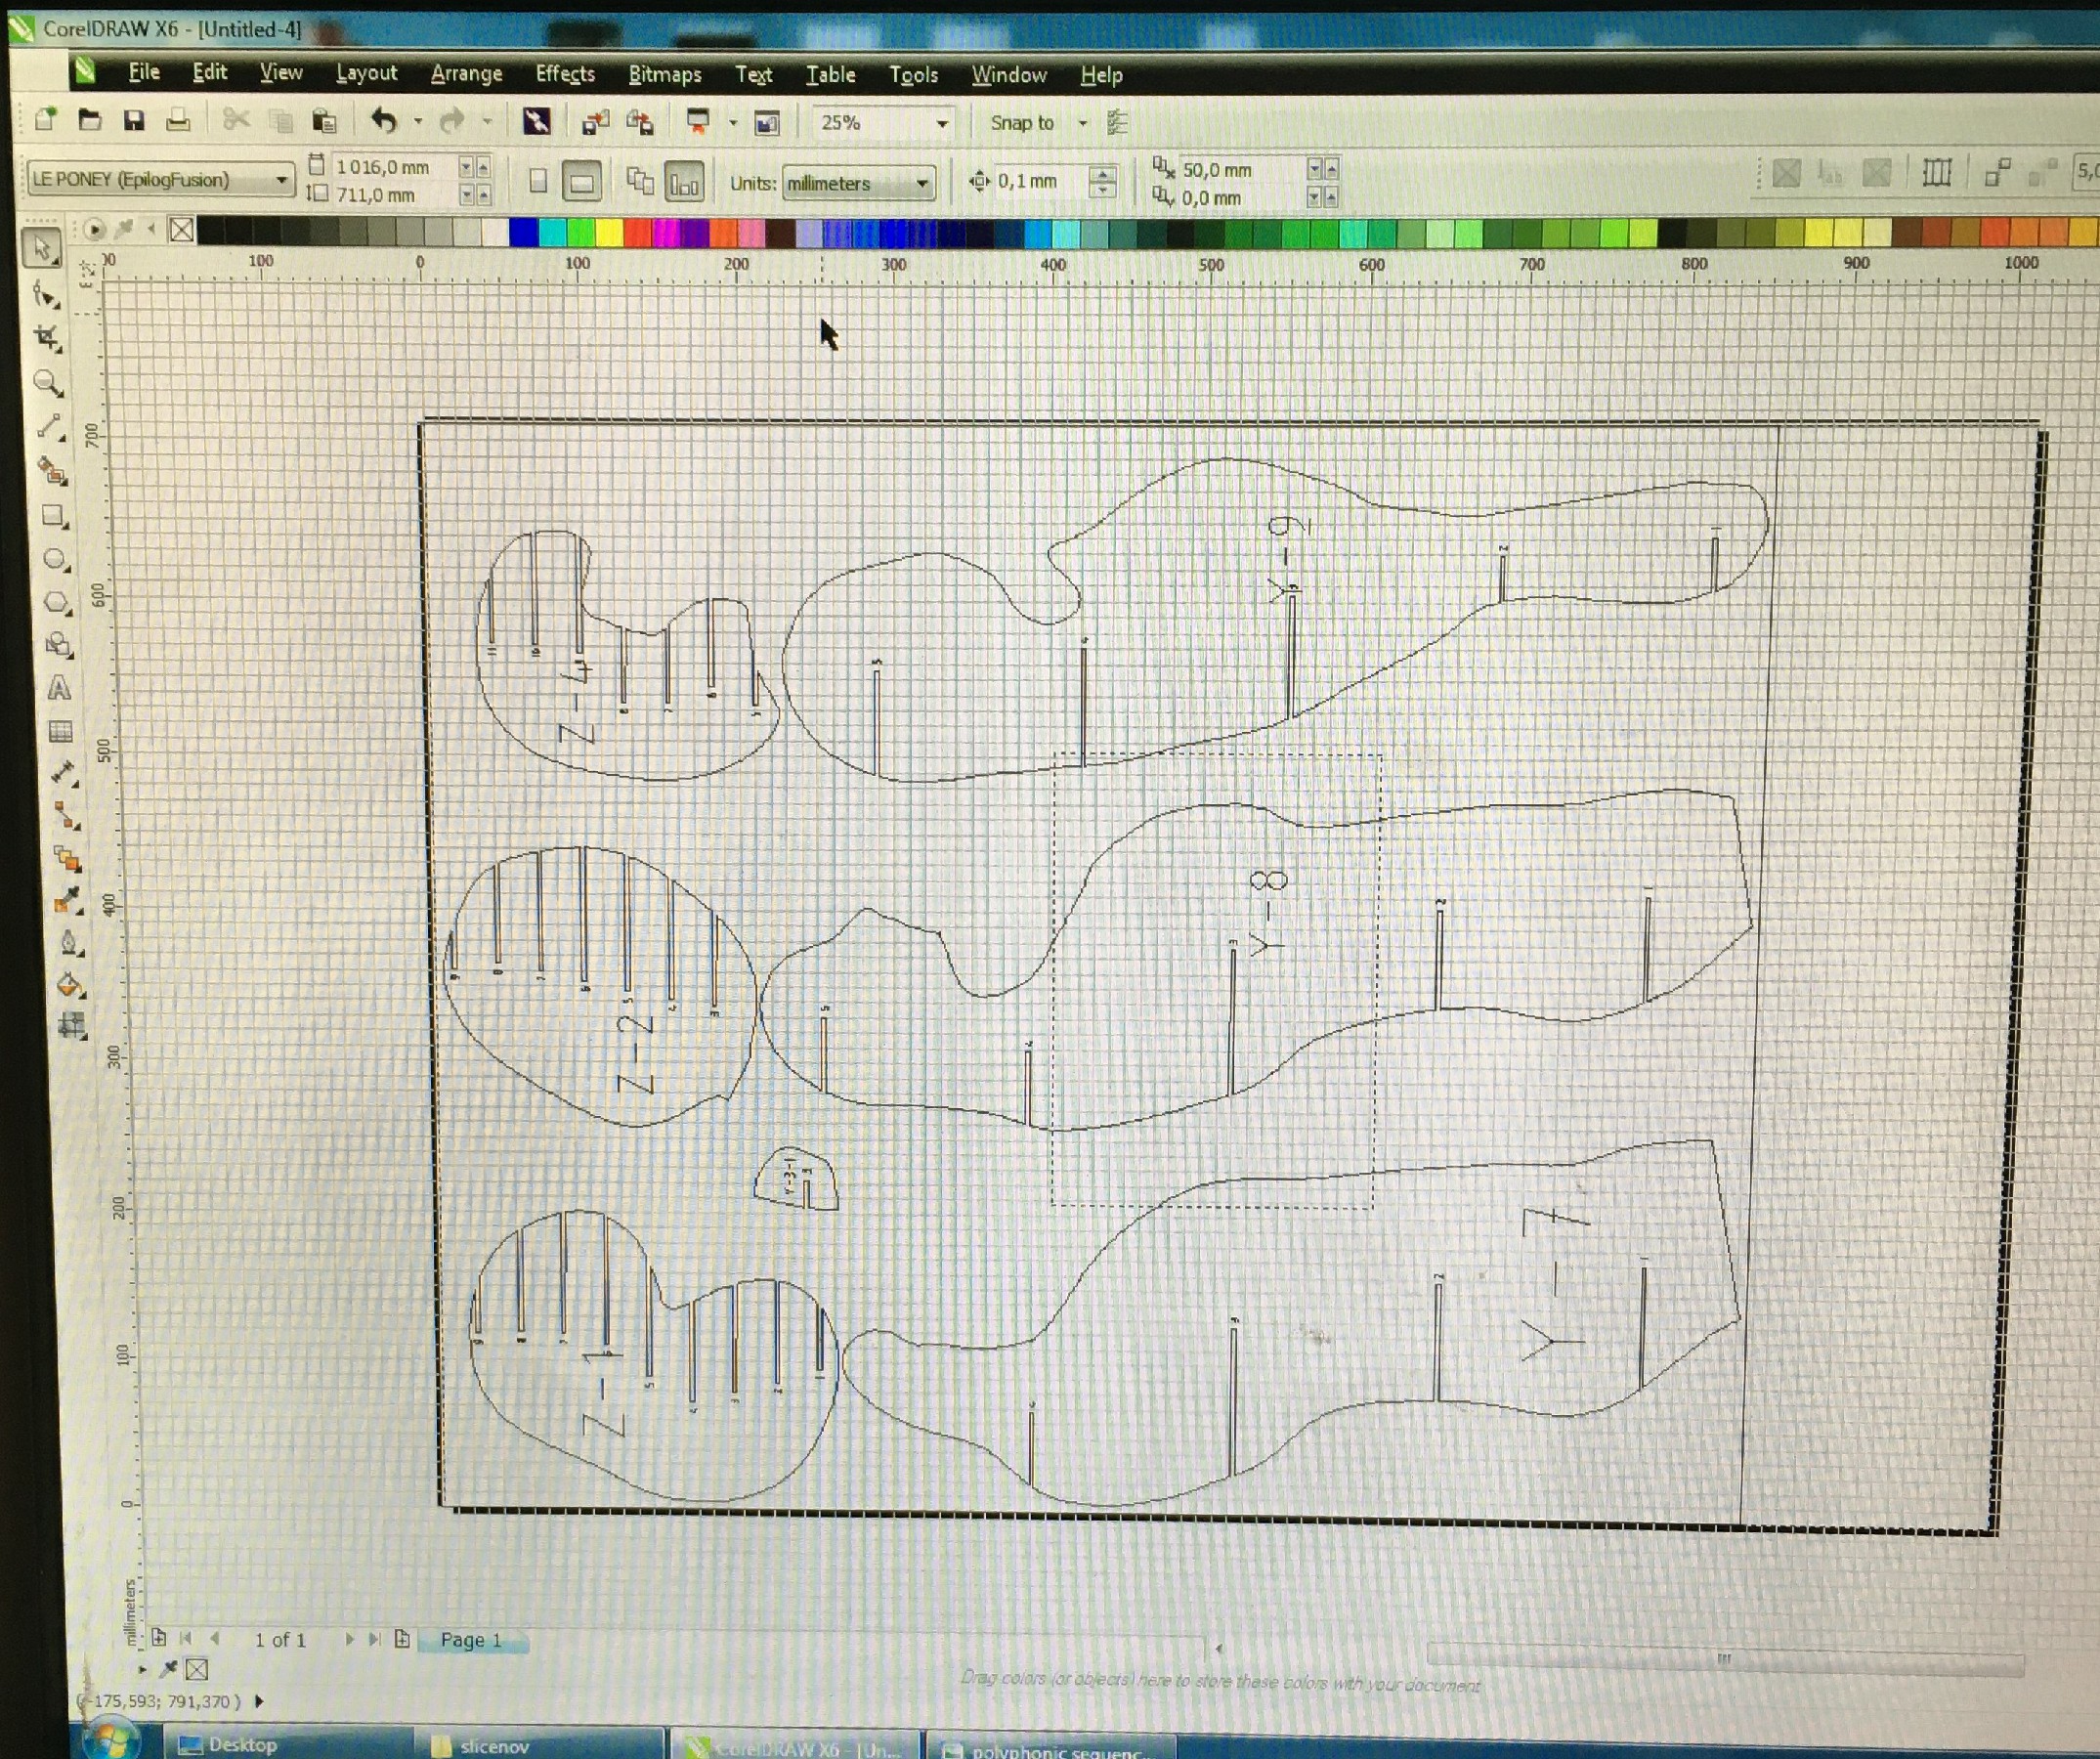
- Set the printing settings : width = Hairline, printer = Epilog Fusion
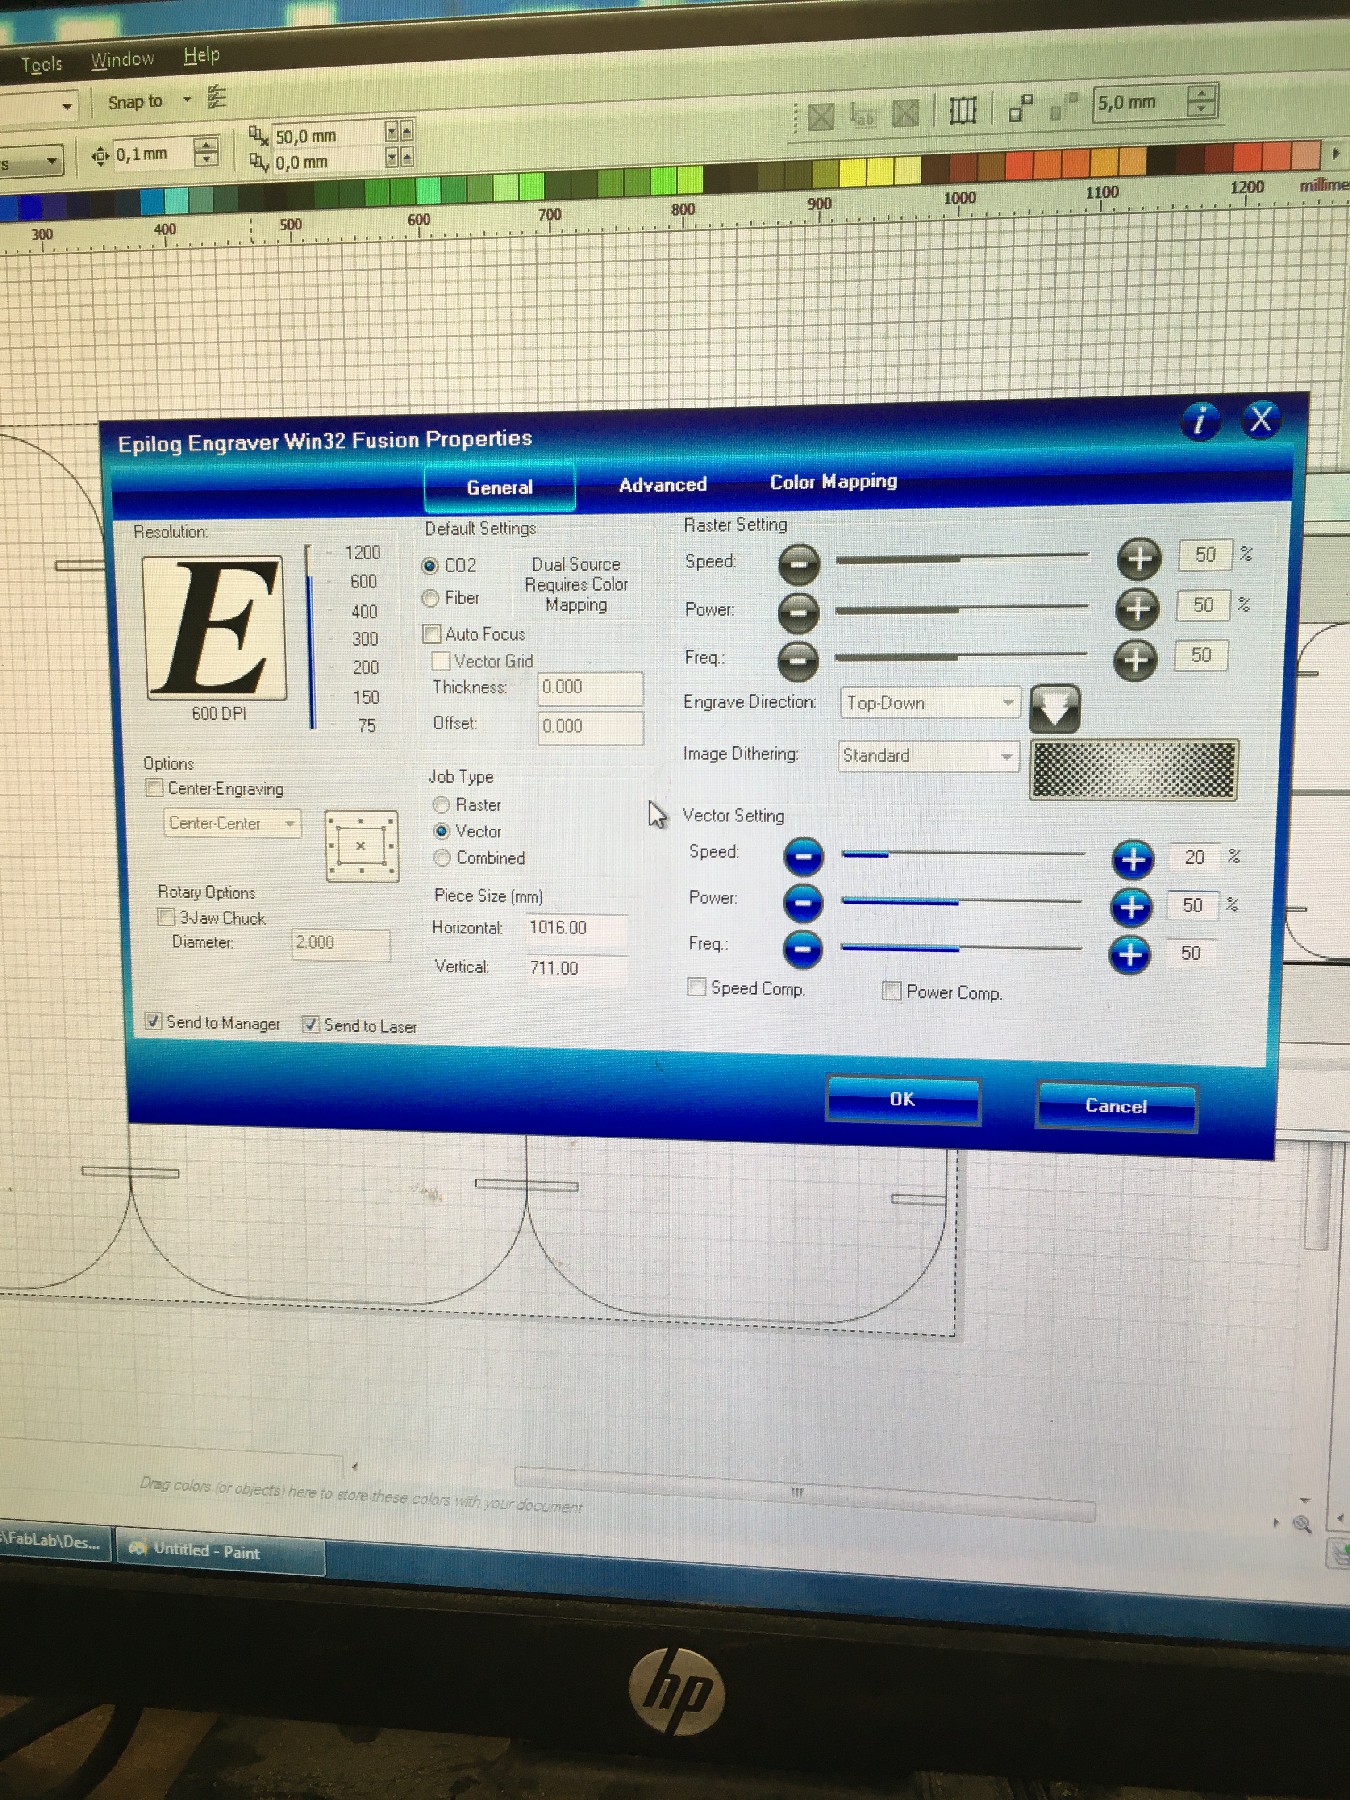
There are two kinds of cuts : the raster one, which is generally used for engravings, process the drawing pixel per pixel. The vector one, which and thus produce a smoother result. Also, the laser cut can be done on CO2 or fiber.
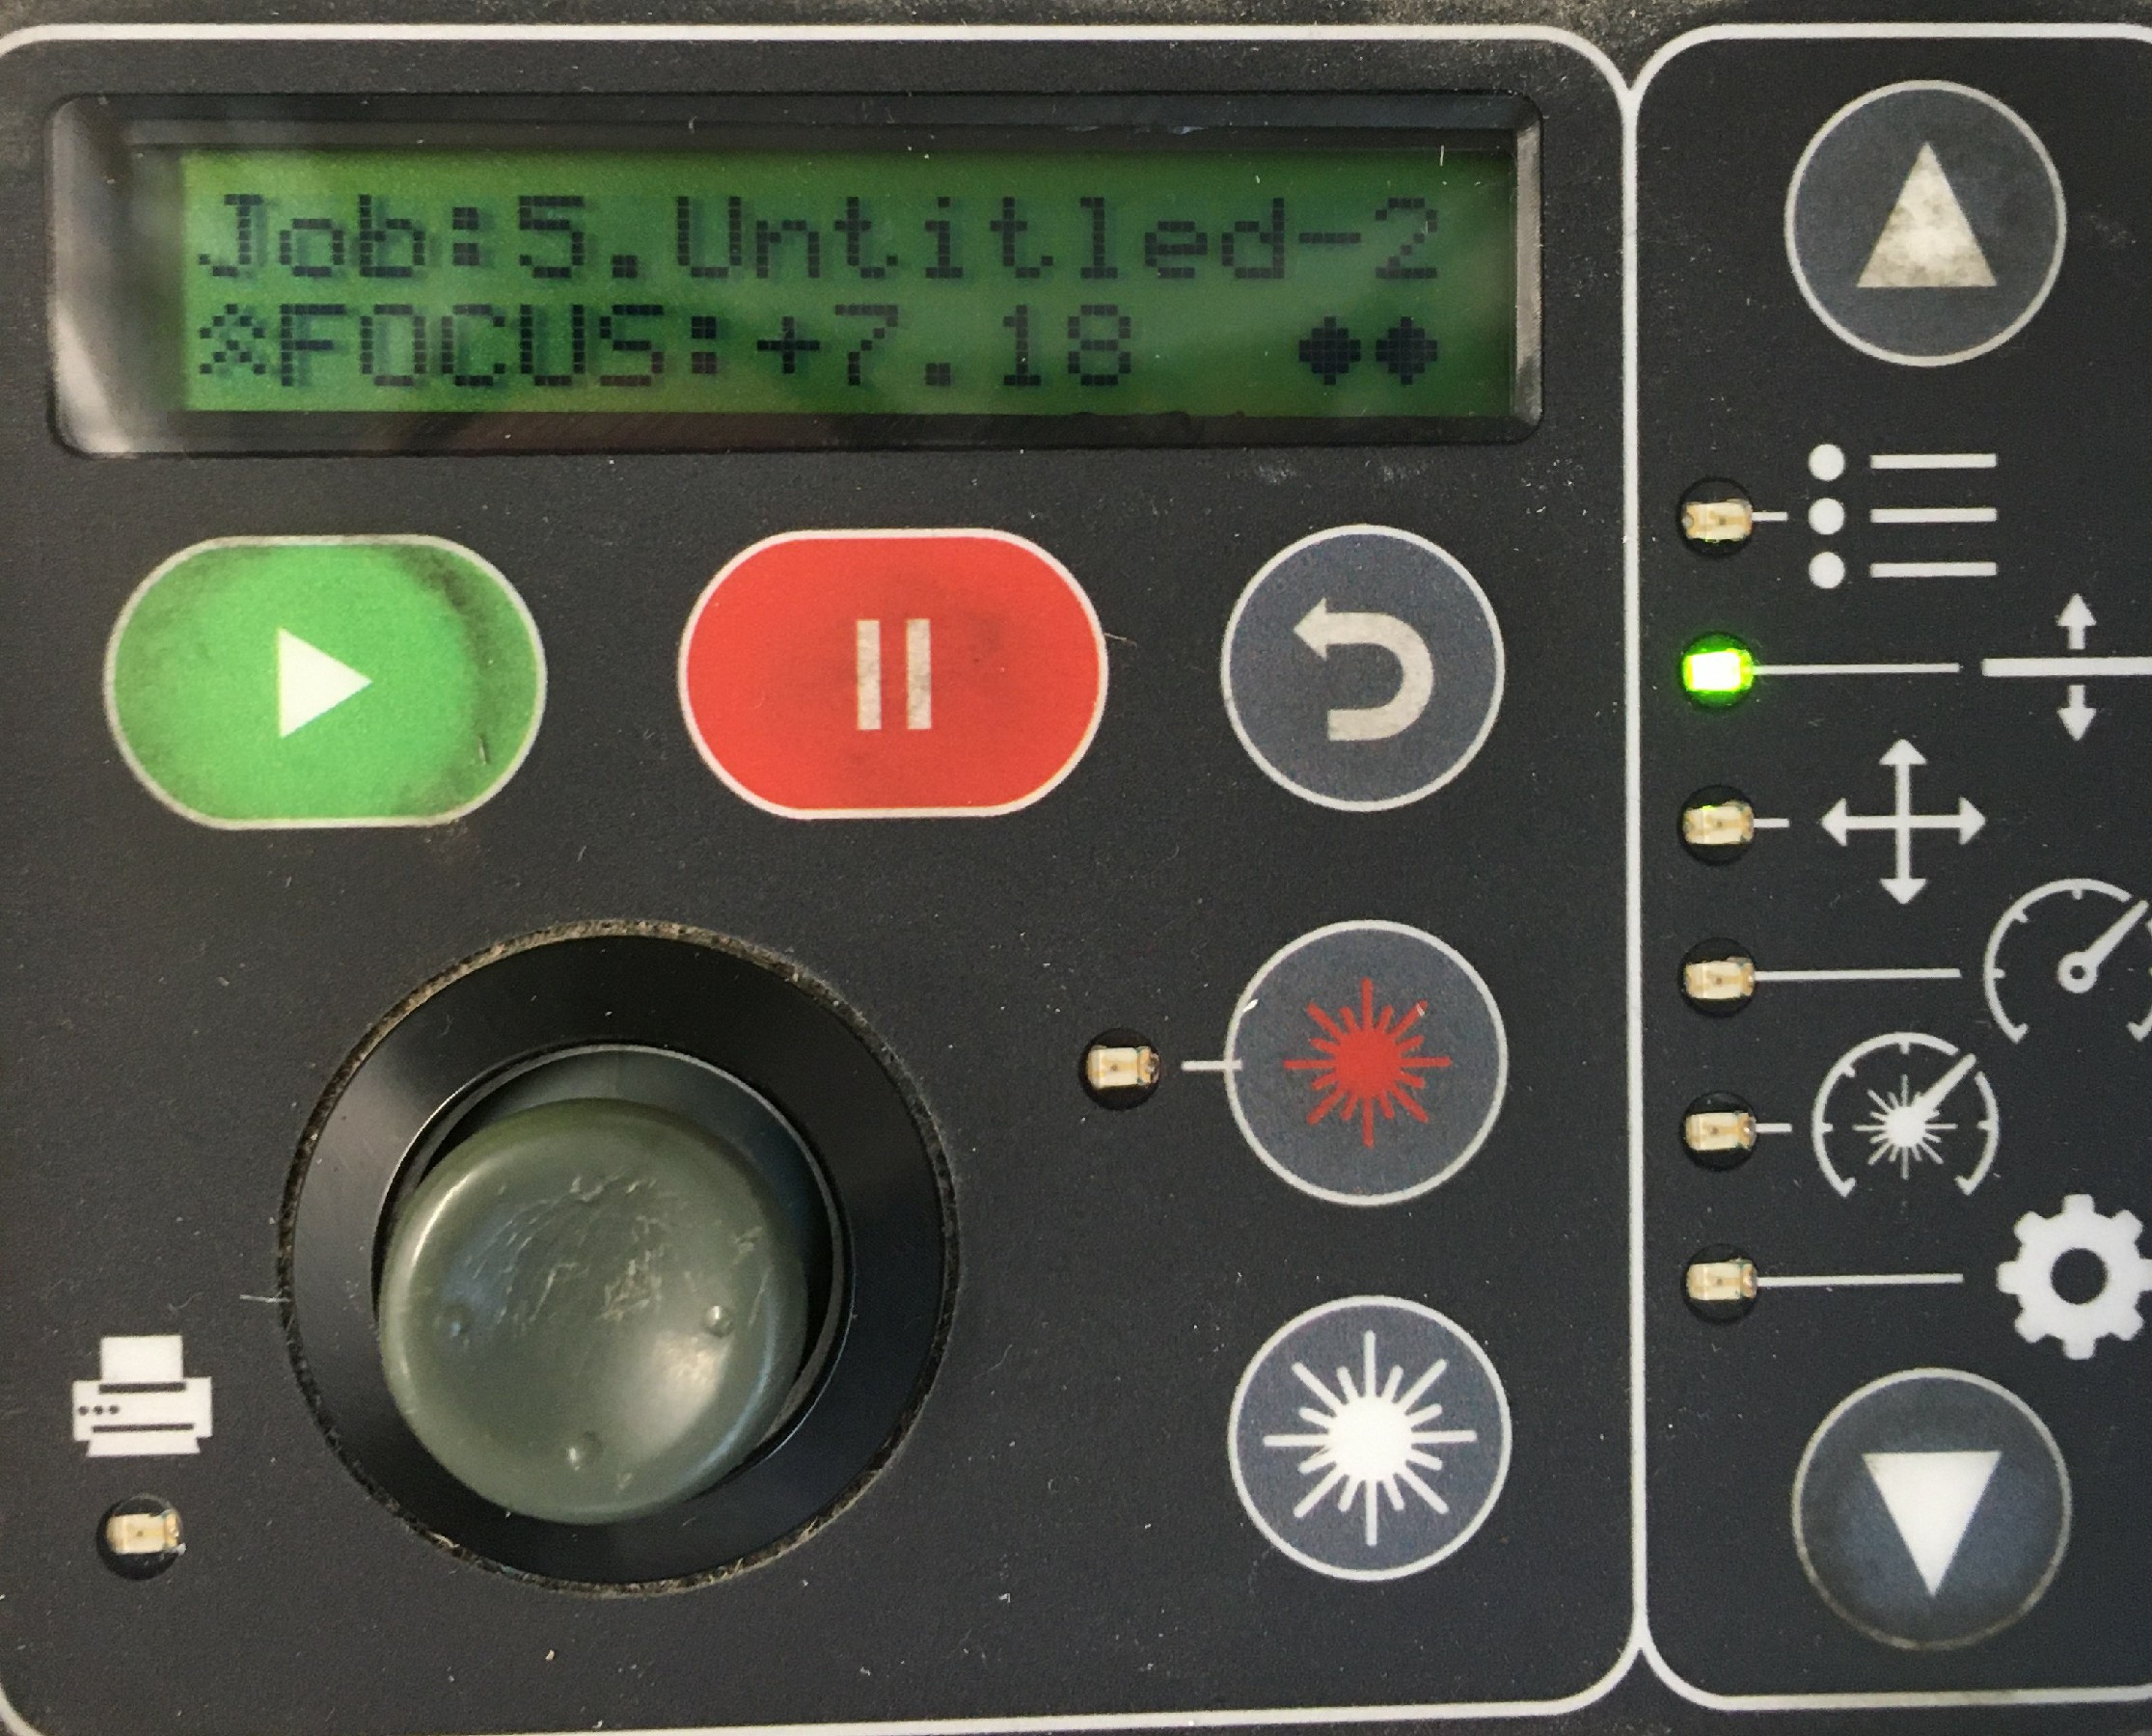
Three important parameters to set according to the material to cut are speed, power and frequency. The speed is the amount of energy transmitted to the material Usually, speed and power parameters are more common to change than frequency parameter. Here are parameters to cut 0.5cm cardboard in one pass only :Parameter Value Speed 10 Power 35 Frequency 100 - Apply and launch the print
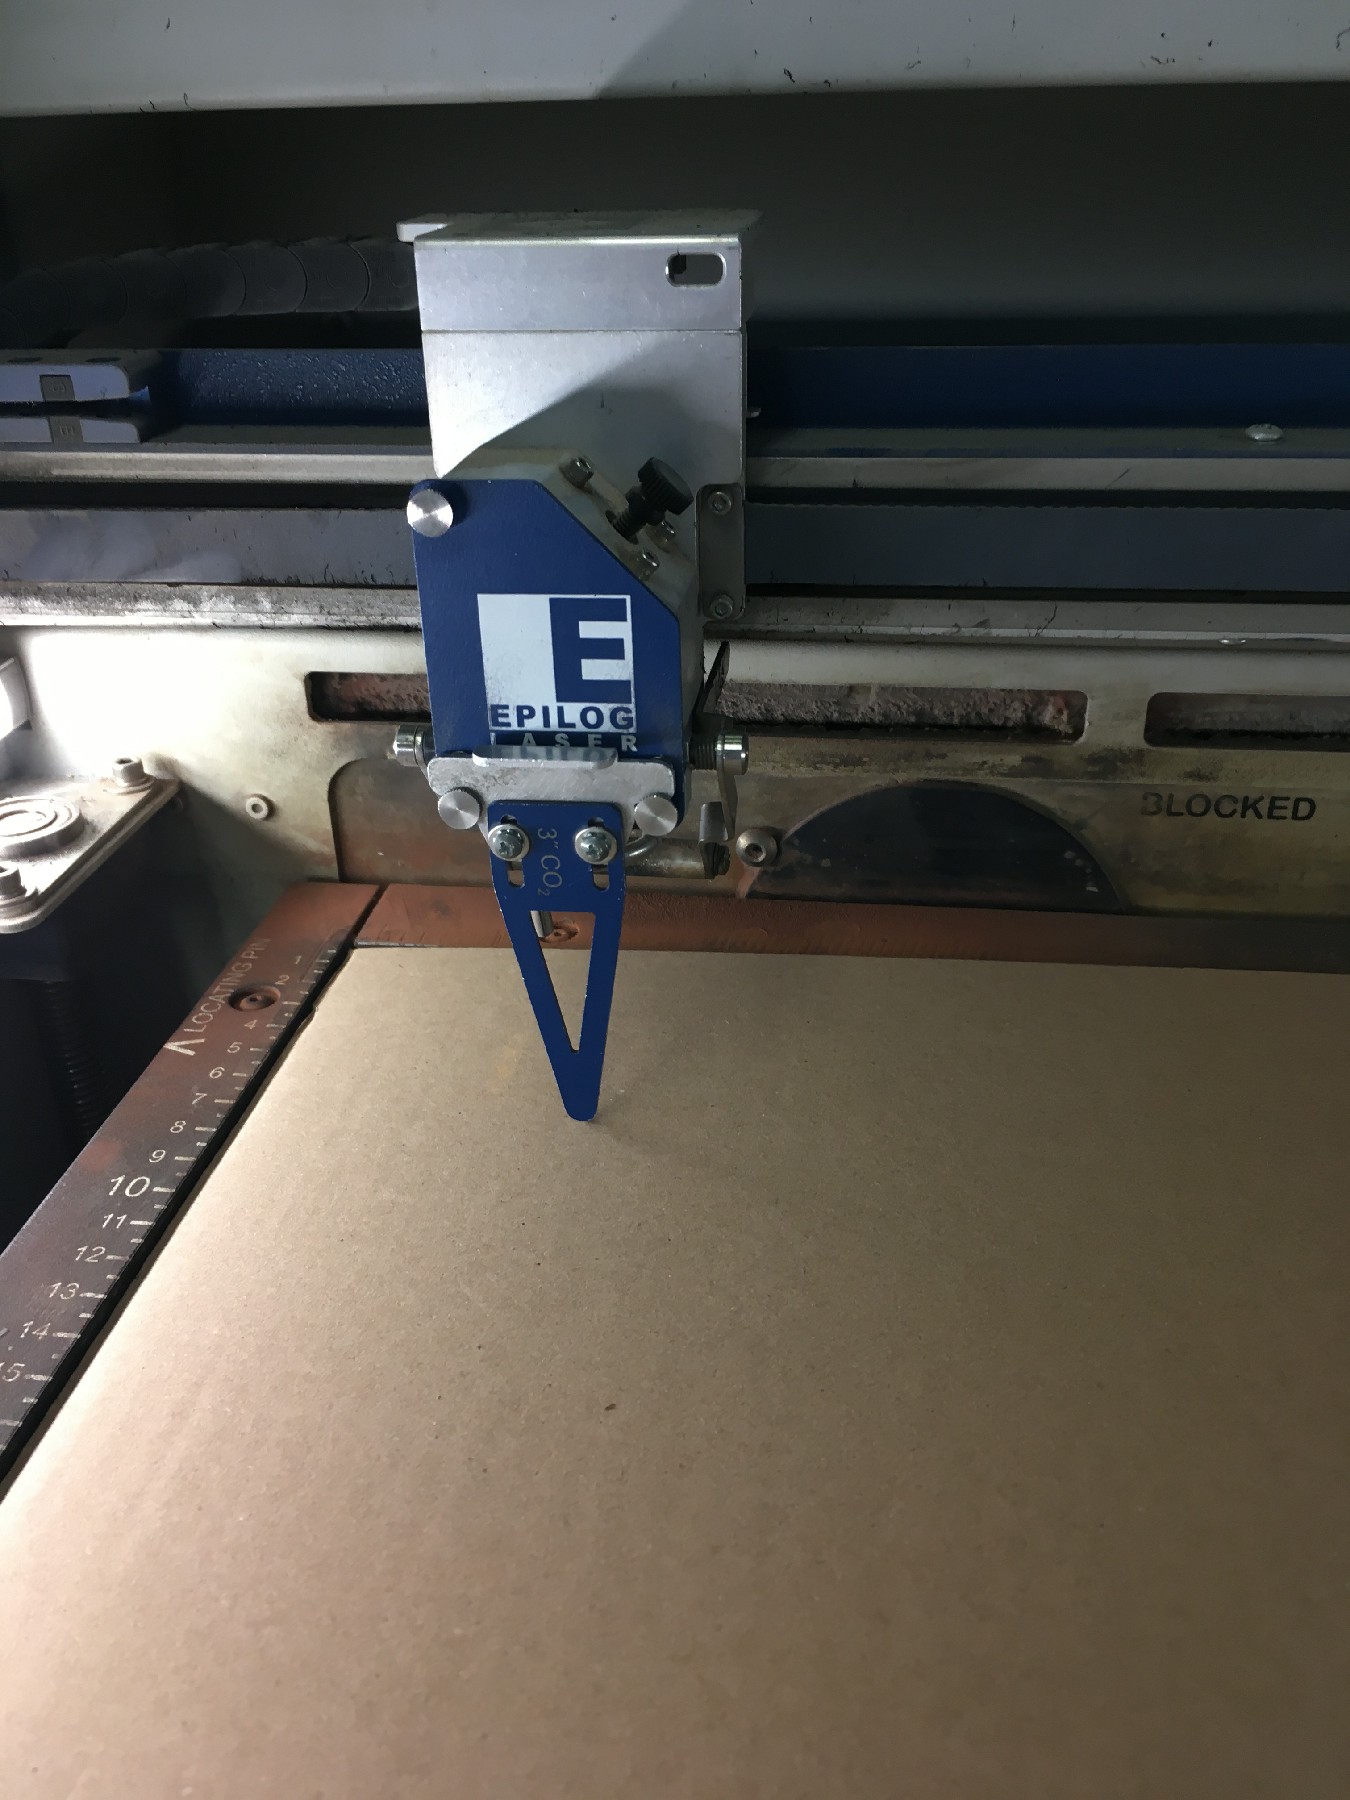
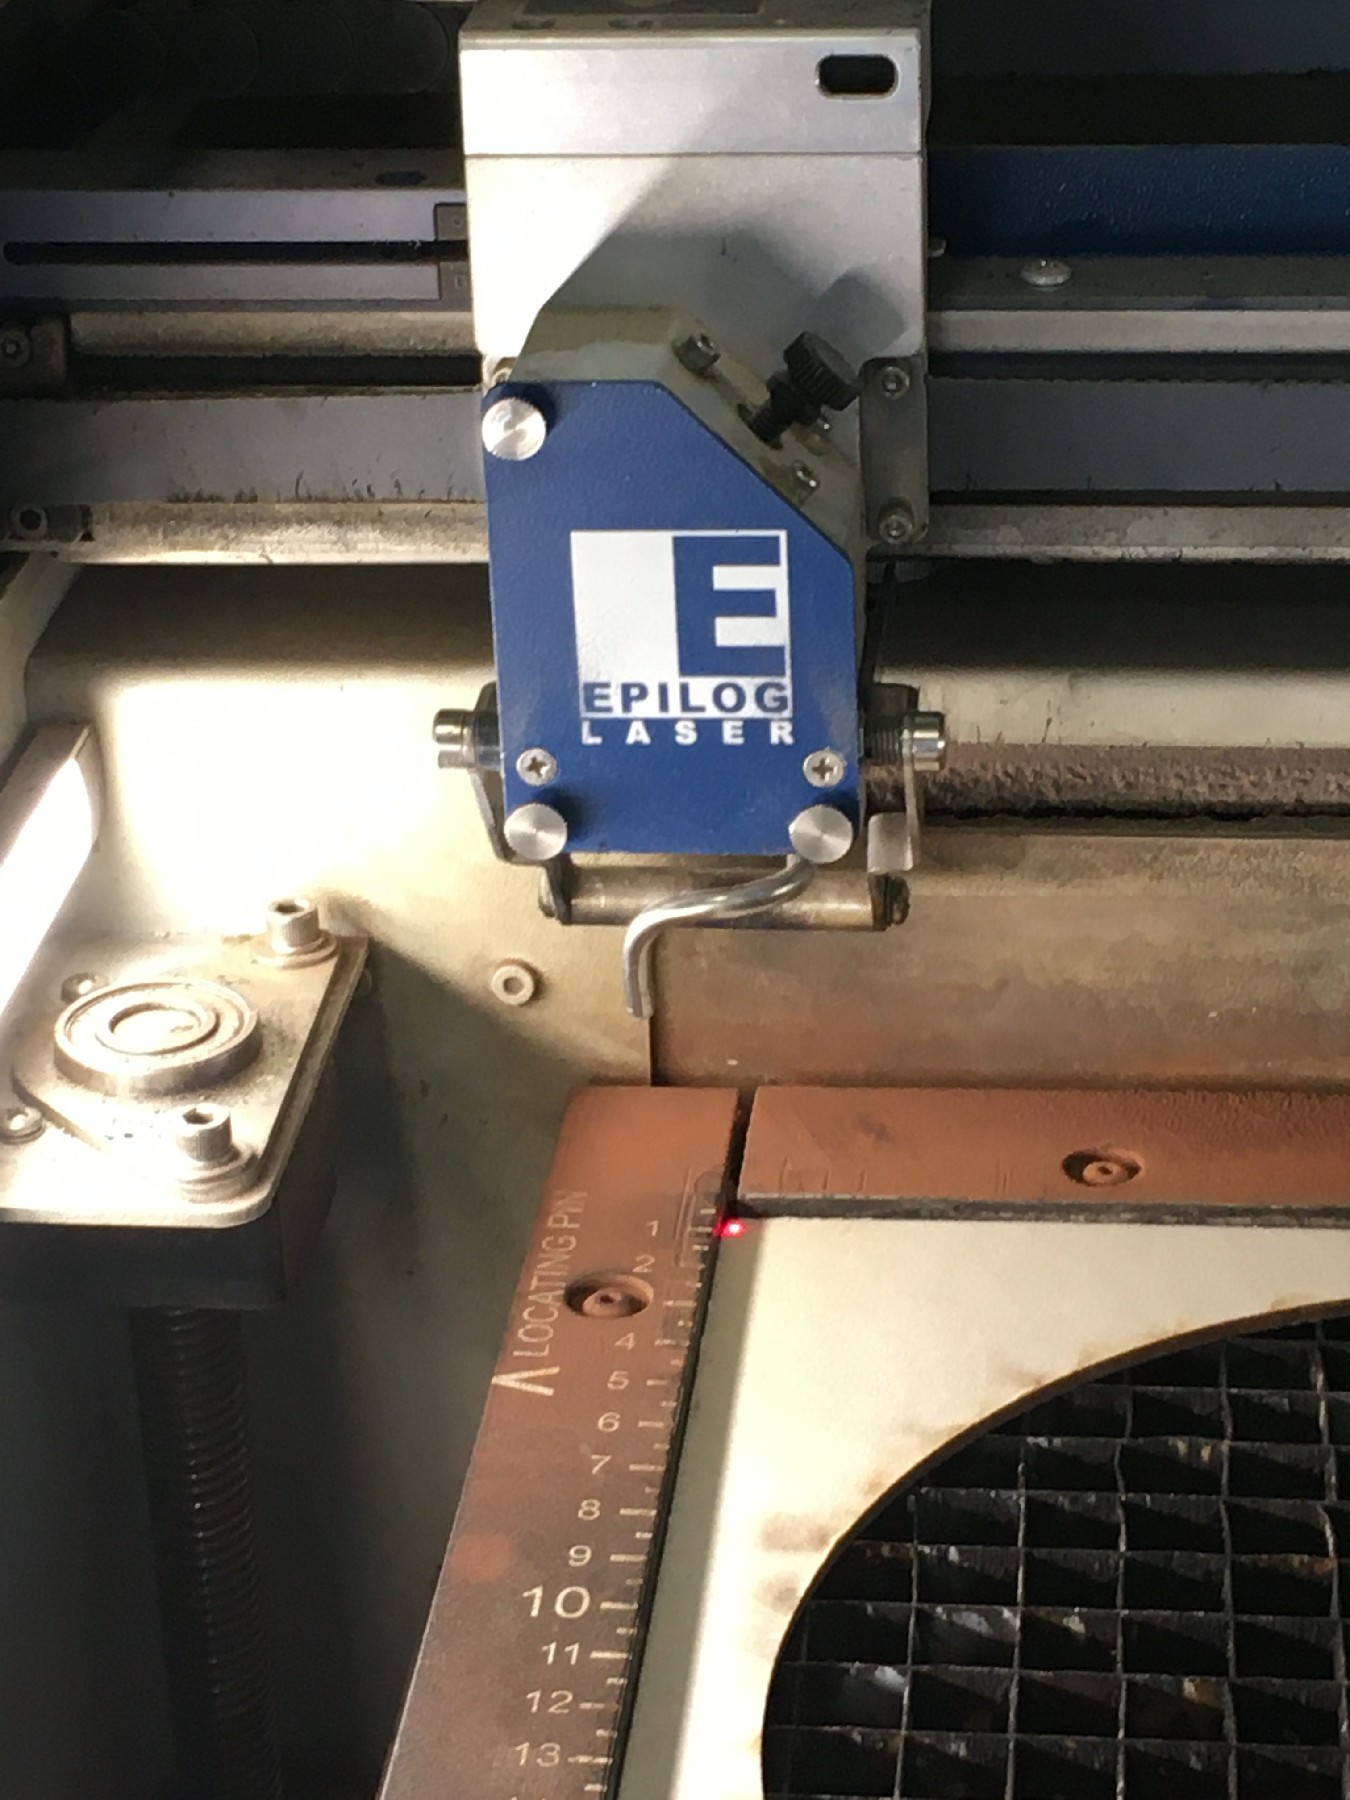
- Set the optimal focal point on the laser cut : To do so we use a metallic part (whose name is?) and the joystick to lift the tray to reach the tip of the tool
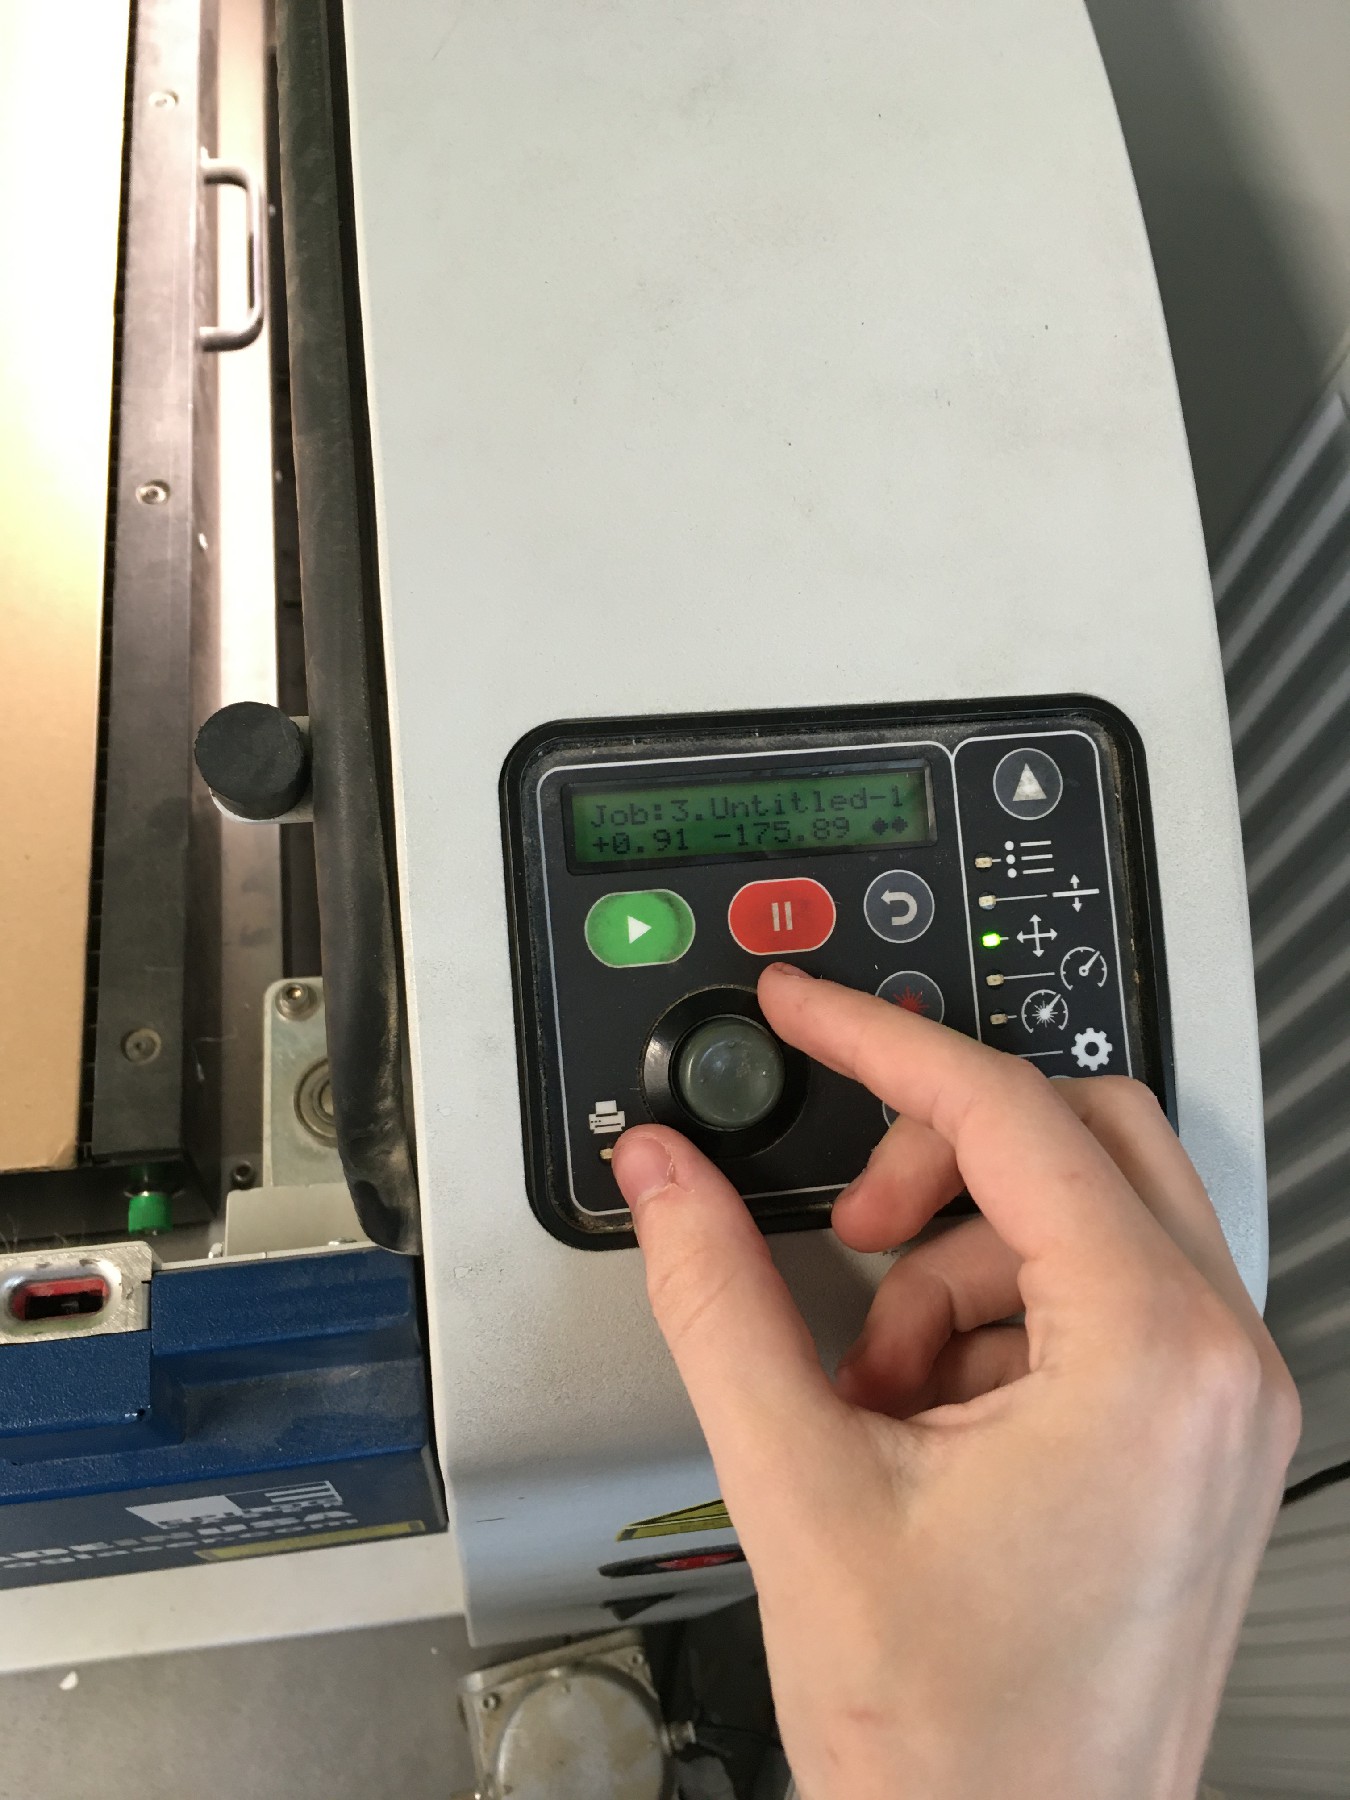
- Set the zero of the laser cut i.e. the point of origin of the cut
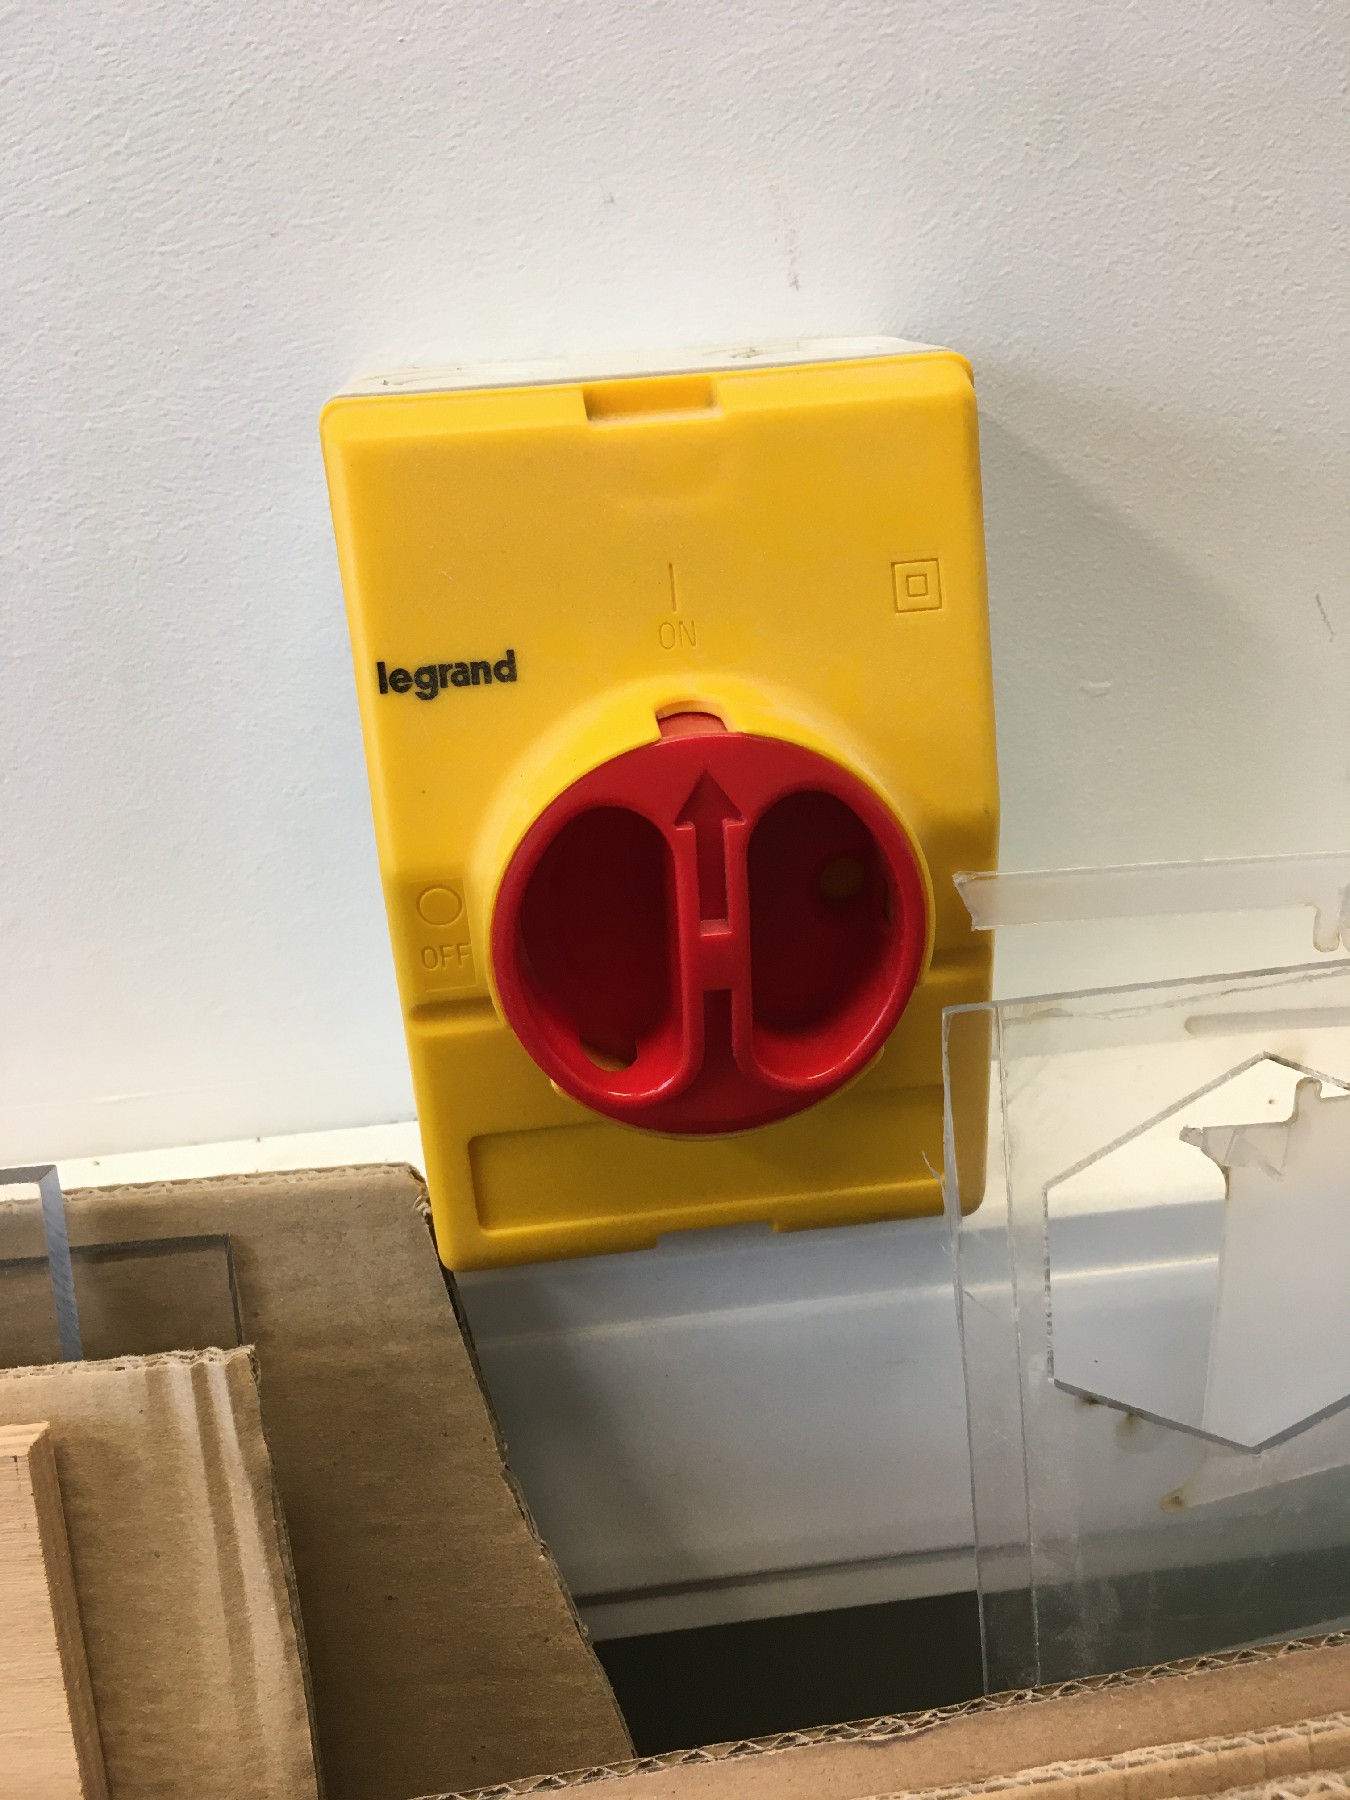
- Turn on two safety air pipes : one is used to remove the air, the second is an air jet to dispel the smoke next to the laser
- Launch the job
Below is a short video of the laser cutter in action :
One slice took around 20min to be cut (in one pass). Here are the resulting slices :
Assembly