10. Open Source Hardware - From Fibers to Fabric
- Research and document existing fabrication methods, machines and industries, add references and sketches of the machine and the chosen process
- Design and document the files of the machine, machine hack or tool and fabrication - assembly process
- Document the schematic and the programming code (if any)
- List the materials: electronics, materials amount other (references of the components)
- Design, create and document a final outcome, a sample project of your process
- Make a small video of the machine
- Create an interface for controling your machine
Research
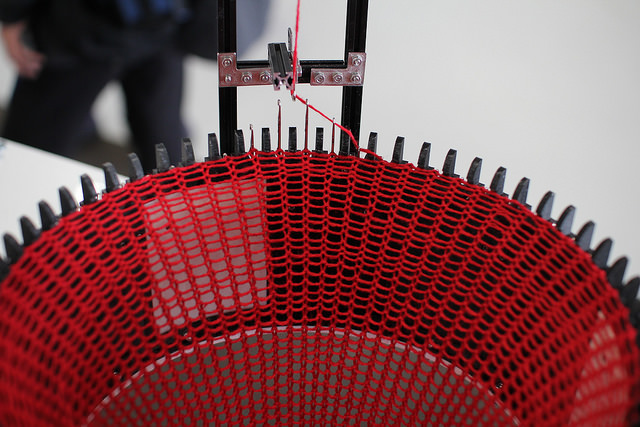
Circular Knitic: An Open Hardware Knitting Machine, Varvara Guljajeva & Mar Canet. 2015.
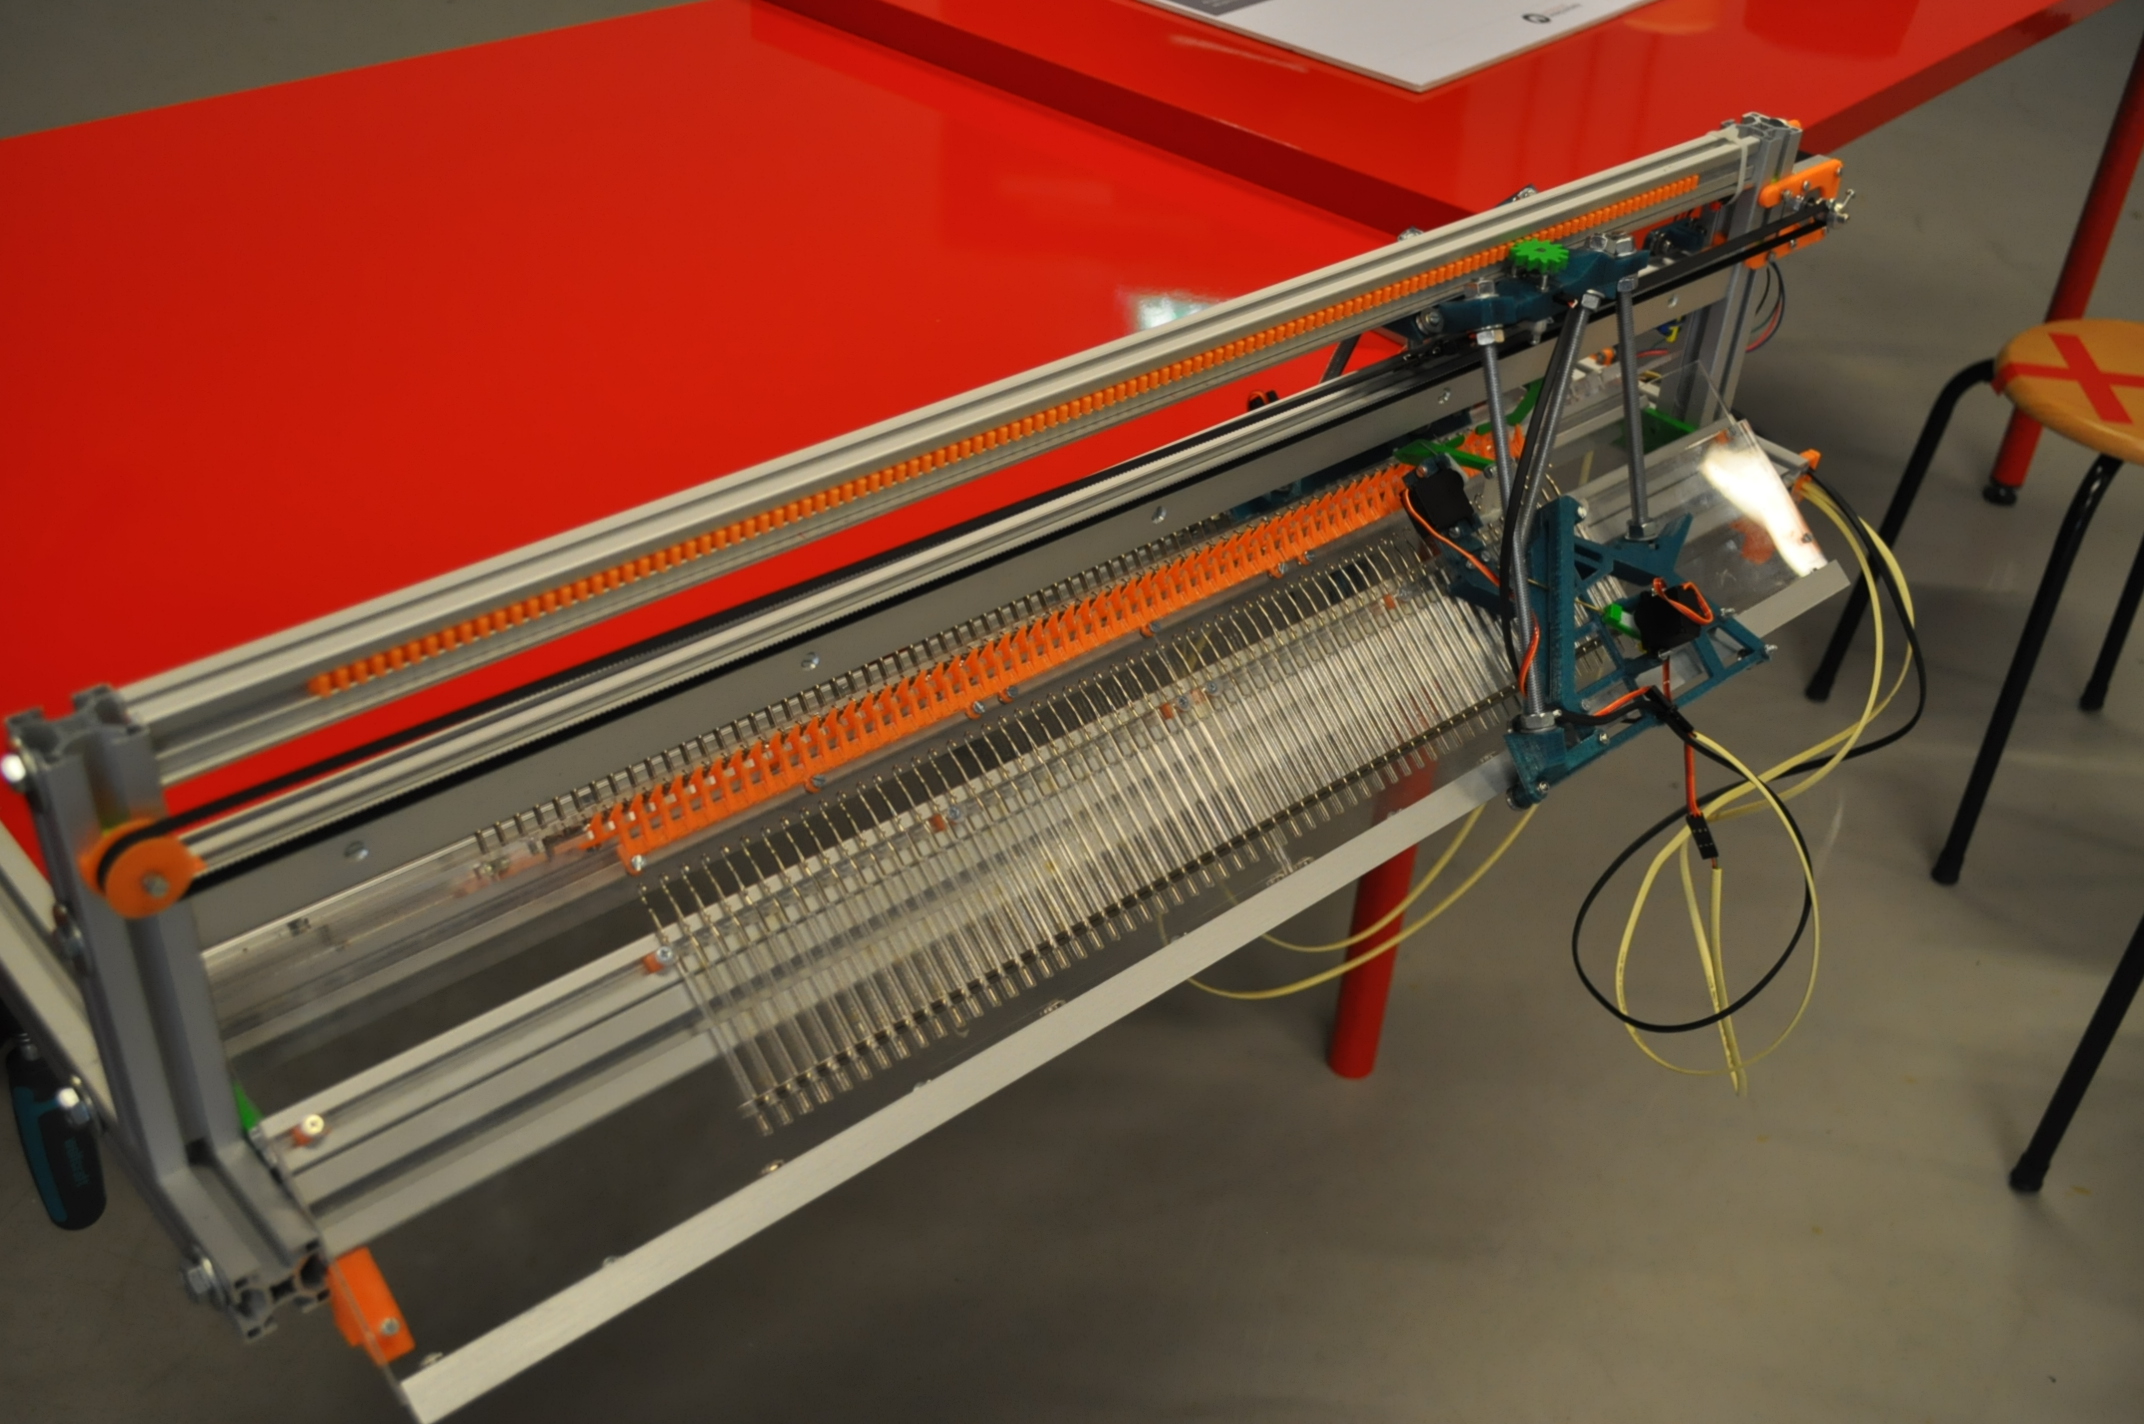
Open Knit Machine, Gerard Rubio.
Loom machine
This week I wanted to experiment with a traditional technique to manufacture textile such as Jacquard loom. Taking inspiration from the work of Lara Campos, I decided to make a loom machine. This is a joint work with Sarah, thus we share documentation pictures.
BOM
- plywood 5mm - 670x200mm
- 2 beams of 25mm length and width
- acrylic 5mm - 670x200mm
- 4 corner attachments
- 8 screws
Instructions
Laser cut
The first step was to laser cut the plywood parts. I used one 670x200mm sheet of plywood whose width is 5mm. This is the step that took the more time in the whole process because it was necessary to perform at least 10 passes of the laser cutter so as to obtain a decent cut of the plywood.
Files to download : cutting parts
Below are the parameters used for the laser cutter :
| Speed | Power | Frequency |
| 20% | 100% | 50% |
Place the plywood sheet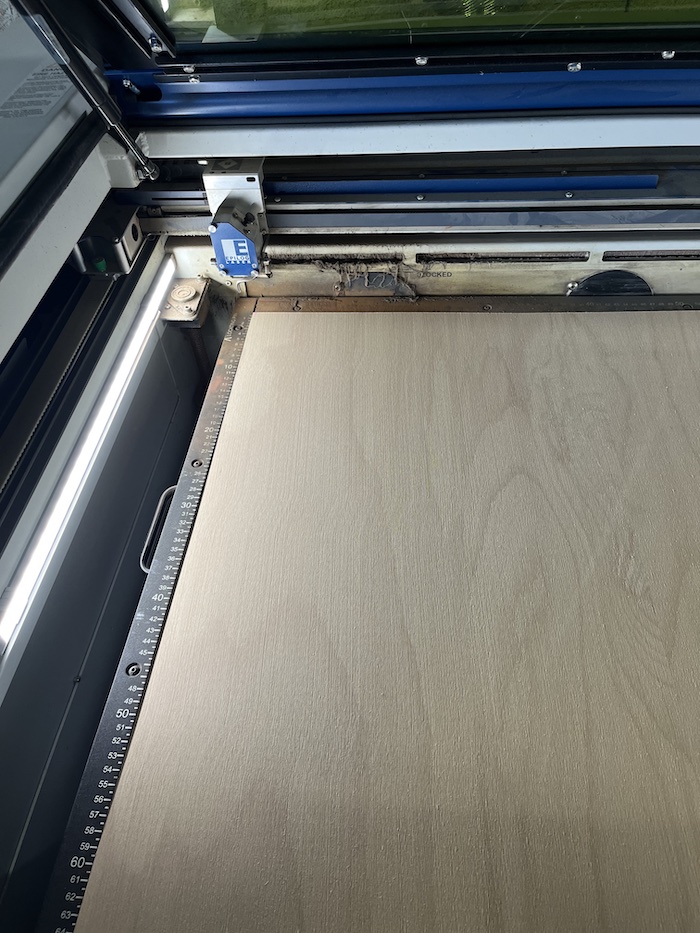
| Cut!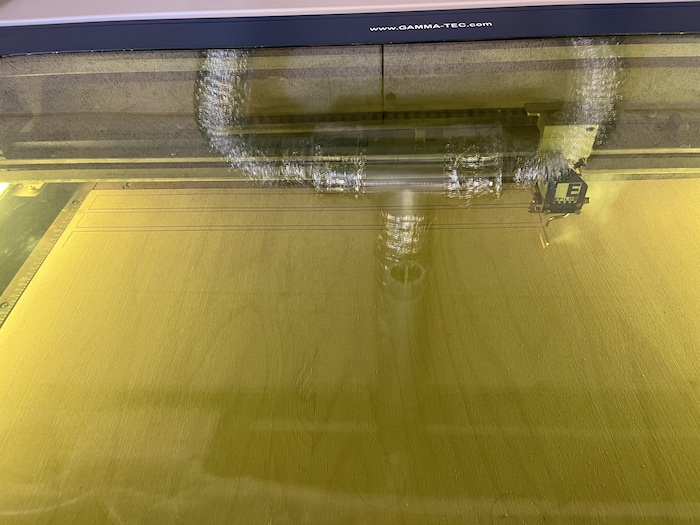
|
Afterwards, I laser cut the acrylic parts. There are 3 types of parts : the heedle reed, the comb with slots for the thread and 2 x slots to maintain the reed. I removed from the print the numbers engravings so as to accelerate the cut. Contrary to the instructions of the tutorials, I had 3mm acrylic instead of 5mm. I used the following parameters to cut acrylic with 2 passes :
| Speed | Power | Frequency |
| 4% | 100% | 100% |
Laser cut acrylic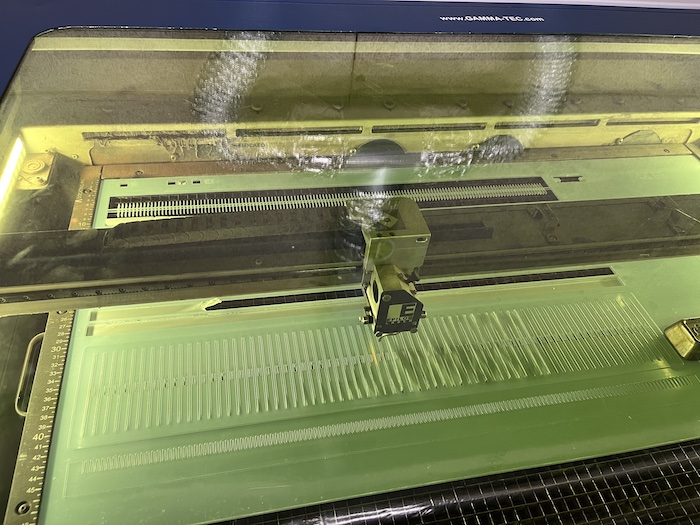
| Result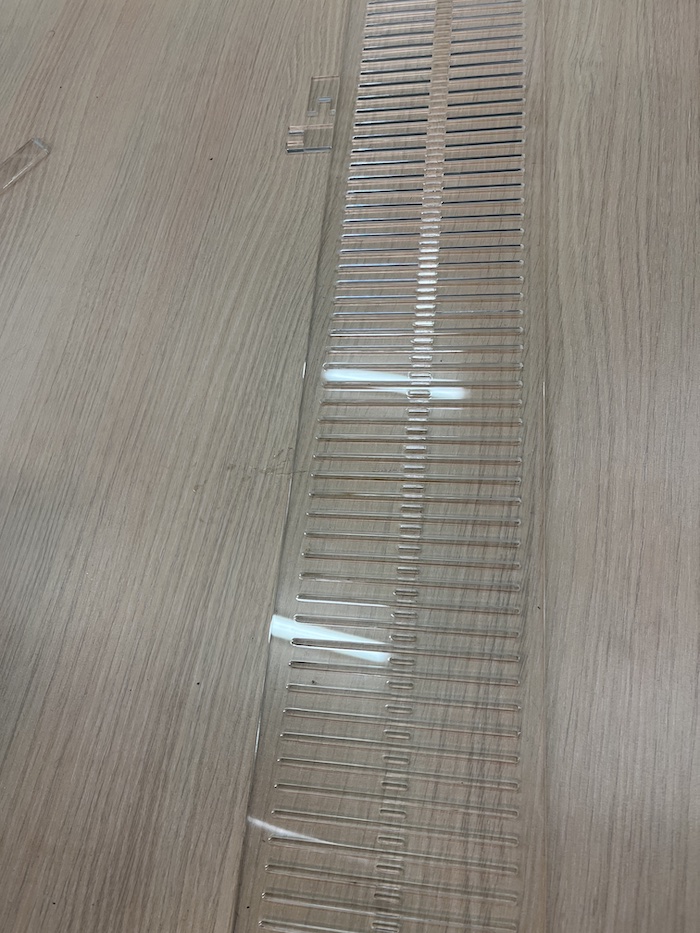
|
Assembling the loom
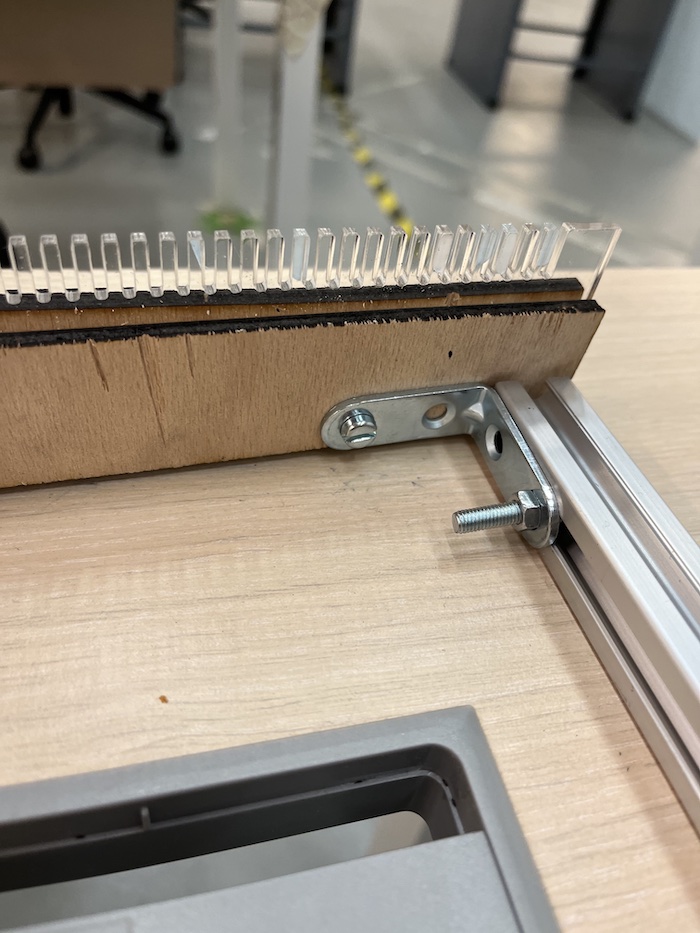
Once all the parts were cut, we took some time to think about how we will assemble the frame, starting from the material available in the lab. First of all, we found metallic hinges in the lab. Moreover, we decided to recycle metallic parts we had in the lab to avoid cut the entire frame in wood. As a consequence, half of the frame will be made of T-slot profile aluminium.
Hinges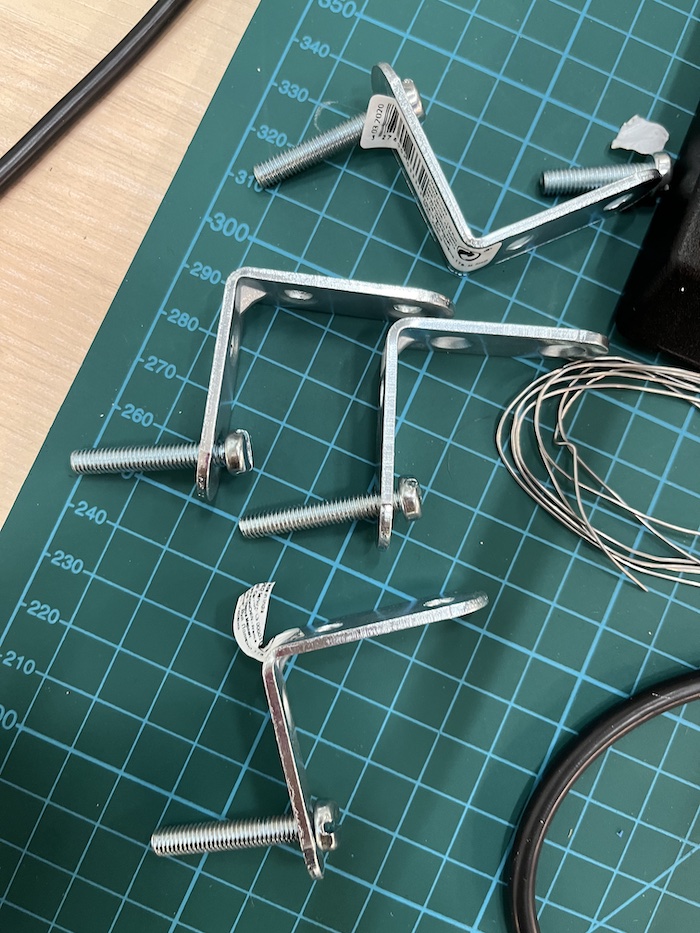
| T-slot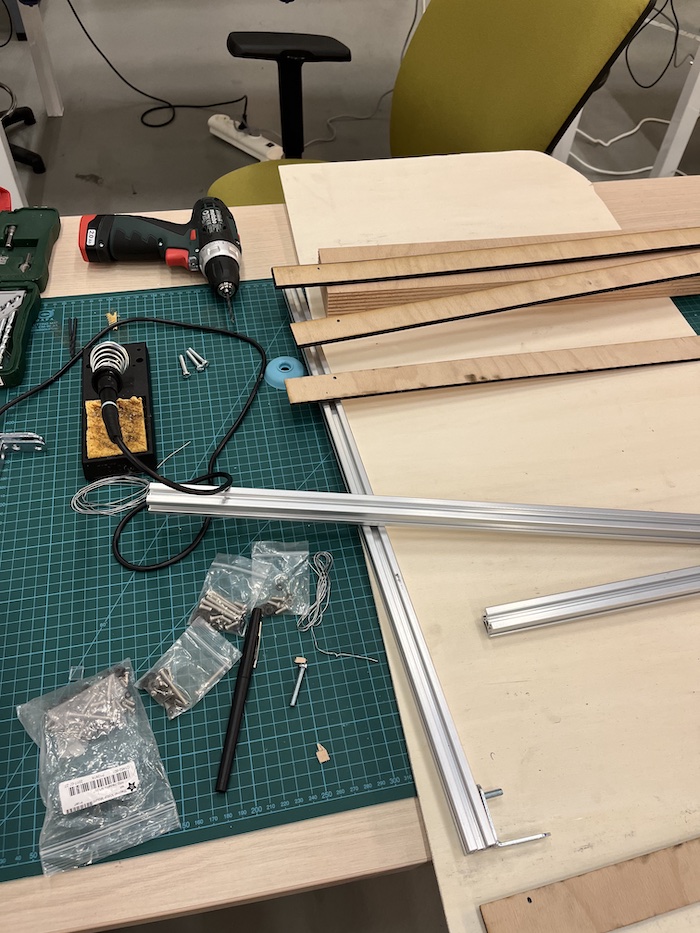
|
I drilled holes on the ends of the wooden parts and the acrylic comb :
Drill holes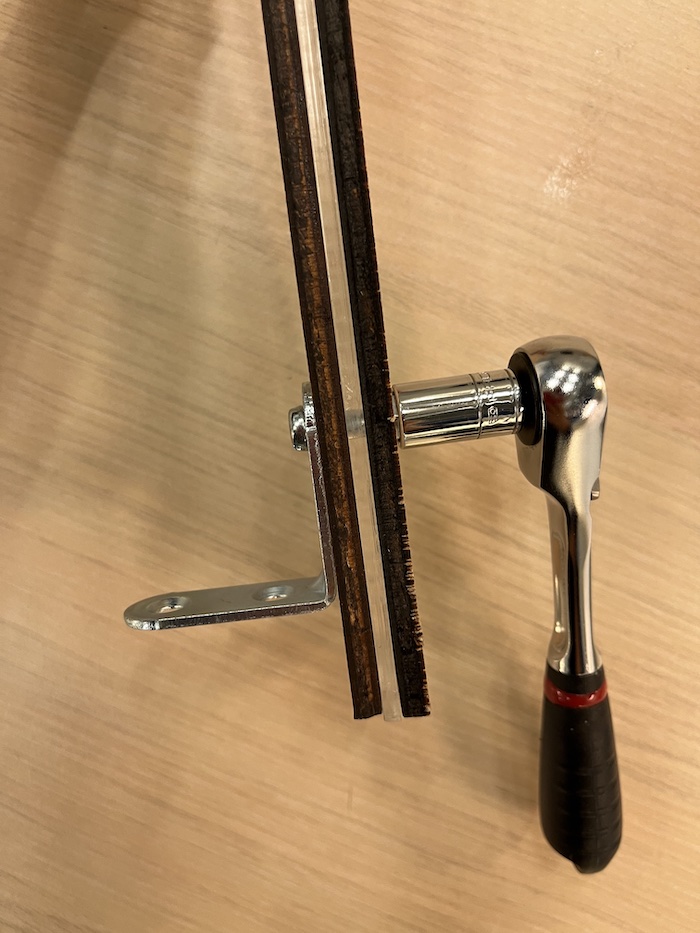
| 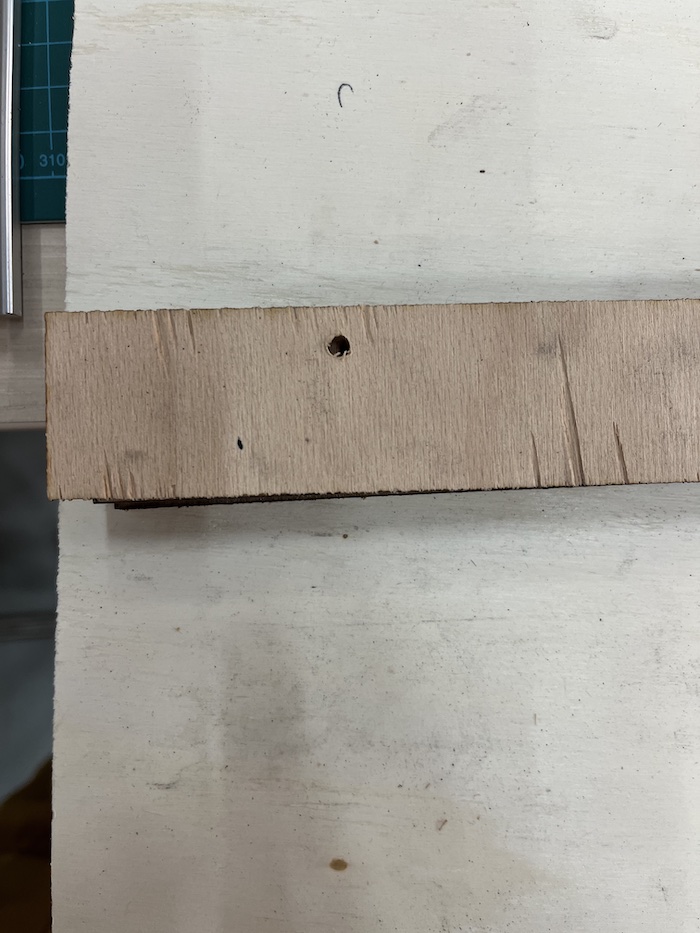
|
The important part of the frame is the piece consisting of the two wooden rectangles stacked with the acrylic comb like a sandwich. We used special glue for acrylic to stick the three layers. Finally I assemble the frame by fixing the comb to the beams thanks to hinges and screws.
Assembling the frame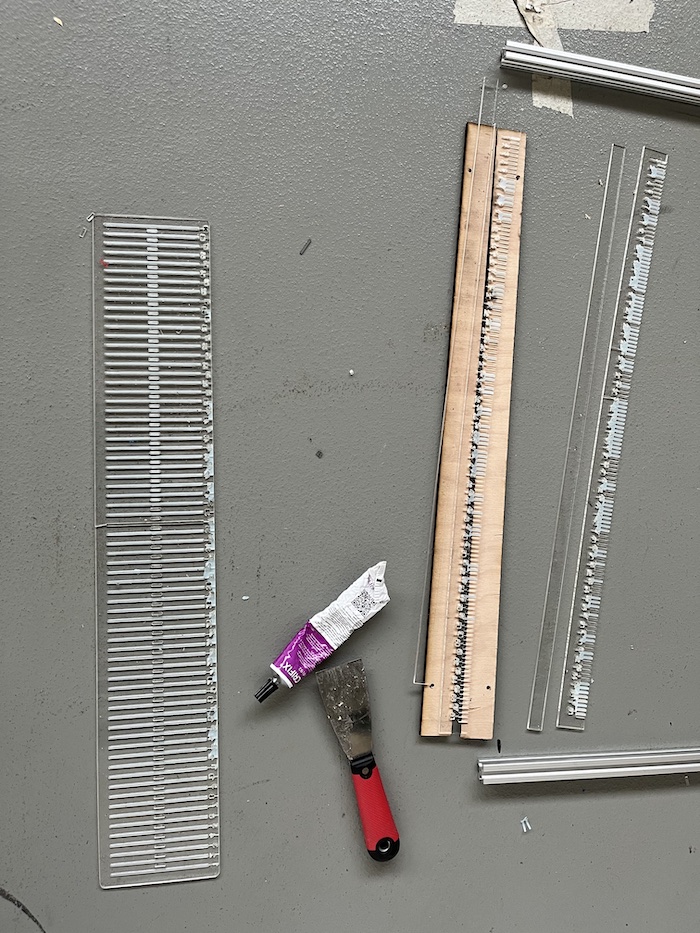
| 
|
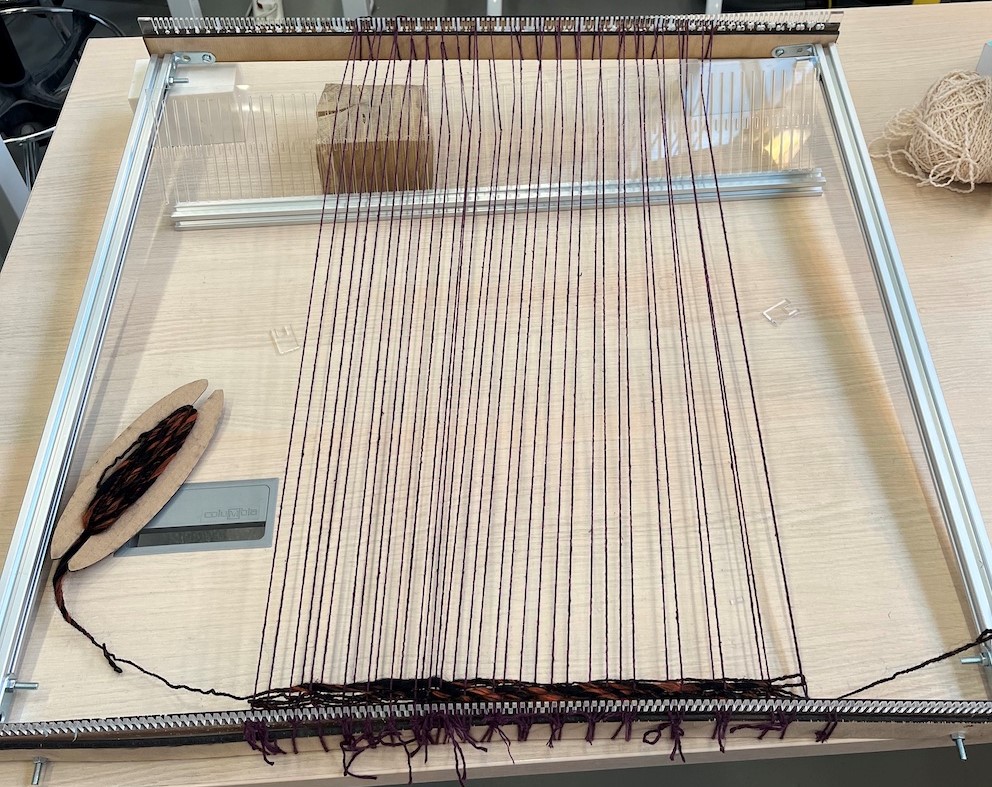
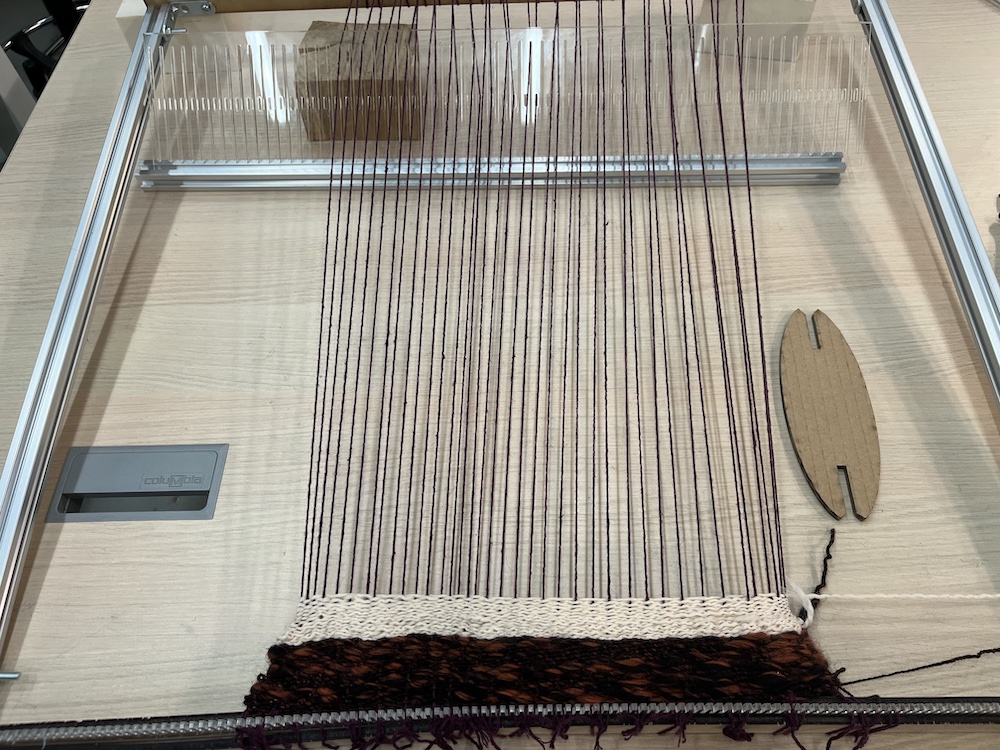
Eventually, we assembled the parts of the loom, namely the frame and the reed. We realized that the 2 slots we aimed to set down the reed at the height of the frame. At this moment, it seemed difficult to fix these part on the frame because of our design choice of using metallic beam. As a matter of fact, we didn't use these acrylic parts and found an alternative solution : a third T-slot profile to put down the reed. We elevated the far side of the loom thanks to plastic blocks. We then tied yarn thread from the comb to the other side of the loom machine, passing through the holes of the reed two times.
Assembling the loom machine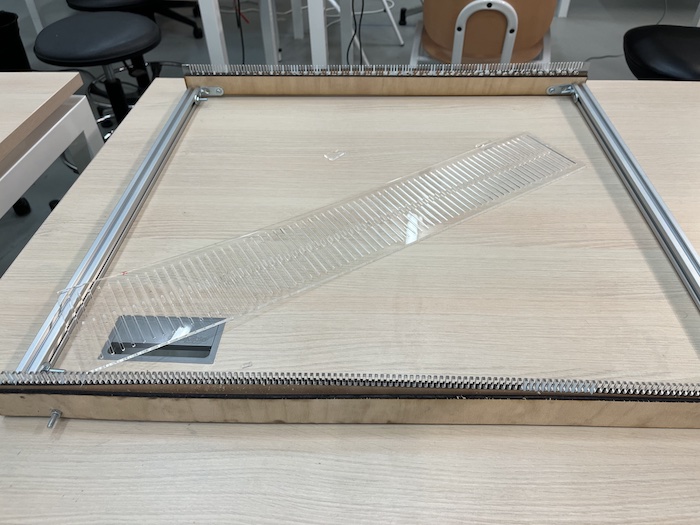
| 
|
There is still room left for improvement to our loom since there is looseness between acrylic comb and wooden parts.
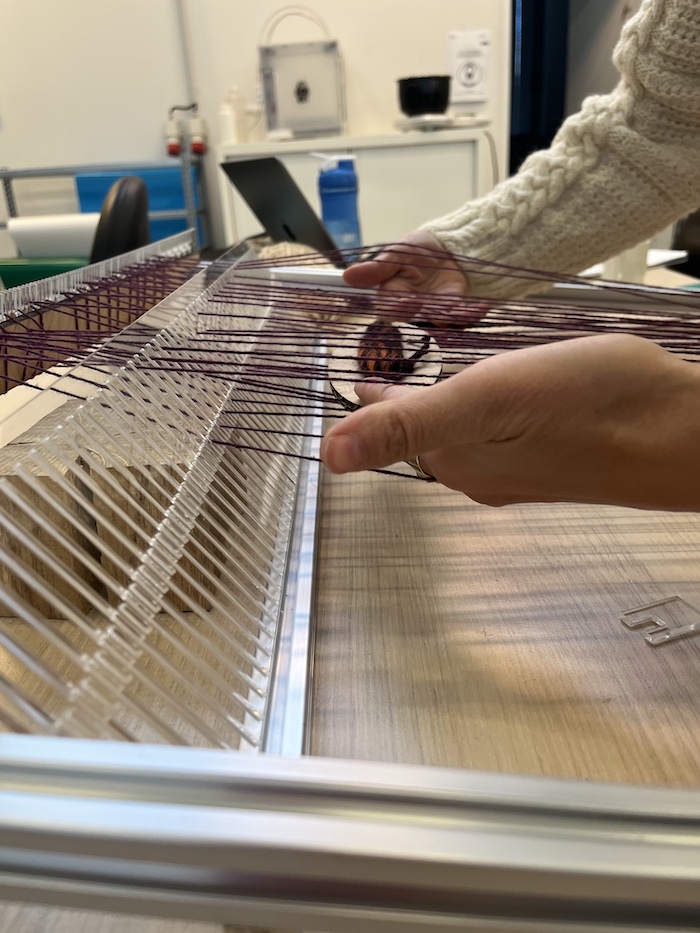
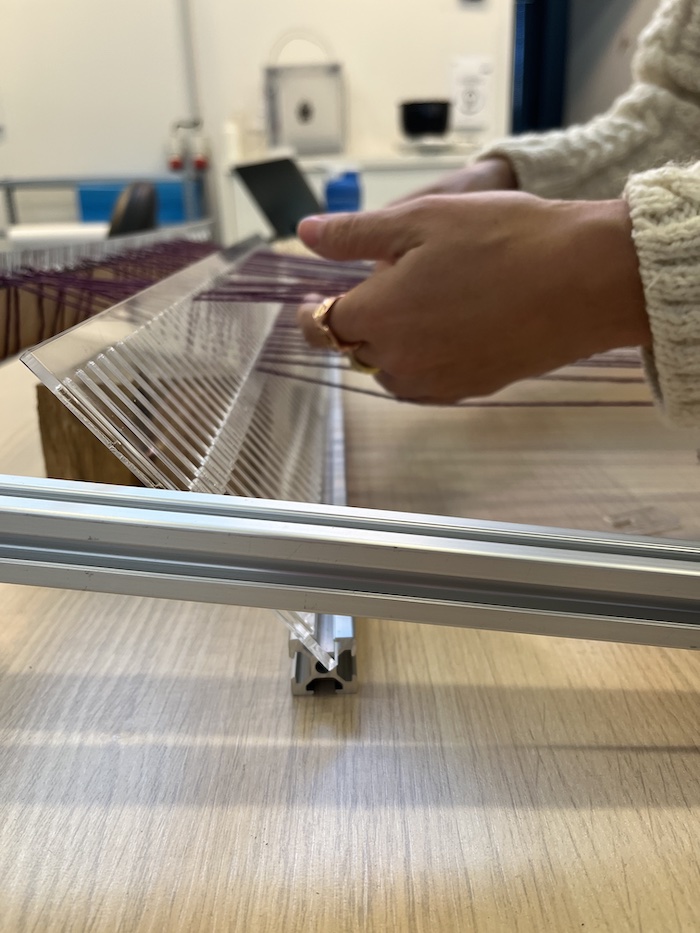
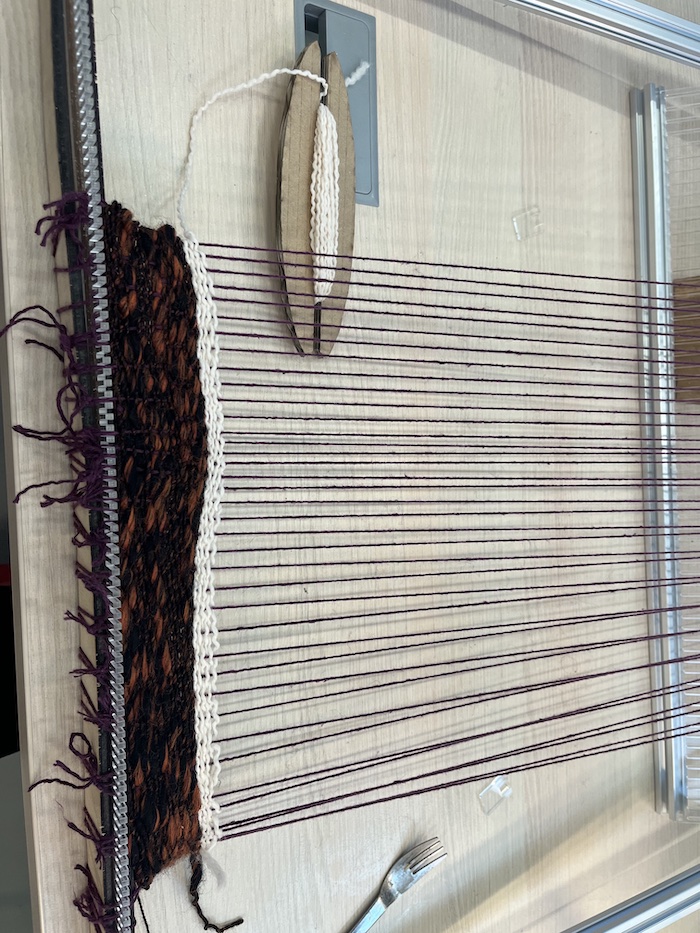
Weaving
To weave, pass the thread between the rows of threads tied on the frame, and use the reed the compress the textile. One tip is to compress the yarn thread also with a fork.
| 
|
| 
|