9. Textile as scaffold
For this assignment you will require to build up your tools (container for molding, vacuum bag set up, frames, matrix, recipients) and process for your workflow.
-
Document the concept, 3D model of the piece and document the design process
- Make two samples with 2 out of the 5 techniques to make a prototype of a textile form: fabric formwork with casting crystalization wood-textile resin-textile leather molding or other
- Document the process from CAD to CAMM, document how to use the CNC mill and prototype your textile composite
- Upload your 3D model and CAMM file
- Document the 2 processes you have followed step by side from design to machine and hands-on making, materials you used, your mistakes, failures and achievements
- Use 3D modeling software to simulate your fabric deformation
Research
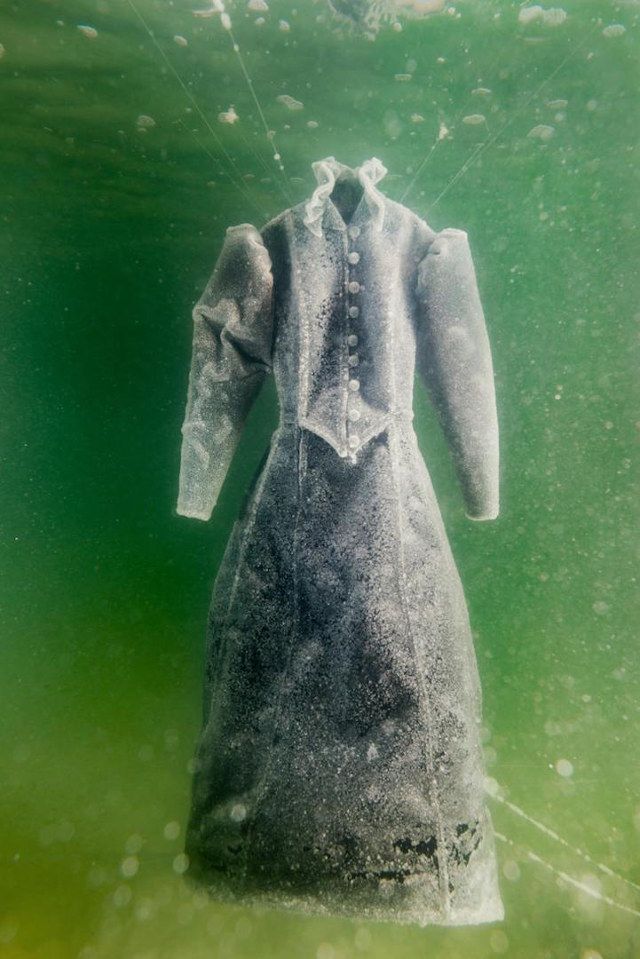
Sigalit Landau in collaboration with Yotam From, Salt Crystal Bride Gown IV, 2014.
How to grow up crystals
The process of growing up crystals consists in creating a solution saturated with mineral powder such as alum or copper, and wait...wait...wait. The more you wait the more the crystals will grow.
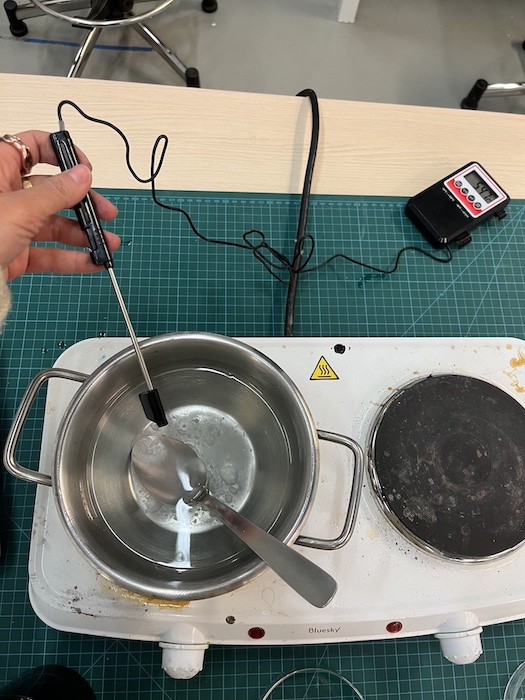
- Heat water up to 60°C
- Add mineral powder into warm water
- Dissolve the powder completely
- Wait to see crystals grow
- Reuse the crystals : dip them in the saturated solution
- Wait again
See below detailled recipes for different minerals.
Alum
- H2O 75ML
- Alum 75G
- Temperature 60 degres
| Preparing the alum cristalization |
Results couple days later |
 |
 |
Copper
- H2O 75ML
- Sulfate of copper pentahydrate 75G
- Temperature 60 degres
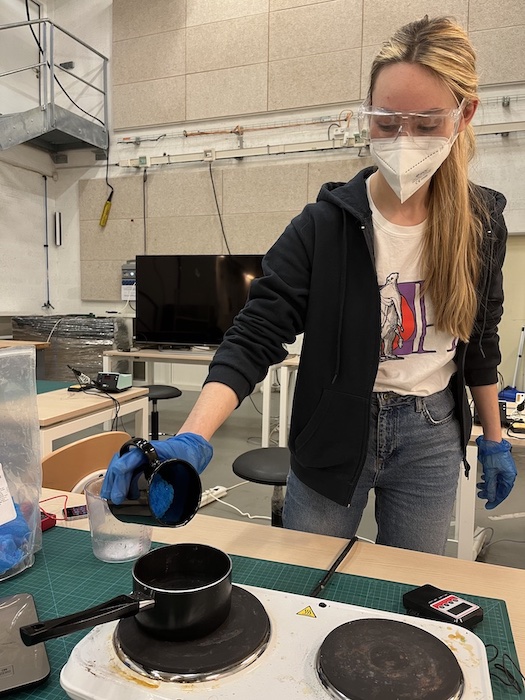
| Preparing the copper cristalization |
Let it grow |
 |
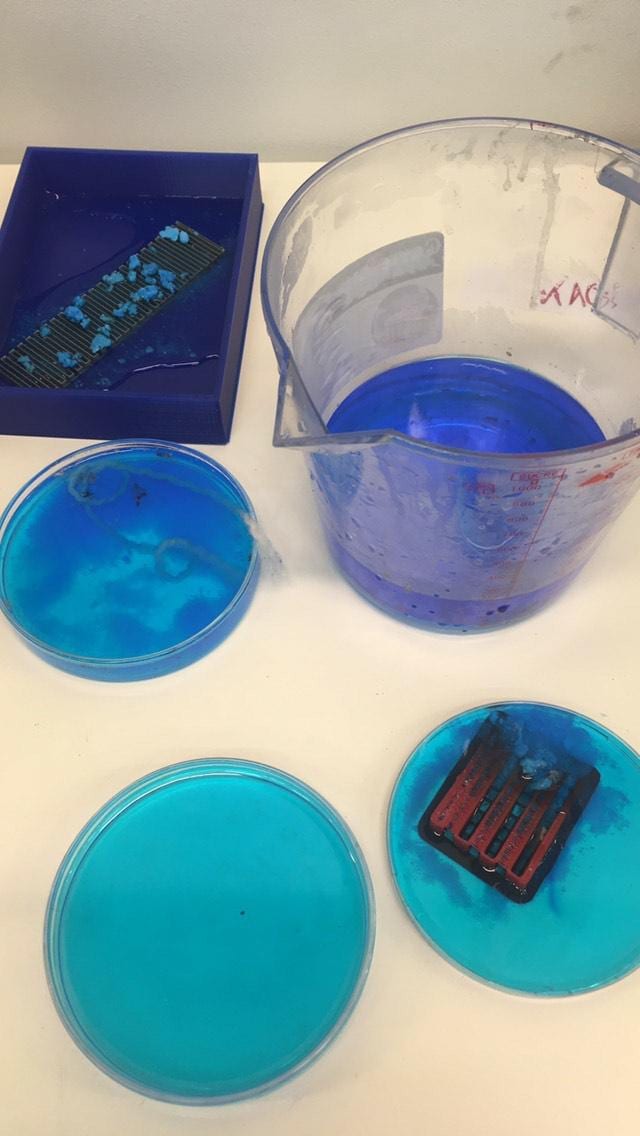 |
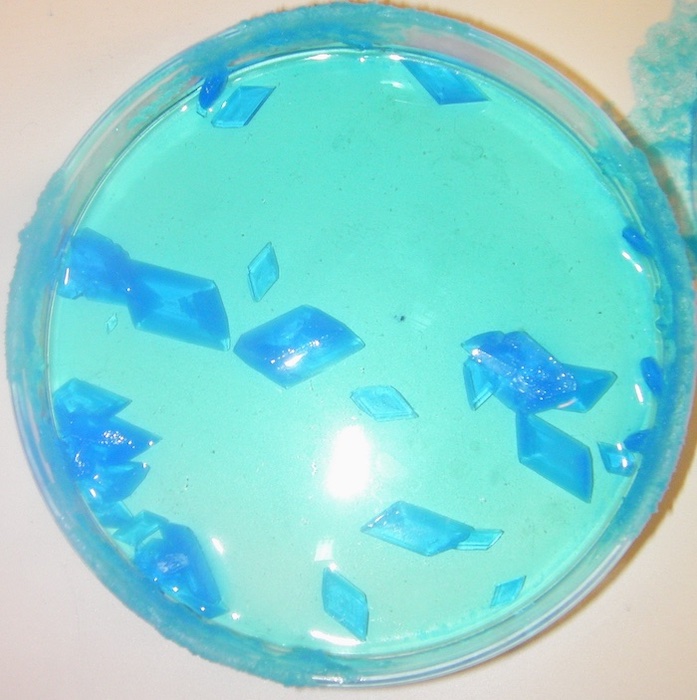
A couple days later crystals formed :
| Without support |
With thread support |
 |
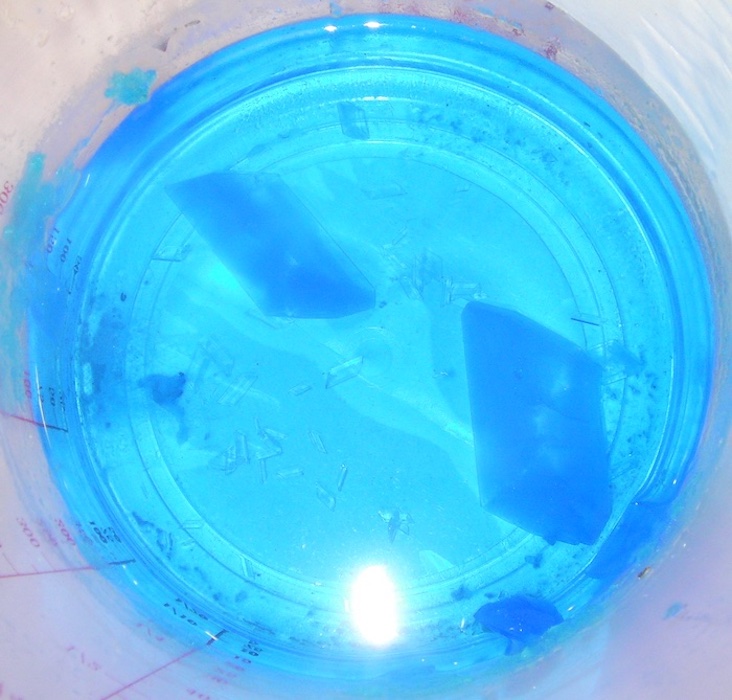 |
Result after one month
 |
I tried different strategies to make copper crystal grow : without any support, thread support and plastic support.
I also left copper crystals on plastic supports (PLA and TPU) to see whether they would grow on it. The result was not convincing :
| Cystal copper with plastic supports |
 |
 |
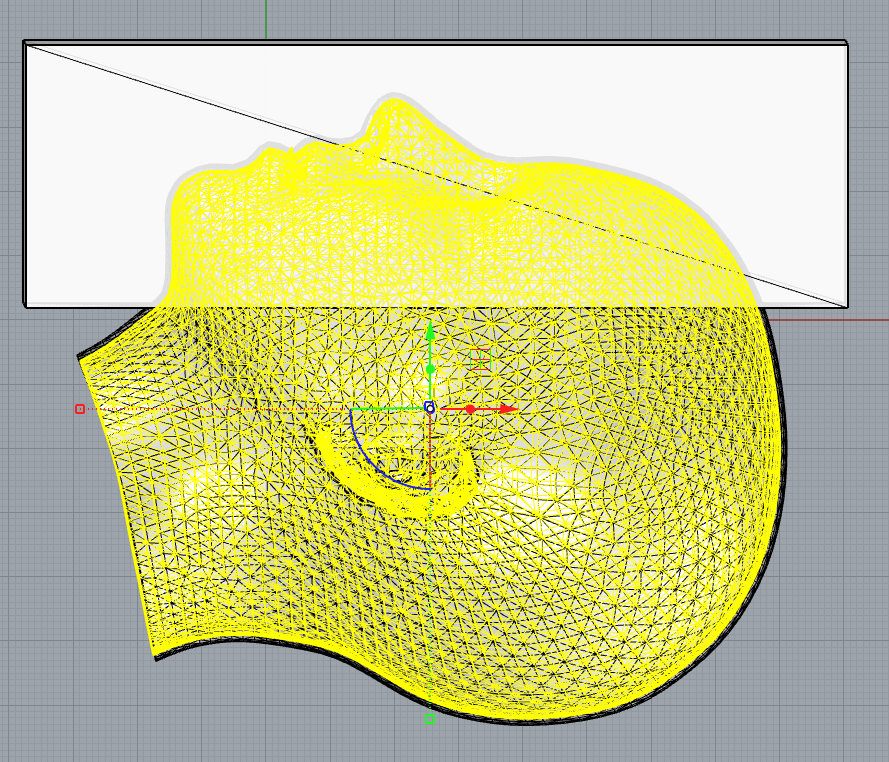
Compression mold
I decided to create a compression mold that I would use to make a leather mask.
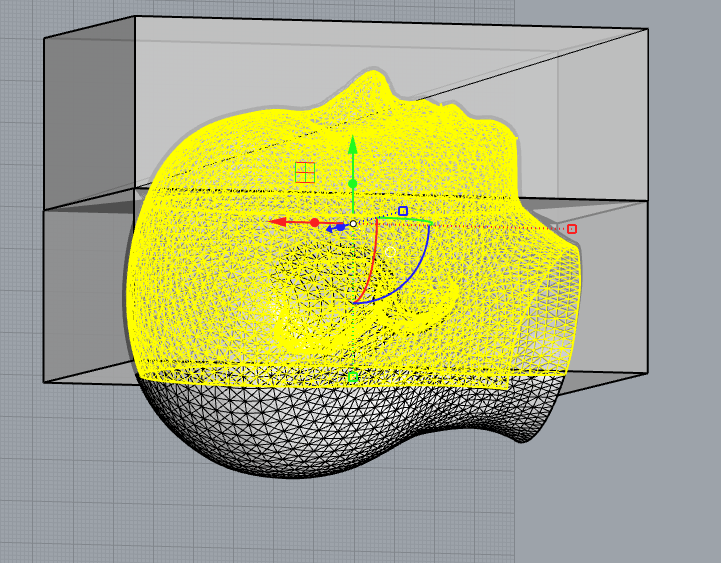
I used the Facebuilder of Blender to create a mesh of face. I edited the mesh in Rhino to conceive the compression mold.
| Draw a box |
Boolean difference |
 |
 |
|
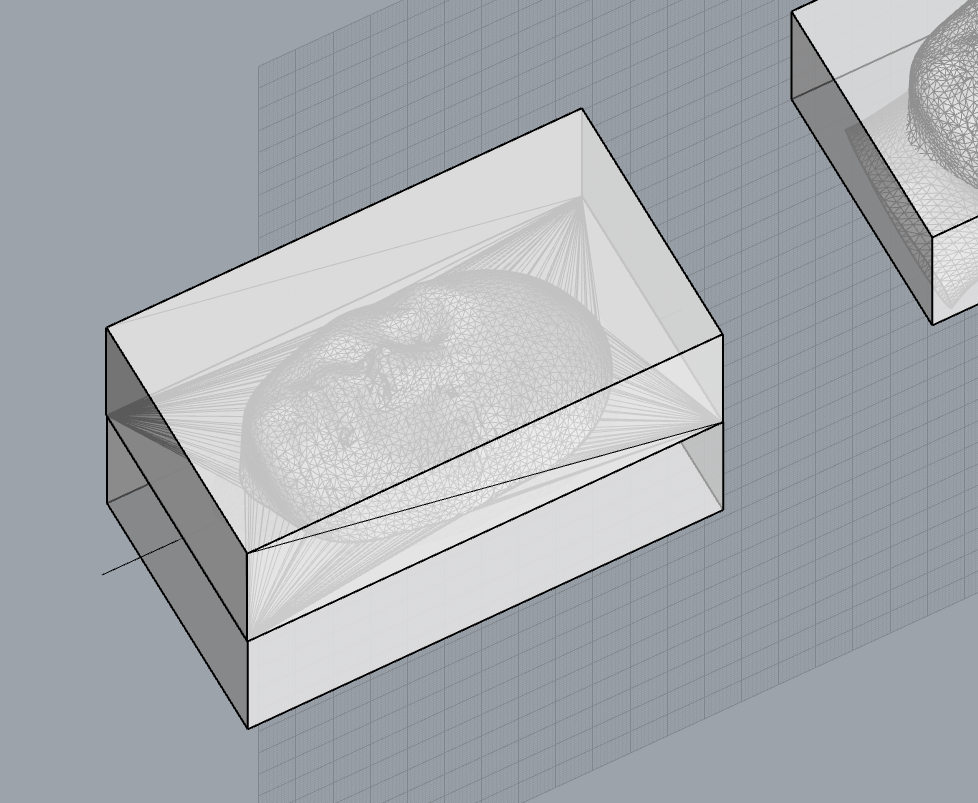
Offset |
Mesh Trim |
 |
 |
|
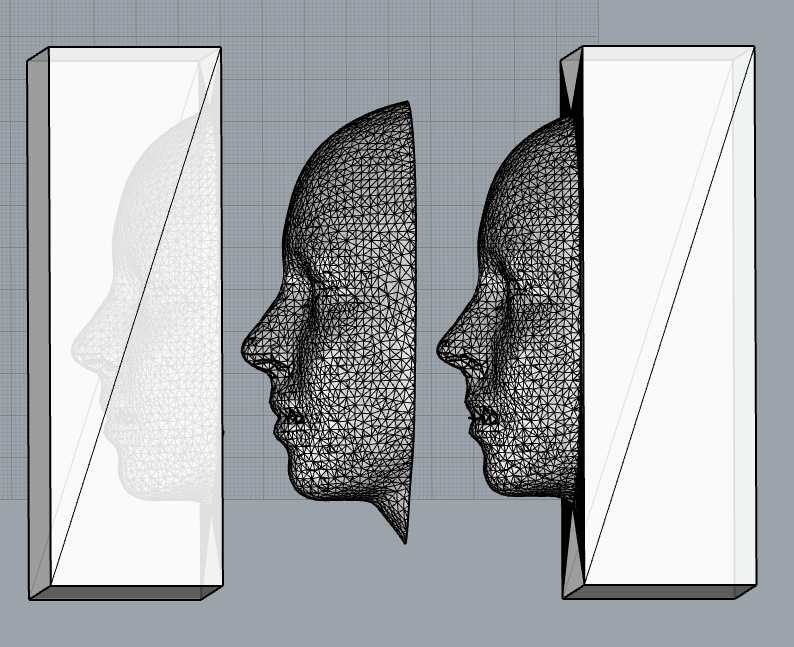
Boolean union |
Result |
 |
 |
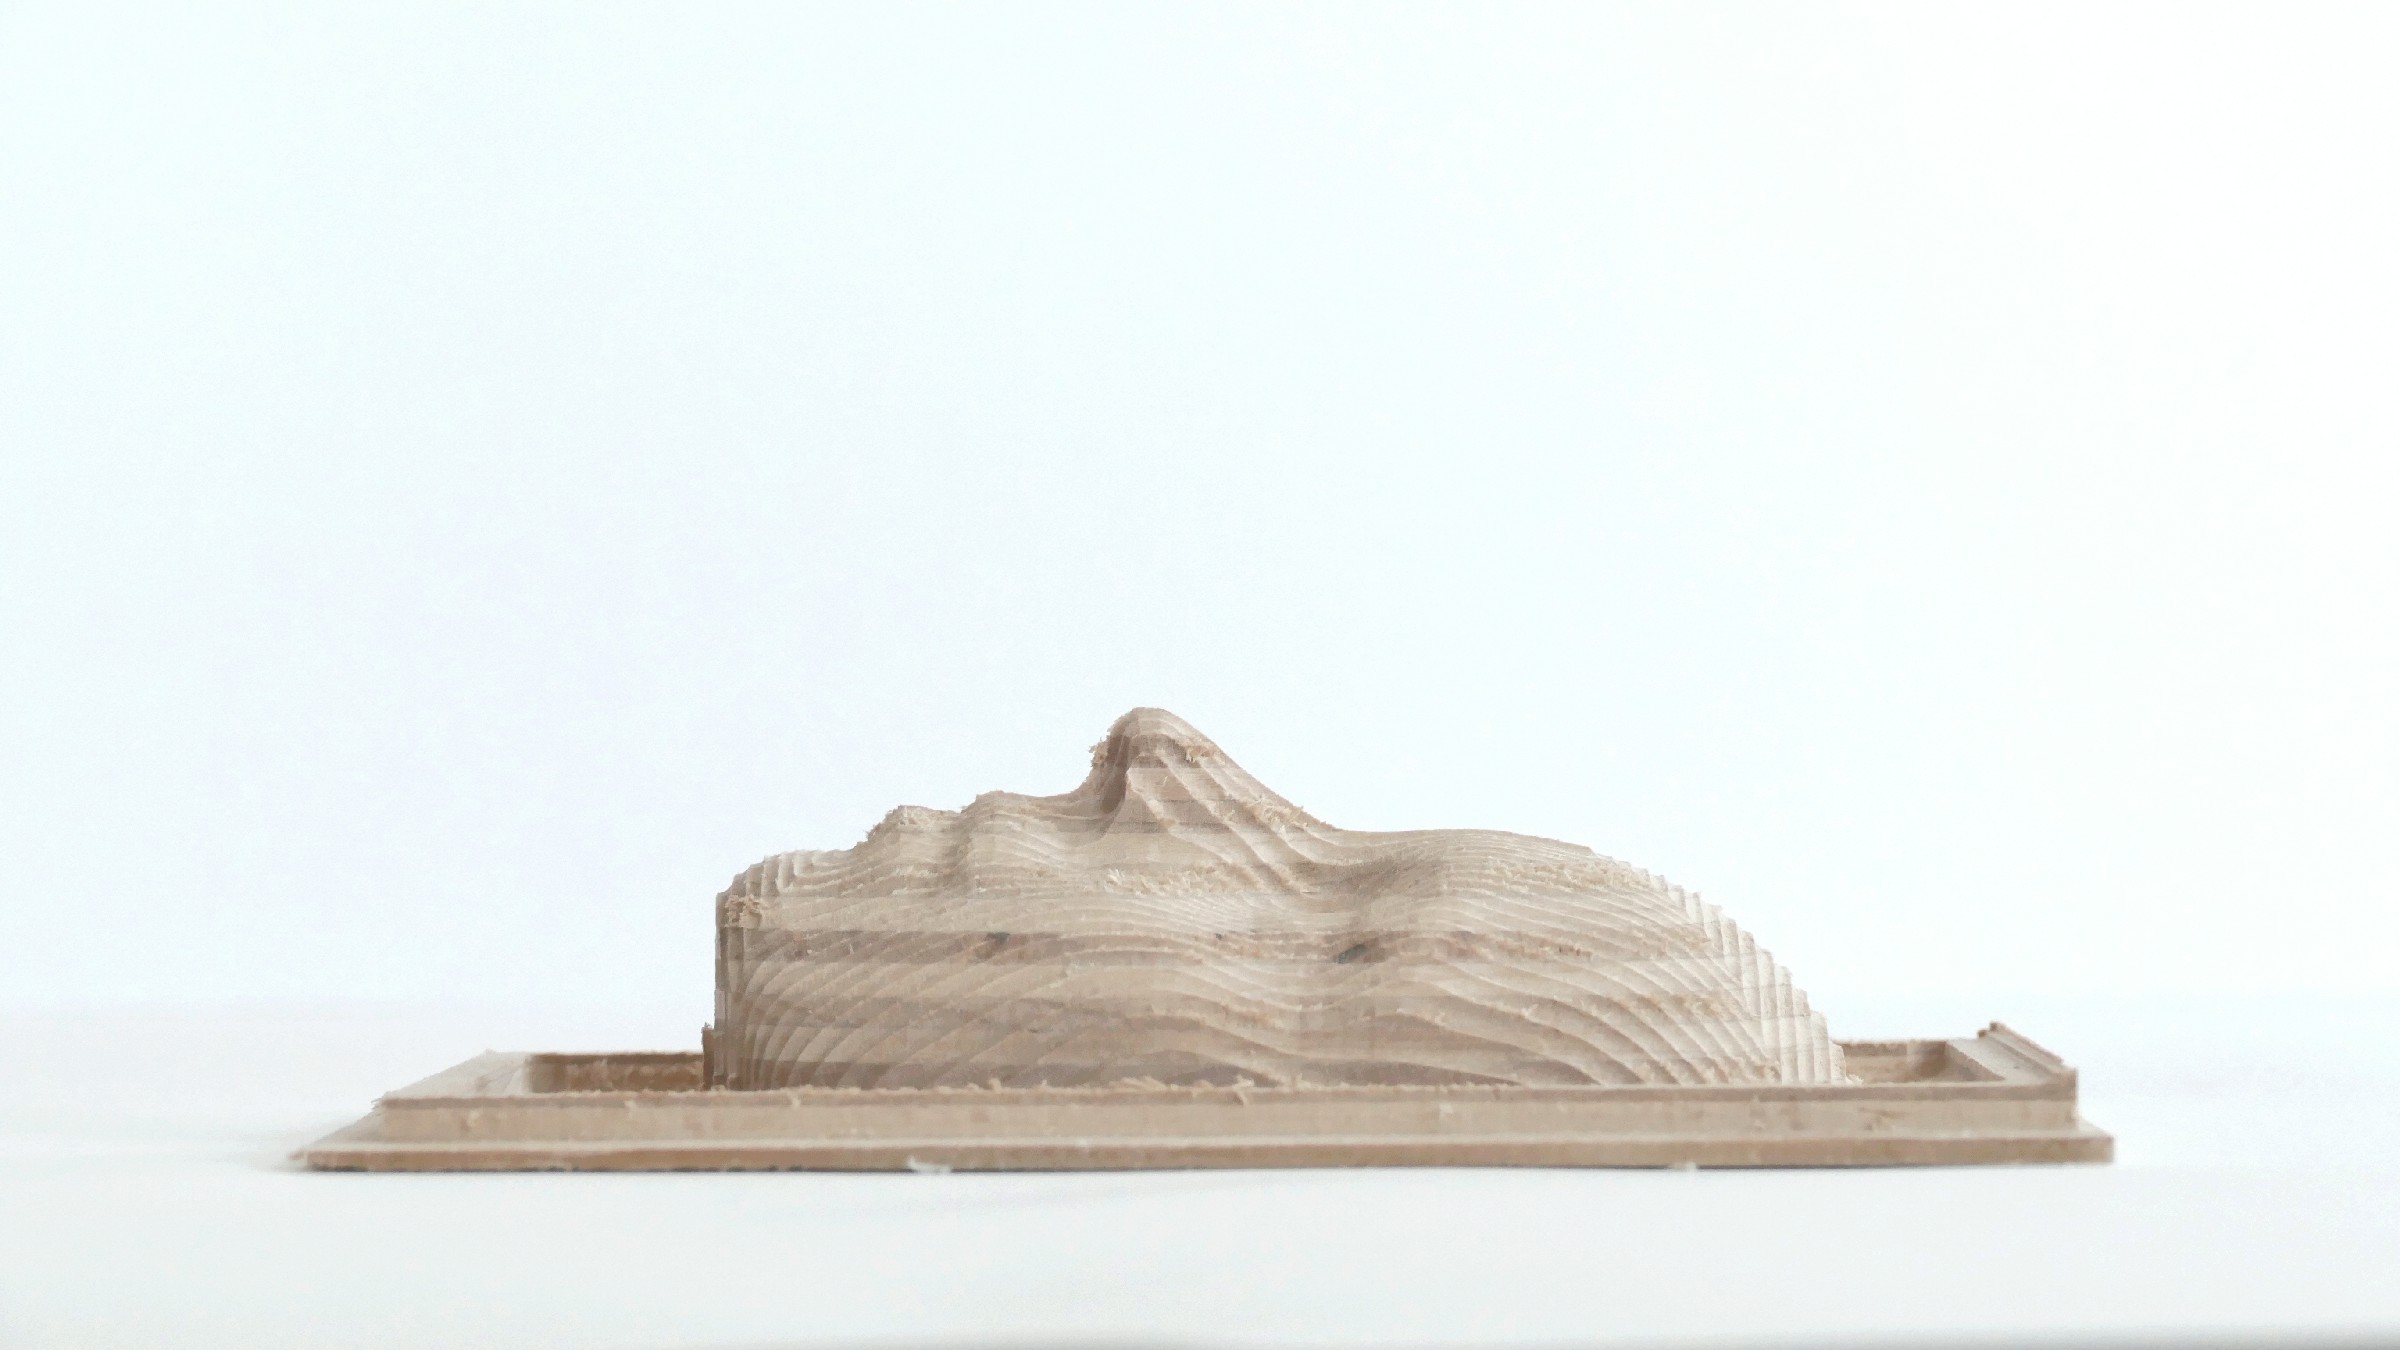
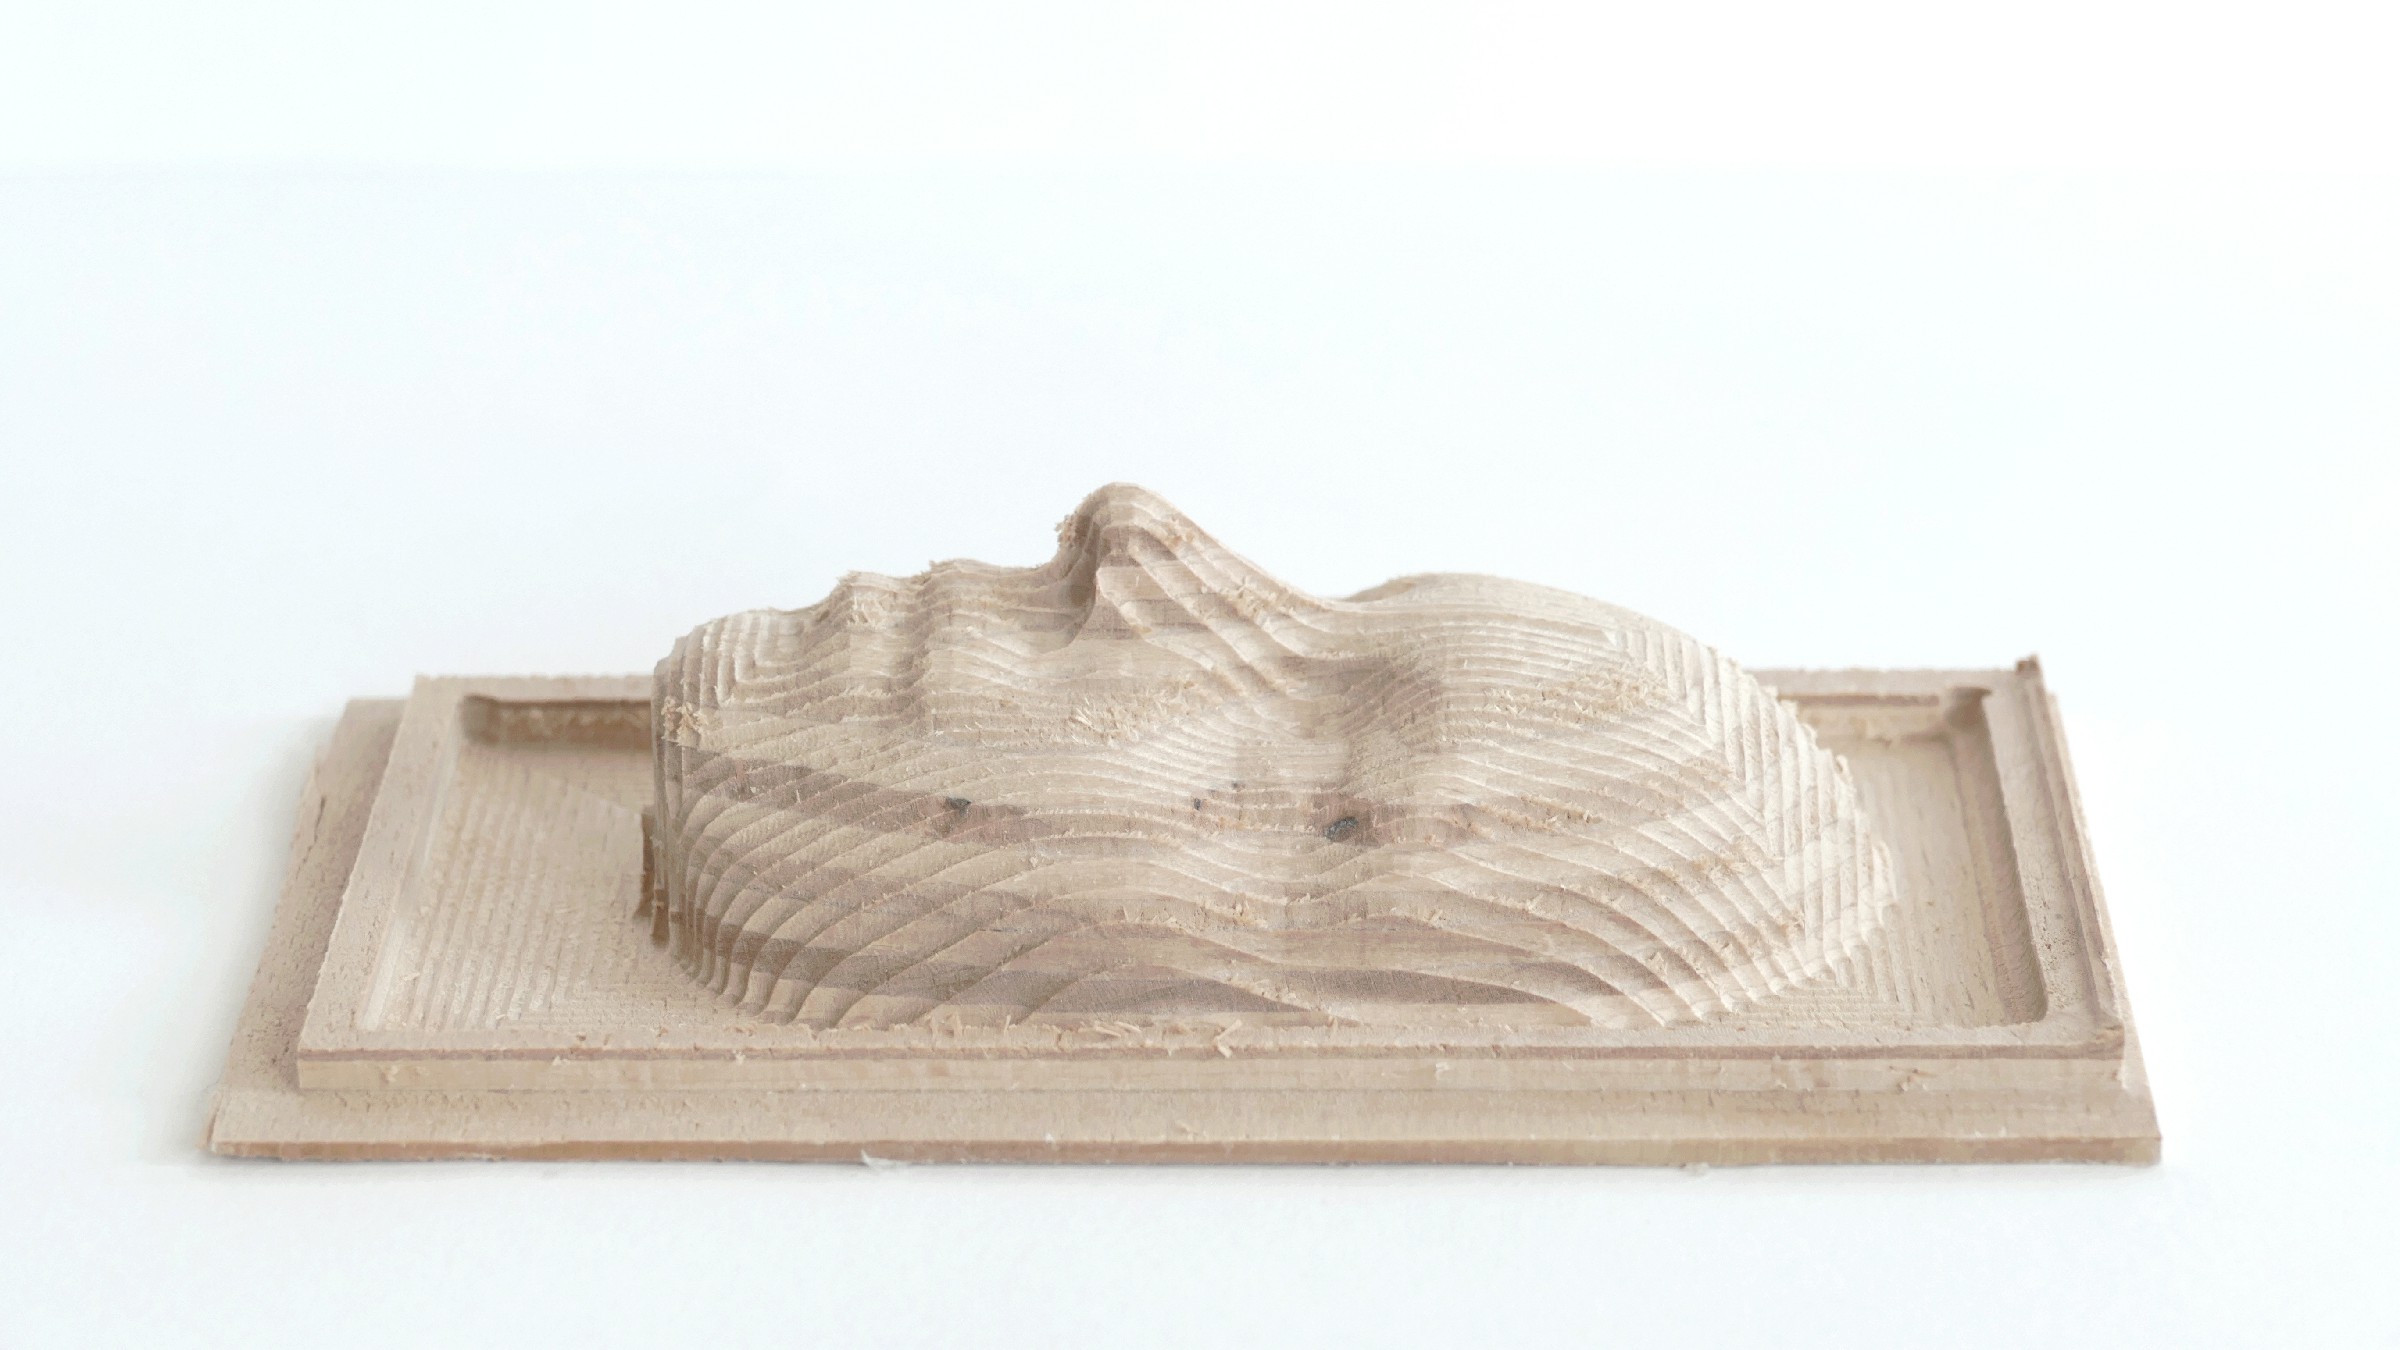
CNC milling
Afterwards, I sculpted my mold in 4cm wood thanks to a milling machine. To do so I used the software VCarve ShopBot.
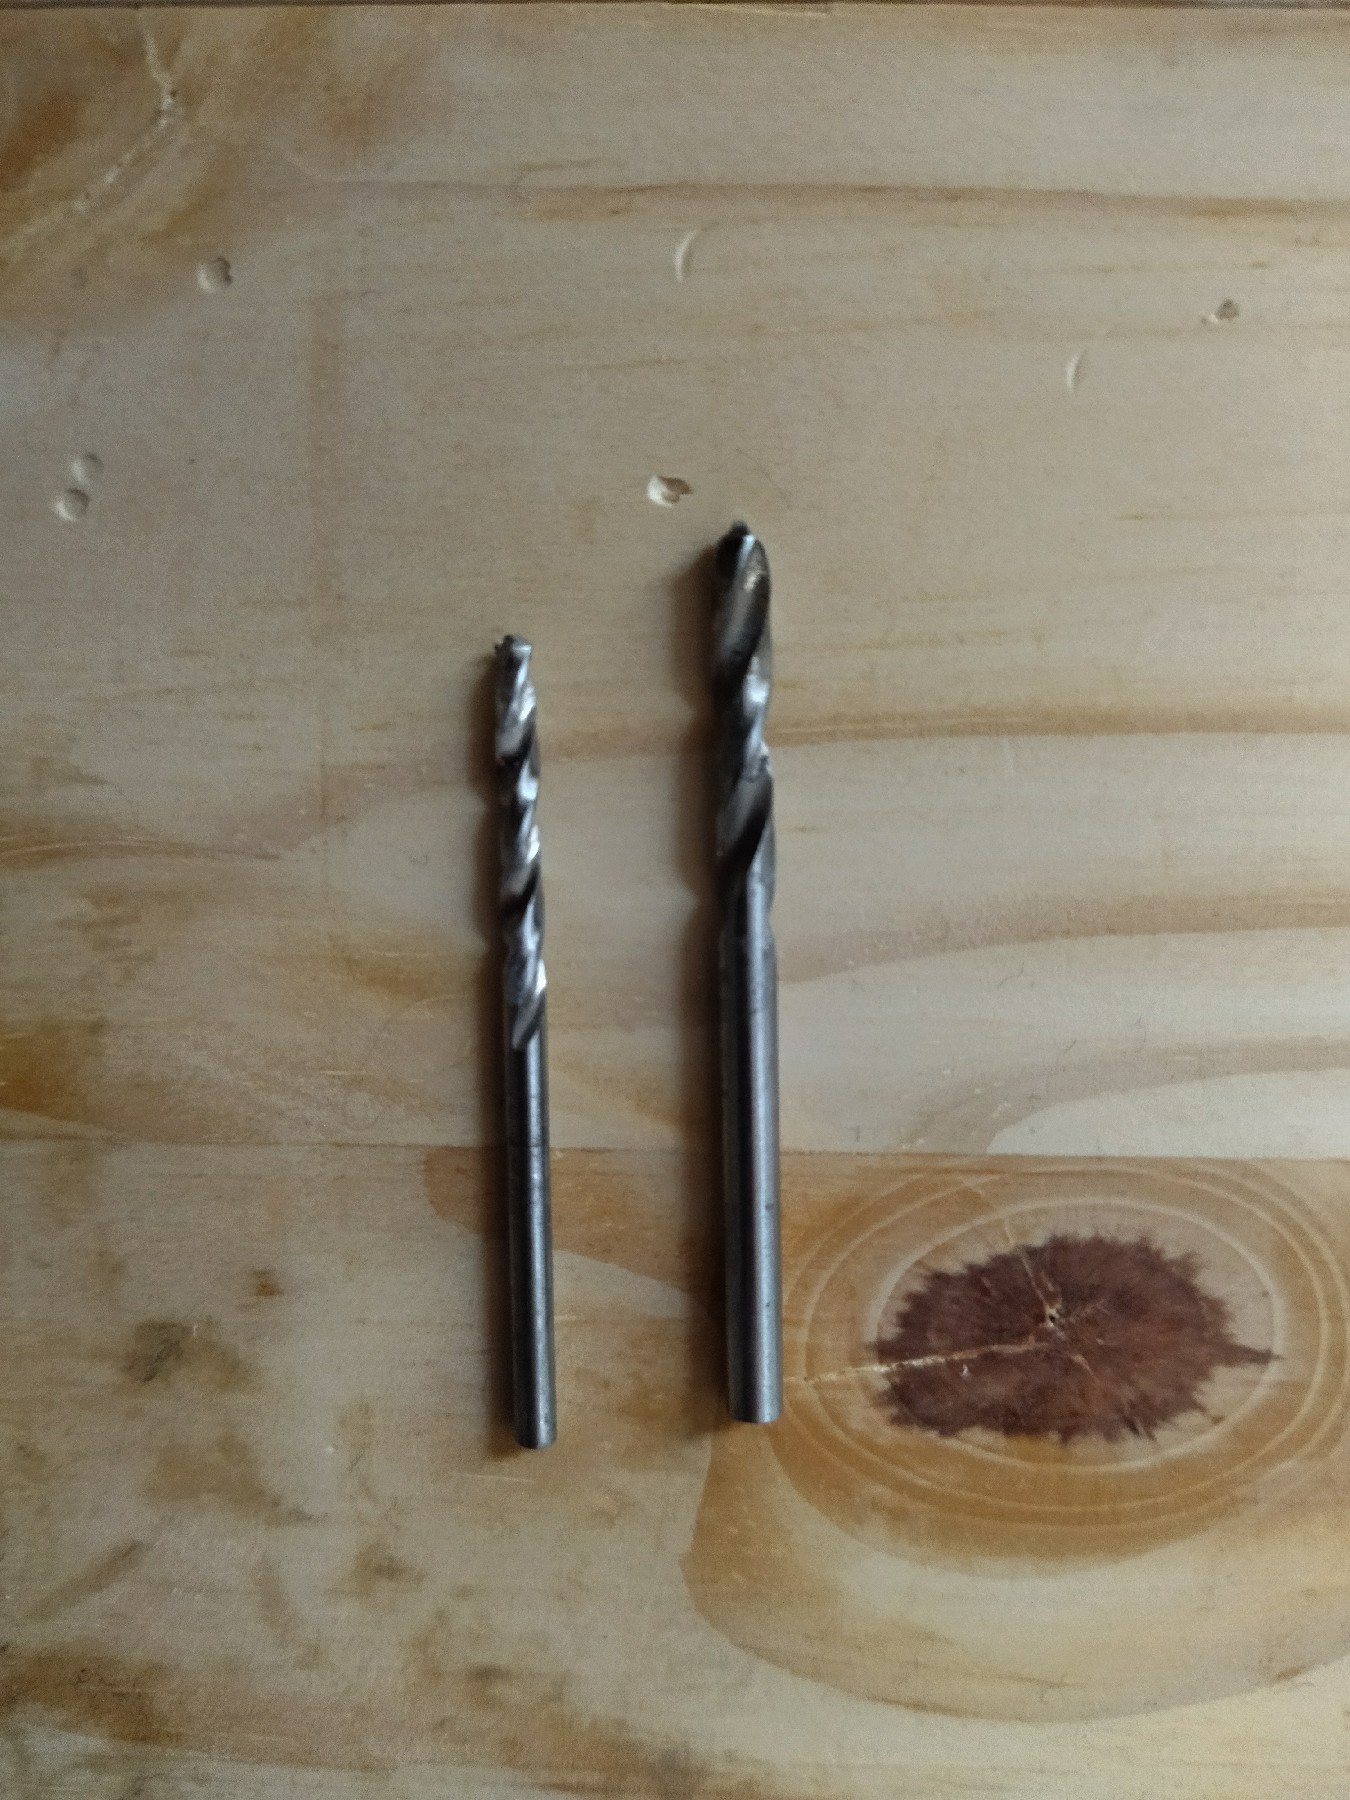
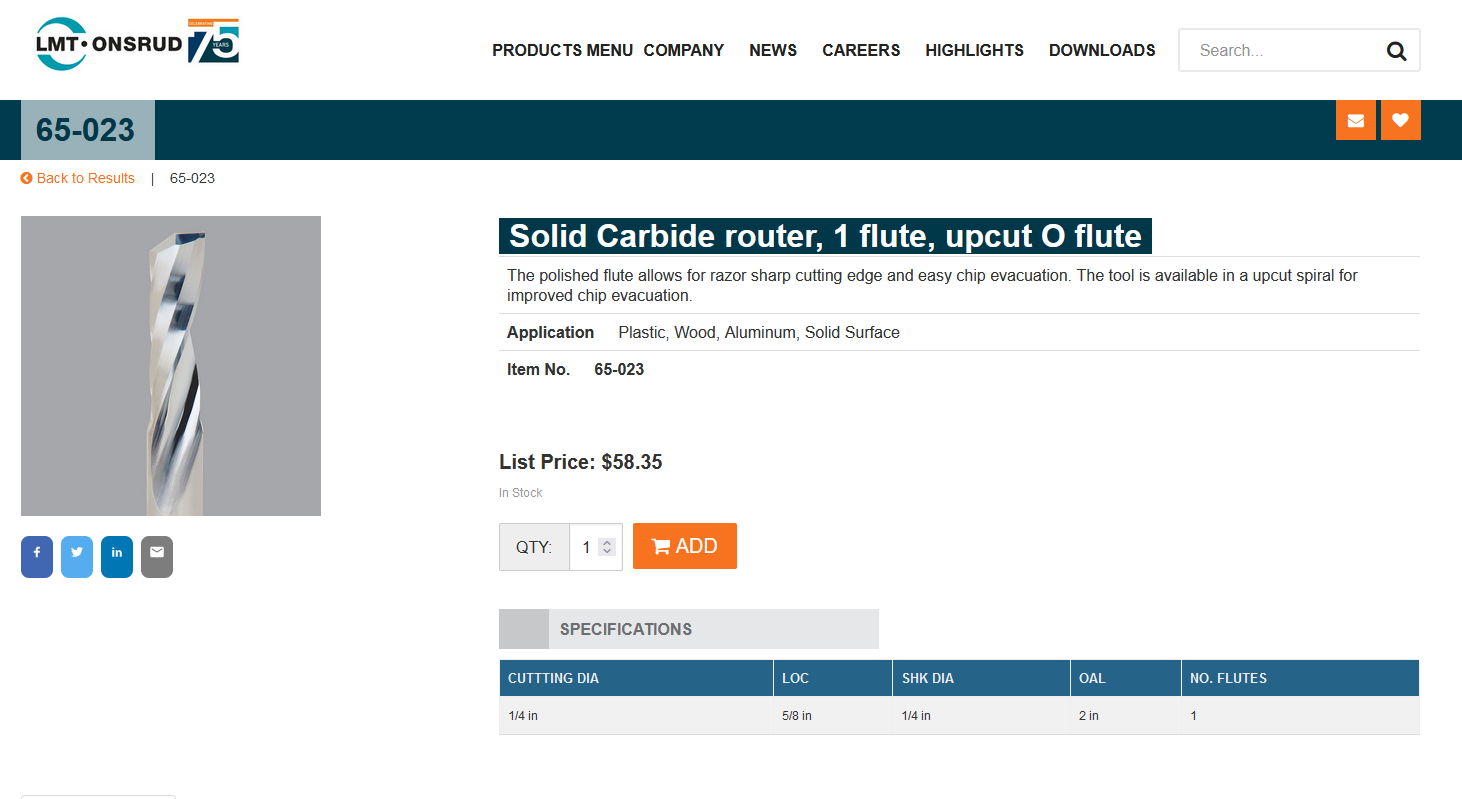
I made the mold in two passed : one rough pass and one finishing pass. The rough path is done with the 1/4' drill bit from Onsrud whose reference is 65-023. I generated the speed and feeds parameters with the help of the Fablab Speed and Feeds Calculator of the CBA.
Flute 65-023
 | |
Fablab Speed and Feeds Calculator
 |
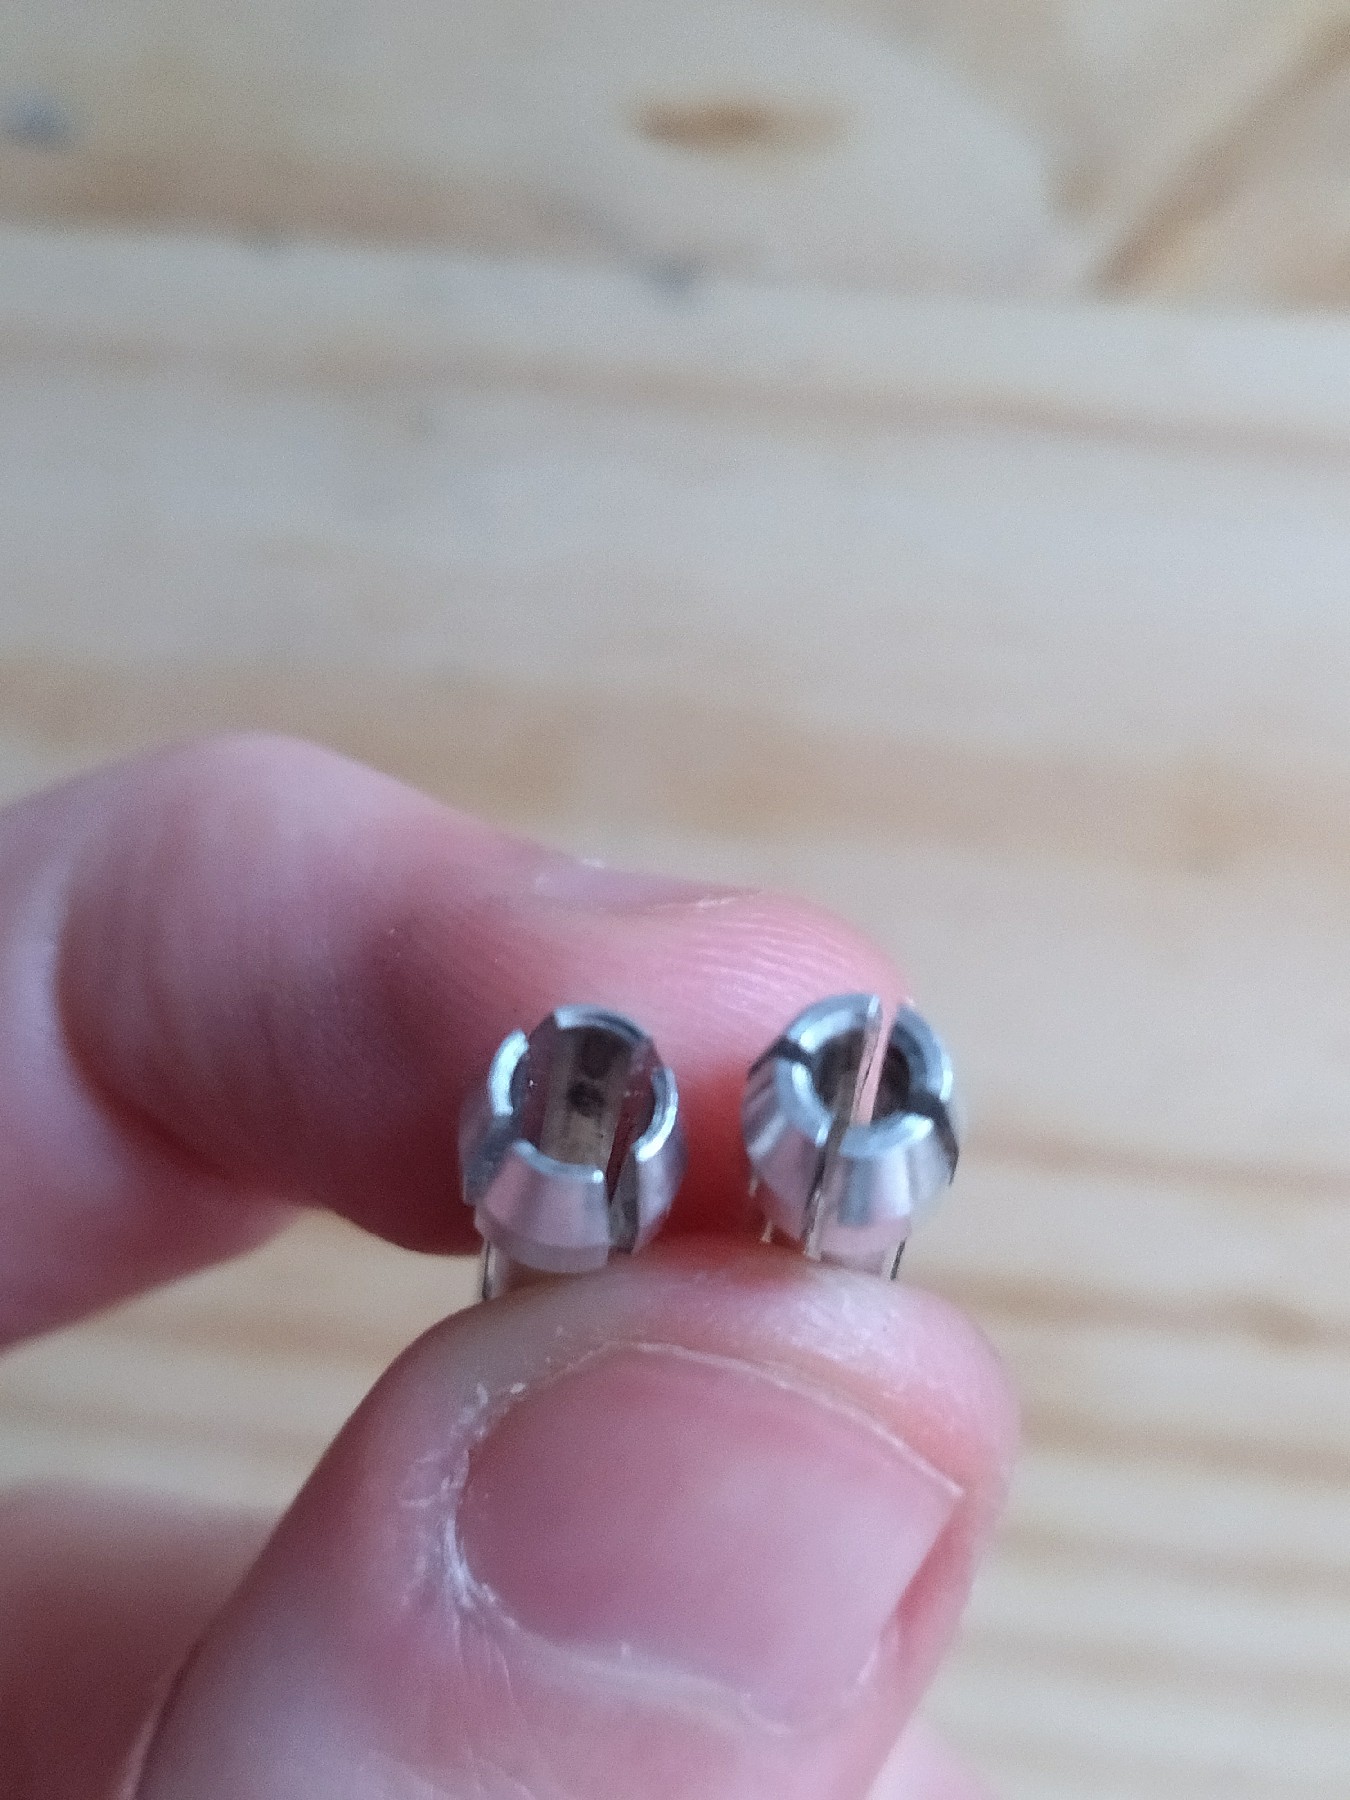
Insert the drill bit into the drill chuck. It should not be inserted completely. Keep the head of the drill bit around 1cm from the chuck. Tighten the drill chuck slightly with hands then with keys.
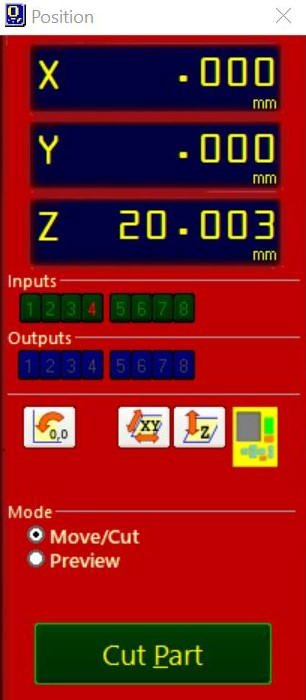
Once it's done, turn on the CNC machine, set the XYZ axis and perform a "Spindle Warmup Routine" in the software Shopbot.
Set the XYZ axis
 |
Warm up the machine
 |
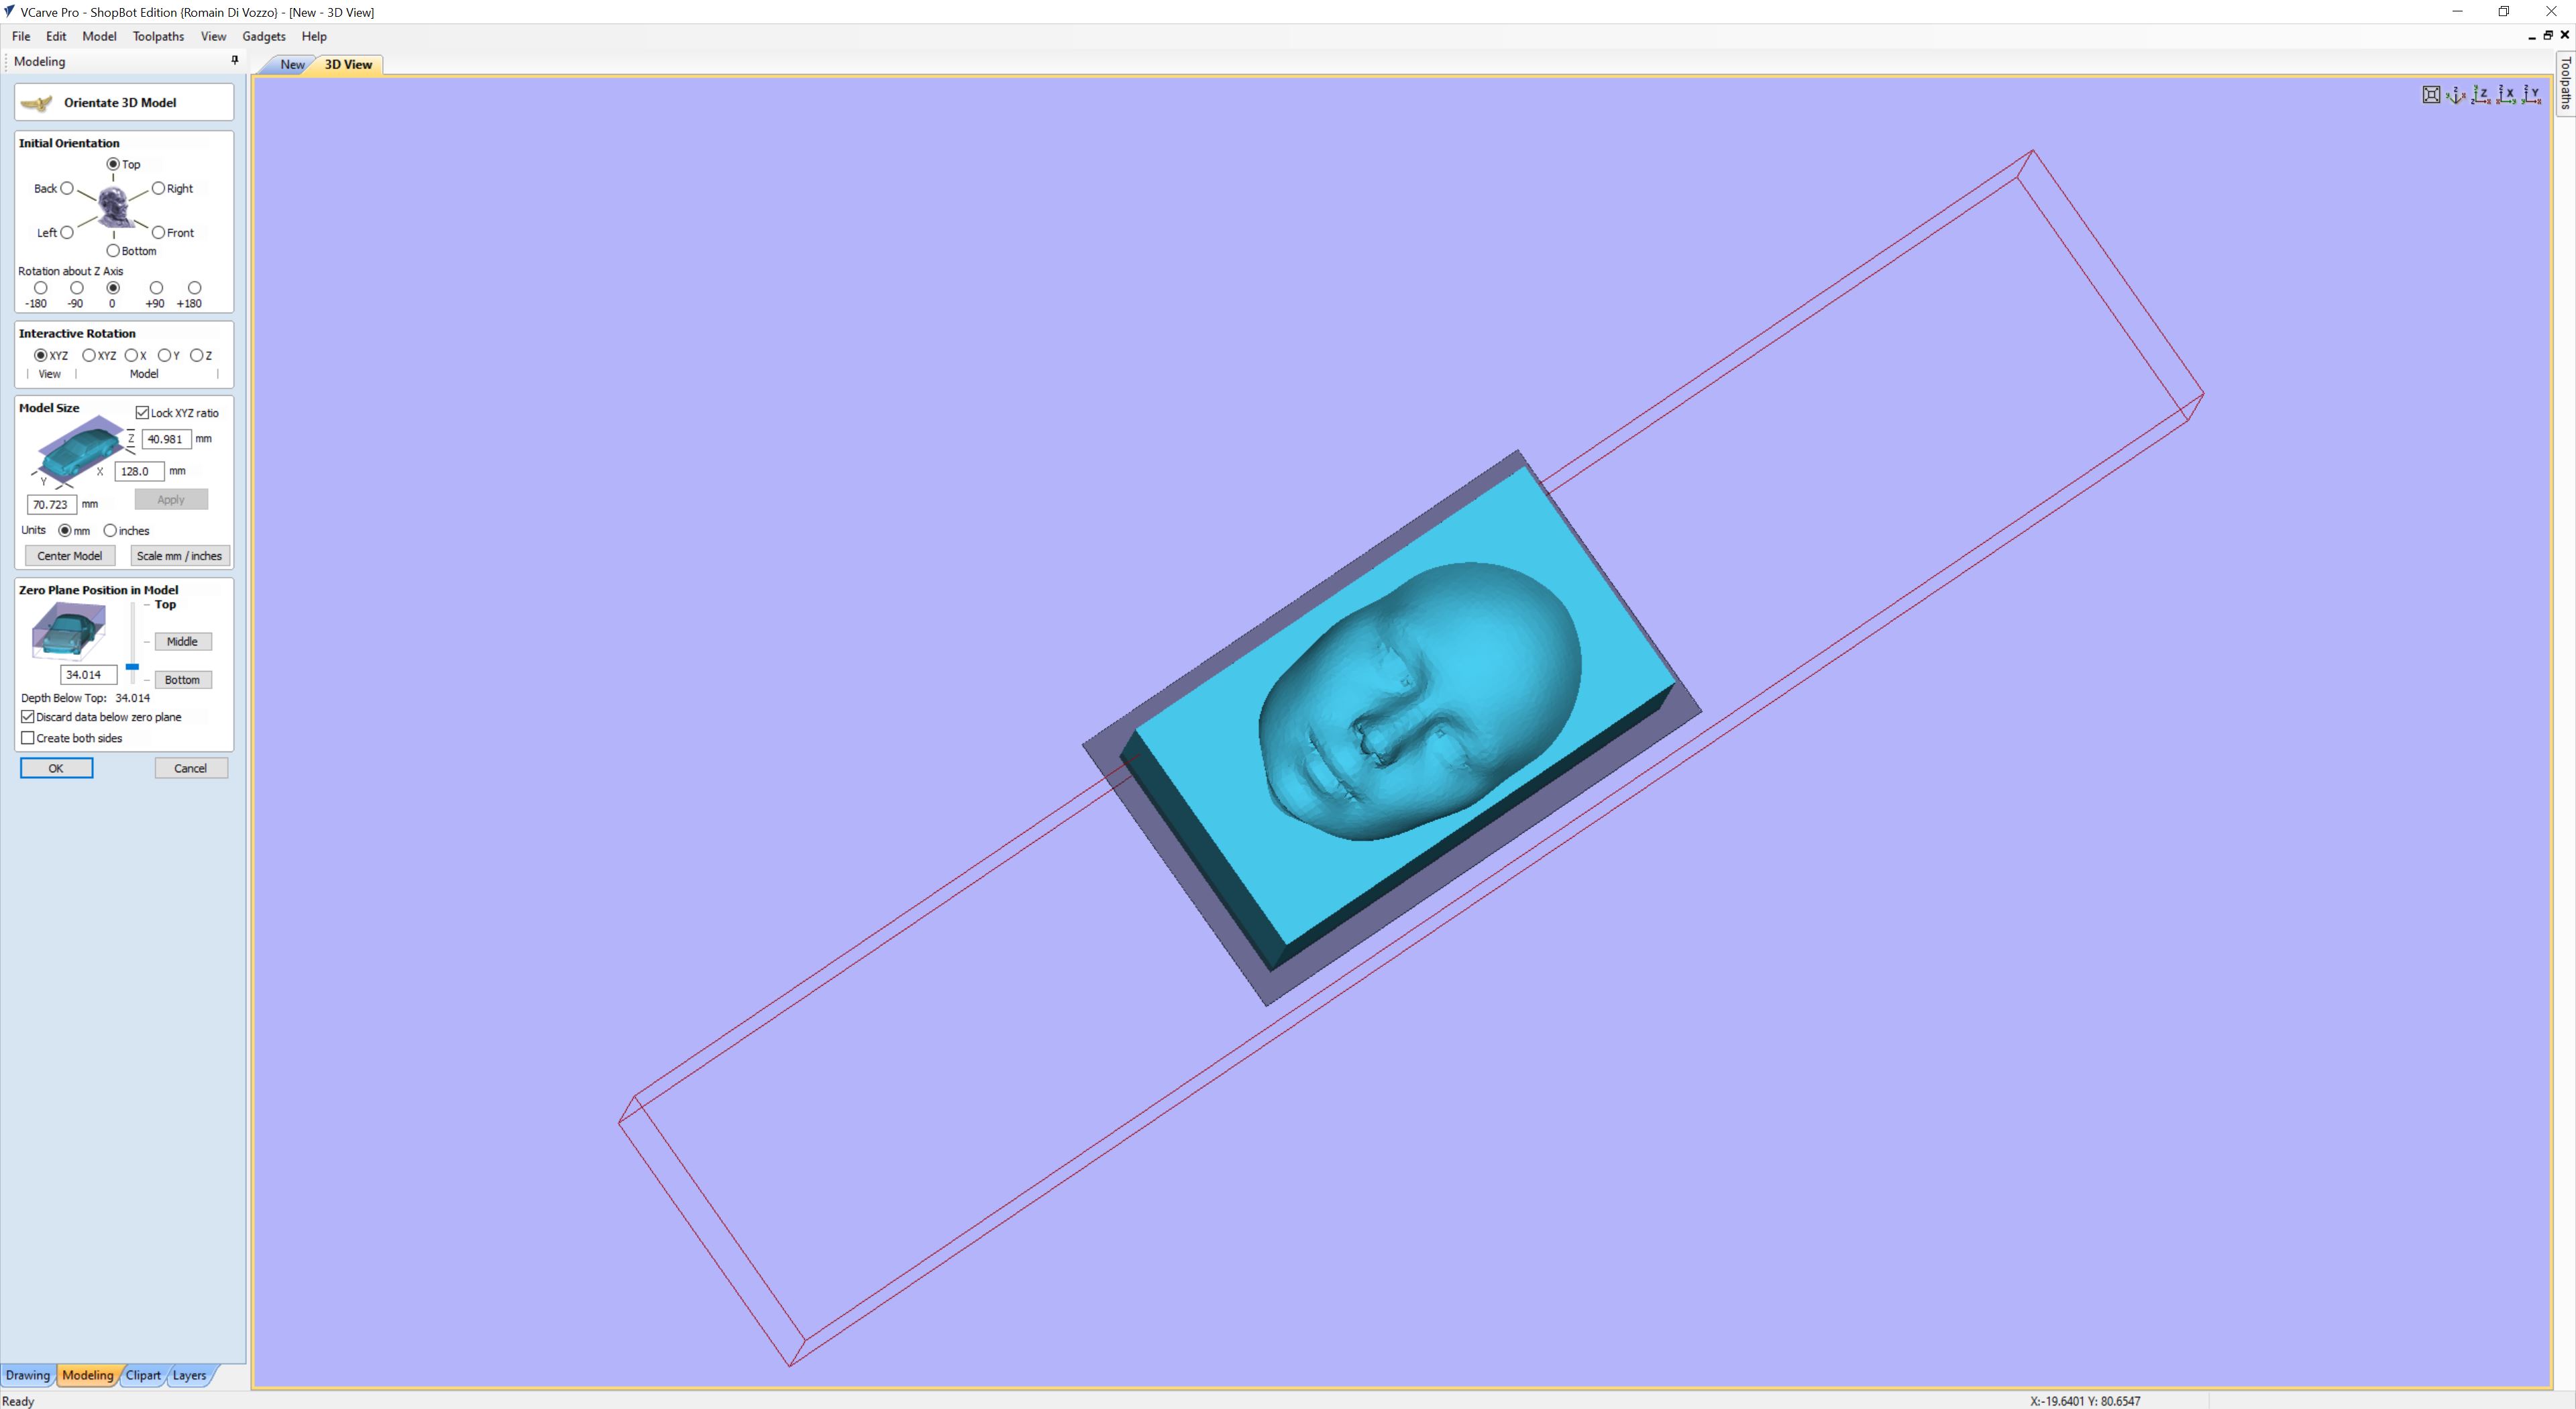
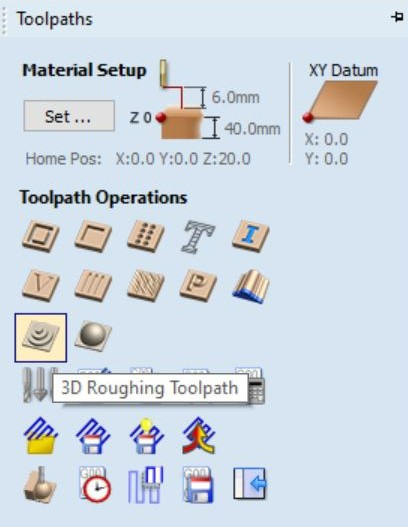
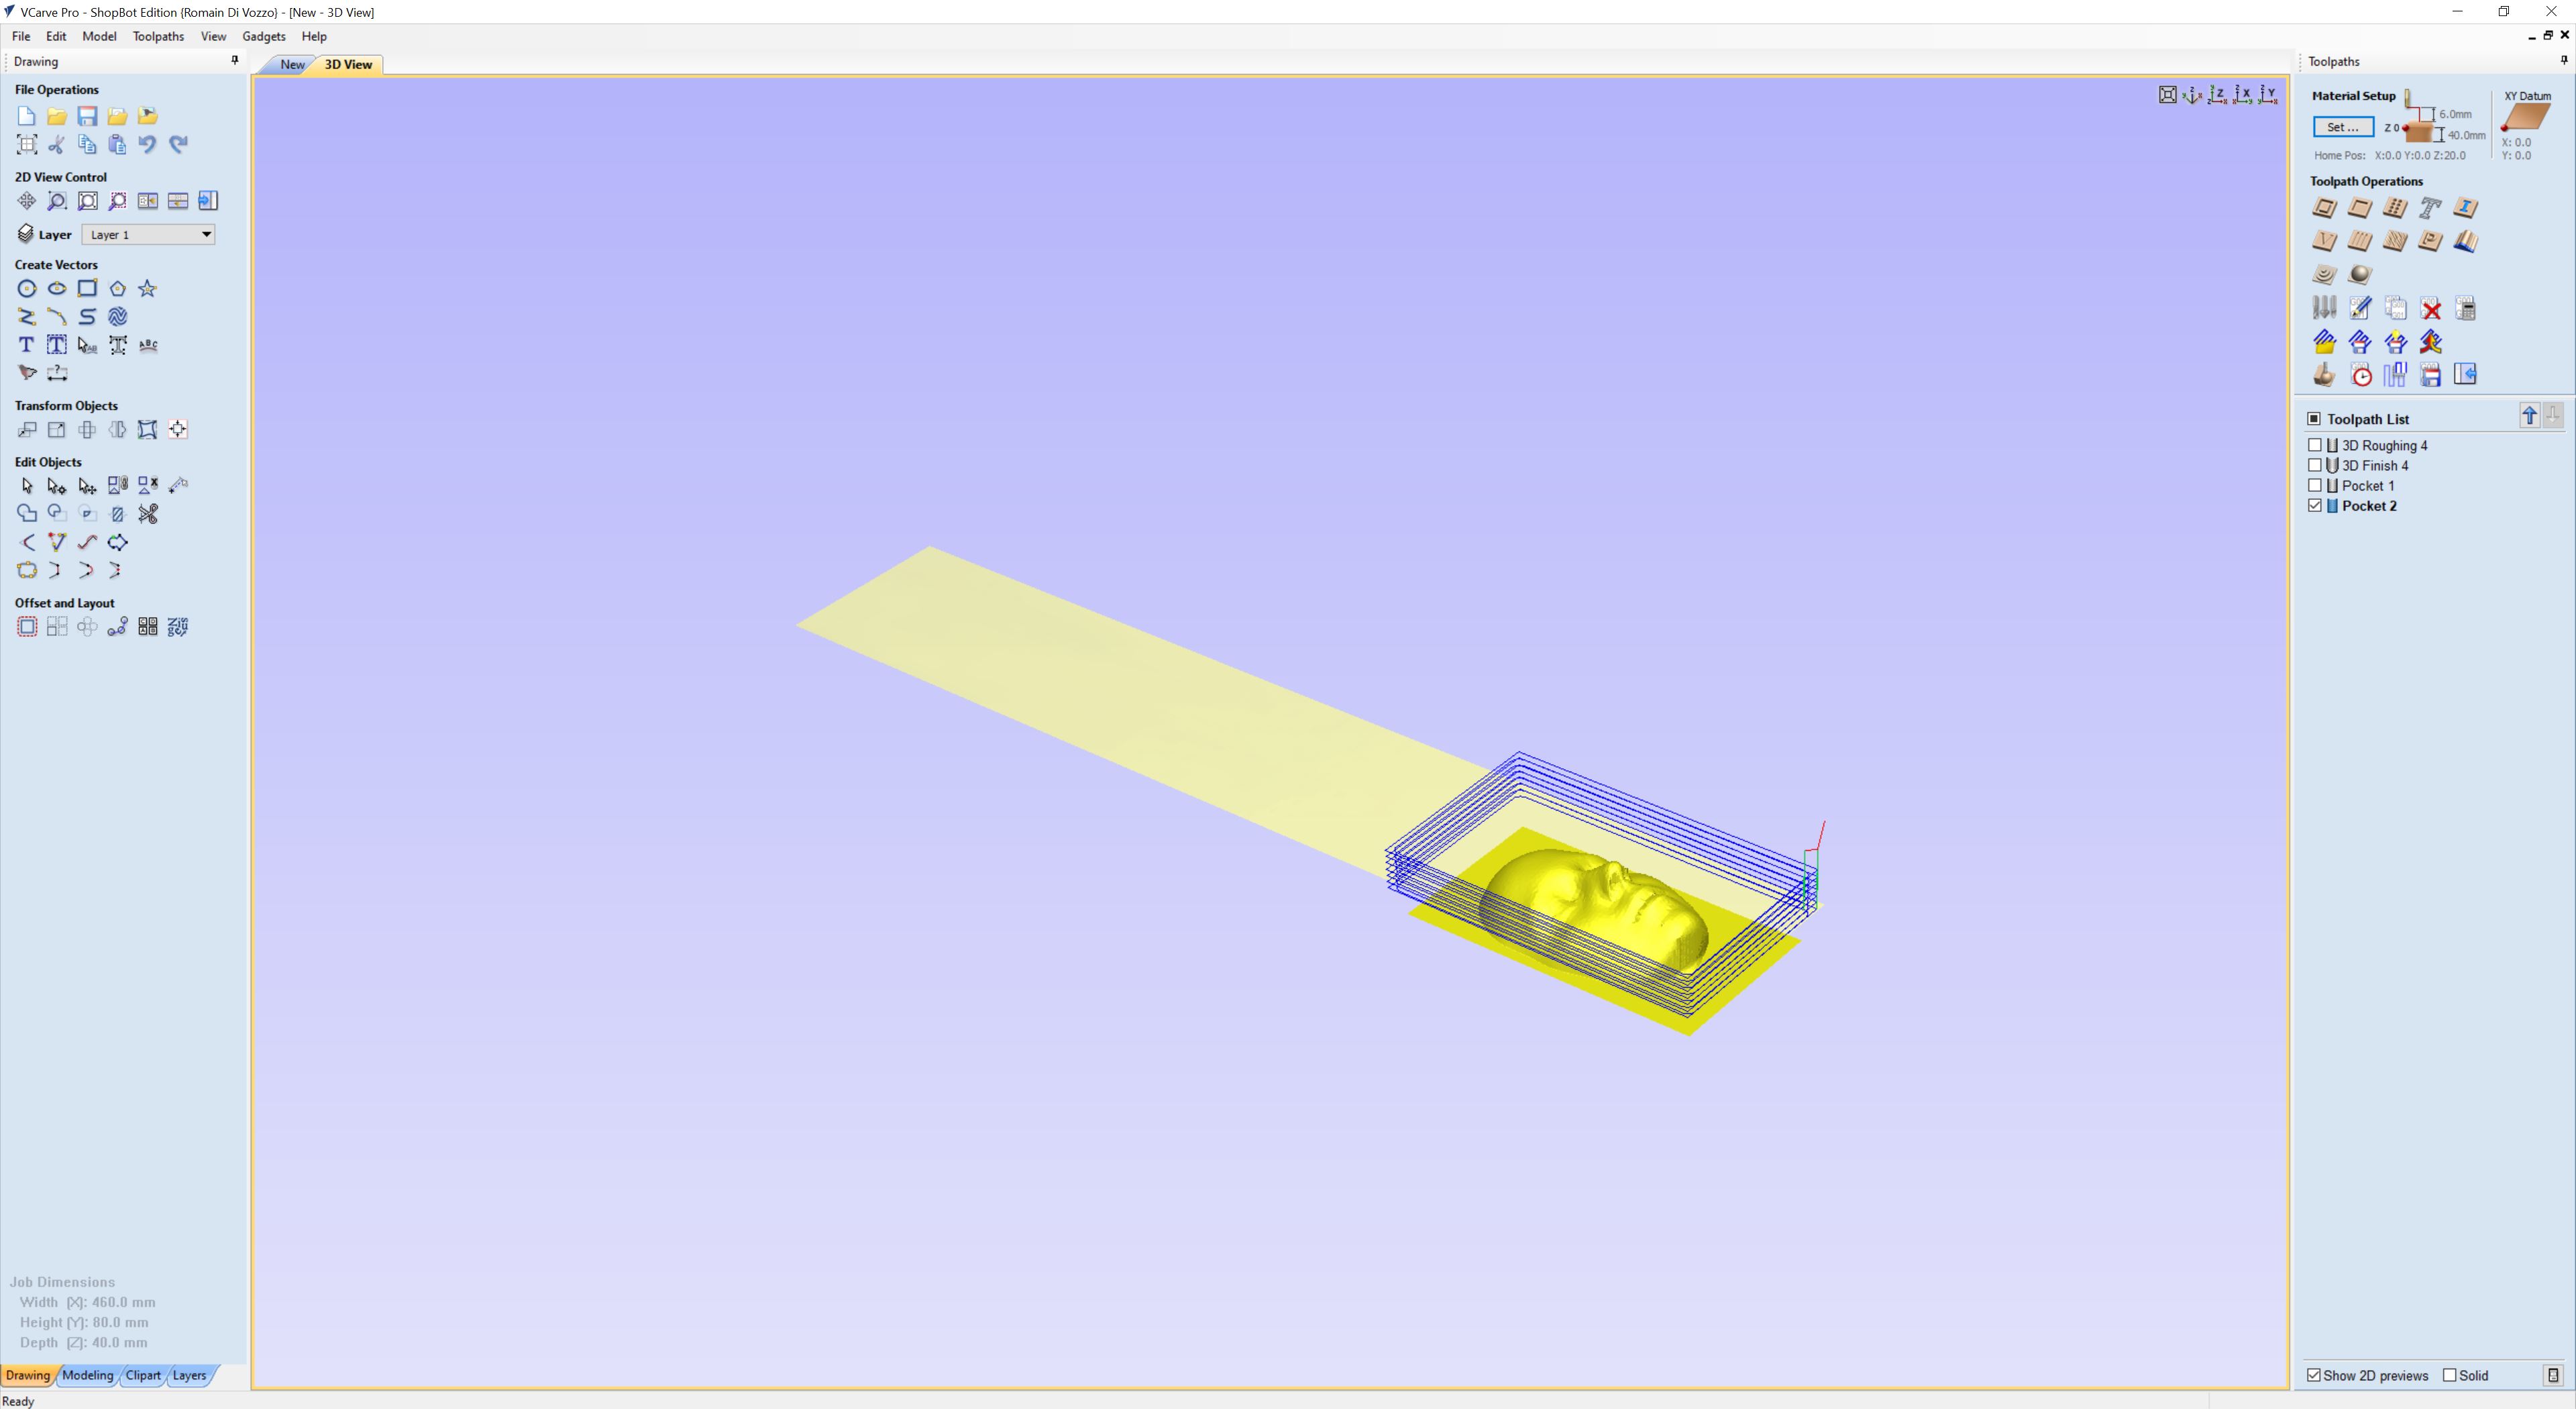
Then, import your model in VCarve, position it in the middle of the piece of wood and launch the simulation of the rough pass.
Position the 3D model
|
|
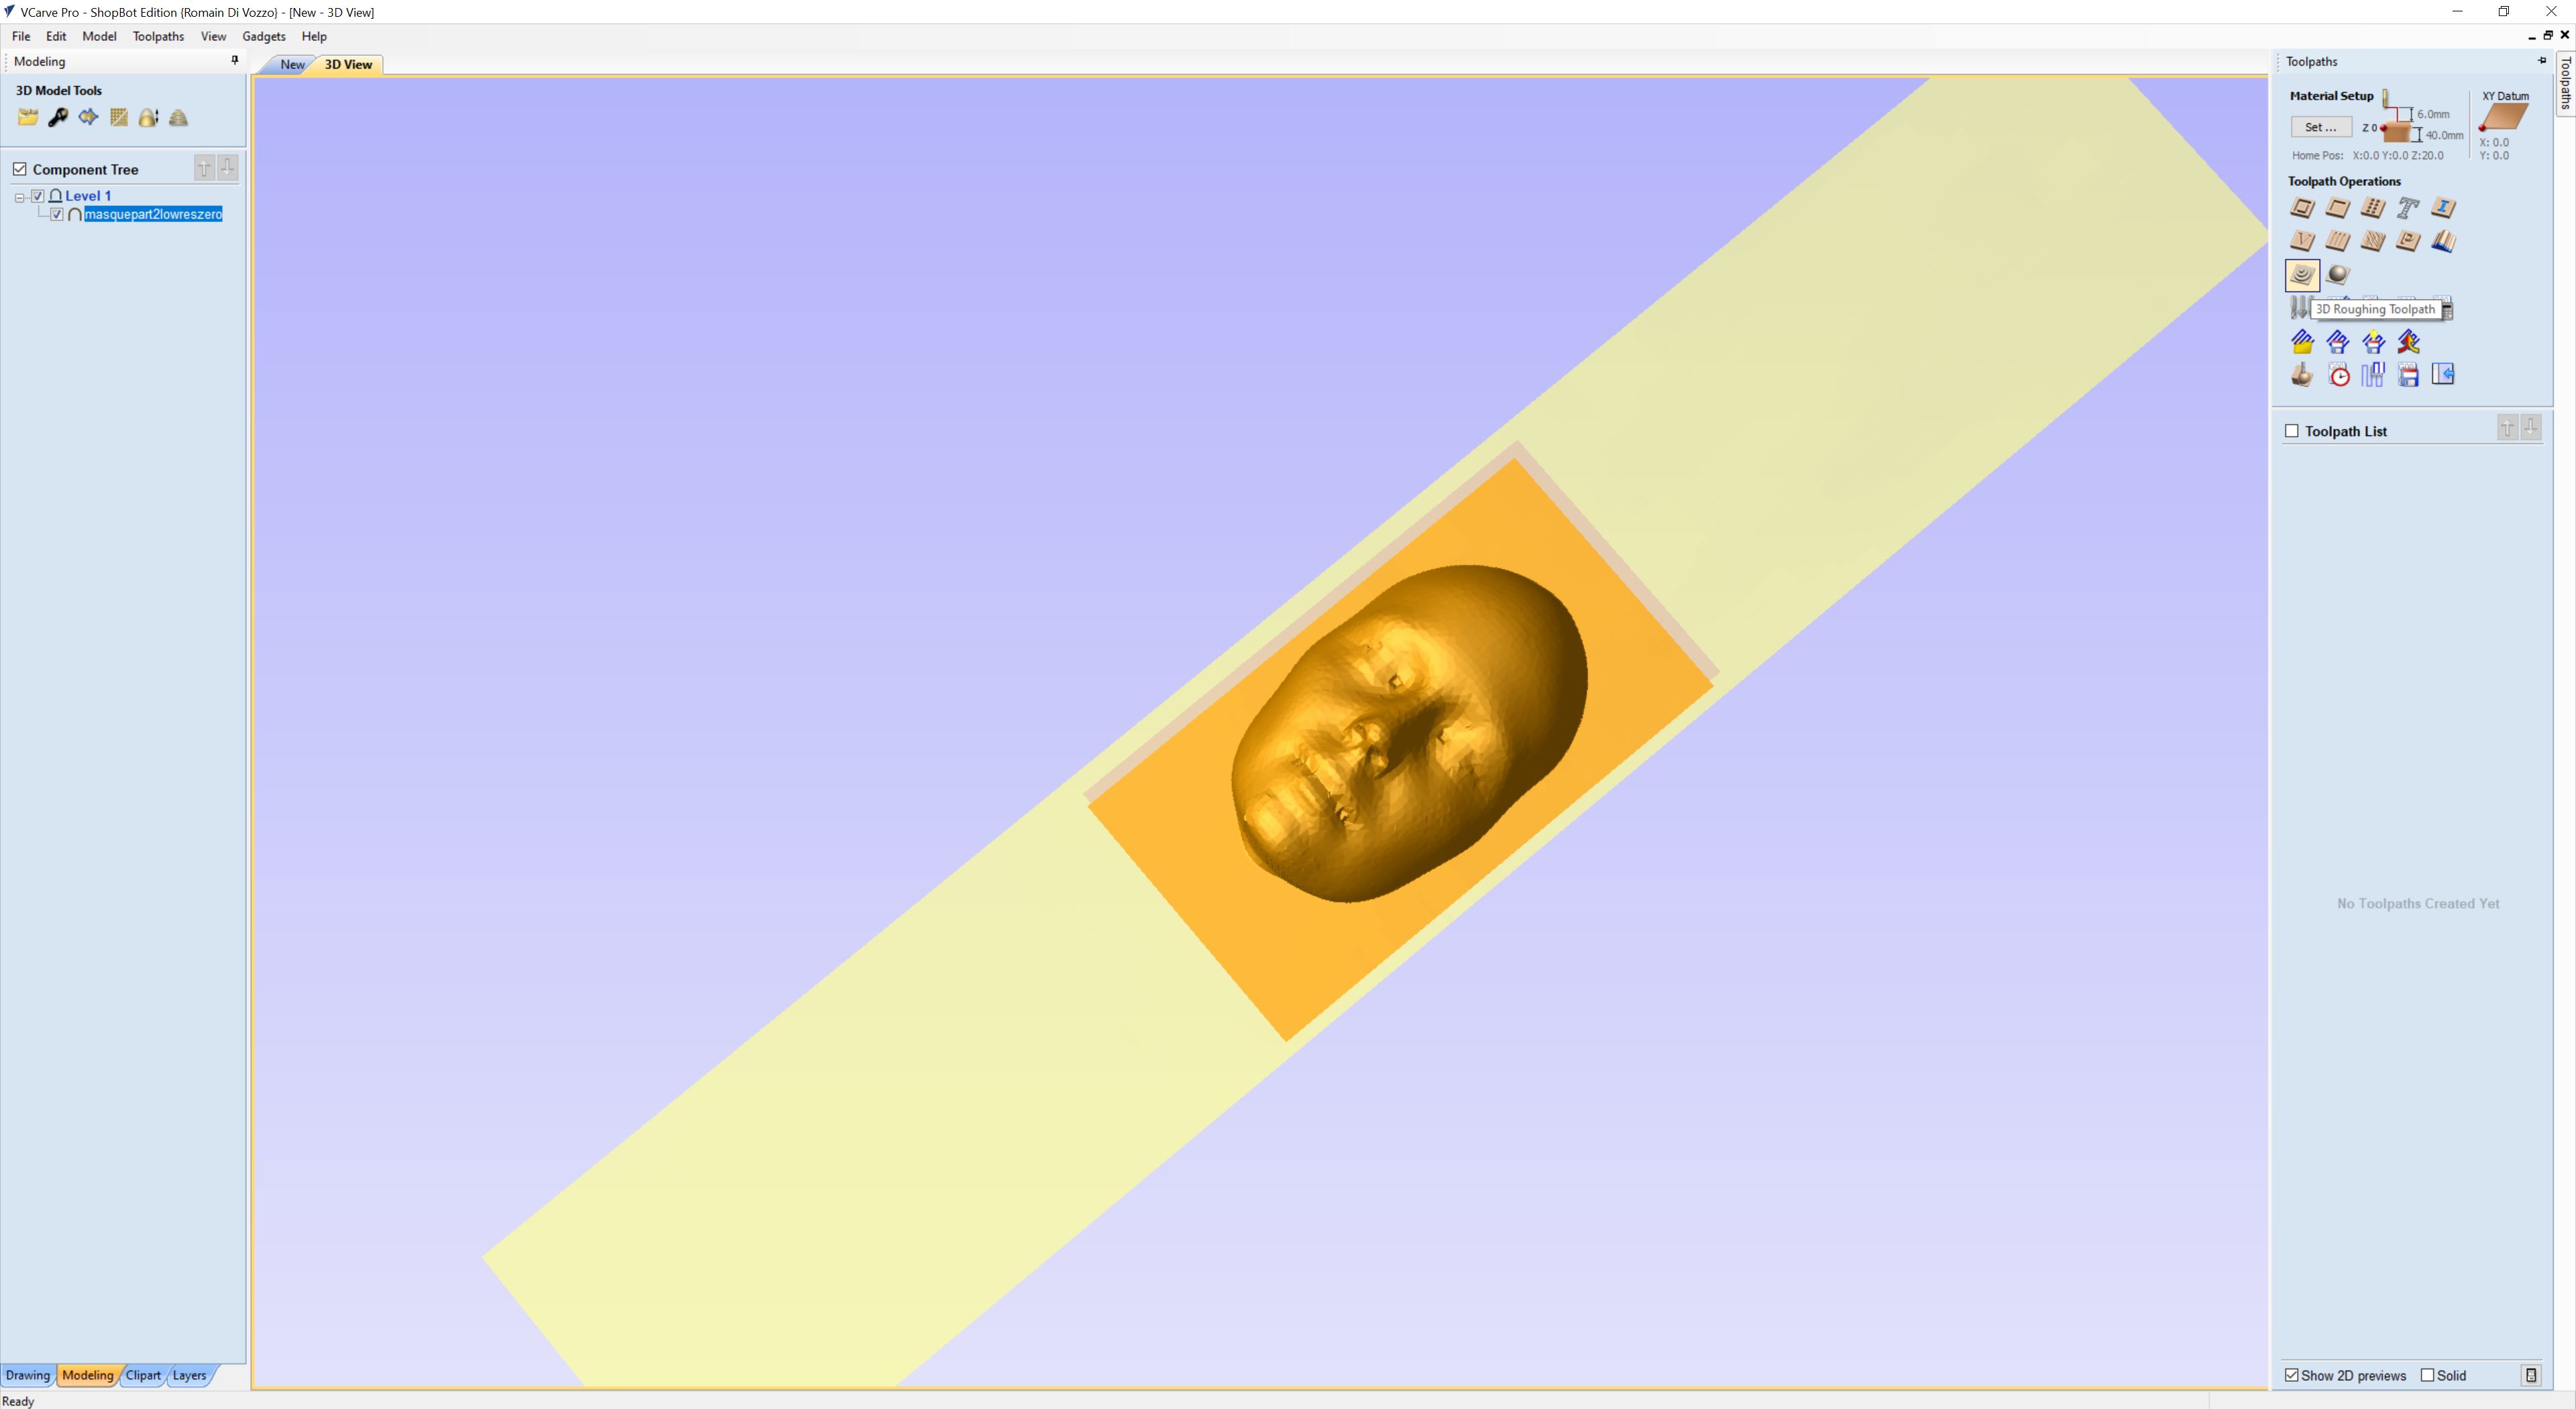
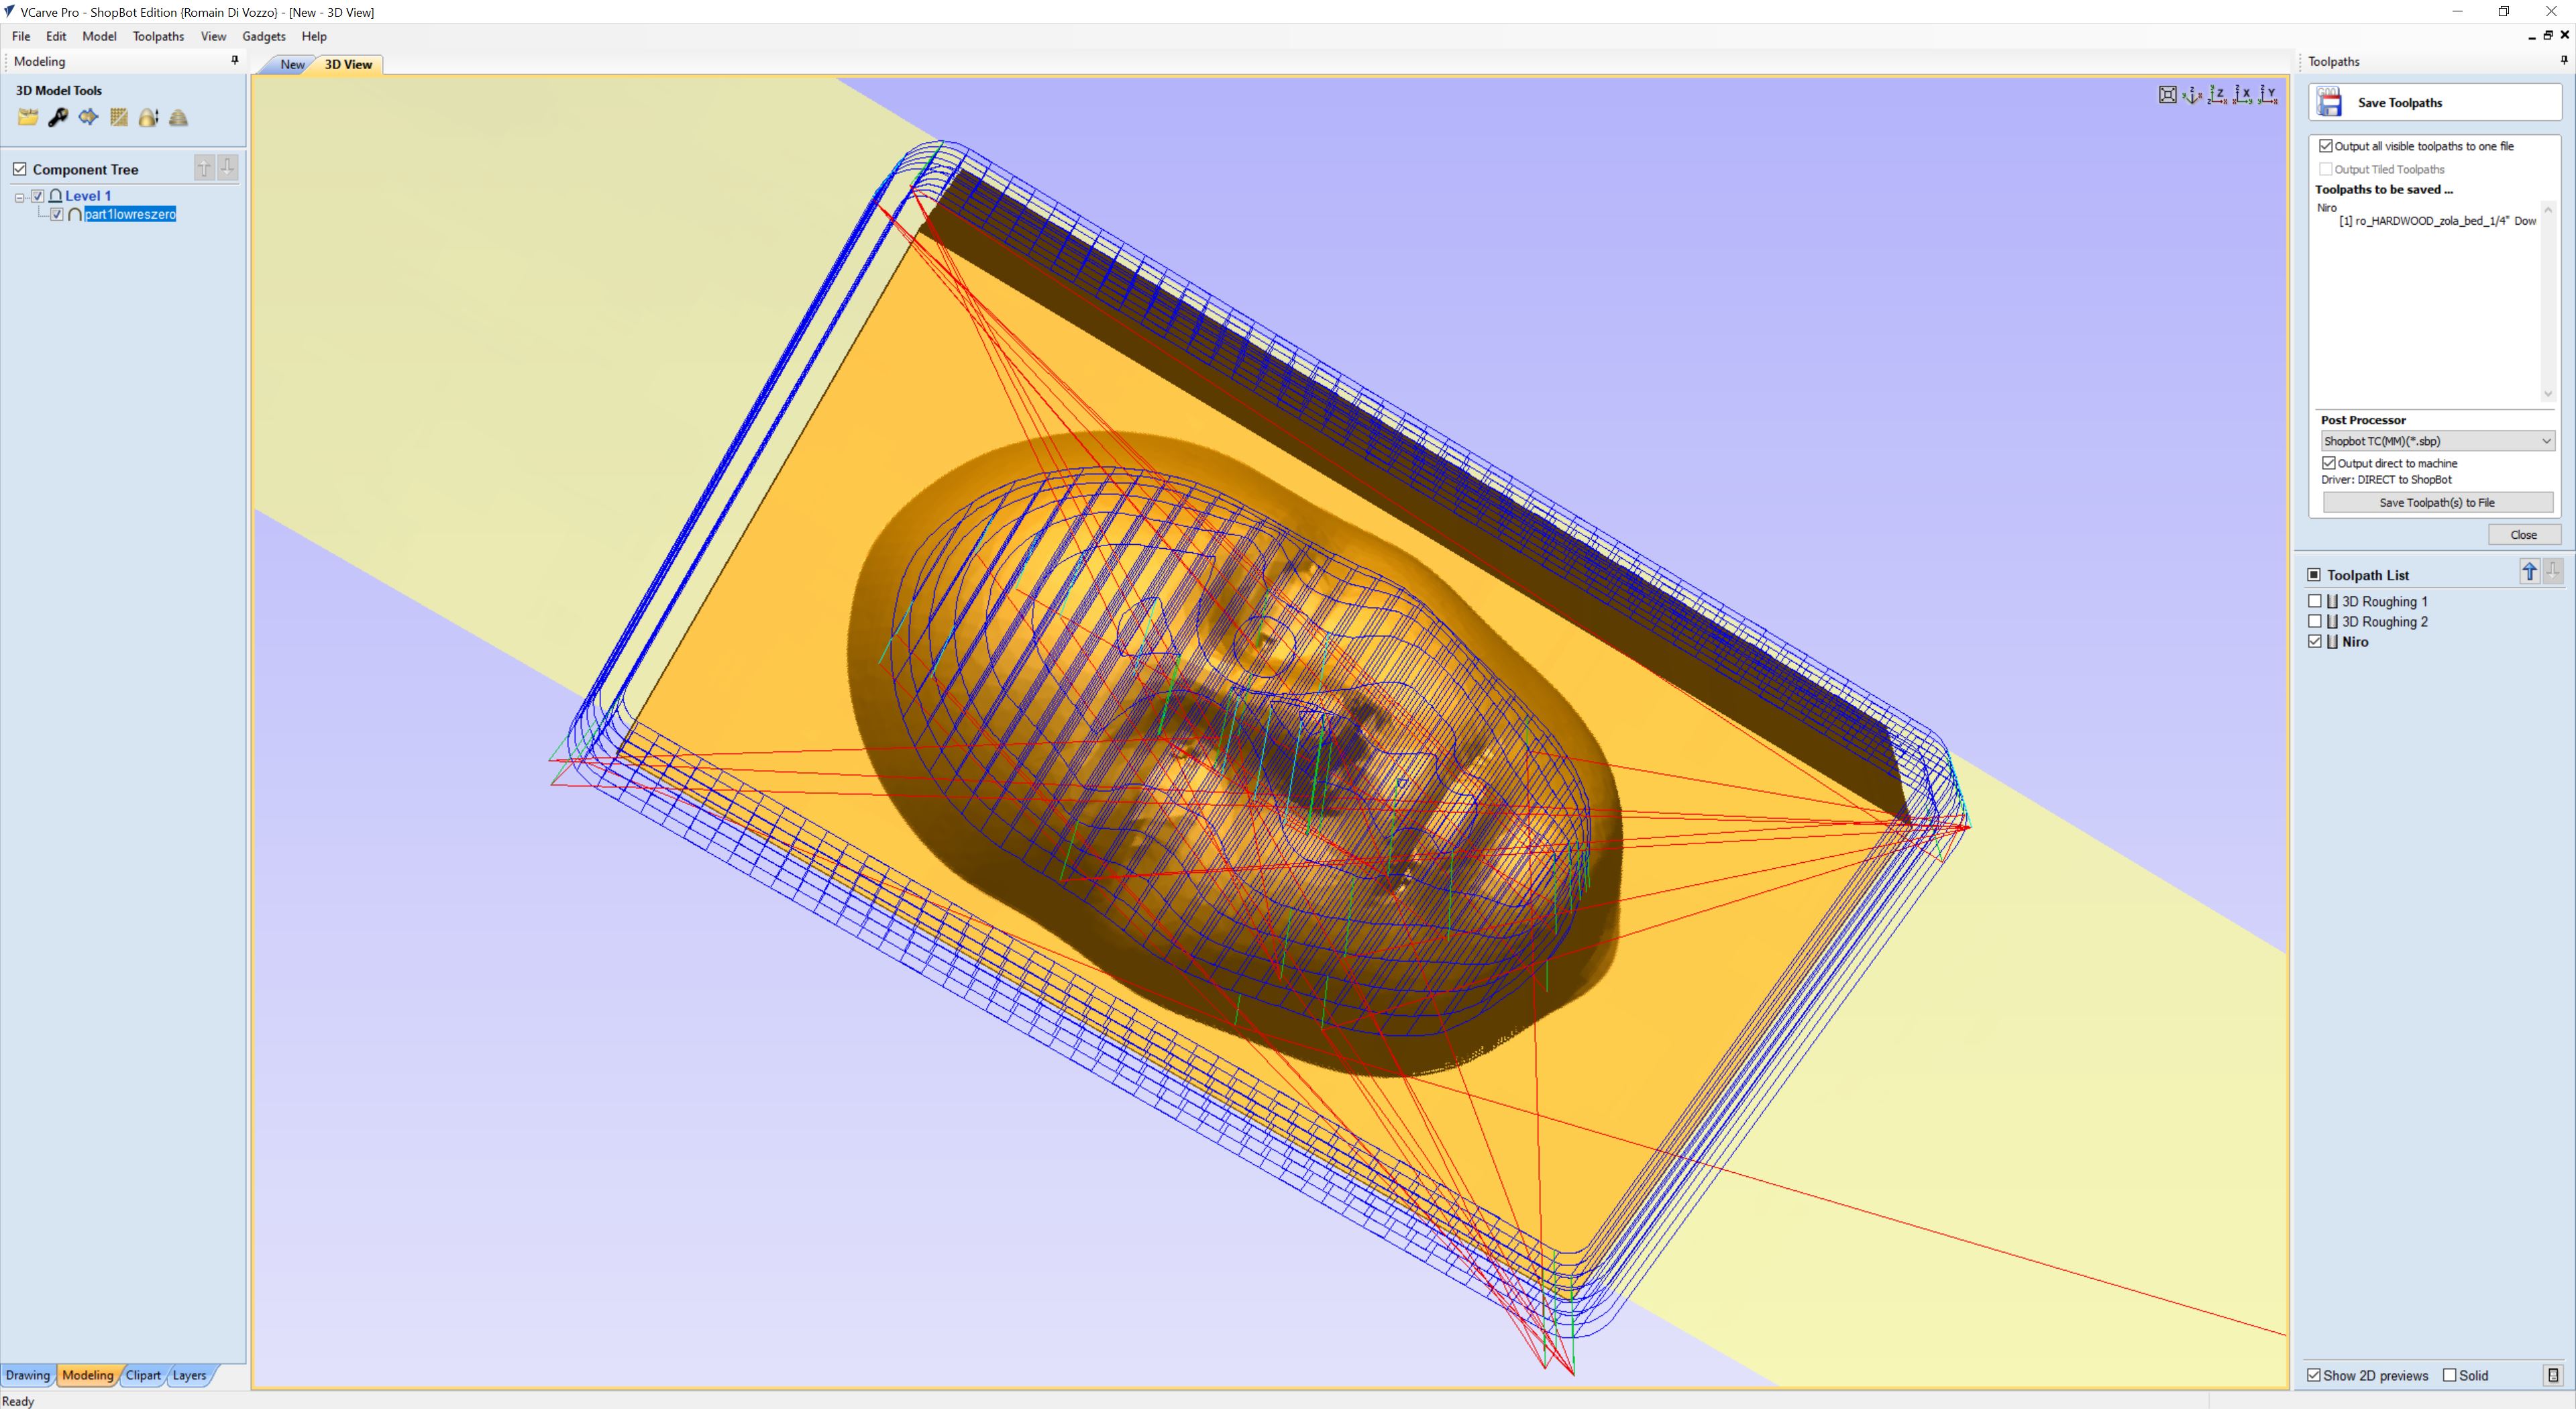
3D Roughing Toolpath
 |
Preview the result of rough pass
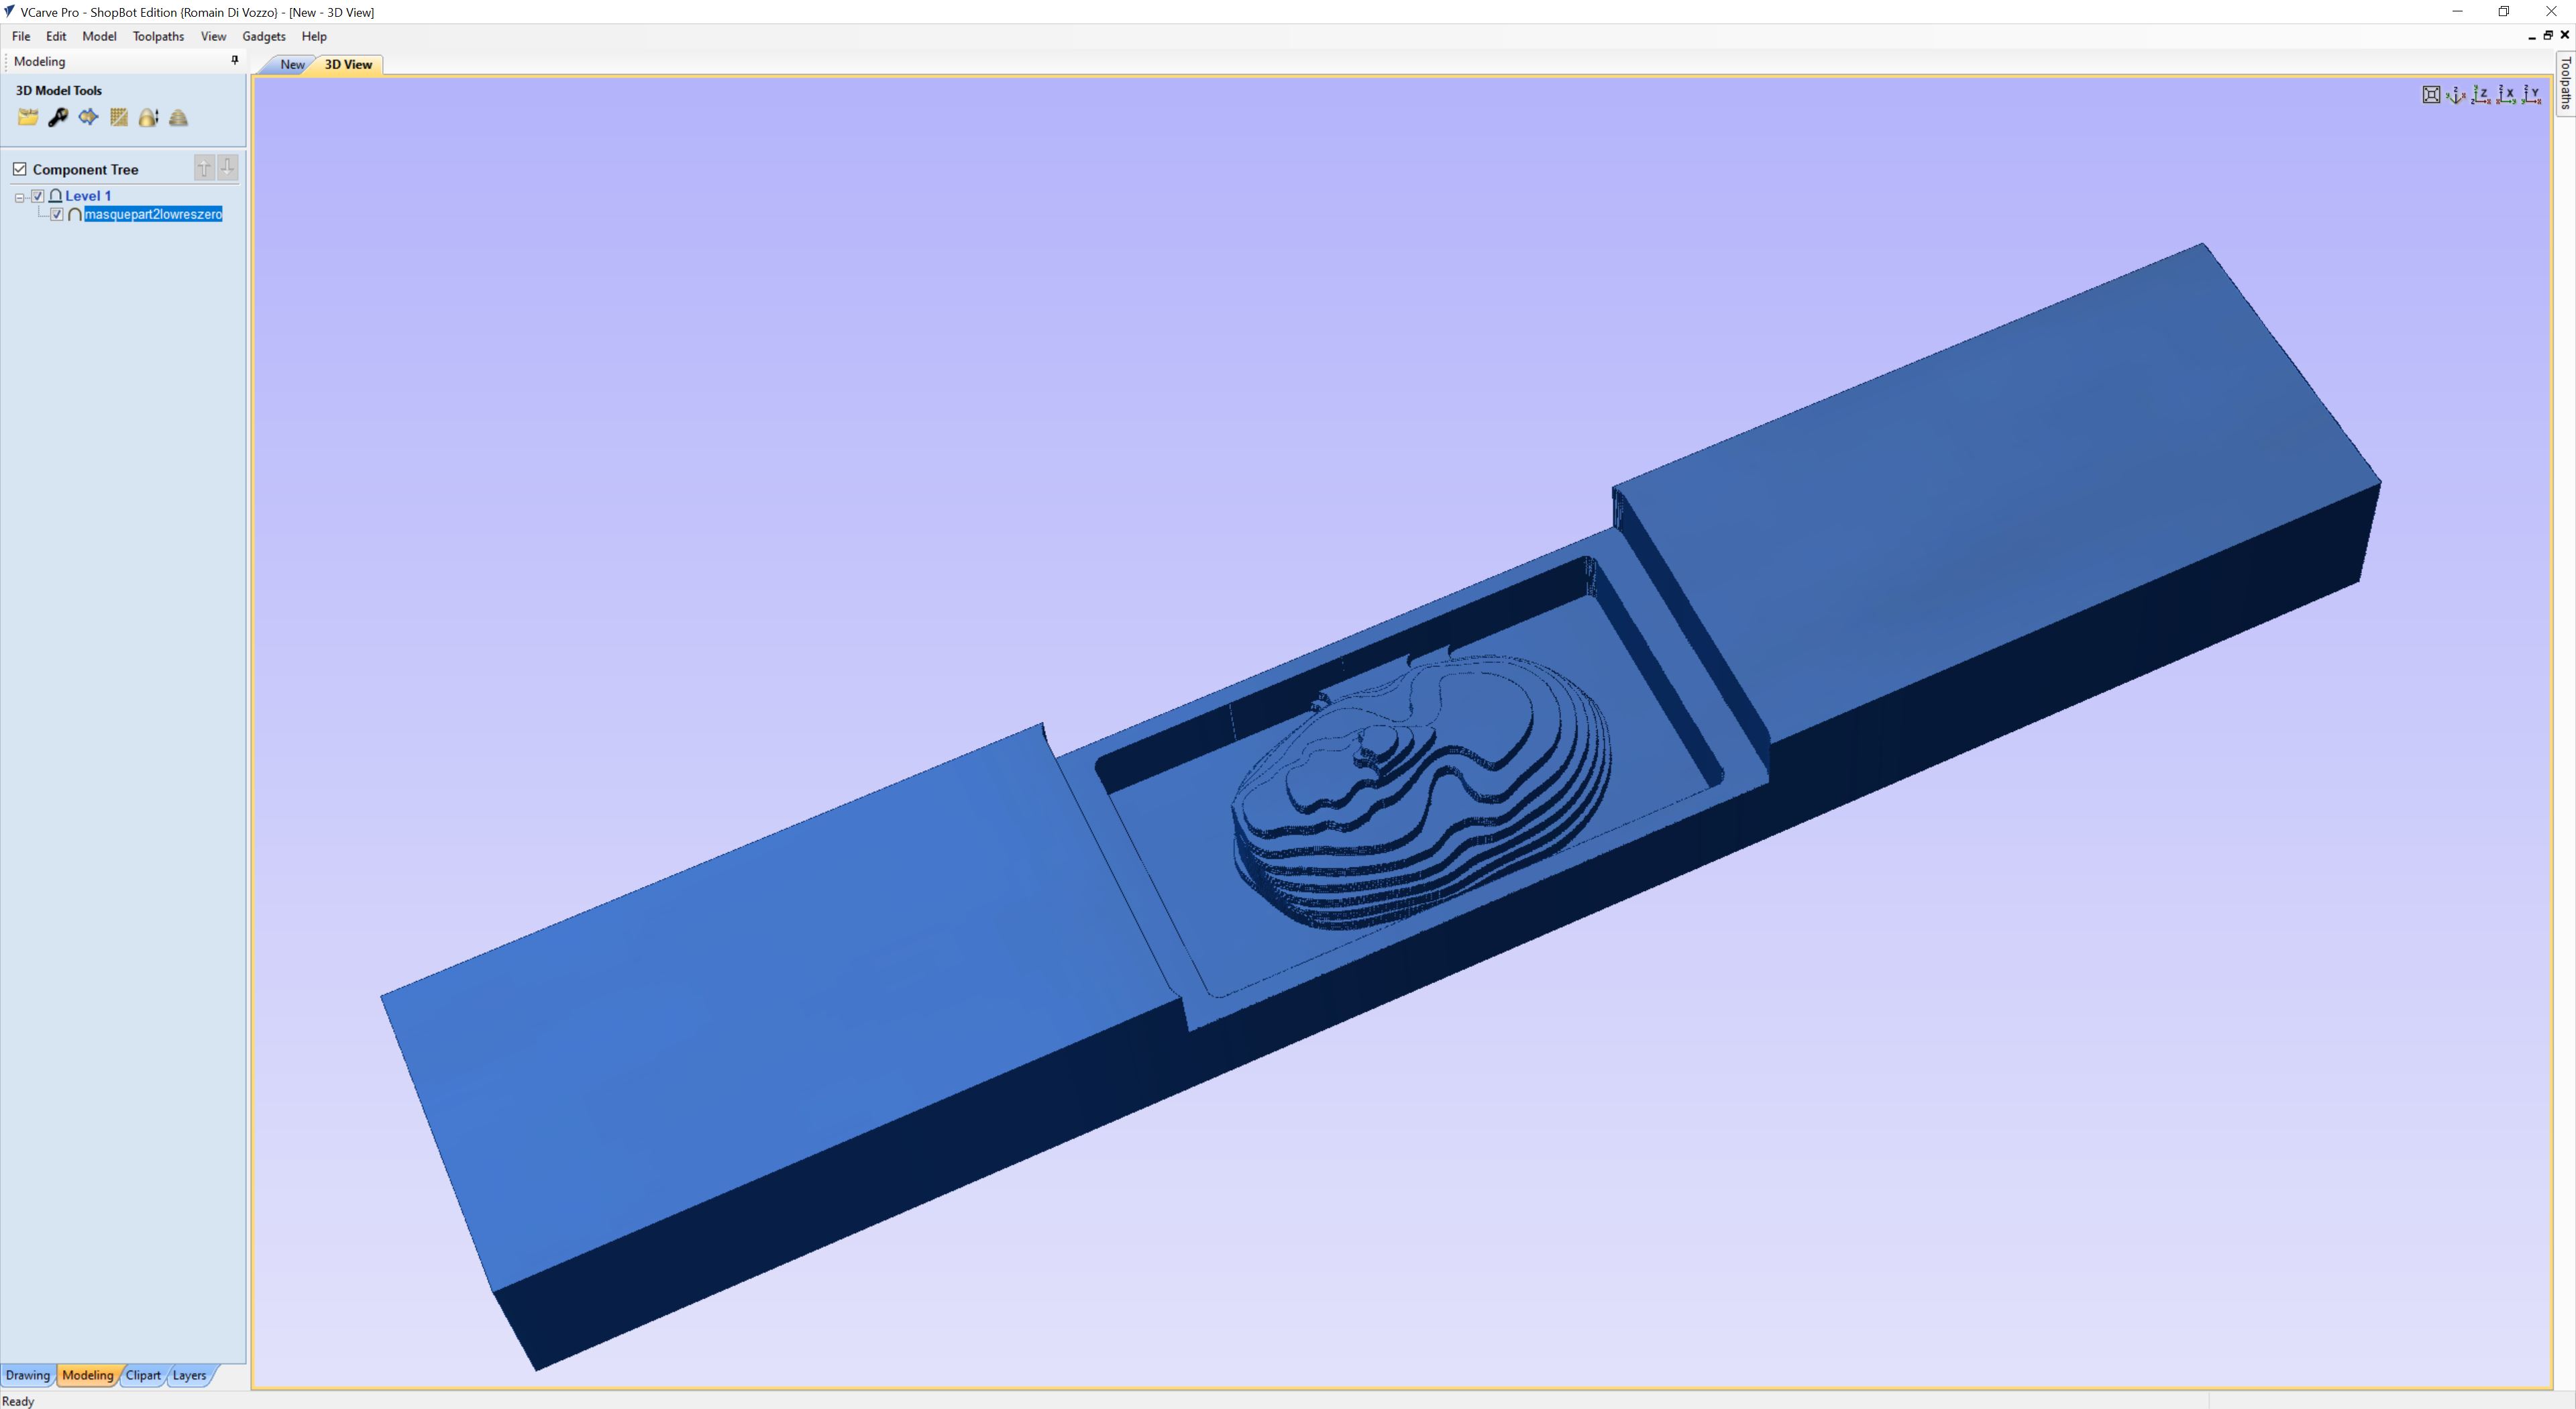 |
Preview the path
 |
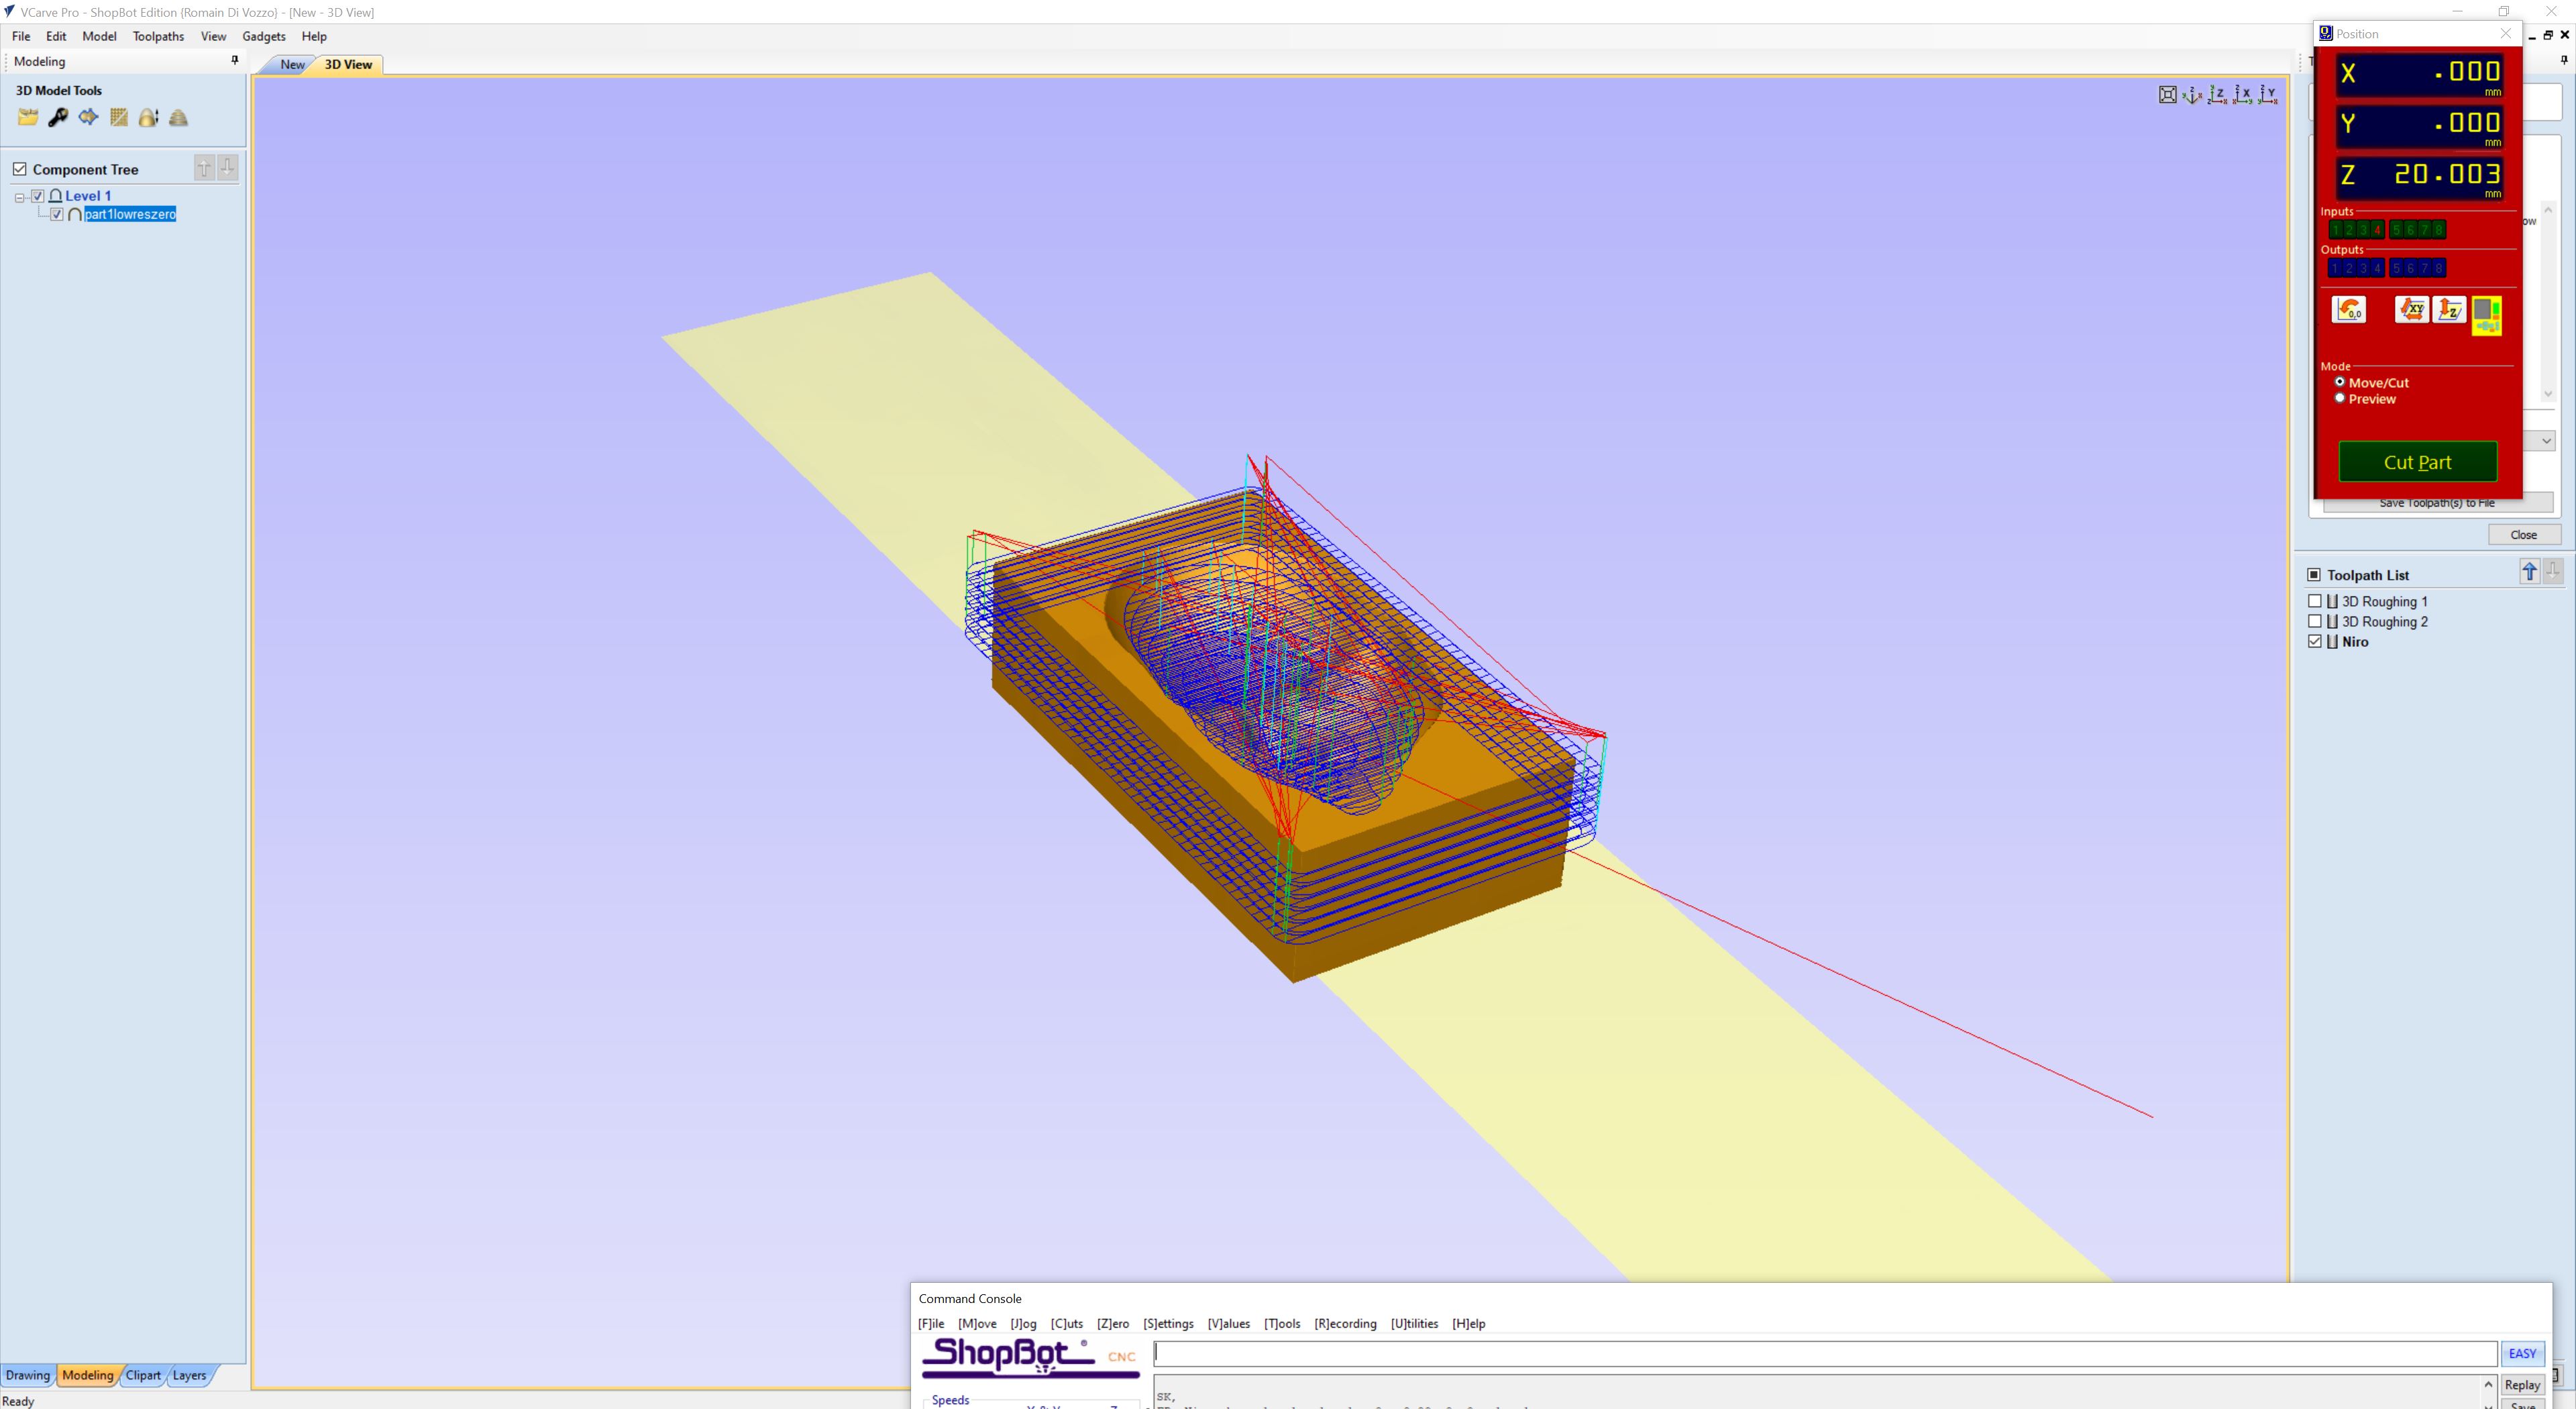
As the name "Roughing Toolpath" says, the first pass is only a rough pass missing details. To significantly enhance the surface result of the mold, I do a finishing pass with a different drill bit : a ball nose. In VCarve, I selected "Finishing Toolpath" and simulate the path like I did for the roughing toolpath :
Finishing path
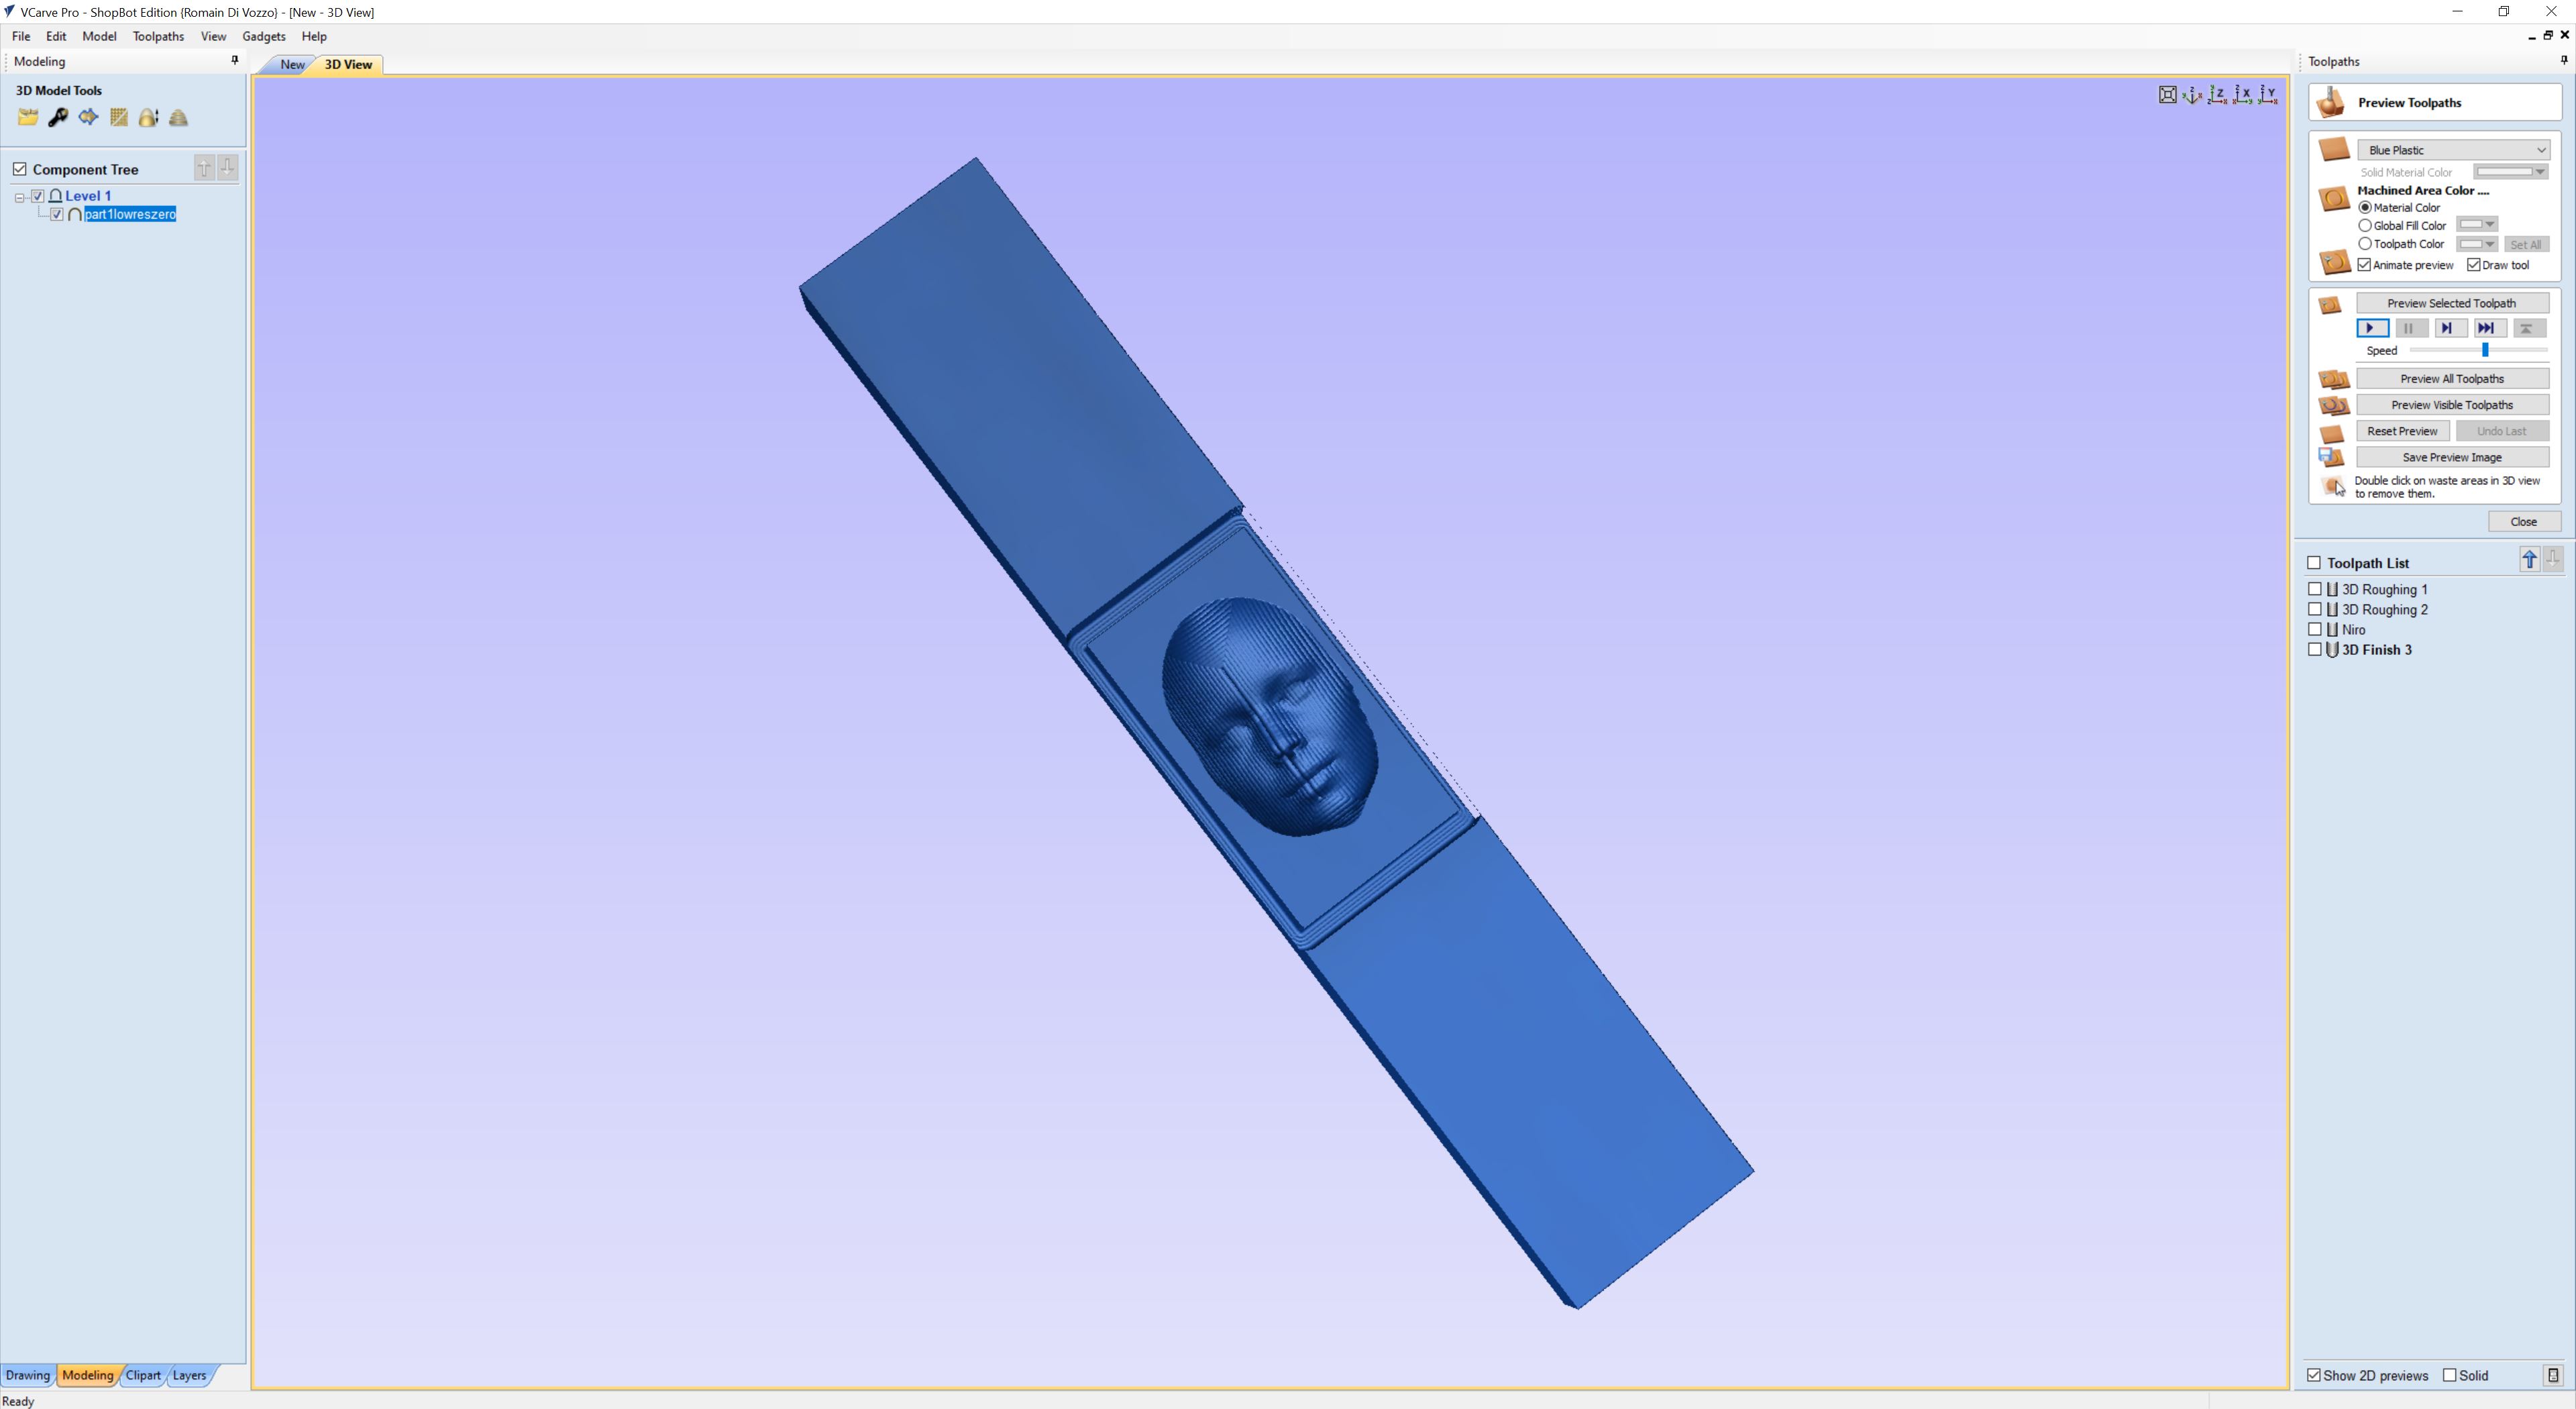 |
Eventually, I add a "pocket" around the model to make it easier to remove without manual saw. To do it, I use the previous 1/4' drill bit (65-023).
Pocket
 |
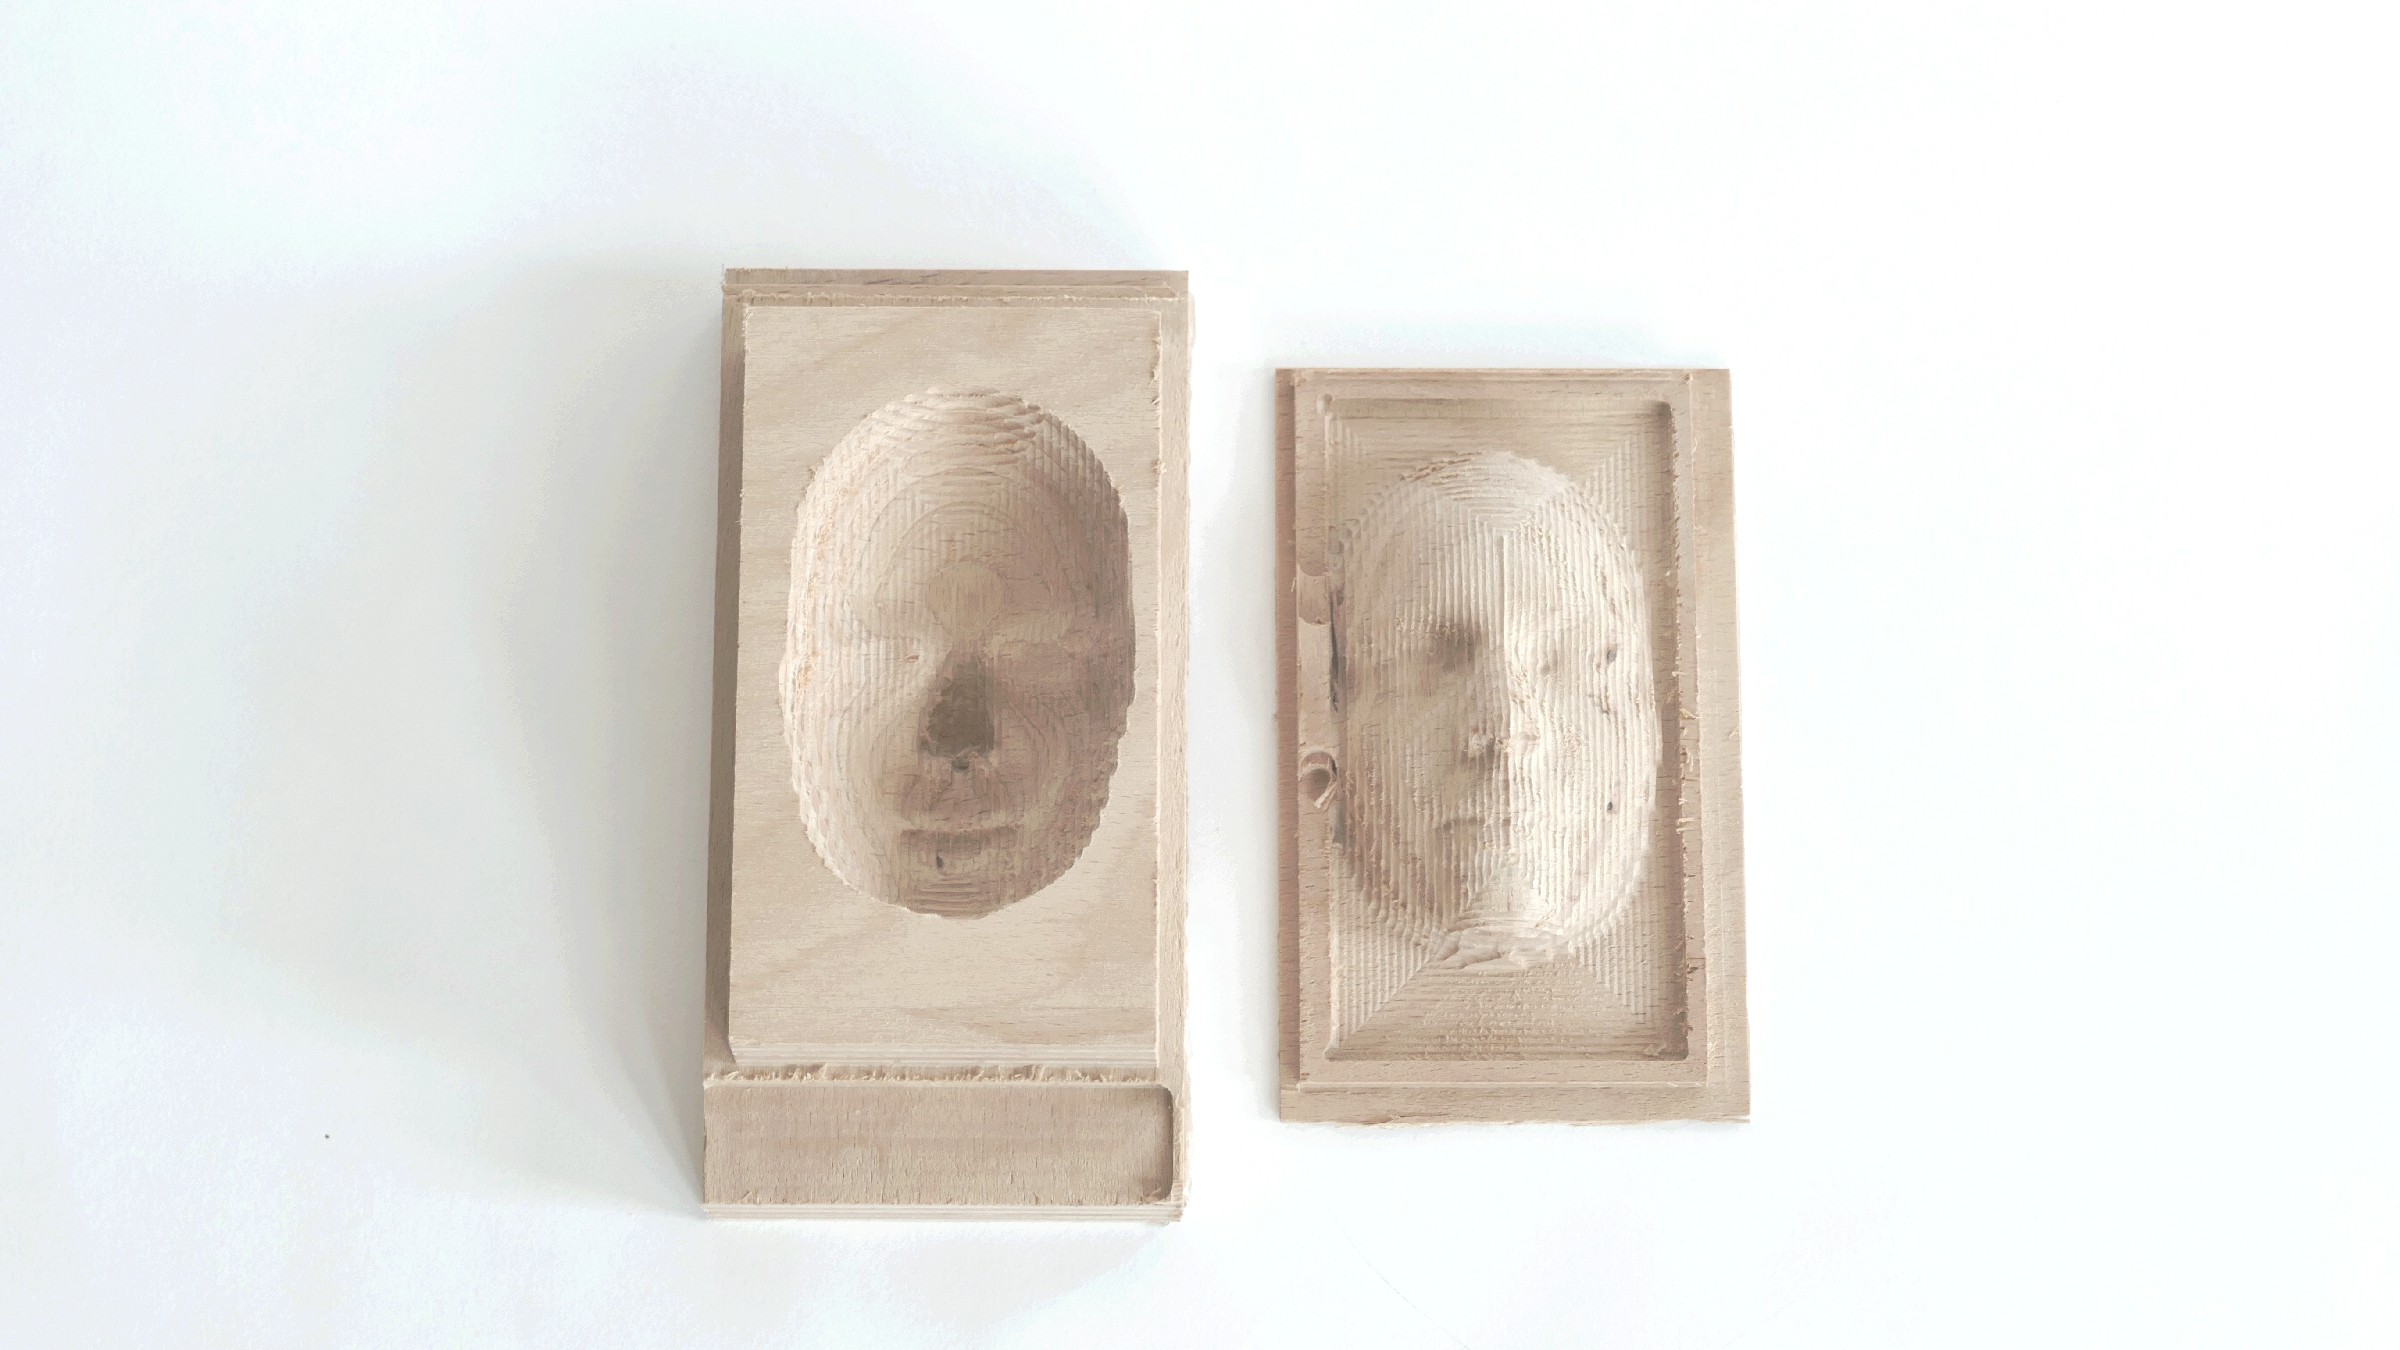
Finally, I repeat this whole process for the second part of the mold. Below is the simulation of the rough pass for the negative part of the mold.
Preview of the rough path (part 2)
 |
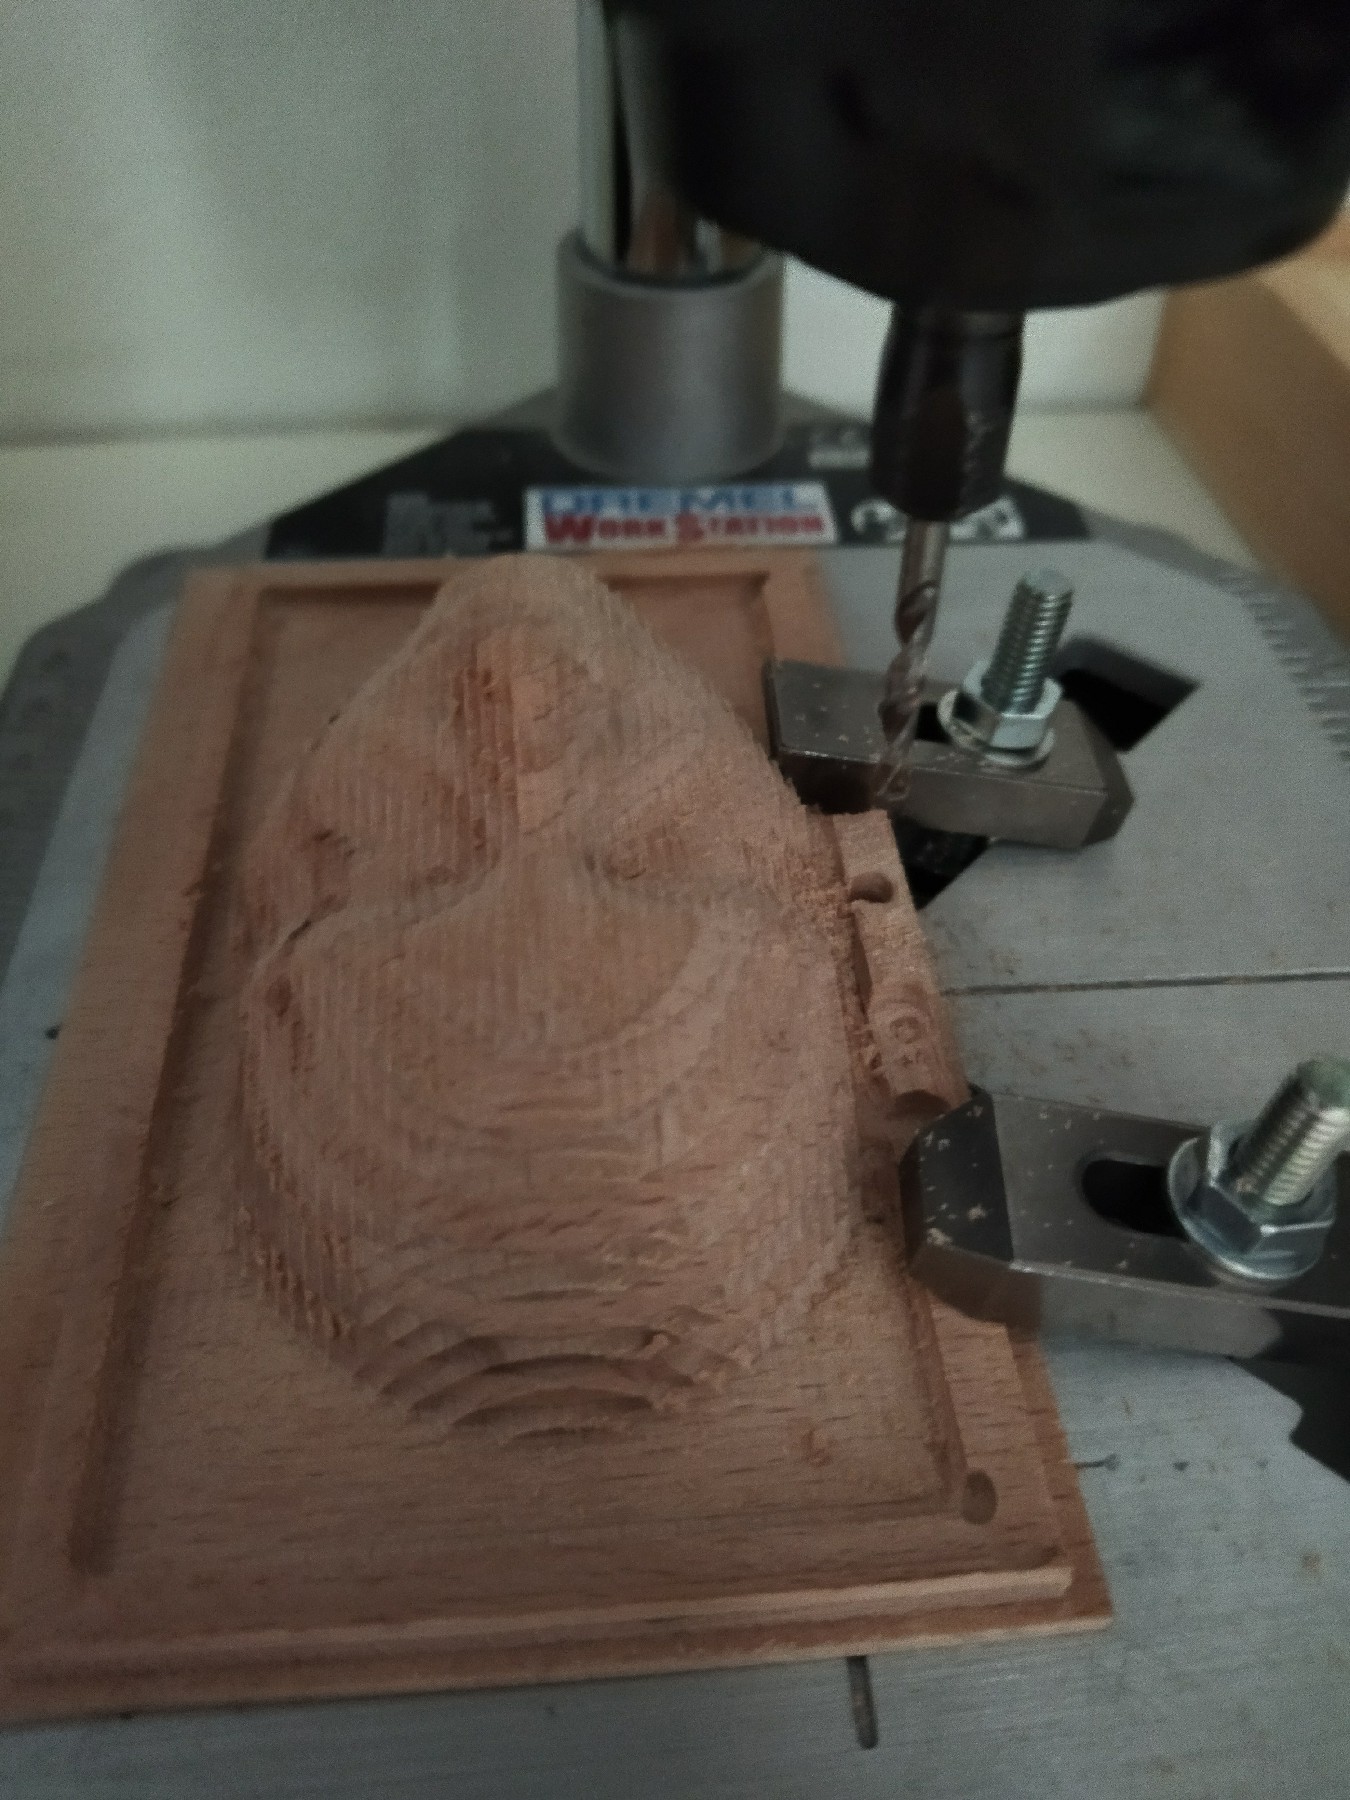
Here is the result !
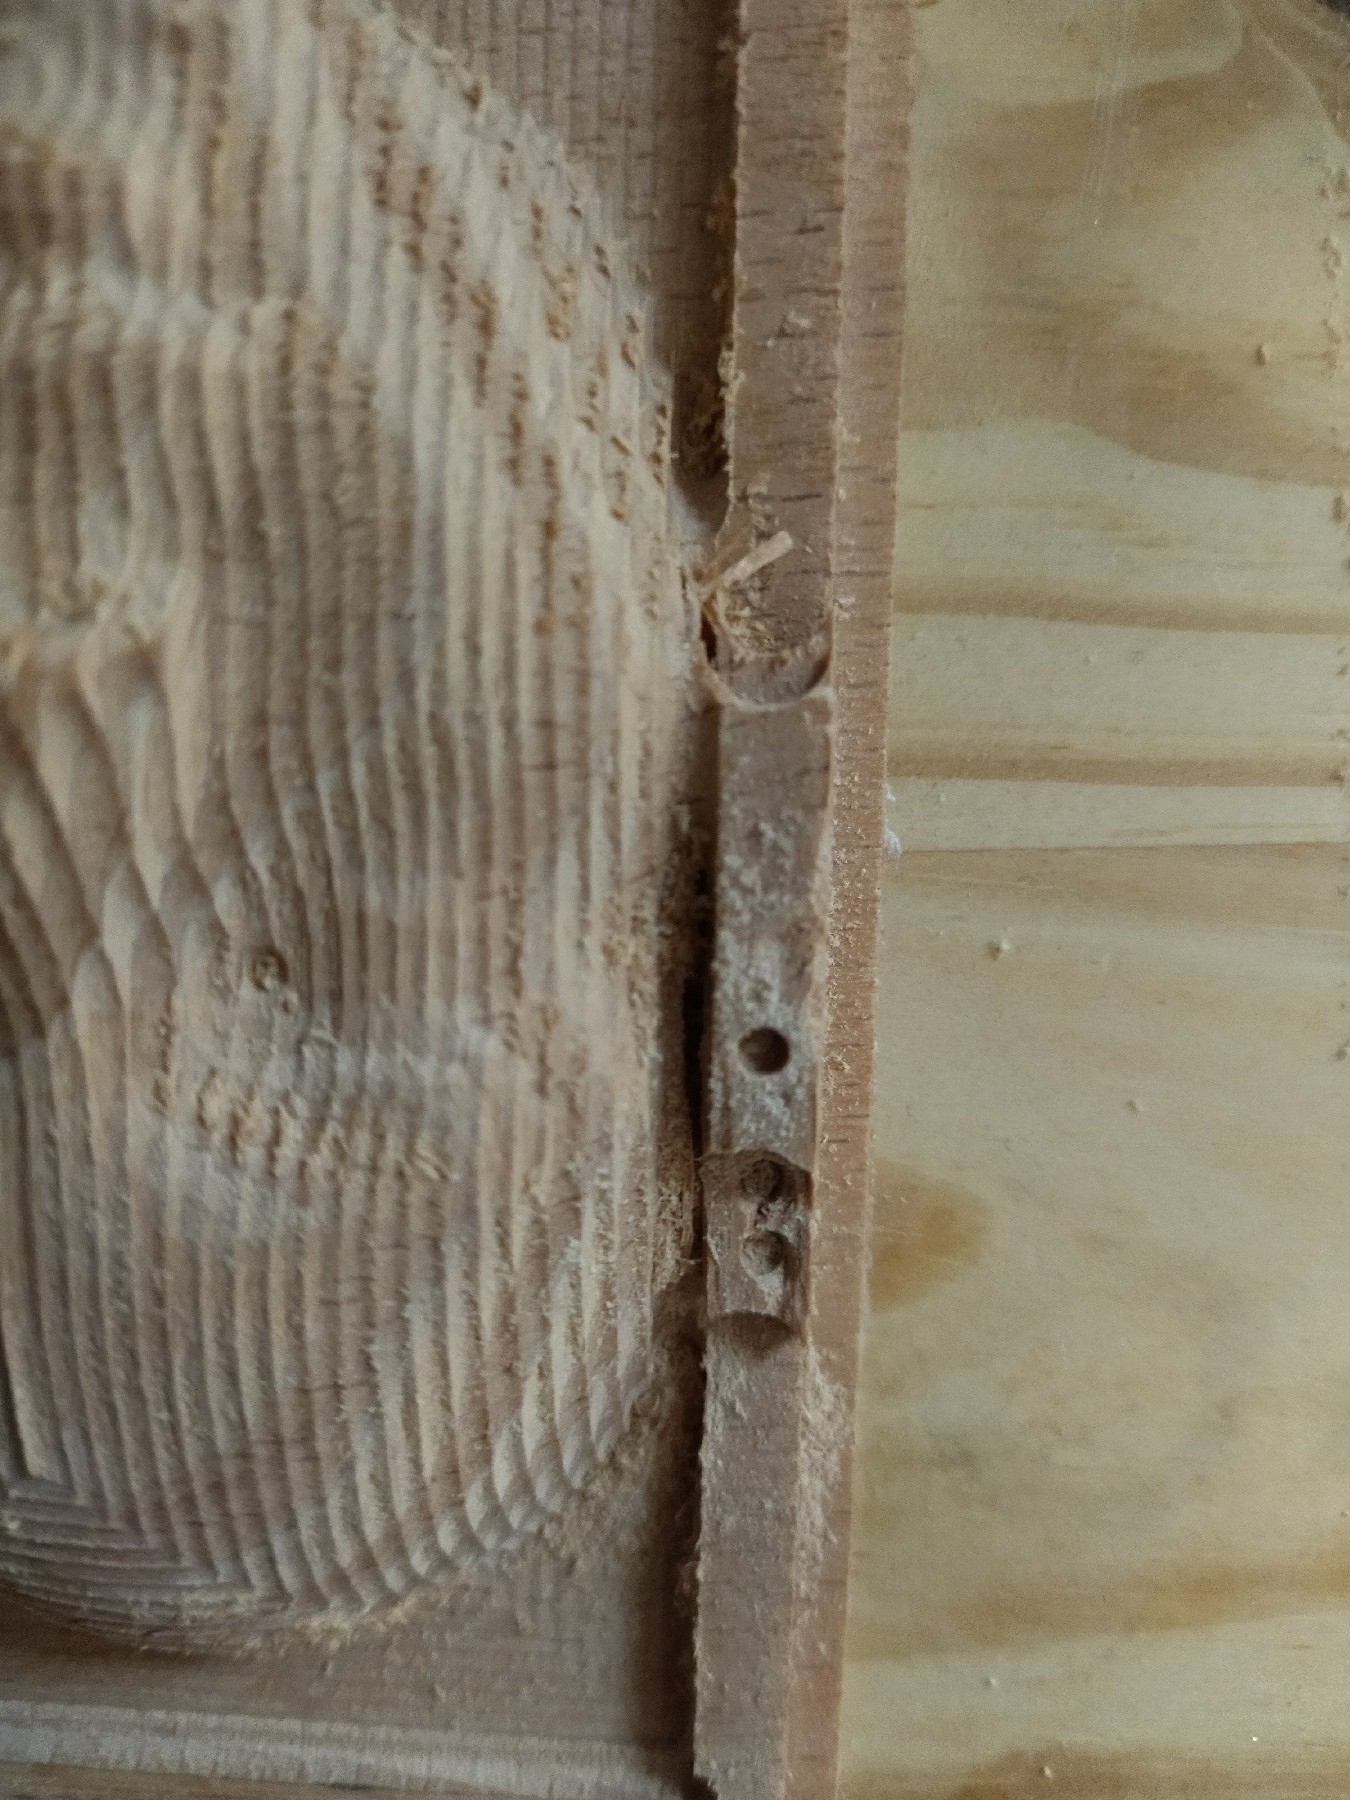
I encoutered a problem when I did the pocket for the positive part : the drill chuck almost touch the wood border, thus I had no choice but to pause the machine to avoid to damage the drill chuck. As a consequence, one border of the mold is incorrectly cut. Because of the extra border, I can't close the two parts of the mold together.
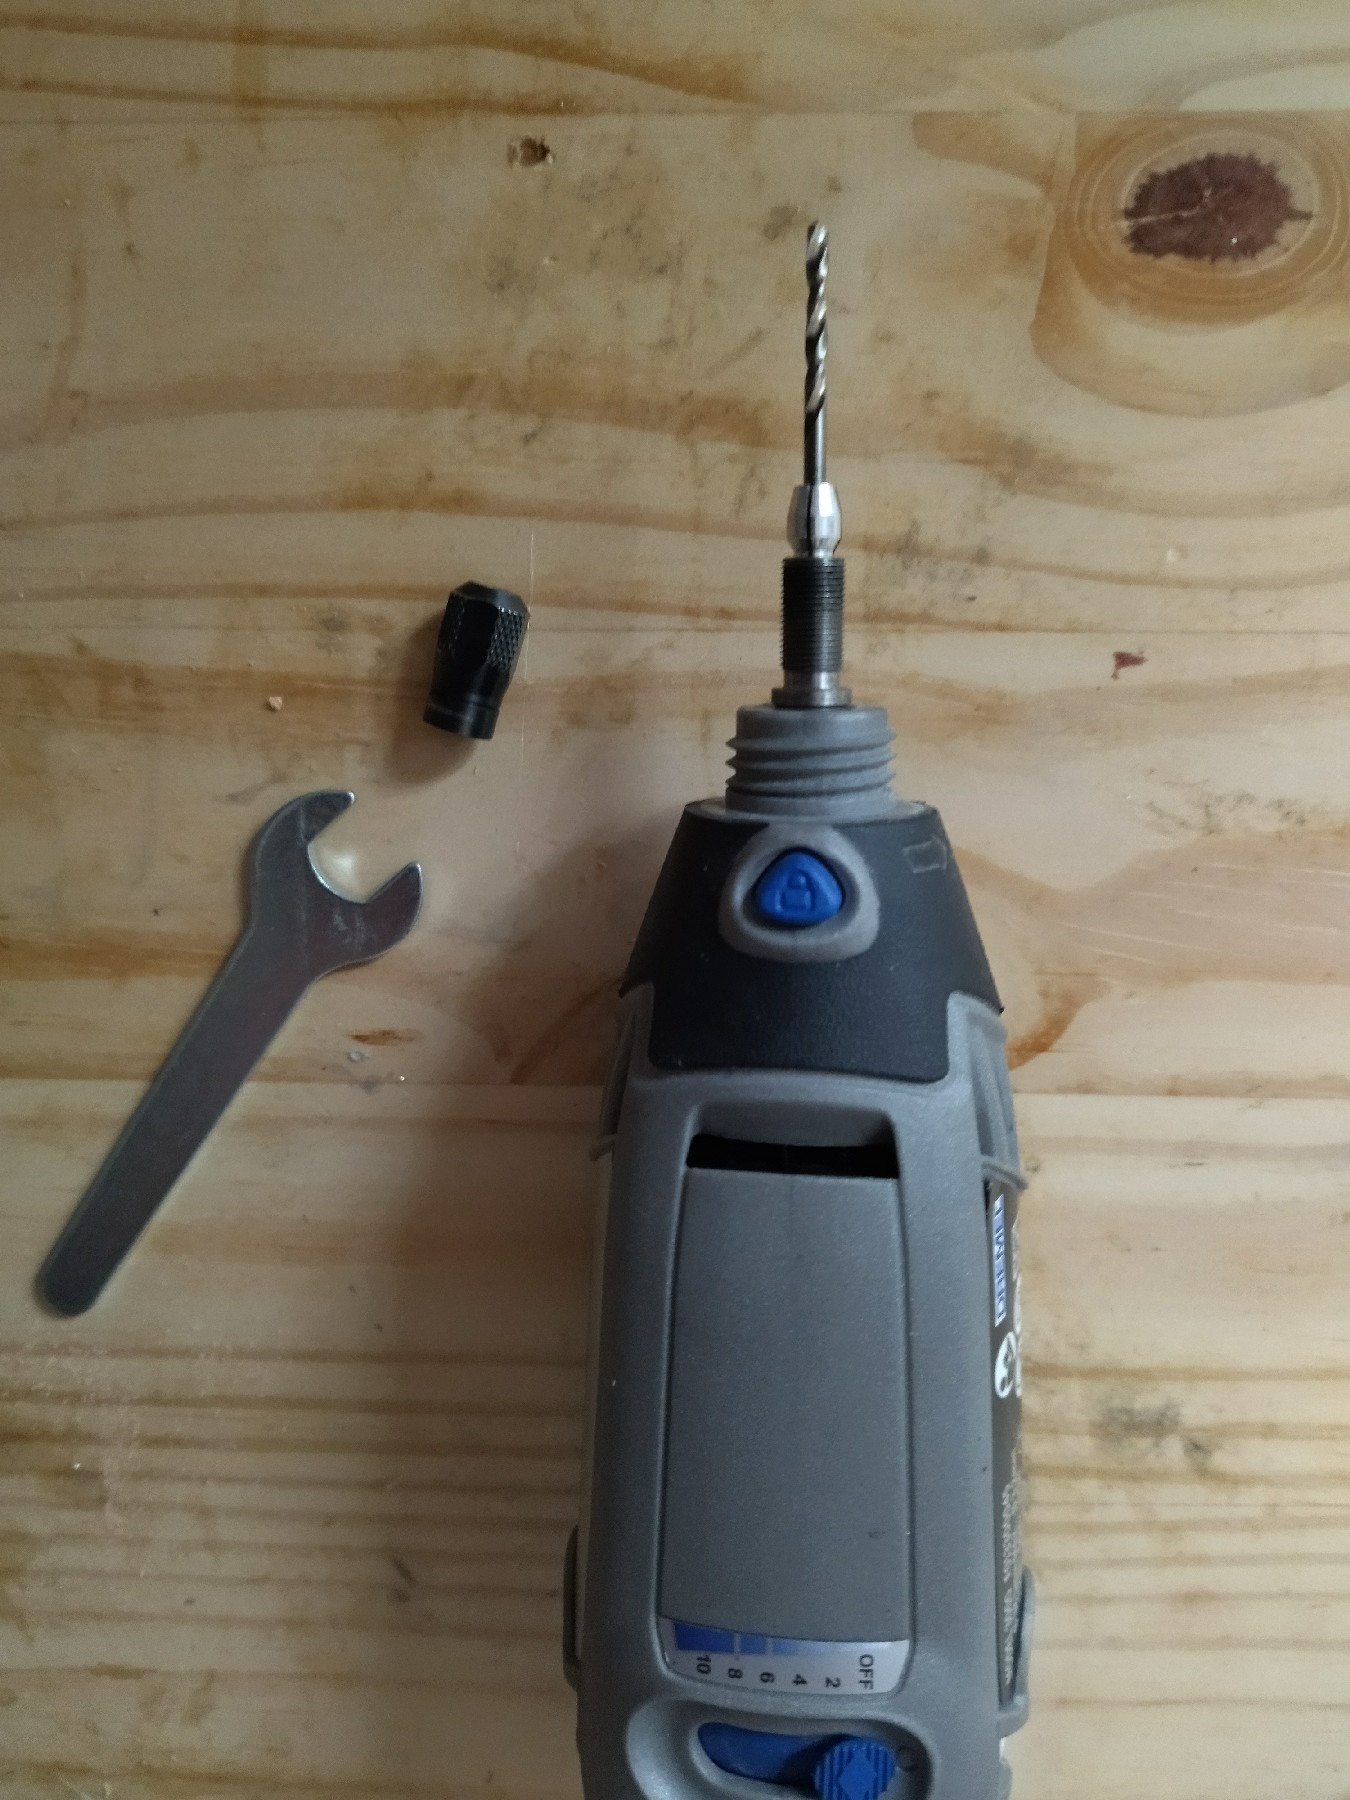
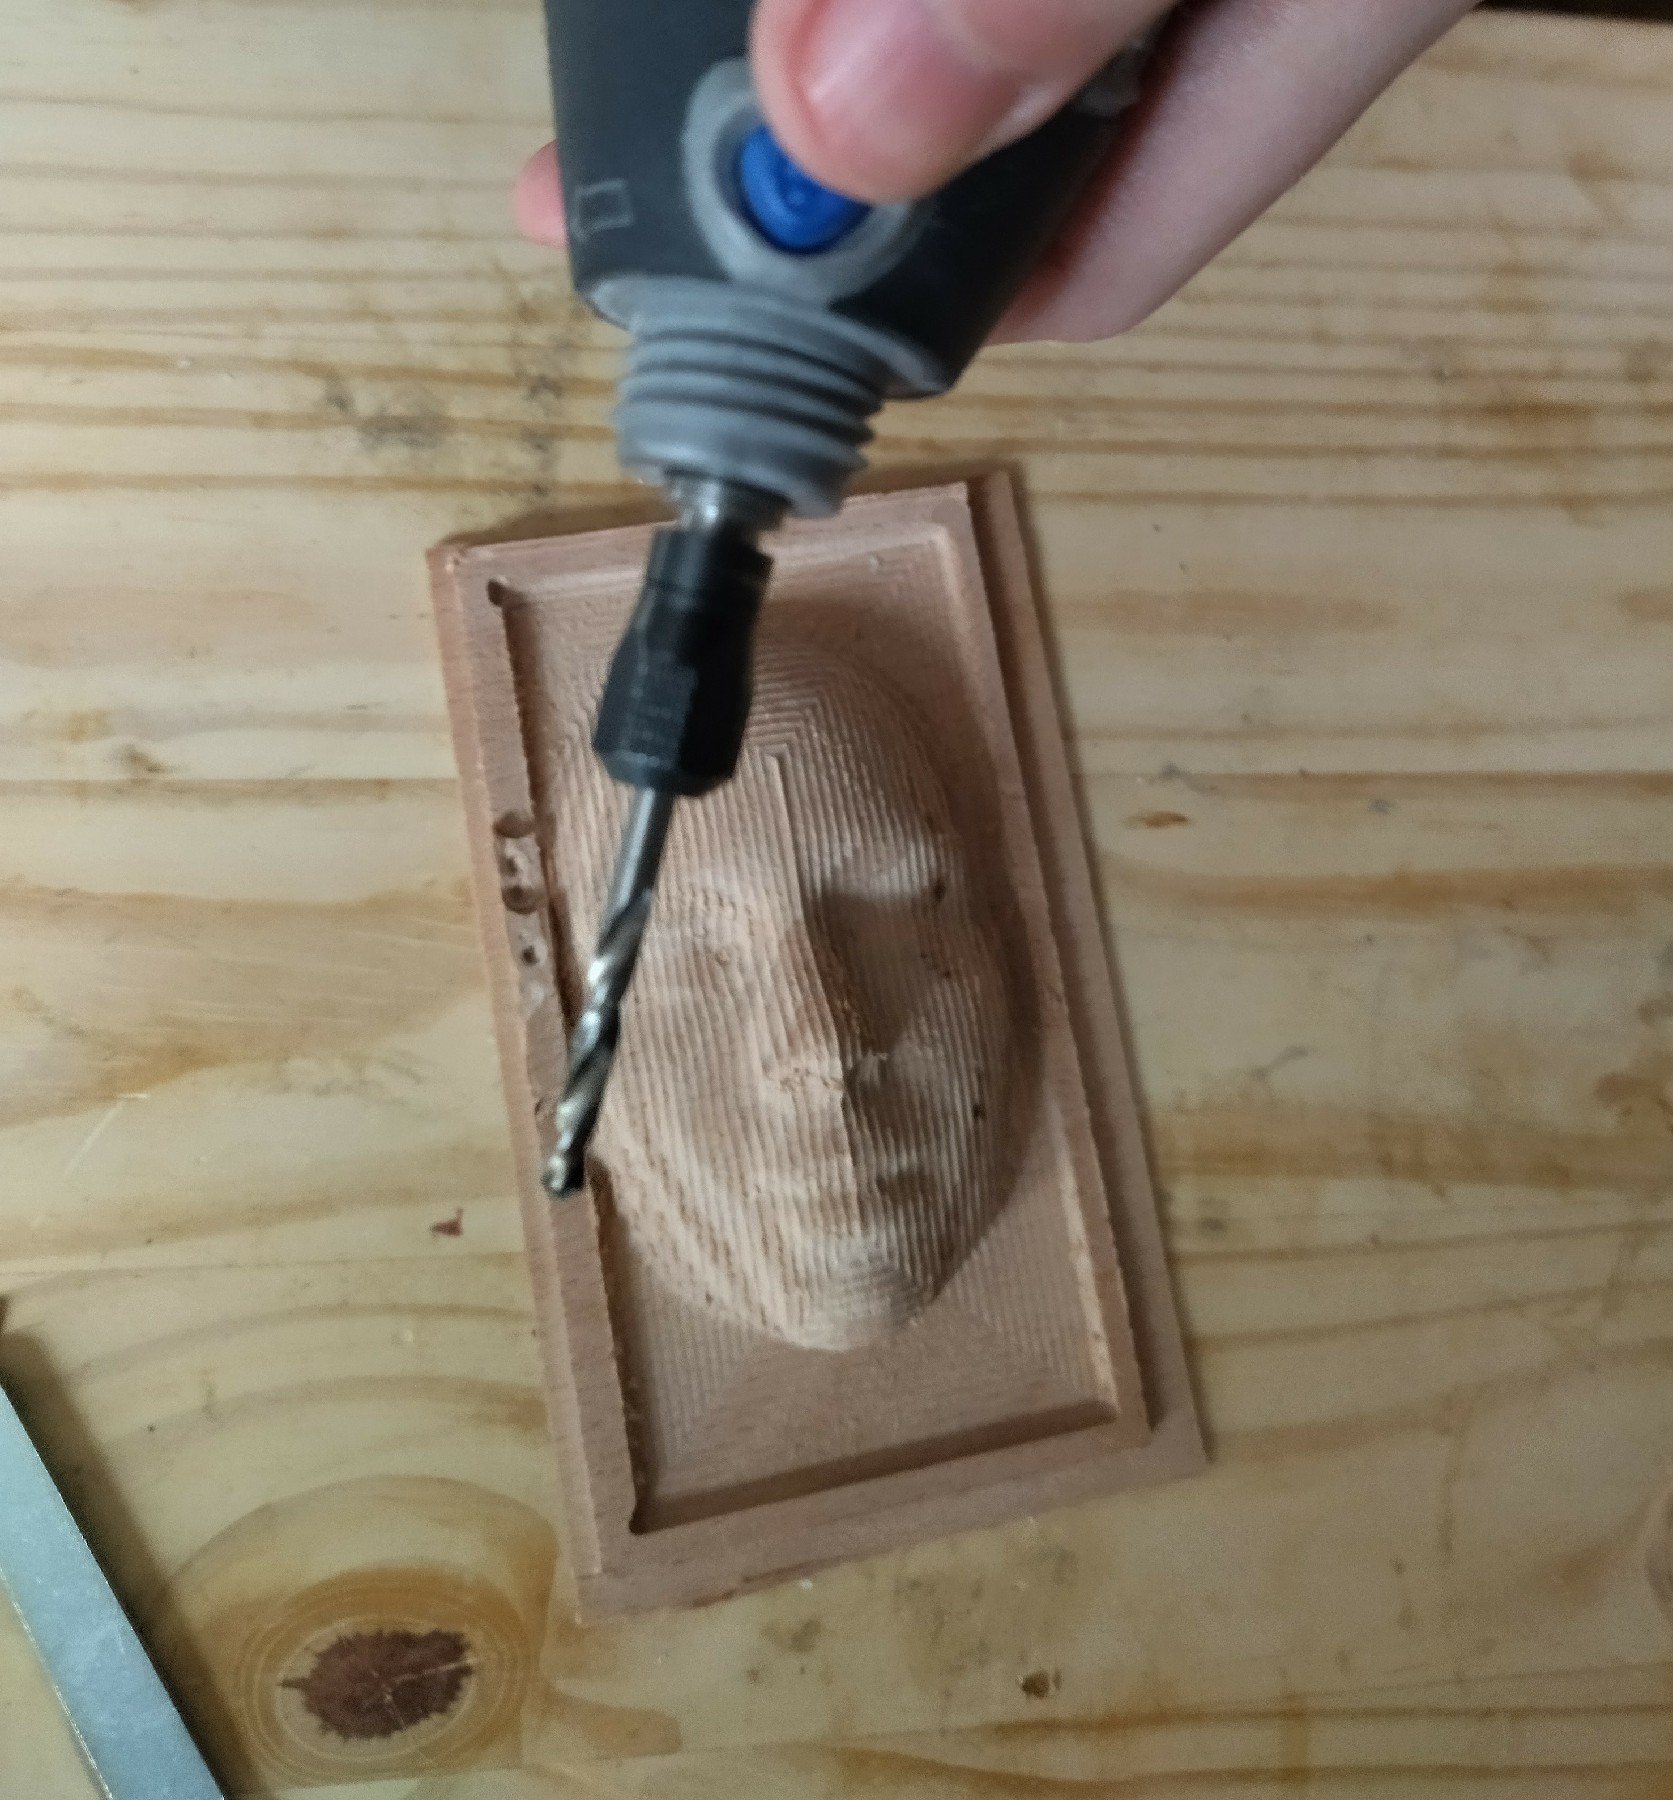
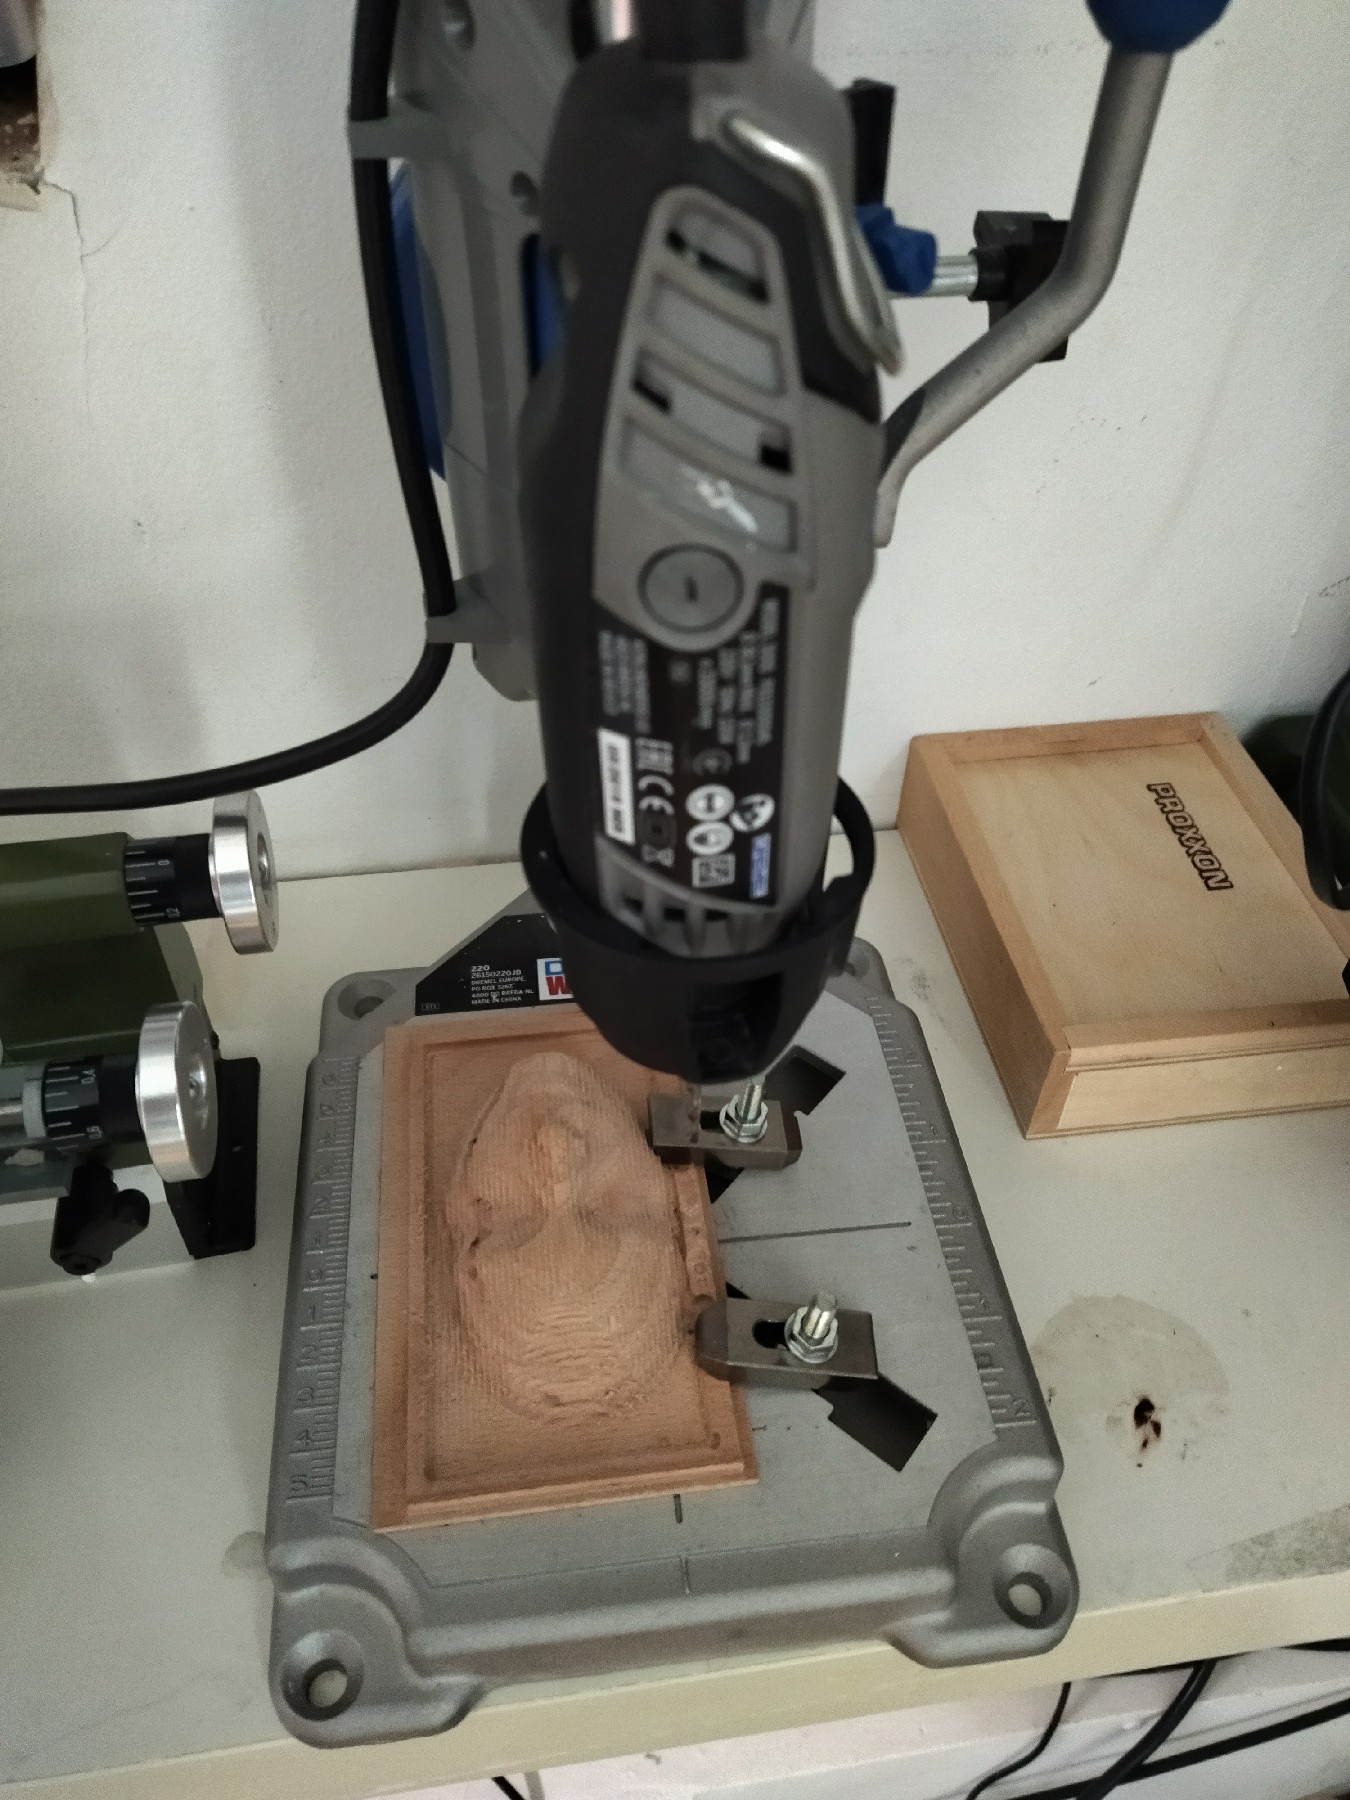
To finish the mold, I used a dremel with a 4.8mm drill bit.
Leather mask
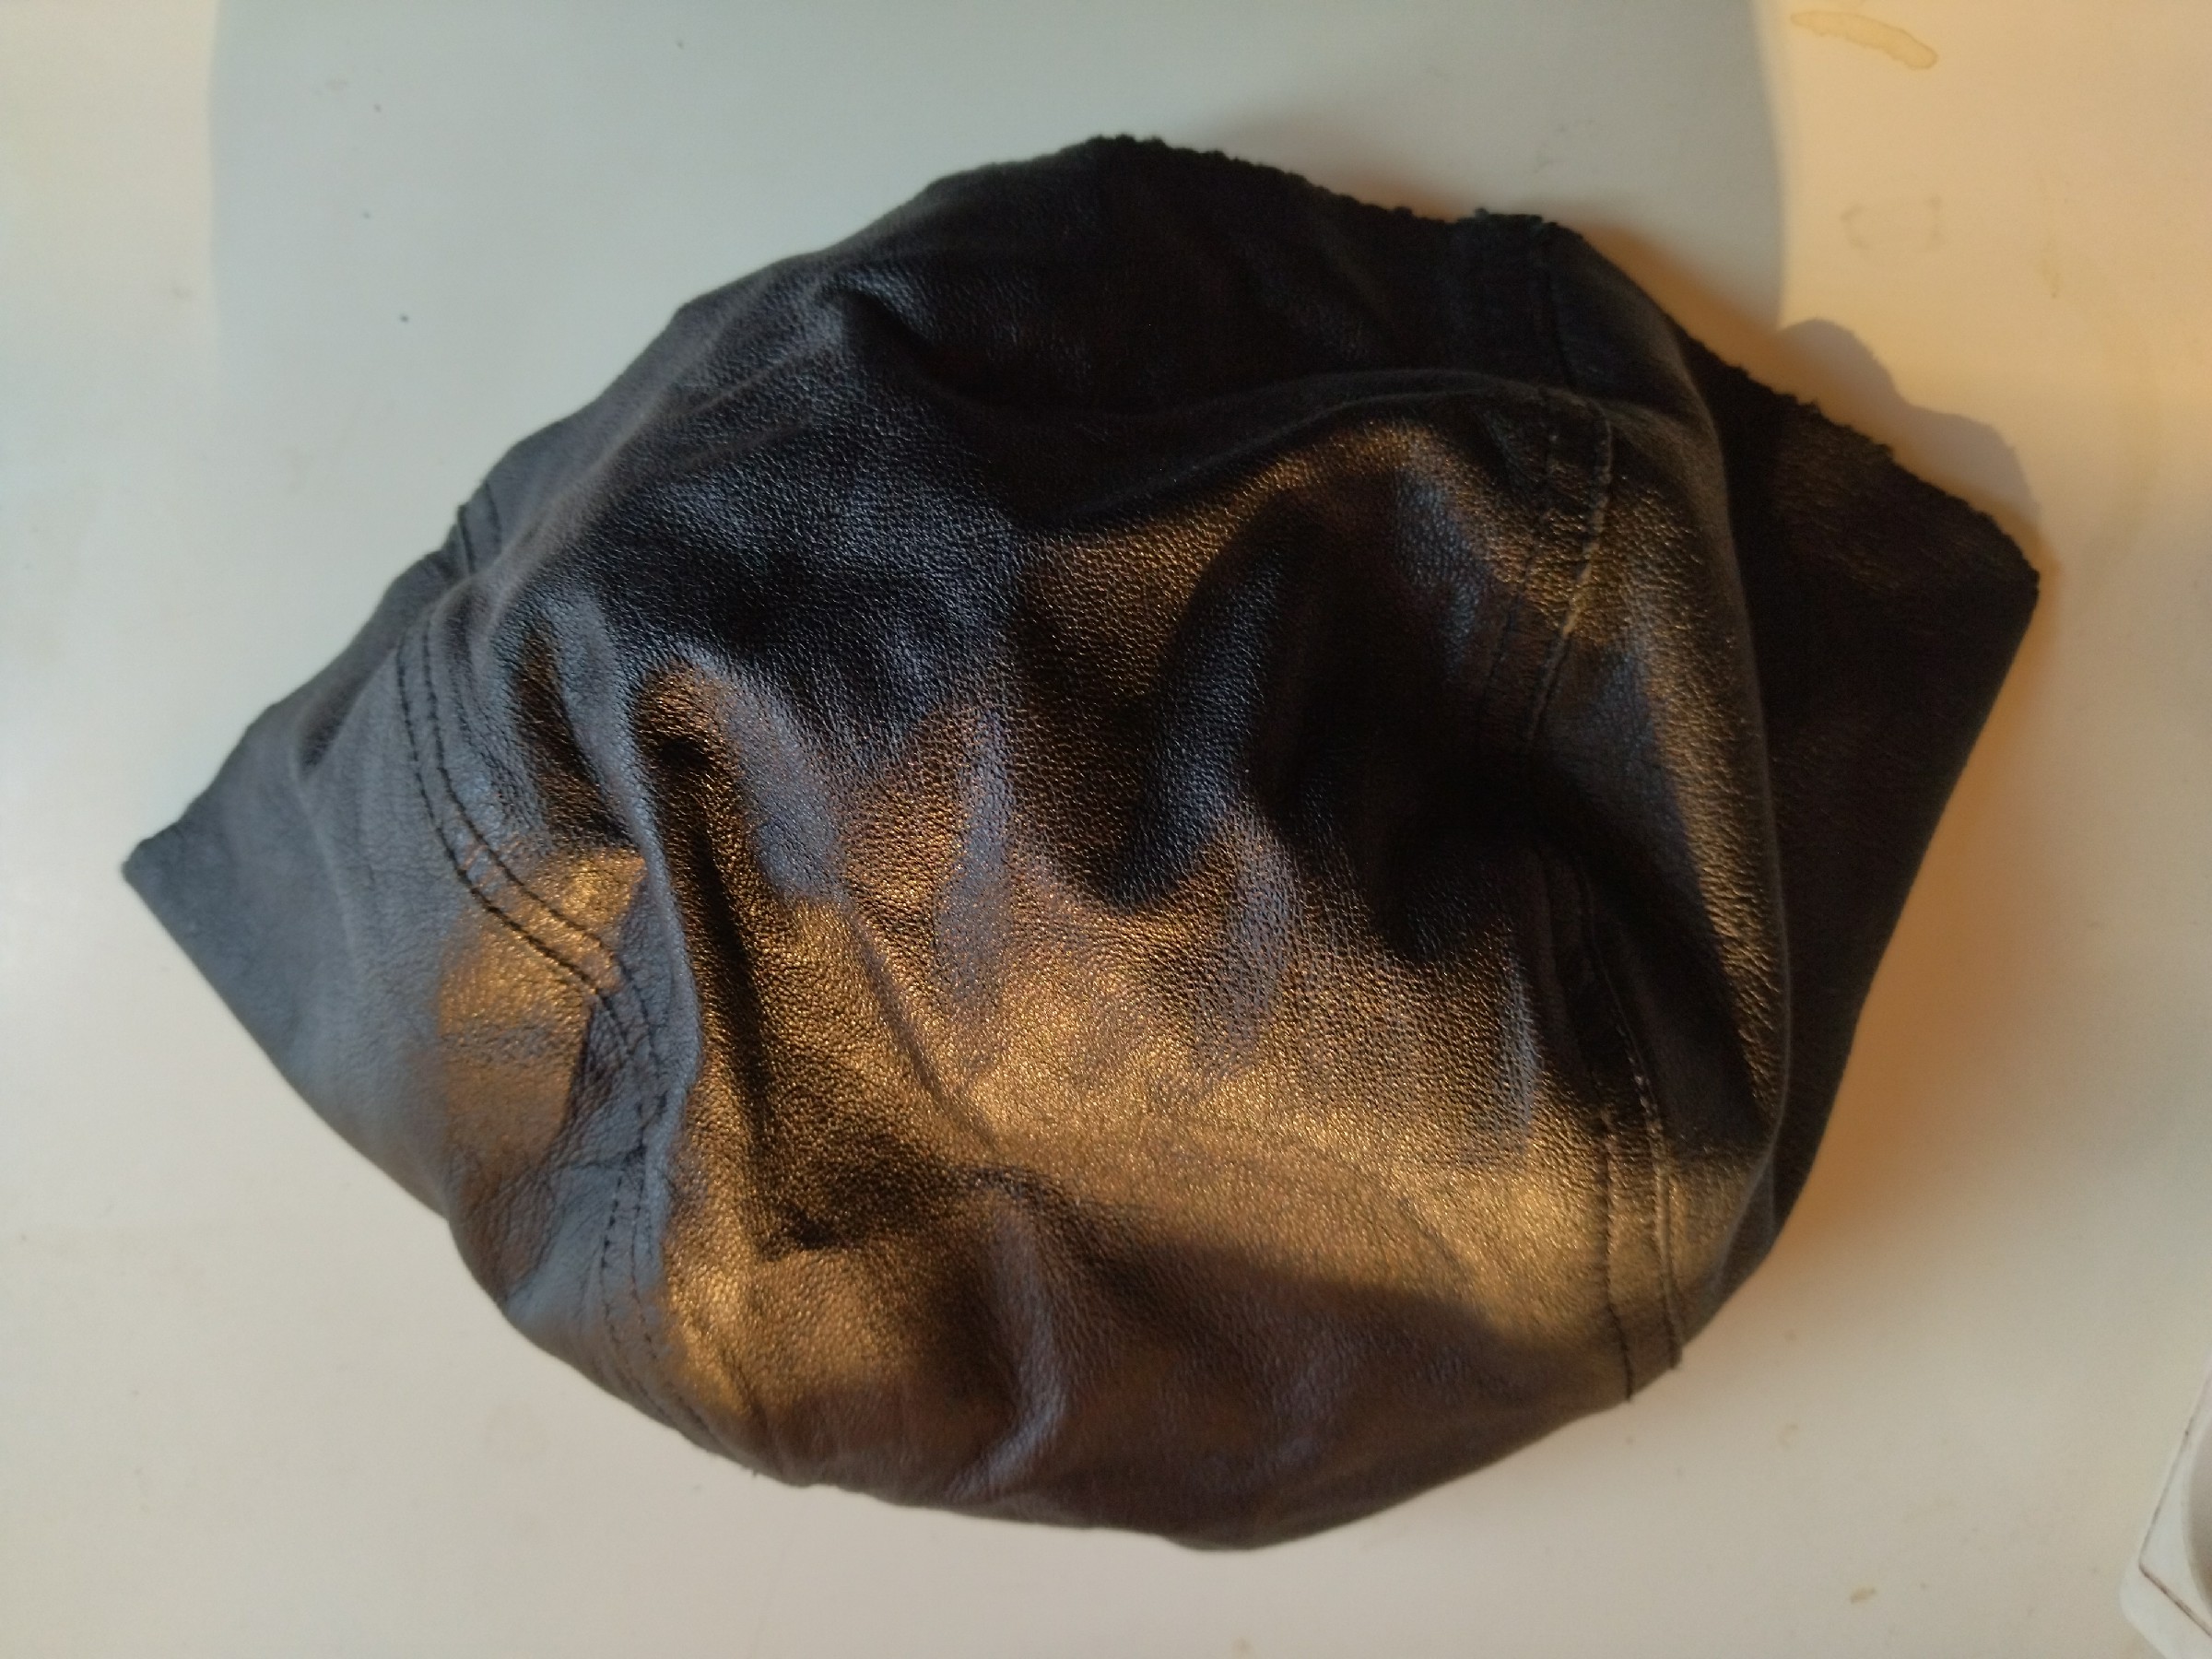
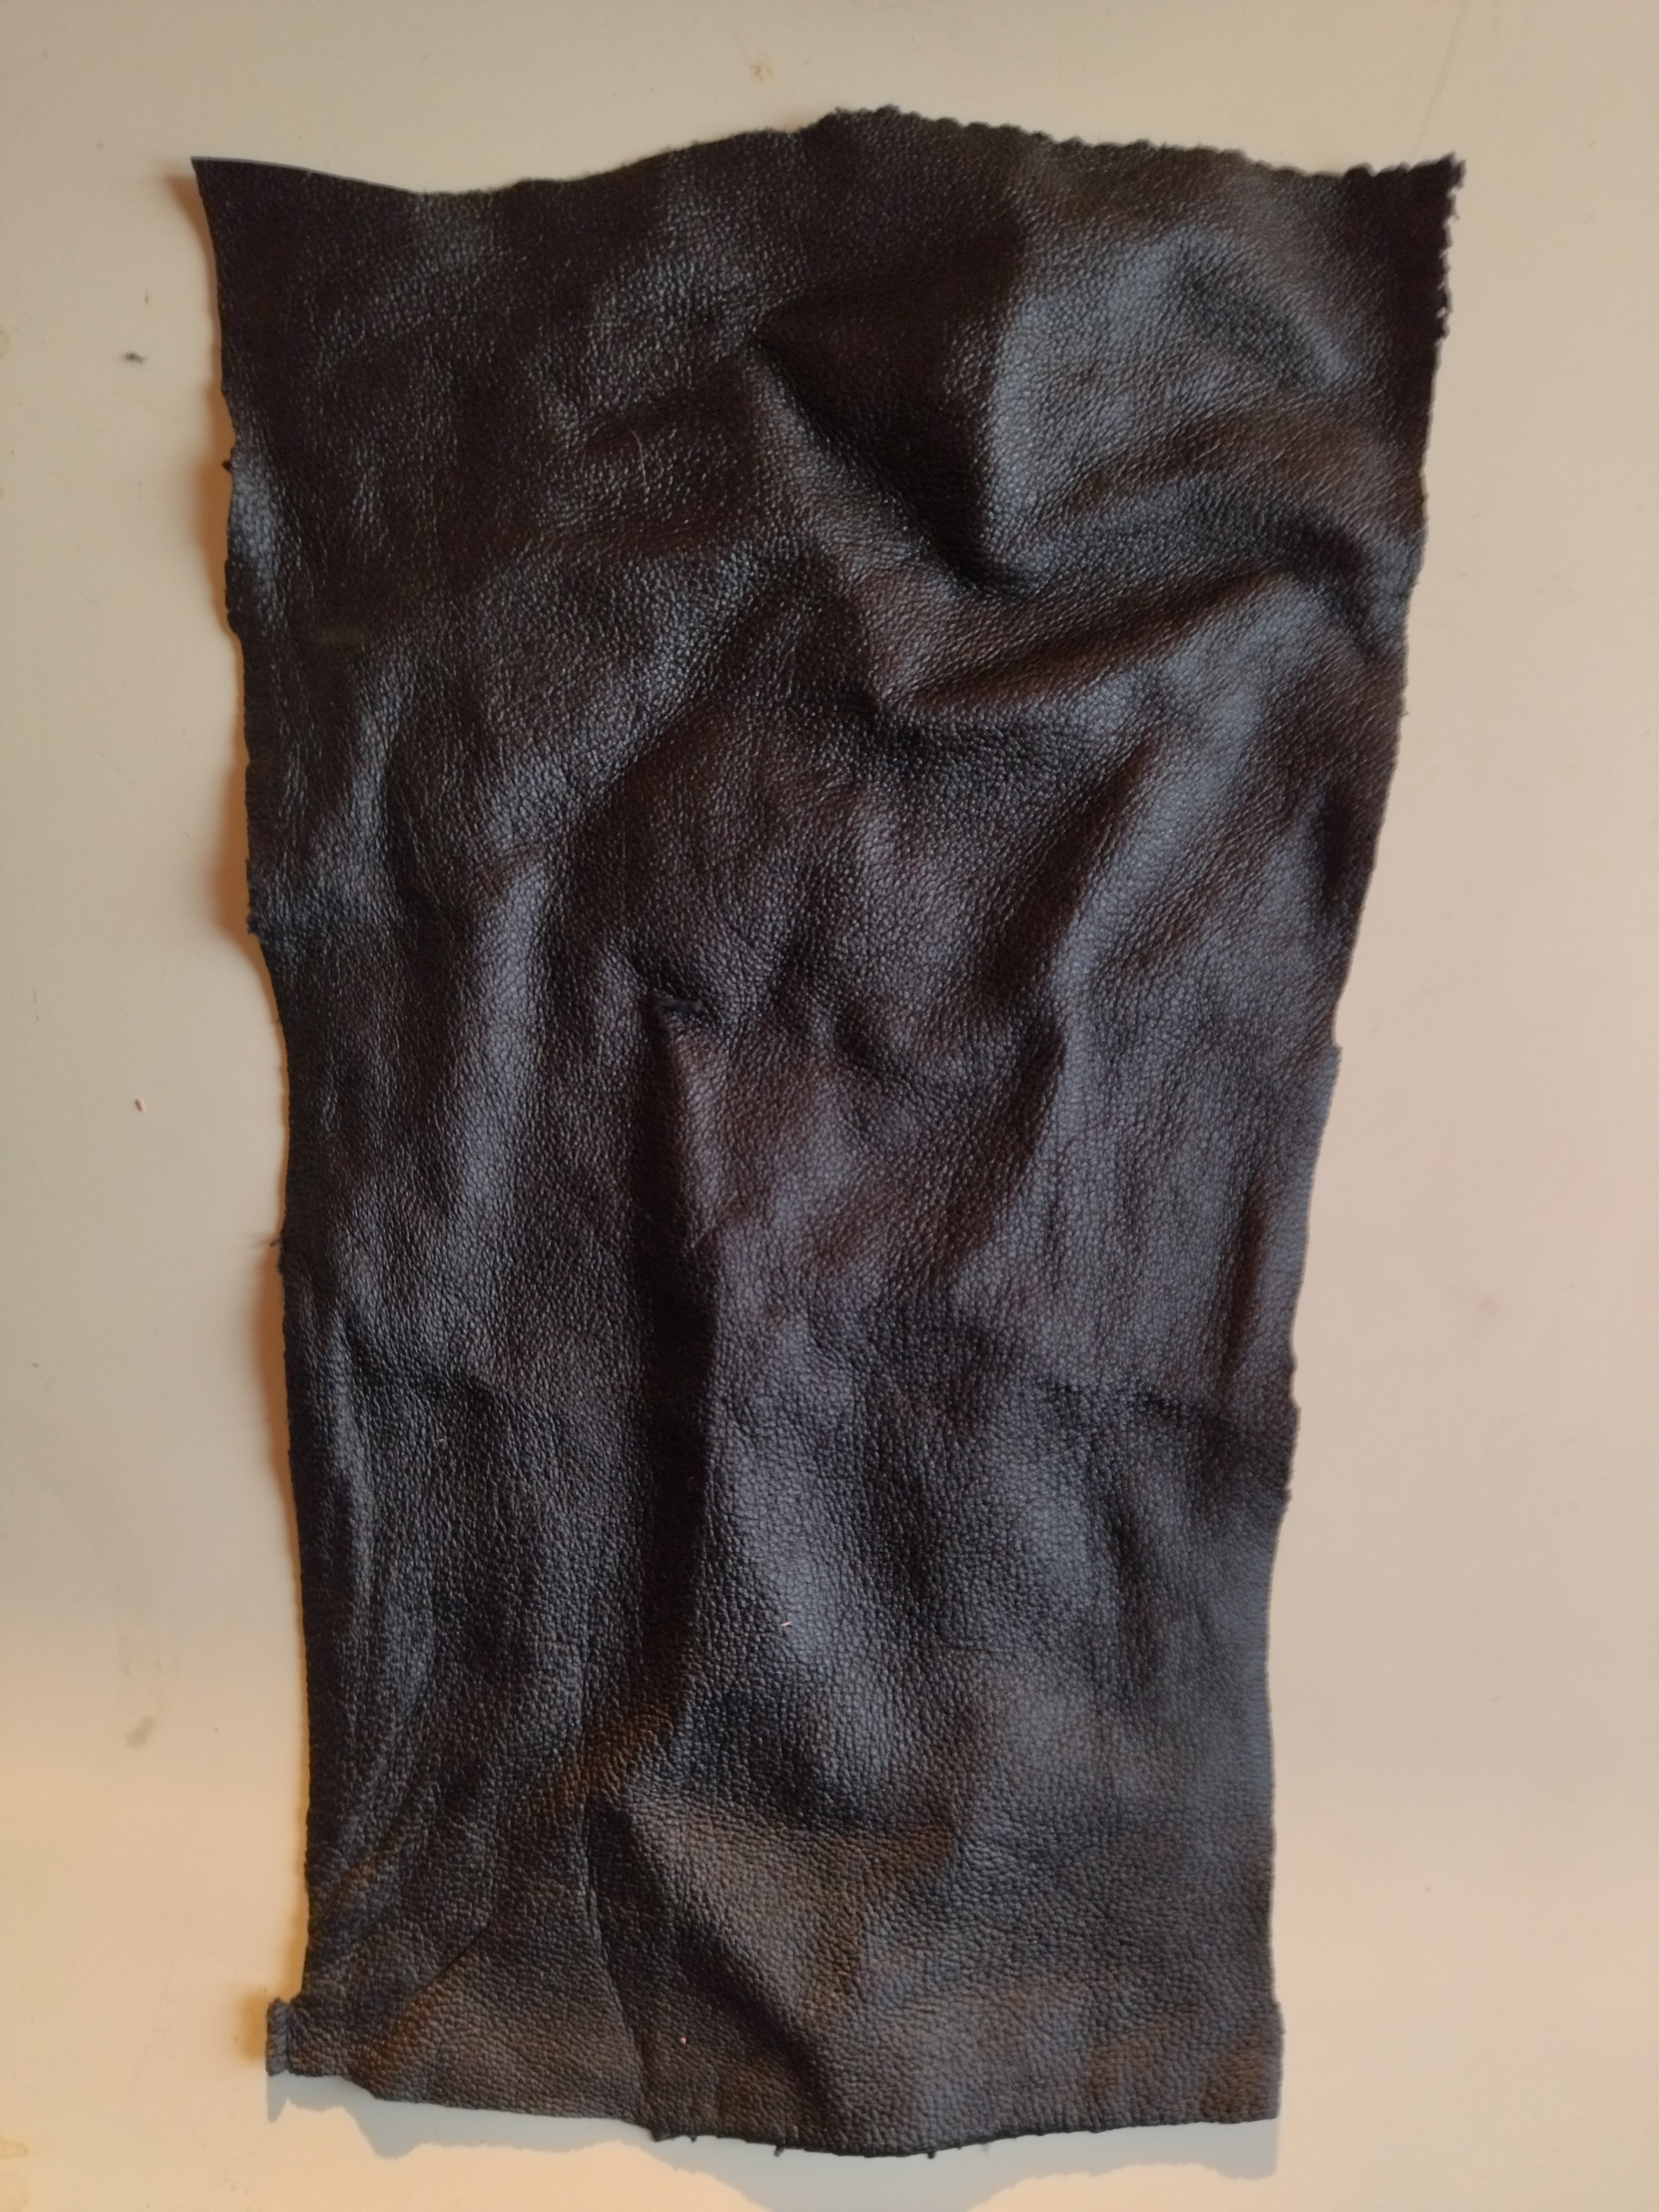
I used the compression mold to make a mini face mask. I recycled an old leather hood. I cut a batch of leather (1mm width, 12x20cm) and let it soak in water at room temperature for 10min.
Leather hood
| Batch
|
Soaking leather

|
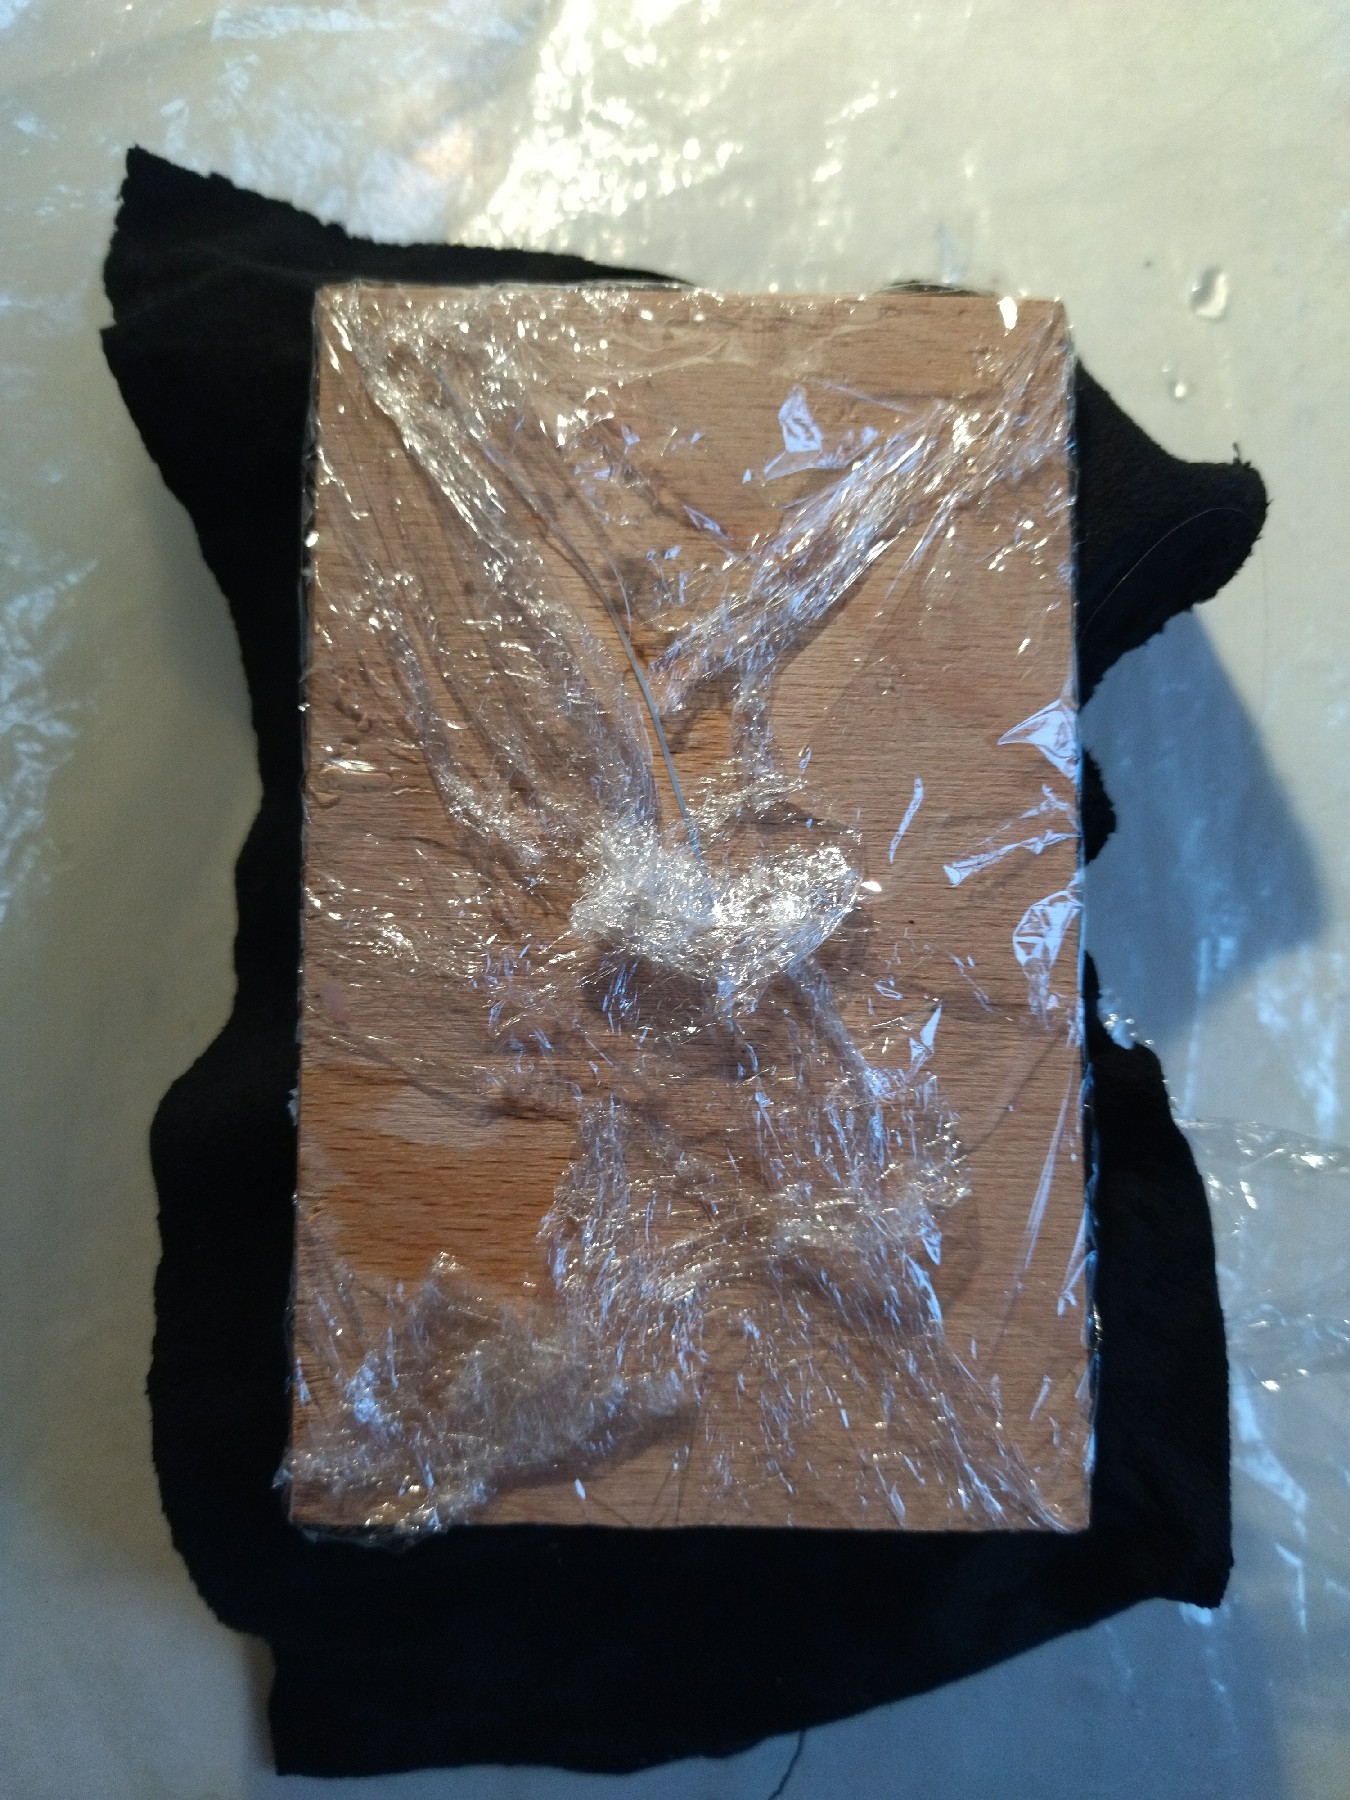
Then I wrapped the two parts of the mold in cellophane, placed the wet leather between the two and closed the mold. I added a heavy weight on the mold and wait 1 day.
Wrap in cellophane
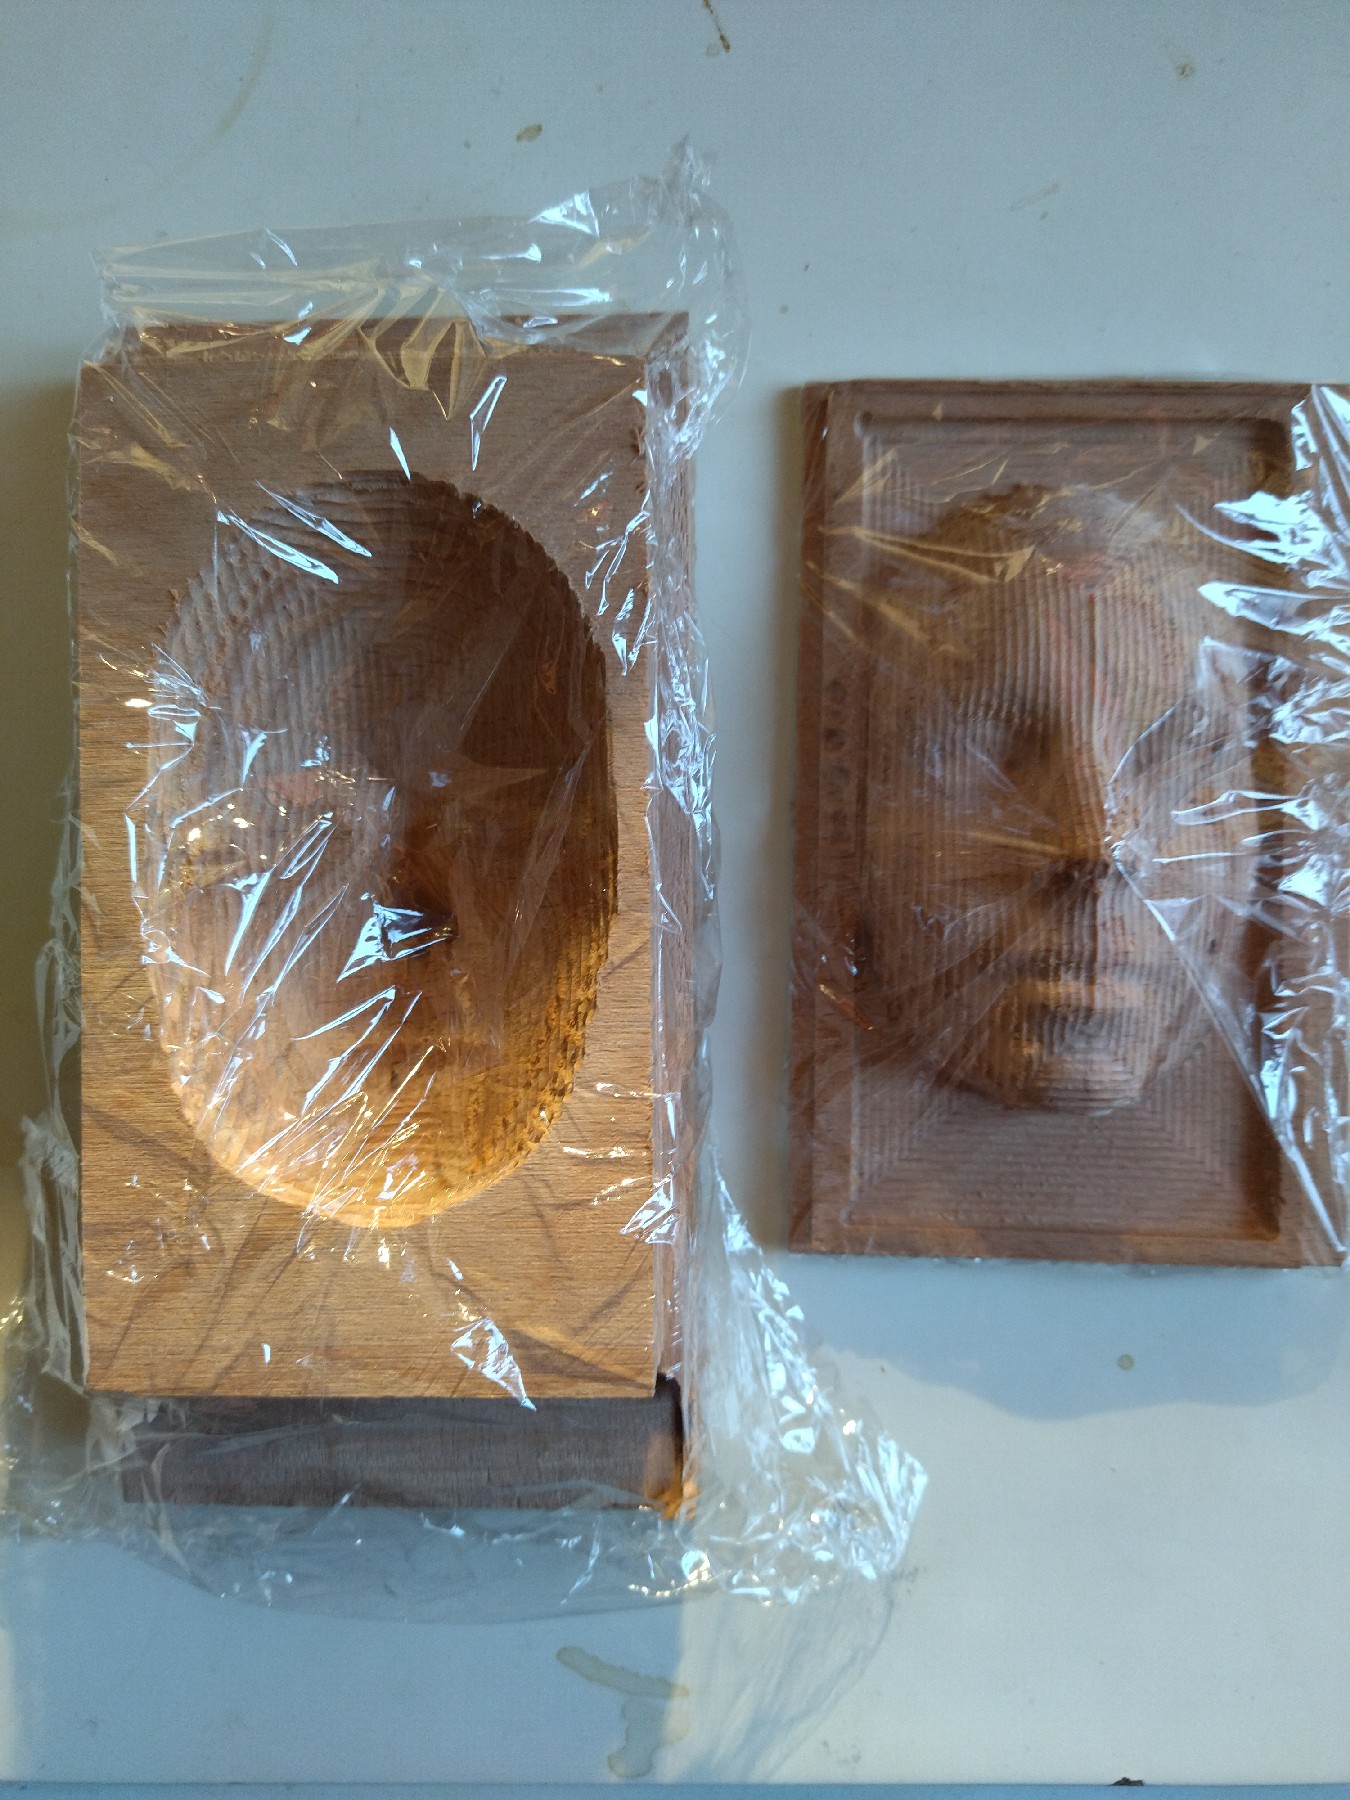
| Close the mold
|
Add weight
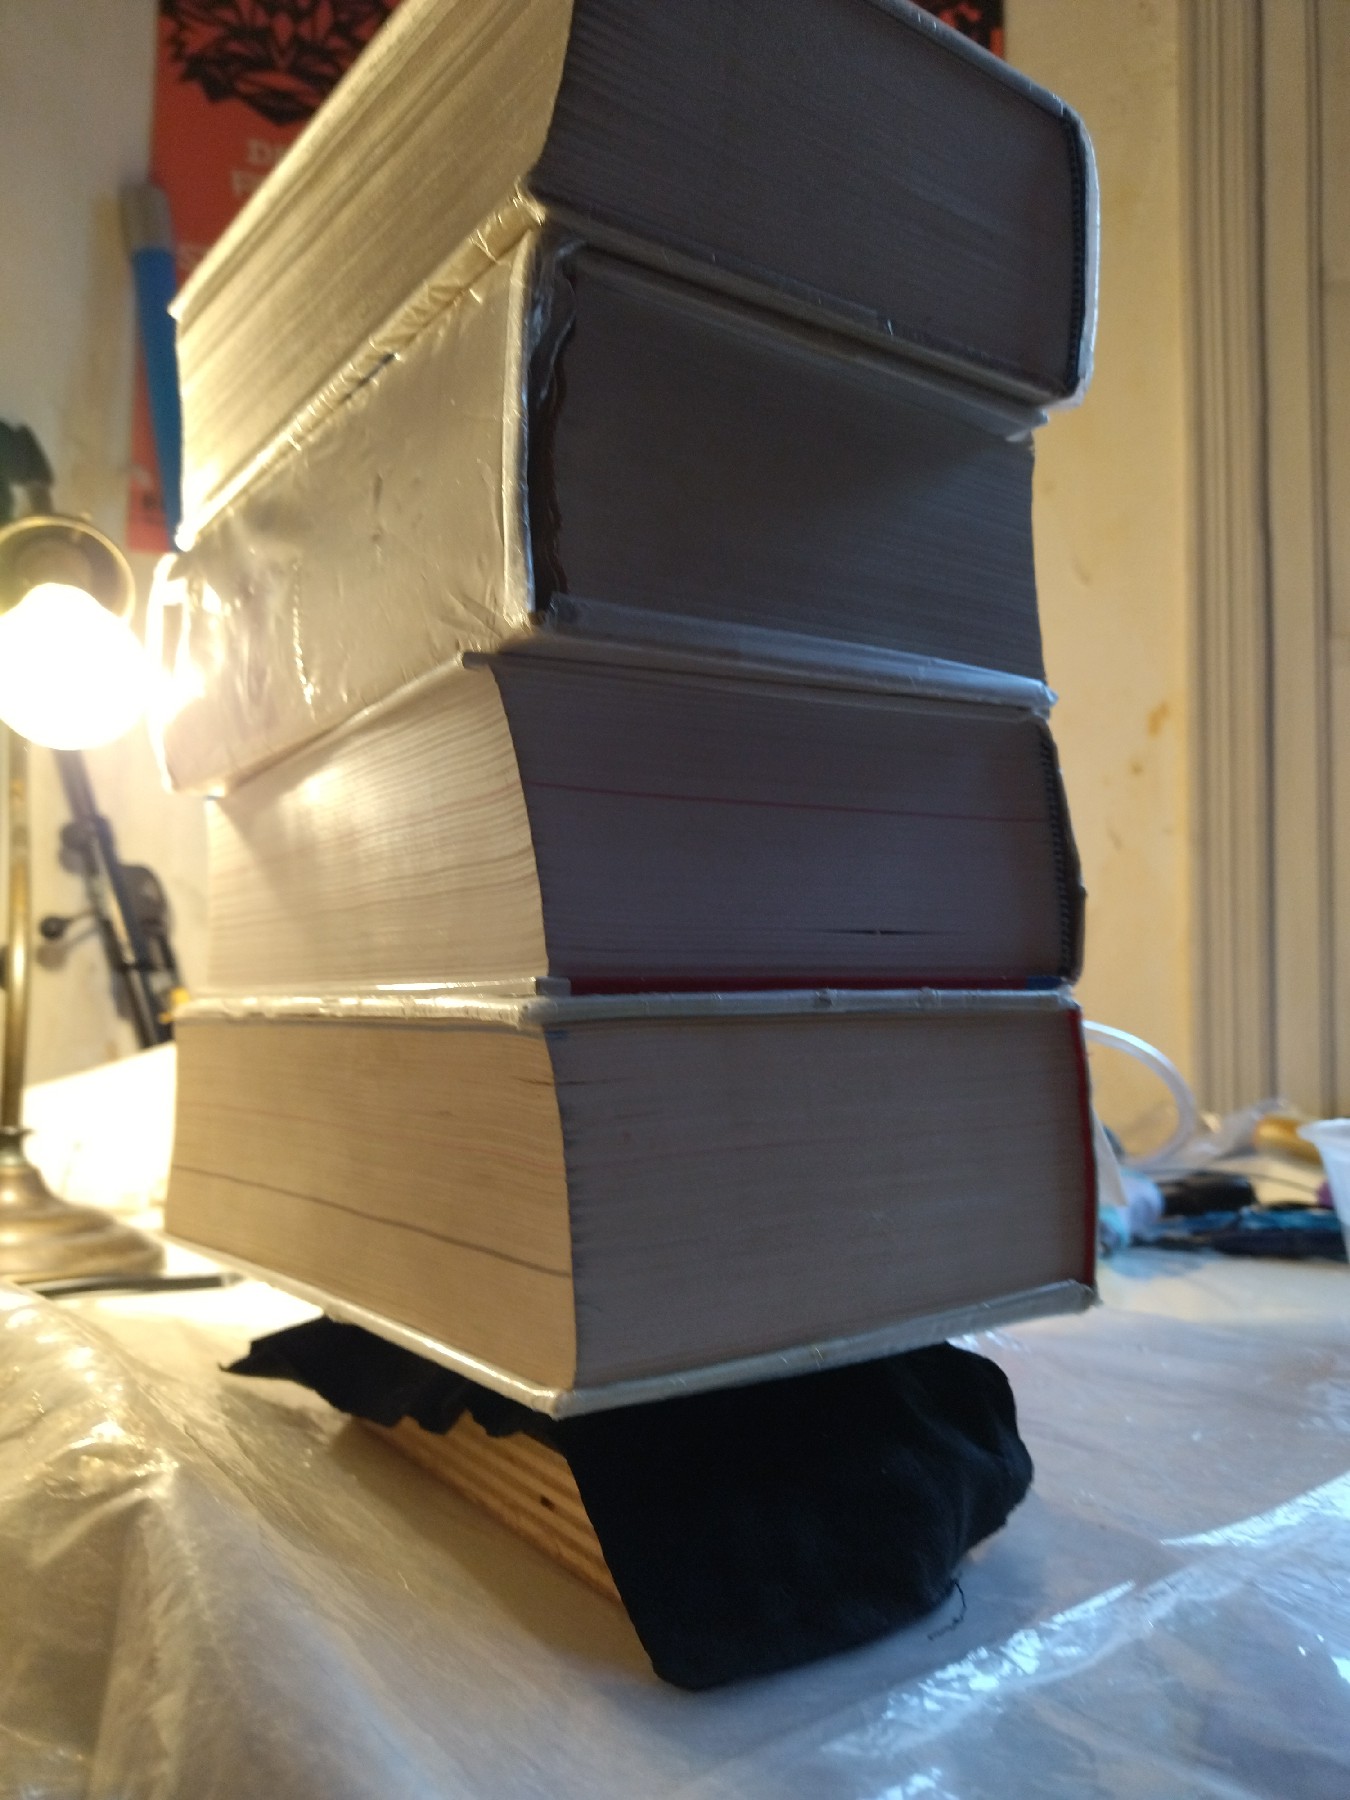
|
Result
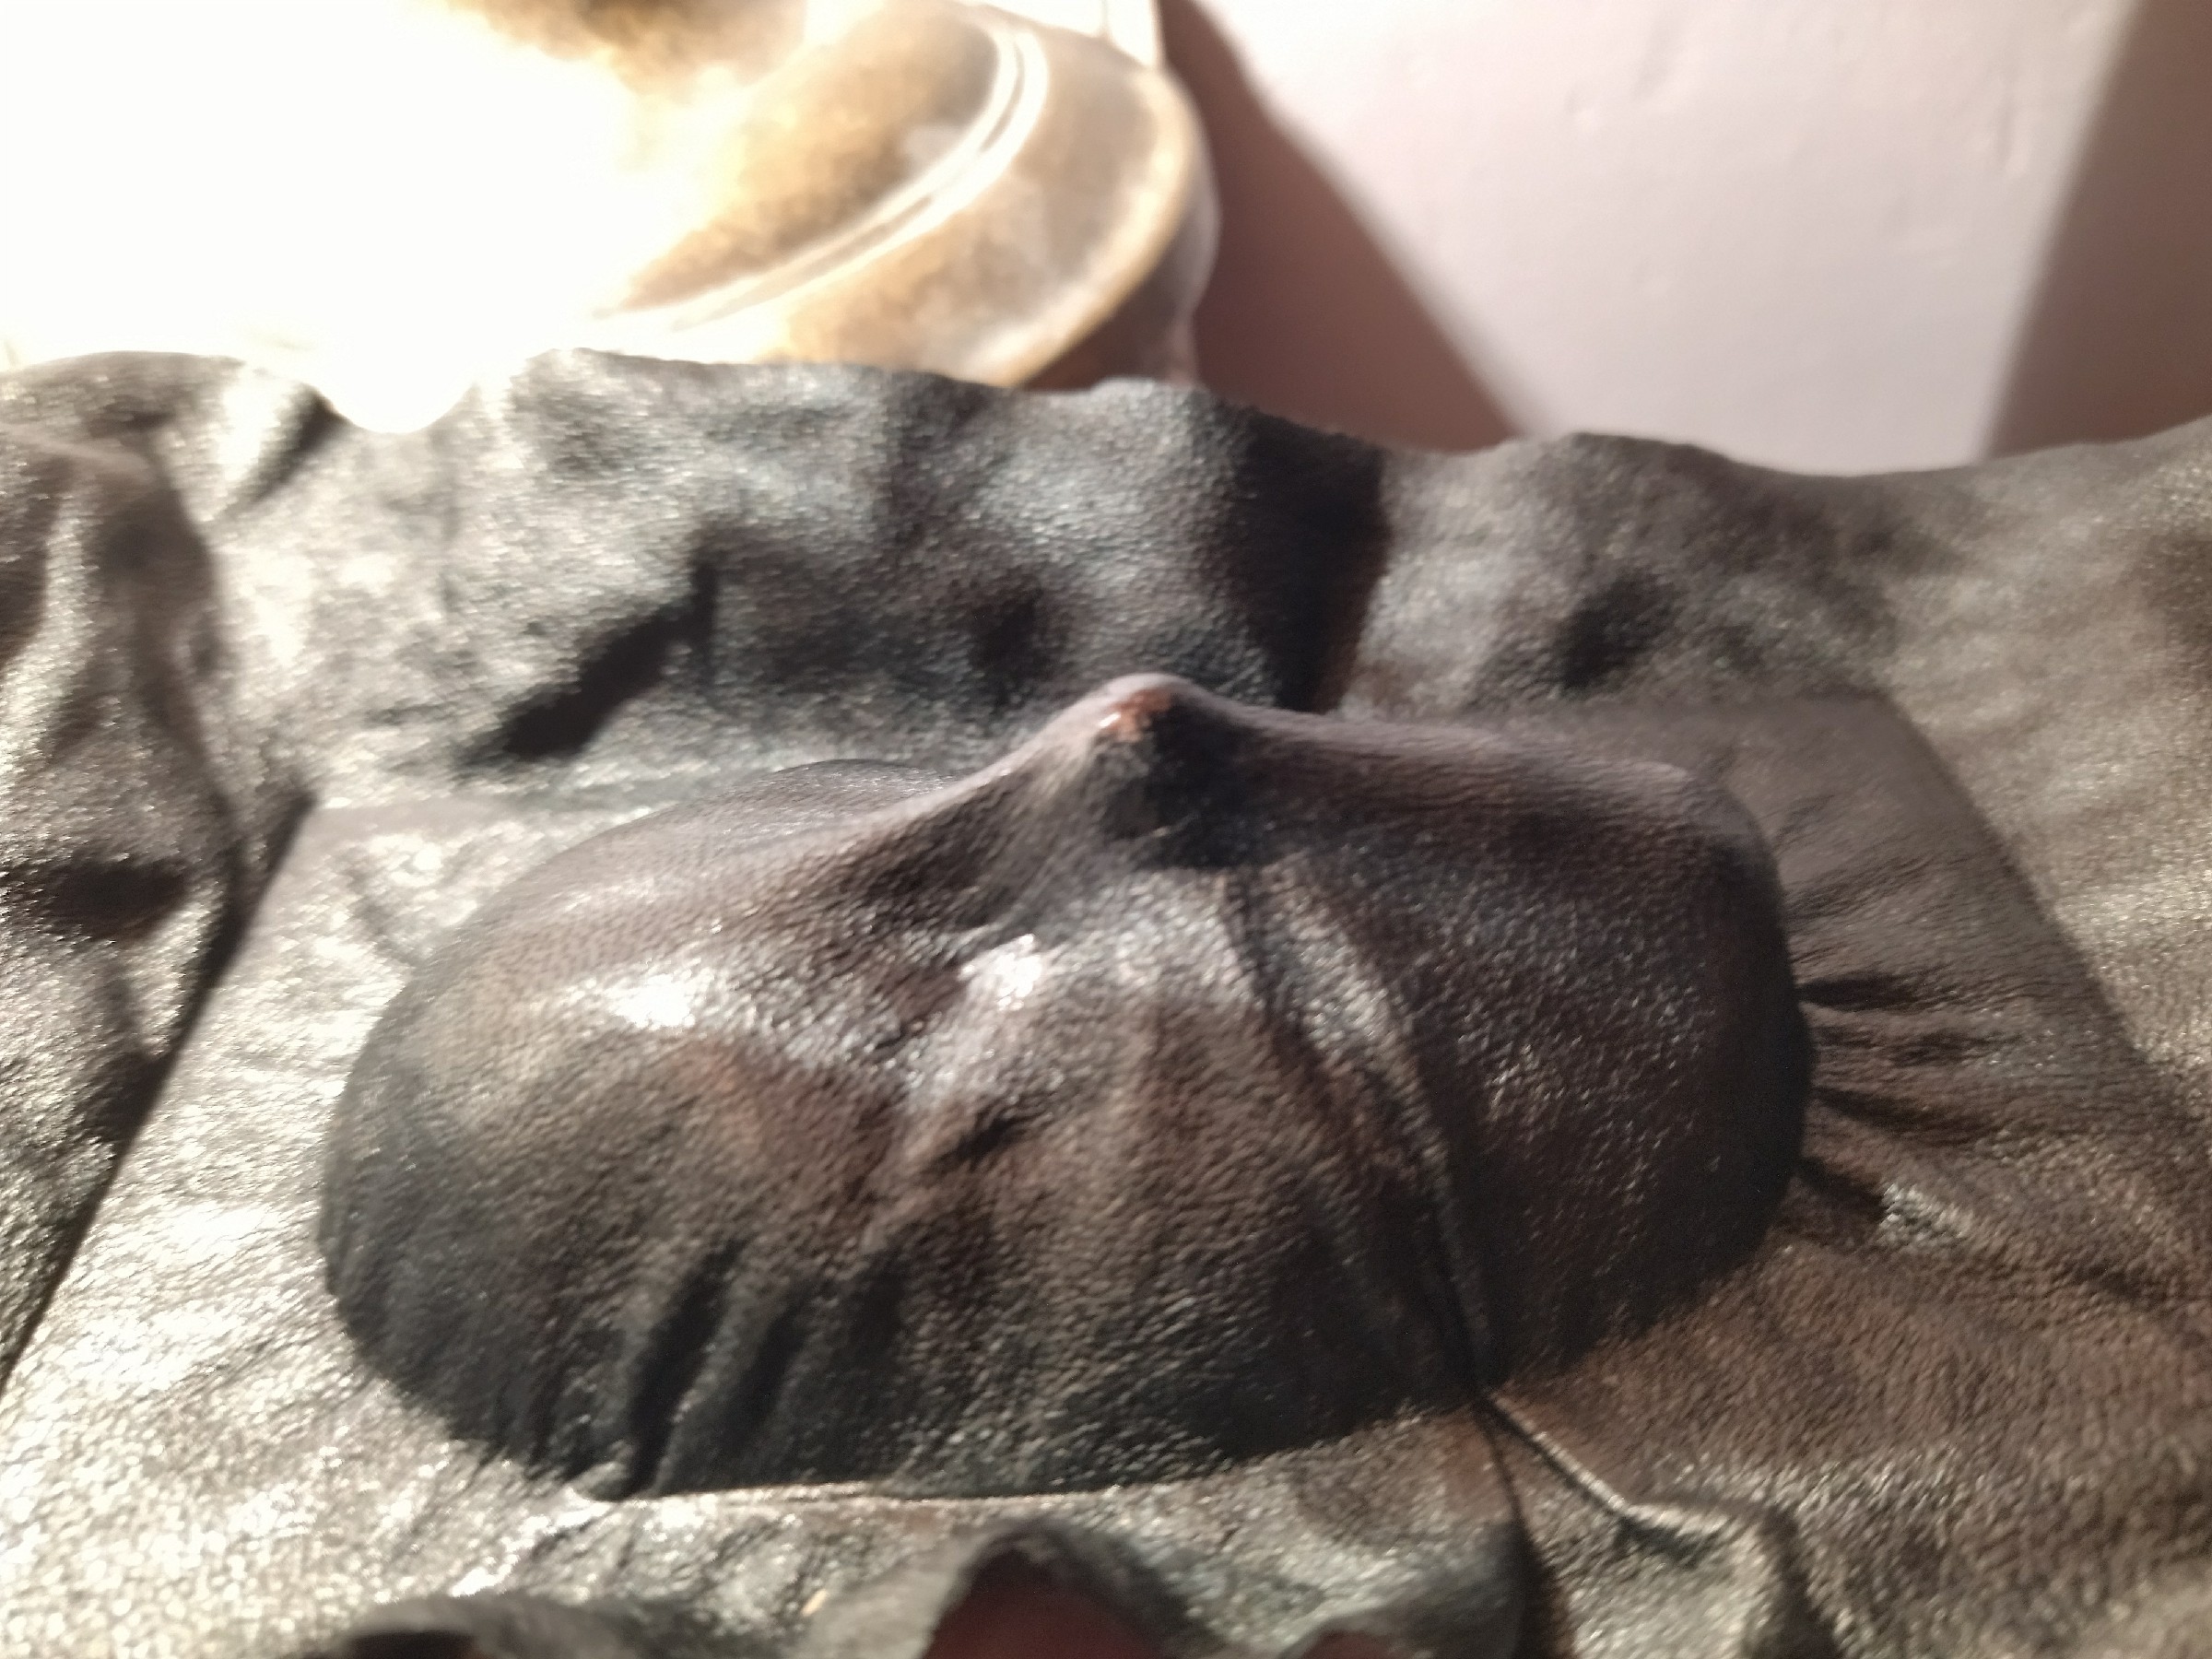 |
Last update: 2022-01-25