Digital Bodies

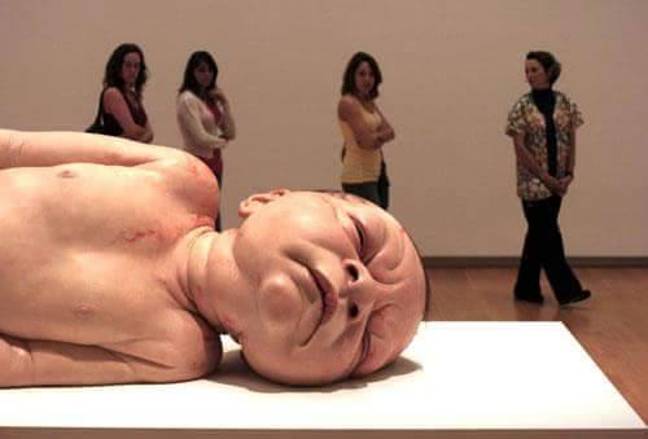
Ron Mueck - hyperrealistic human sculptures and the uncanny valley

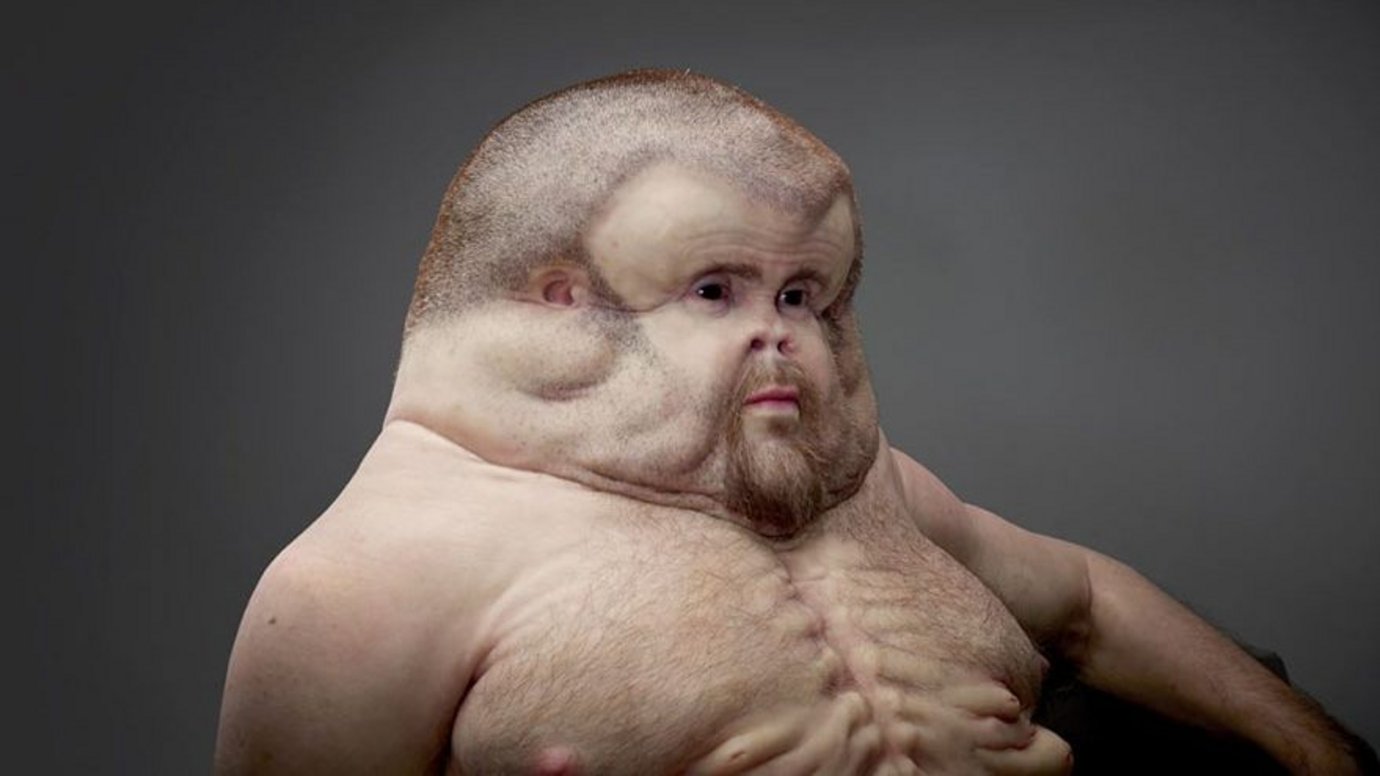
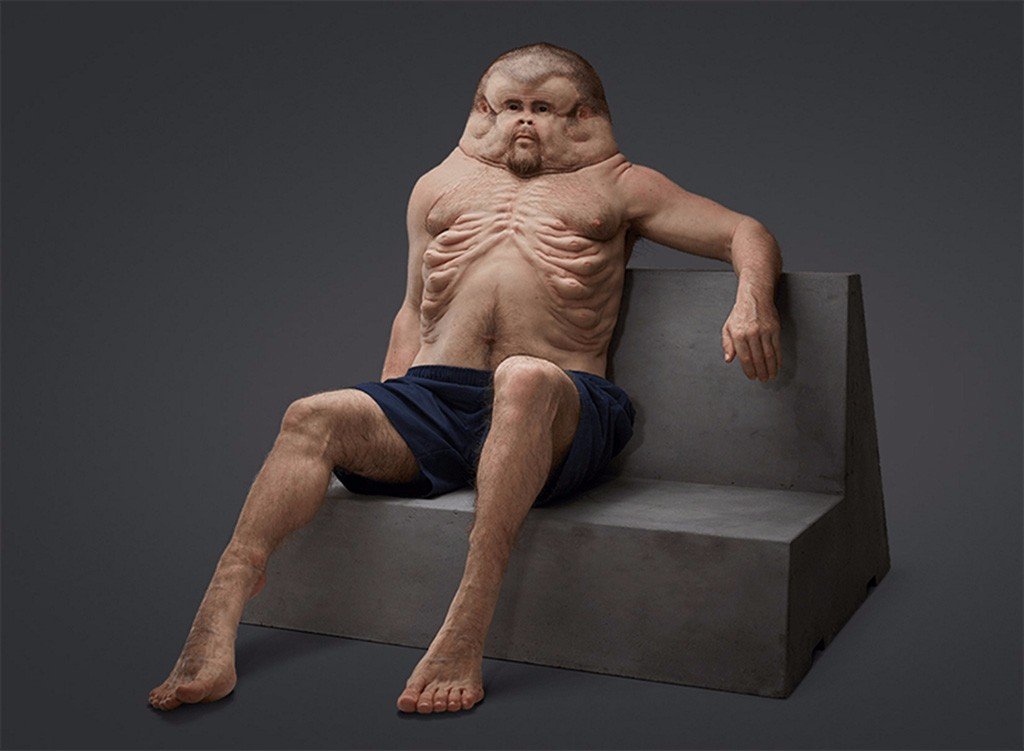
Graham by Patricia Piccinini - Graham's body anatomy has been 'redesigned' in order to optimise his chances of surviving a car crash. Based on research of injuries sustained by people in real traffic accidents
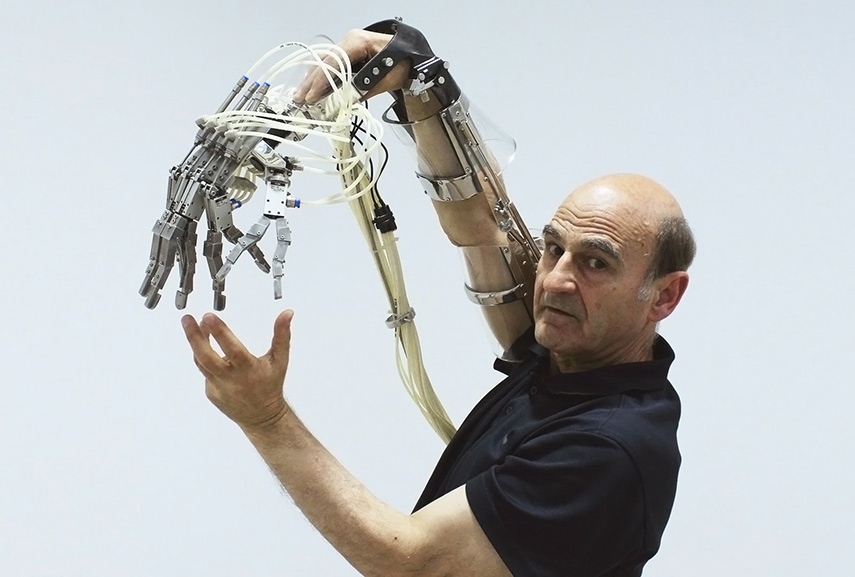
Stelarc - bioengineering extensions to human body
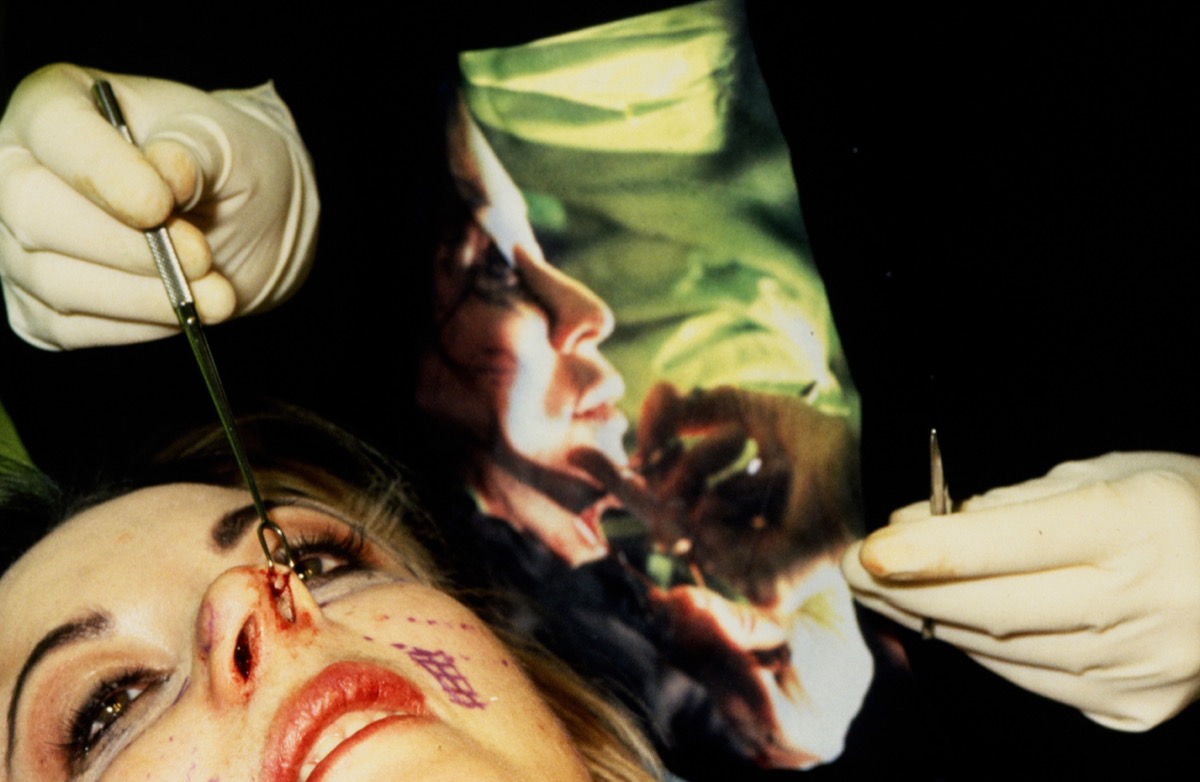
Orlan - obtainign plastic surgies turning her body into canvas
LINKS
- Posthumanism and Contemporary Art
- Remarkable Hyperrealistic Sculptures by Ron Mueck
- Meet Graham, the only human who could survive a car crash
Organic vs. Geometric

Antonio Gaudi - Casa Mila

Marcel Breuer - St. John’s Abbey Church
Aesthetics: rhythm and repetition
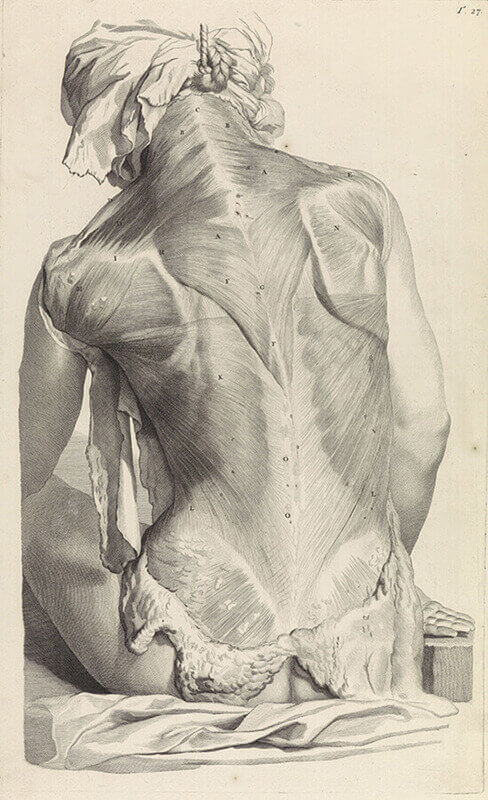
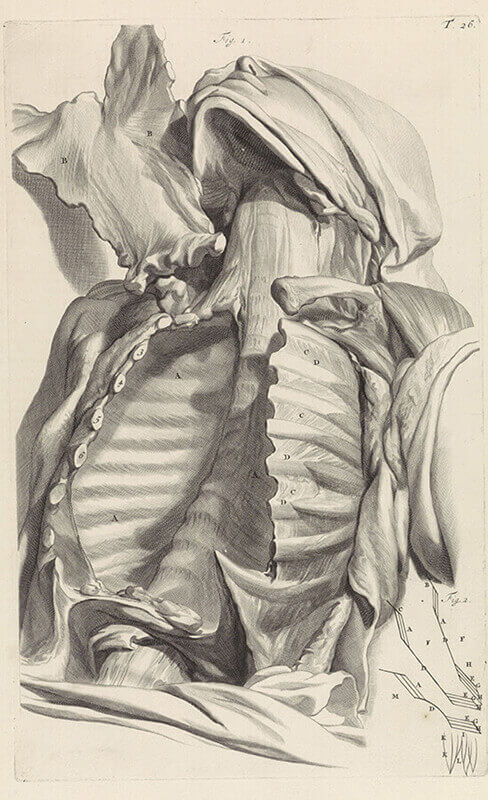
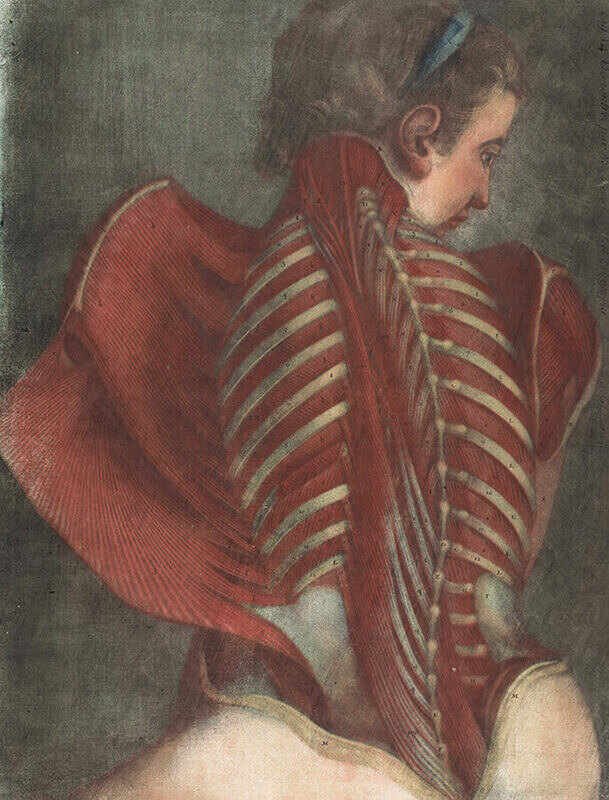
Anatomy: skeleton structure and muscular system
Essai d'anatomie en tableaux imprimés: Figure 14, Jean-Baptiste Gautier, 1745
Anatomische studie van de rug van een vrouw, Pieter van Gunst, after Gerard de Lairesse, 1685
Anatomische studie van de lege borstkas, Pieter van Gunst, after Gerard de Lairesse, 1685
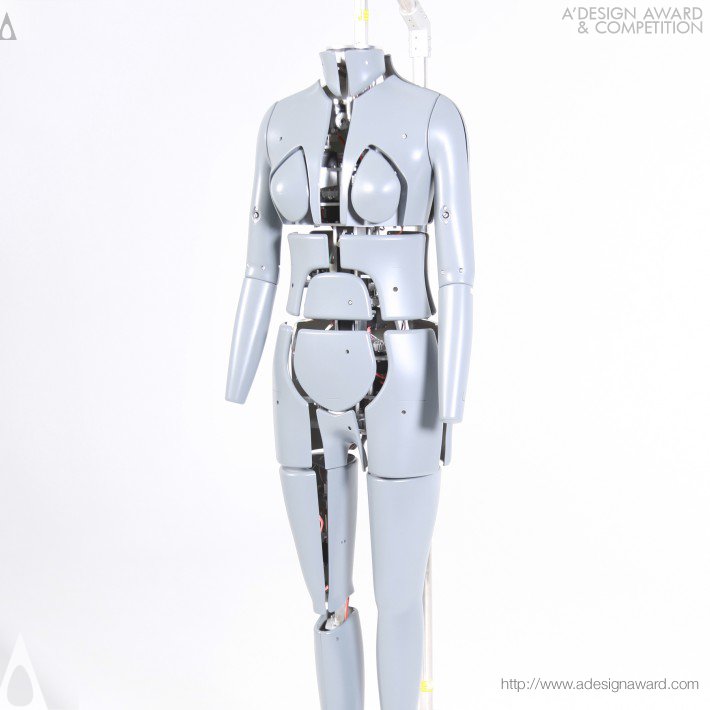
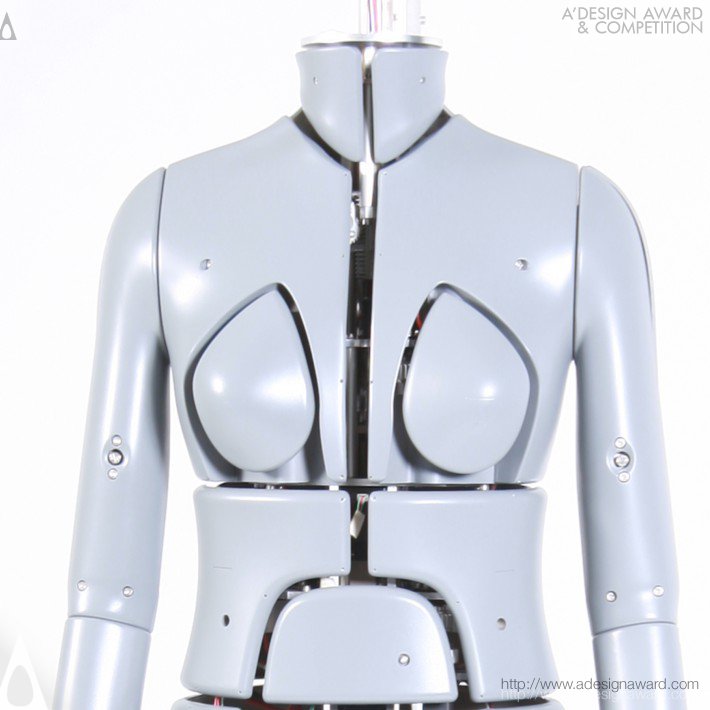
Adjustable mannequins
Projection mapping on human body
 Museum of Natural Sciences
Process


Design
3D Scanning

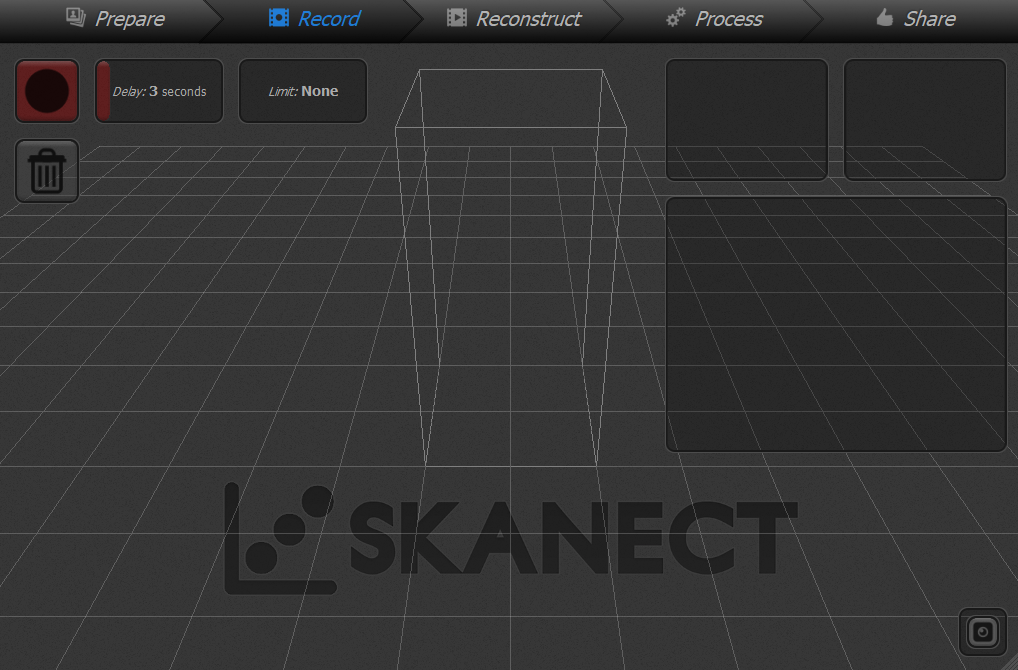

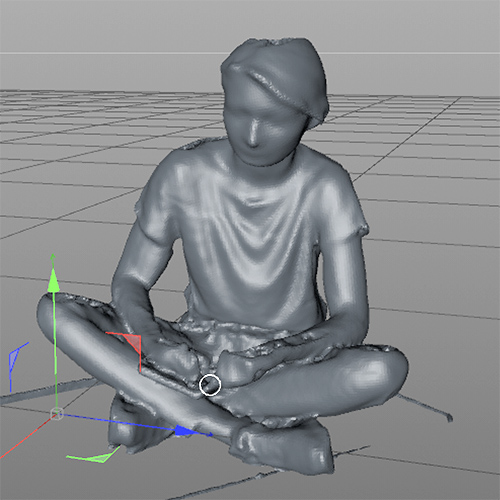
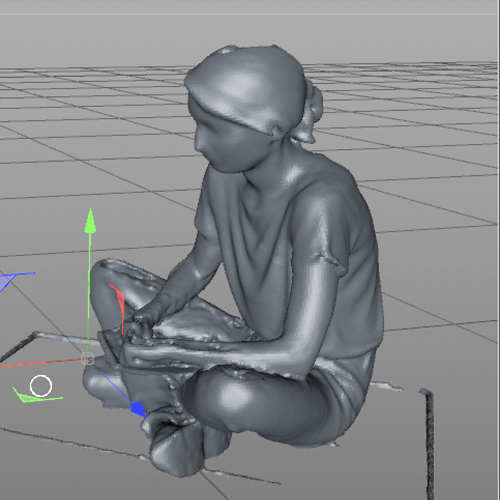
I did have myself 3D scanned with a Kinect Sensor attached to Kuka robotic arm. Fab Lab BCN is equipped with an automatically rotating, computer controlled platform that made the process smooth and fairly easy. Kinect is a depth sensor and a camera as well, the scans may have original colors applied as a texture. Some glitch still occurs.
Slicer
In the end I didn't use my 3D scan nor other 3D model. So, after watching a tutorial on how to use Slicer for Fushion 360, I did not work with it for this assignment. The software
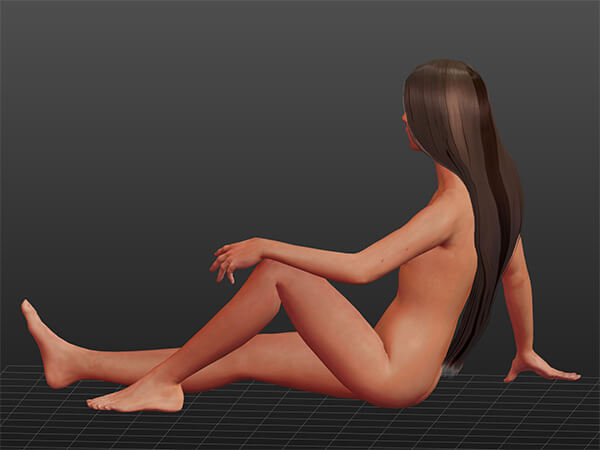
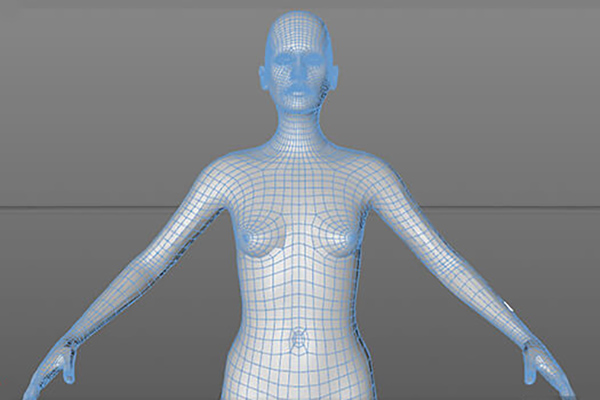
MakeHuman
Weight
Gender
Proportions
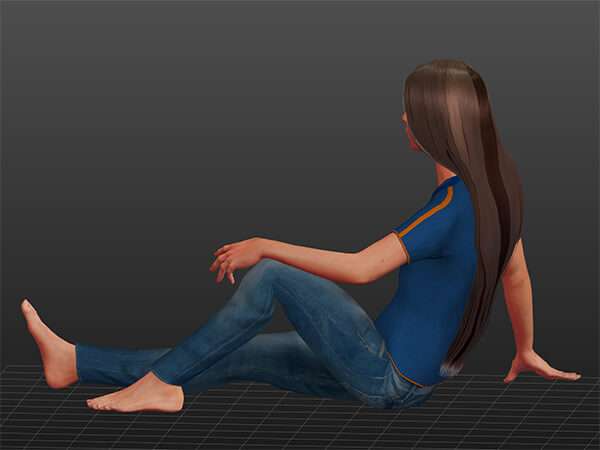
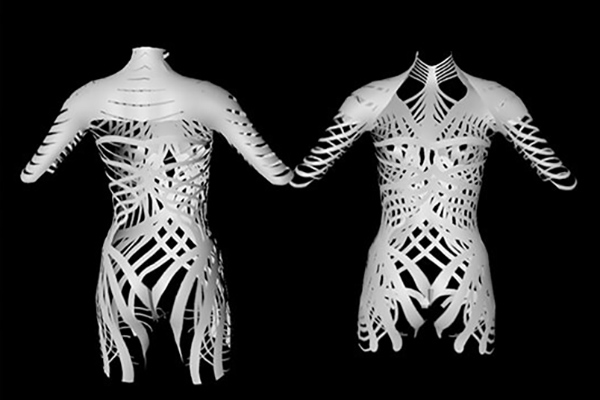
Cinema4D
Import 3D model from MakeHuman to Cinema4D
Export the model texture as an UV map
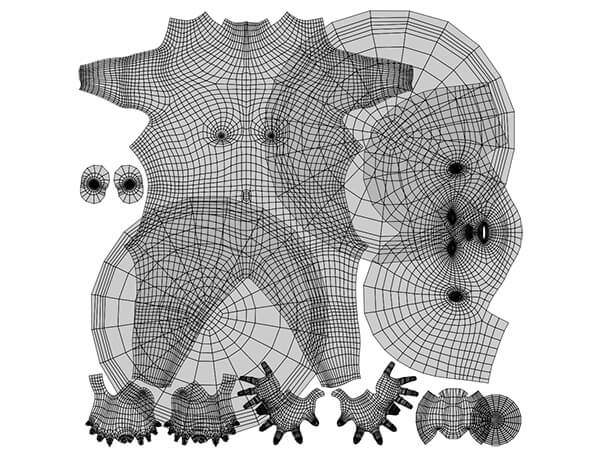
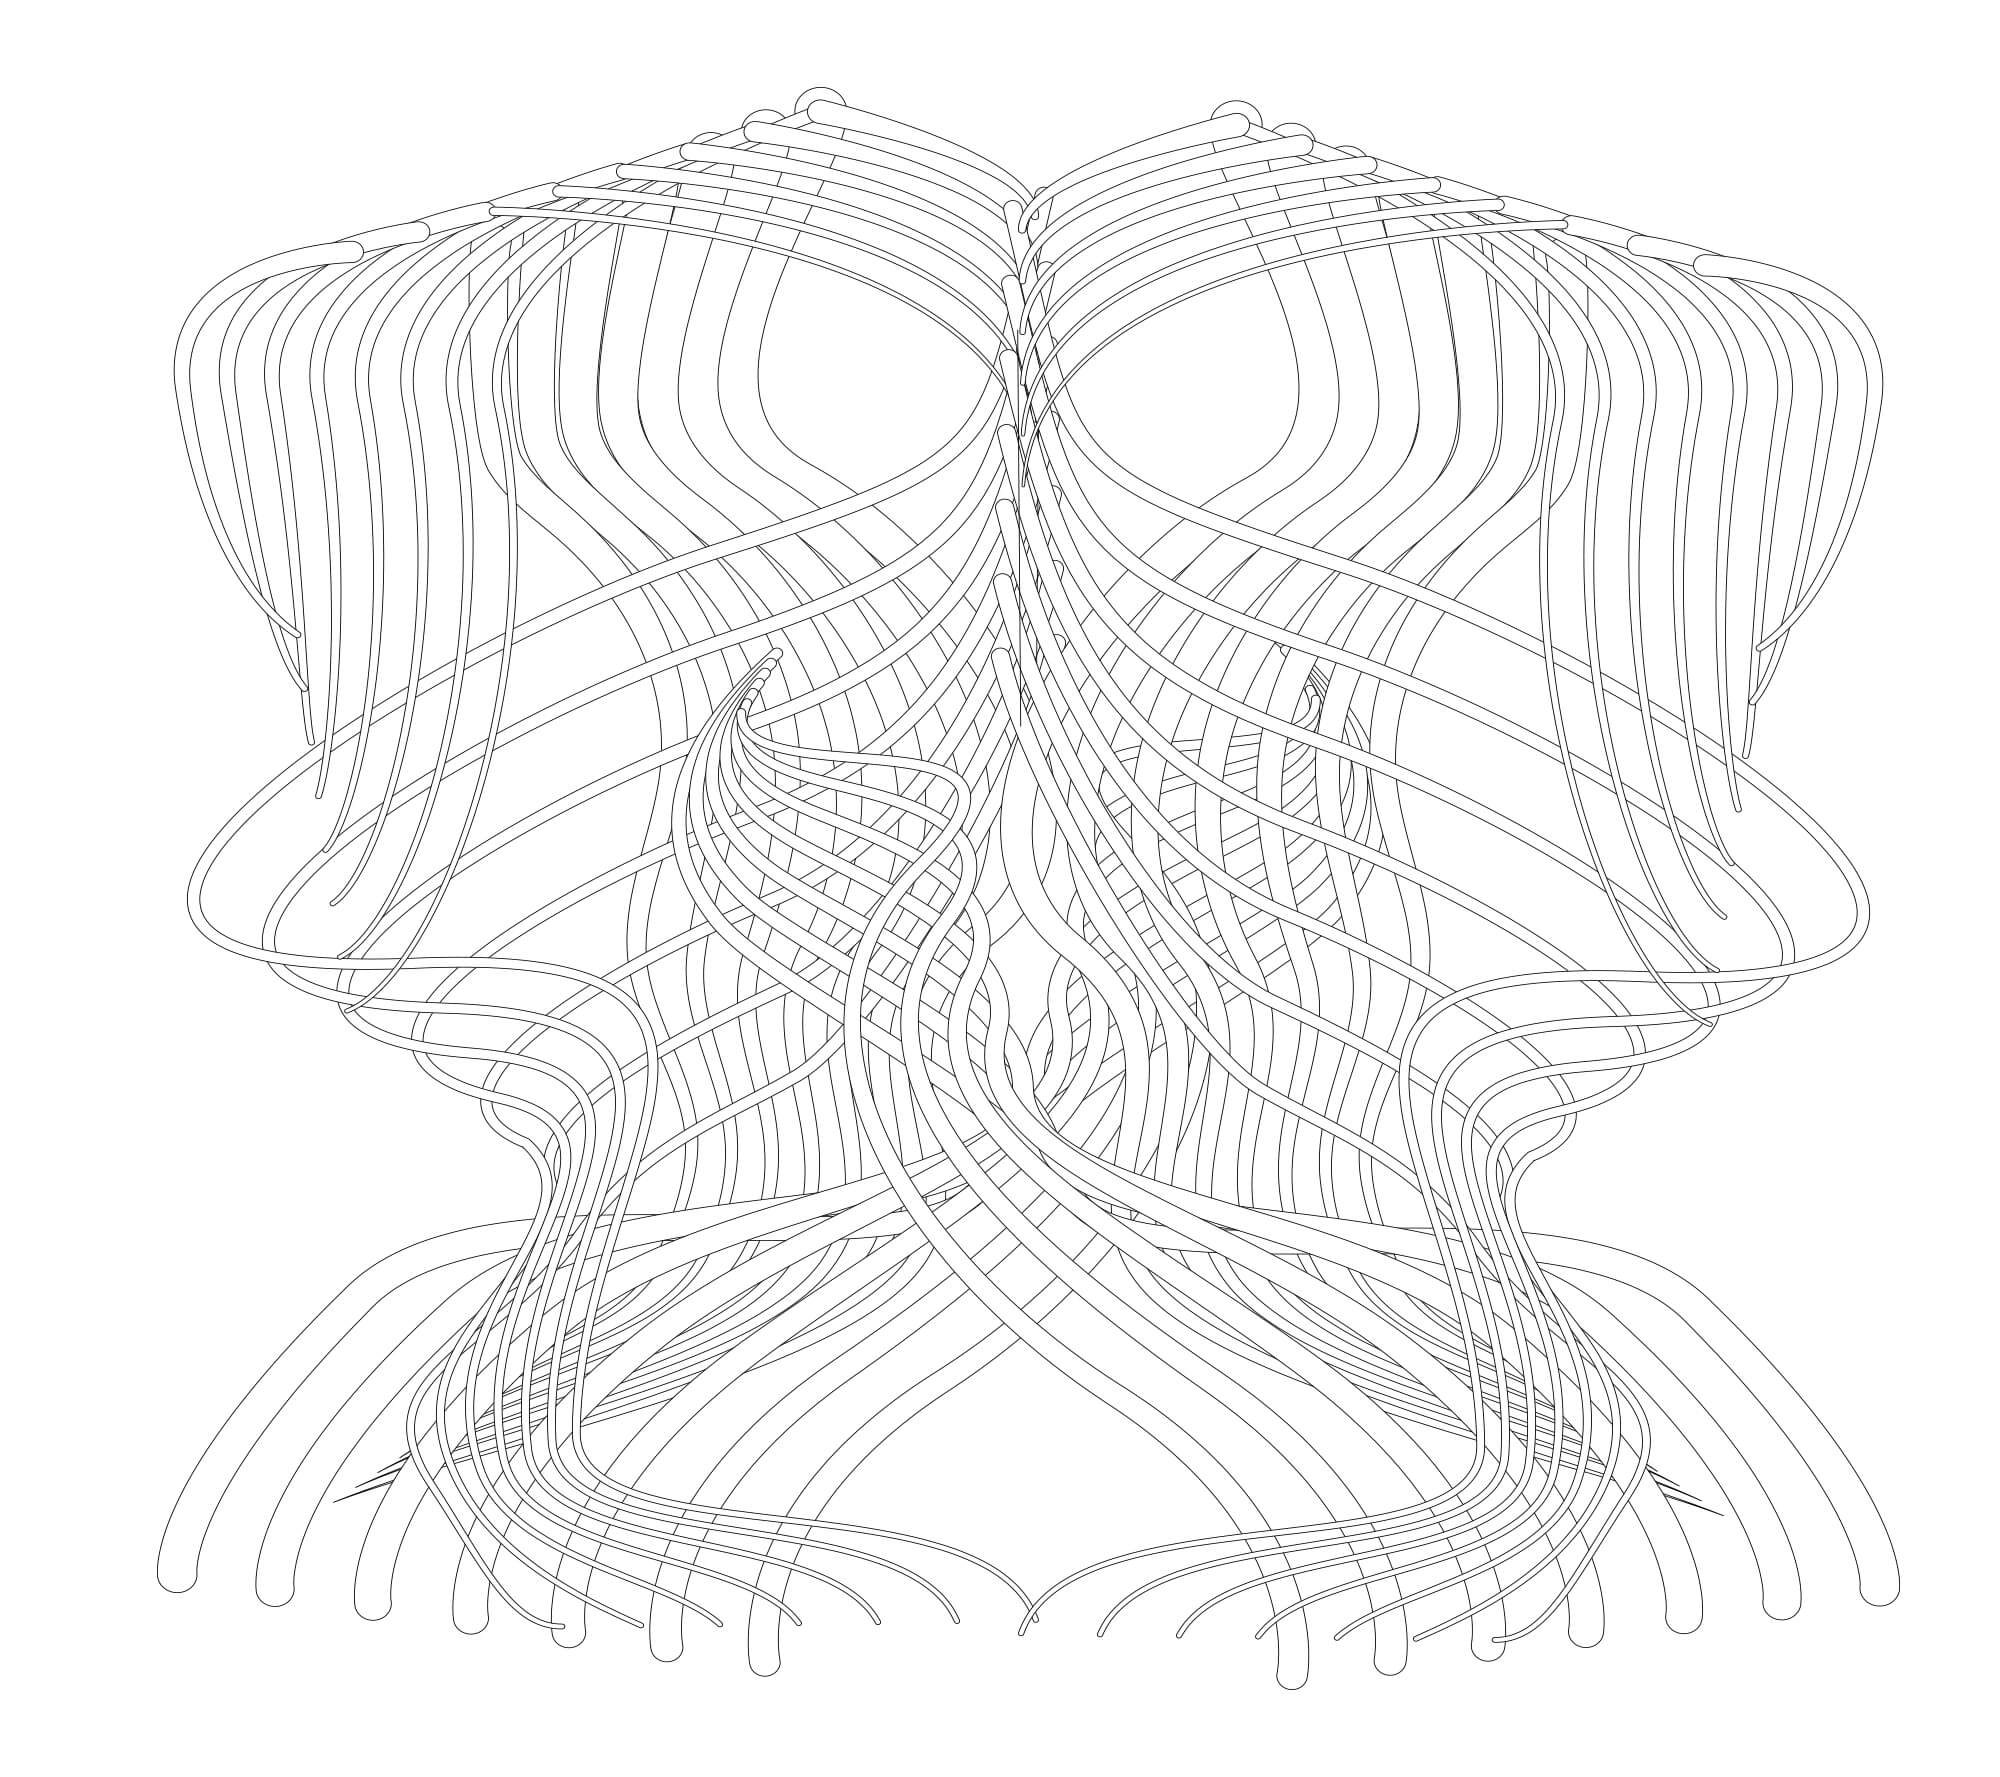
Illustrator
Import the UV map and create the structure

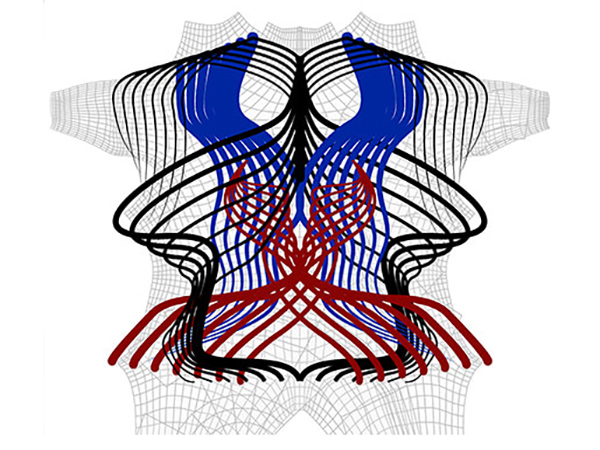
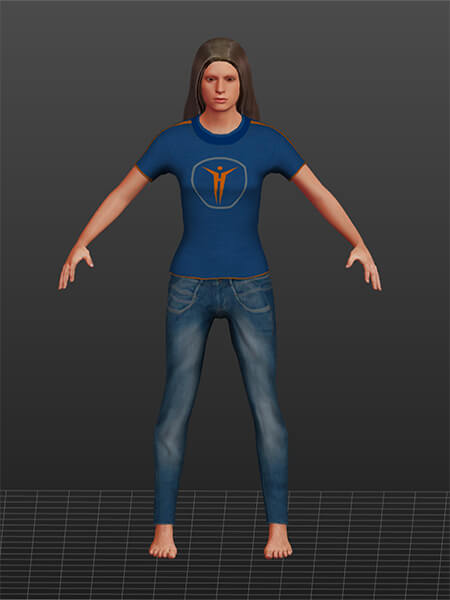
Back to Cinema4D
Create a new material of the edited UV map and apply it to the model
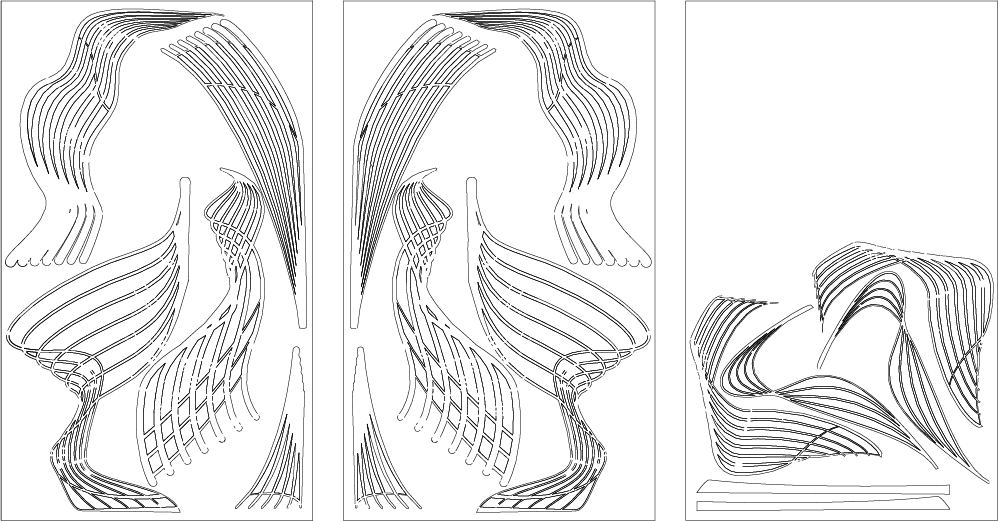
File preparation in Rhinoceros
Fab Lab BCN uses Rhinoceros to send files to the lasercutter. Import file in .dxf format.
Set the inner cuts and engravings to one color and the big outer outlines to another. This way you can set the order of cutting making sure the elements don't move while cutting
Fabrication
Lasercutter
lasercutting at Fab Lab BCN, Trotec Speedy 400
File preparation
- save your vector file in a .dxf format
- import that file in Rhinoceros (if you want to save it or open a Rhino file, use version not newer than version 5)
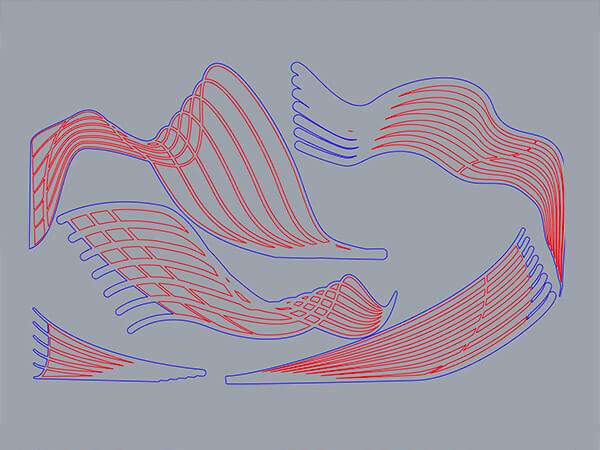
- set your inner cuts to display in red (R:255, G:0, B:) and outside cut contours in blue R:0, G:0, B:255)
- use the PRINT command in Rhino, set the viewport print option and move the viewport accordingly
- One Job - A dedicated software for Trotect Lasercutters should open automatically
- drag your job into the viewport
- run the OPTIMIZE command to save the cutting time of your job
- select the MATERIAL PROPERTIES option and set your settings: Speed, Power and Frequency for all the color layers you have in your design
- make sure the Air Compression is on in the Material Properties Tab
- double check if your material is safe for lasercutting
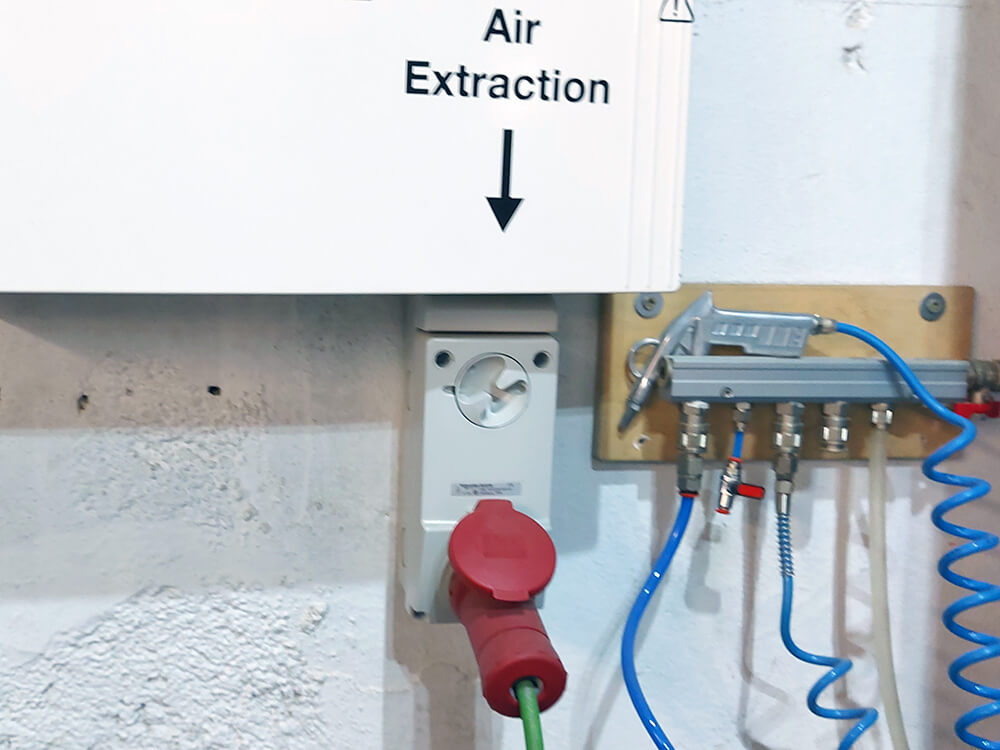
- turn on the engraver
- turn on the air compression for fume extraction
- put your material flat on the machine bed
- use paper tape to fix the edges of the material sheet to the bed
- move the laser head somewhere around the middle of the material
- use a specially designed device to focus the laser beam (by calibrating the distance between the material and laser head, the z position)
- depending on your material and settings, you may optionally do a test cut first, cutting a small shape in a waste area and check the results
- start the process, stay by the machine and watch out for potential ignition
Machine use
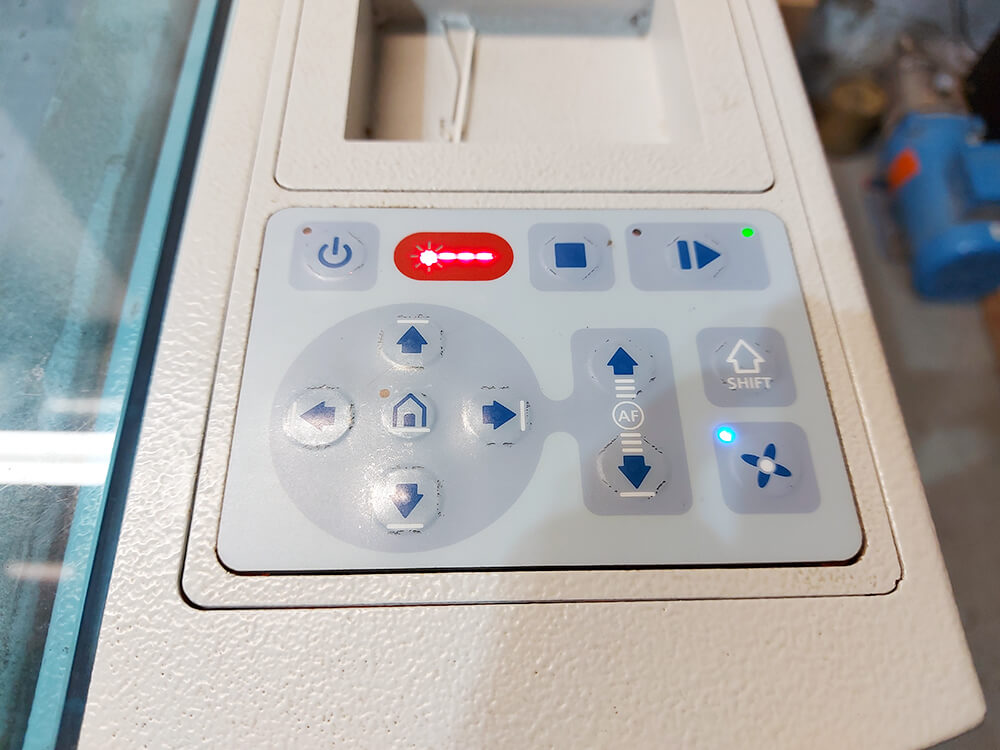


PDF file download here
Materials
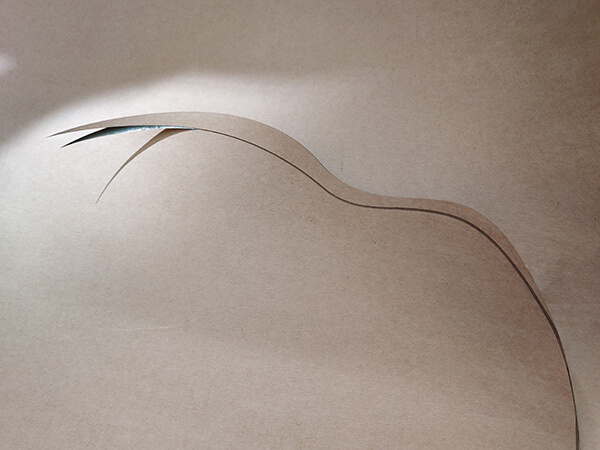
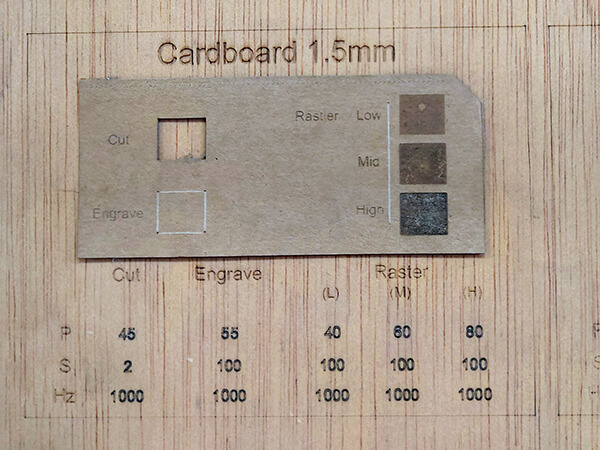
Cardboard tends to bend and deform during lasercutting. Some types of paper and cardboard make it impossible to focus the lasercutter in the right point and are not suitable fort this use
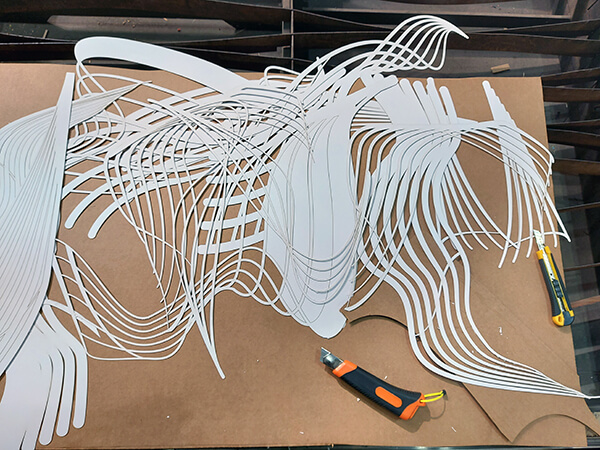
For this prototype I used 1.5mm thick white cardborad with lasercutter settings: power: 45, speed 2, frequency: 1000
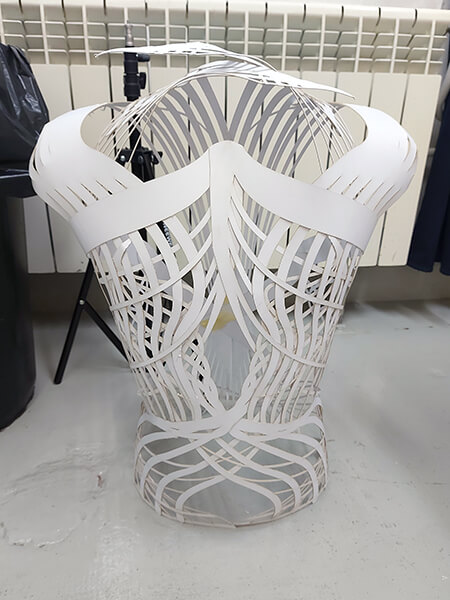
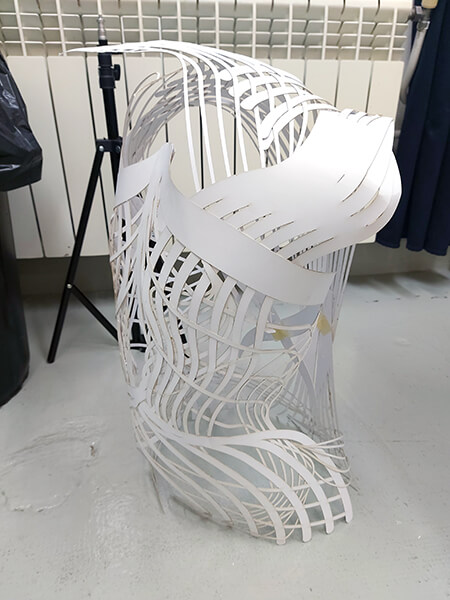
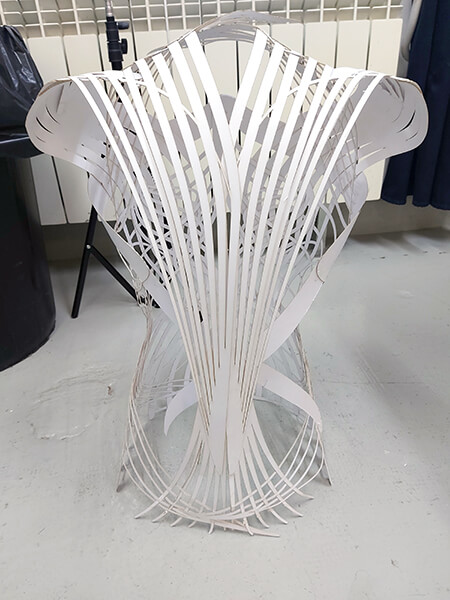
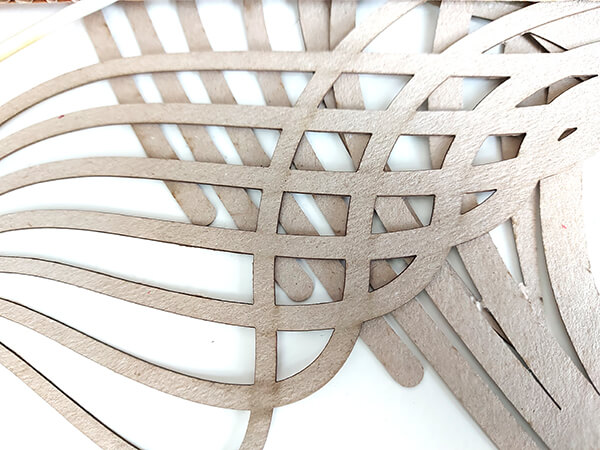
Assembly and adjustments
Conclusions and notes to self
- paper can be surprisingly tricky as a material due to its bending
- stiff materials are easier to lasercut but don't allow free shaping after cutting
- there definitely are easier ways for 3D modelling and design than using 4 different softwares
- paper and cardboard are great for early prototyping as they are easy to cut with regular scissors and easy to glue together
- paper tape used to fix sheet to lasercutter bed may rip top layer
- burn marks ang glue stains will be visible on white cardboard
- failing to maintain flatness of cardboard sheet results in loss of laser focus and uncut lines
- manual cutting of complex organic linear shapes after lasercut focus failure is not fun
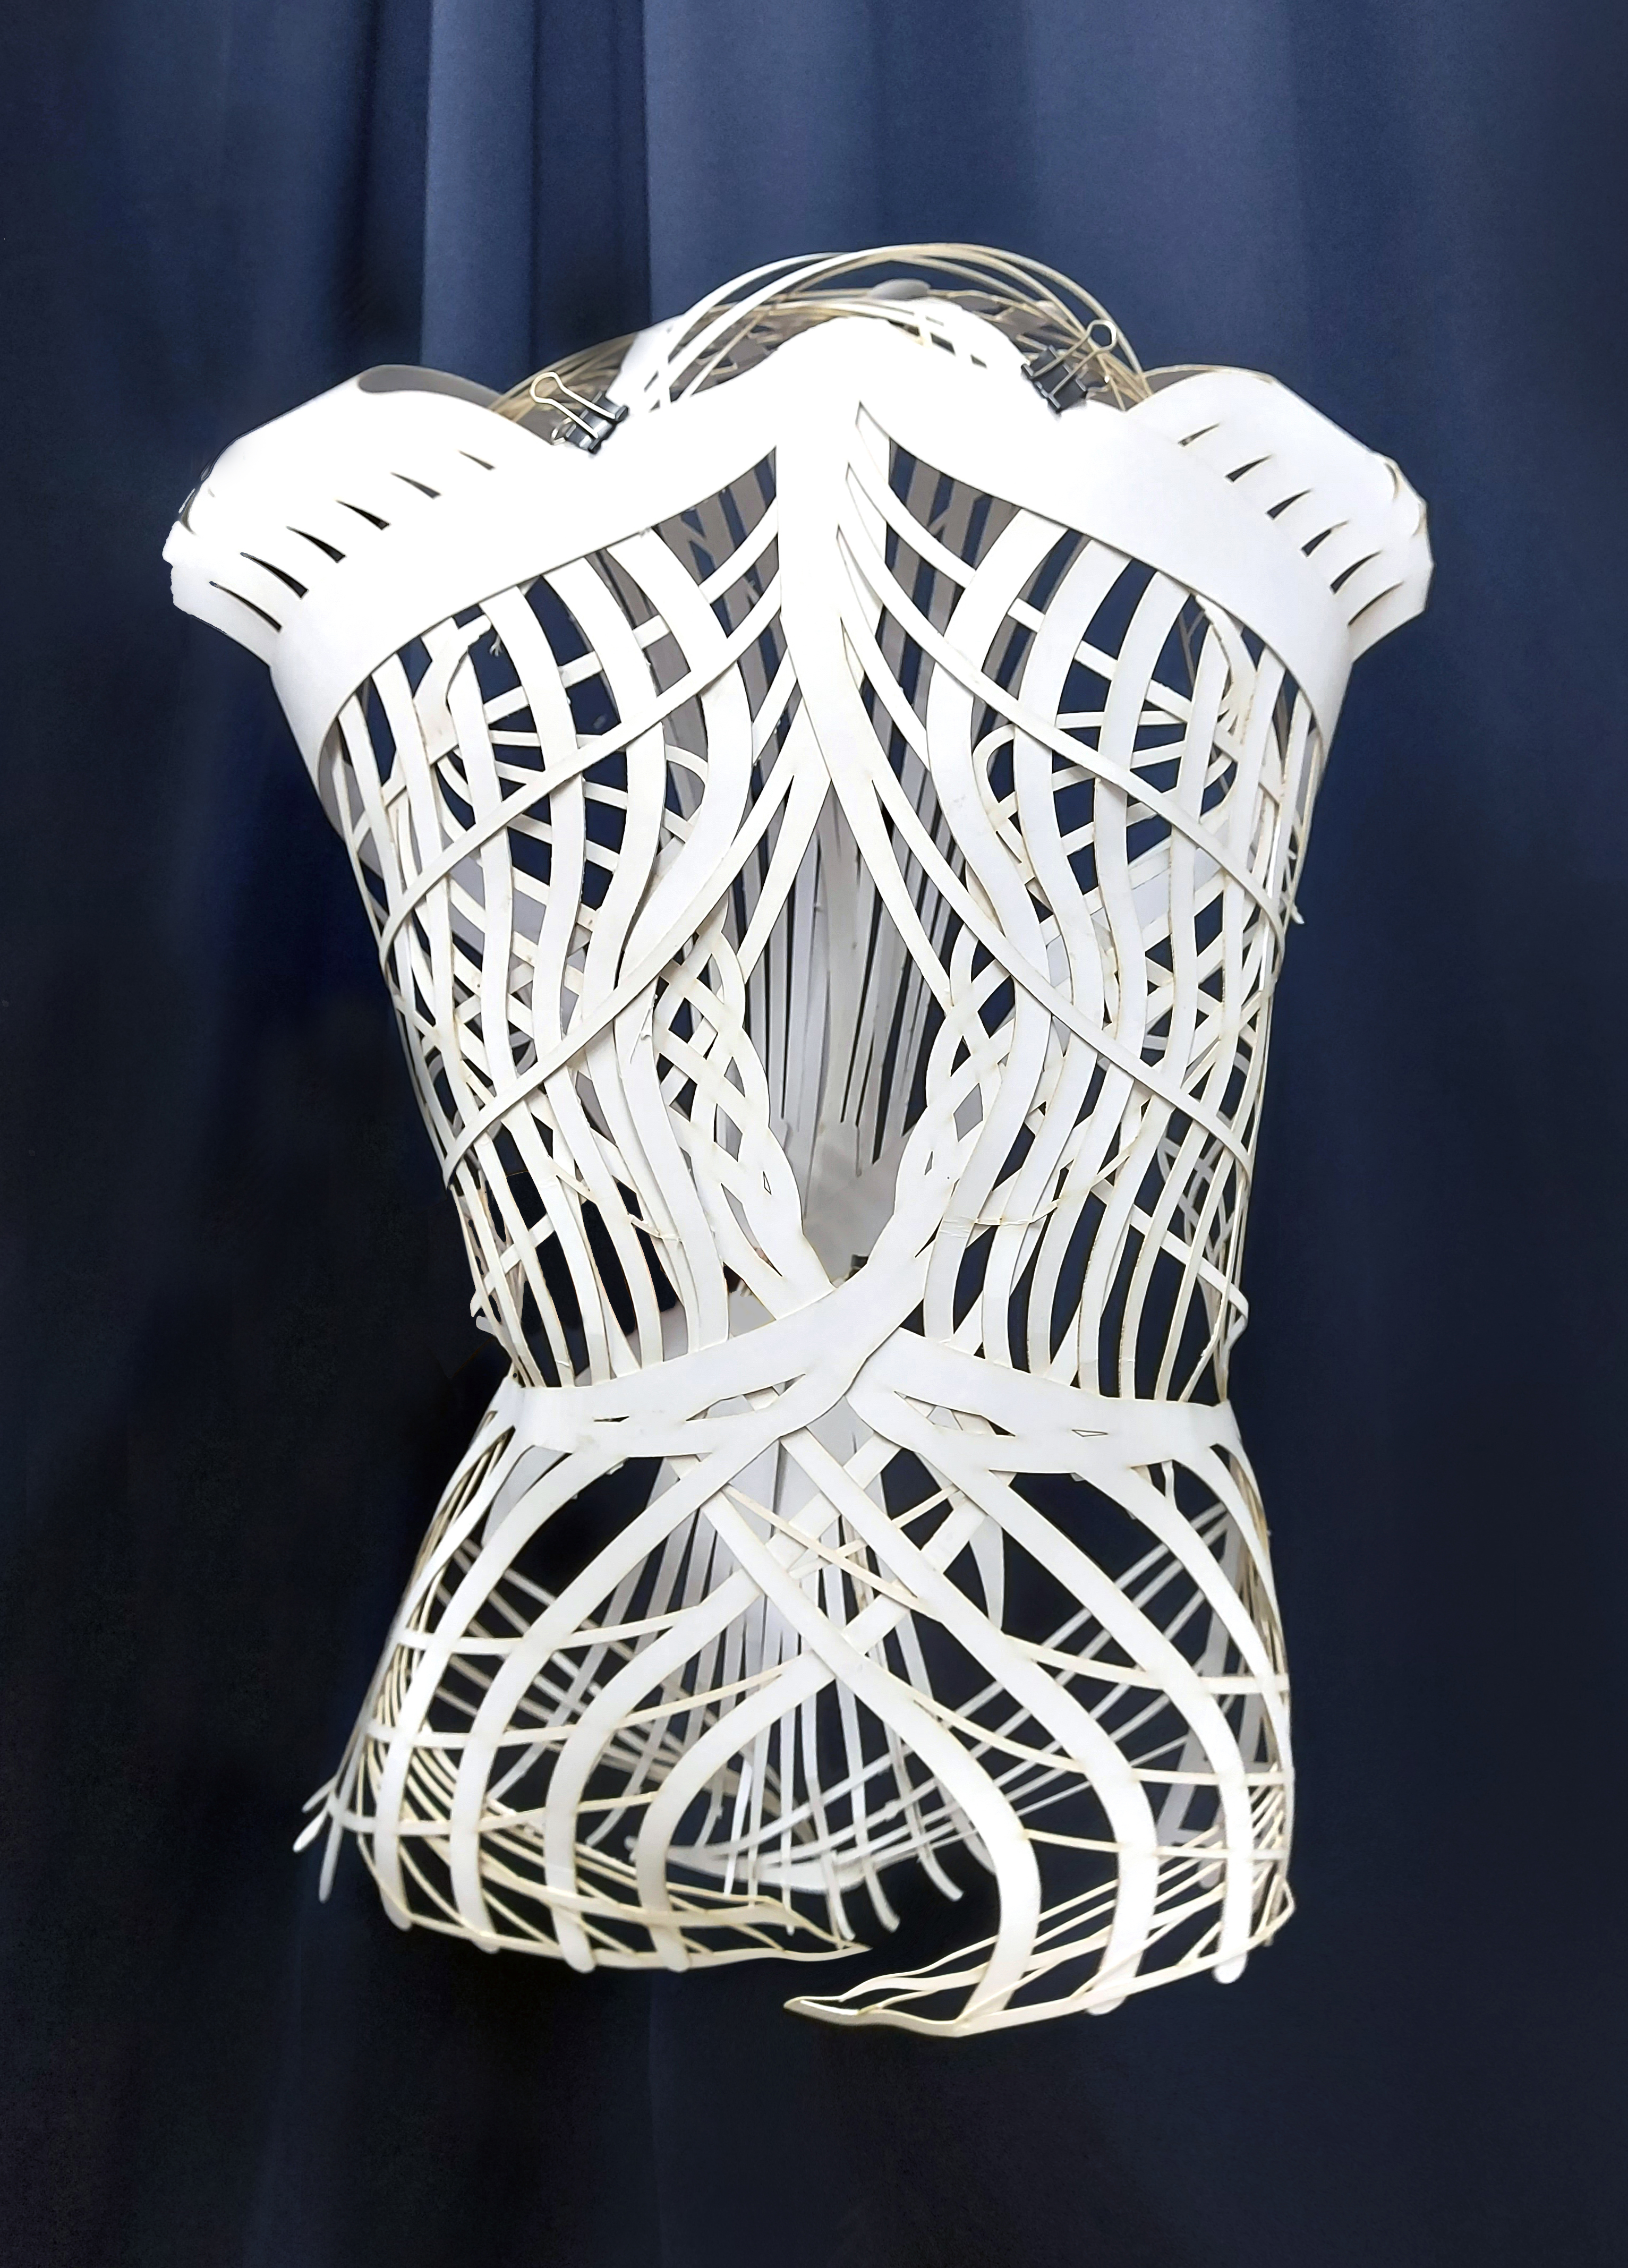
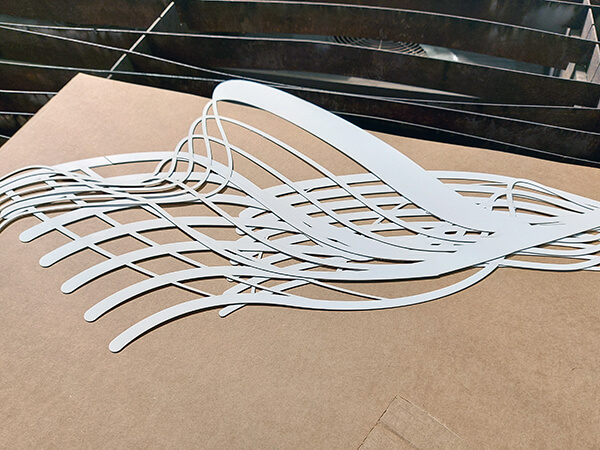
Outcome