The Textile Scaffold
Structural Skin by Oficina Panedes is a self-produced material made out of leftovers and offcuts from the leather industry
Box, boiled leather, 15th century, The Metropolitan Museum of Art

vambrace (armour for the upper arm) , boiled leather, 14th century, British Museum

assignments
cristallization
PROCESS
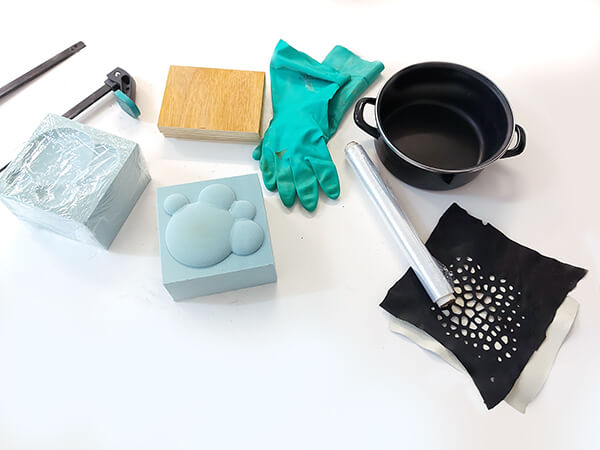
Tools cooking pot, digital weight, coffee filters, stove, container, aluminium foil, object or fabric to cristallize
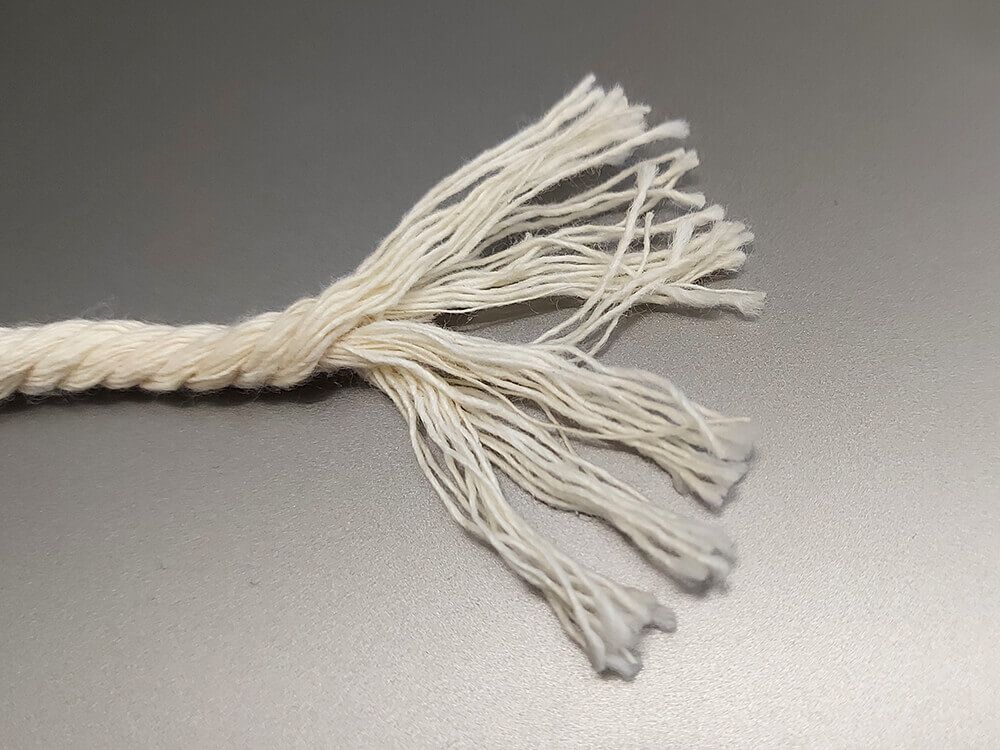
- prepare the material you want to cristallize
- weight 200g of alum powder per 1l of water
- heat the water (but don't boil it) and add alum powder
- stir the solution constantly
- optionally, you may want to add food dye or other additives
- filter the solution through a coffee filter into a container, you want the cristallization process to take place in
- cover the top of the container with alluminium foil
- do not move the container until the process is finished, it may cause the newly forming crystals to fall down and crystallize on the bottom of the container
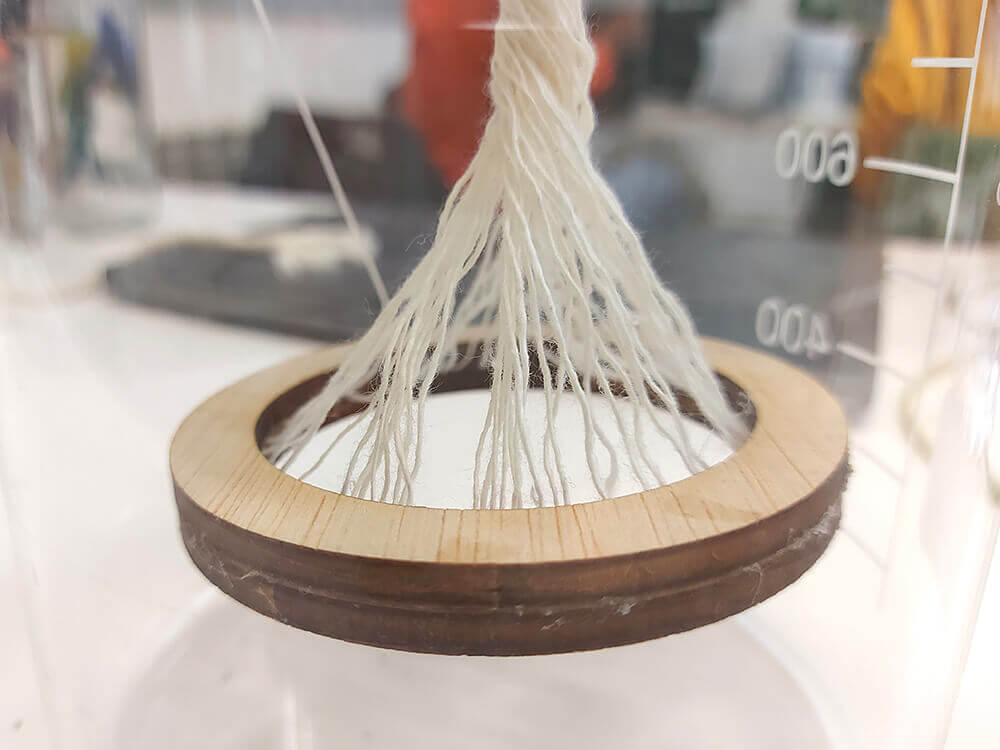
well, kind of failure
The crystals didn't grow as expected, they formed only small pieces. The blue dye colored everything...except the crystals
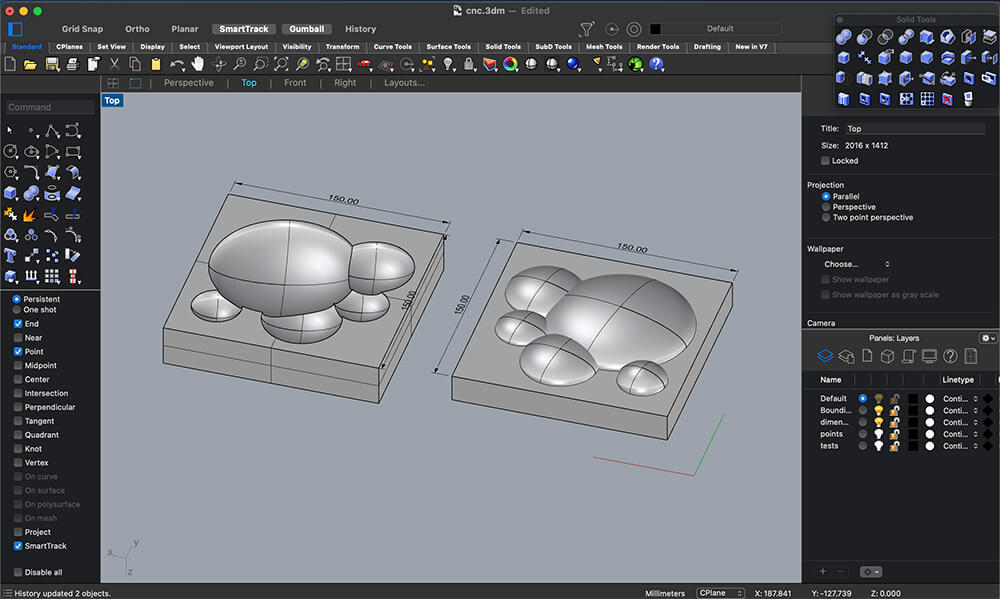
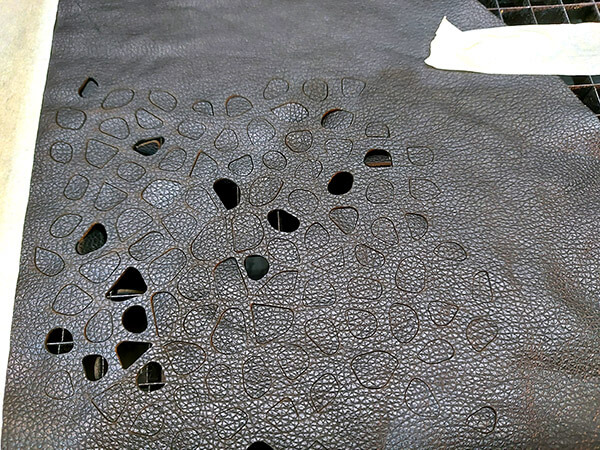
leather moulding


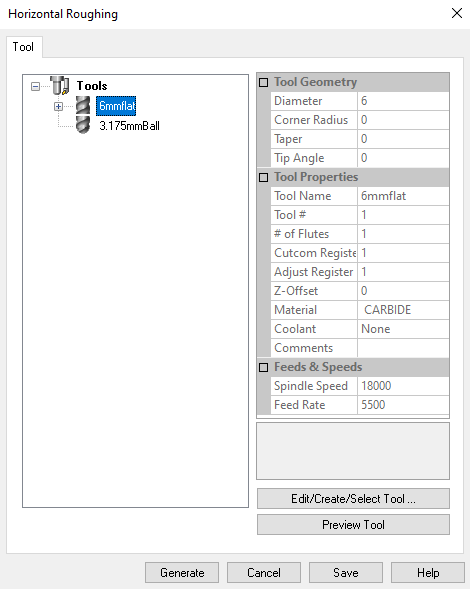
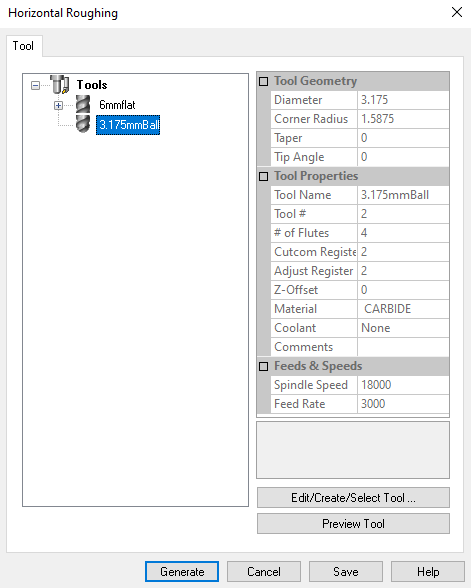
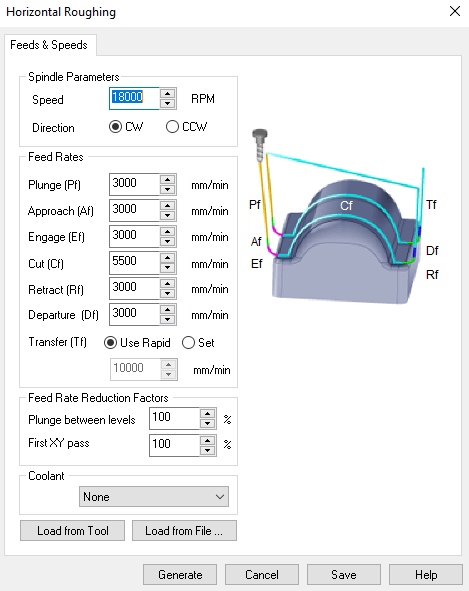
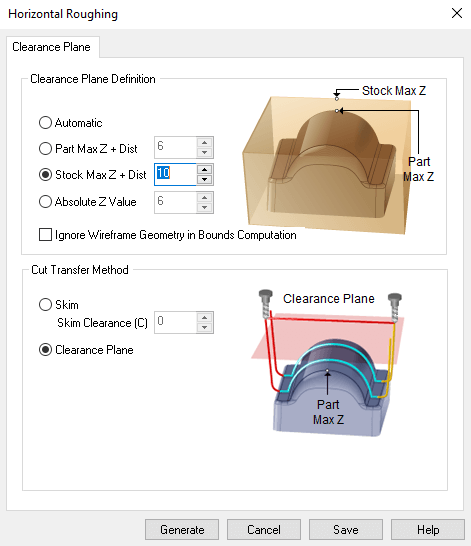
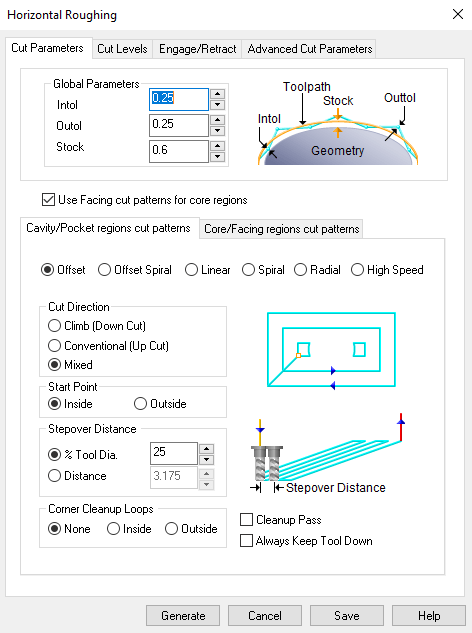
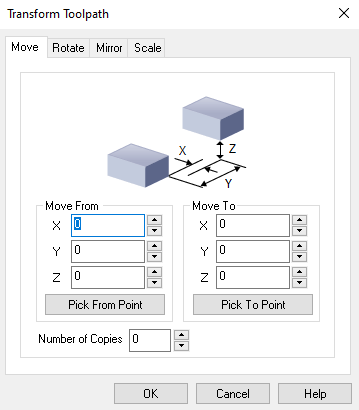
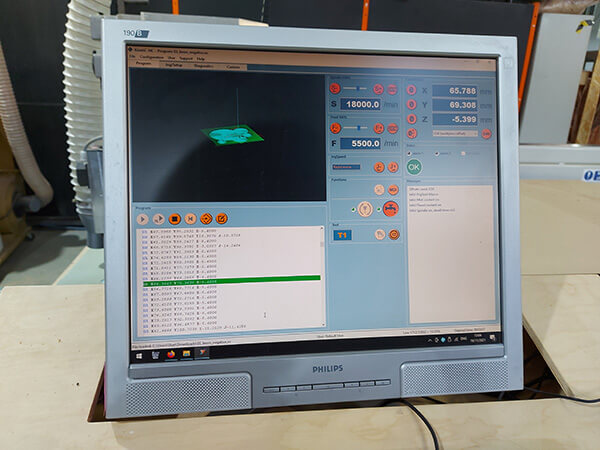
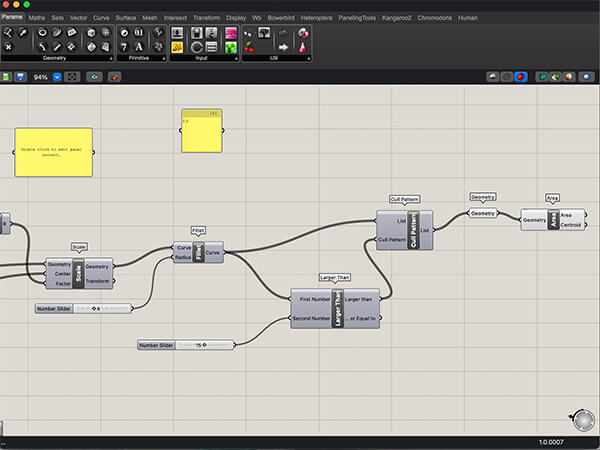
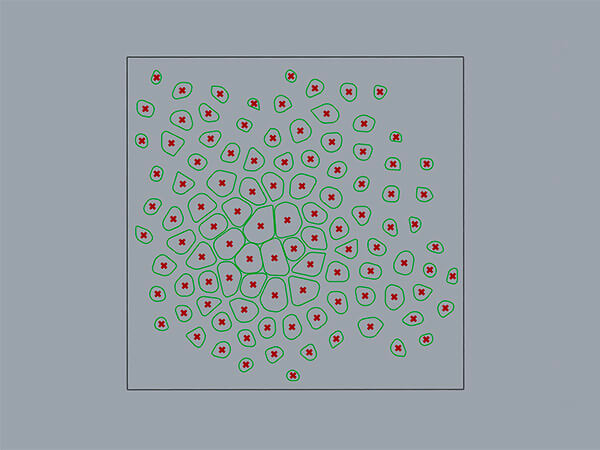
Rhino Cam and cnc mill settings

CNC PROCESS
- Fix your material to the cnc bed. Make sure not to use any metal parts or screws near the mill operation field. Best use additional pieces of wood, screwed to the bed, that apply pressure to the piece of material for cutting.
- If there's a bit in the spindle, remove it. Clean any leftovers or chips with an air compressor. Put in the bit with parameters fitting your purpose. Make sure it's fixed tightly.
- Set the X and Y home position based on your material
- Set the Z home position. Fab Lab BCN has an automated system with a dedicated device ( Z probe). Make sure the bit is in the middle of the button before turning on the automatic calibration
- Turn on the chip vacuum, if available
- Put on safety gear - safety glasses and headphones. If applies: tie your hair and make sure no clothing or jewellery is dangling.
- Turn the machine on
- Stay by the machine, near the emergency stop red button, as long as it's operating. Keep excess people away
- Pay attention to the sounds the machine makes, expecially the bit breaking
video tutorial on cnc mill by Fab Lab Barcelona
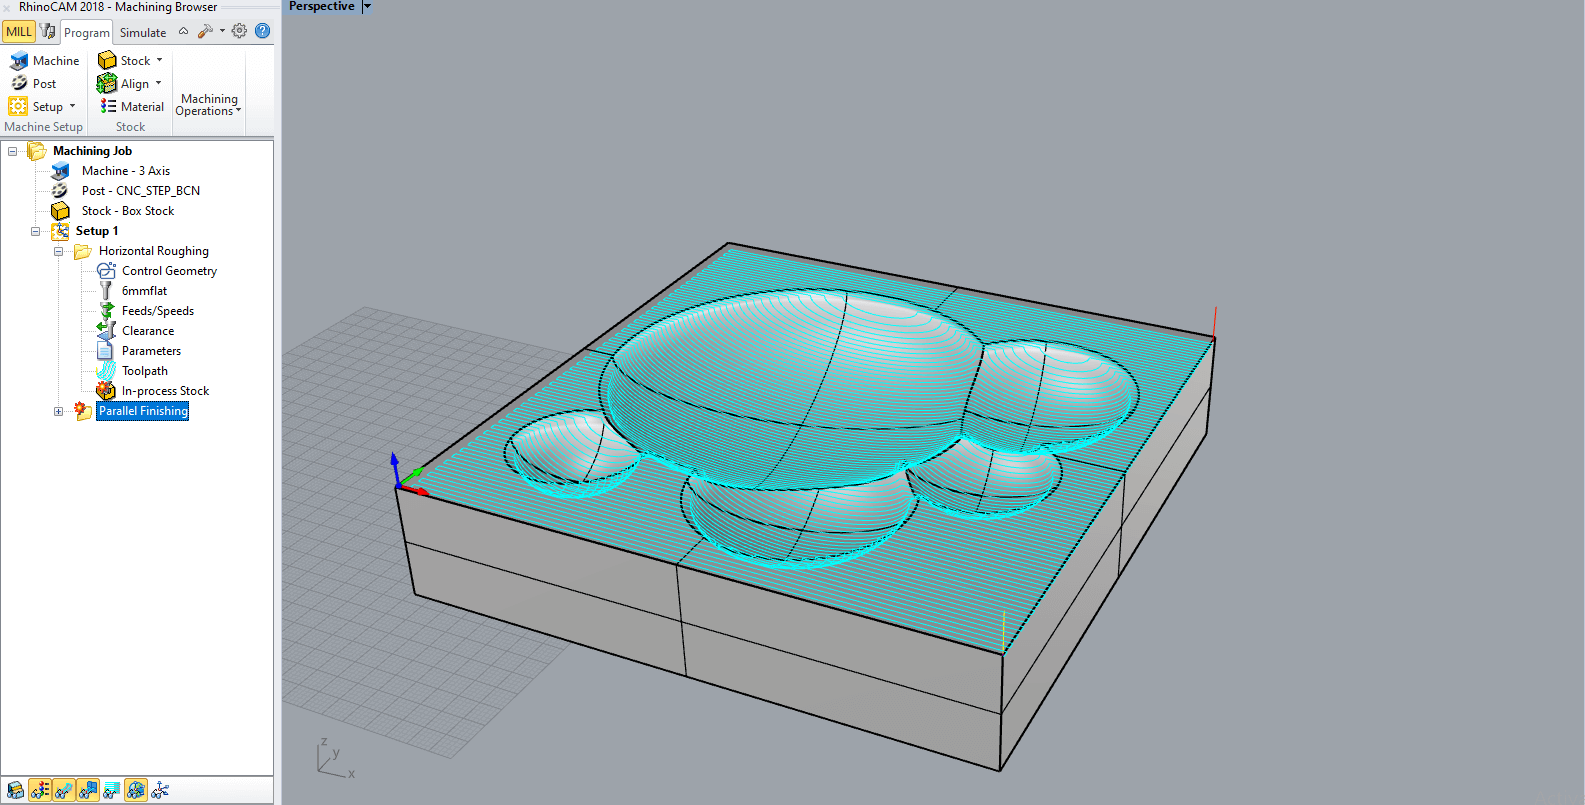
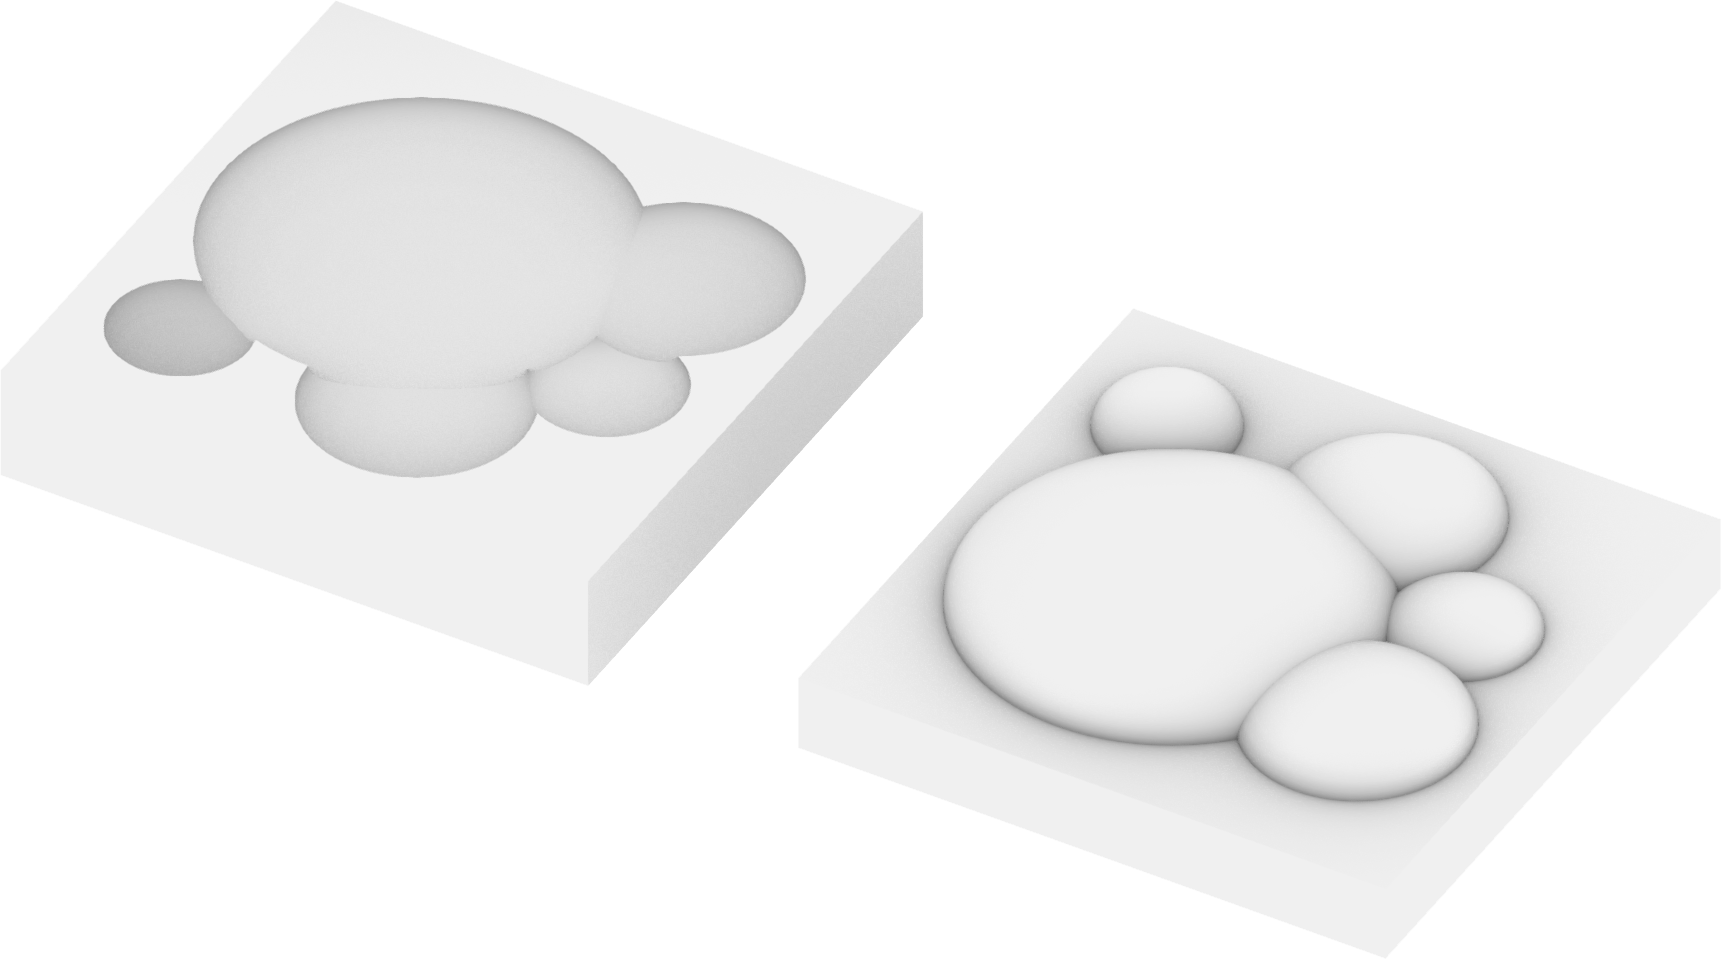
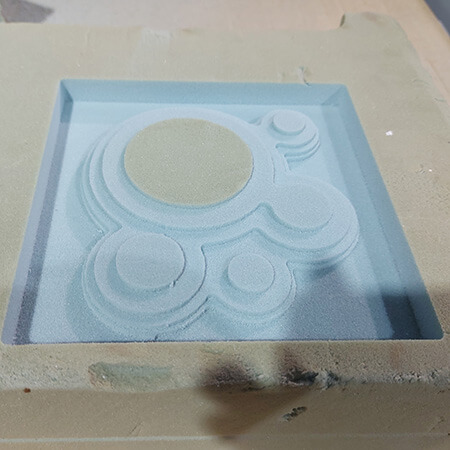
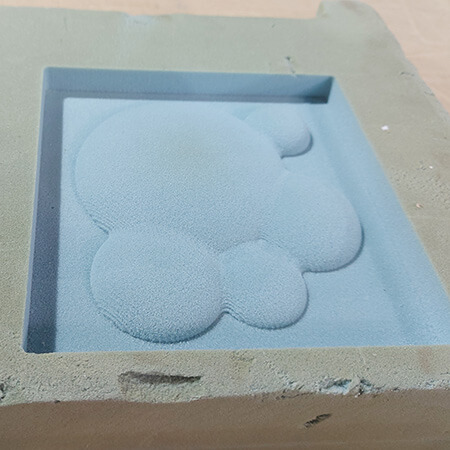
cnc milling of the form
Download the files
here
leather preparation and moulding
- cut leather into fitting pieces
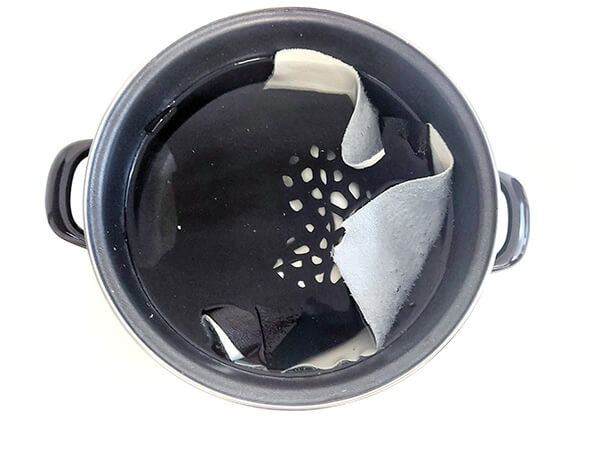
- heat up water to 85 degrees
- soak leather in the water for 2-3 minutes (time depends on leather type)
- squeeze excess water from the leather
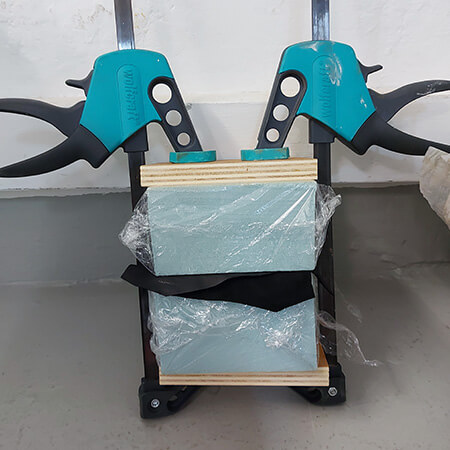
- put leather in the mold
- pull the edges of leather outside the mold as much as possible
- leave for a few hours
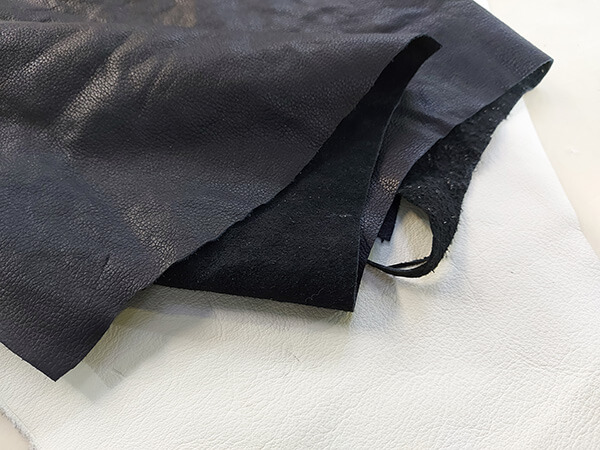

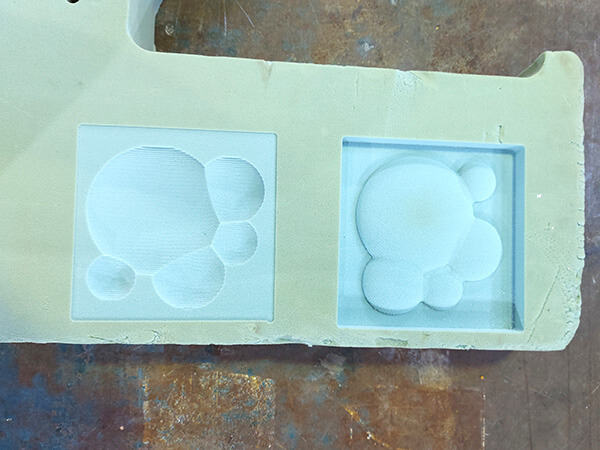
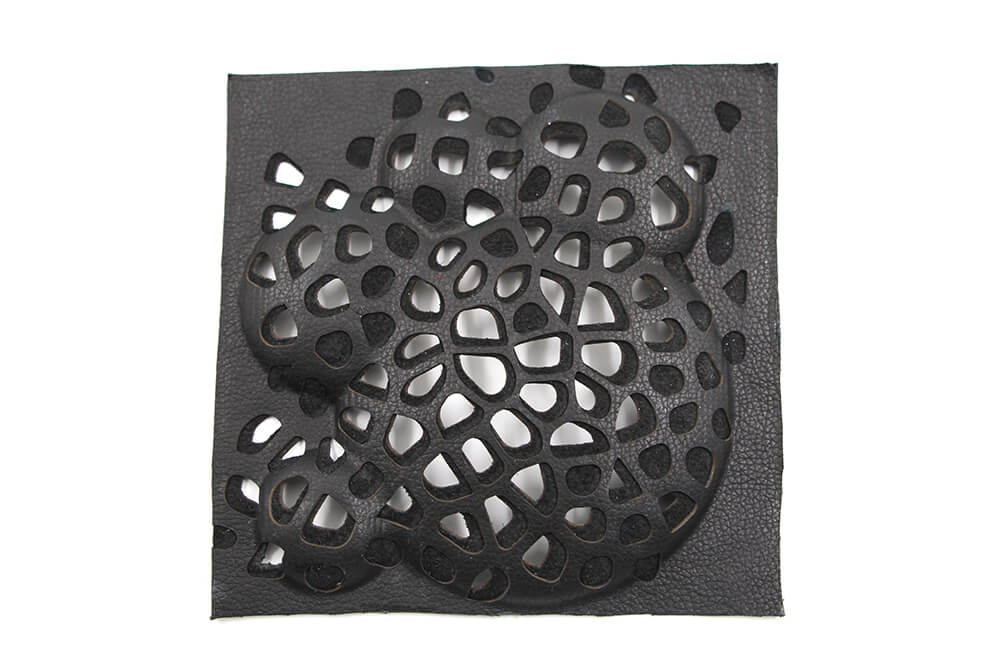
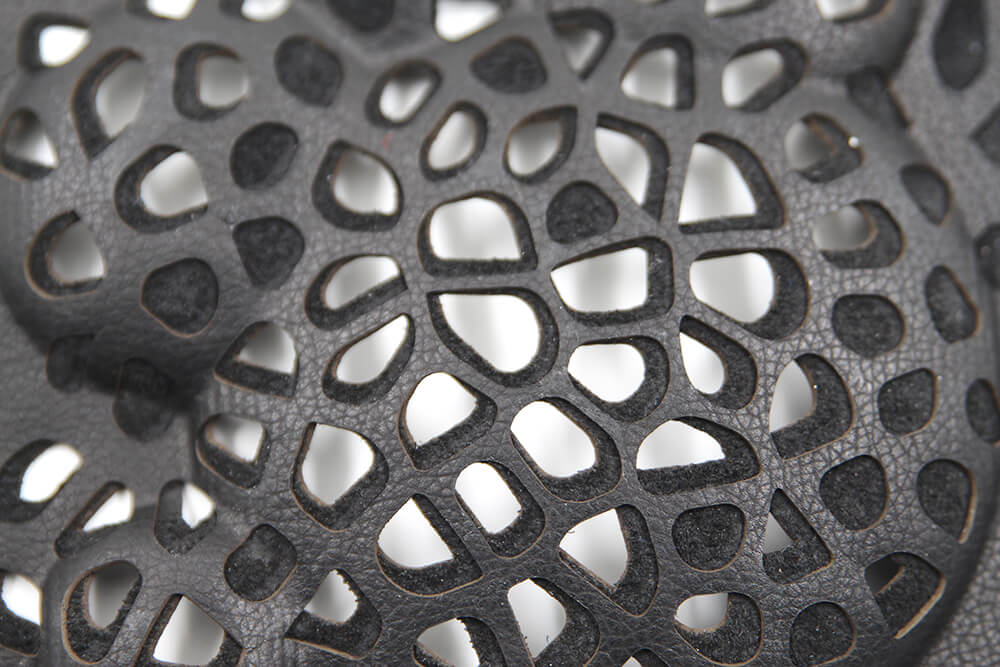
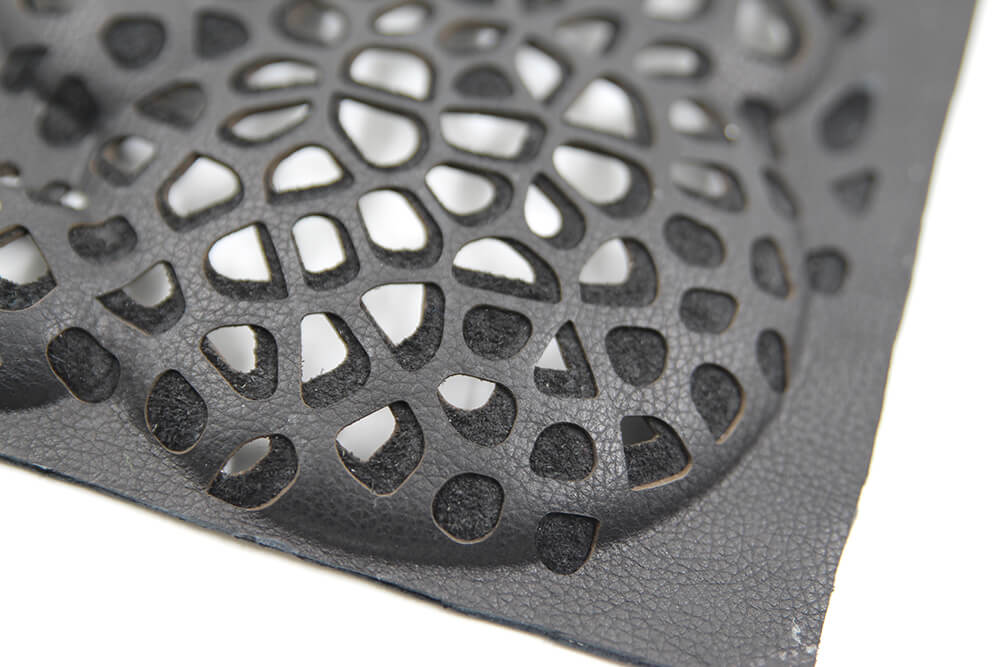
moulding results
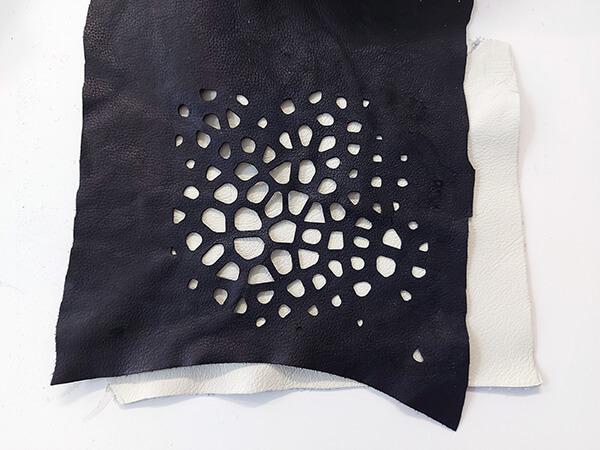
thick white leather + black leather
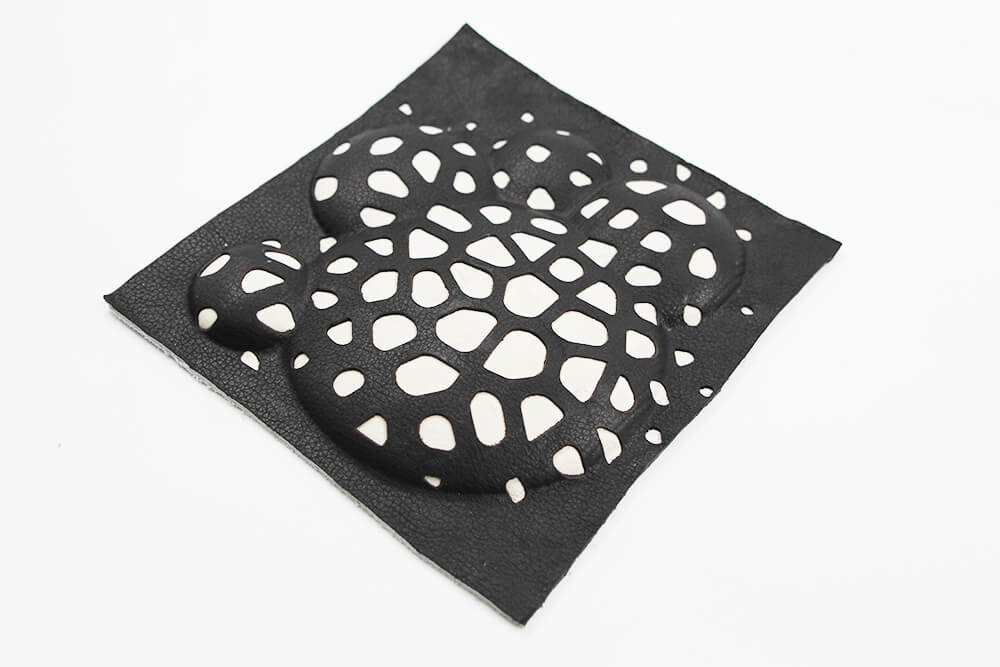
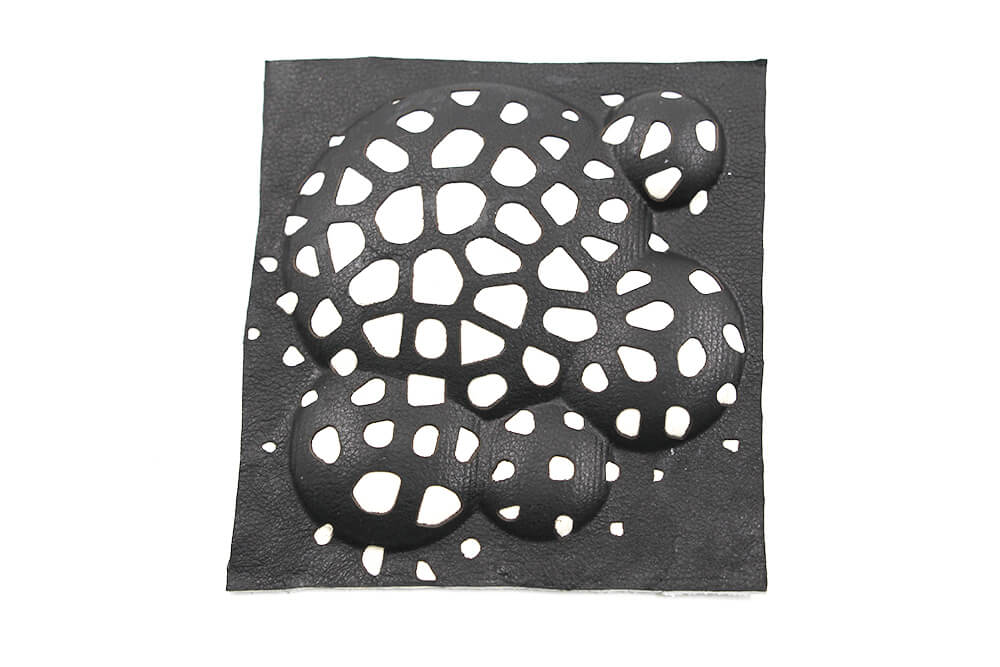
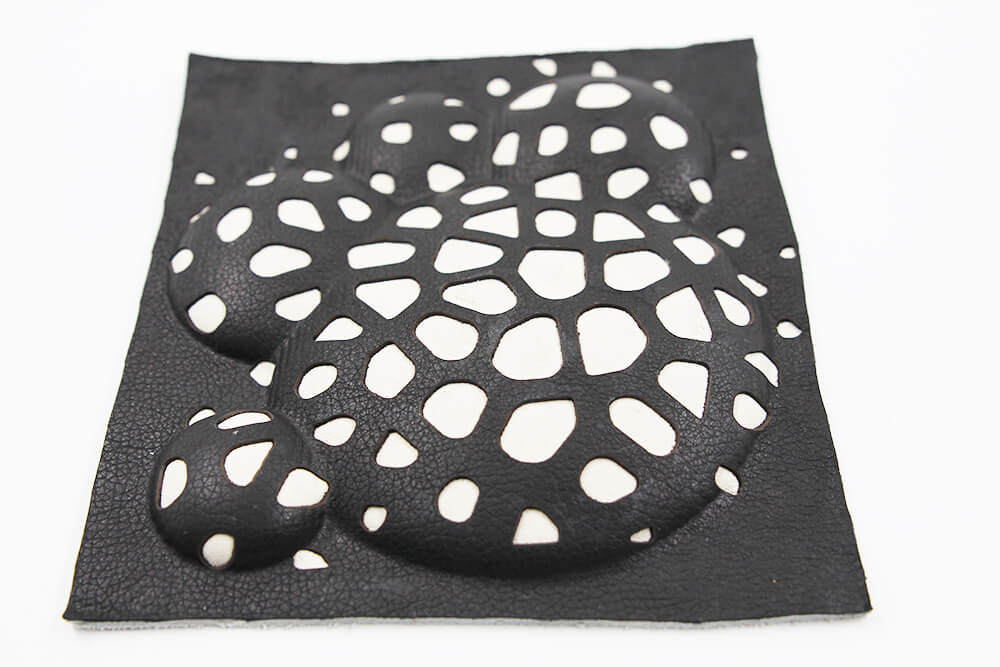
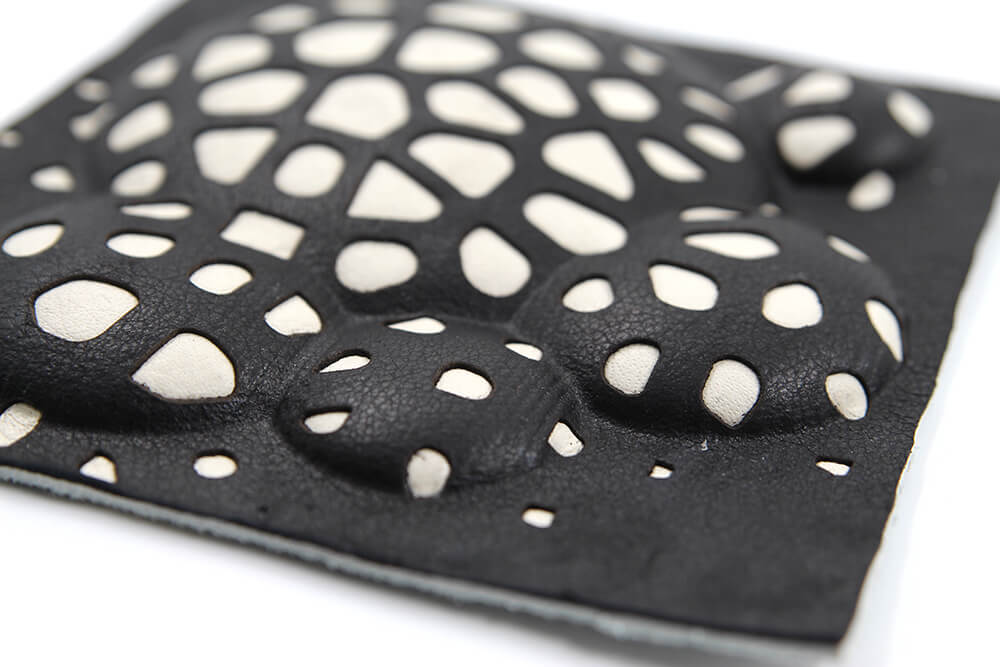
black leather + flesh side cutout
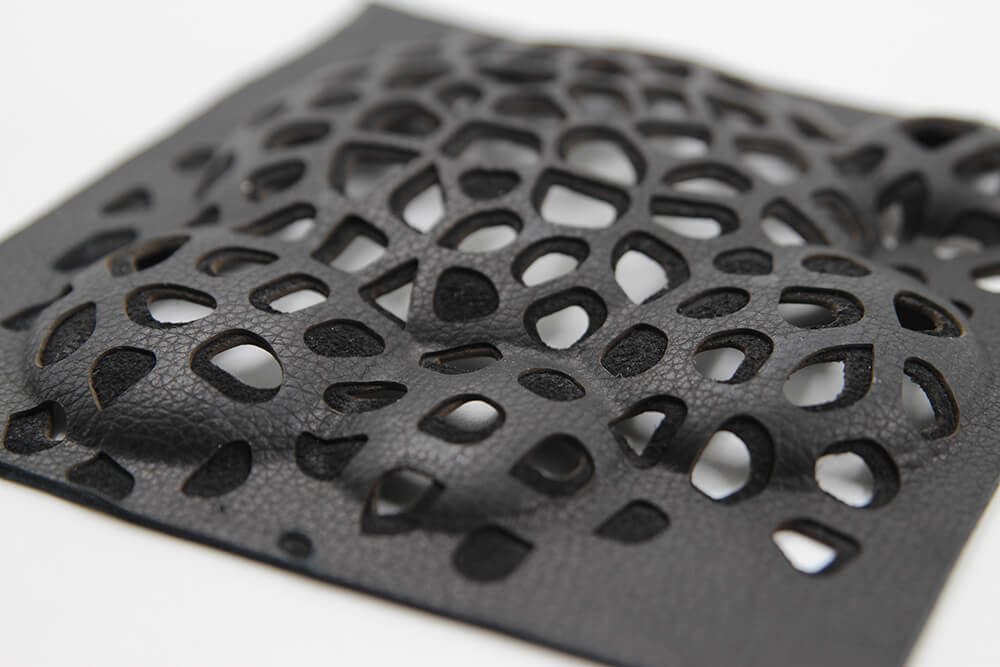
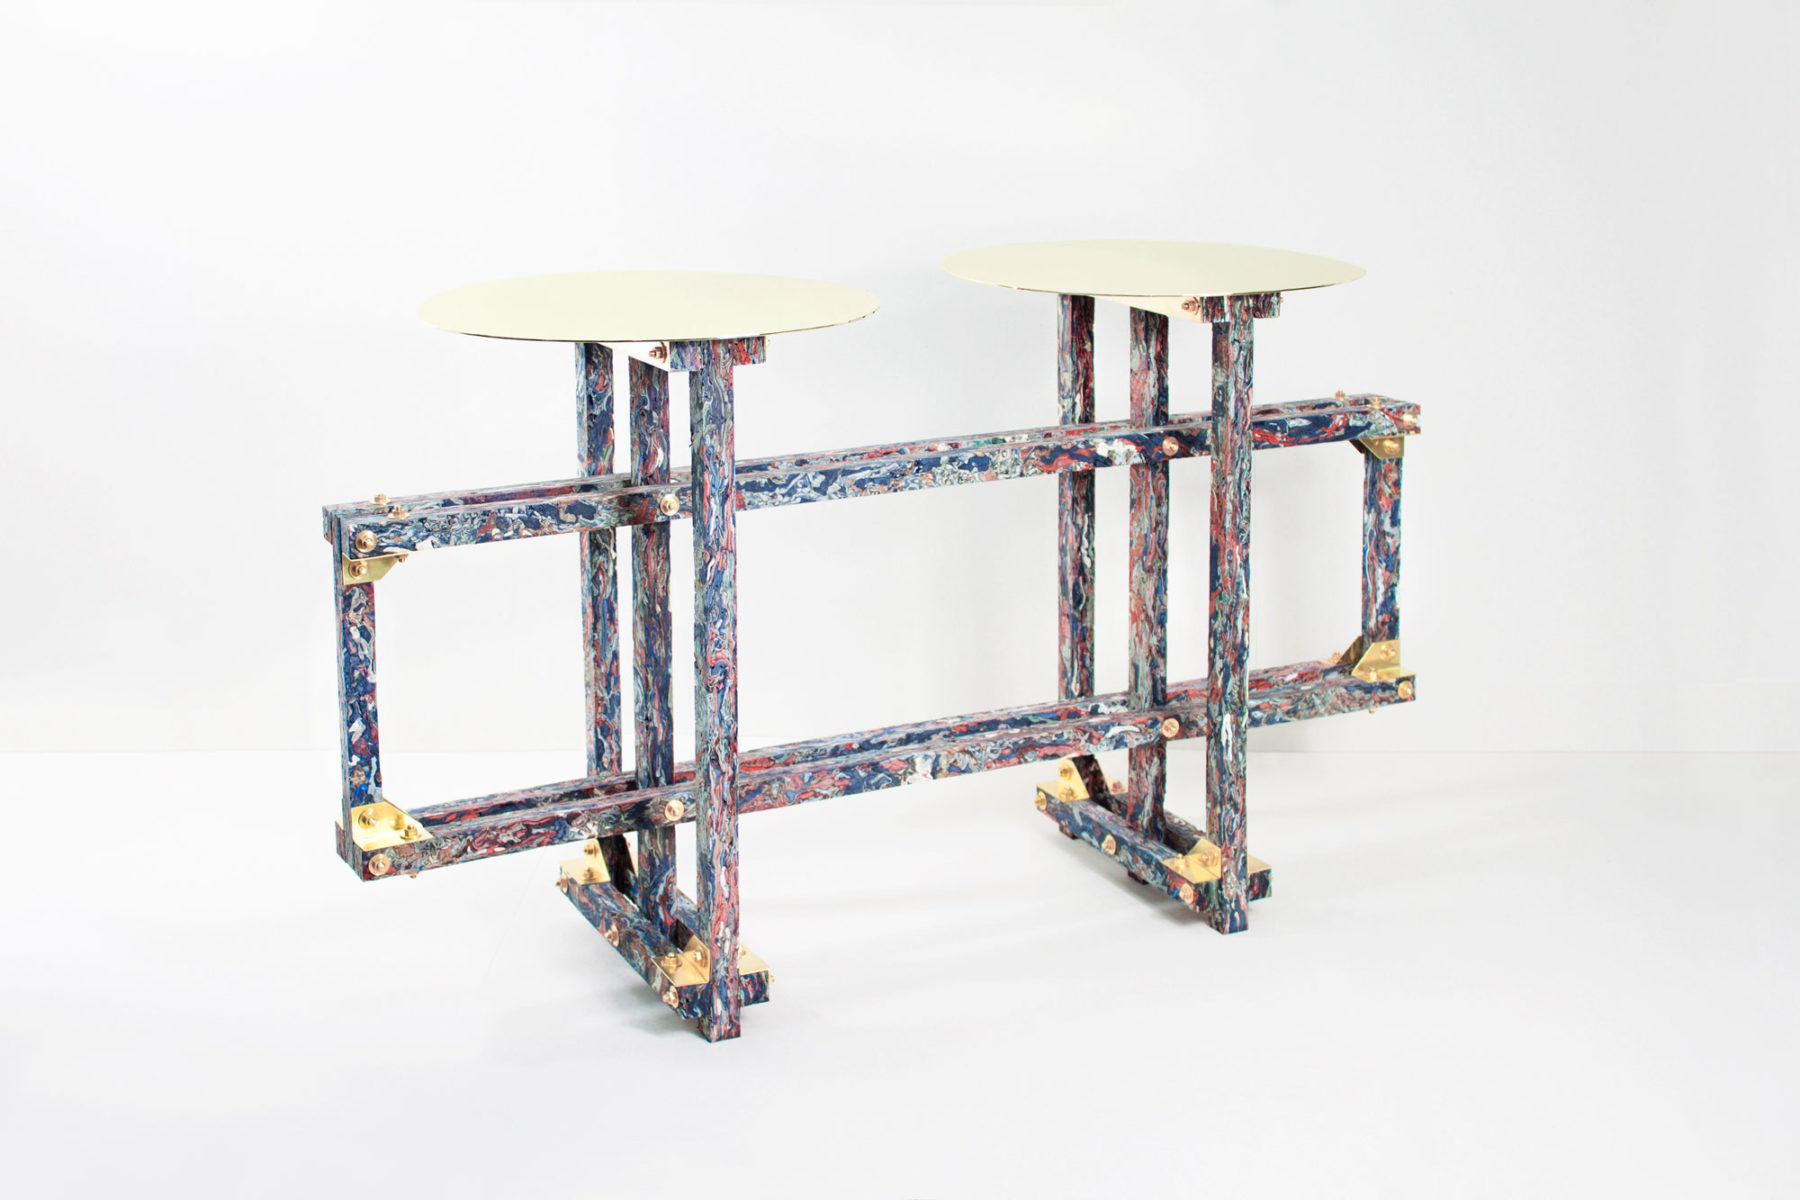
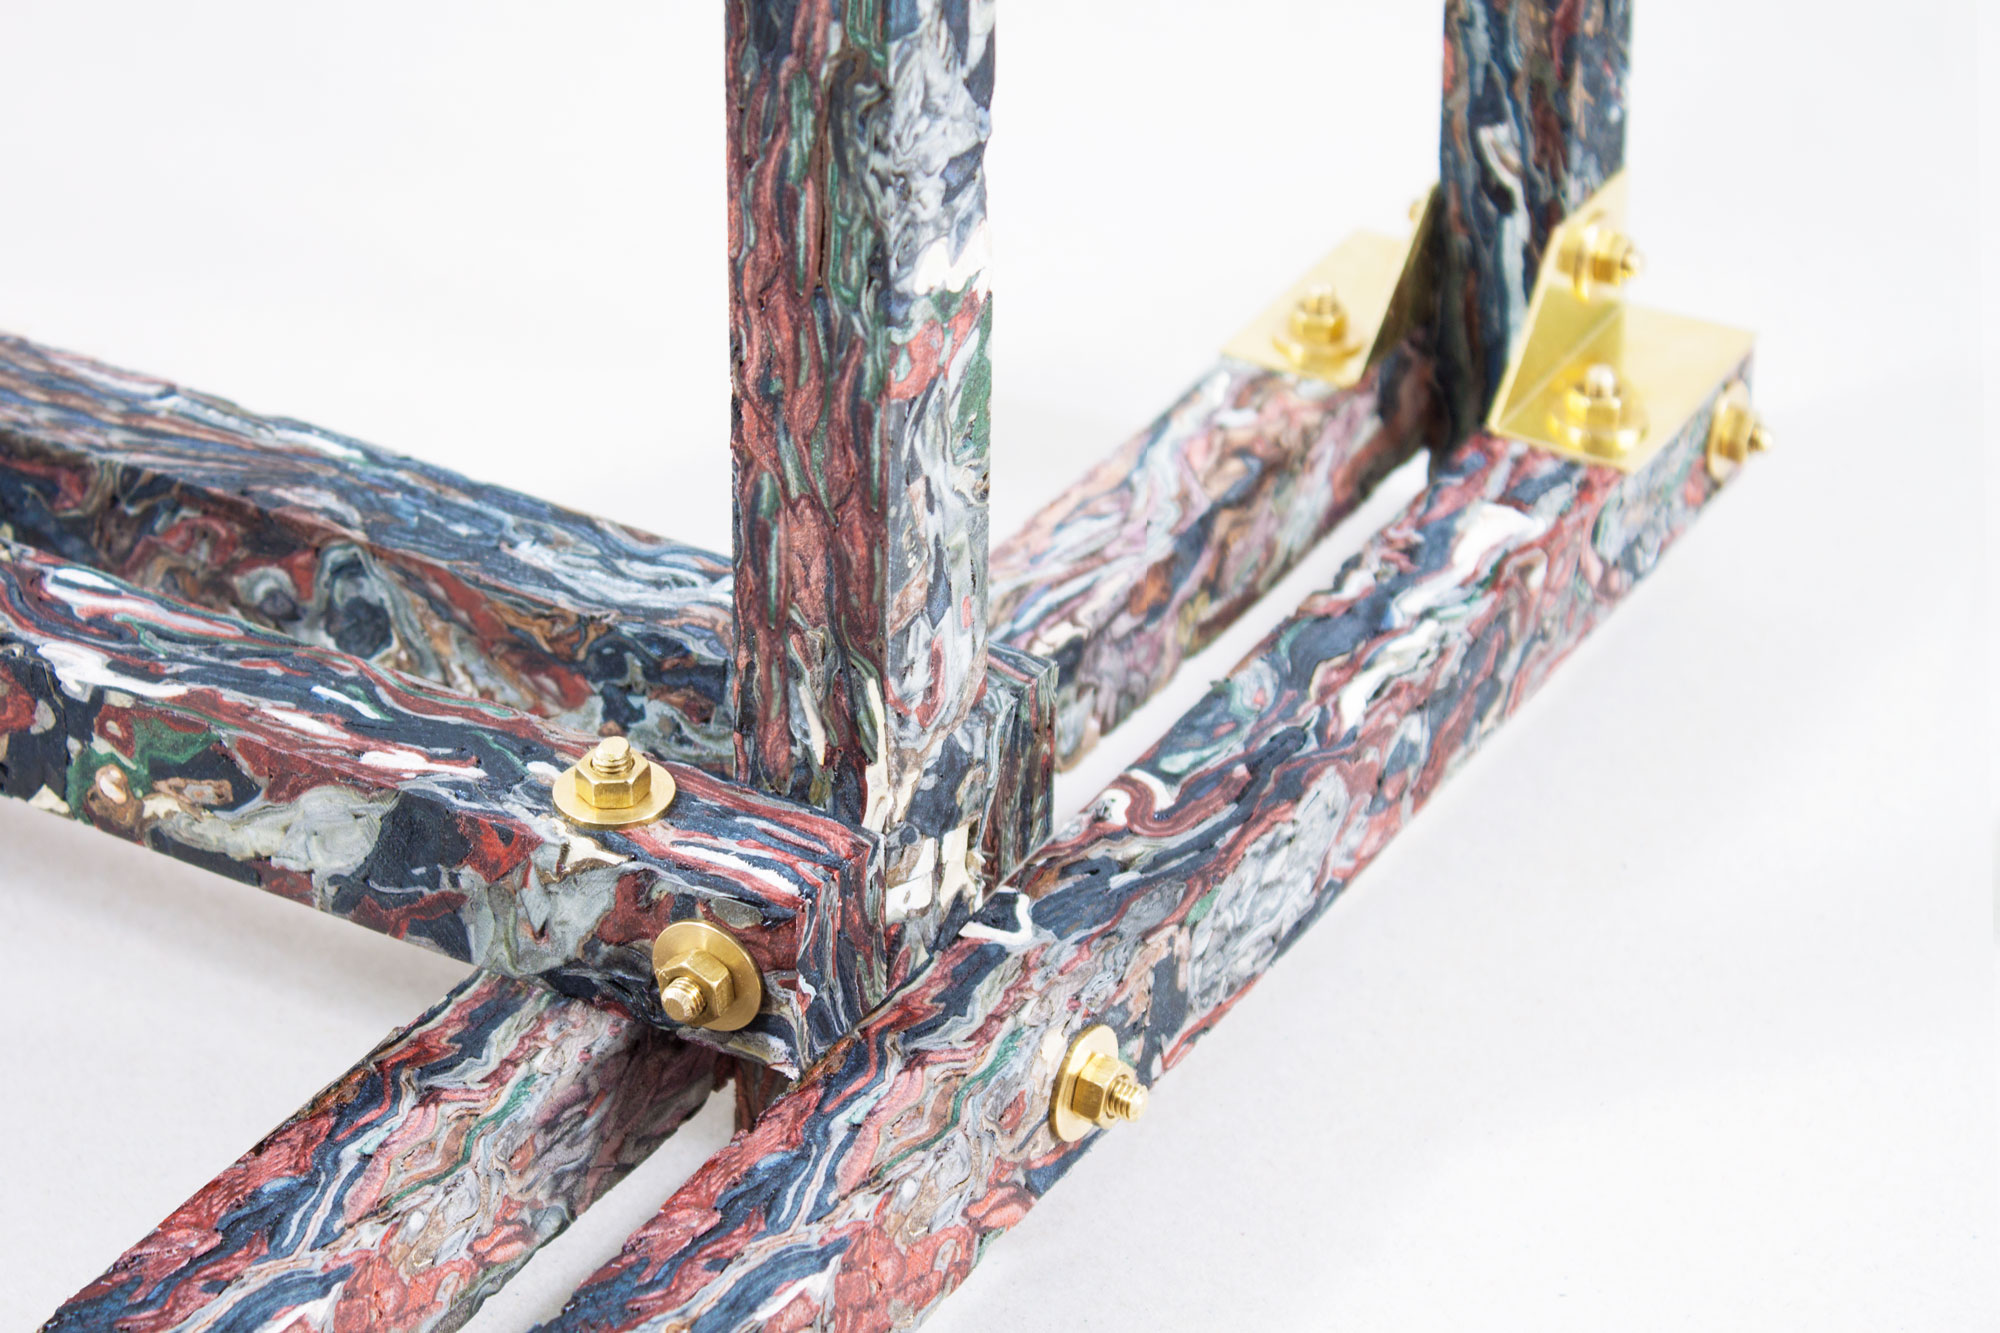
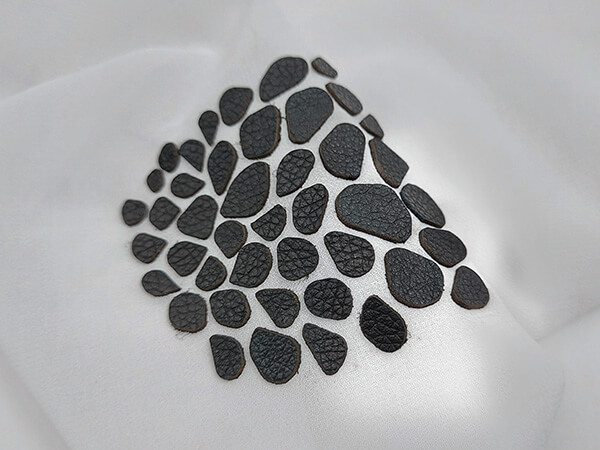
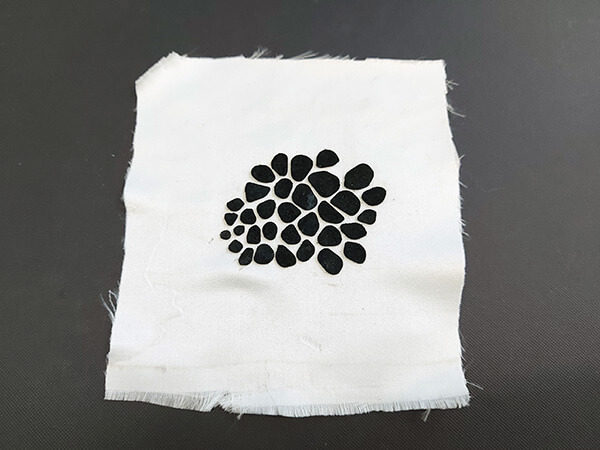
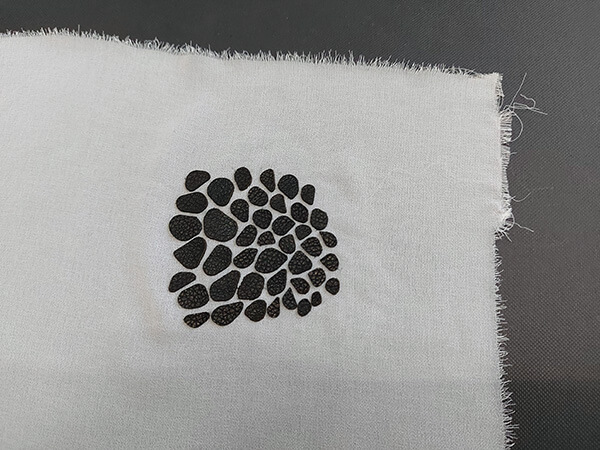
leather scraps + textiles composite
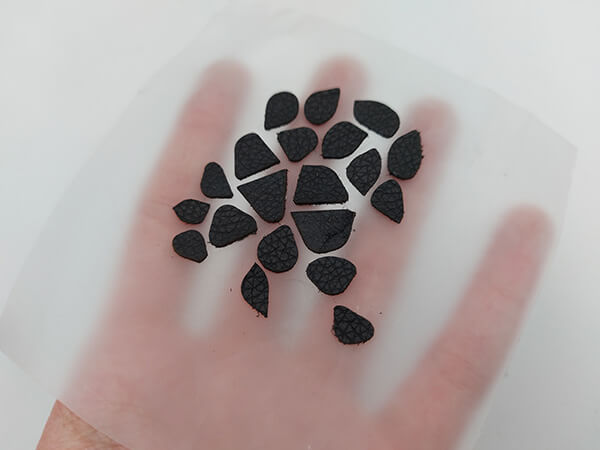
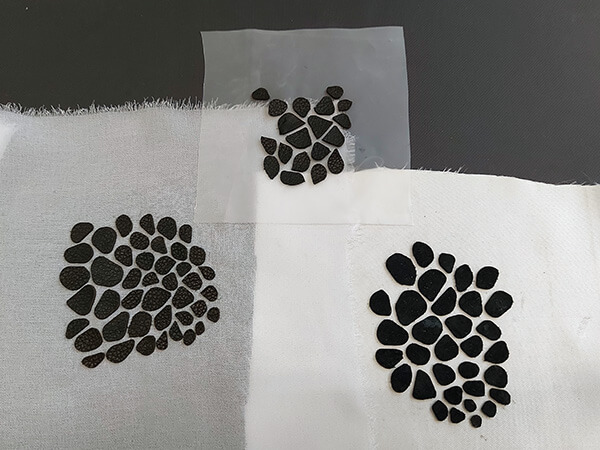
leather scraps composite
- How 2 retired scientists developed a recycled leather product that's being adopted by major retailers like Timberland
- Re-utilization of Finished Leather Waste (scraps) Blended with Different Plant Fibers Using Polymer Resins: A Waste to Wealth Approach of the Ethiopian Case
- Preparation of value added composite sheet from solid waste leather - A prototype design
LINKS
Back