Soft Robotics

heat-transfer vinyl
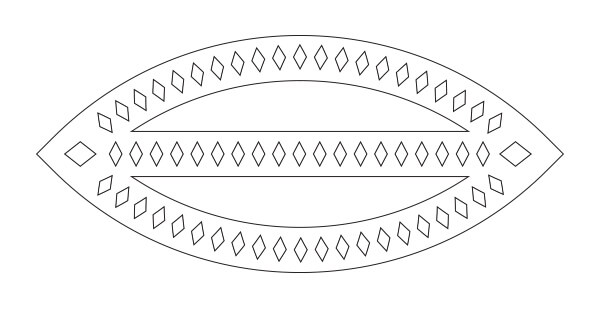
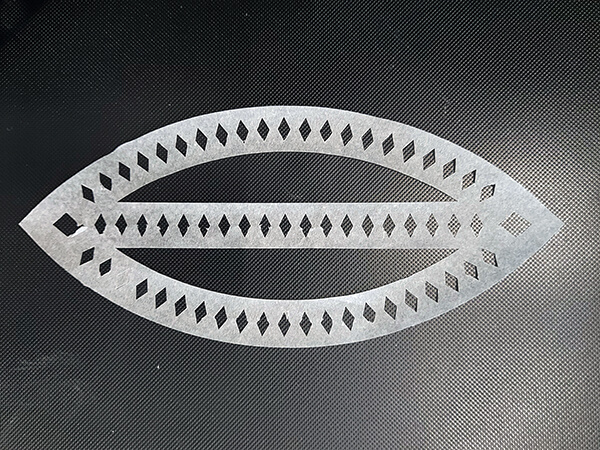
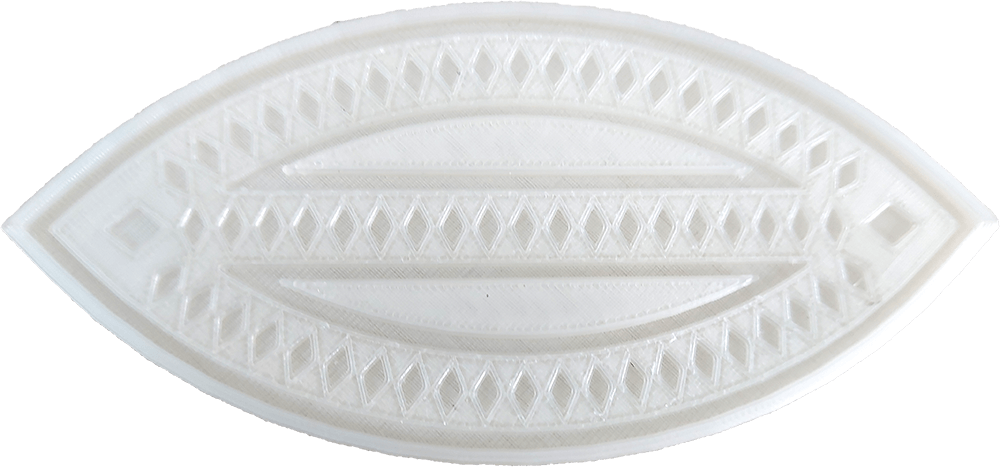
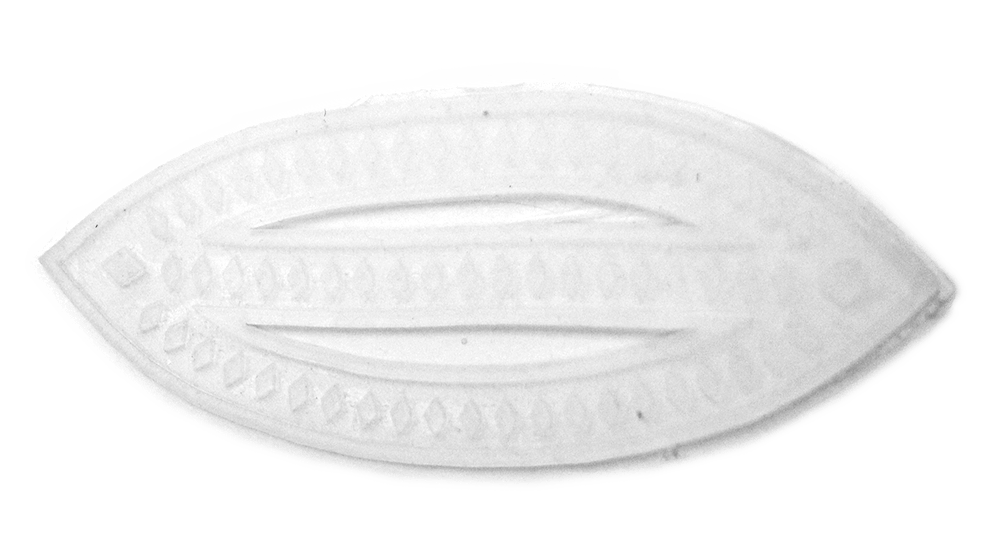
first try - hand cut
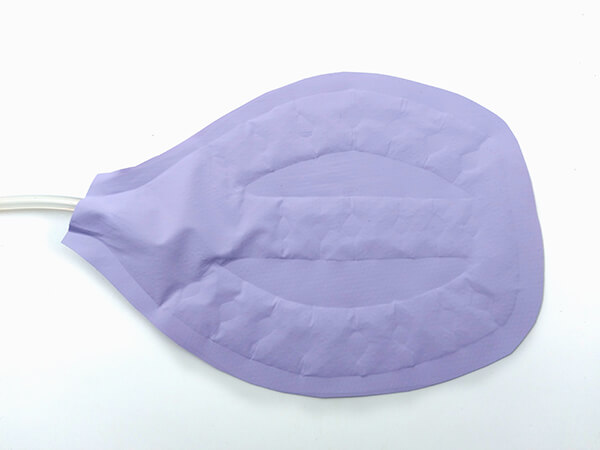
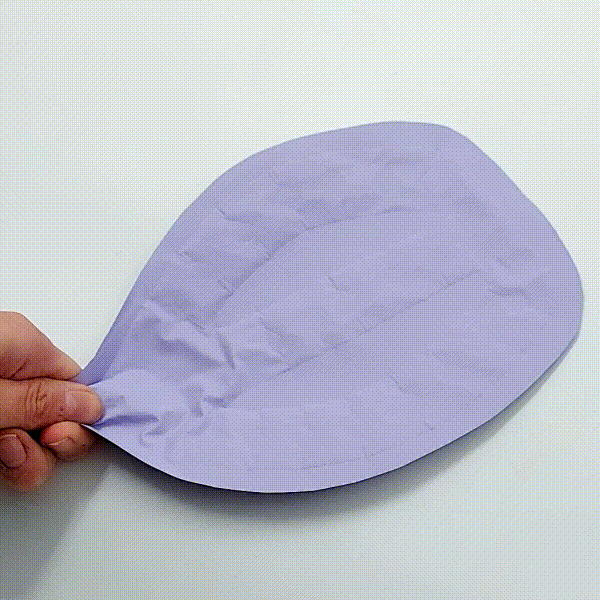
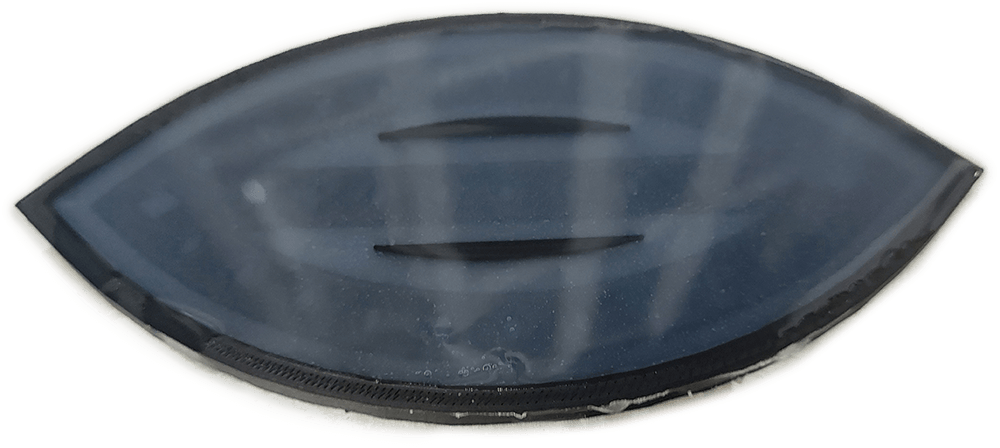
Heat-transfer vinyl inflatable process
- Design your inflatable. The non-sticky insert will make air channels inside, connect them all. Make sure to add an opening leading to the edge, where you'll insert the pipe later. The air tunnels as well as the gluing lines should be at least 5mm wide
- Cut out the insert for your inflatable from a sheet of baking paper. You may do it by hand or use a vinyl cutter
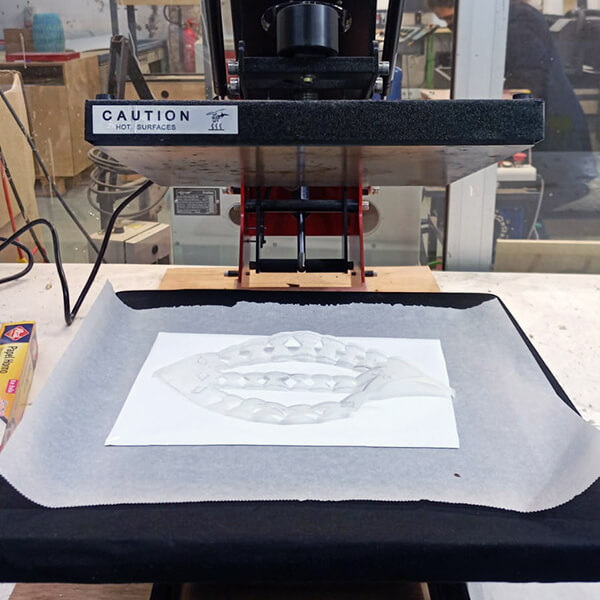
- Put the insert between two sheets of heat-transfer vinyl. The shiny side is usually the one with glue layer, so it should be facing inside
- Put the sandwiched inflatable in a heat-press (around 140 C degrees, 15 seconds) or use a regular iron to apply heat. Always put additional layers of baking paper between the vinyl and other surfaces where it may stick
- Let the inflatable cool down for a few minutes before moving it, so it sticks better
- Cut out the excess vinyl around the edges
- Insert a pipe in the previously prepared opening
- Inflate your design with a syringe or an air compressor
lasercut iteration - twist

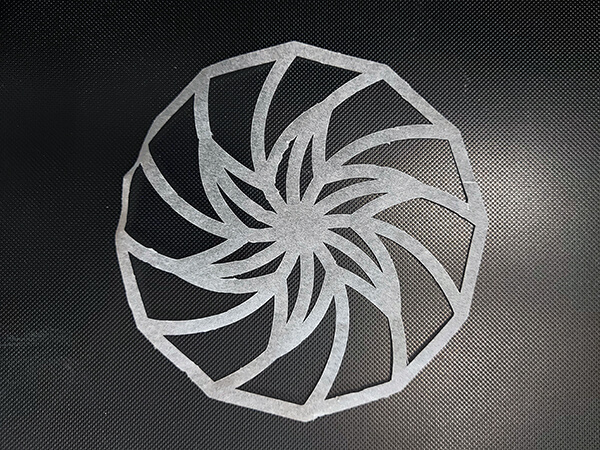
download here
lasercut iteration 2 - bend

download here
silicone casting

Silicone casting process
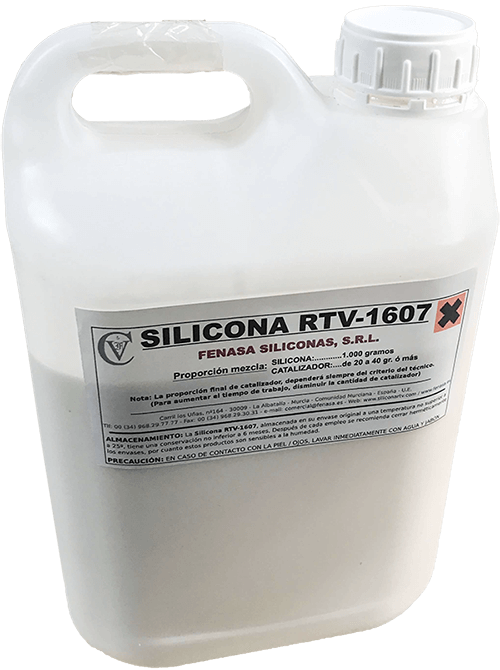
- Read the manufacturer's instructions carefully. The process may vary, pay attention to processing time and proportions.
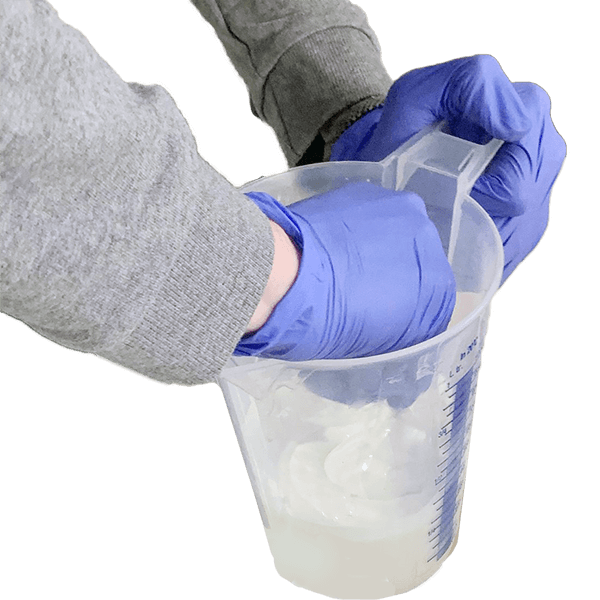
- Measure the A part (preferably with a digital scale or good volume scale) and the B part
- Pour the B part into the container with the A part. Mix them VERY thorougly, at least 10 minutes
- Do not exceed the processing time, the silicone mix would start hardening after certain time set by manufacturer
- Optionally you may use mold release spray on your mold prior to casting
- Pour the silicone mix in your mold, do it very slowly, as little at time as possible. Avoid making bubbles that could interfere with your design properties or thin the inflatables walls. The narrower the stream - the more bubbles would pop in the process - the better Start from one corner, hold the mold at an angle and let the mix flow
- Put the mold in a place where it wouldn't be moved. Make sure the table surface is perfectly horizontal, and the silicone layers are even throghout the whole mold. Otherwise it may not inflate as intended. Leave for the time set by the mix manufacturer
- Once it's cured, remove the casting gently form the mold
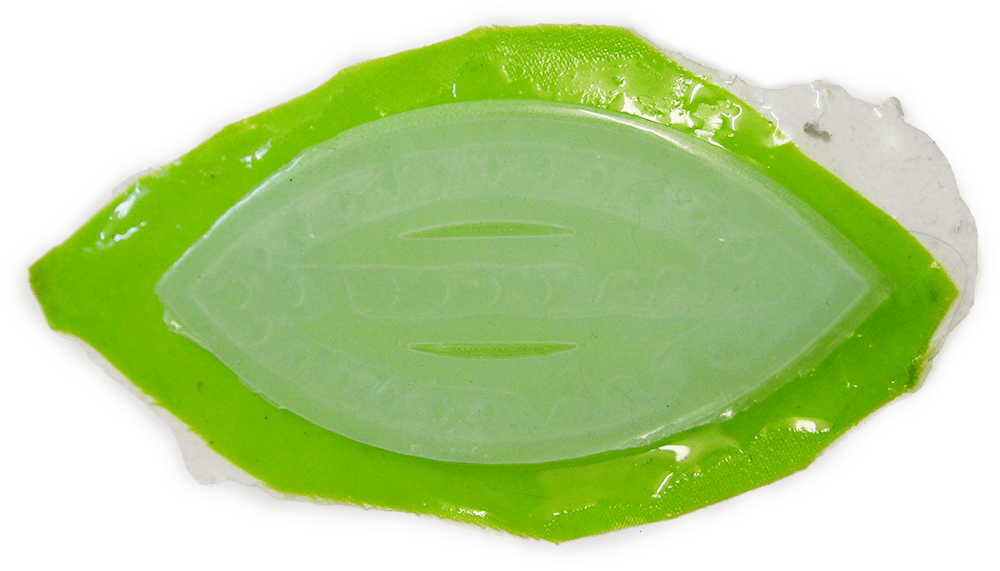
- Mix a small amount of silicone. Cut a piece of non-stretchy fabric in a size that would cover the mold. Pour some silicone on top of it and smear it evenly
- Smear some more silicone on the silicone casting, where it shoudl adhere to the fabric part. Put it on top of the soaked fabric and let it cure once again


download STL here
Silicone fail #1
This inflatable failed as the top layer of silicone was too thin (I designed the mold for the layer height of 1.5mm). There were too many attachment/bending points with too small gluing surface and some of them would not stick. Also, there were some holes left after sticking the top and bottom layers together so the air could escpae. Did not inflate at all

Silicone fail #2
This inflatable failed as it had a small 'accident' with a soldering tool cable while curing. The surface was damaged and there was no point to continue with this one

Silicone fail #3
This inflatable failed as while trying to stick the top and bottom layers together, I put too much liquid silicone and it flowed inside the air channels and deformign them
LINKS