7. Computational Couture
Research & Ideation
Since the beginning of the Fabricademy, this week was the hardest for me. Honestly speaking, I thought that I will be able to only document my feelings, rather than my work. (Confesion: I tend to procrastinate getting started with something I'm not good at.) So,let's see how that went!
References & Inspiration
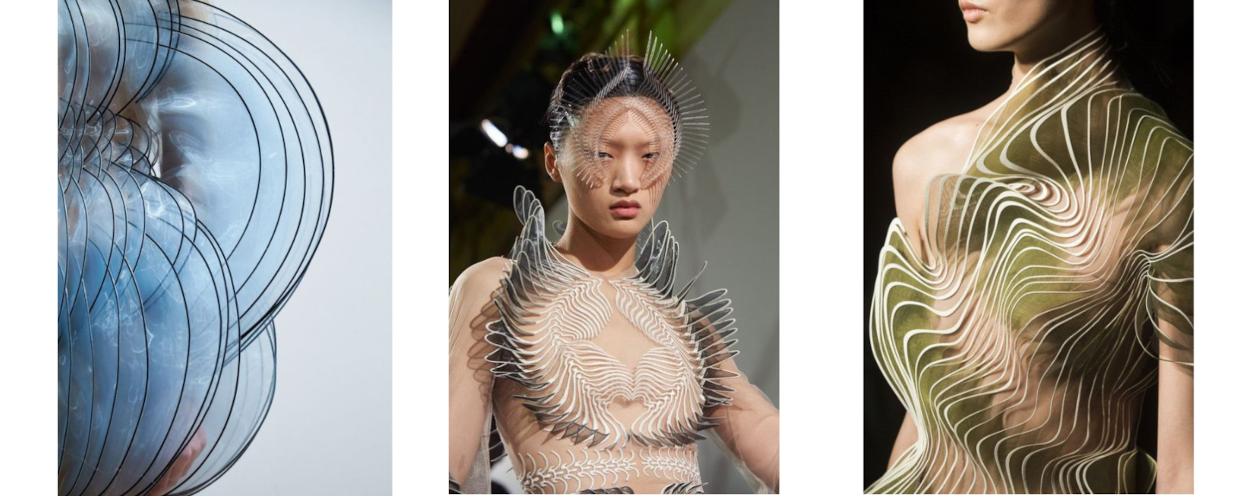
I started the research by looking though Iris Van Herpen's works obviously, as she is the oneof the best known for mixing technology with traditional haute couture craftsmanship.
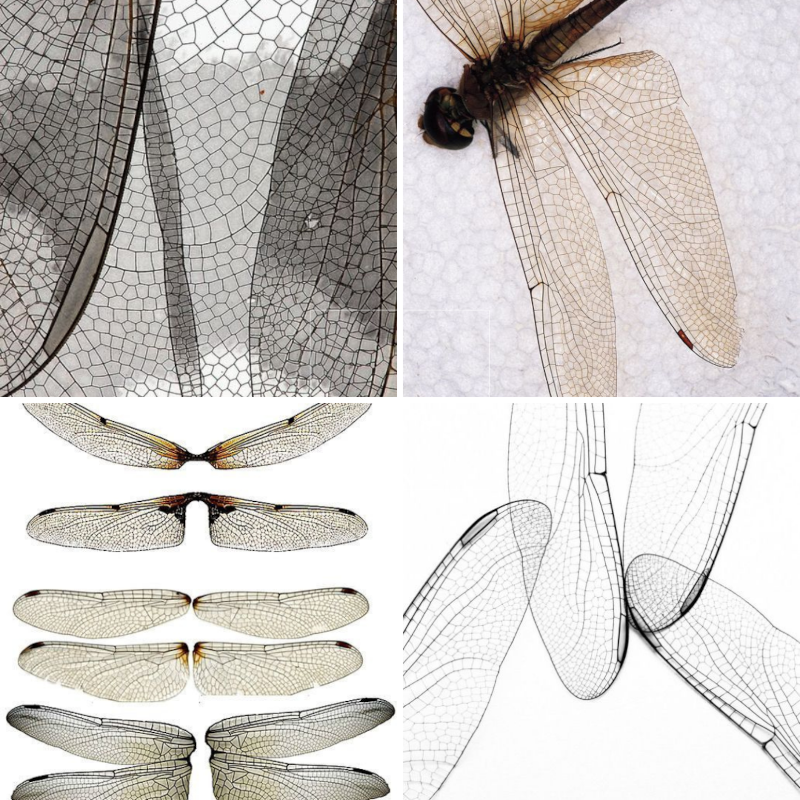
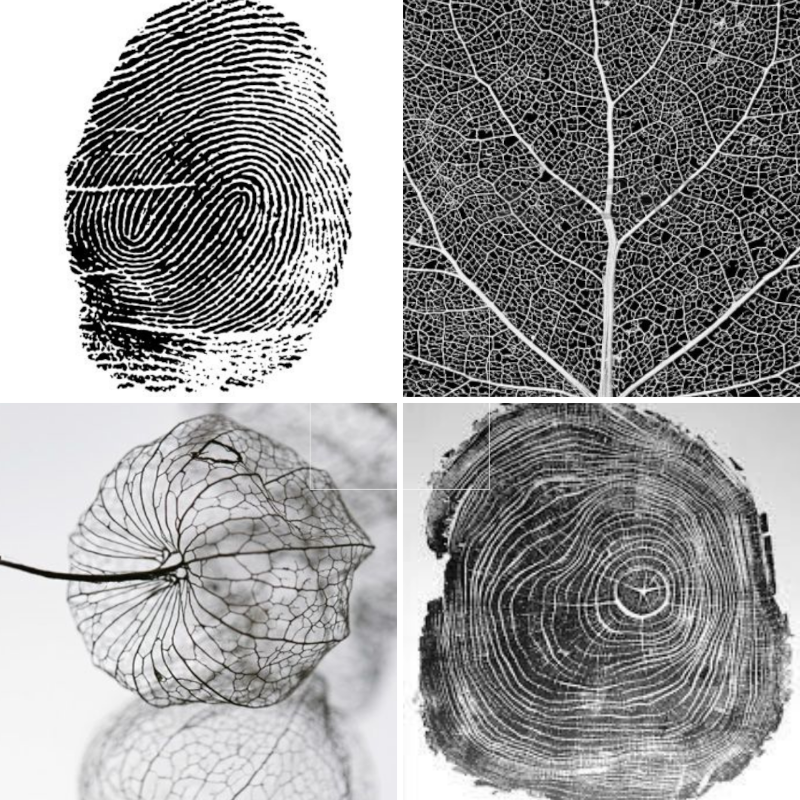
The world around us is the primary source of inspiration. Usually, this is the place to go, when I have to start something. Fistrly, I got lost in the multitude of patterns, nature has to offer. And then I tried to make something out of it.
Tools
- [Grasshopper](https://www.grasshopper3d.com)
- [Rhino3D](https://www.rhino3d.com)
- [Ultimaker](https://ultimaker.com)
- [Plug-ins](https://www.food4rhino.com/en)
Process and workflow
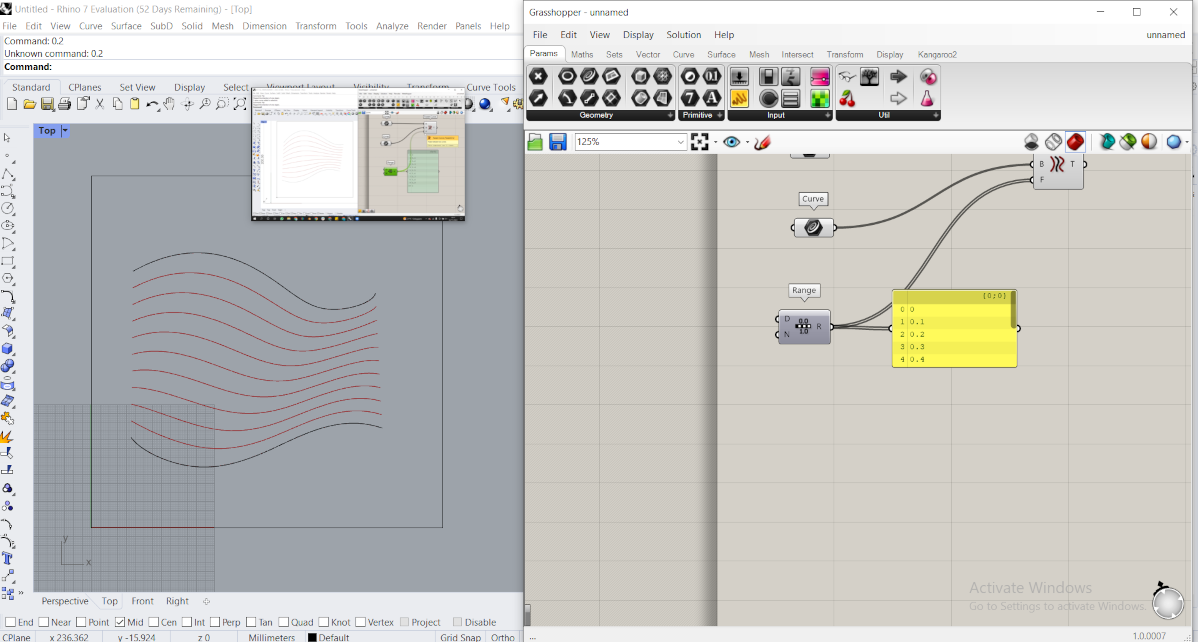
I started by watching the tutorials on Rhino and the Grasshopper and tried to follow them. I did not do this in real time, because I need to pause and go back, like a loooot of times.
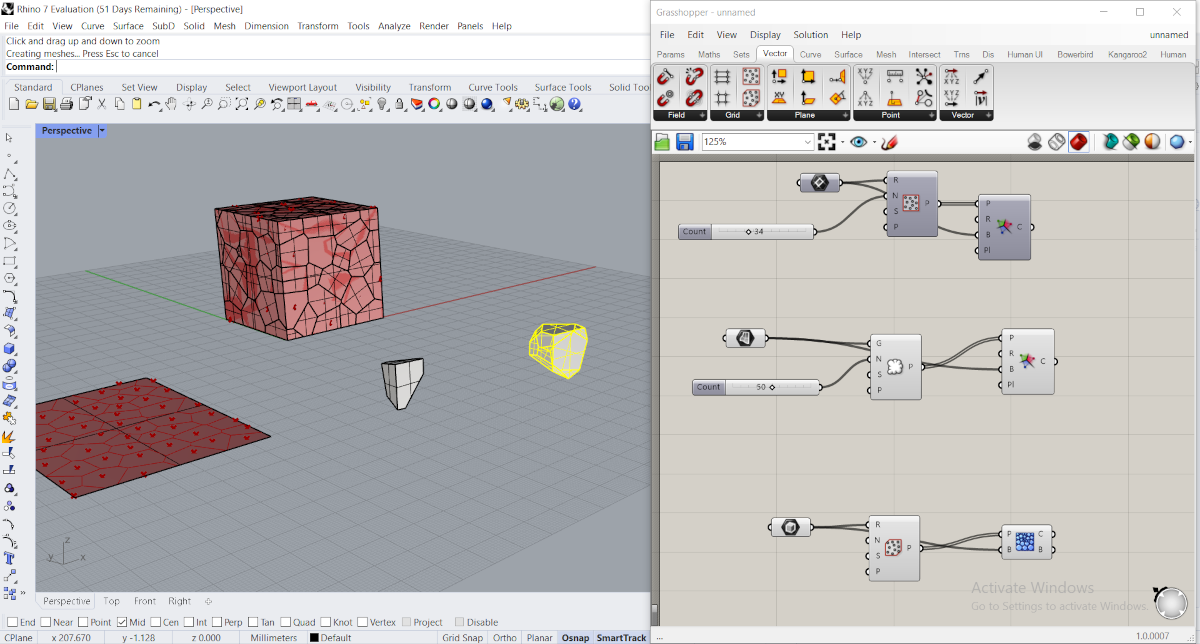
After the tutorials and some more experiments from youtube tutorials, I decided to move on and work on the form I was going to print.
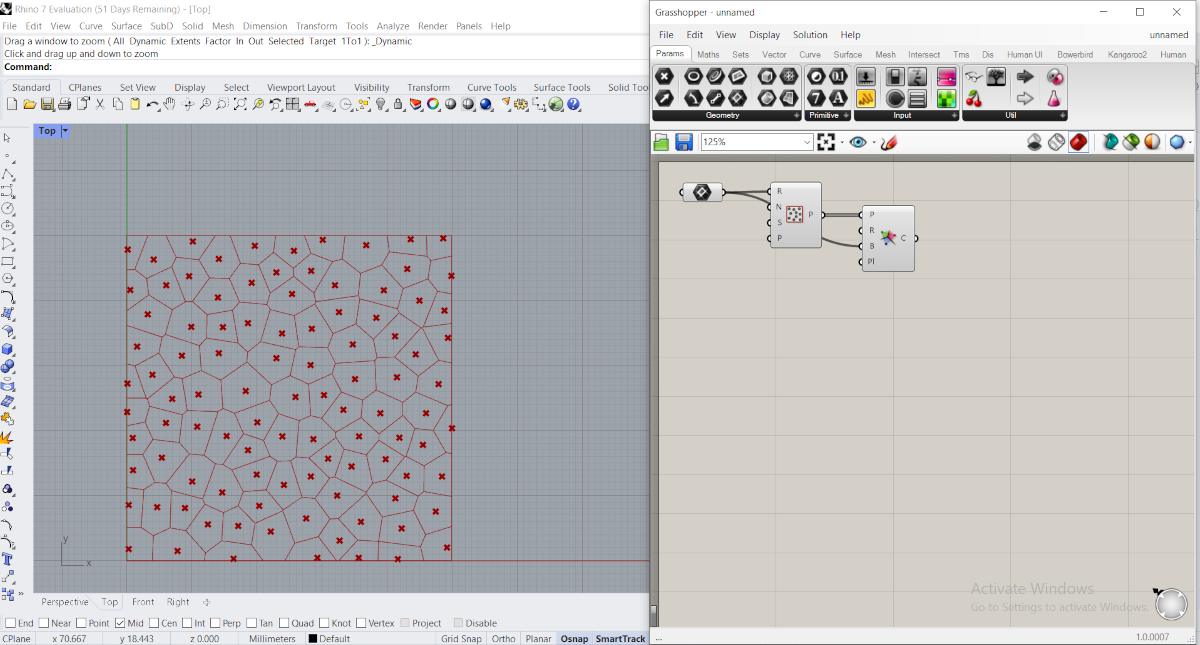
Step 1
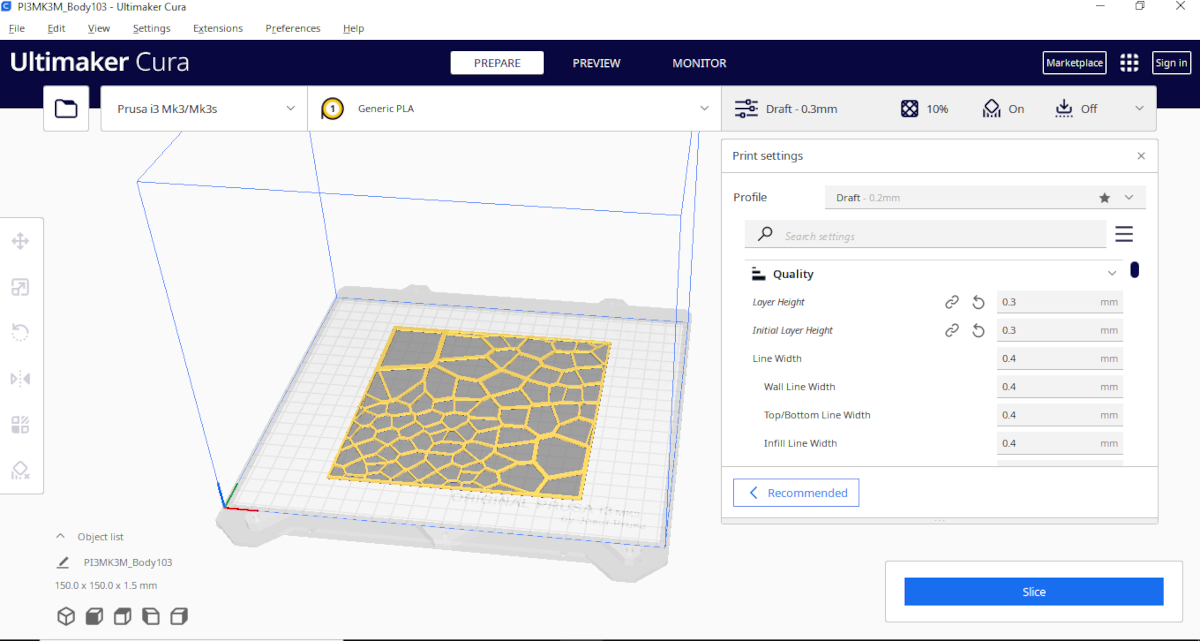
I decided to start with a Voronoi Diagram, to adapt it, in order to get a pattern closer to the ones from my inspo.
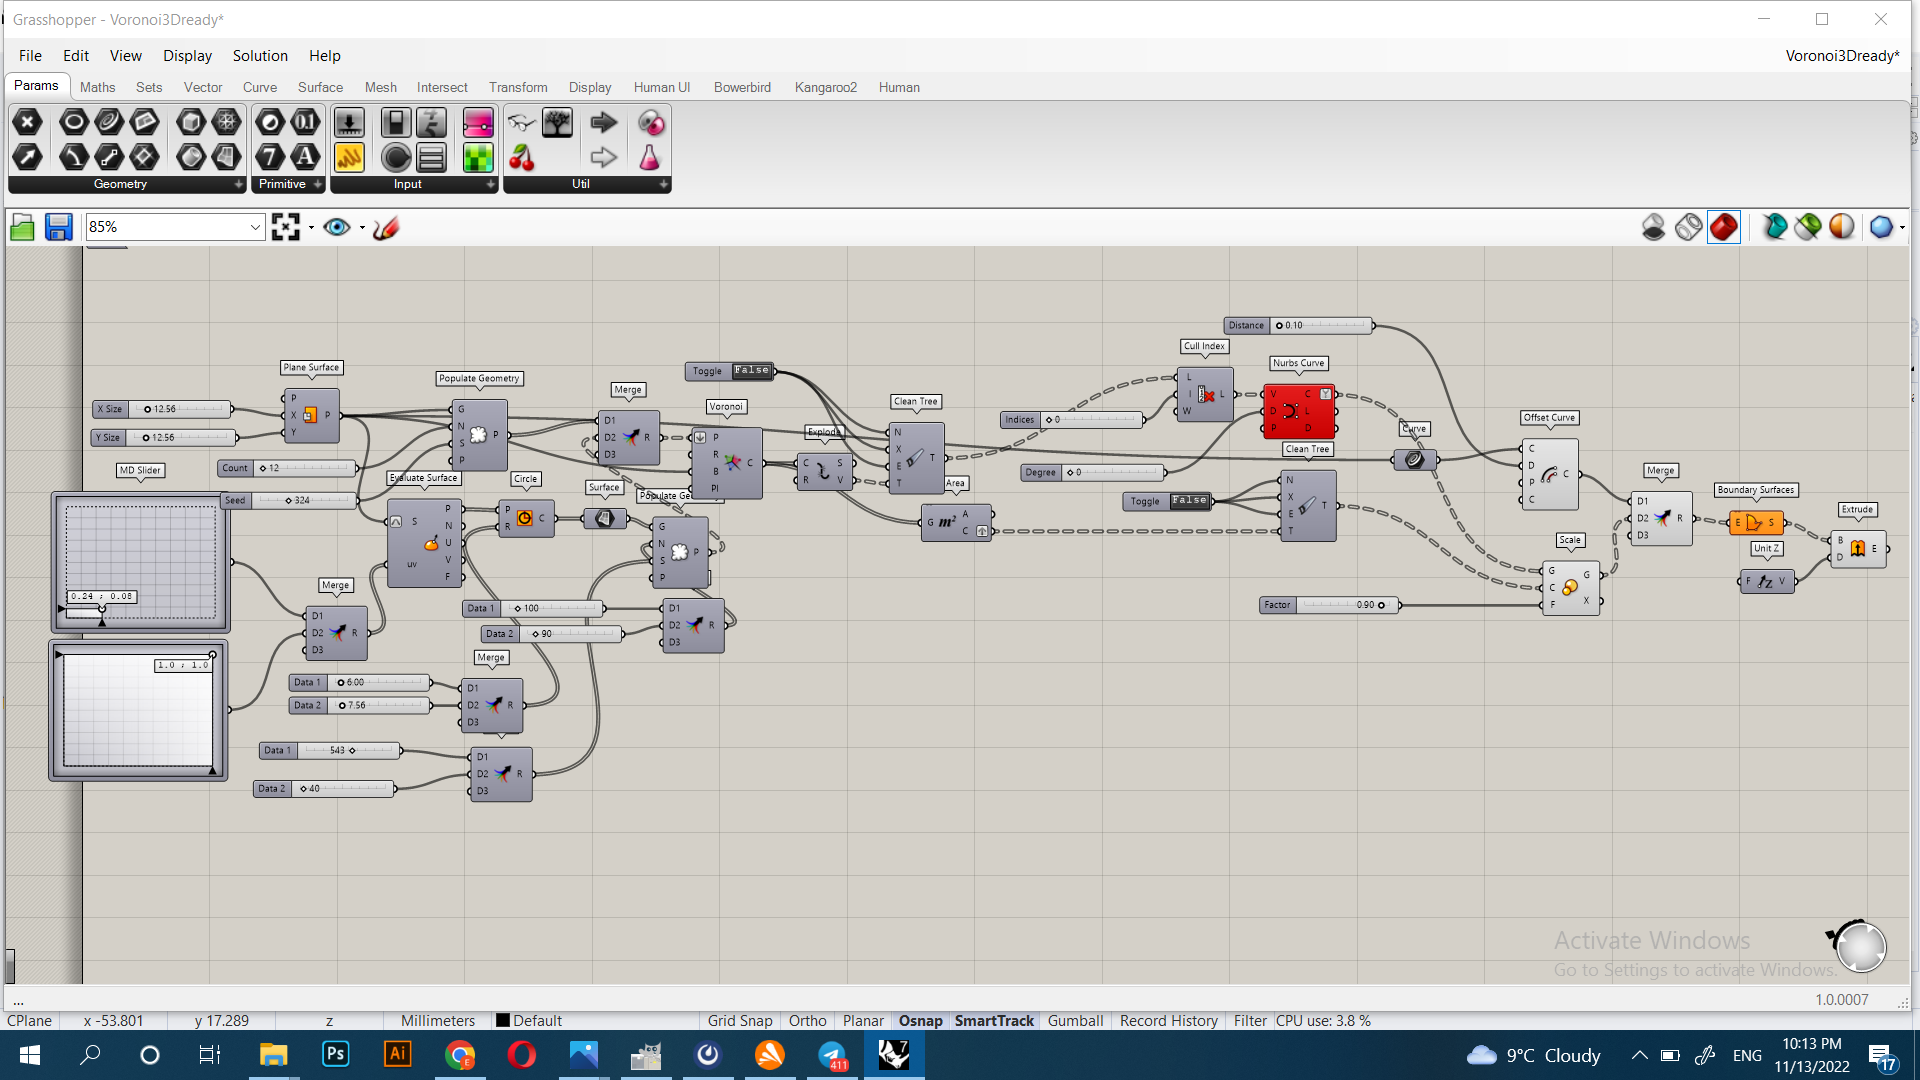

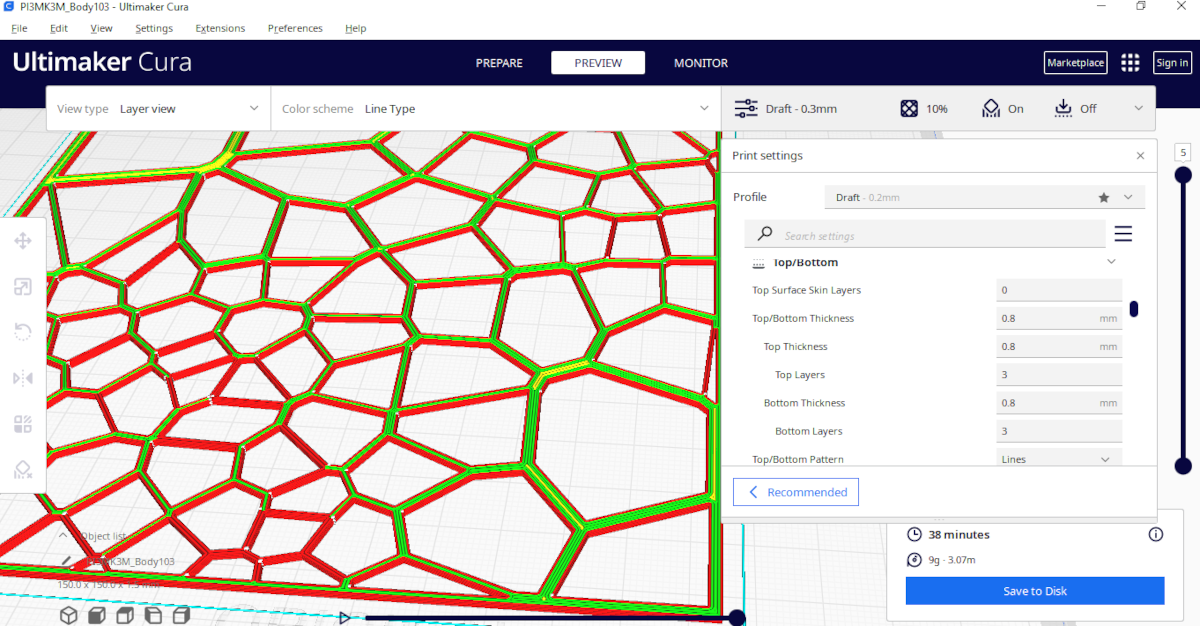
Step 2
After finishing the work in Rhino, Alexandru from Fablab, helped me with preparing the file for printing, in Cura.
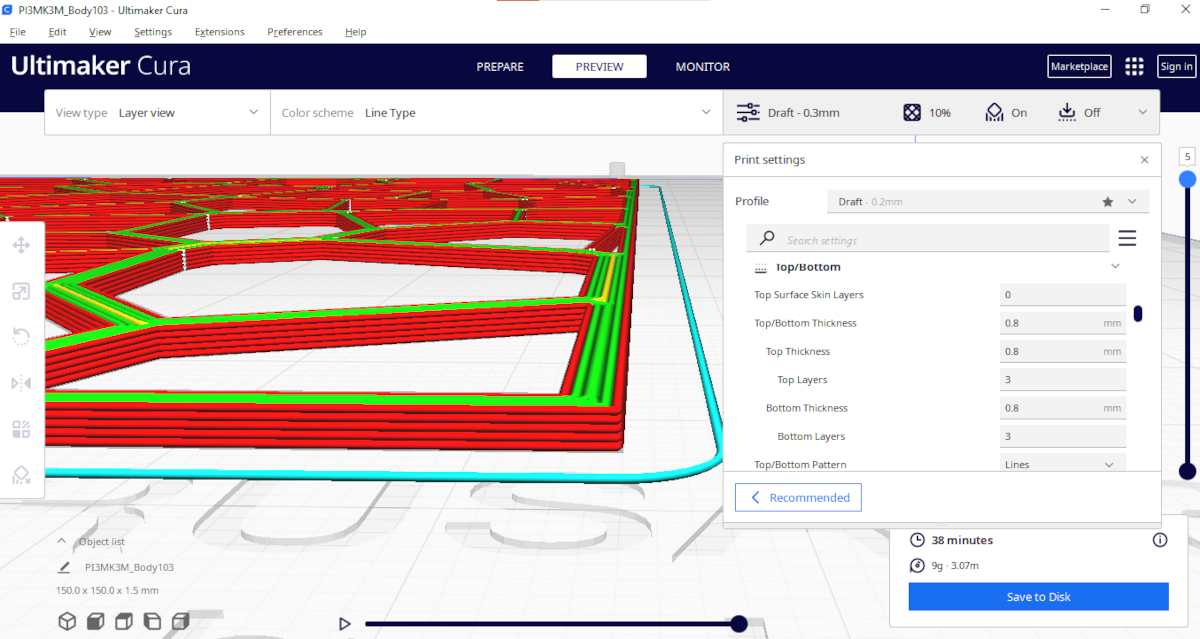
Step 3
After that, we were ready to print.

I looked through the textiles I had at home, and found some leftovers of this lovely natural organza. To fix the fabric, I used some binder clips.
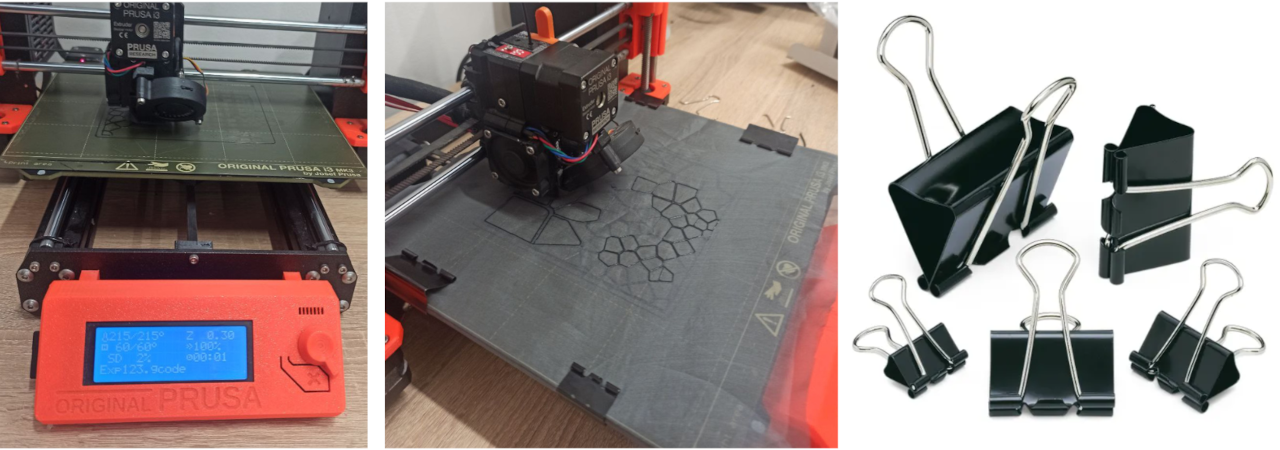
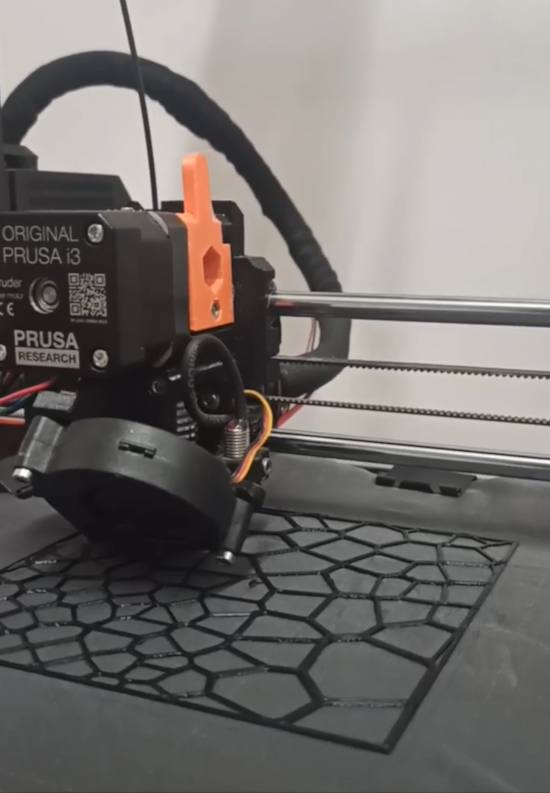
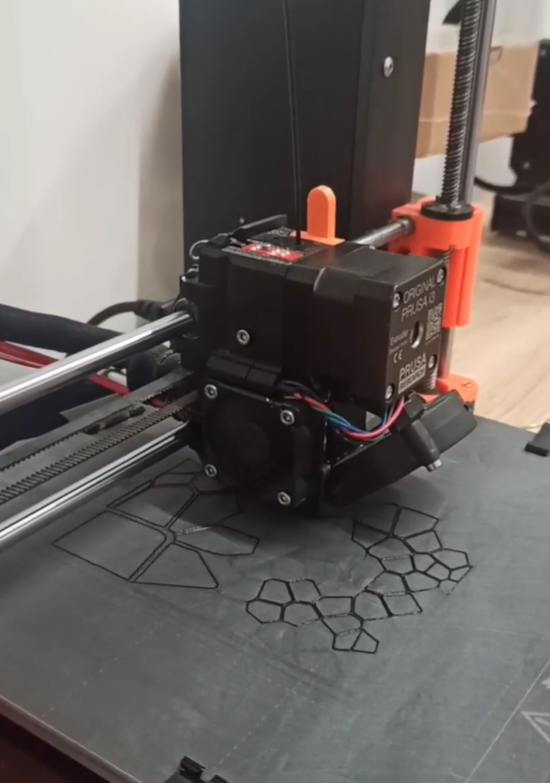
Here are the results I got. As you can see, the first sample is more rigid and the second one is more flexible. Definitely, I would love to experiment more with shapes, textiles and types of filament. But considering the haziness I felt at the beginning of the week, this one is a small victory.

Fabrication files
-
File: Voronoi stl ↩
-
File: Voronoi gh ↩