13. Skin Electronics
References & Inspiration
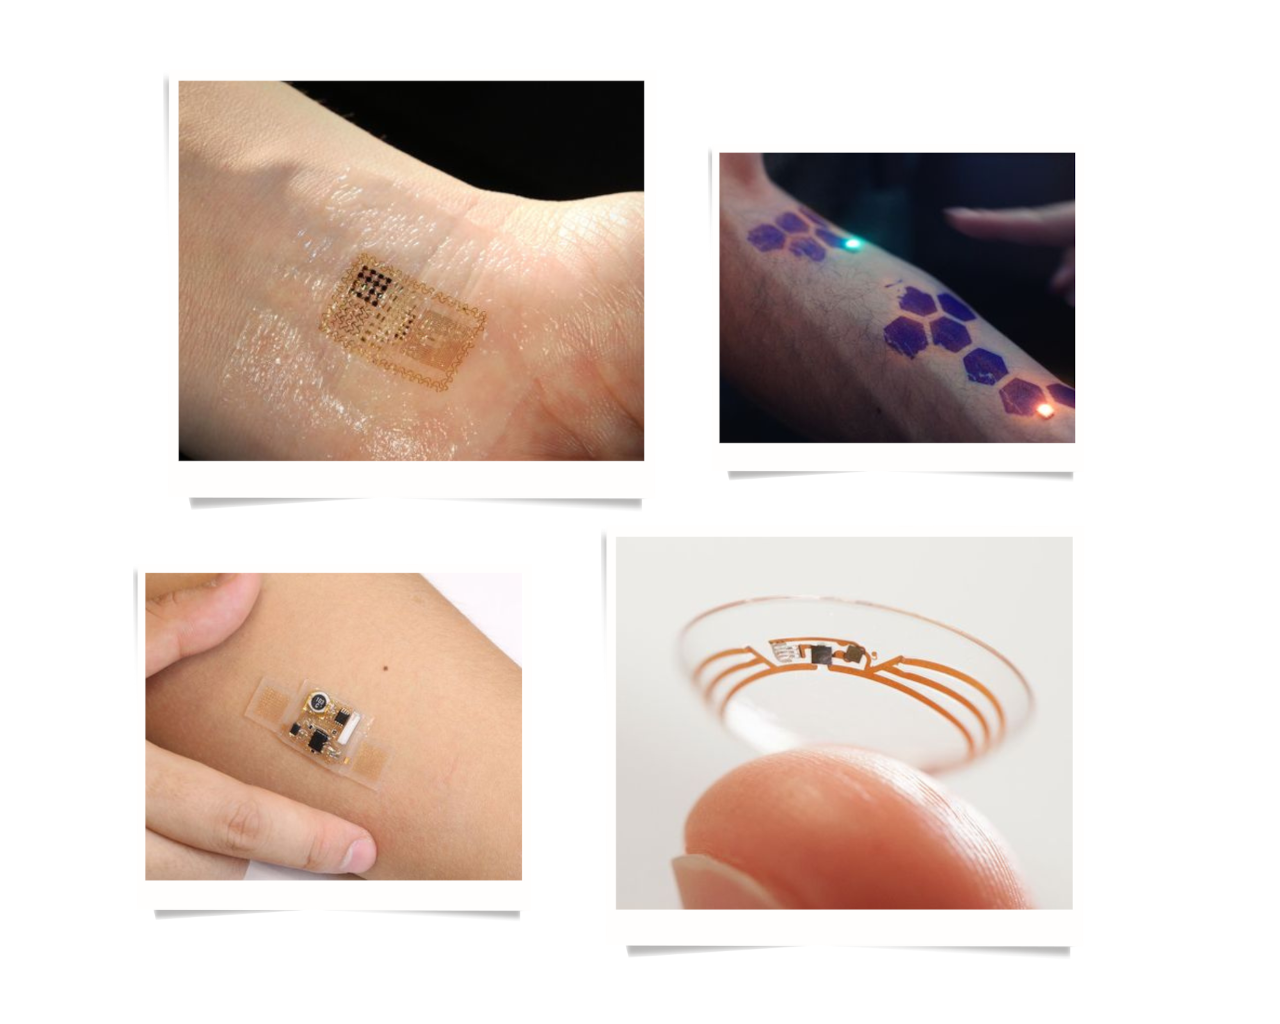
Skin-like electronics that can adhere seamlessly to human skin or within the body are highly desirable for applications such as health monitoring1, medical treatment, medical implants and biological studies, and for technologies that include human–machine interfaces, soft robotics and augmented reality. Rendering such electronics soft and stretchable—like human skin—would make them more comfortable to wear, and, through increased contact area, would greatly enhance the fidelity of signals acquired from the skin.
Tools
- [Arduino UNO](https://store.arduino.cc/products/arduino-uno-rev3)
- [Arduino Nano](https://store.arduino.cc/products/arduino-nano)
Process and workflow
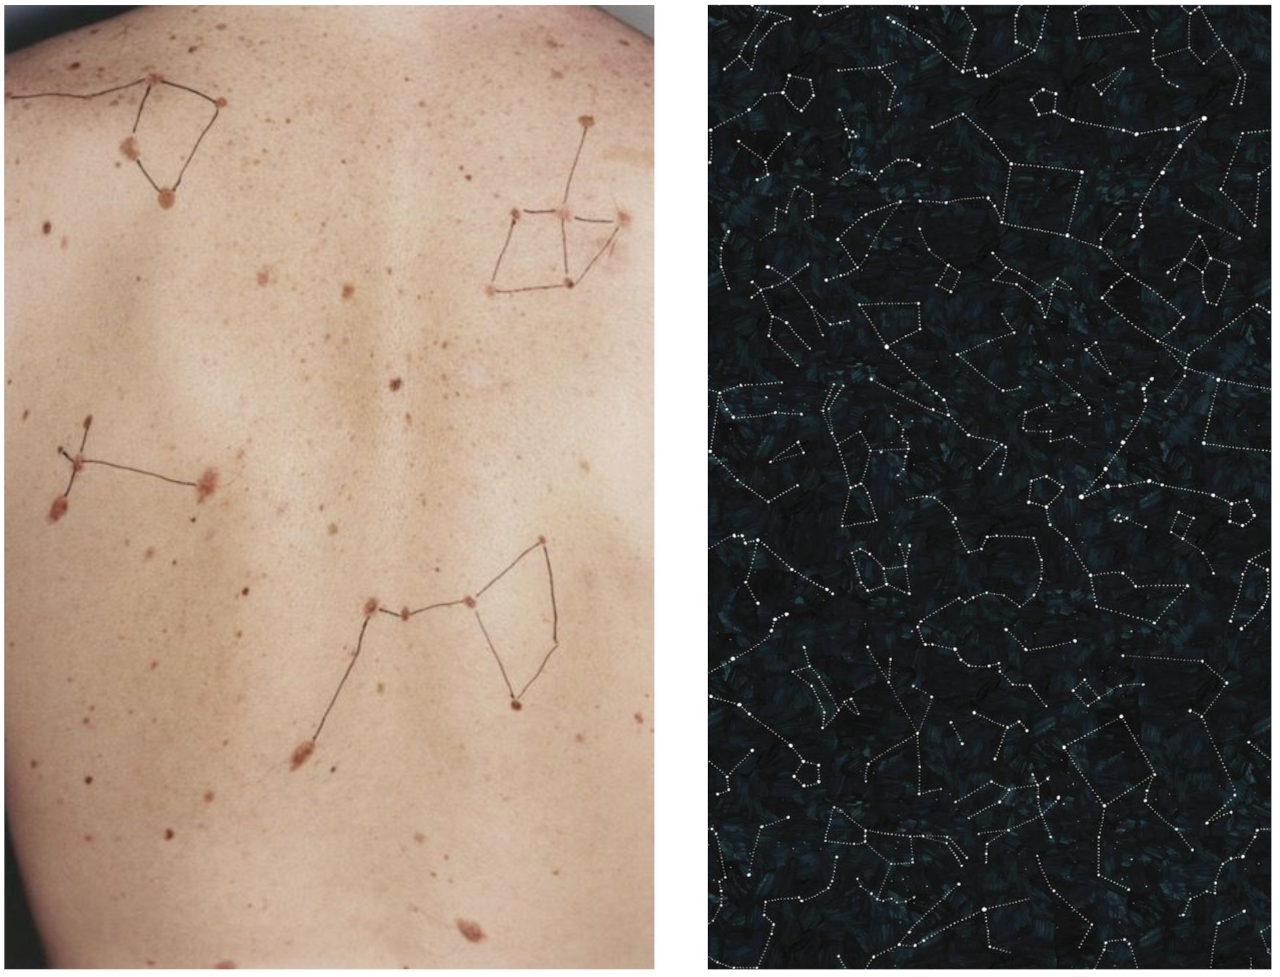
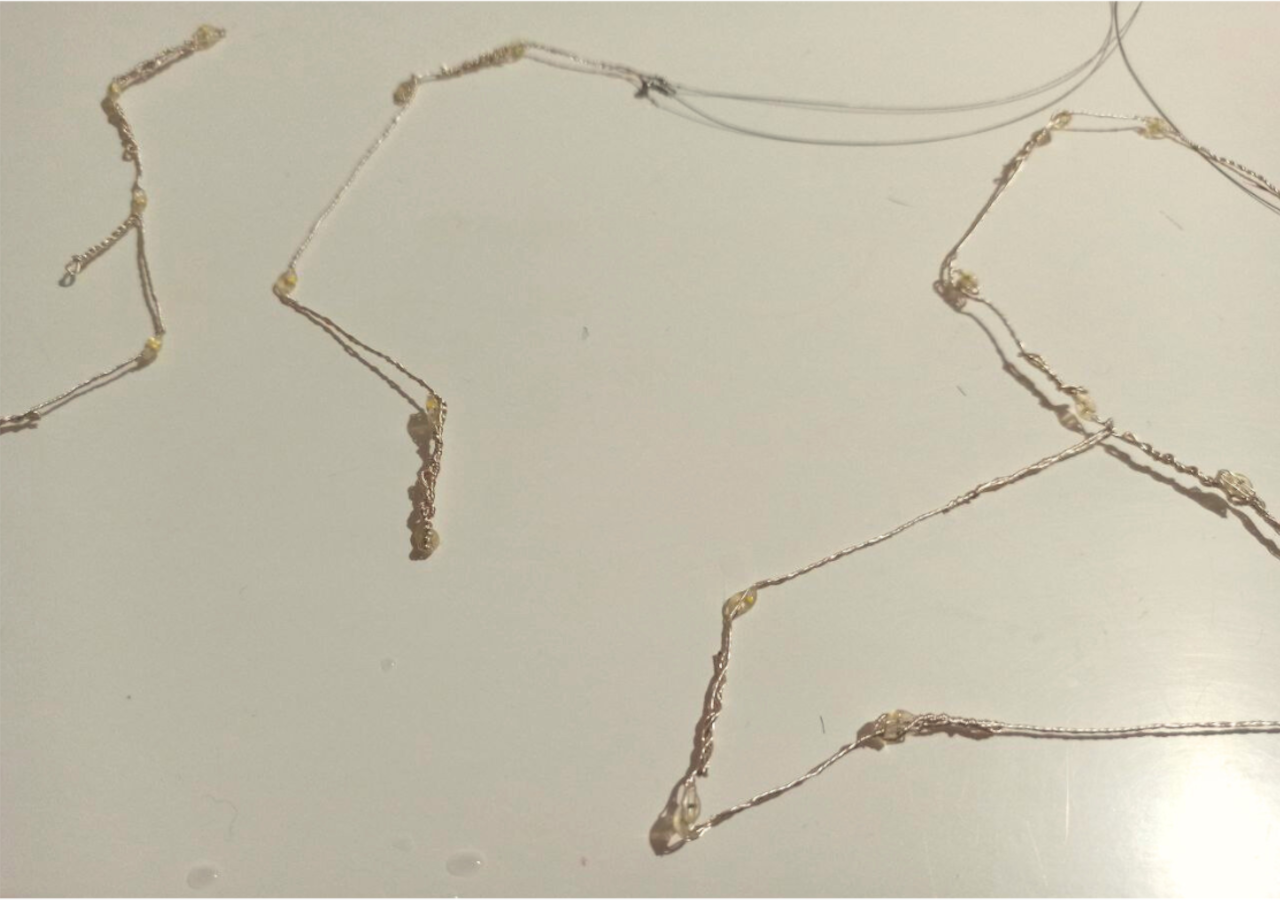
For this assignment, I took my inspiration from the night sky. So I thought it would be beautiful to put some constellation on my back and light them up by introducing a Gyan Mudra switch, on the fingers. Usually I proceed with searching for references on Pinterest, so this is what I did this time, also.
Code
#define LED1 3
#define LED2 8
#define LED3 10
#define chakraSensor 4// chakra senzor connected to pin 4
bool chakra;
// Keep track of which constellation to light up
int currentStrip = 0;

void setup() {
  pinMode(LED1, OUTPUT);
  pinMode(LED2, OUTPUT);
  pinMode(LED3, OUTPUT);
  pinMode(chakraSensor, INPUT_PULLUP);
}

unsigned long previousMillis = 0;
int ledState1 = LOW;
int ledState2 = LOW;
int ledState3 = LOW;
long interval = 1000;

void loop() {
  // Check for chakra sensor
  while (digitalRead(chakraSensor) == 0) {
    chakra = true;
    Serial.println("chakra On");
    aprindeOConst(LED1, 1000);
    aprindeOConst(LED2, 1000);
    aprindeOConst(LED3, 1000);
    aprindeToateConst(1000);
  }
}

void aprindeOConst(int led_pin,int delay){ //Function takes two arguments, the LED pin and the delay
  unsigned long startTime = millis(); //Set the startTime to Millis
  while (millis() - startTime <= delay) { //Loop until Millis - startTime is greater than the delay
    digitalWrite(led_pin,HIGH); //Write the LED pin HIGH
  }
  digitalWrite(led_pin,LOW); //Turn off the LED
}

void aprindeToateConst(int delay){ //Function takes two arguments, the LED pin and the delay
  unsigned long startTime = millis(); //Set the startTime to Millis
  while (millis() - startTime <= delay) { //Loop until Millis - startTime is greater than the delay
    digitalWrite(LED1,HIGH); //Write the LED pin HIGH
    digitalWrite(LED2,HIGH); //Write the LED pin HIGH
    digitalWrite(LED3,HIGH); //Write the LED pin HIGH
  }
  digitalWrite(LED1,LOW); //Turn off the LED
  digitalWrite(LED2,LOW); //Turn off the LED
  digitalWrite(LED3,LOW); //Turn off the LED
  }
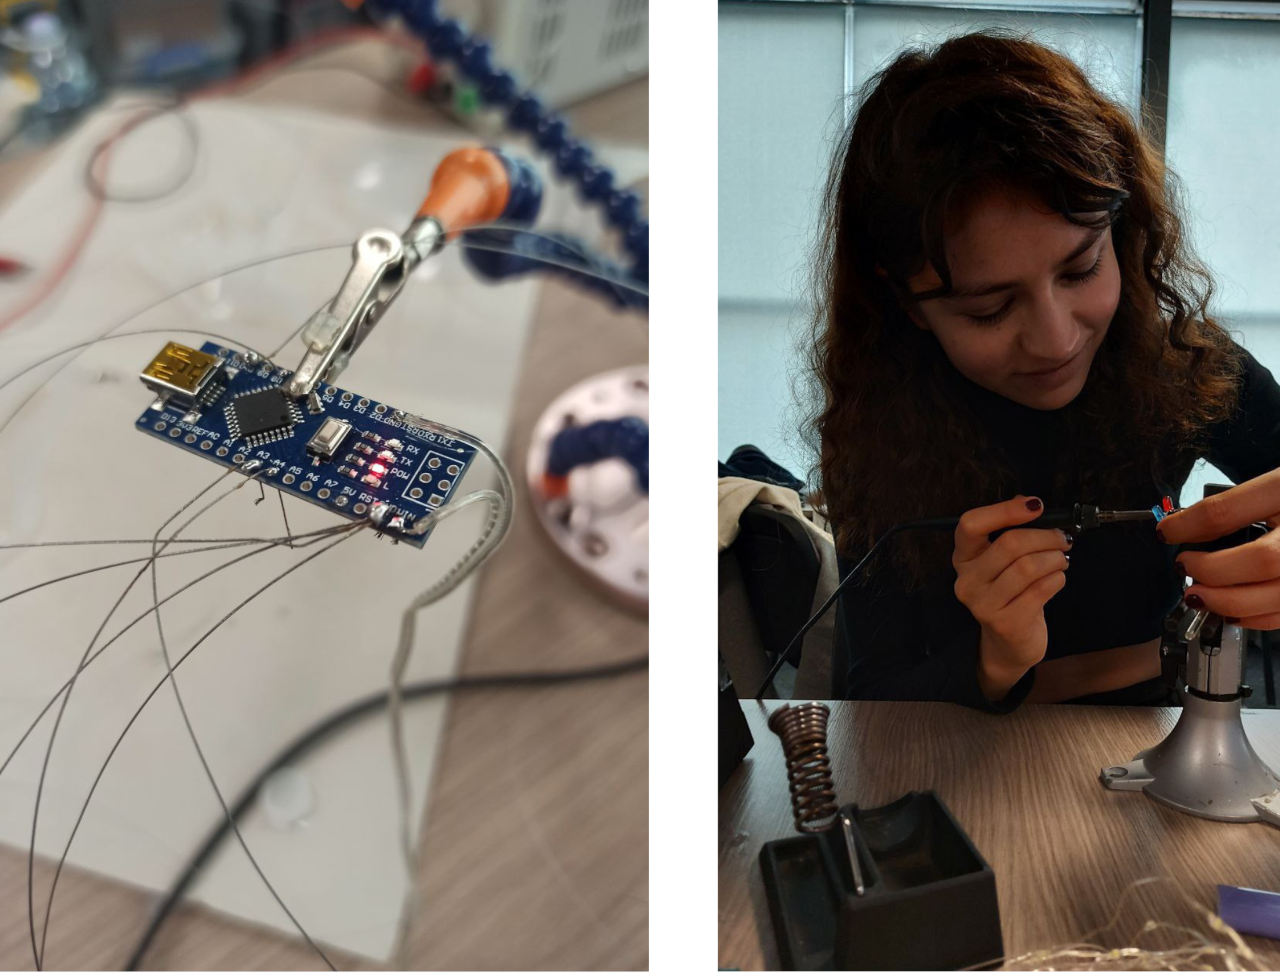
After making sure that it works, I uploaded the code to the Arduino Nano, and proceeded to connect everything to it.
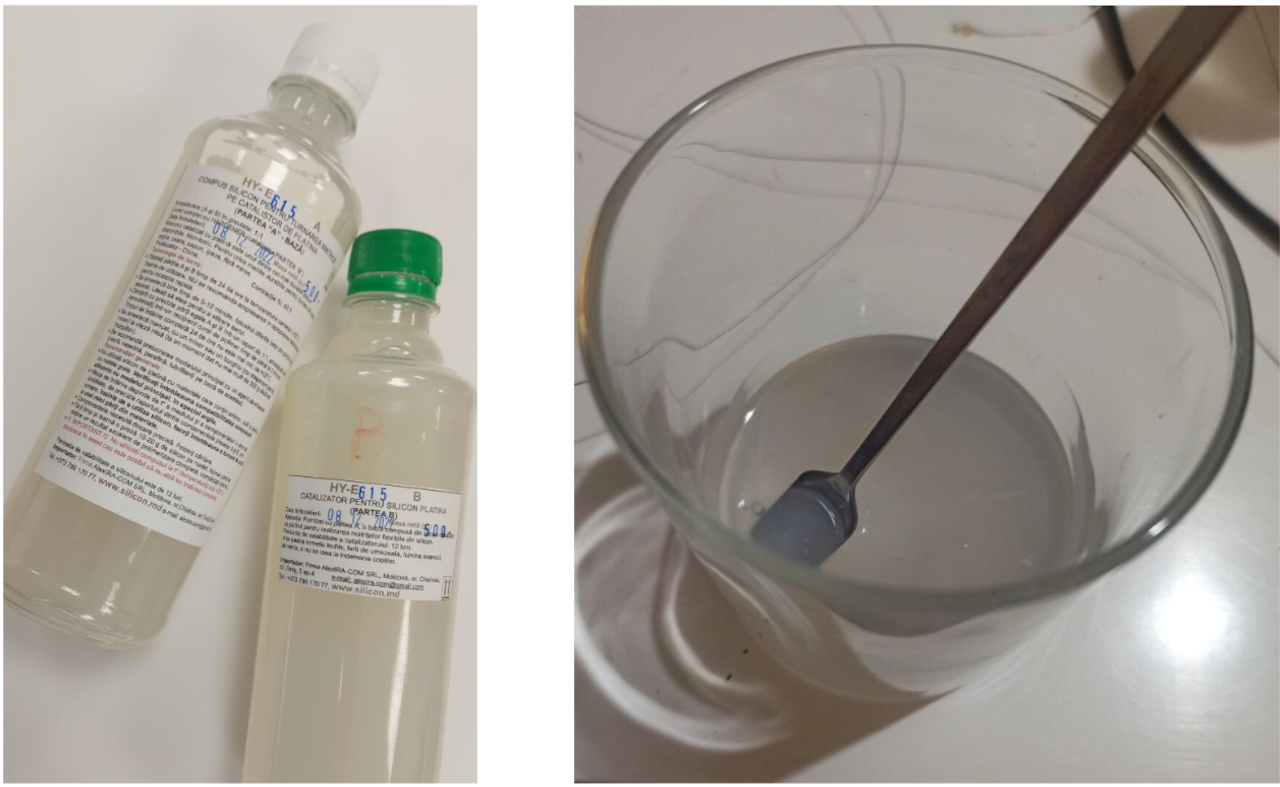
Because this installation goes directly on the skin, I decided to isolate everything with silicone that we previously used, for the Soft Robotics week. This way, I managed to isolate the wires from the skin, thus make it safer to wear. And the second aspect is from the visual point of view - the silicon softens the lights, and gives them a blurry look that I love.
Next, I prepared the silicone mixture, using the substancesfrom the two bottles you can see above. The needed ratio is 1:1. It should be mixed well and slowly, for aprox 2 minutes, to minimize the formation of bubbles.
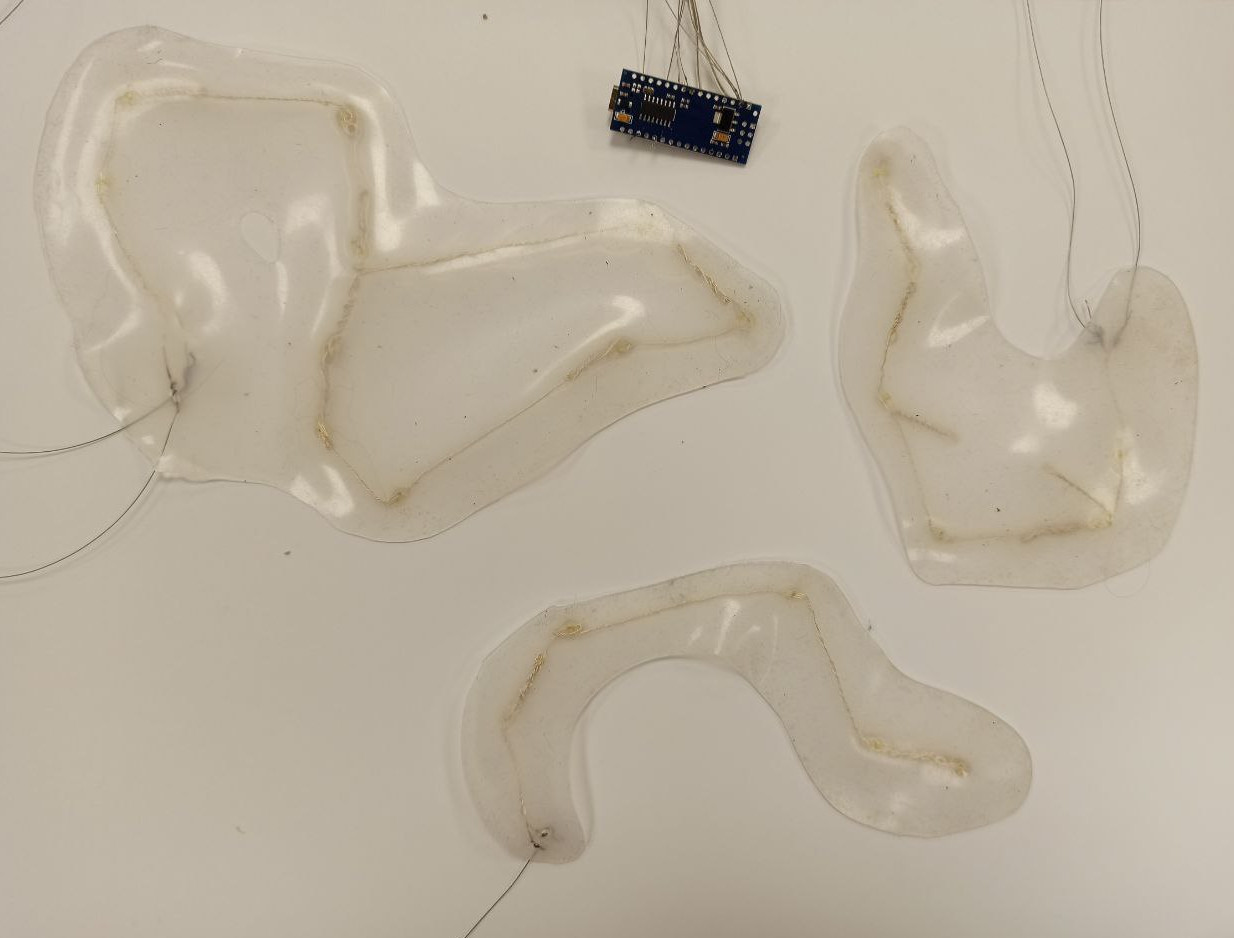
I poured the silicone on top of the wires and left it to dry overnight. This is what I had in the morning.
The Switch
As mentioned earlier, I decided to connect a touch sensor, that would light up the constellation when you position the fingers in the Gyan Mudra position. This is one of the best known hand gesture, usually performed during meditation. It is considered one of the most prominent mudras which support better mental and physical health.
At this moment, after connecting everything, the constellation was not working, so I unsoldered everything and connected them back. After making sure that everything was connected correctly, we checked once more and identified an error in the code. But our electronics instructor helped solving it, and we finally have the working circuit.
Results

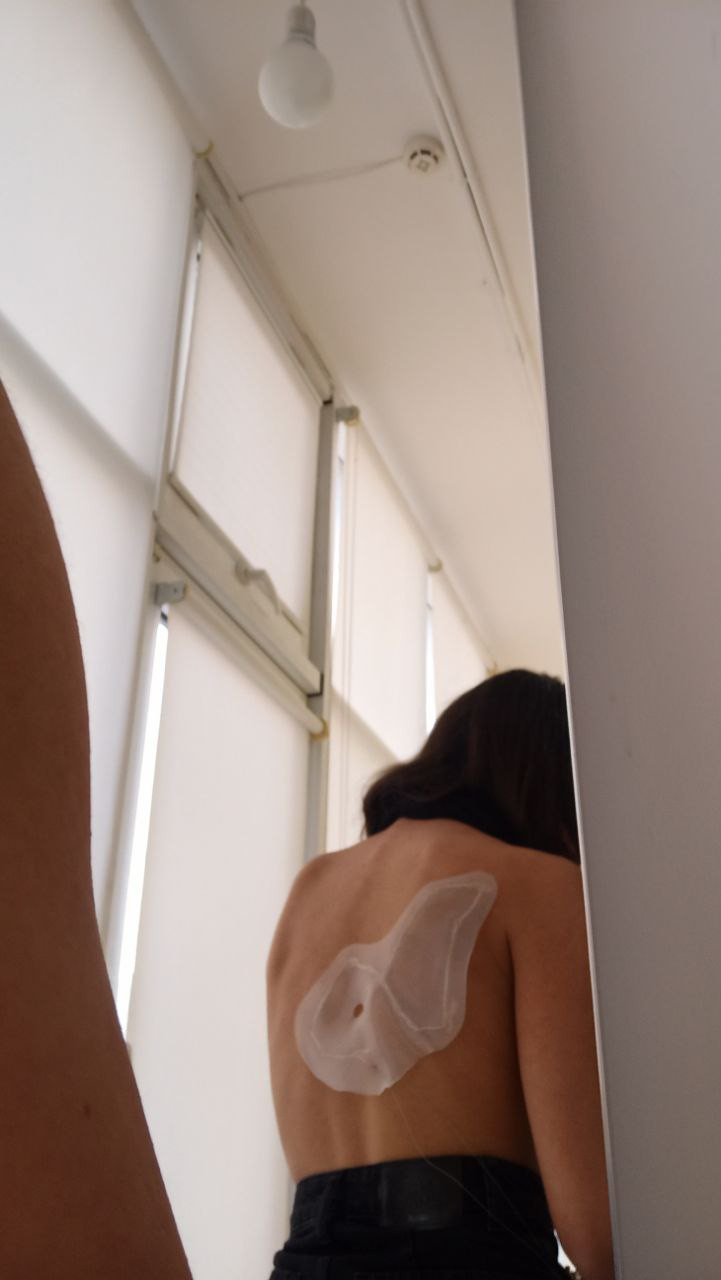
This is a short capture of the constellations located on my back, glowing in the night.