12. Soft robotics
Research
This week I was introduced to the concept of soft robotics. It is a subfield of robotics that concerns the design, control, and fabrication of robots composed of compliant materials, instead of rigid links.
References & Inspiration
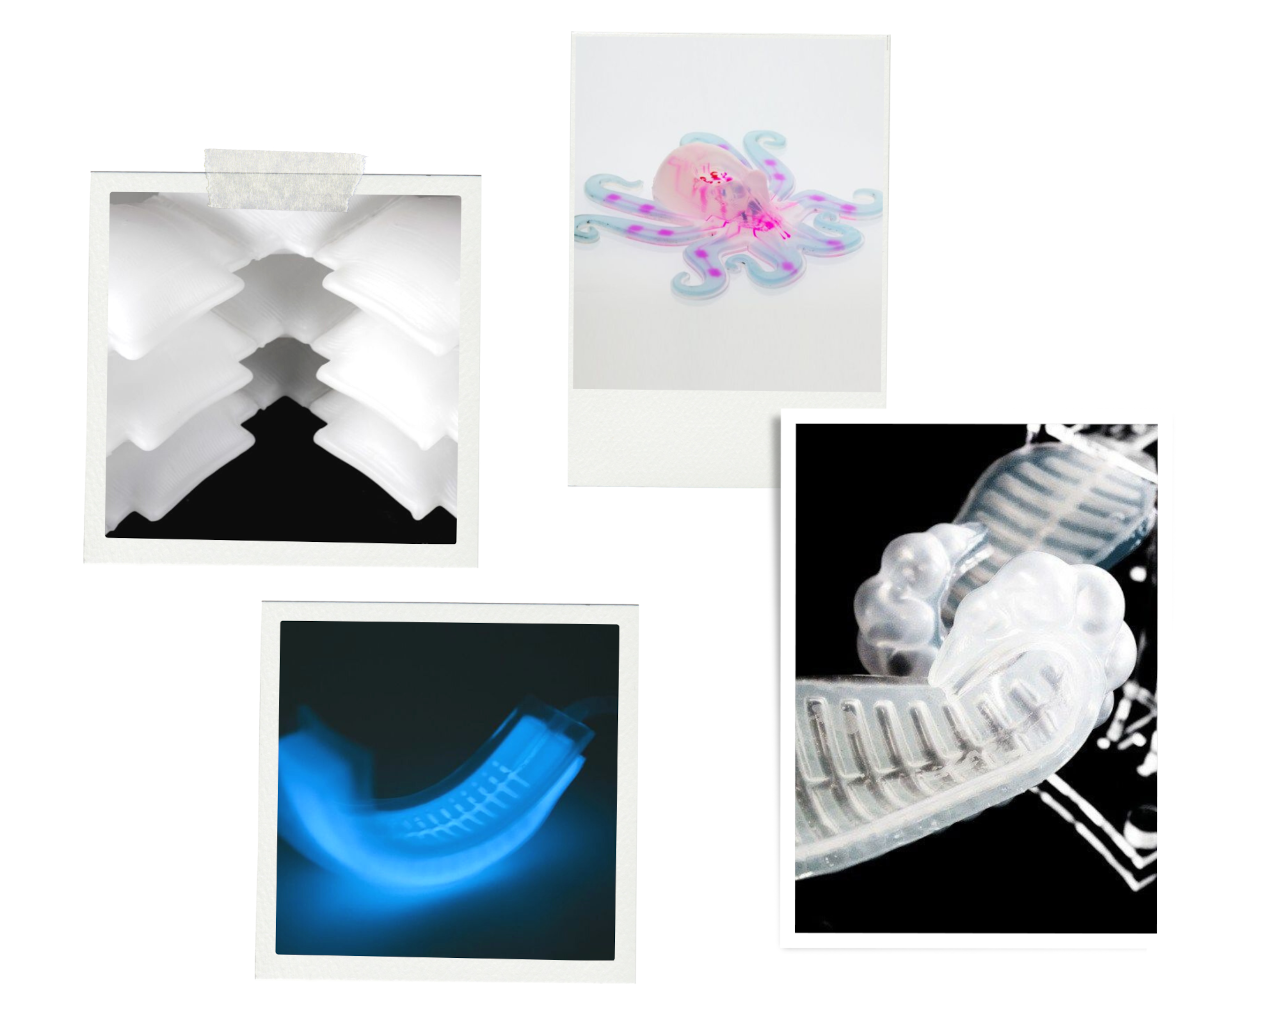
- Researchers at Harvard University have designed Octobot - a soft 3D-printed robot that can move on its own, powered by a chemical reaction, instead of electricity or batteries.
-
I also gathered some inspiration from the SELF-ASSEMBLY LAB: The BMW Design Department in collaboration with MIT’s (Massachusetts Institute of Technology) Self-Assembly Laboratory have successfully developed printed inflatable material technologies that self-transform, adapt and morph from one state to another.
-
Furl: Soft Pneumatic Pavilion is another* project discovered at the graduation show of The interactive Architecture Lab, a Bartlett School of Architecture research group and Masters Programme headed by Ruairi Glynn, Christopher Leung and William Bondin.
Process and workflow
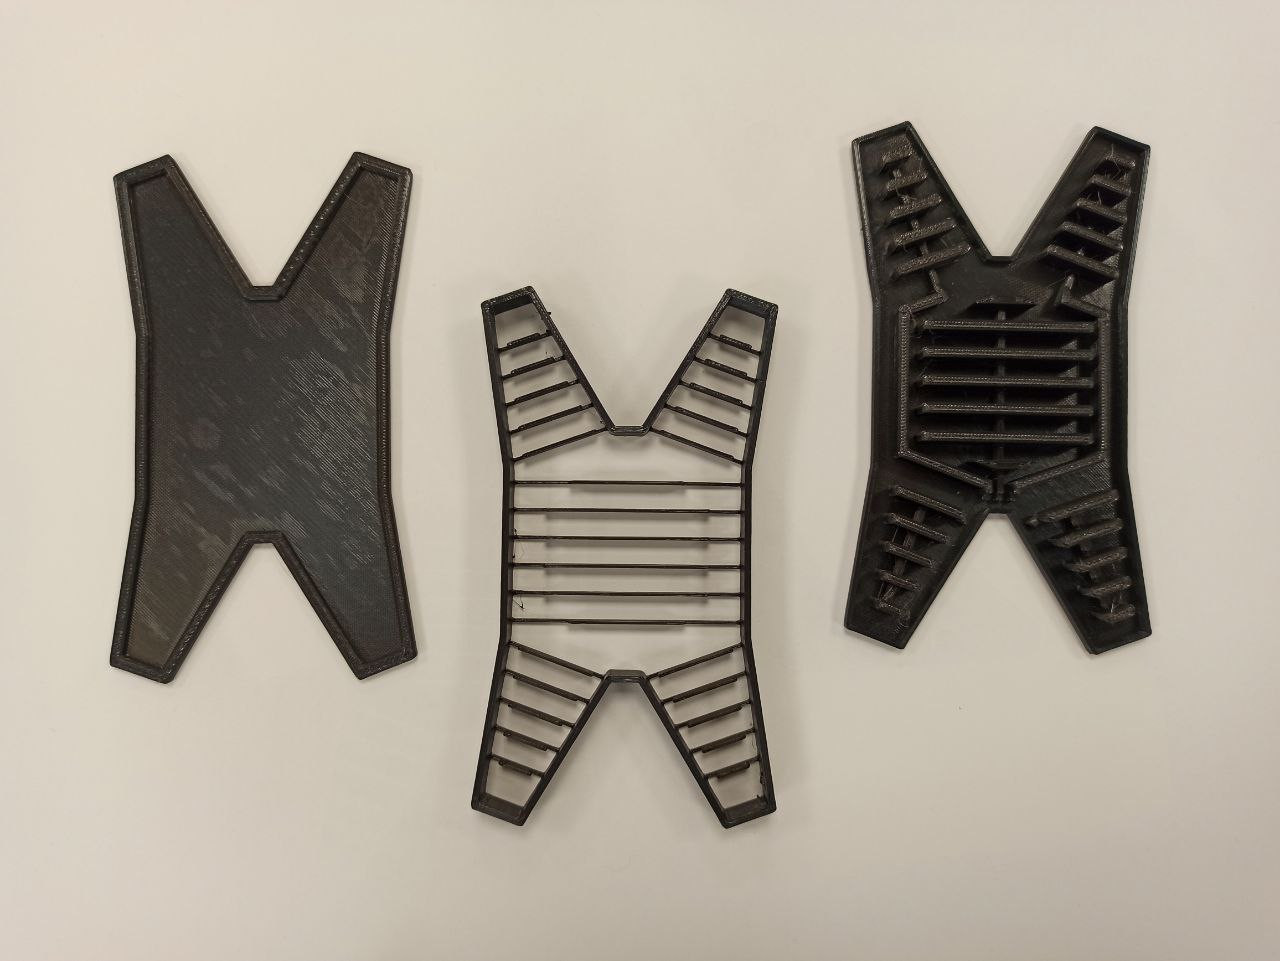
I decided to make a trial version on an already existing mold. When I am in the process of learning something new, it is easier for me to experiment, in order to understand the way it works. So I downloaded the files and 3D printed the mold of this crawling soft robot.

Step 2
The next step was to spray the mold with a solution that prevents the silicon from sticking to the plastic. We sprayed 2 times, at the interval of 30 minutes.

Here you can find more information about the silicone we used, also, bellow, there is the translated version of the data sheet of the silicone.

The next step was to prepare the silicone mixture, using the substancesfrom the two bottles you can see above. The needed ratio is 1:1.
It should be mixed well and slowly, for aprox 2 minutes, to minimize the formation of bubbles.
The process of mixing and pouring into the moulds, should not take more than 20 minutes.

The time in which the silicone dries completely is up to 24h, and it depends on the temperature of the room.
Step 3
In the meantime, while the forms where drying, we created the circuit and tested it.
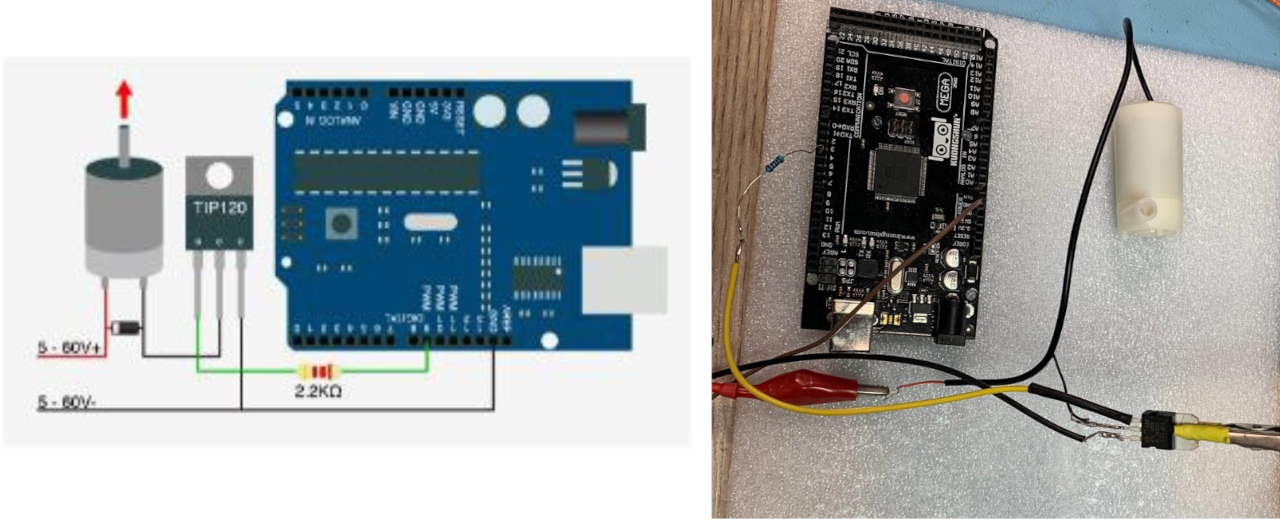
int basePin = 9;      // Pin Connected to the transistor base

void setup() {
  pinMode(basePin, OUTPUT);  // sets the pin as output
}

void loop() {
  digitalWrite(basePin, 200);
}
Step 3
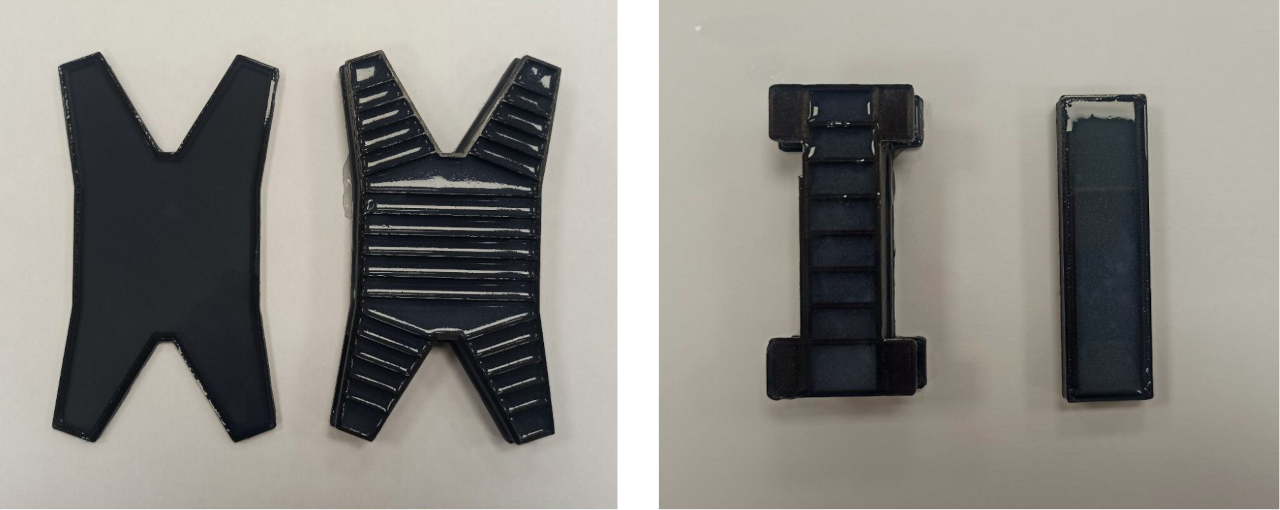
I left the molds to dry for a day. My next step was to get the silicone buddies out of the mold. I glued the two parts together, with some more silicone. Now they are drying, and are waiting to be conected to the pump.

Results
I was impatient to connect the pump, so I did a trial with a syringe to see what happens, aaand ta-daaaa!


Inflatables
For the inflatables I decided to test the technique on an existing example, and tried to replicate this one.
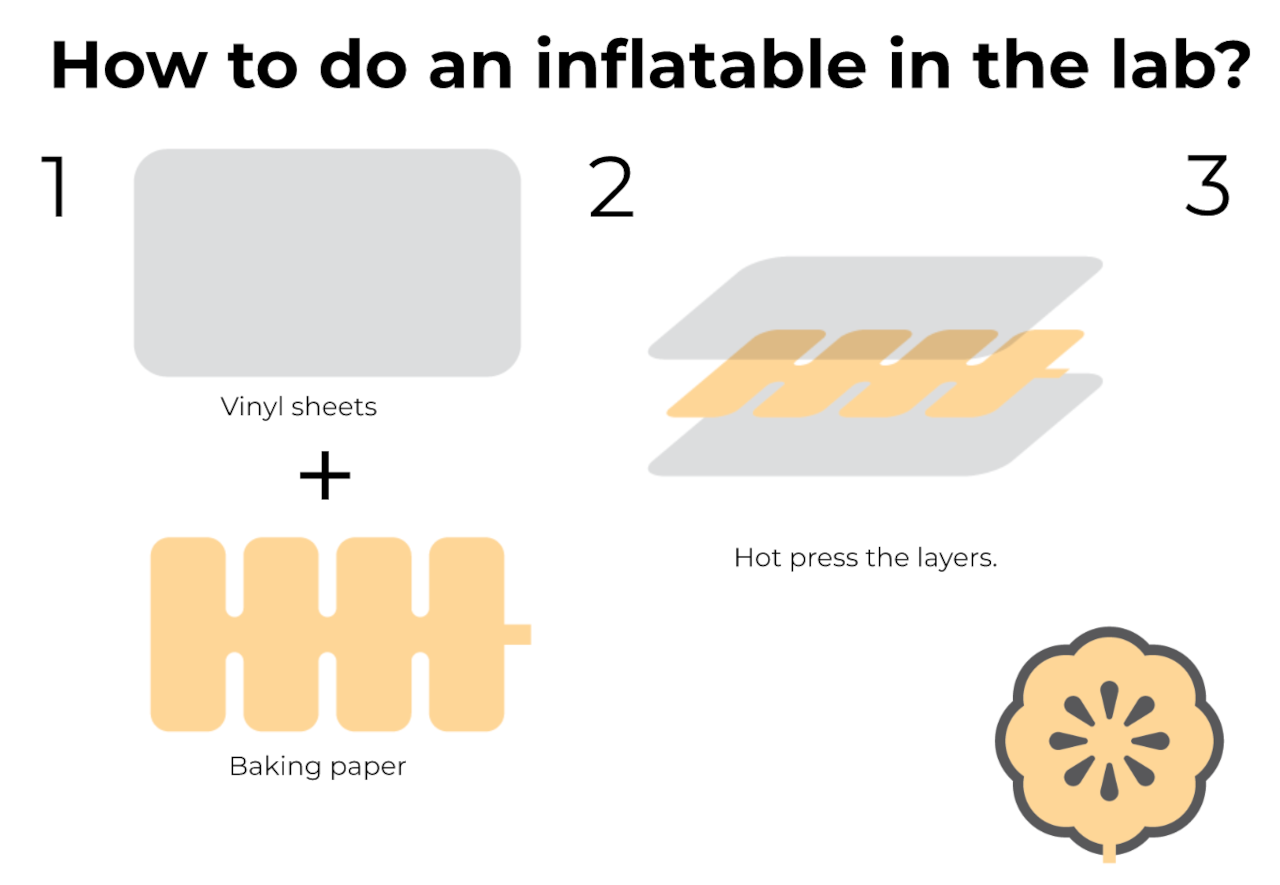
Process and workflow
First trial
Sooooo, here is the fail nr.1! I suppose that the temperature of the iron was to low, or that I kep it too short time.
Second trial
For the second trial, I drew a stylized flower. You can see its shape in the first image, with the contre-jour view. It went better for the second time.

Third trial
