6. BioFabricating Materials
Research
What is a plastic?
Oxford dictionnary

* noun: plastic; plural noun: plastics

a synthetic material made from a wide range of organic polymers such as polyethylene,
PVC, nylon, etc., that can be moulded into shape while soft, and then set into a rigid or slightly elastic form.
"mains pipes should be made of plastic or copper"

* adjective: plastic
1. made of plastic.
"plastic bottles"

false, synthetic, fake, superficial, pseudo, sham, bogus, ersatz, assumed, spurious, specious, unnatural, insincere, phoney, pretend

2. (of a substance or material) easily shaped or moulded.
"rendering the material more plastic"
References & Inspiration
Although the class was super fast and heavy, I have so many new lines of work :
Old inspiration with Melissa shoes made of Melflex, questionning the sustainability :
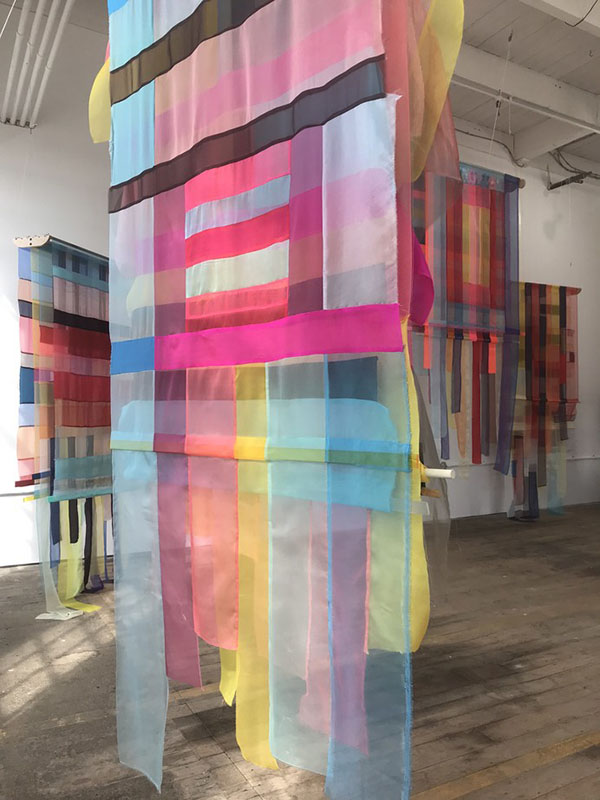
High left | High center | Middle | High right | Masks | bottom left
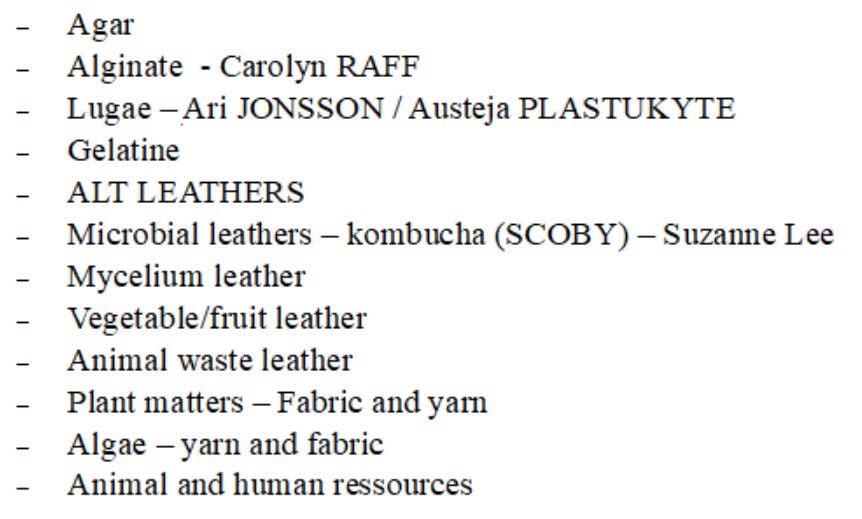
I am very interested in the possible states of transparency depending on the materials, and bioplastics are promising in this direction.
I want to work with leathers filled with food waste like avocado skins, pinapple or fish skins.
Process and workflow
Alginate
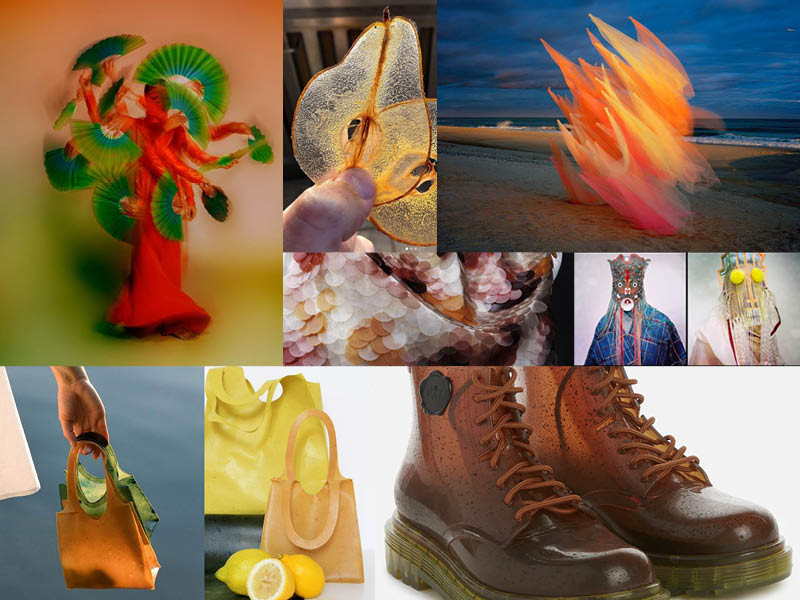
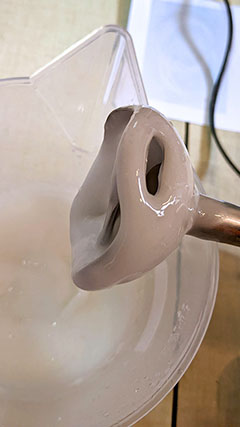
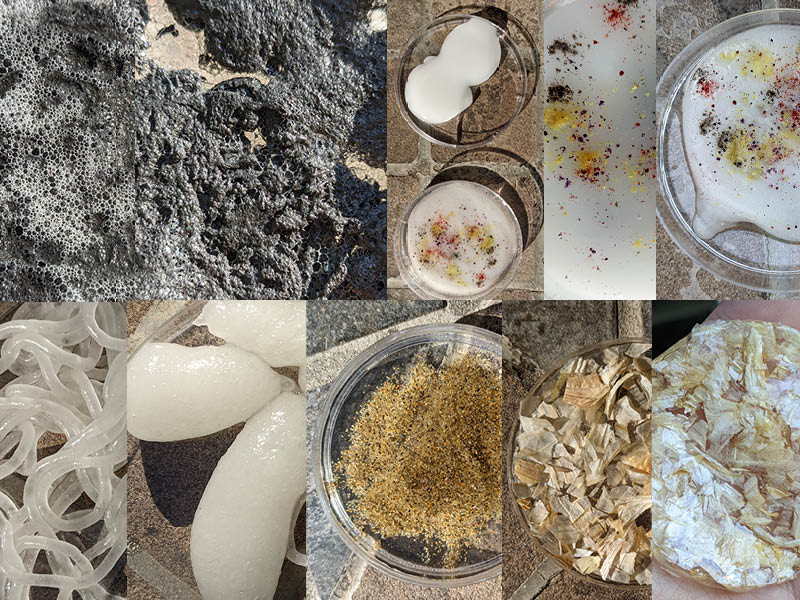
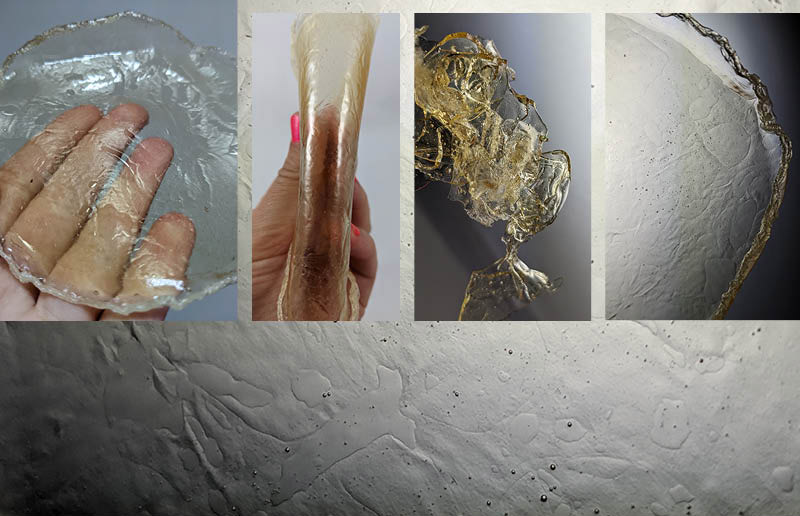
The making is mixing a long time to get a batter very smooth. Natural color is translucent white, then you can add pigments or fillers that will change the aspect.
The important thing with alginate is to spray a solution of calcium chloride on it which creates a waterproof membrane. This membrane is the beginning of the shape in which the alginate will dry.
First tests with alginate (foam), nature and pigments, extruded threads and big drops. First tests with gelatin and sand or garlic skins.
Avocado leather
- 2g alginate | 20g
- 5g glycerine | 50g
- 33ml water | 330ml
- 4g filler = 2g powder* + 2g oil | 20g + 20g
- calcium chlorure solution (10%)
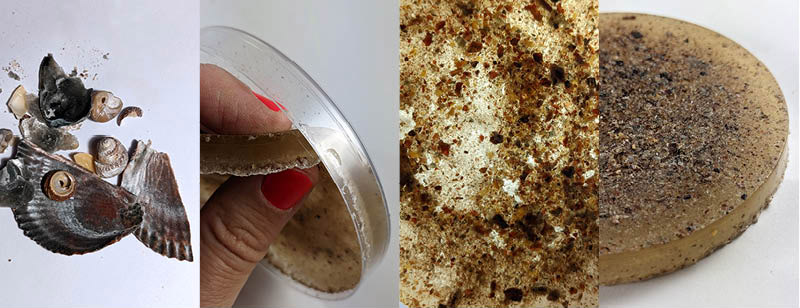
*composite powder for filling was a mix of avocado skins, eggshells and coffee ground.
- bowls
- precise scale
- spoons and spatules
- mixer
- plane textured or smooth surfaces
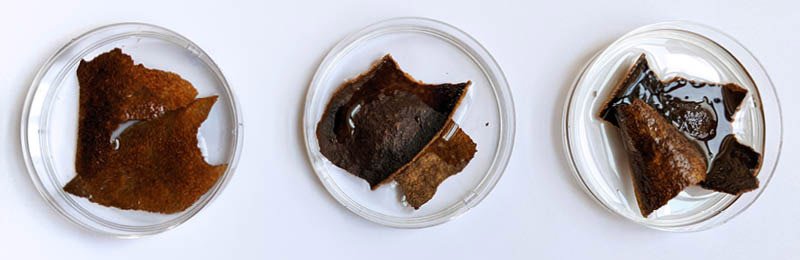
For my leather test, I made quantity x10 in order to have enough paste to spread on a surface, taking into consideration the large shrinkage on drying.
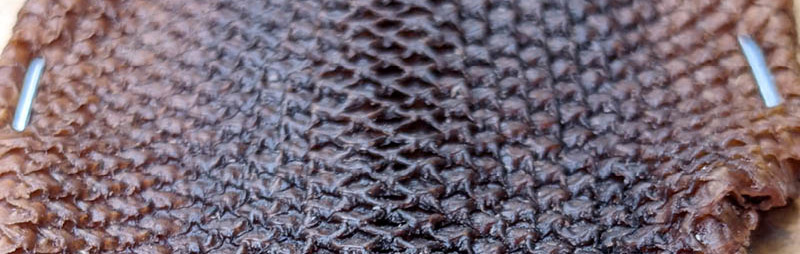
I spread my paste on a hypermarket shopping bag to have a side with the canvas texture. I made a first layer, arranged the avocado skins, and put a layer on top so that they were trapped inside. I thought the moisture from the paste would soften avocado skins but no they stayed strong inside the soft paste.
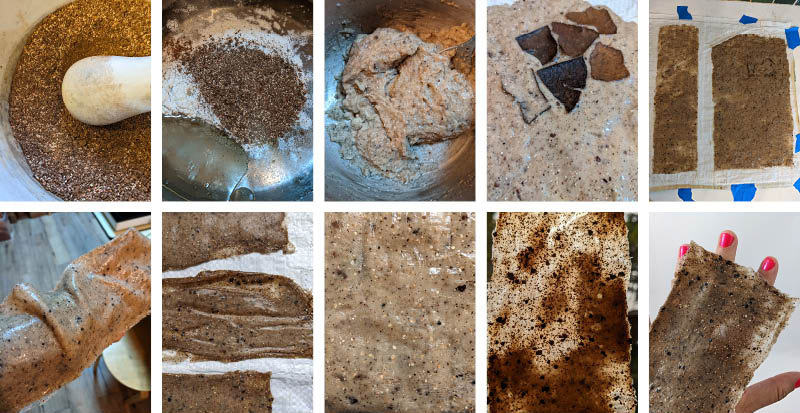
The result is very satisfying, it's very flexible, but I think it's not very solid if you stretch it. The most difficult thing is to spread it evenly so that the drying is also uniform and thus avoid having areas that are too thin or that retract too quickly and cause unwanted volume.
Over time, the texture remains slightly greasy on the skin, so it would not be very pleasant to wear it directly as a garment, especially since you have to check to clean it well with vinegar as soon as mold appears, and the rancid oil odor may also appear.
Graphite threads & drops
We decided to mix graphite powder in the alginate to create a possibly conductive material (idea came after week 05 and our conductive inks).
Diane showed us how to extrude alginate through a syringe. We extrude above a bath of calcium chloride, which directly freezes the thread obtained in the bath. It does not stick to itself and after a few seconds it can be rinsed in clean water and left to dry. The trickiest thing is not to have any air bubbles in the syringe, otherwise the thread will be cut during extrusion. Also, you have to push the syringe as evenly as possible to have the same thickness of wire.
Drying tip: wrap the thread on a support to prevent it from drying in volume (as if dropped in the solution) but rather flat.
I really liked the the aspect but when drying it lost so much volume it was not usable and moreover, not conductive.

Peaux de chagrin
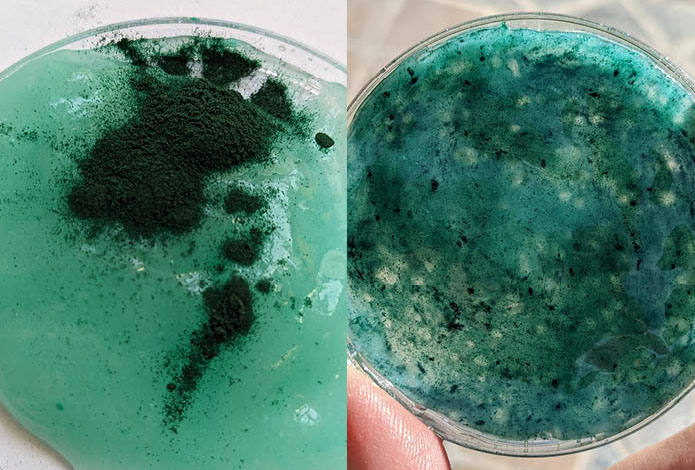
Spirulina
Dragons
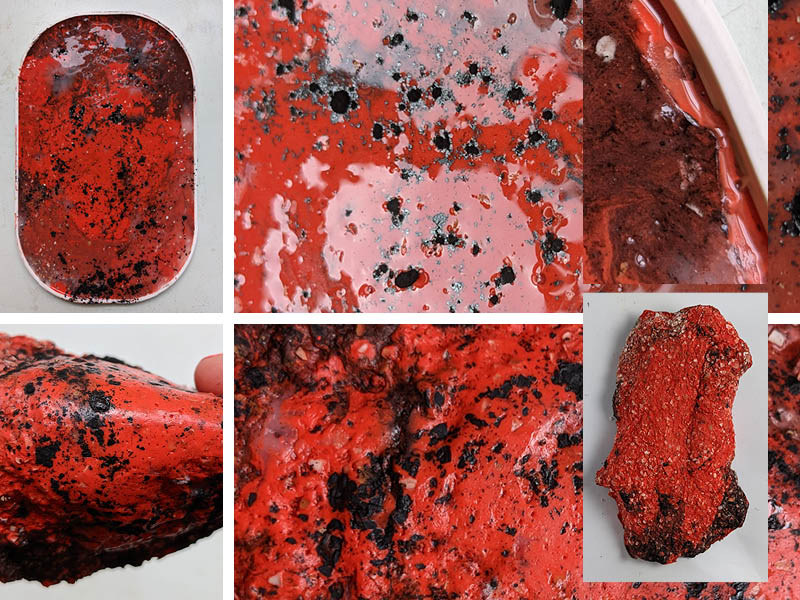
My first attempt to add color to the alginate was to dust it with pigments, I thought they would blend or the color would run in but the shrinkage caused it to stay on top. On the one hand it was super beautiful because the pigments tightened and created a new texture, but on the other hand they came off at the slightest touch.
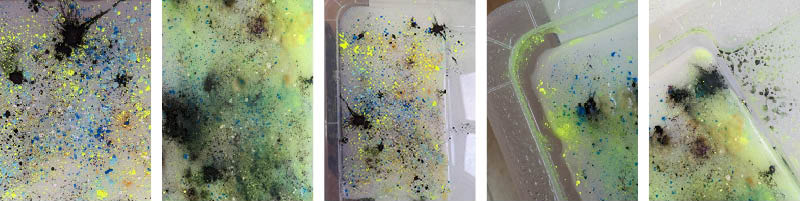

For my second test, I added fillers: eggshells and clay. The shrinkage was different and the texture is less flexible.
Real fish skin
Started to follow the process, but left it because too much things to do. You could find informations on Marion's page.
Growing tomatoes
The project, explained by Laora.
Gelatin
Gelatin is very interesting because of its transparency. Unfortunately it doesn't resist to high temperatures. We can have different states for different properties of the same material. Plasticity changes depending of the amount of glycerin in the recipe.
- 48g gelatin
- 8g glycerin
- 240ml water
- 48g gelatin
- 12g glycerin
- 240ml water
- 48g gelatin
- 24-48g glycerin
- 240ml water
- bowls
- precise scale
- spoons and spatules
- mixer
- plane textured or smooth surfaces
For the resin mix, first mix all the components at 60° until smooth and then boil at 100° for 5-10min. Boiling the plastic will change the chains and make it harder but slightly more brittle.
Transparent gelatin
Tip: Leave some material in the pan, and let it dry in there so you don't waste material and don't bother cleaning up.
Admiring the flexibility & filter no filter : Zoé's retina through gelatina.
Sandy gelatin
Wrecked shells to make a filler in a gelatin sea.
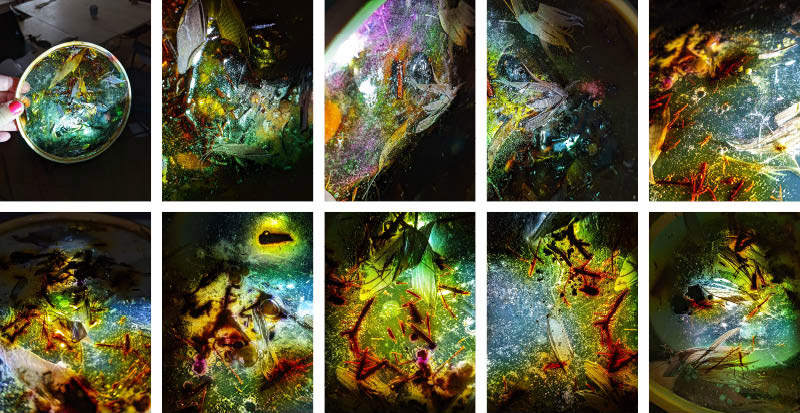
Gelaxies
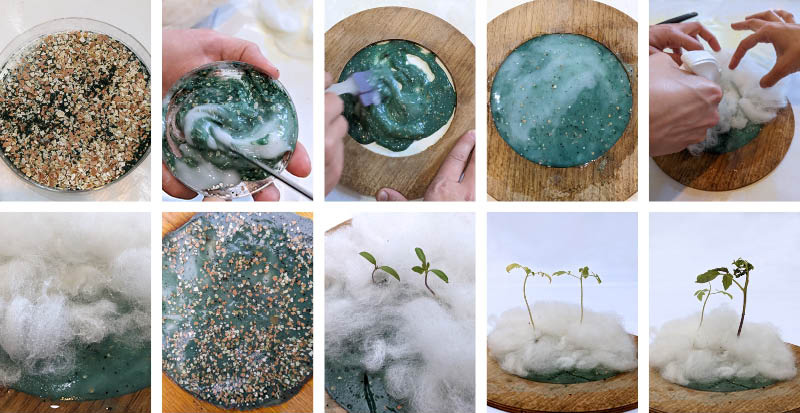
We had a few molds in the lab to cast our biomaterials. As it is often used in these fields, I chose the embroidery hoop because it helps to hold the material while it dries and the fact that it is circular means that the drying tension is evenly distributed throughout the surface. This creates very clean results.
I decided to incorporate feathers, logwood and clay powders into the gelatin. The logwood diffused its color over time, on the contrary the clay remained in dry powder.
I had put a magazine wrapping paper underneath to hold the gelatin. It's a lightly waxed paper so I thought it would peel off easily. However, in some places it has remained stuck, a shame when you read what is written on it: "towards the end of plastic packaging!", "perfectly recyclable paper", "responsible ecological approach".
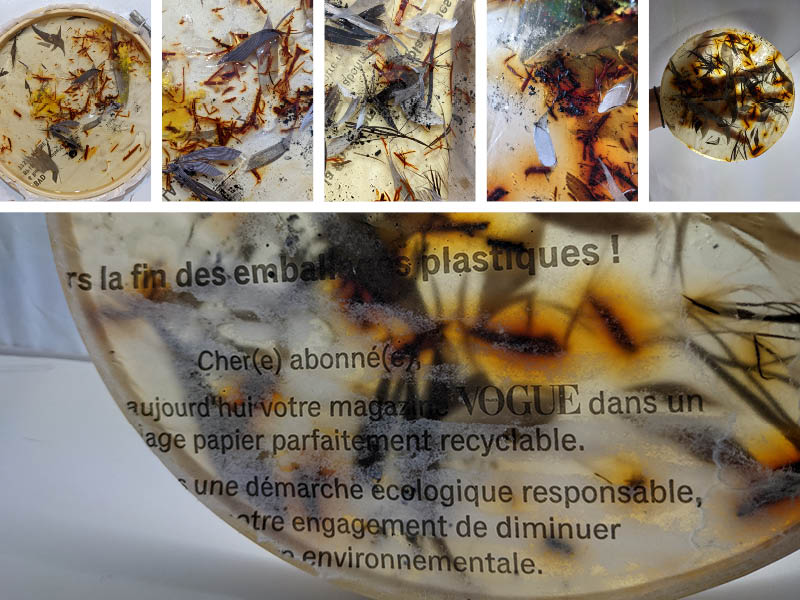
I filled to the edge of the circle considering it will retract a bit. In the end it was quite thick.
It is important to monitor the dryi ng of your biomaterials: mold is just waiting for a little inattention to develop. Sometimes it's quite nice and it does not damage the structure, but it is better to clean with vinegar as soon as it appears (grey on yellow clay is mold).
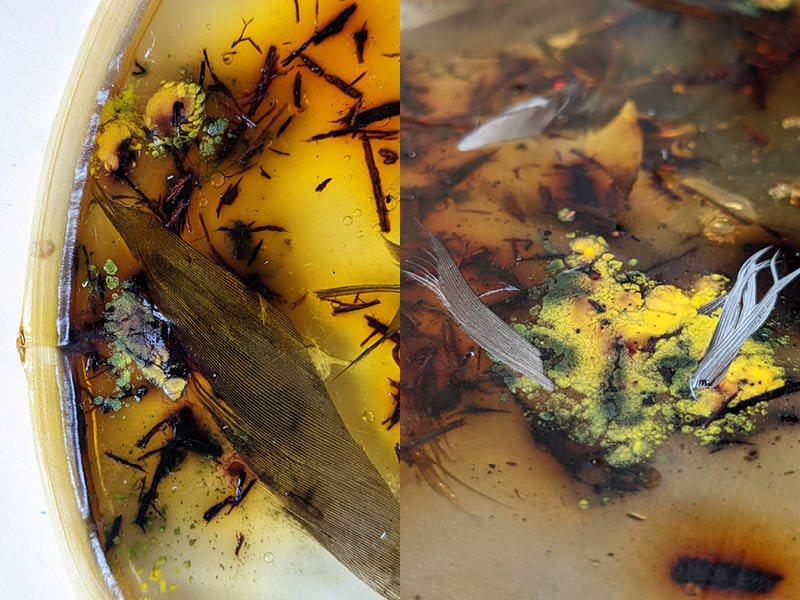
I took pictures of my tests while the video projector was still on, and I saw that it was really interesting to have lighting from the front and behind on the gelatins. I did a great series of photos of galaxies which I am very proud of.
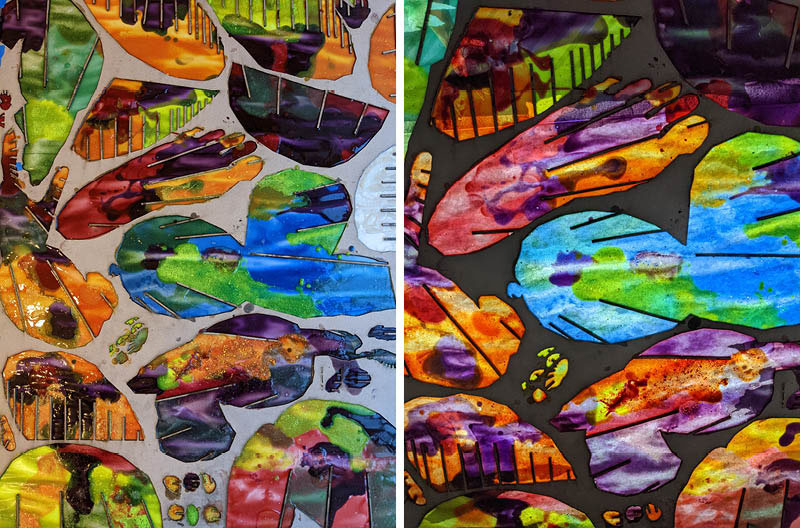
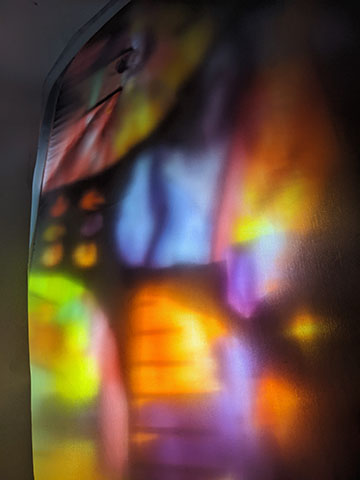
Stained glass
I choose the plastic recipe, with colors inside (dry pigments) and casted it in the lefts of the week 02 laser cutted cardboards so they transform into stained glasses.
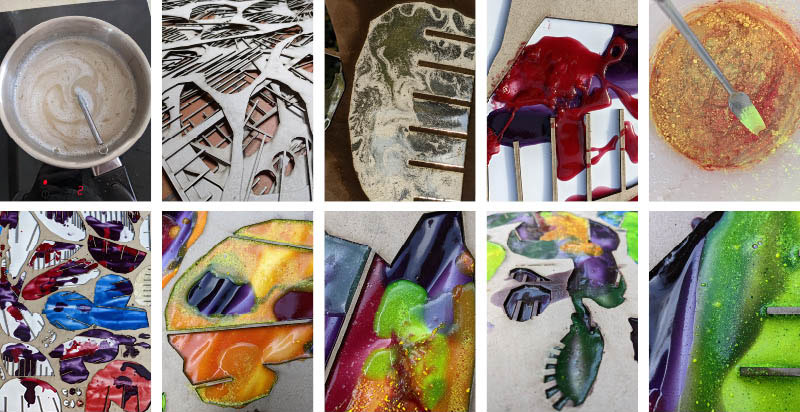
Unfortunately, I put posters under to make sure I don't dirty the table, and thinking I could easily move it if we need space (biomaterial experiments needs and takes a lot of space because everything need to dry properly flat ; and they completely sticked to the gelatin, making an unwanted layer of paper under. I had to peel it off with the fingers or a wet sponge, being carefull it doesn't dissolve the gelatin. Long and unexpected step I would prefer not have to deal with.
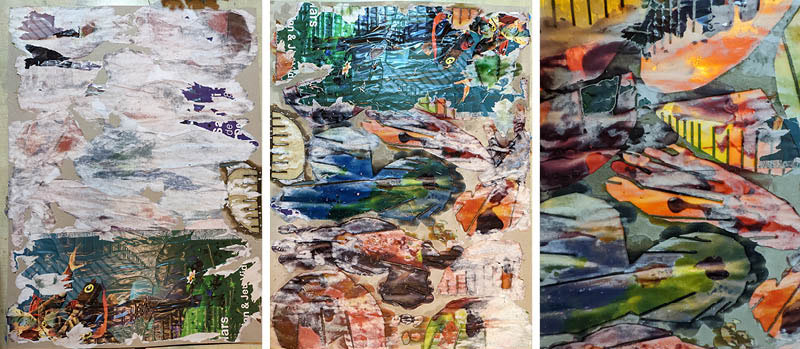
In the end, It is quite satisfiying considering the mistake, and I got my gelatino-cardboard glasses. Using the video projector when working, to make a retro lightning.